So, once upon I time I was signed up for a steampunk larp. Steampunk is kind of retro-scifi. Can you imagine how people used to think the future would be 150 years ago? Yup, that’s steampunk. Sort of. Now, the larp was cancelled, but I still got to enjoy some period appropriate shaping underwear!
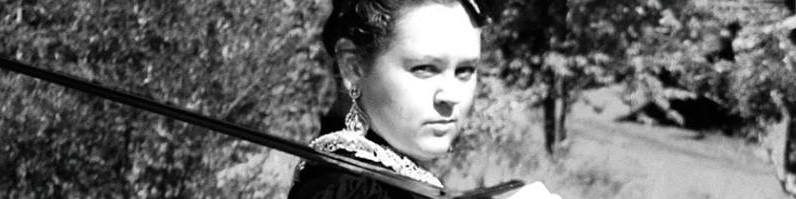
The larp was set to 1889. Do you know how ladies dressed towards the end of the 1880s? Like this!


Behold the glorious bums! This dress shape, with a few variations, was popular in two periods. First during the first half of the 1870s, and then again from around 1886. This shape was created by using something called a “bustle”. You can read more about this particular victorian fashion here.
I’m not one to shy away from some bum padding, or bum scaffolding for that matter. One garment that gave this shape was the so-called tournure or “lobster tail bustle”, so named for reminding one a little bit of a lobster’s tail. You can find examples of such bustles here and here.


I found a great tutorial for a lobster bustle on the American Duchess website. The only ajustments I made to it, was by adding more flounces, as well as lenghtening the whole garment a little. With my 178 cm, I tend to be a tad taller than those who design patterns…
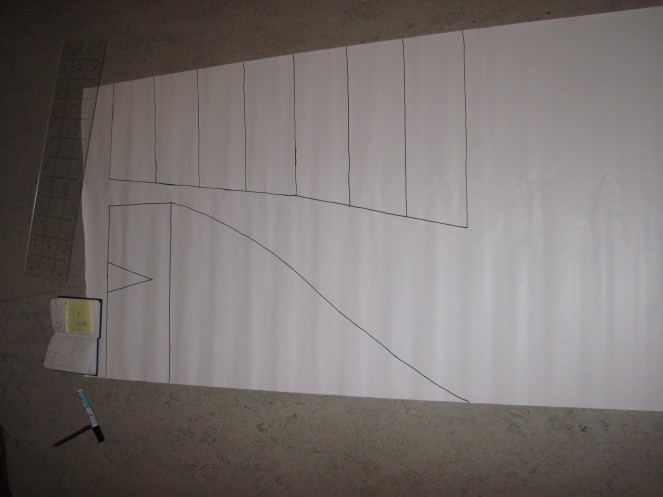
I started by drawing up the pattern on the back side of some old wrapping paper I had laying around. The top bit is half the backpiece, the part that is supposed to be “out-standing”, and all the lines show where the boning channels will go. The bottom part is the side pieces, with a line to mark where my hip line is, and a gusset to make sure it will fit both my waist and my hips.

I used some old cotton fabric I found in a charity shop (for NOK 29! Which is ridiculously cheap!). Folded in half, with my pattern on top (the smallest piece is the waistband), I cut. The American Duchess wanted me to cut two half back pieces, and sew them together. This sounded like unnecessary work to me, so I cut the back piece on the fold.

I then cut a second back piece from a different fabric, for a lining. Here, I’ve put the two pieces on top of each other. I marked where the boning channels were going to go, and sewed the two pieces together.
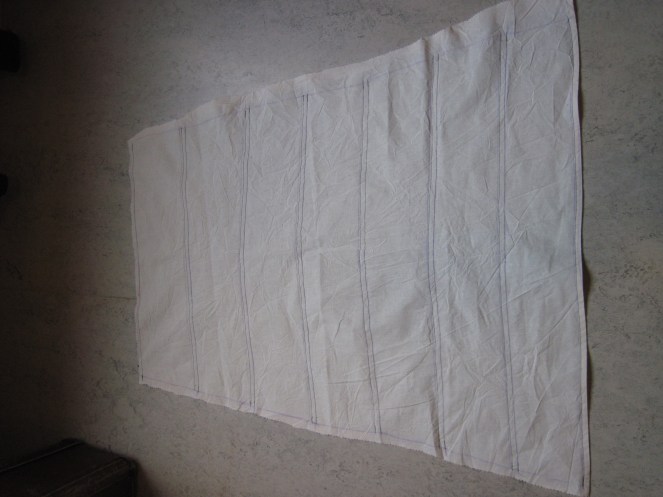
I decided on 7 boning channels, 12 cm between each. The American Duchess lobster tail bustle only has flounces on the bottom two channels, and they’re attached later on, but I wanted ALL THE FLOOF, so I decided to add flounces to all channels.
I also figured I wanted to do this before I began messing about with boning, so I cut seven flounces, at least double the length of the boning channel they were to accompany, and attached them.


Look at the flounces! So flouncy!


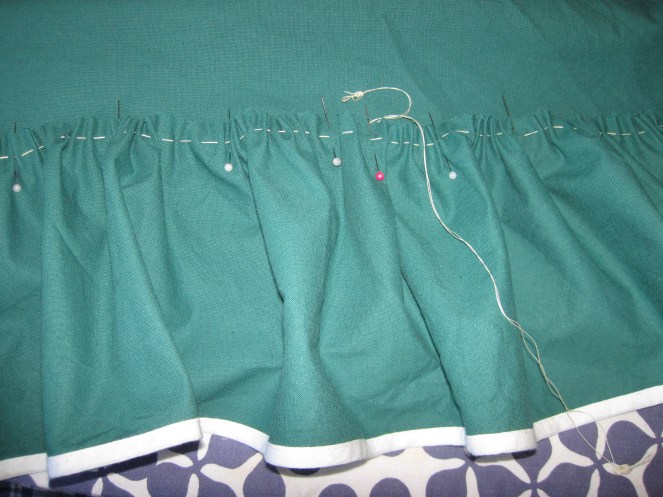
I hemmed the long, curved edge of the side pieces and made the gusset, before pinning it to the back pieces, with strong ties at each channel, making sure the ties ended up at the inside of the skirt.
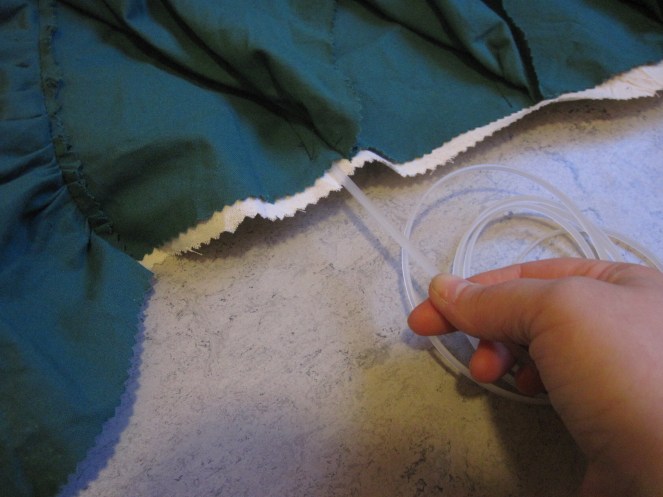
Before attaching the other side piece, I put in the boning. This was where my troubles started, as you might be able to deduce from the image above. I have had problems locating proper steel boning (I used to buy them from a corset supply store when I lived in England, but those are few and far between in the cold harsh North…), so I thought I might use narrow plastic boning, and save myself the trouble of ordering from abroad. Bad decision. This boning came in a roll, and had made its mind up to remind that way. It was very tightly curled. The result was that the bustle too became very, very curled. The boning was also too thin and weak to carry such a heavy garment, with all the extra flounces, not to mention the garments meant to go on top!
So, I stood there with a bustle that was curling in on itself, making it narrow and decidedly un-poofy, despite all my flounces. It was also too wide in the waist.


I tried to press the garment for 24 hours, to force some of the curliness out of it, but that only helped a little. I also changed the waistband into a drawstring one, which helped a little, but not nearly enough.
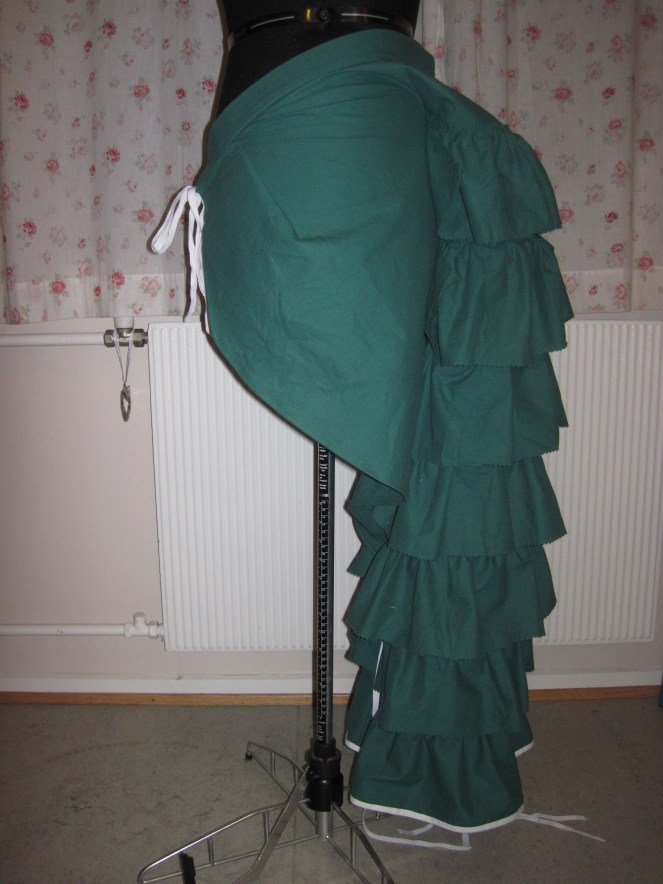
I have some corset boning laying around, as embarassing reminders of my ambicious plan to become a master corsetier. They have moved with me, from York to my mother’s house, to Bergen. They were not long enough for me to use them at the bottom of the bustl, but the longest were approximately the length of the top boning channels. I attached them to the inside of the bustle at the top three channels, removed the bottom two plastic bonings, and the three bottom ties, and tried again. And voila!

Look at that butt! So much better – instantly! With stiffer boning on top, the bustle got the right shape, not to mention a wonderful springing sensation when you walk. Like bouncing on a cloud of flounces!


I mean, look at those! The right image shows how the shape is created by tying the ties, forcing the bones to bend and lift.
It was going to be a year and a half before I got the chance to try it on and wear it with a costume. The ties had to be reattached, and it worked best with a bum pad underneath, for added poof, but all in all I am very happy, and looking forward to wearing it with many many outfits!

One thought on “Does my bum look big in this?”