The inventory of Mrs. Ann Bamford includes lots of “night gowns”. I think I’ve counted seven, most made from cotton or muslin, but some made up of fancy silk fabrics. The 18th century night gown was not a garment to sleep in, but closer to what we might call an evening gown.
However, there is one that is just called “gown” in the inventory, “Gown of brown silk”. I don’t know if this means the gown was more simply made, and intended for everyday wear, or if the person who wrote the inventory down just forgot to add “night” to this gown, but I’m going to go with the former, as that allowes me to explore and experiment more…
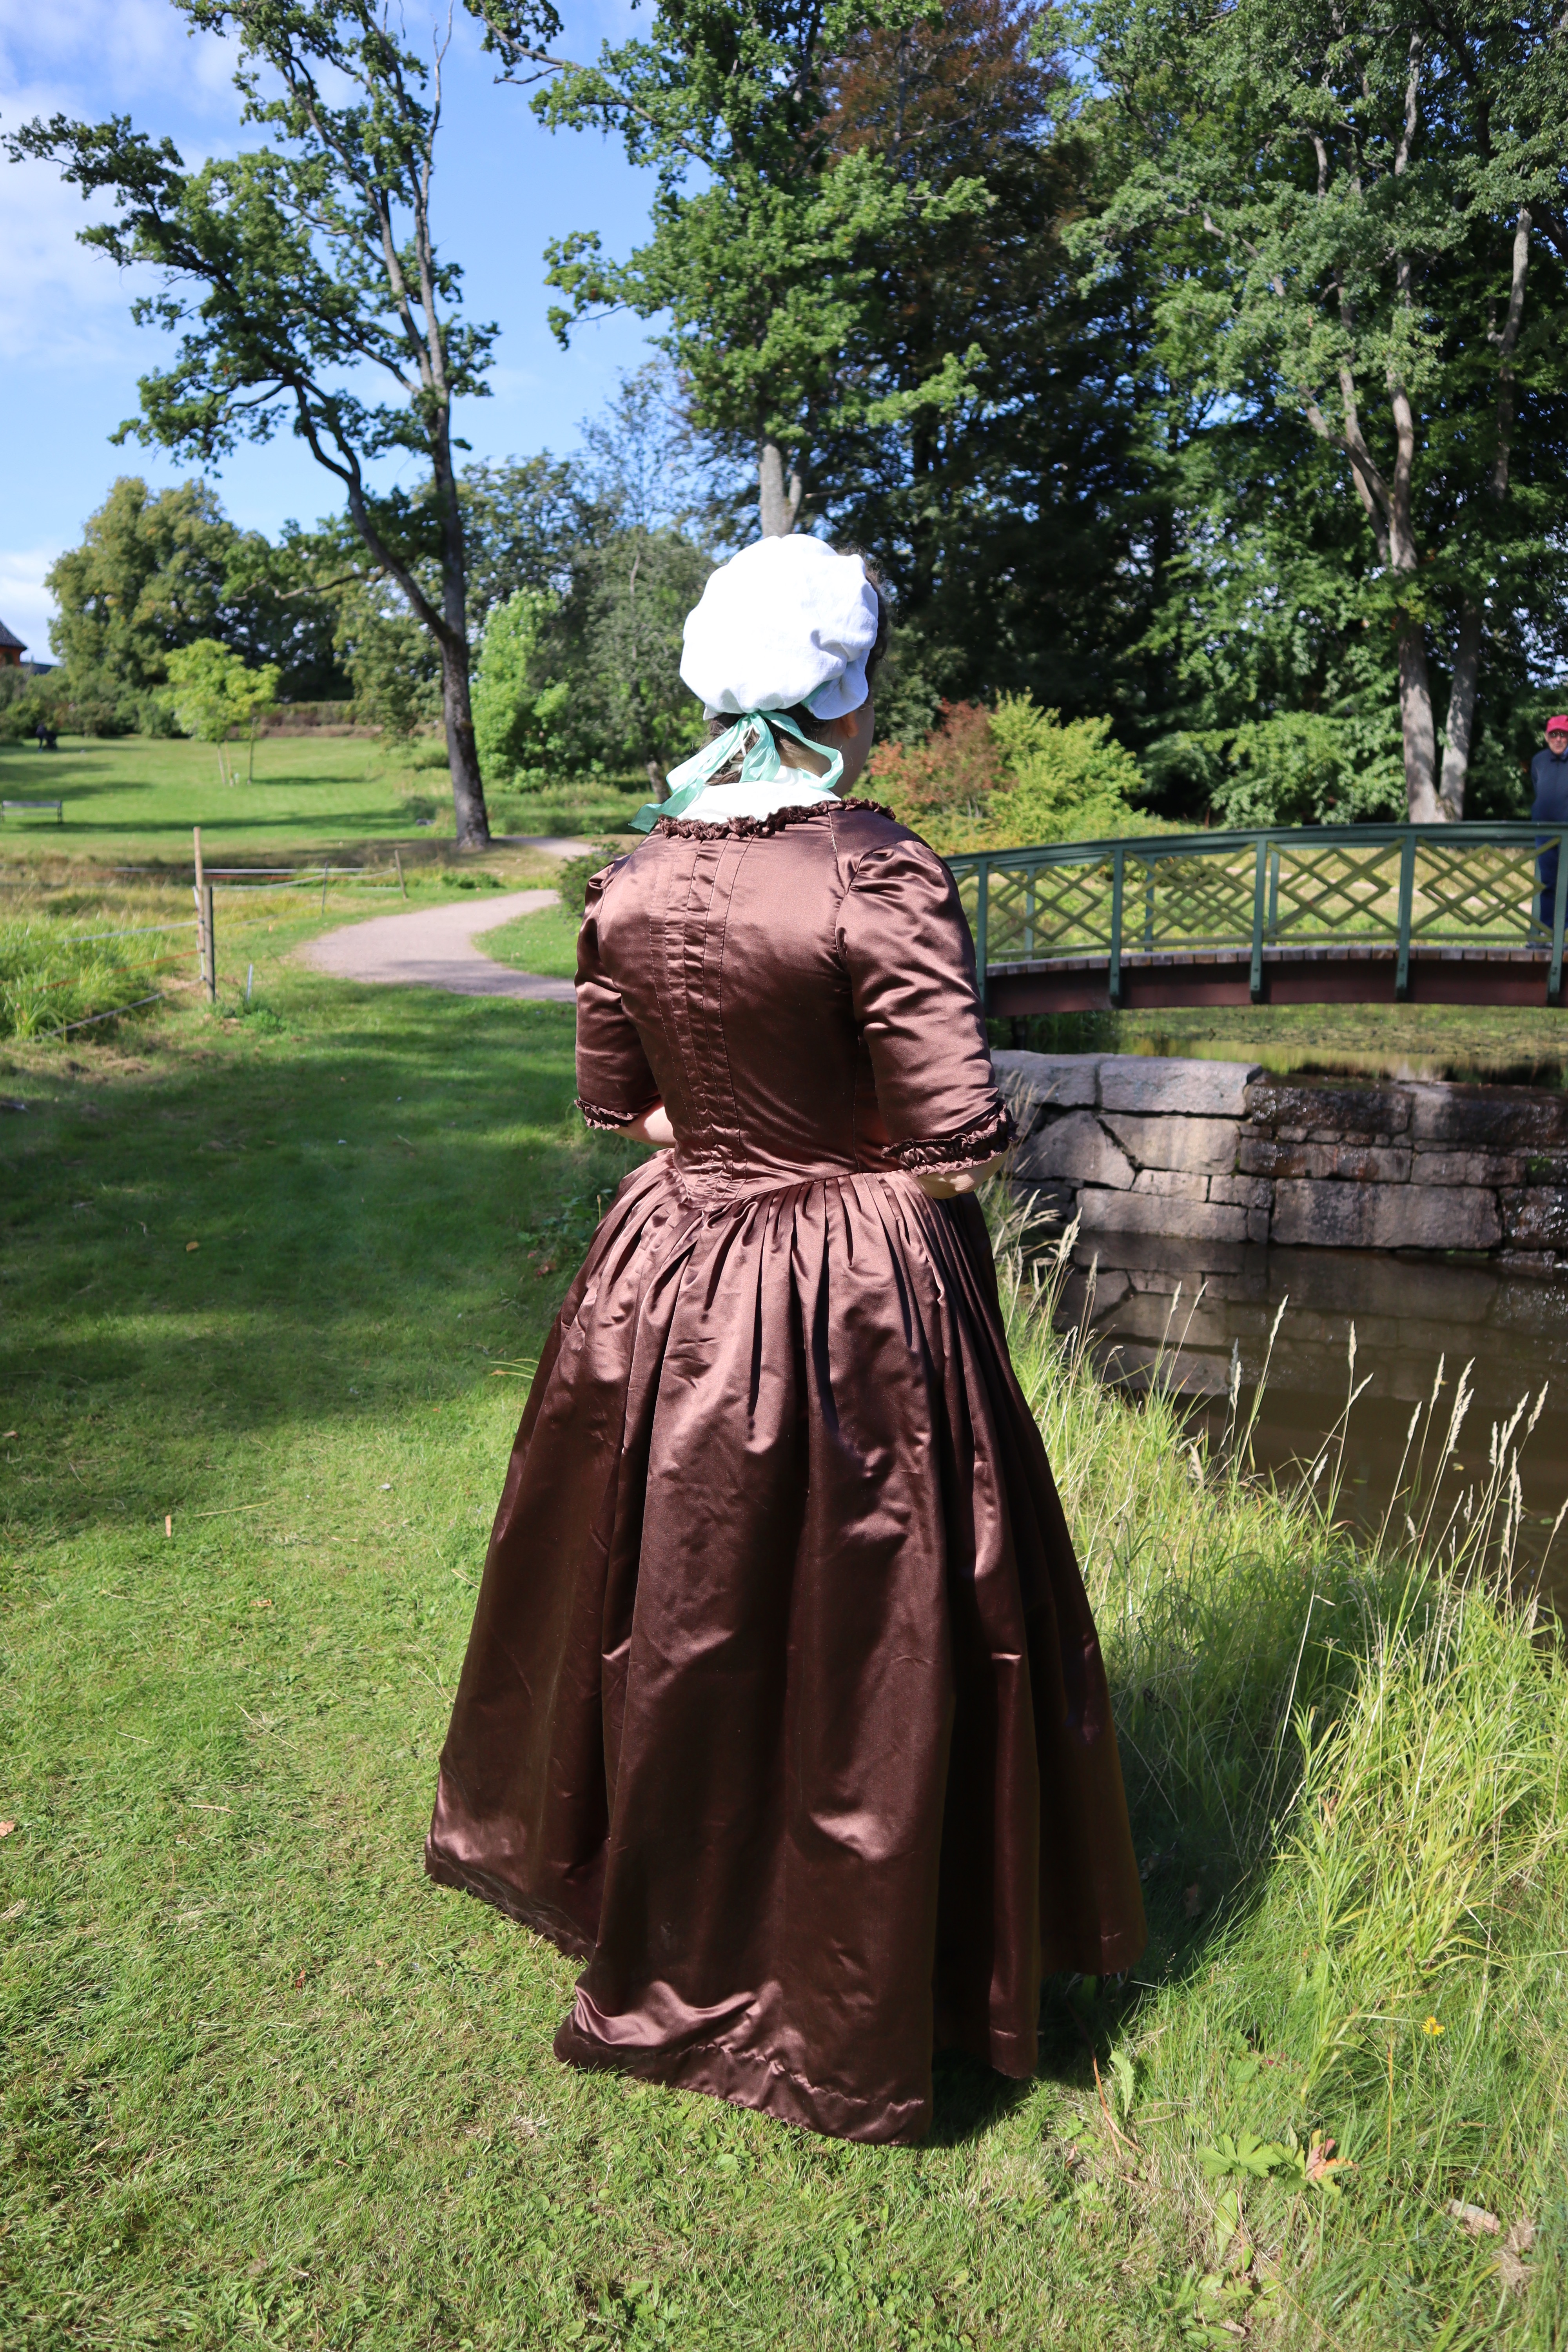
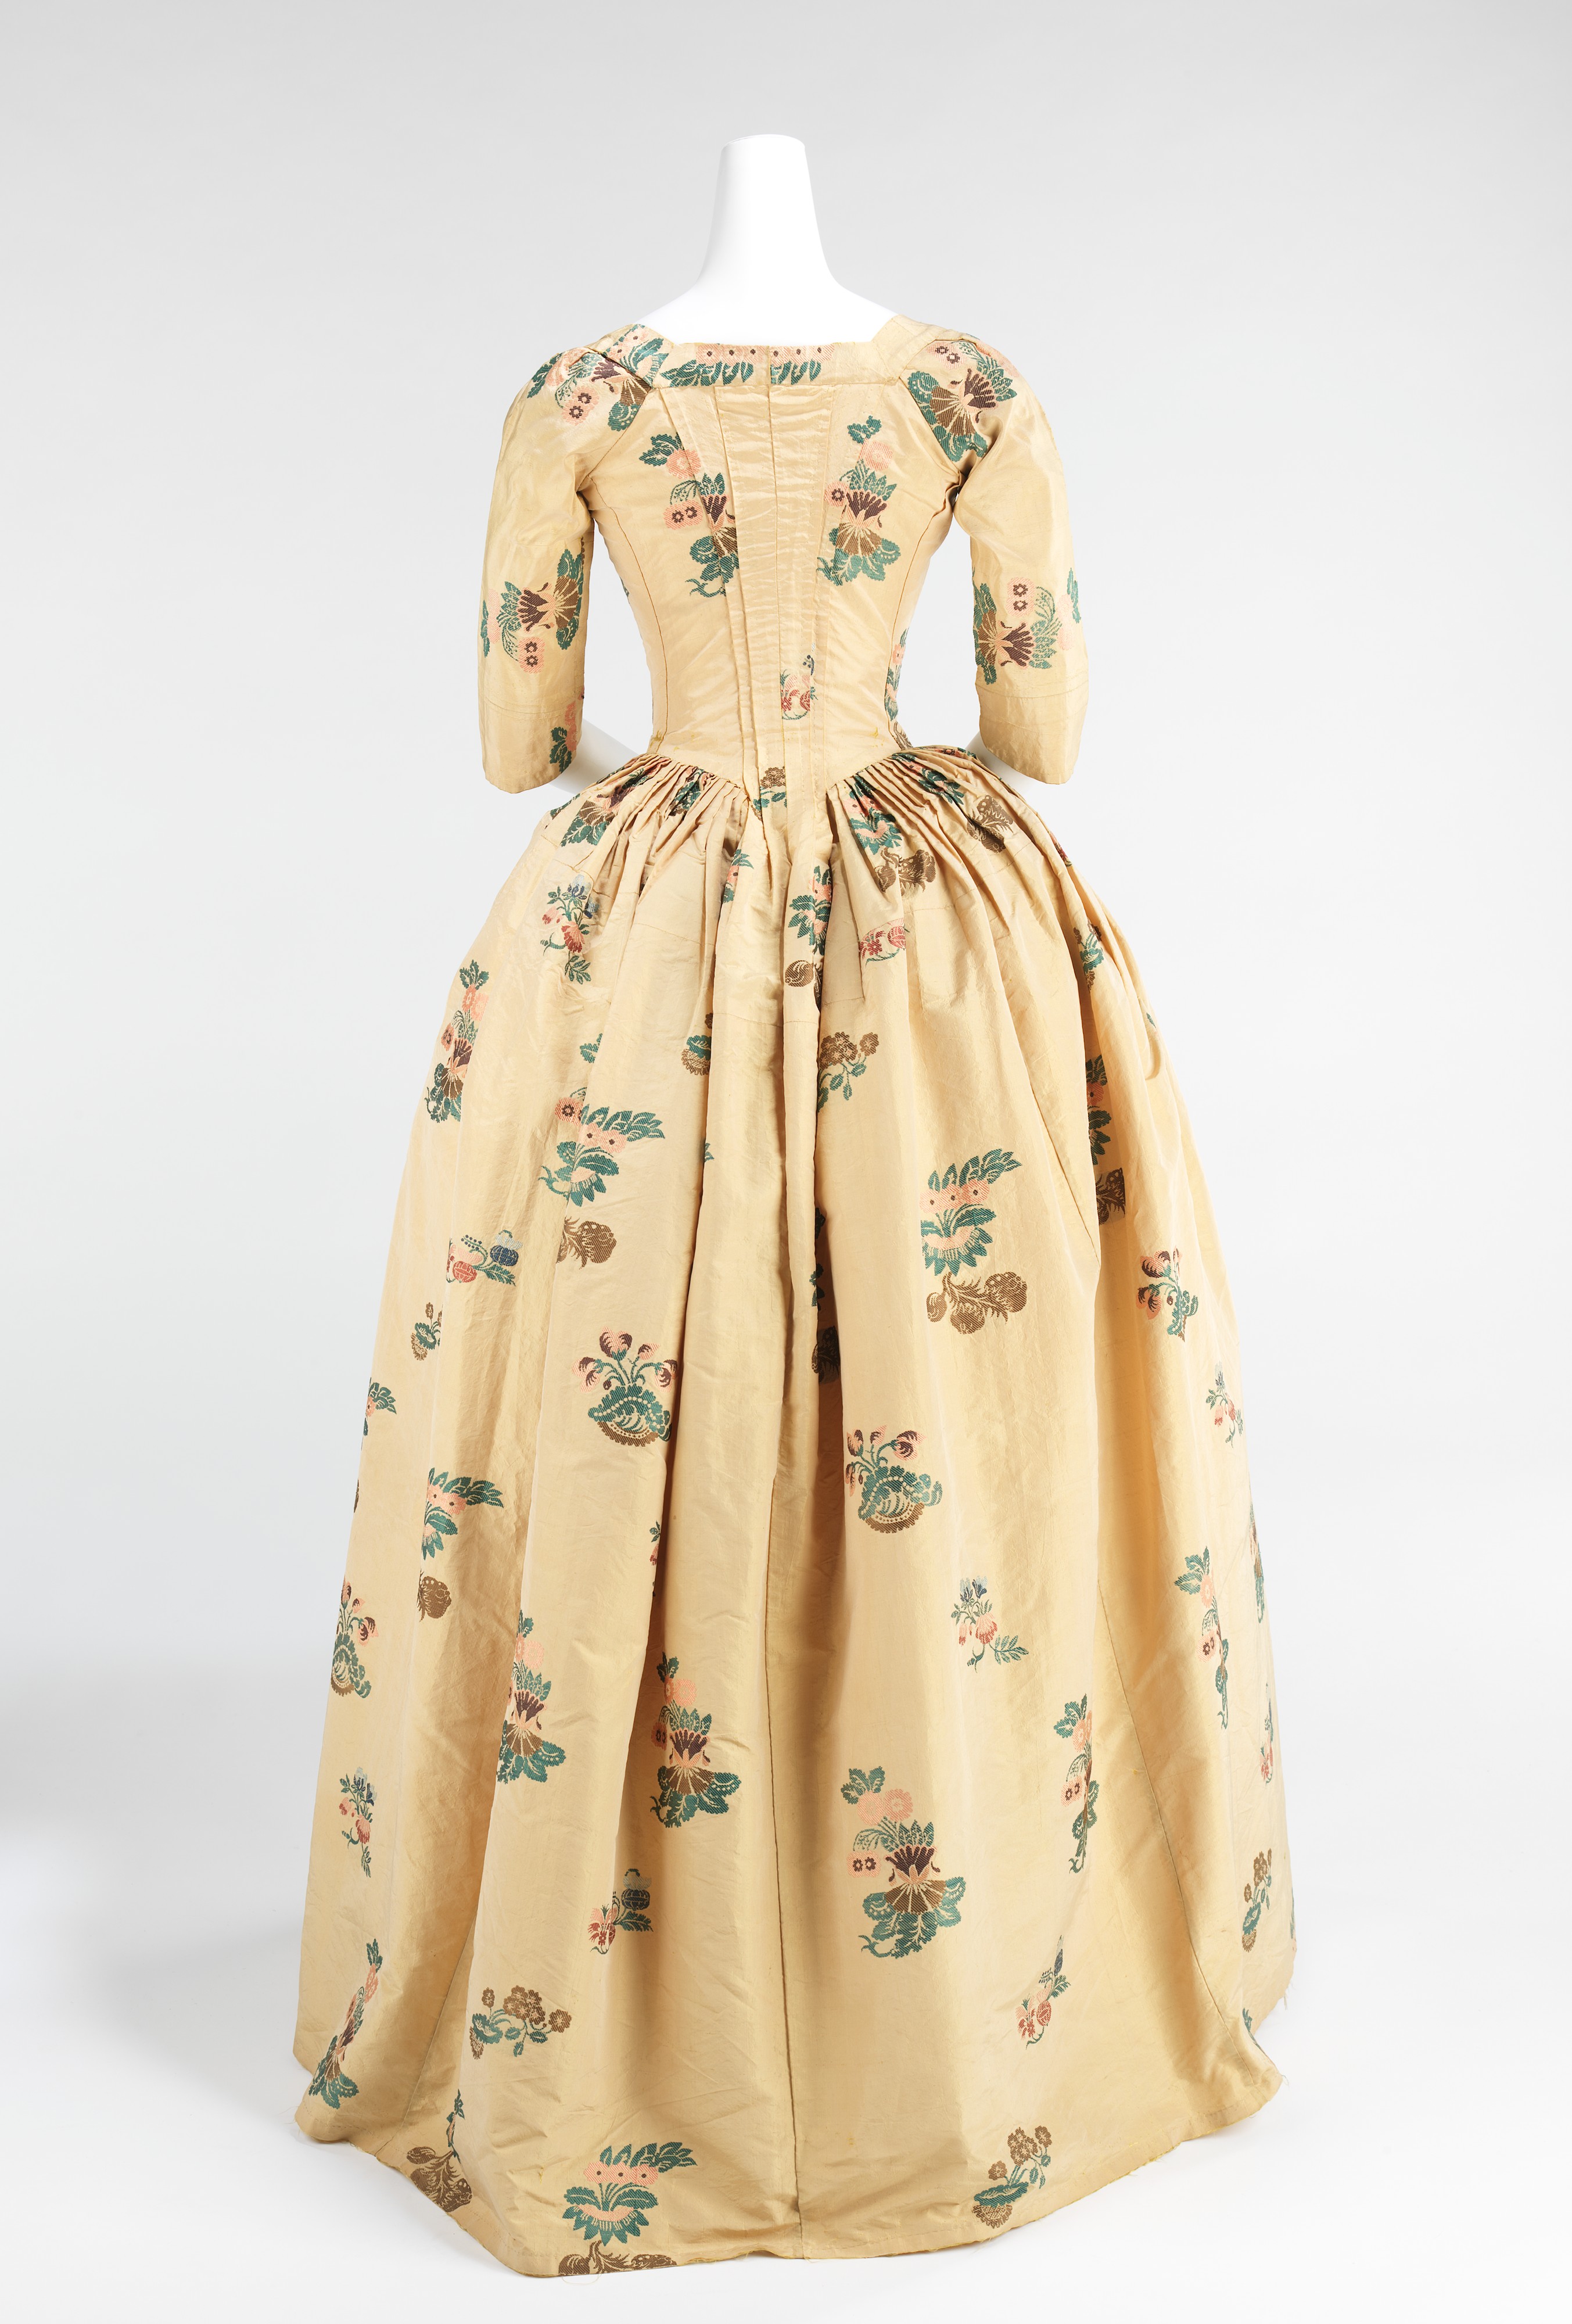
A gown in the England of the mid-18th century would probably have been constructed with sewn-down pleats continuing from the neck down the back and into the skirts. Most of these gowns seam to have an opening down the front, for a stomacher, the way the negligée did, but I have seen gowns from the 1770s, with these types of backs, that close completely in the front, like my Italian gown does. I thought it would be interesting to experiment with combining the more old-fashioned back with the more modern front, as people did in the period!
Example of the type gown I’m talking about can be found here, for example.

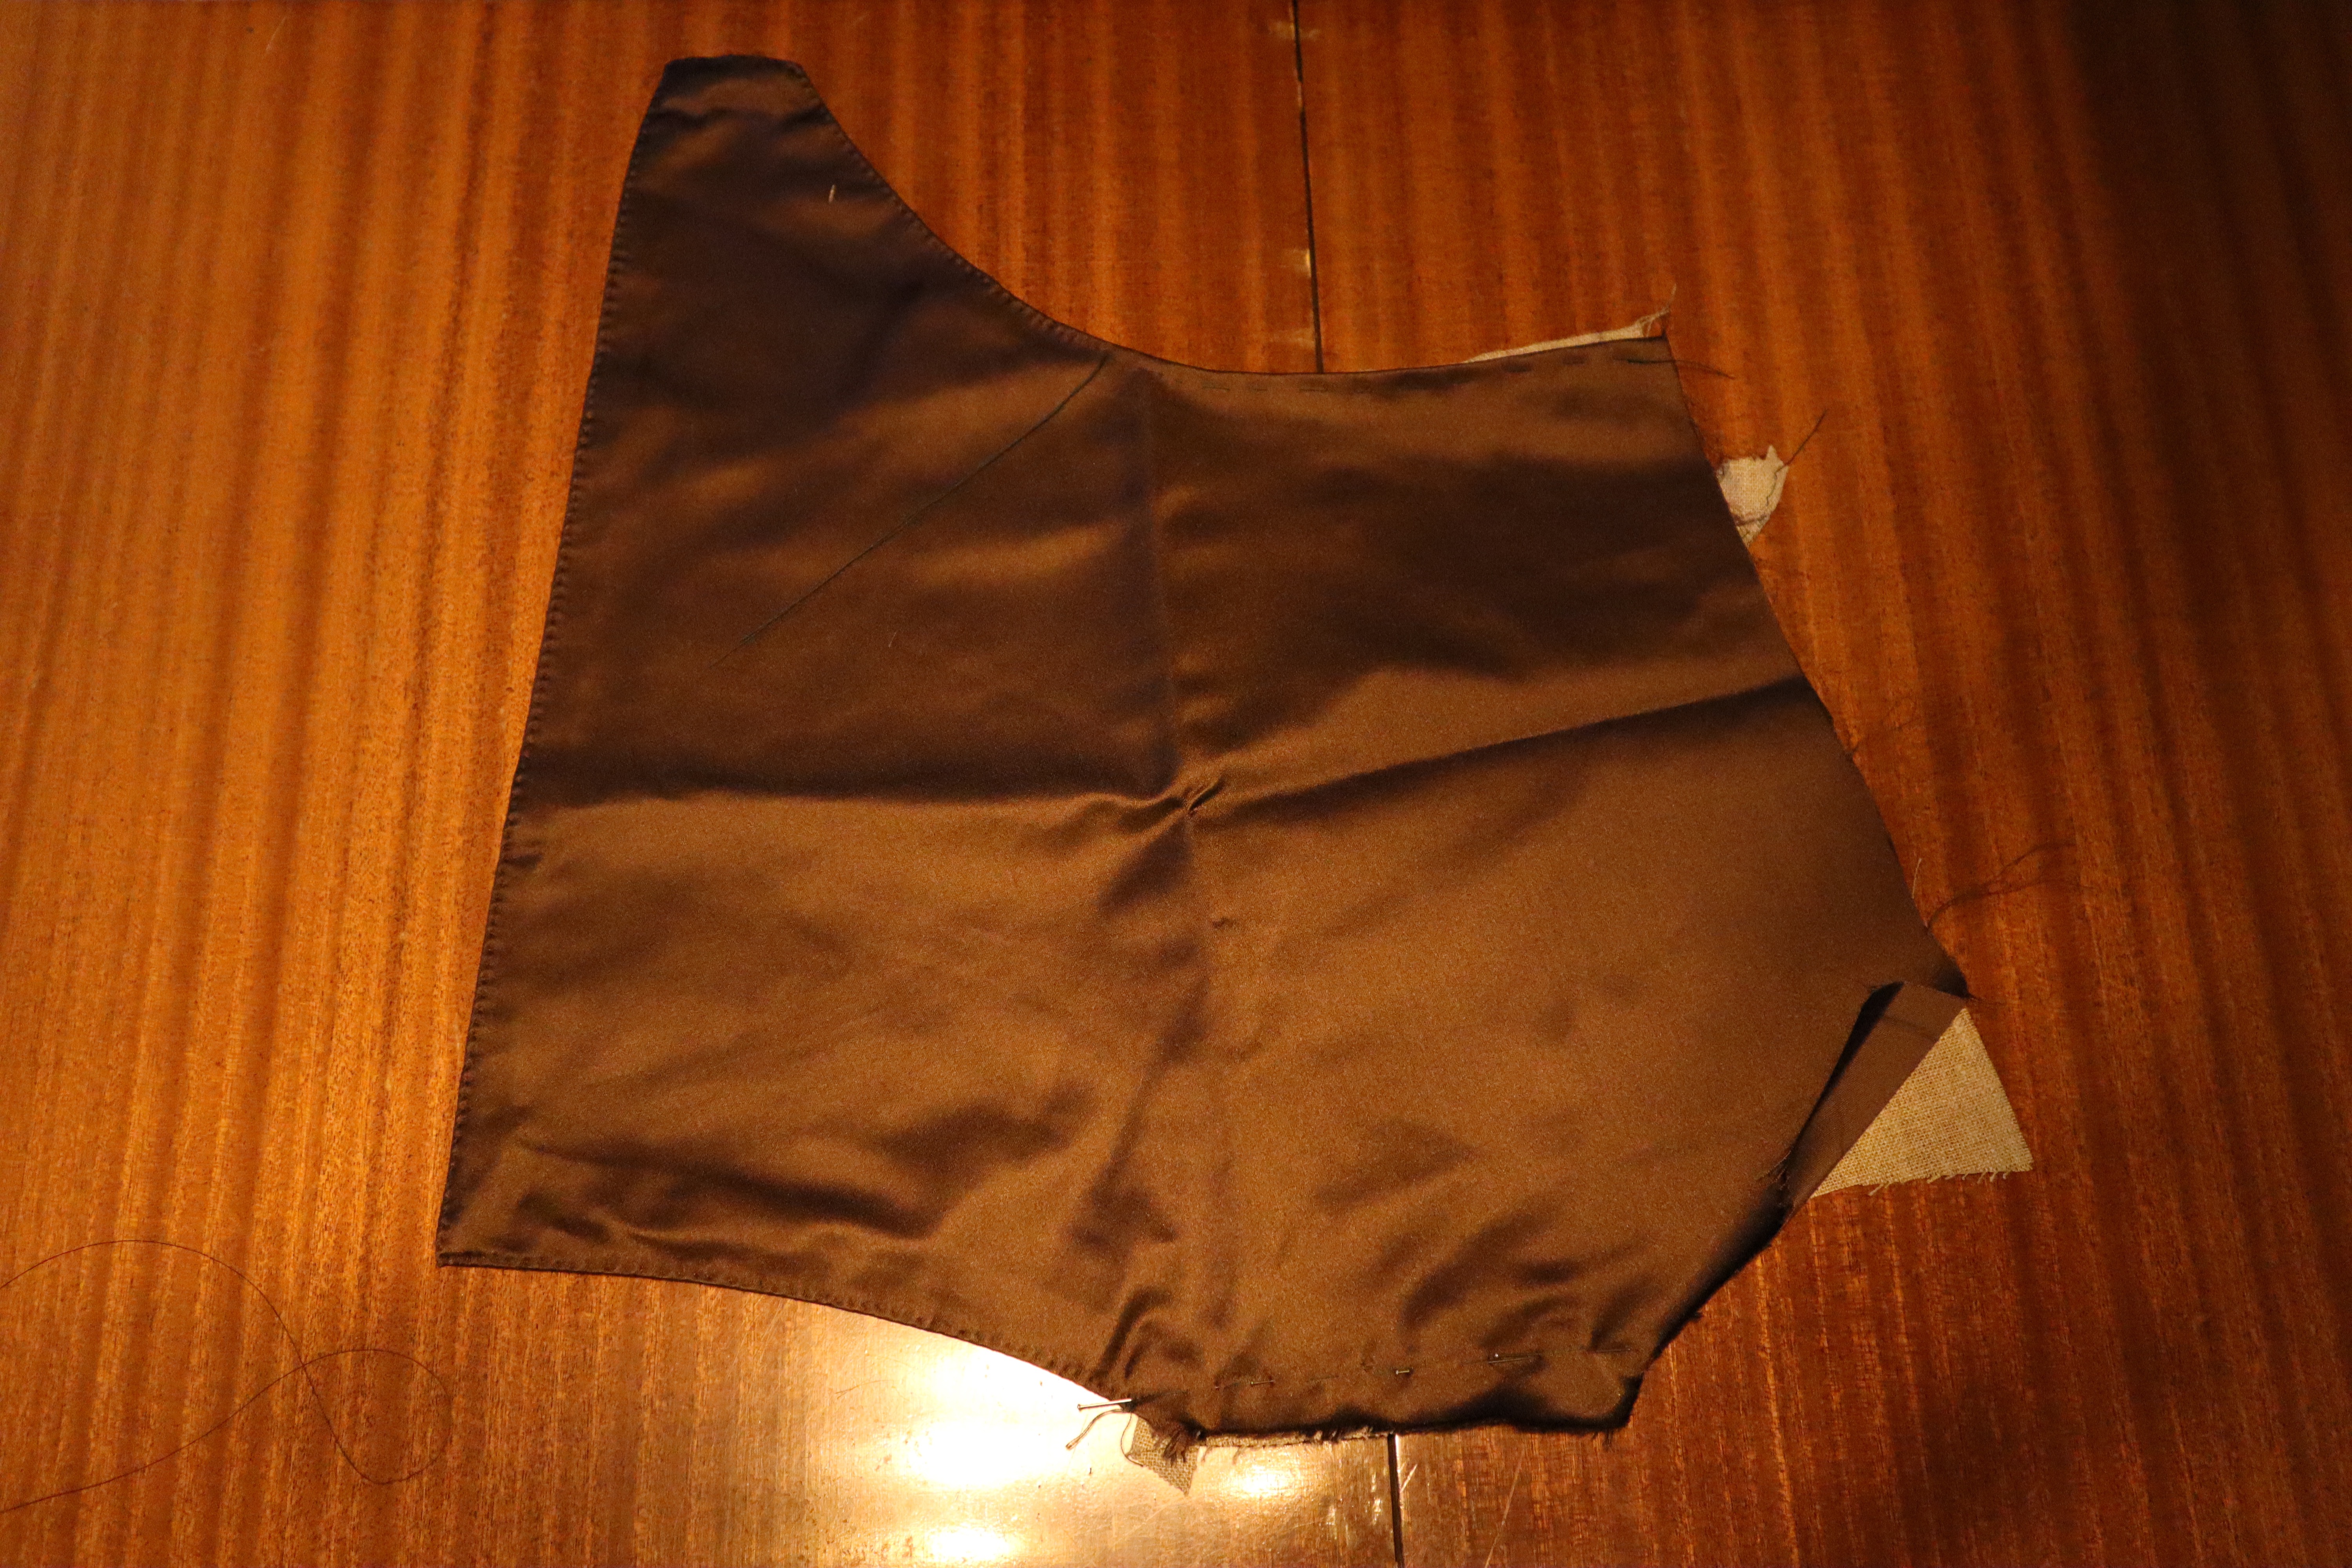
I was very happy with the fit of my Italian gown (apart from the sleeves, they are a little too big), so I decided to use the pattern I made for that to make the bodice lining. The lining will therefore be the same as for the Italian gown (apart from the side back seam), but the gown will be mounted on to it differently.

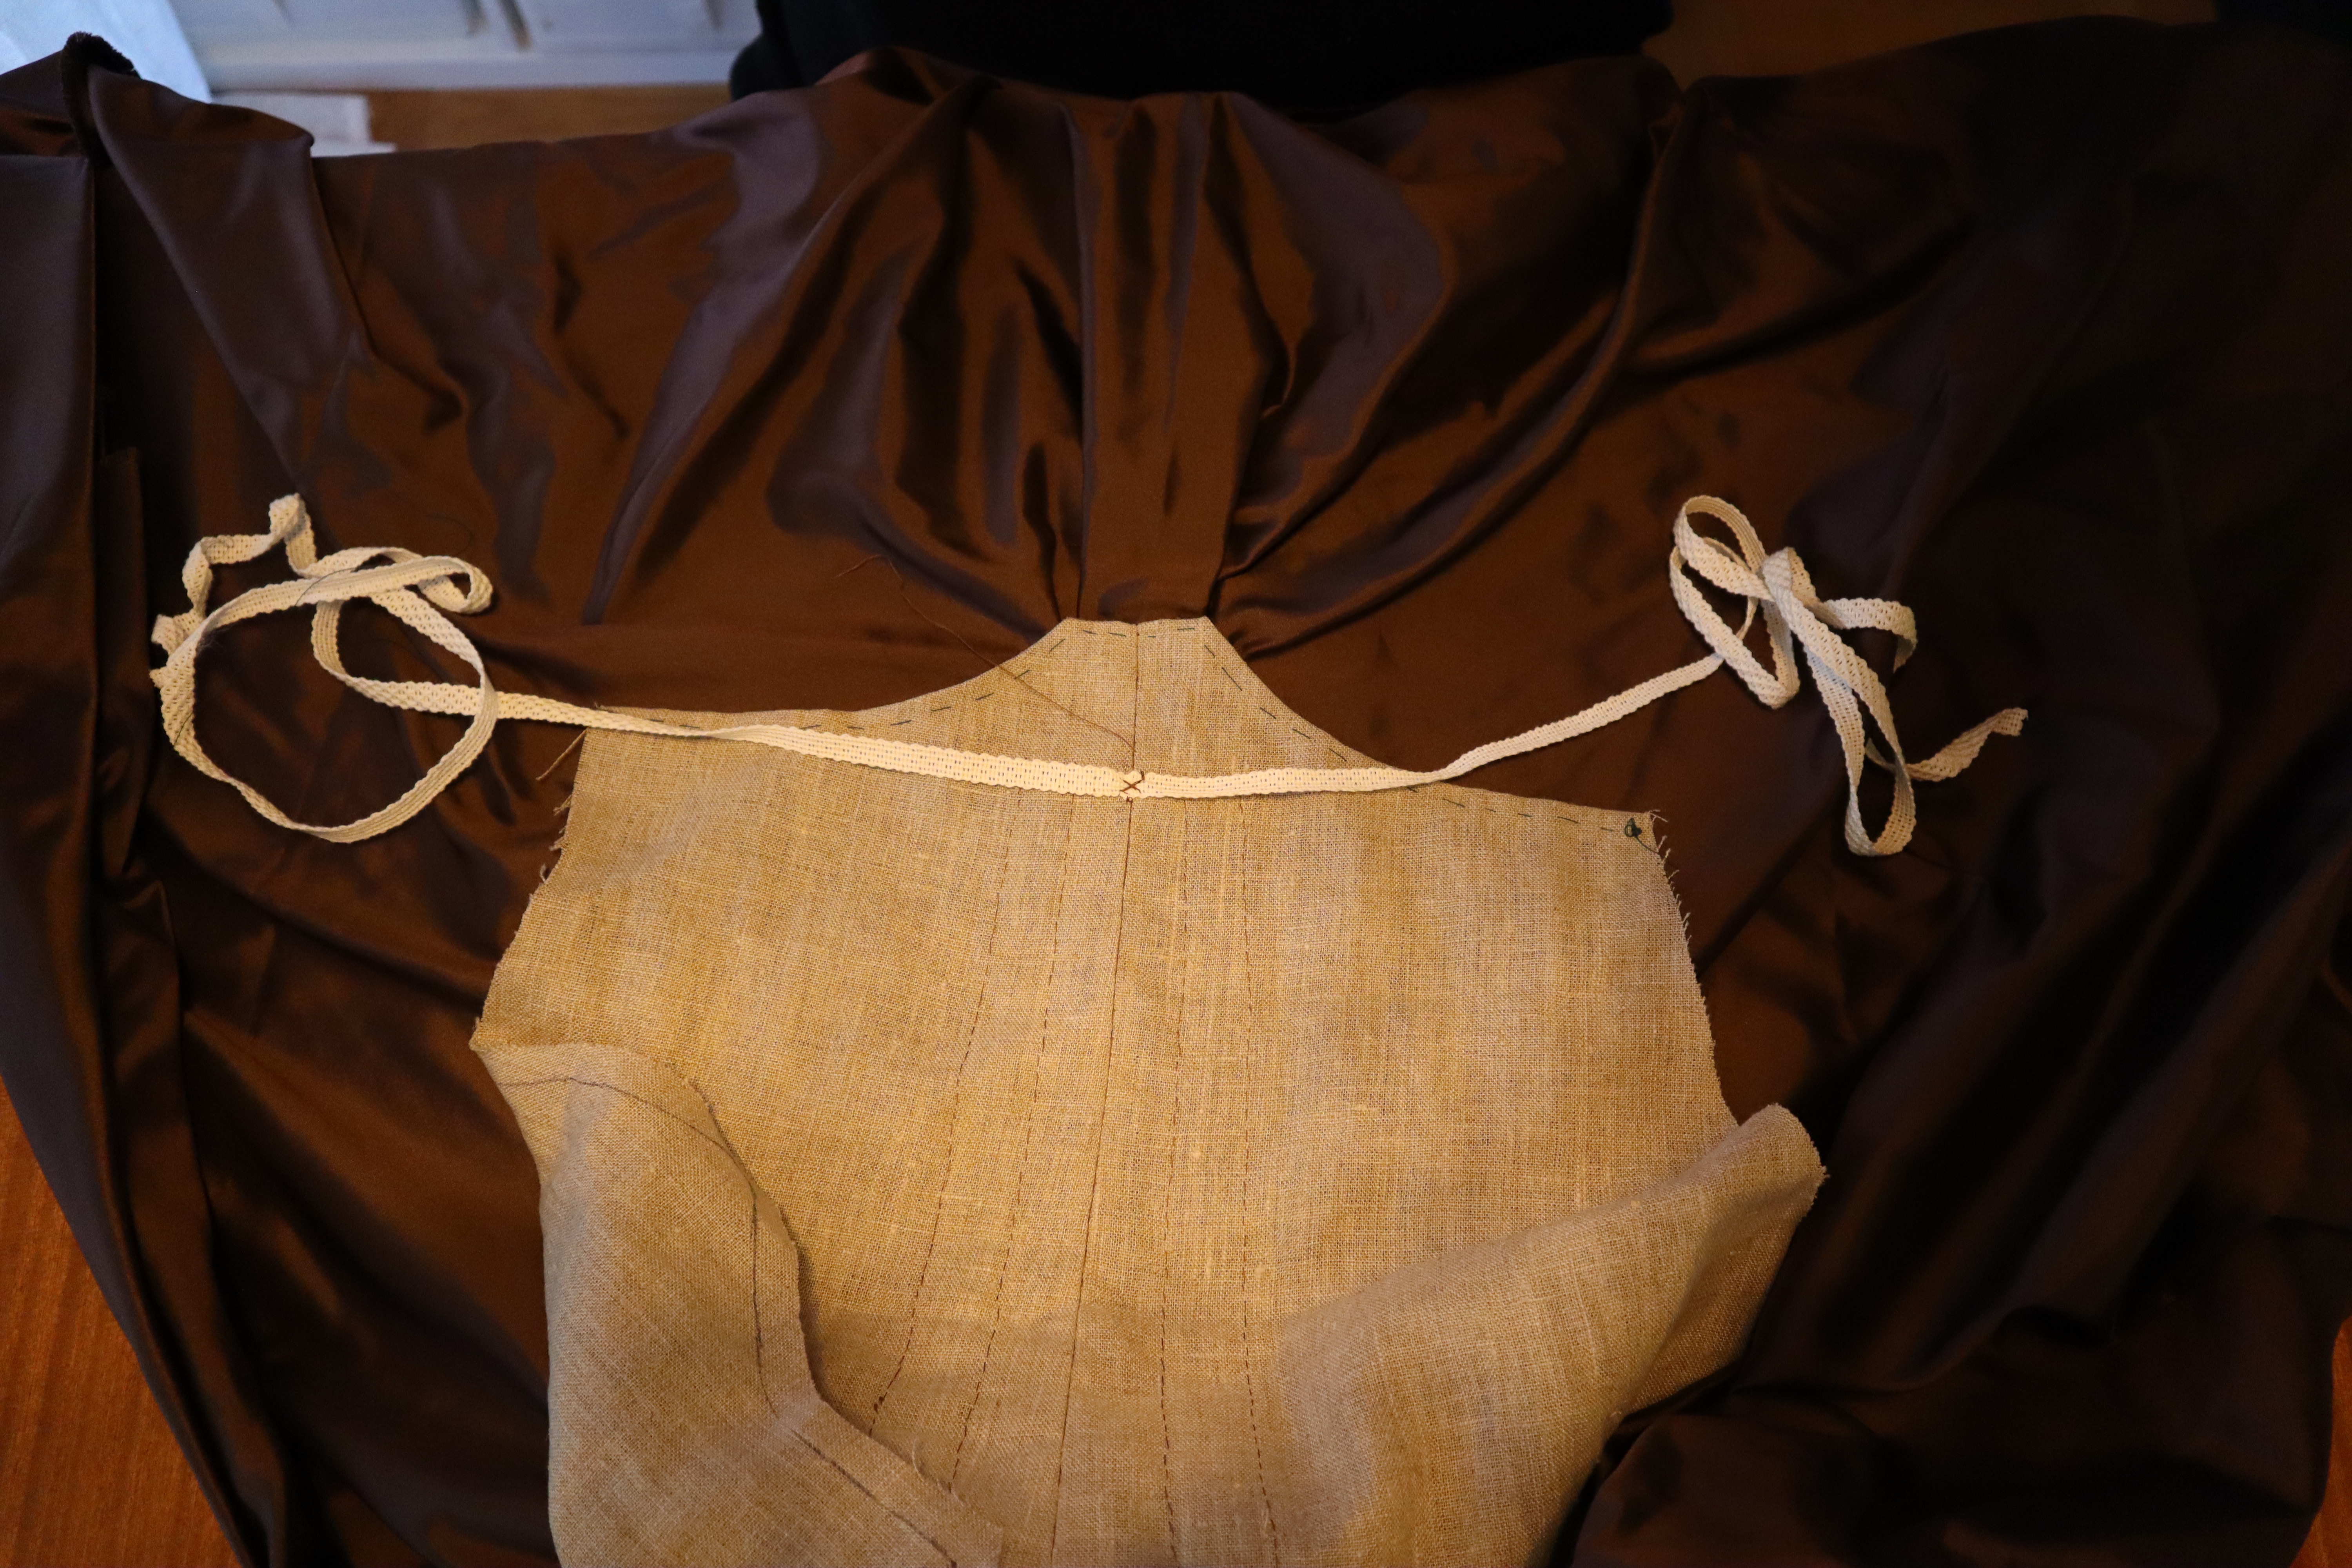
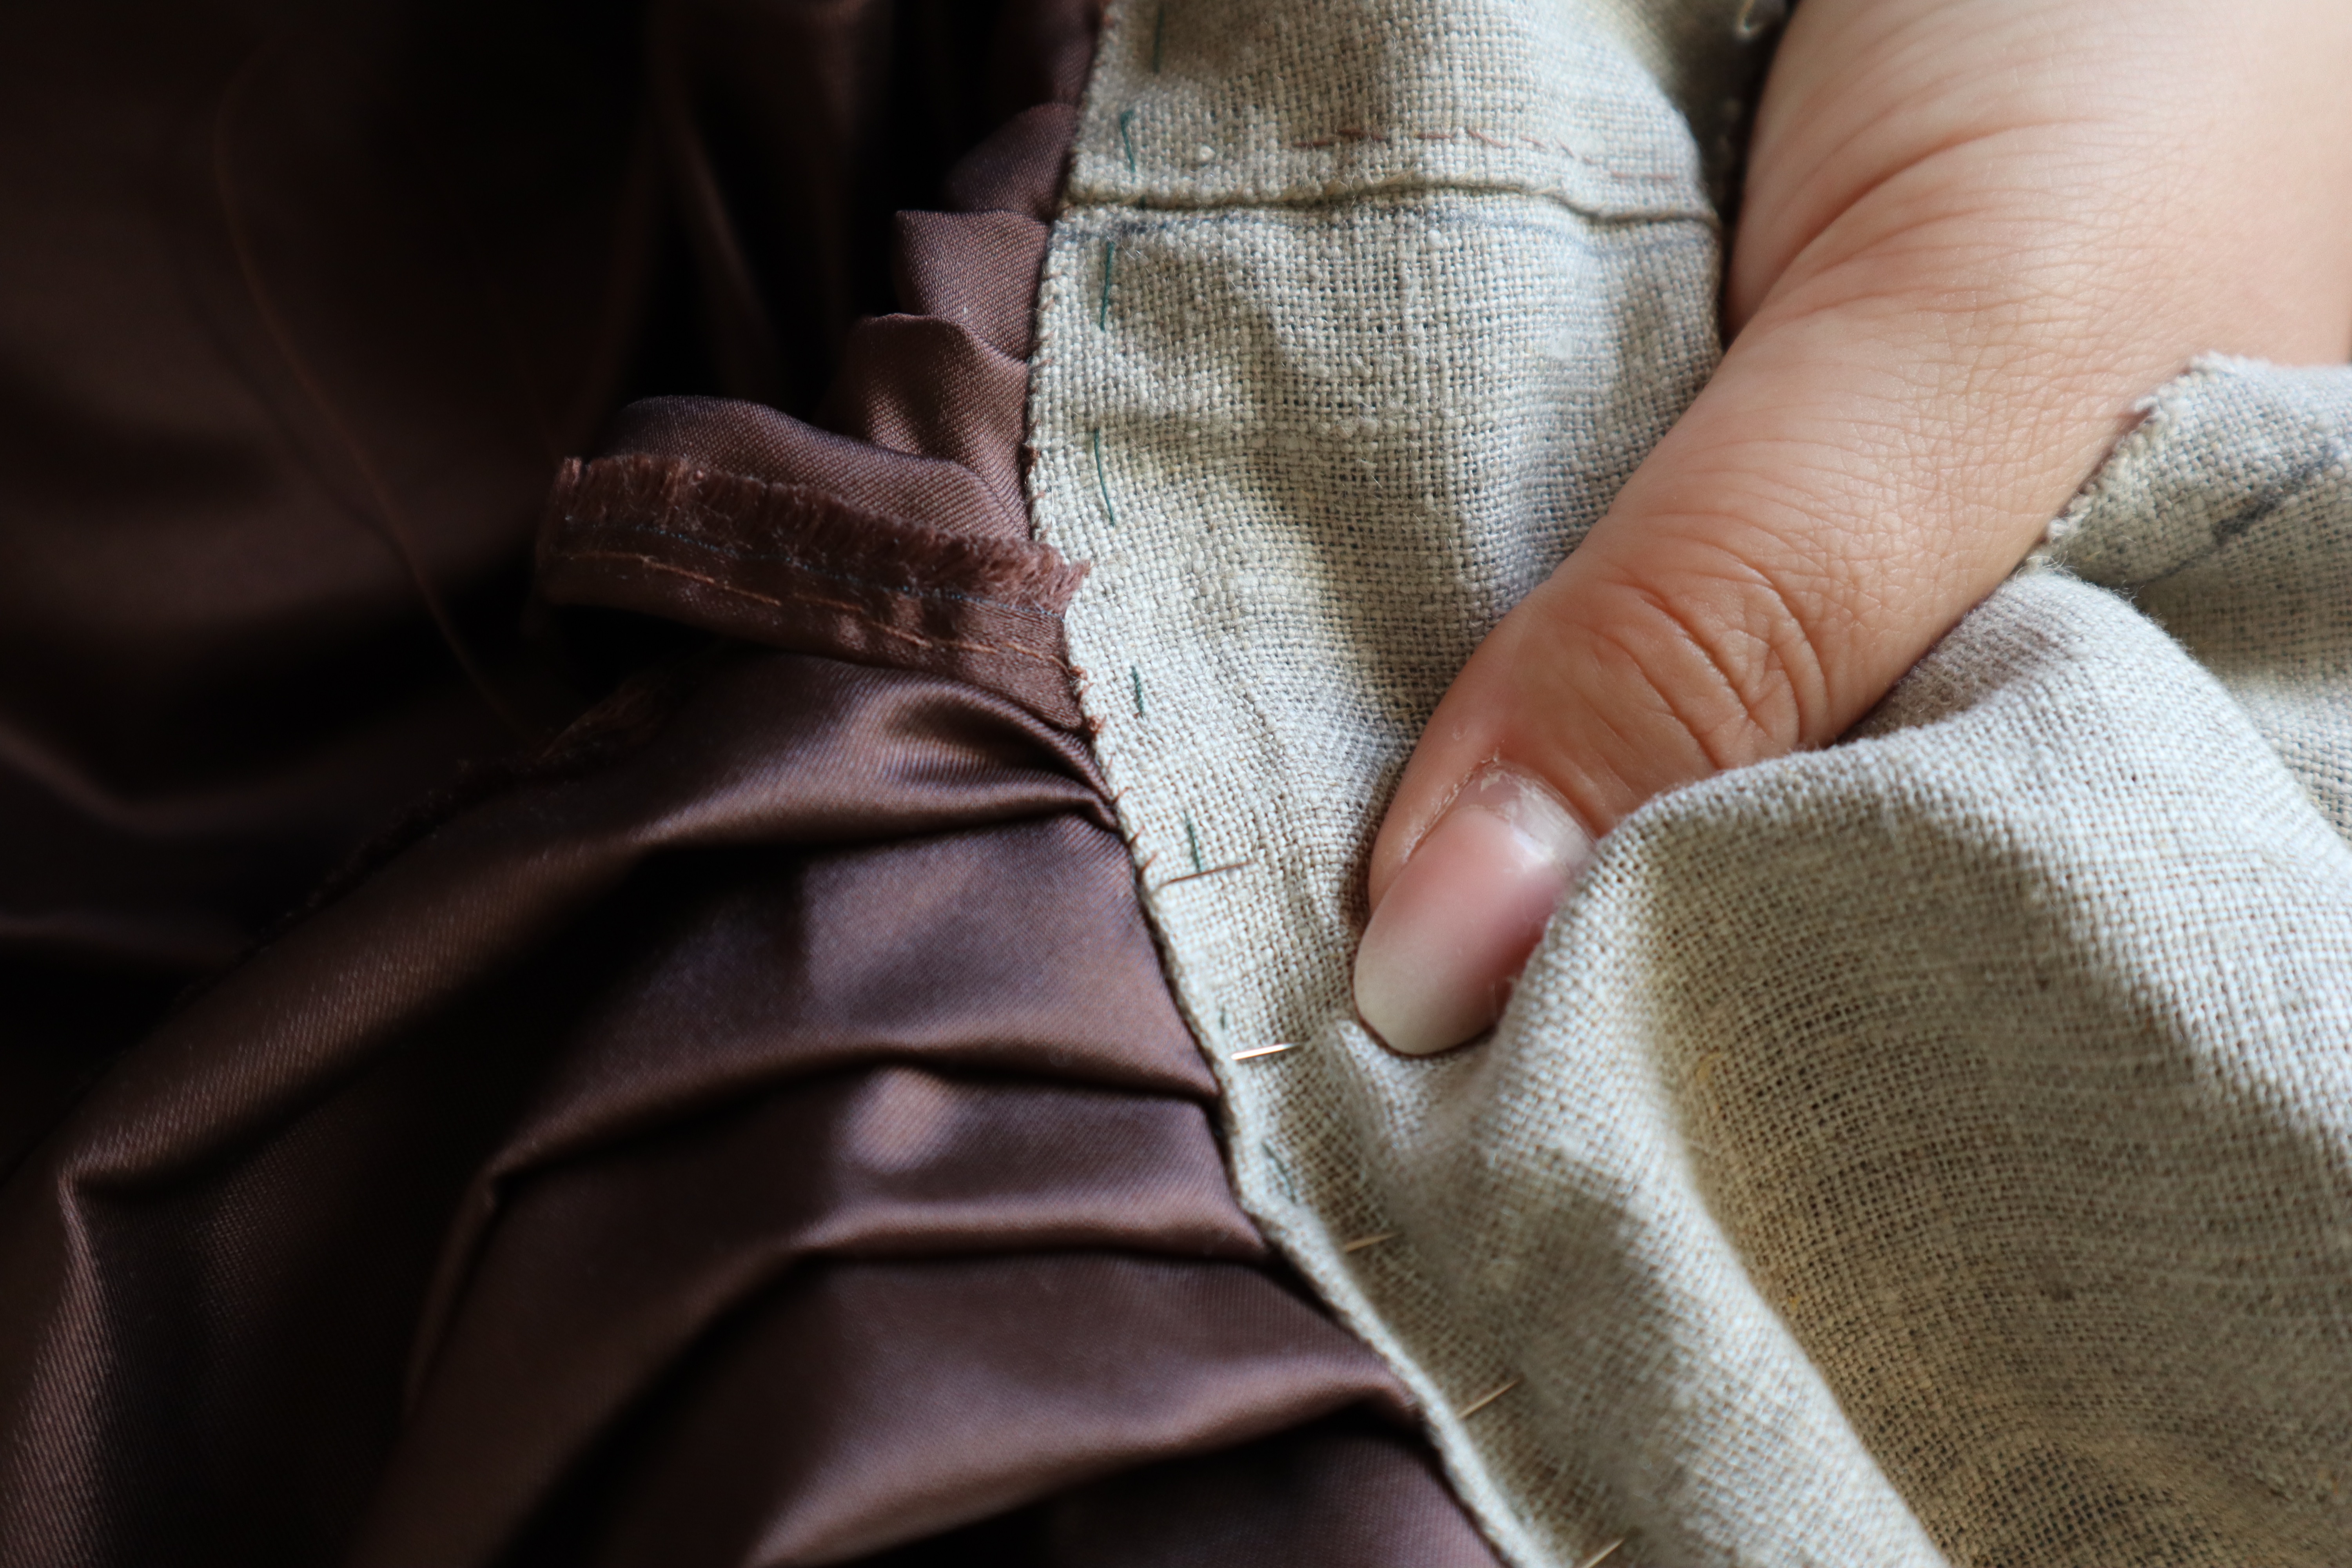
As I want this gown to have a more everyday wear look to it, I won’t trim it as much. I also decided to use a fairly sturdy, unbleached linen for the lining, even though I am mounting silk on it. The back lining pieces cut, assembled and the seam allowance folded in and basted down along the waistline, it was time to mount it on the silk!
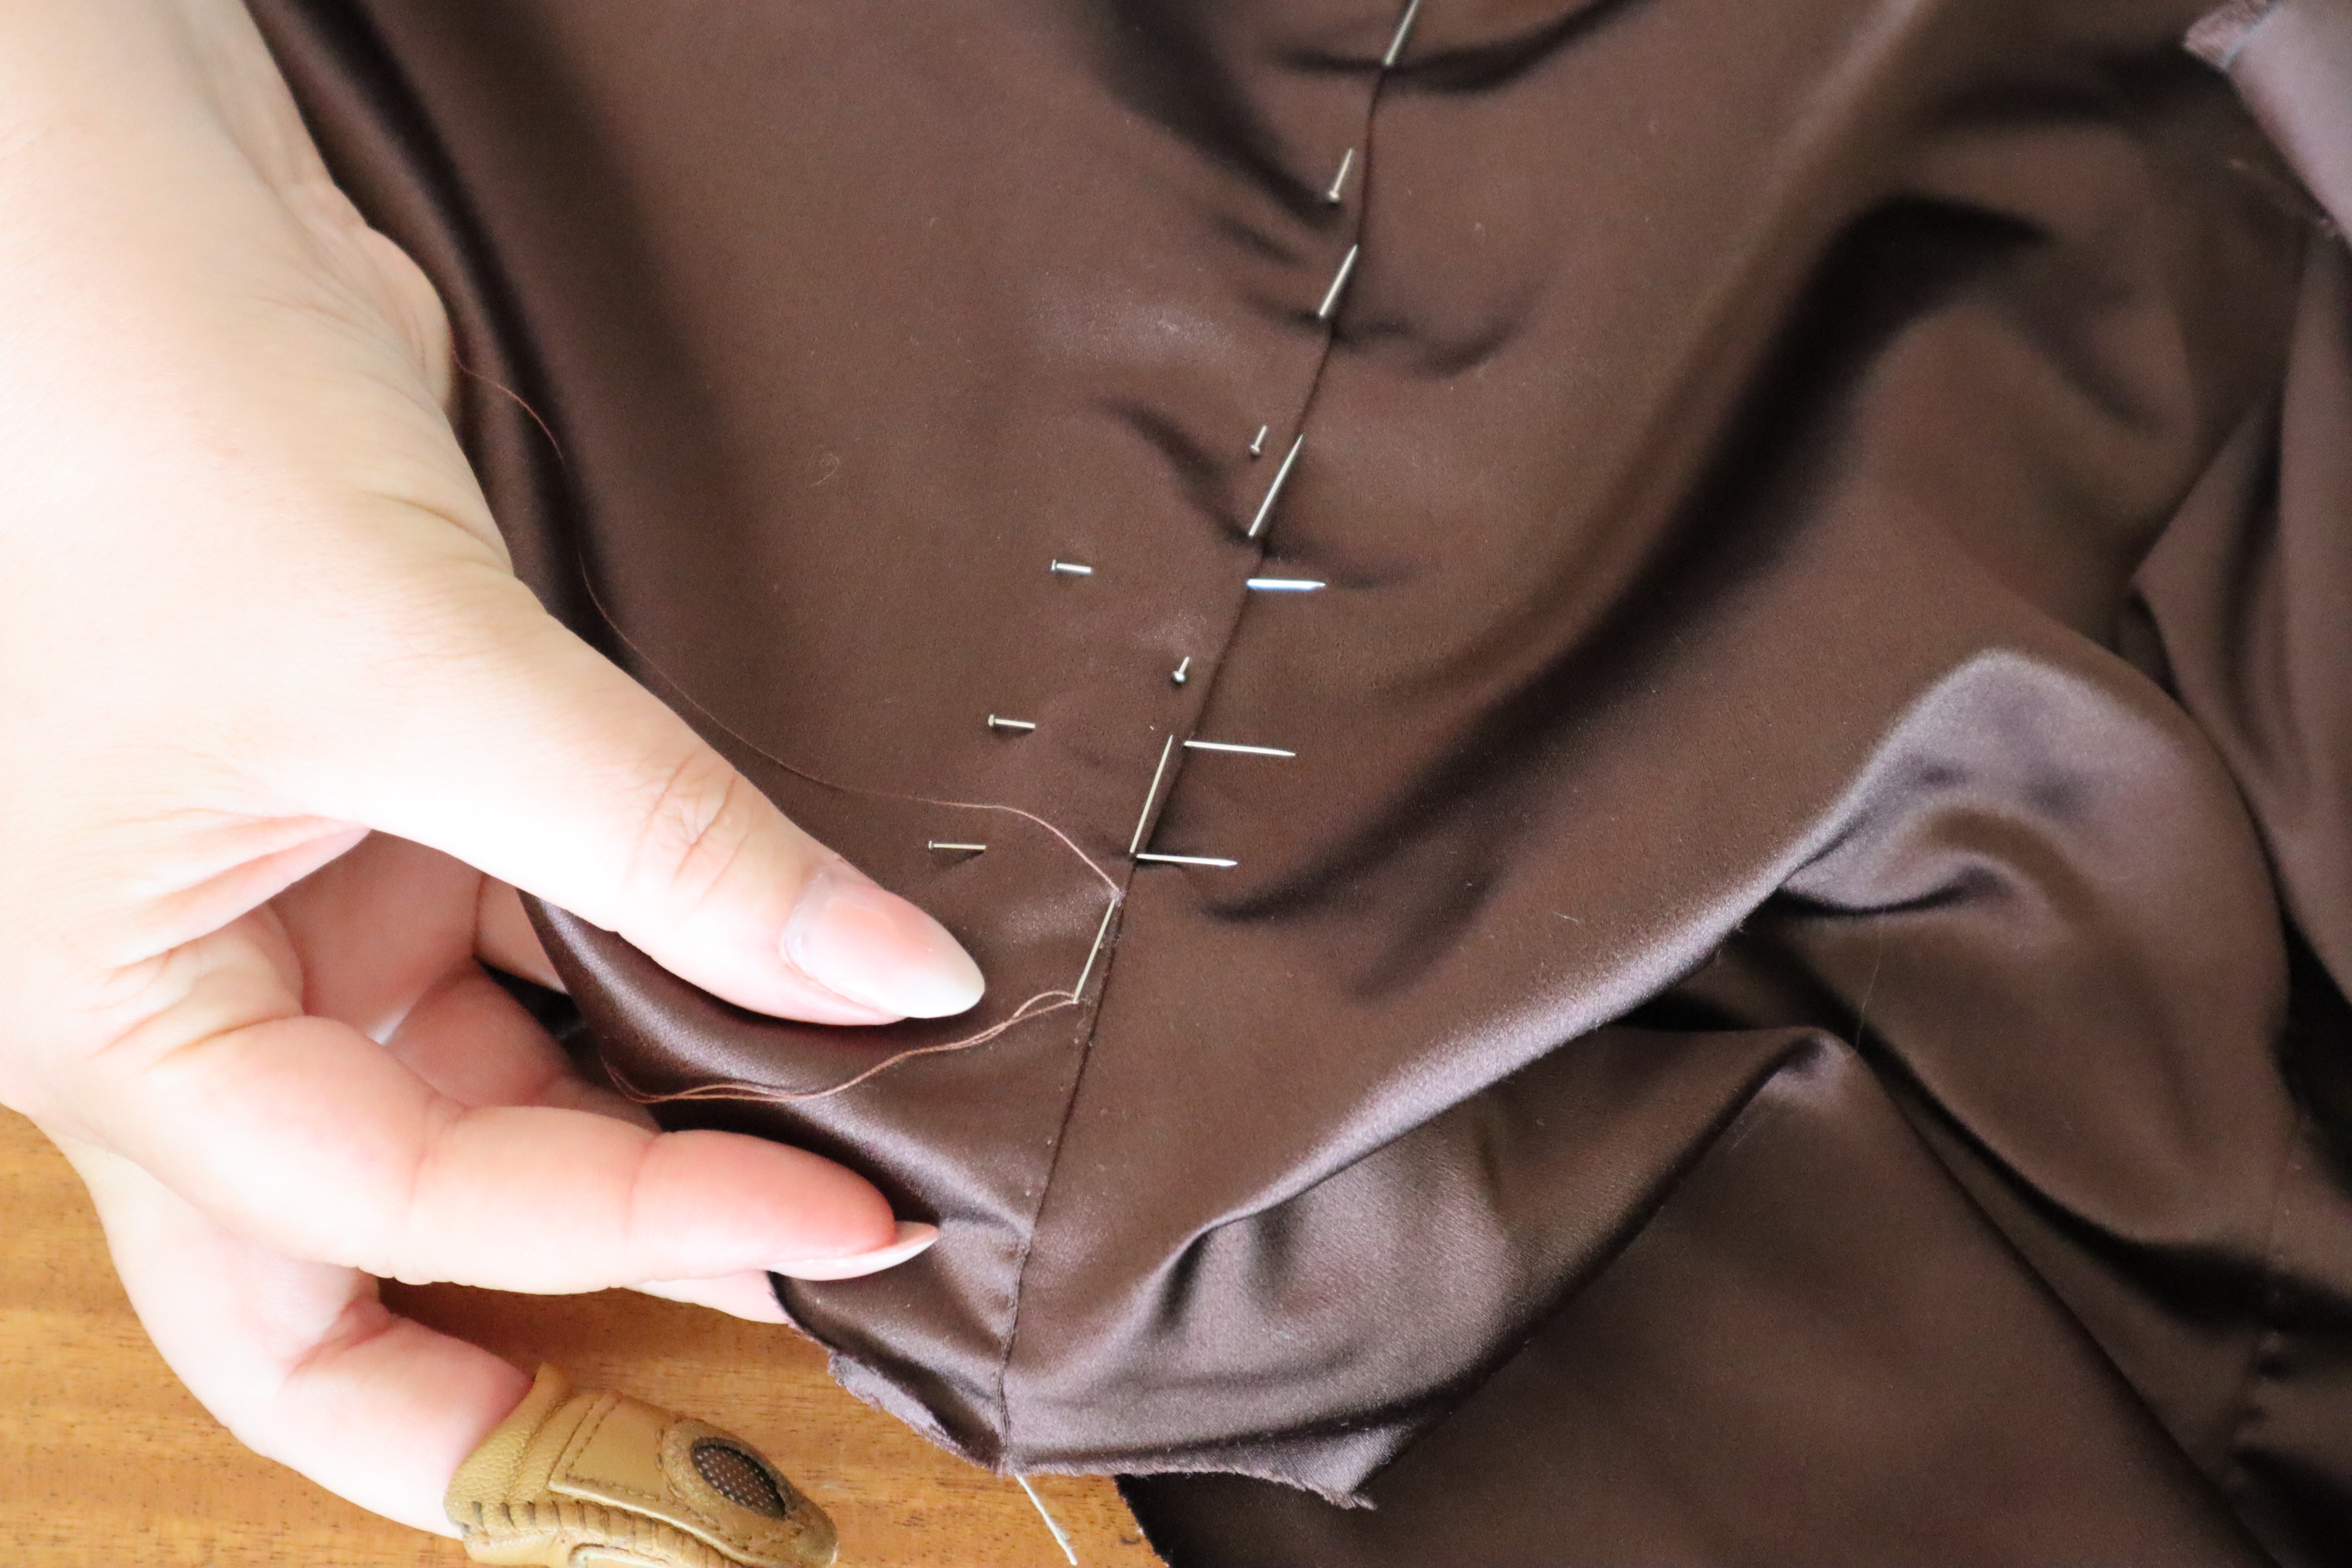
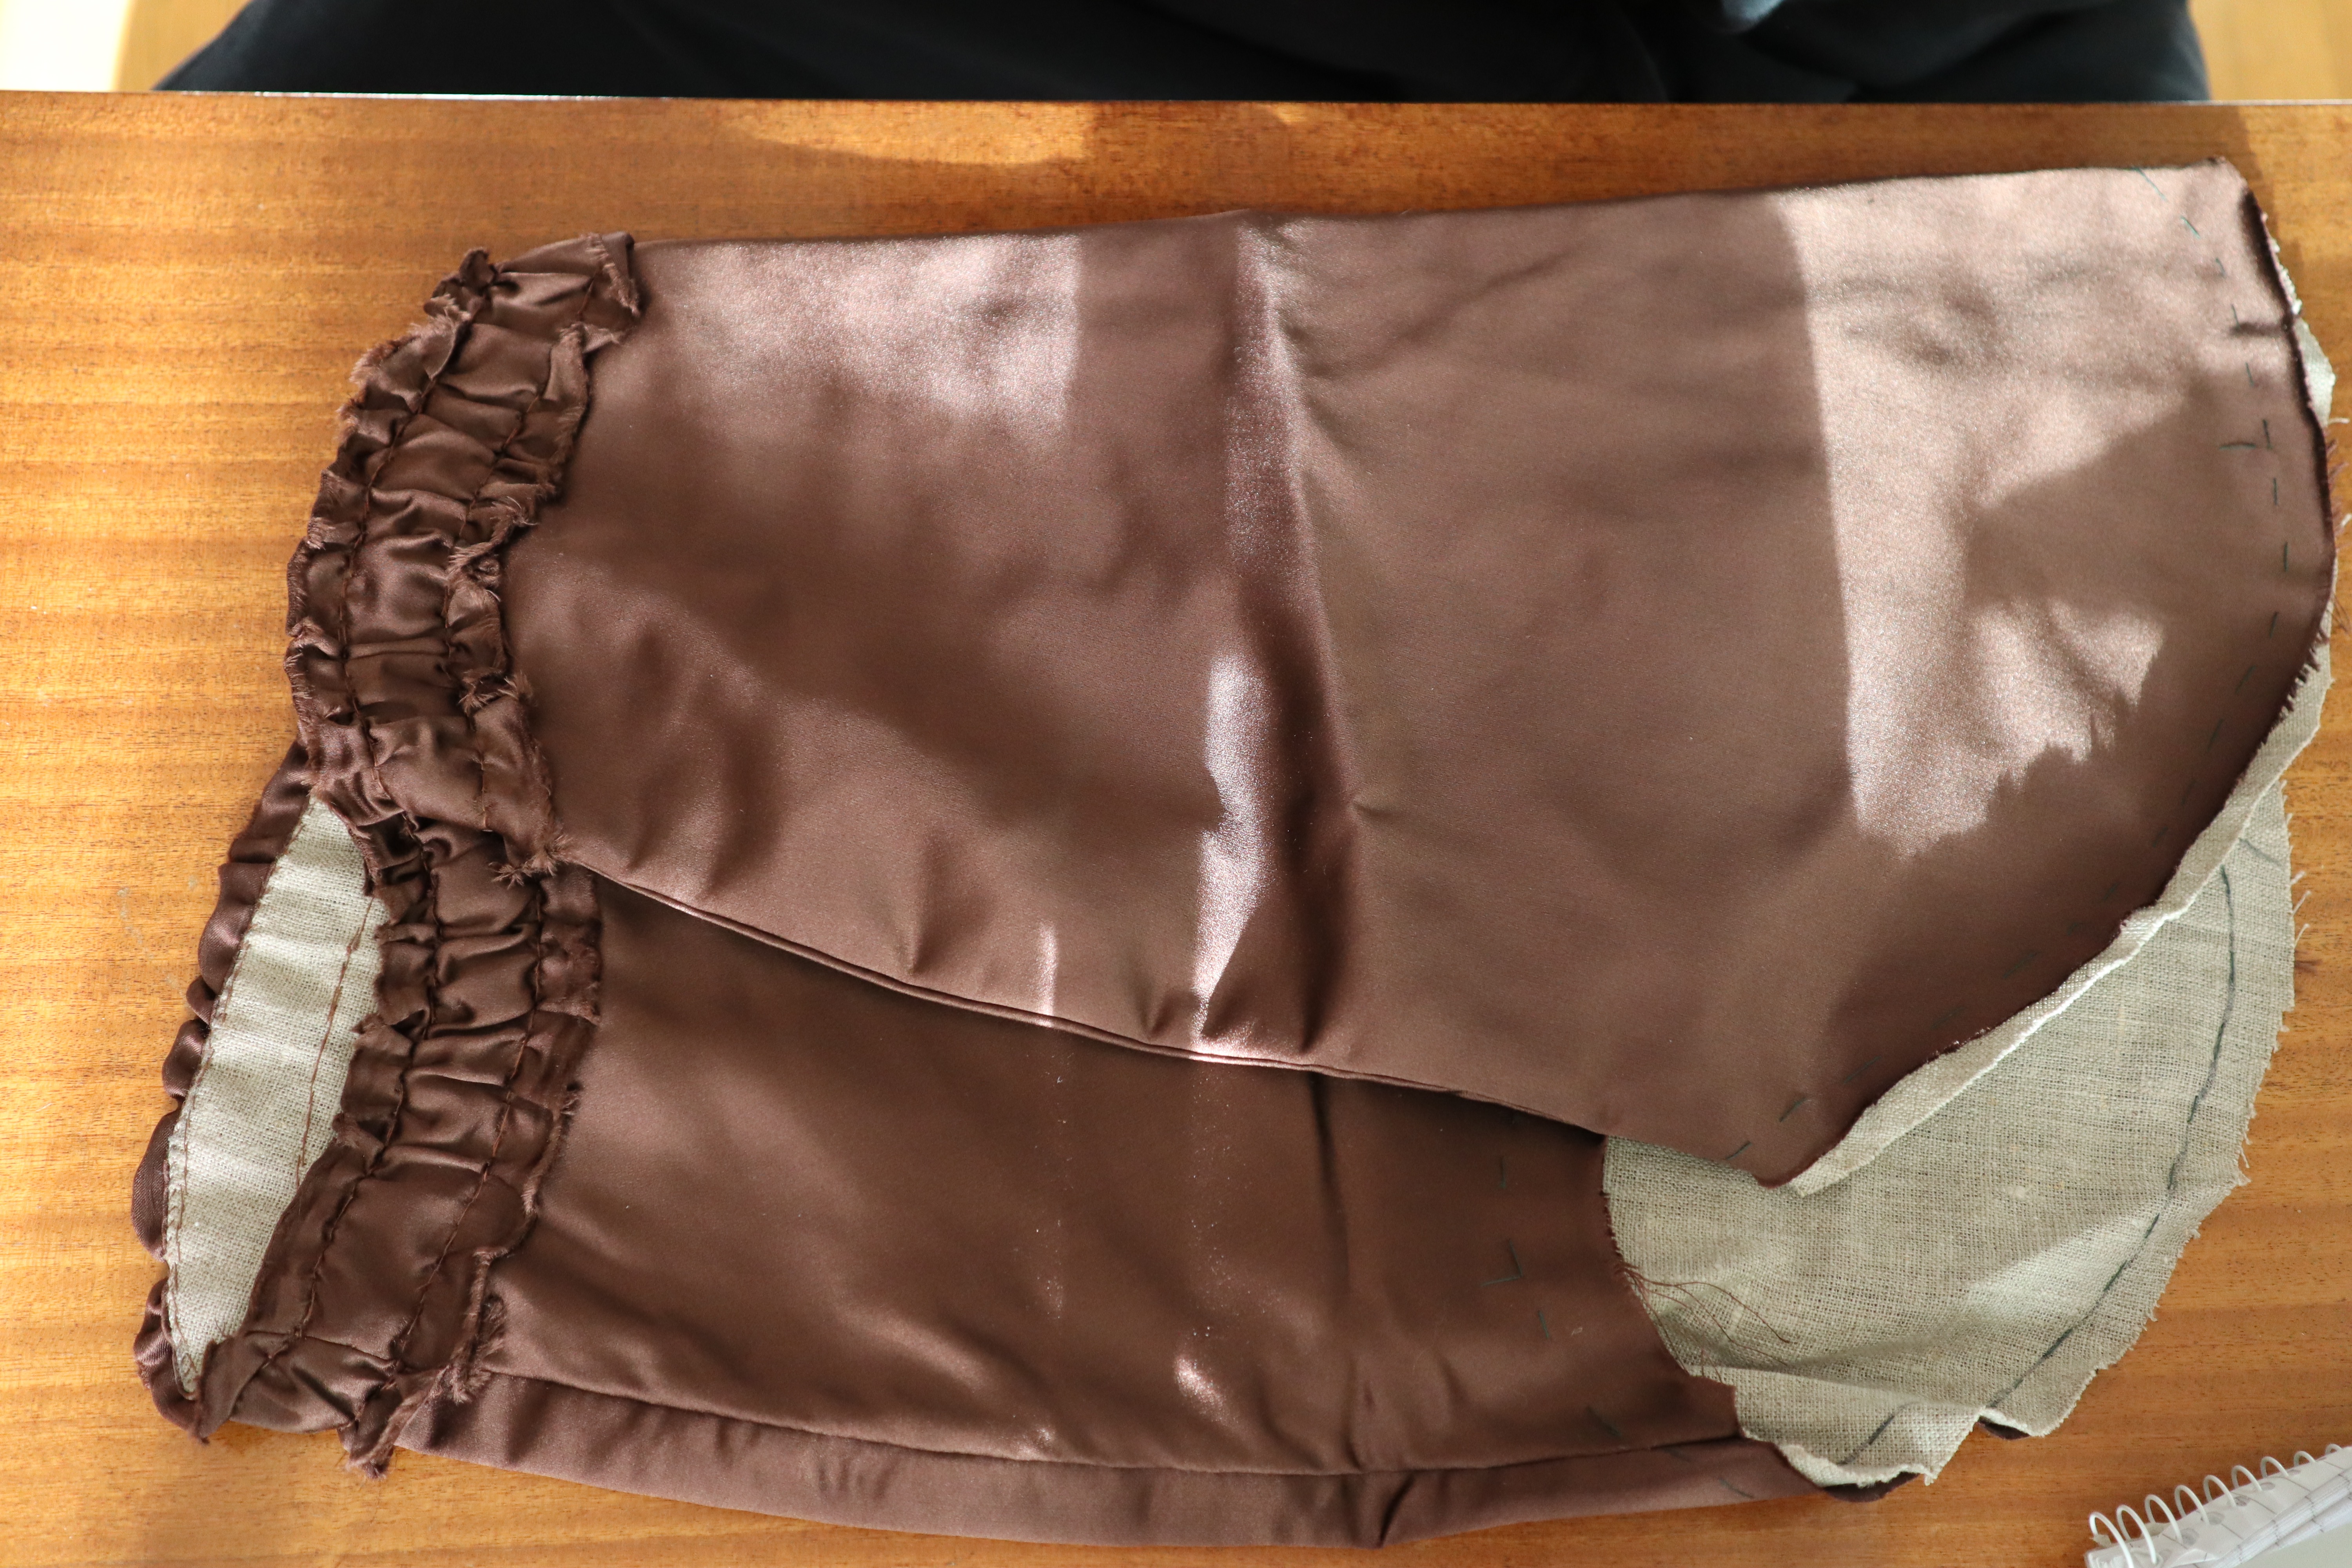
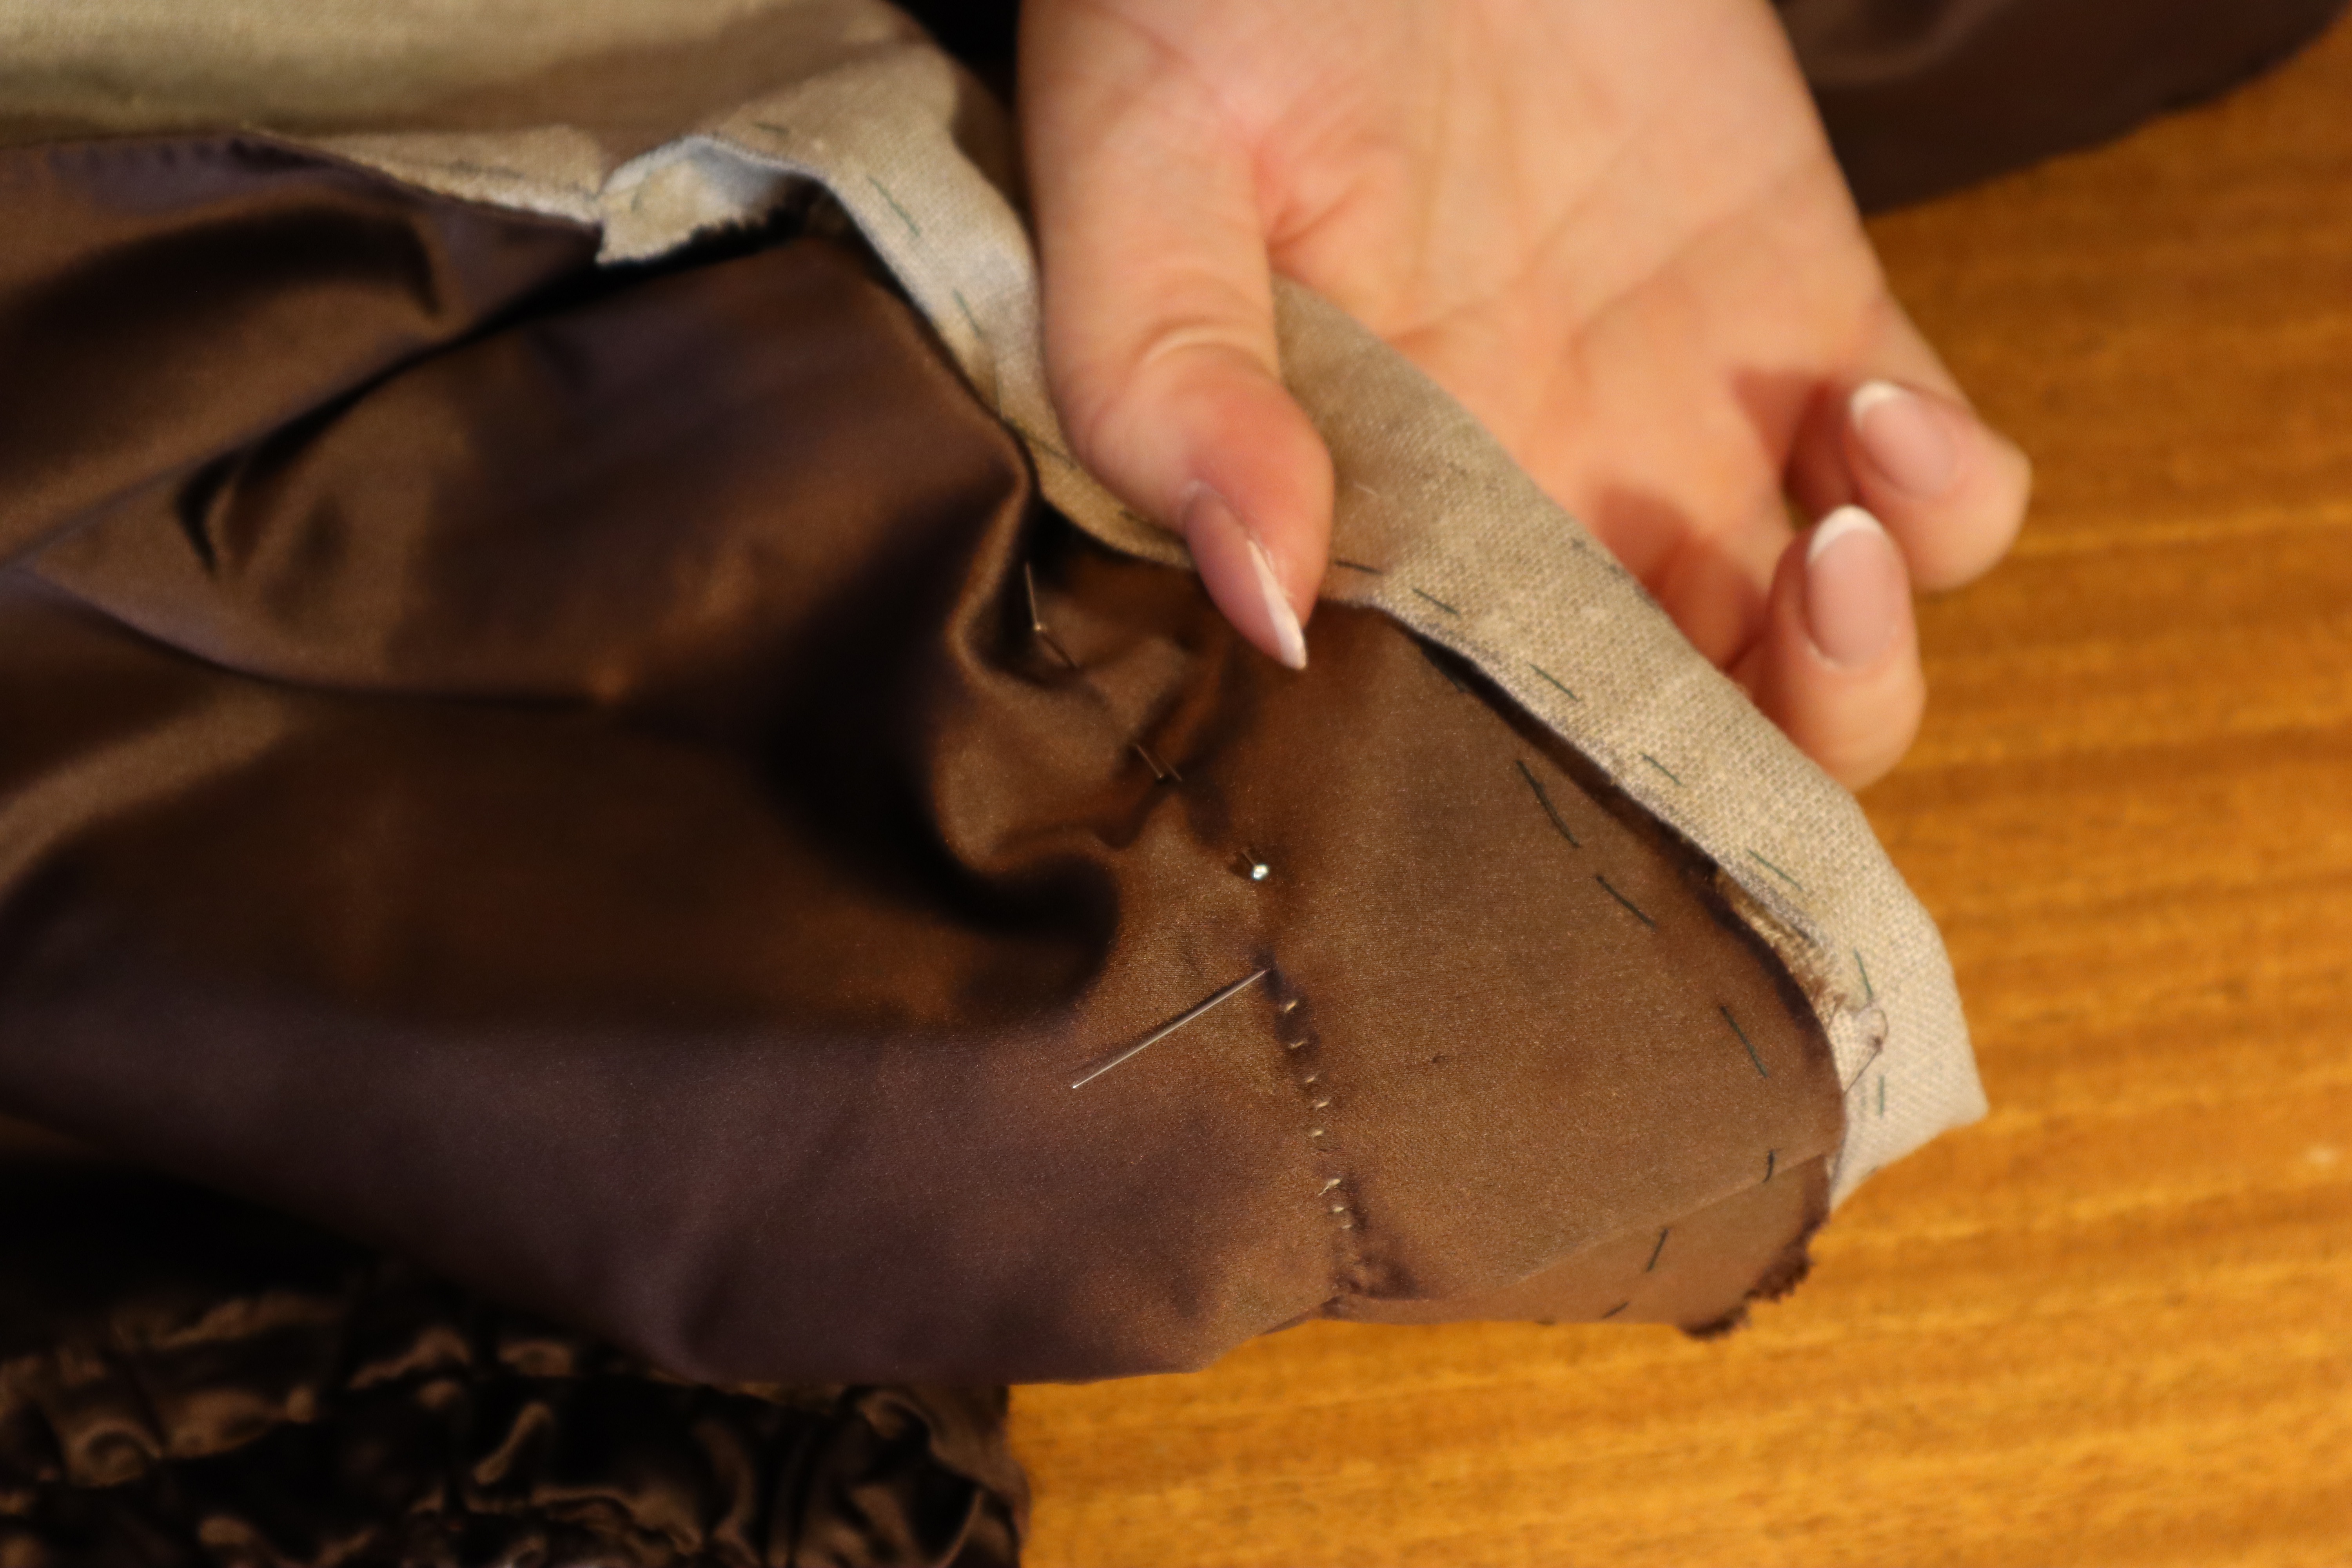
I kinda, sorta followed The American Guide to 18th Century Dressmaking in the construction of the back, even though I veered off from their suggestions in the rest of the construction. They suggest folding the fashion fabric and placing the lining (also folded) on the fold, angled away towards the waistline.

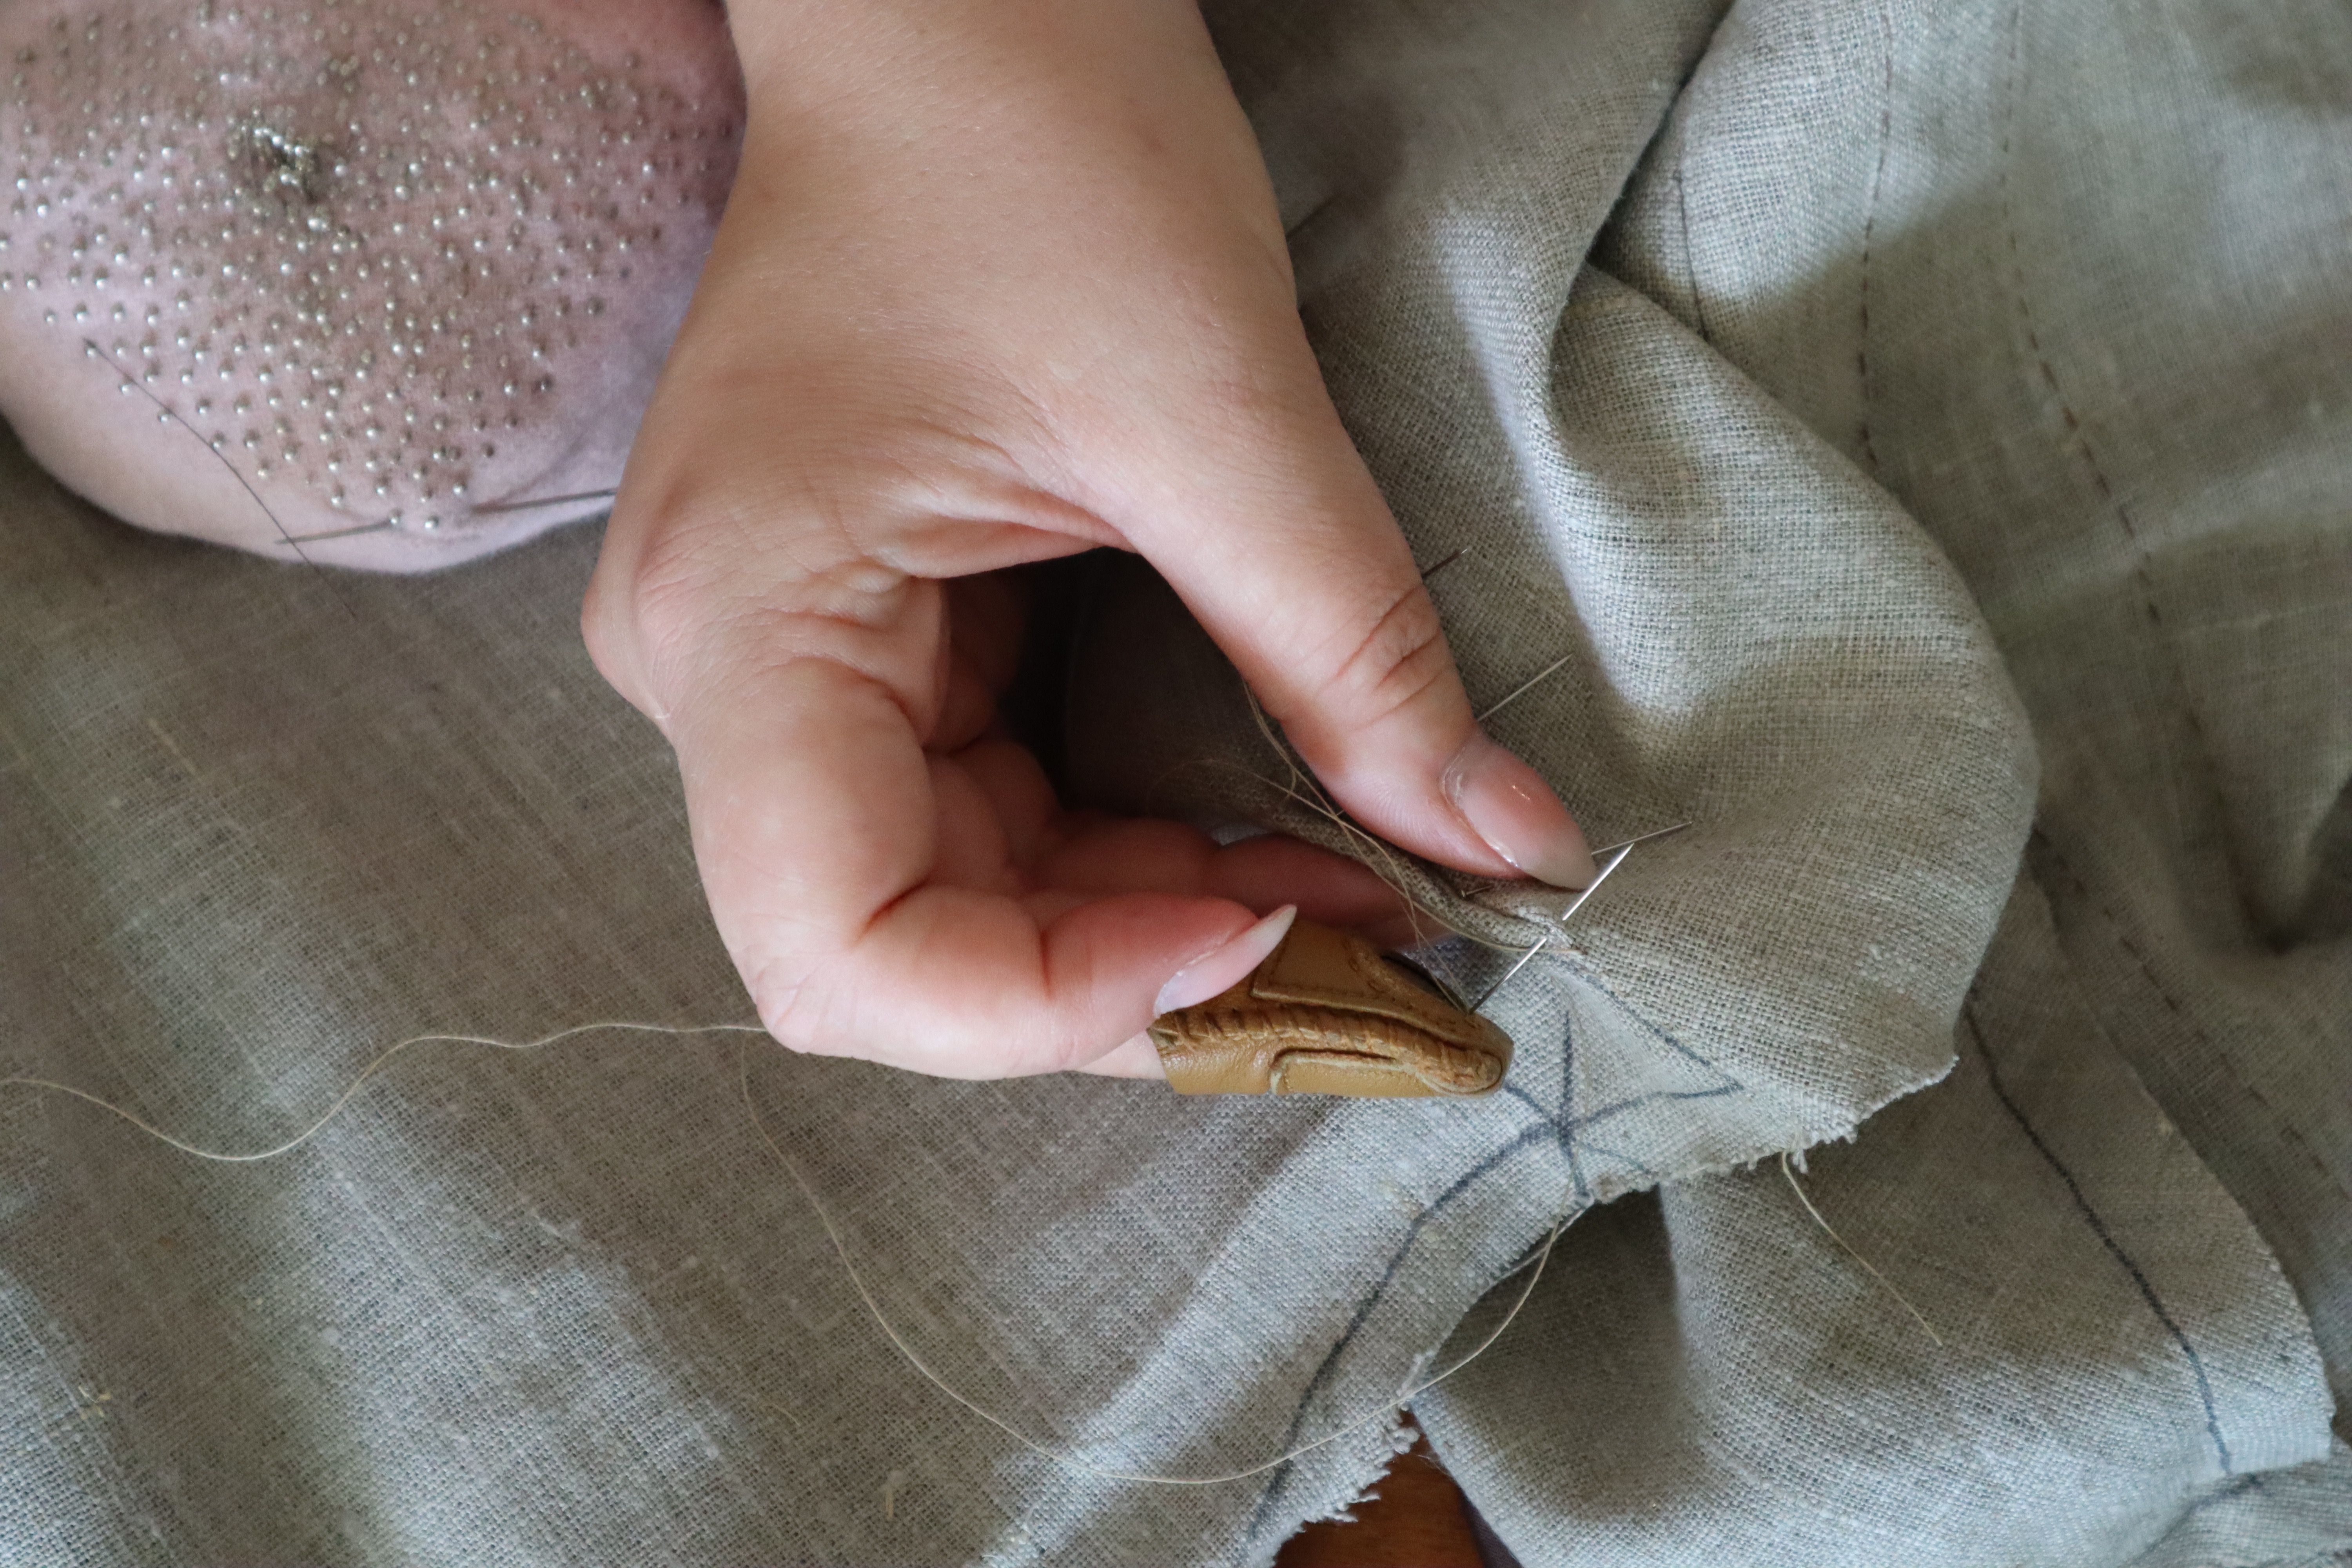
I then drew a line along the back of the lining, and stitched along it using tiny back stitches.
I then marked a point, c. 5 cm up the line, and another one at the fold, c. 3 cm above the first. After drawing a line between these, I made an angled cut and cut the fold open until the fold was too close to the seam.
Pressing the back seam open, this creates a small inverted box pleat in the back, giving the skirt pleats a flying start!

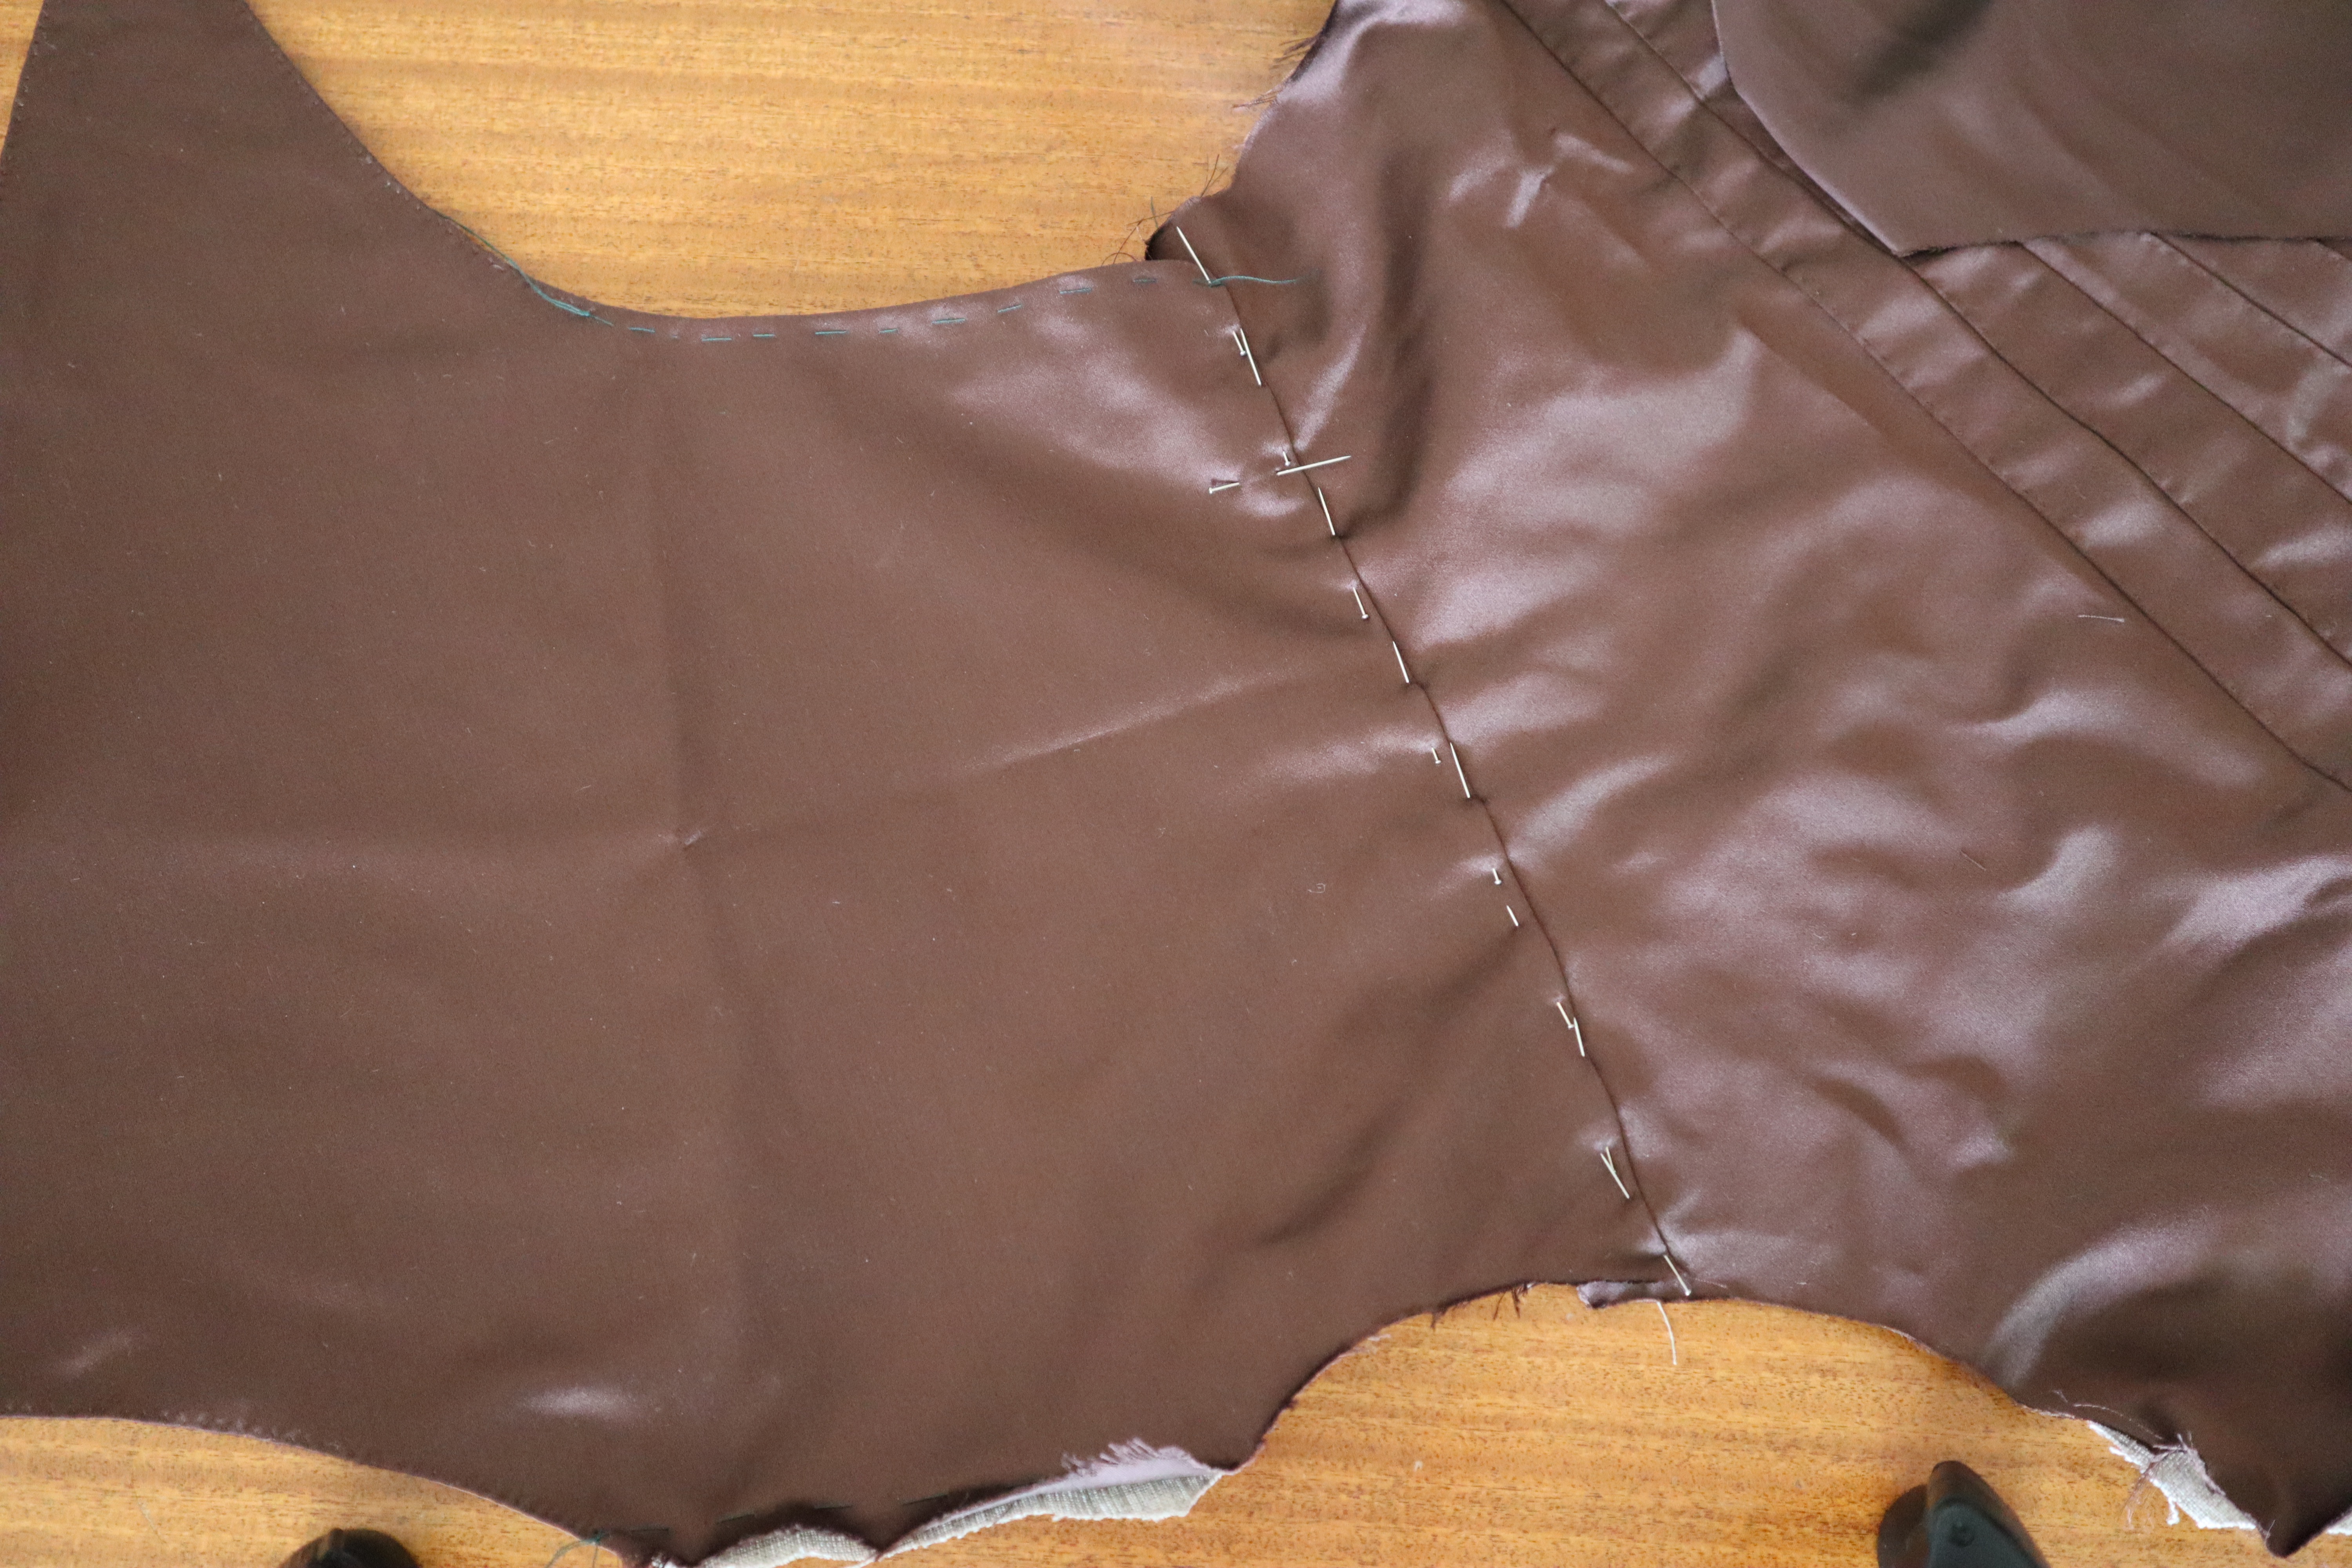
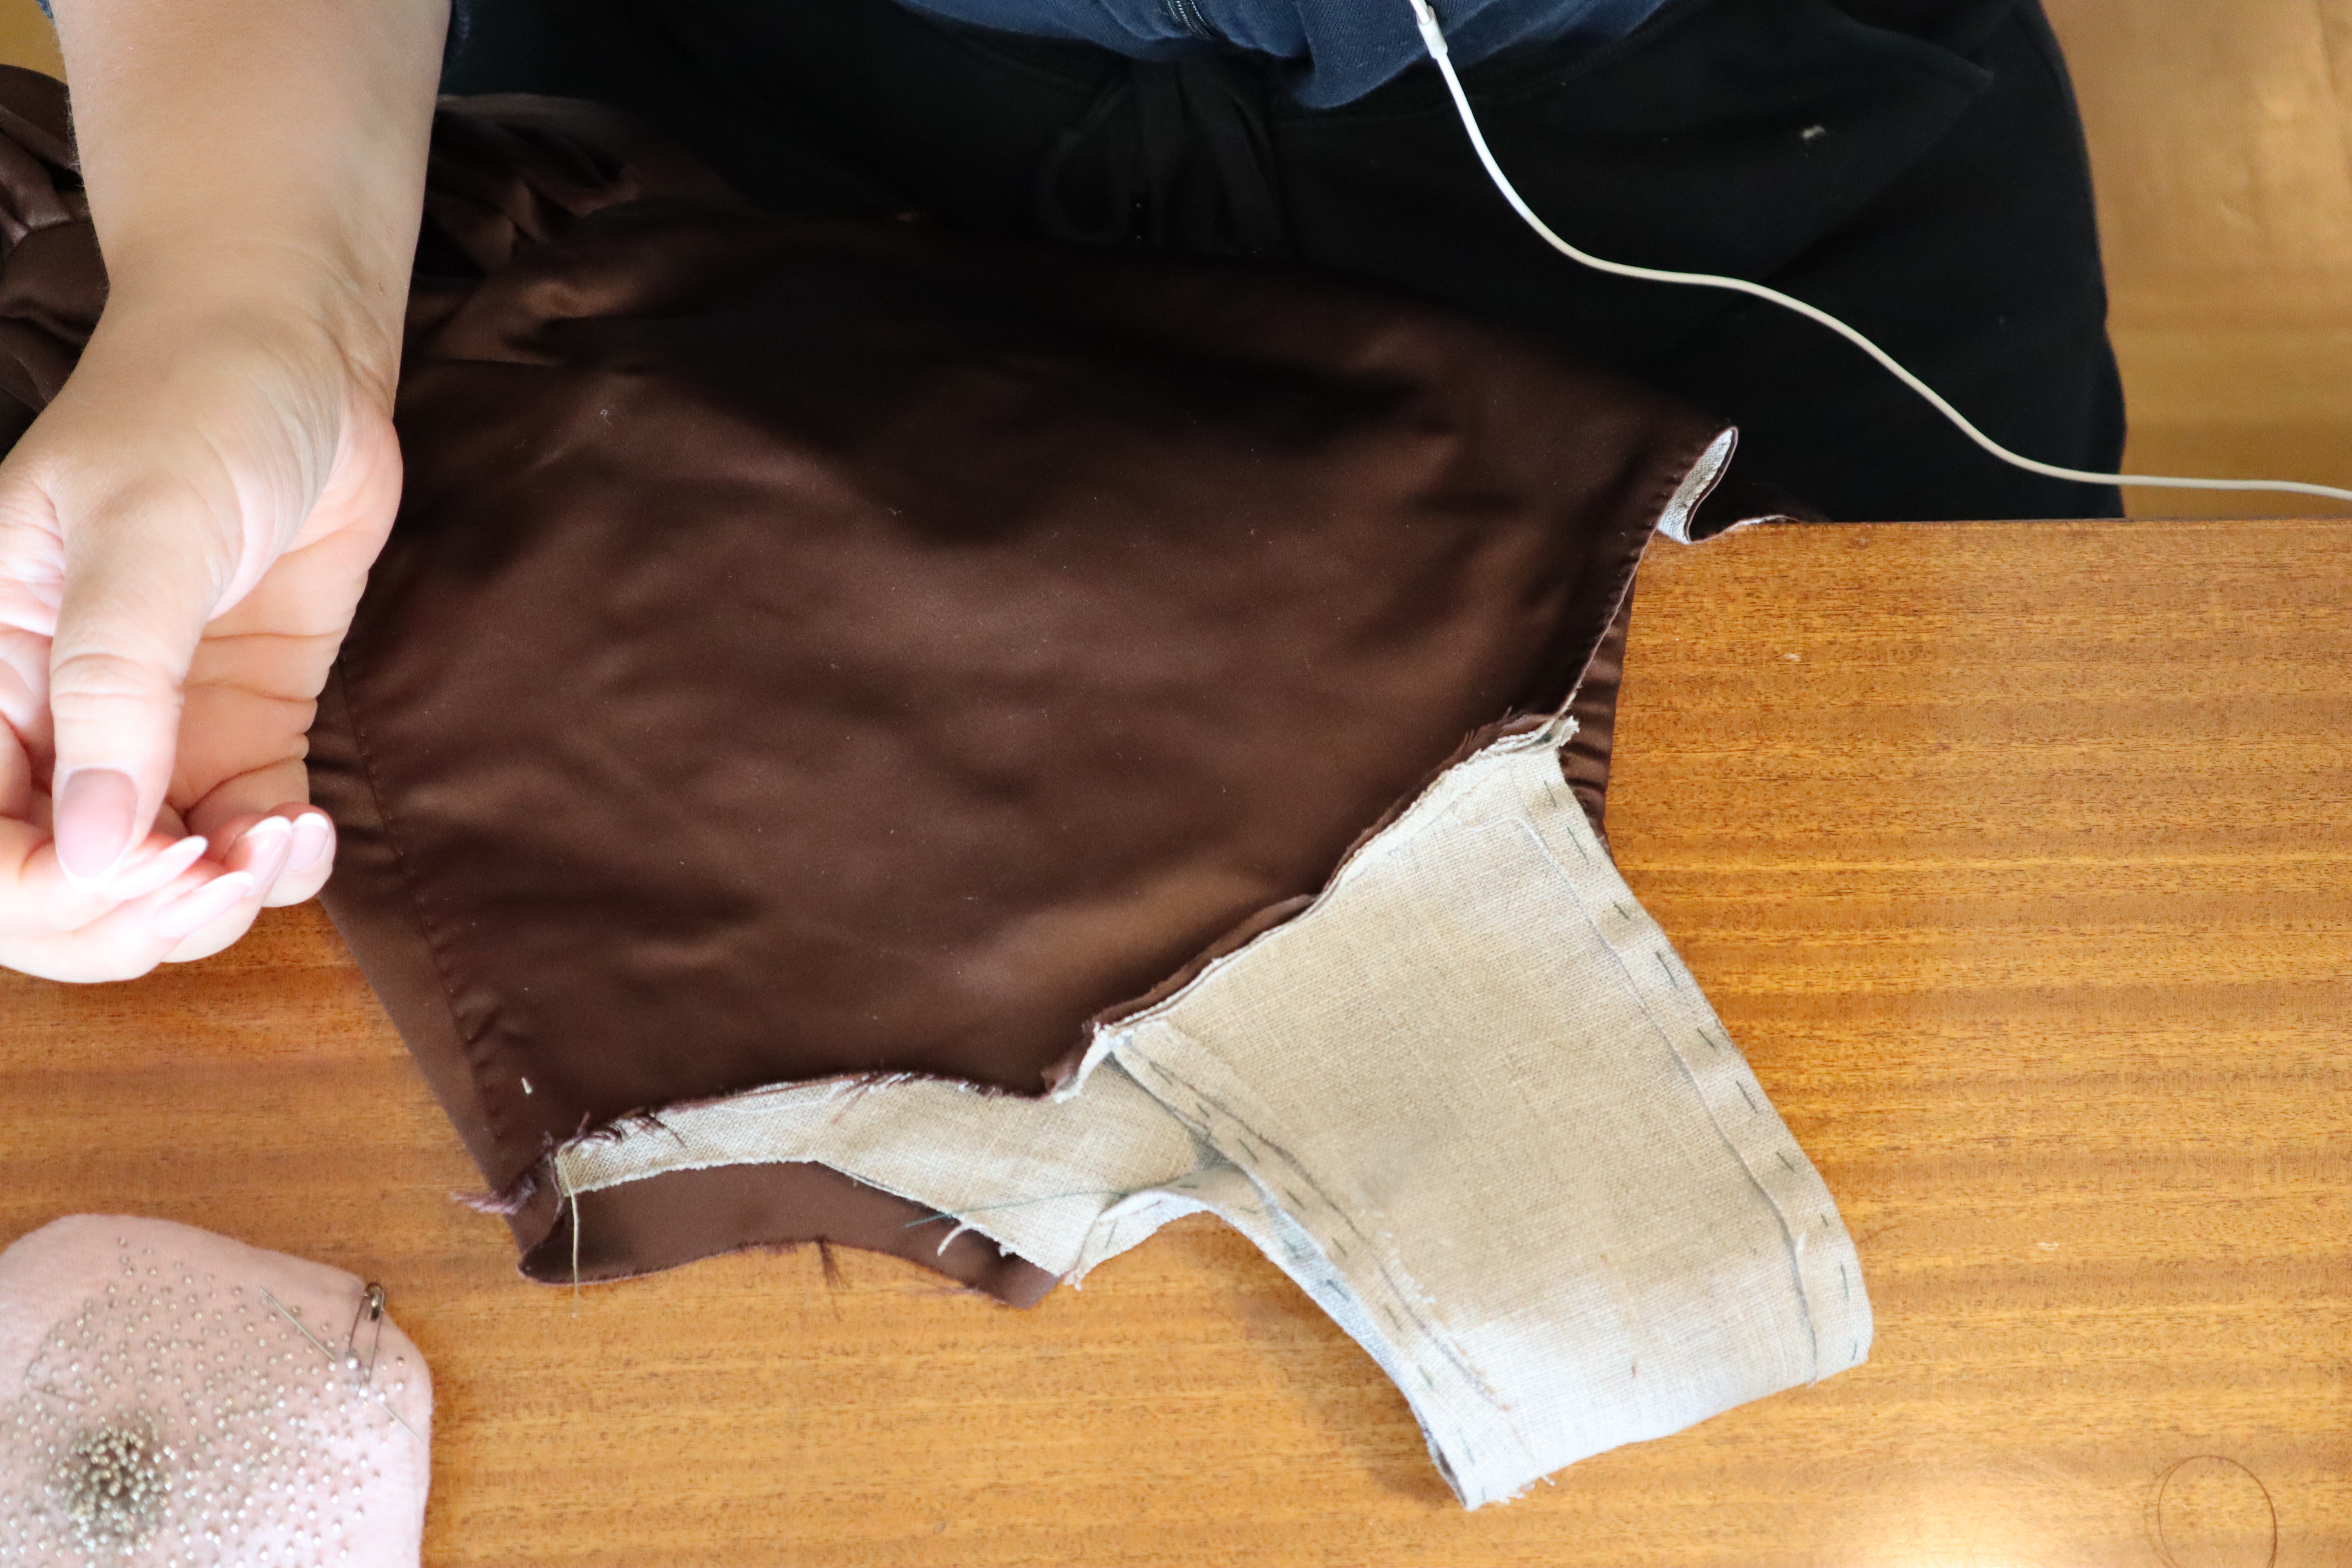
I then placed the lining on the silk, wrong sides together, careful to match the back seams, and attached the two, using the “stitch in the ditch” method, where the needle passes through both the lining back seam and the angled seam in the back of the silk fabric. This makes for a practically invisible seam.

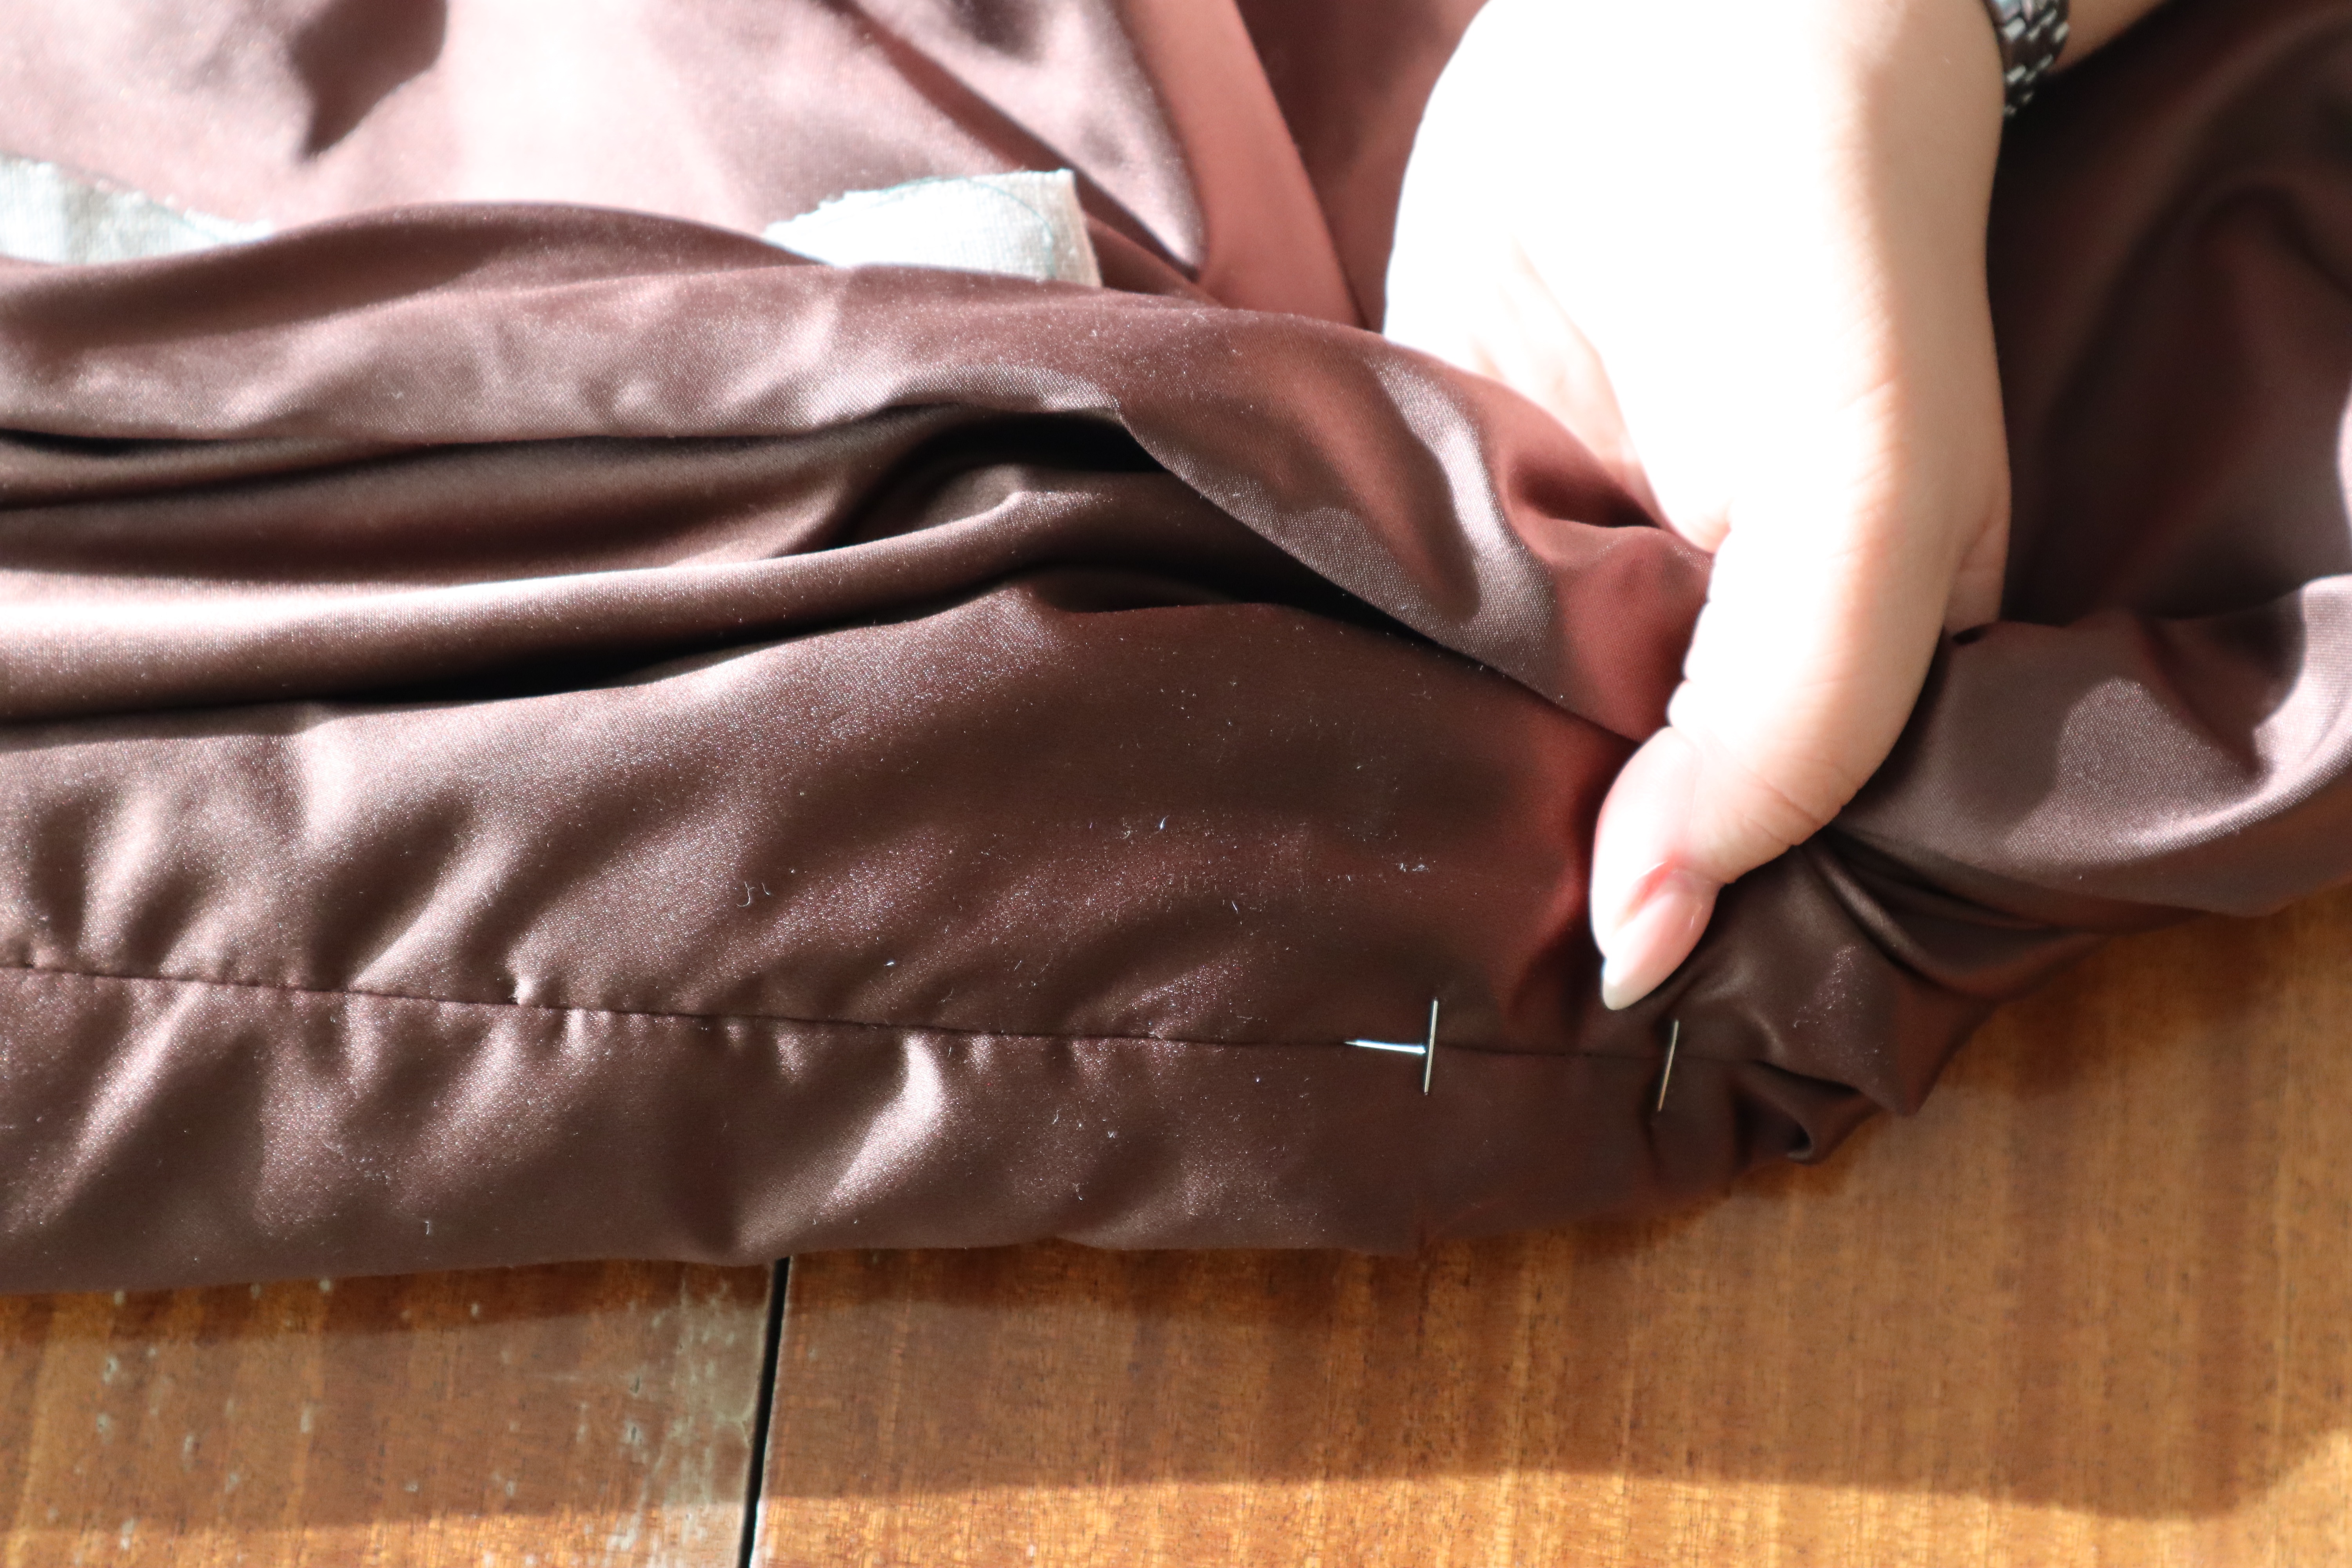
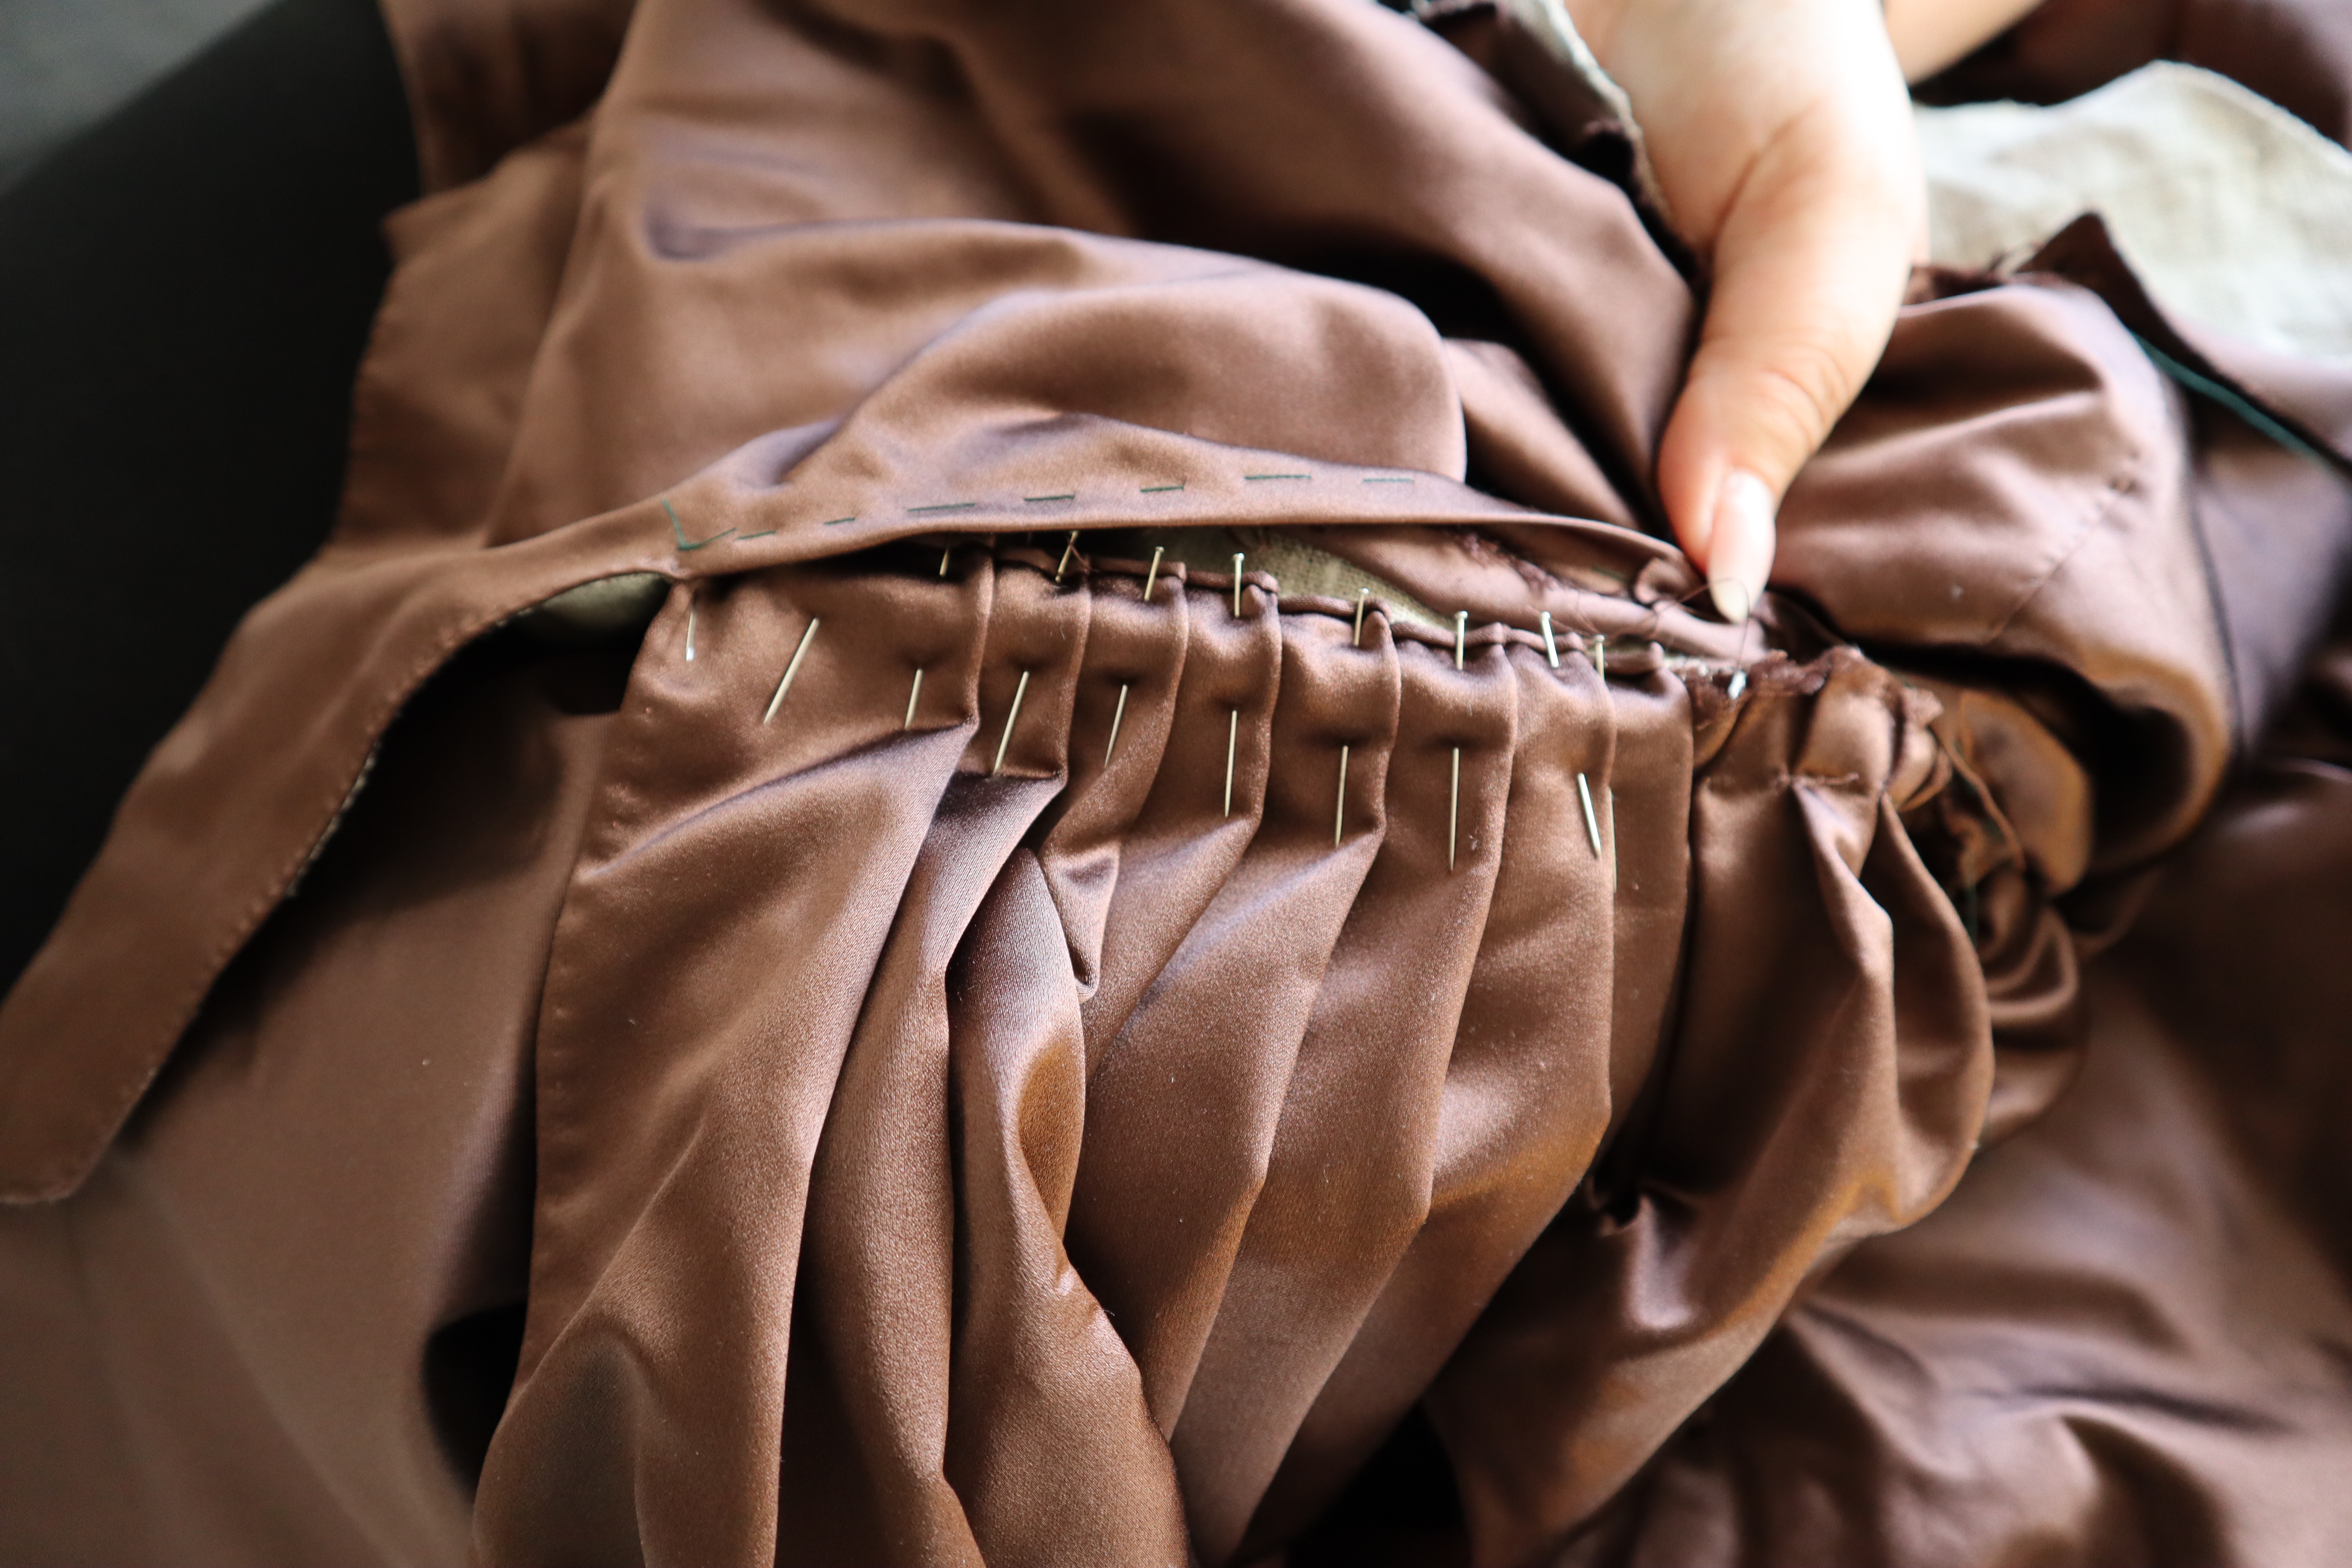
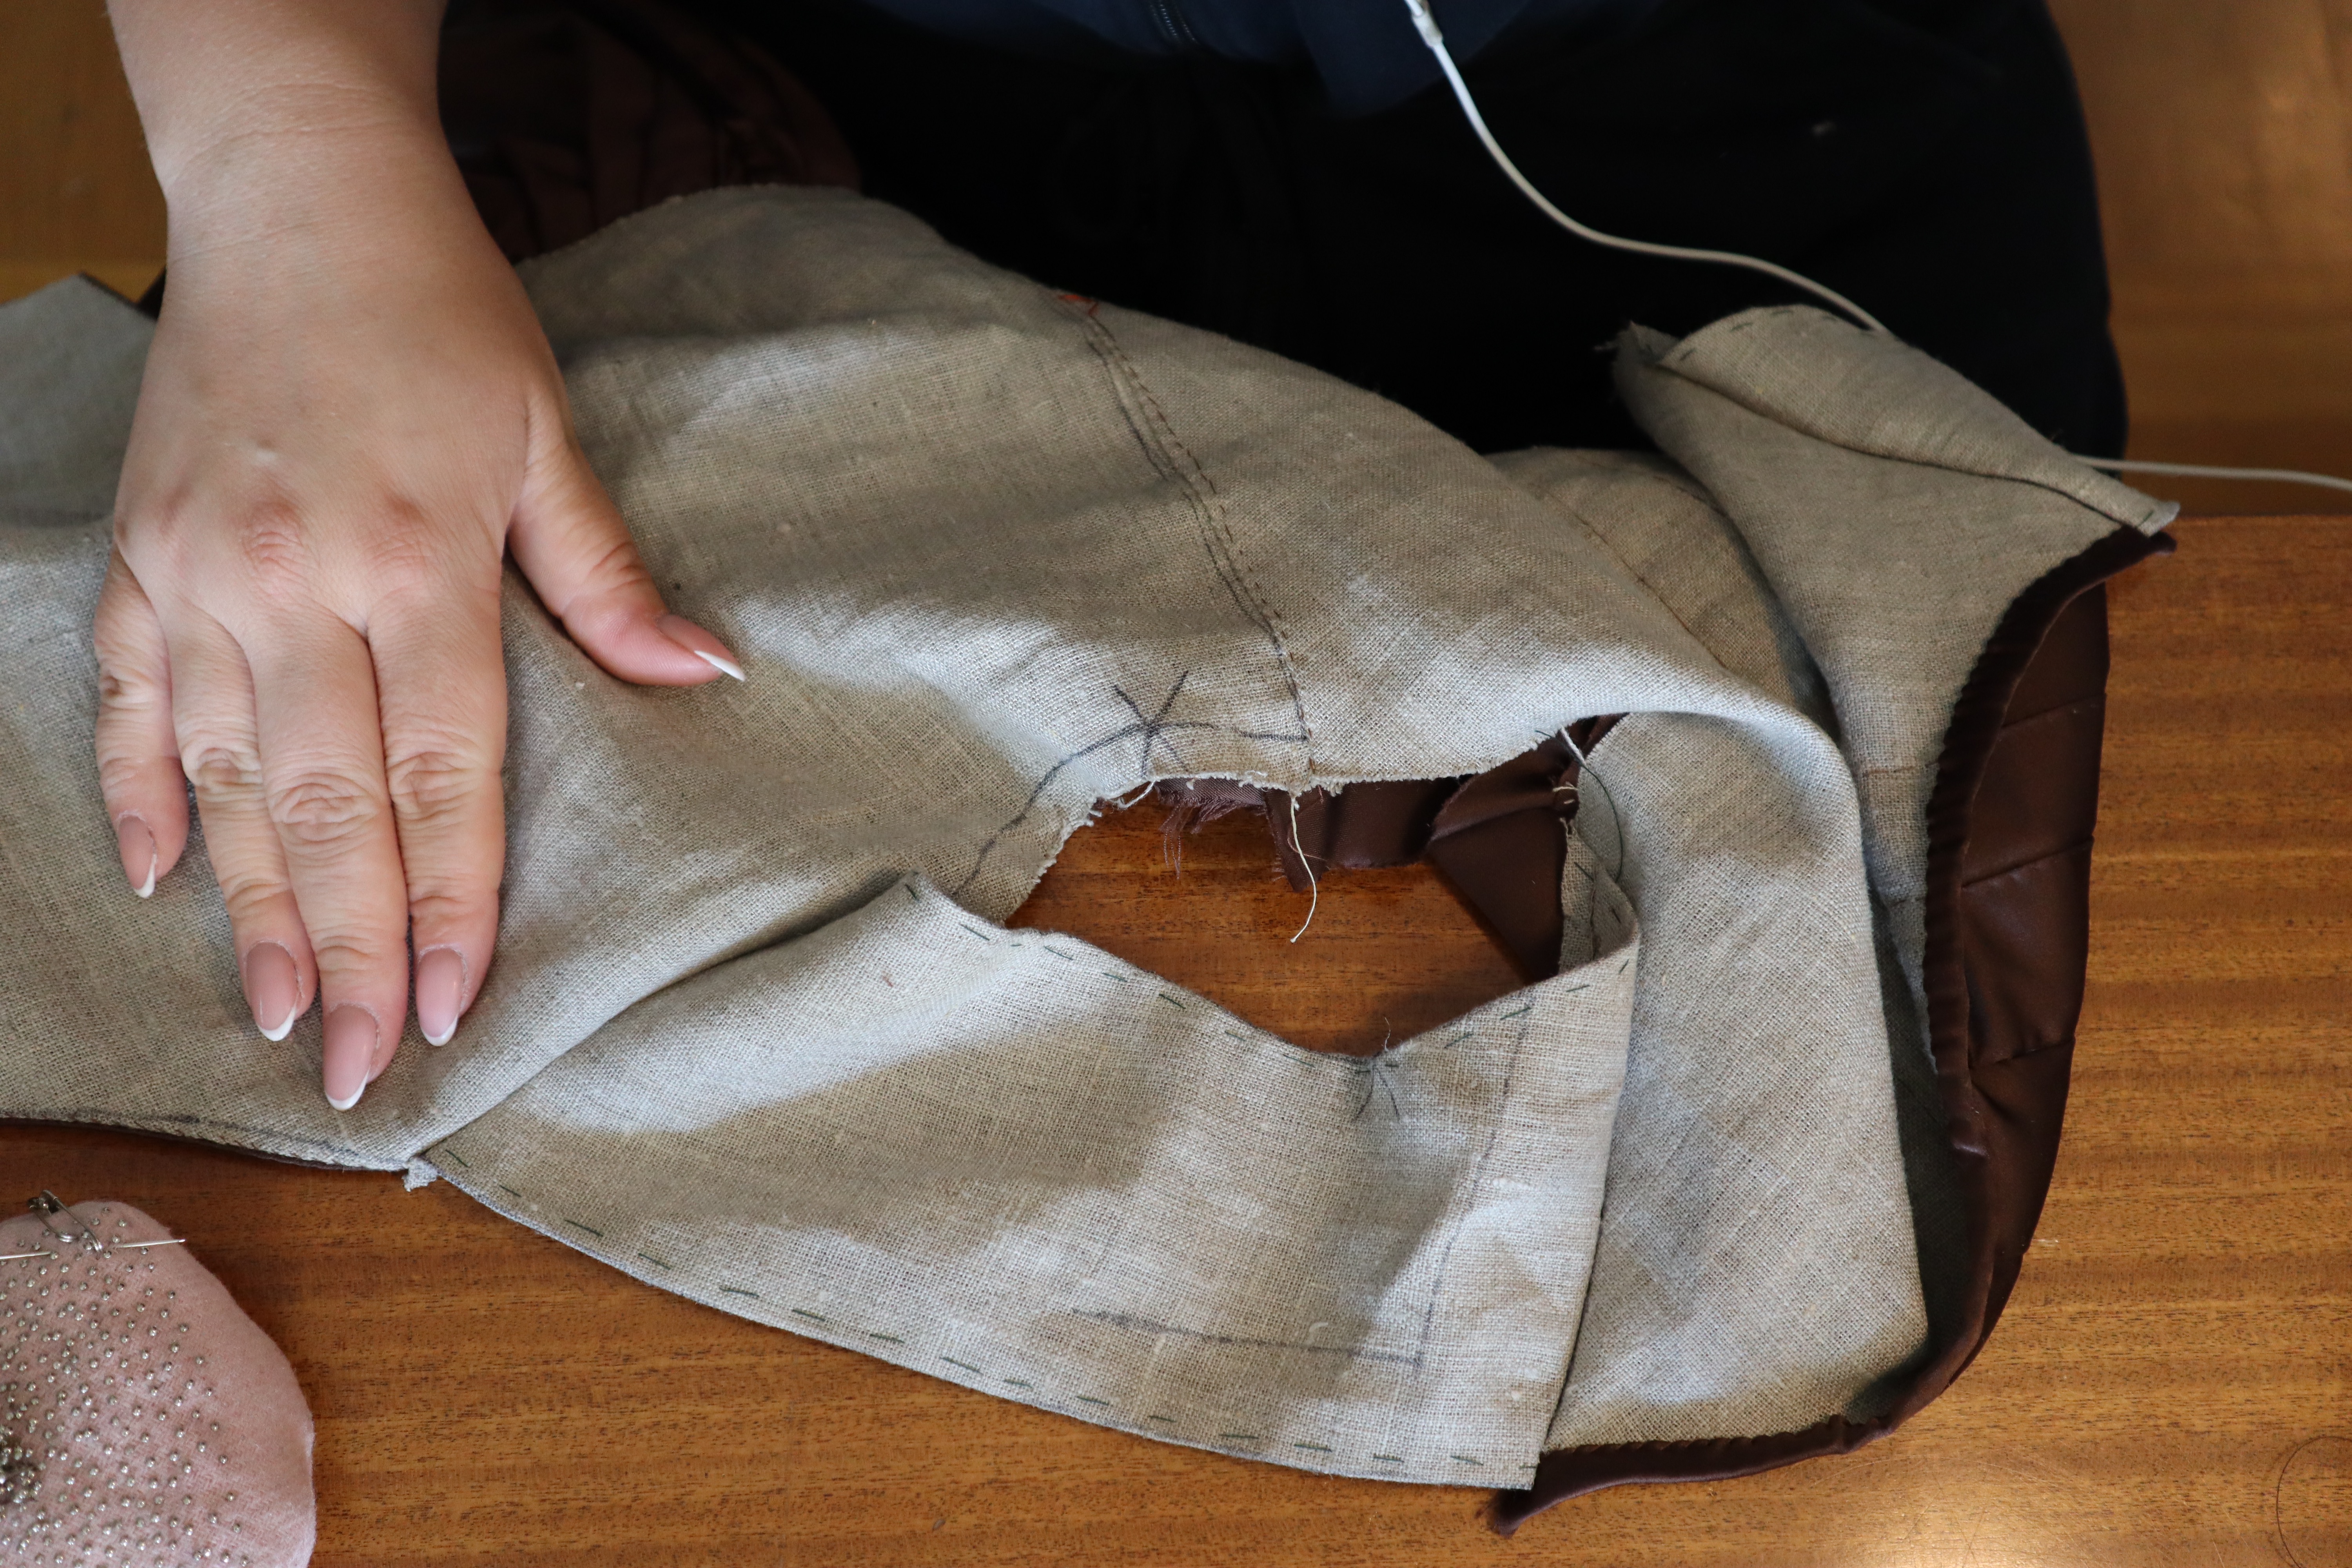
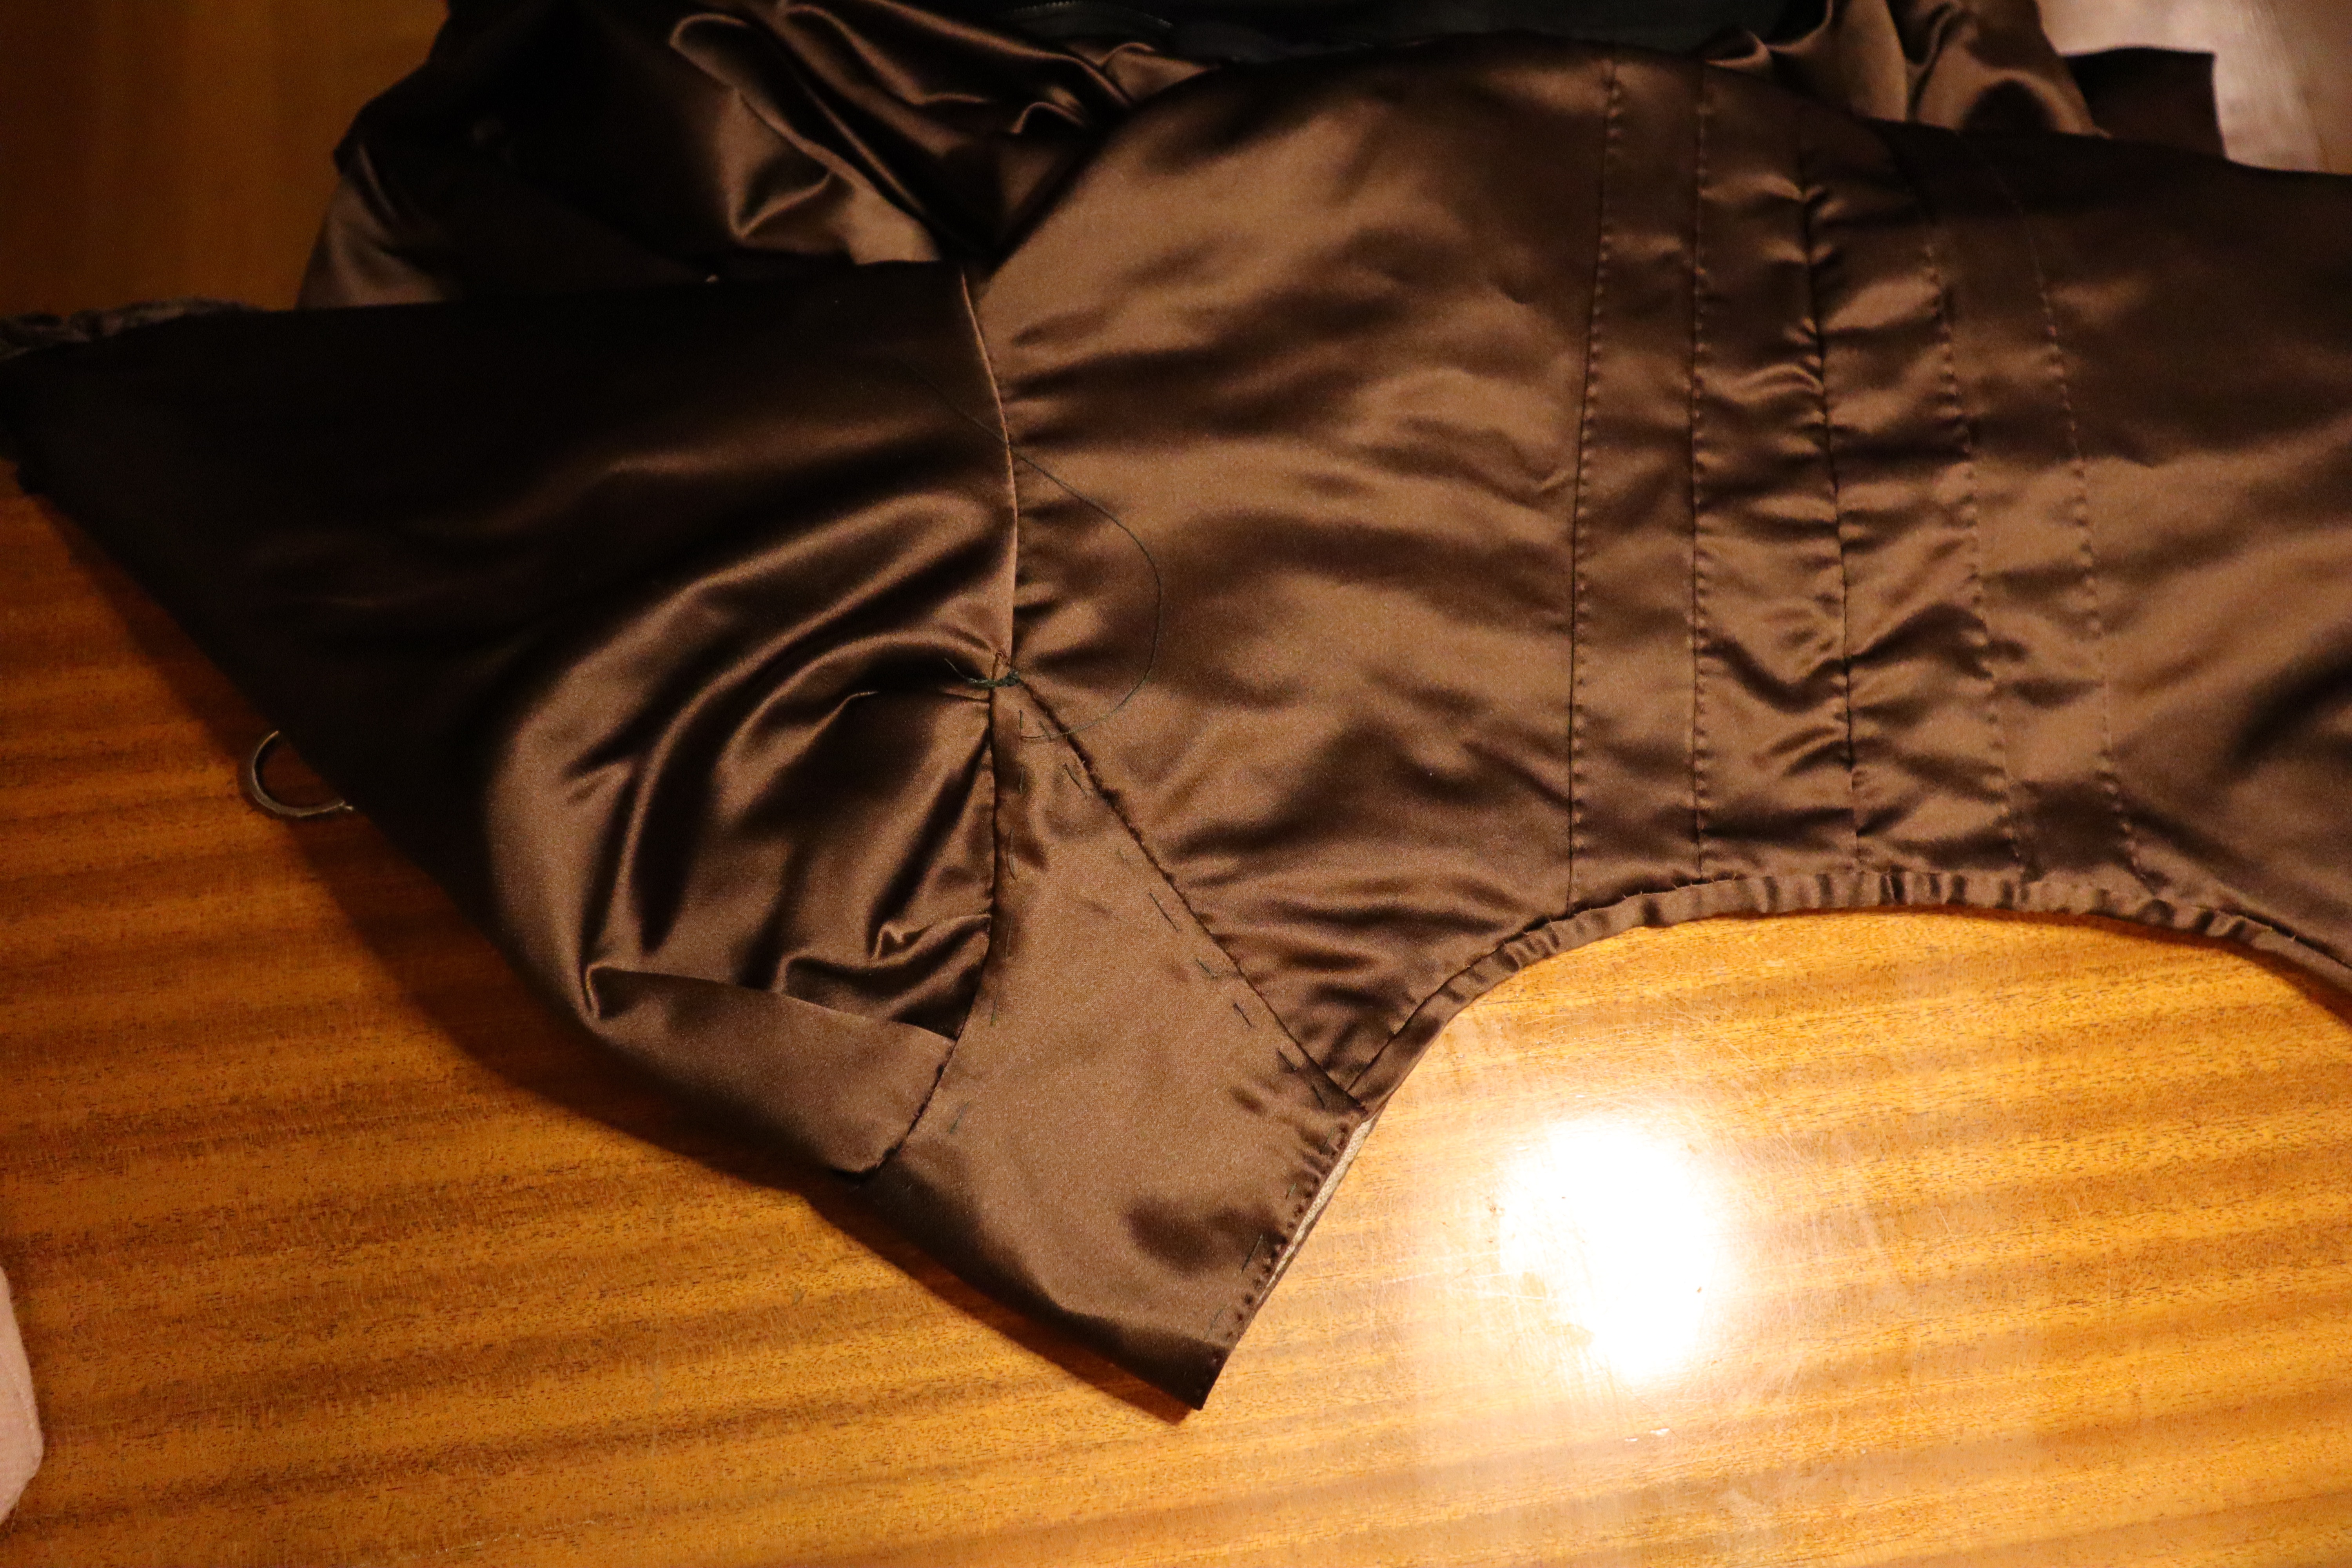
Then came the back pleats! Pleats in the later half of the century are typically fairly narrow, so I made two pleats on each side of the back seam, fairly narrow and tapering to a very narrow set of pleats at the waistline.
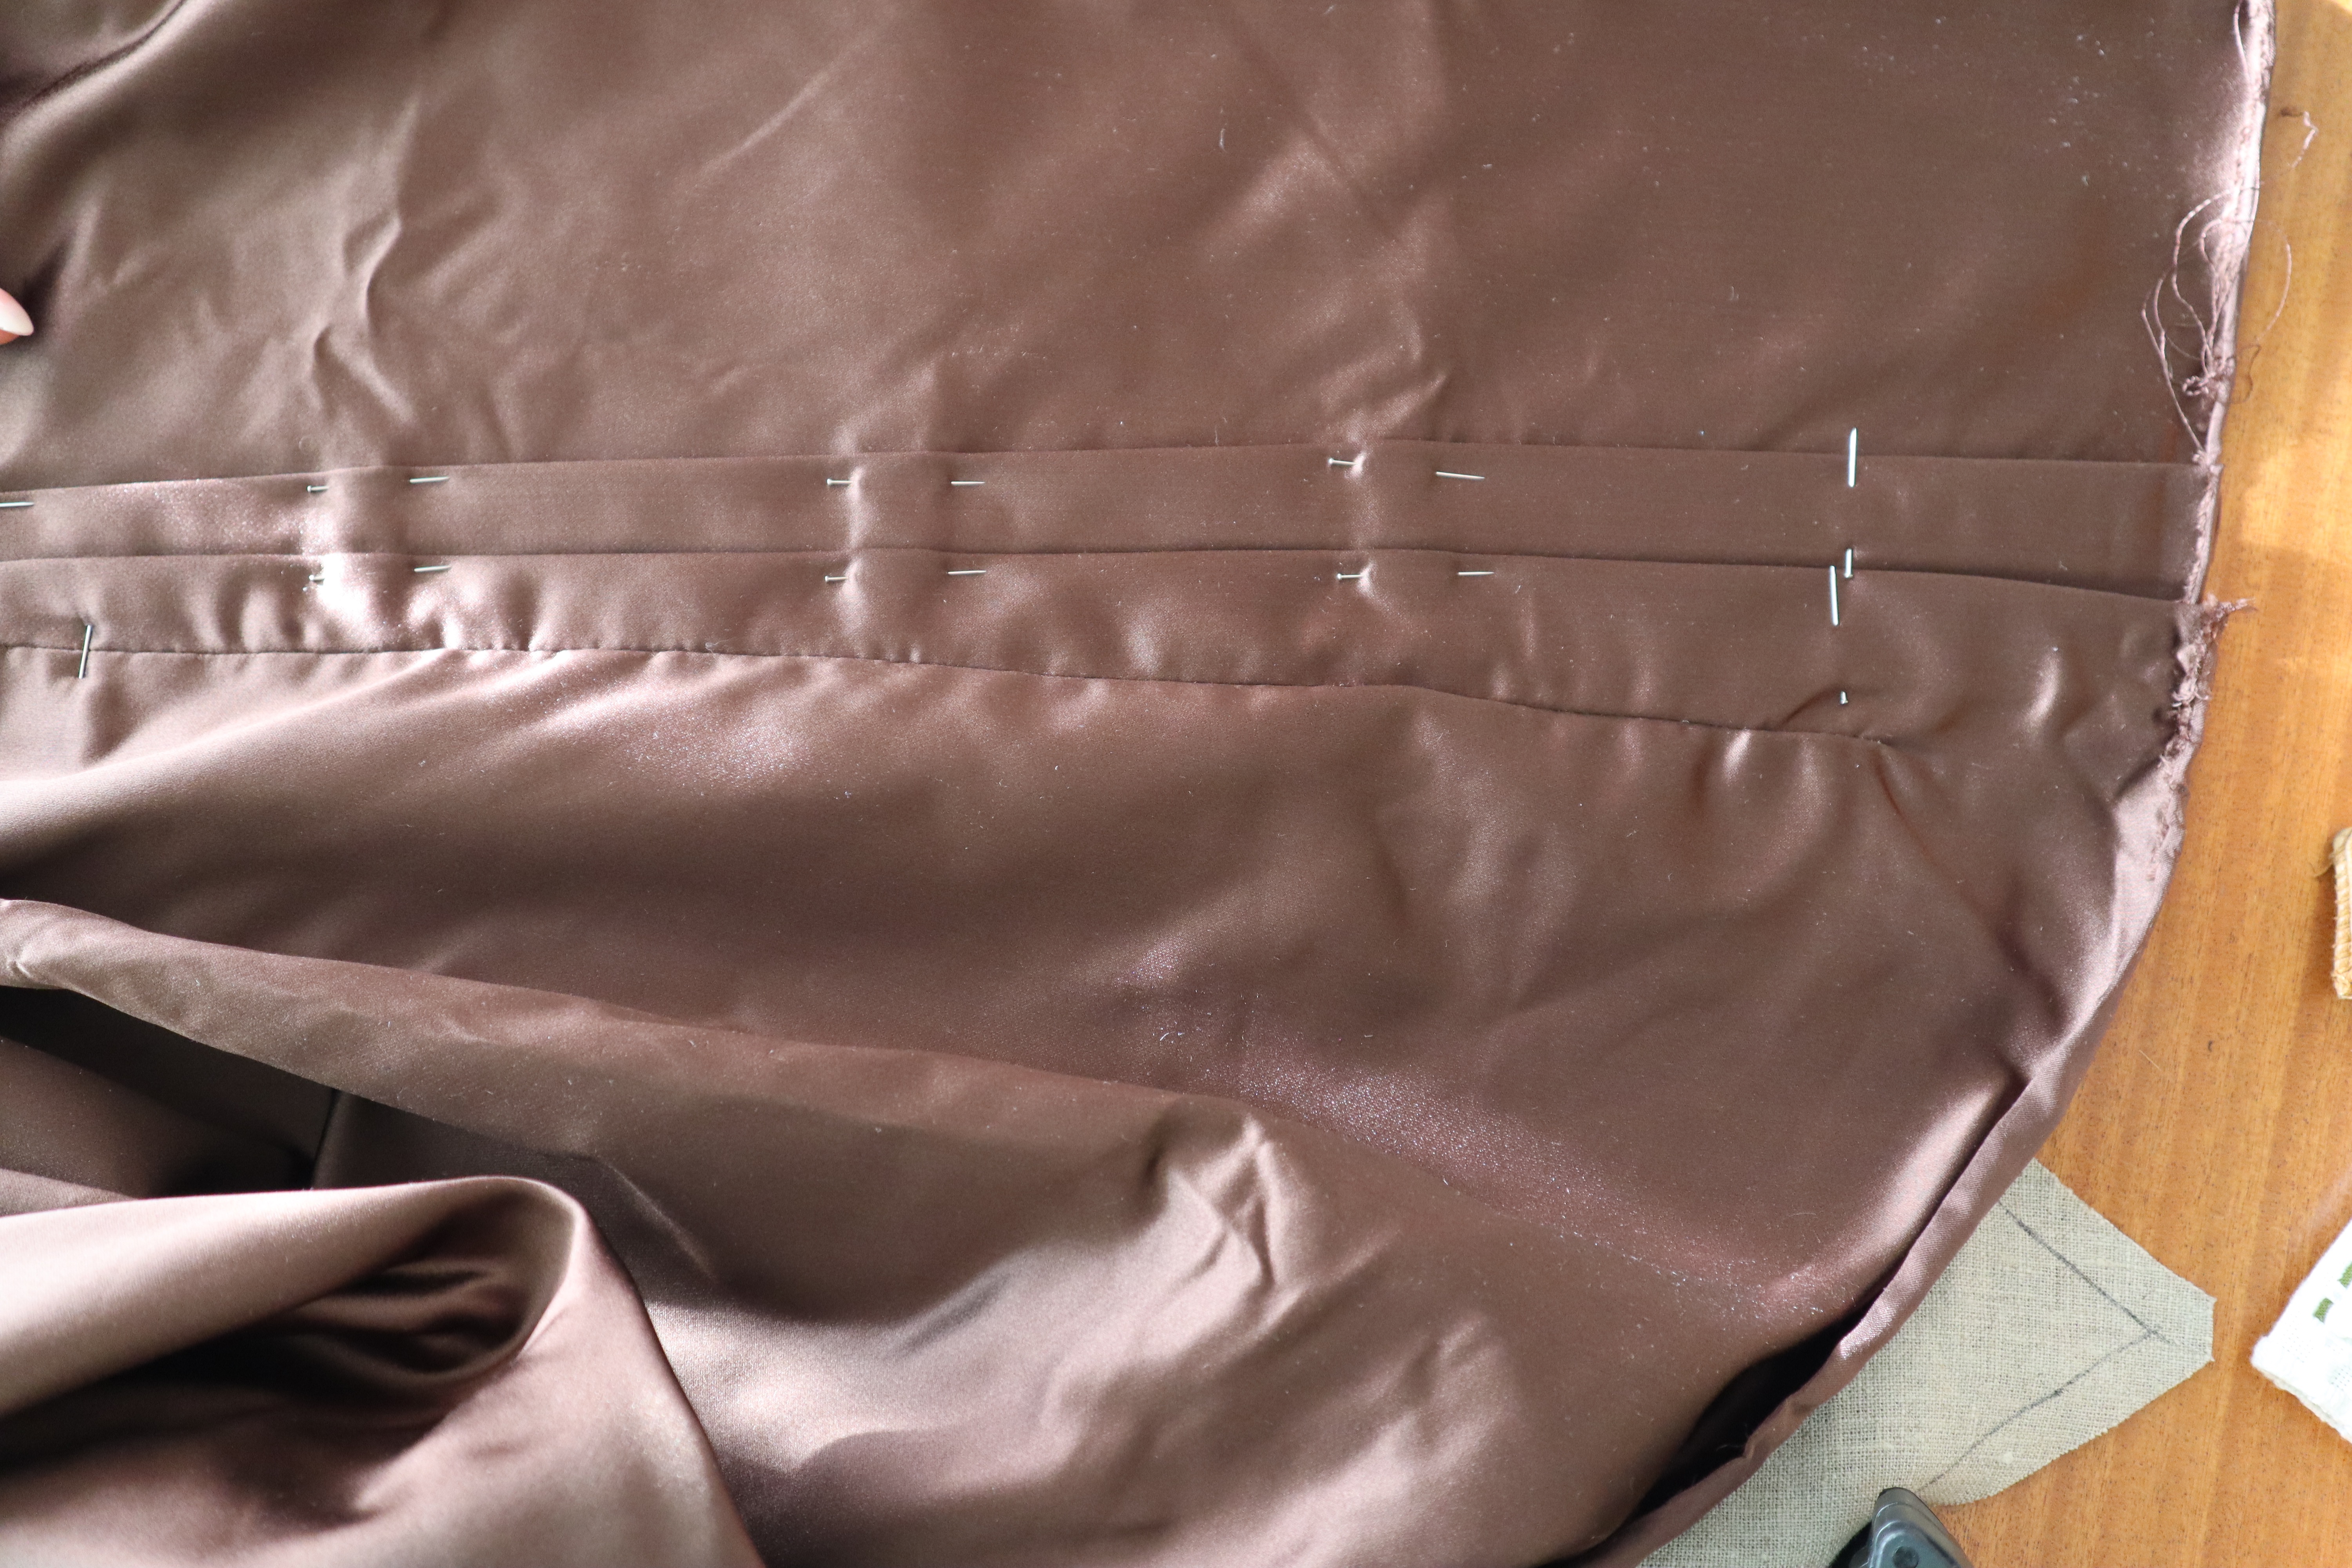


Marking c. 5 cm up from the bottom of the lining, I made sure to pin the pleats to the lining above that mark, and only to themselves below it. This is to make the gown flow nicely down my back and over my butt.
I stitched the pleats down using a small prick stitch.


I also attached a ribbon to the lining back seam. I did this for the Italian gown, to help keep it from falling away from my back. I have a sway back, and this little ribbon just makes the dress fit so much better!

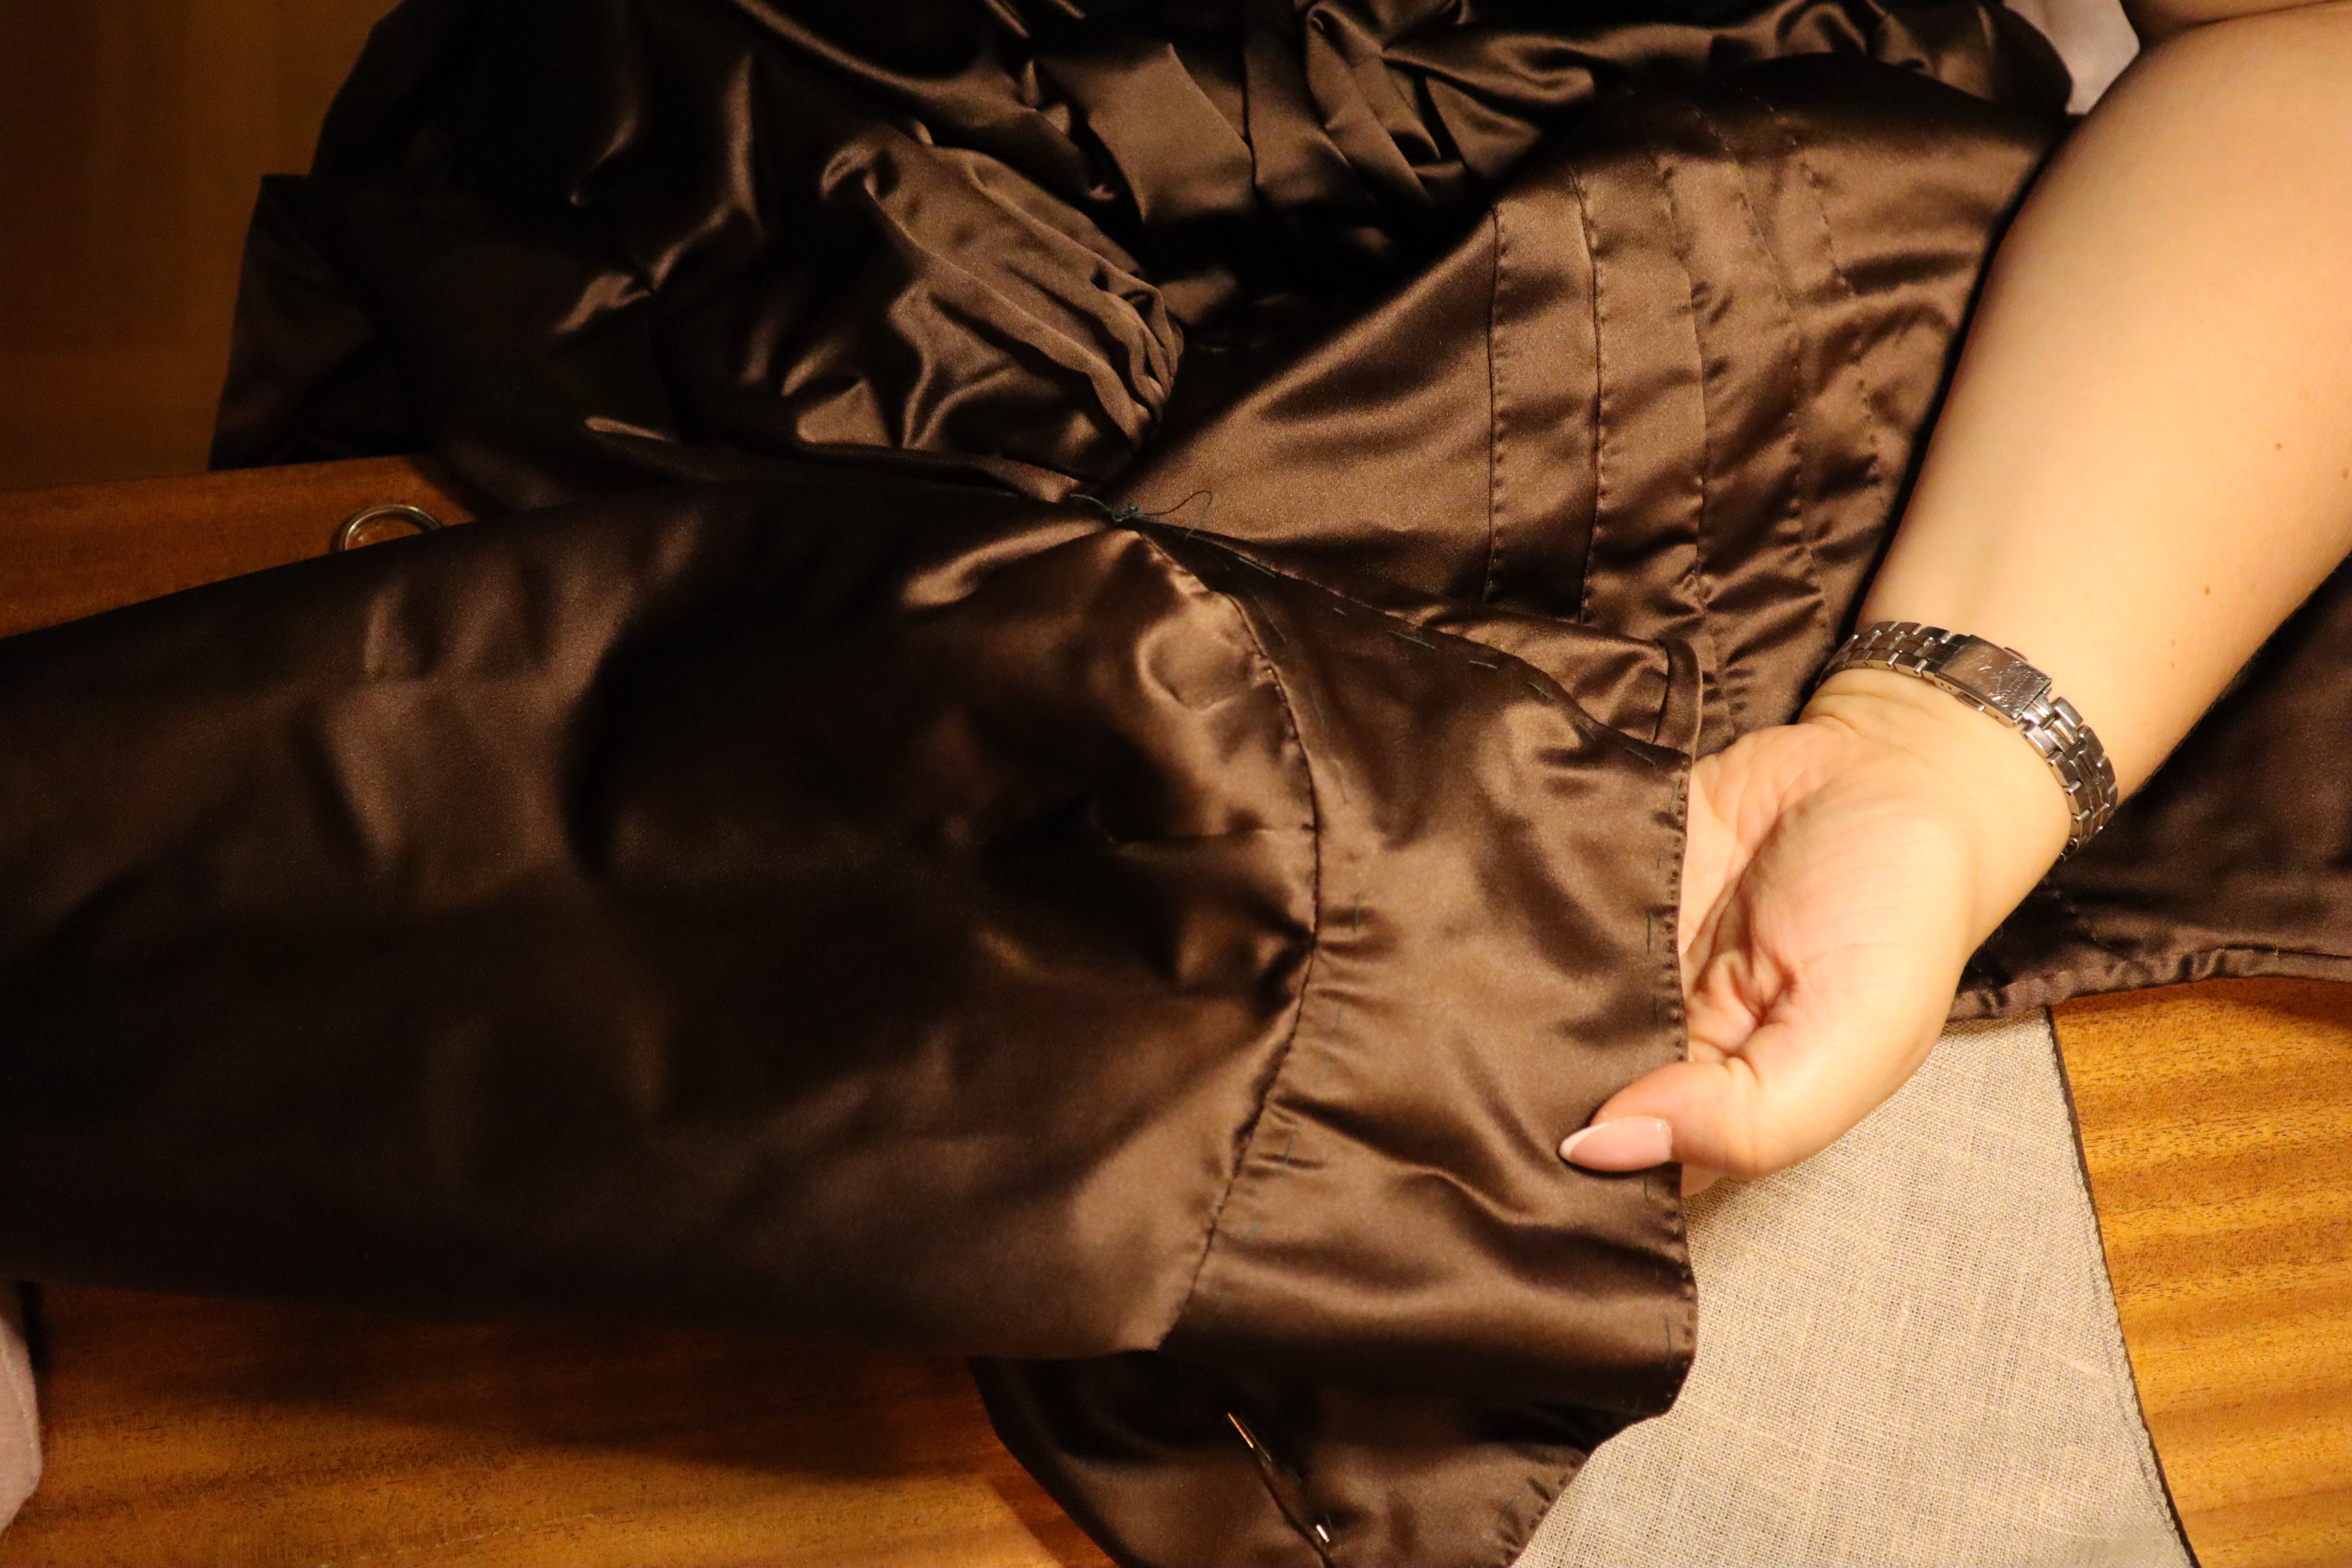
With the pleats done, I had way too much fabric in the back bodice, so marking a line c. 1 cm below the curved bottom hem of the lining, I squared it out towards the sides of the fabric. I cut that squared out line, as well as along the side seam and down under the bodice lining. The last cut was made with my heart in my throat, I cut far enough to hide the cut under the outermost pleat, but not far enough to rip the fabric clean off. I even strenghtened the split with safety pins to reduce the risk of ripping and tearing.

The front of the bodice was made in much the same way as the negligée bodice, I cut a lining and a silk layer for each front, folded the seam allowance in, and prick stitched the two together along the neckline, front and waistline, stopping where I want my skirts to hit the bodice fronts.
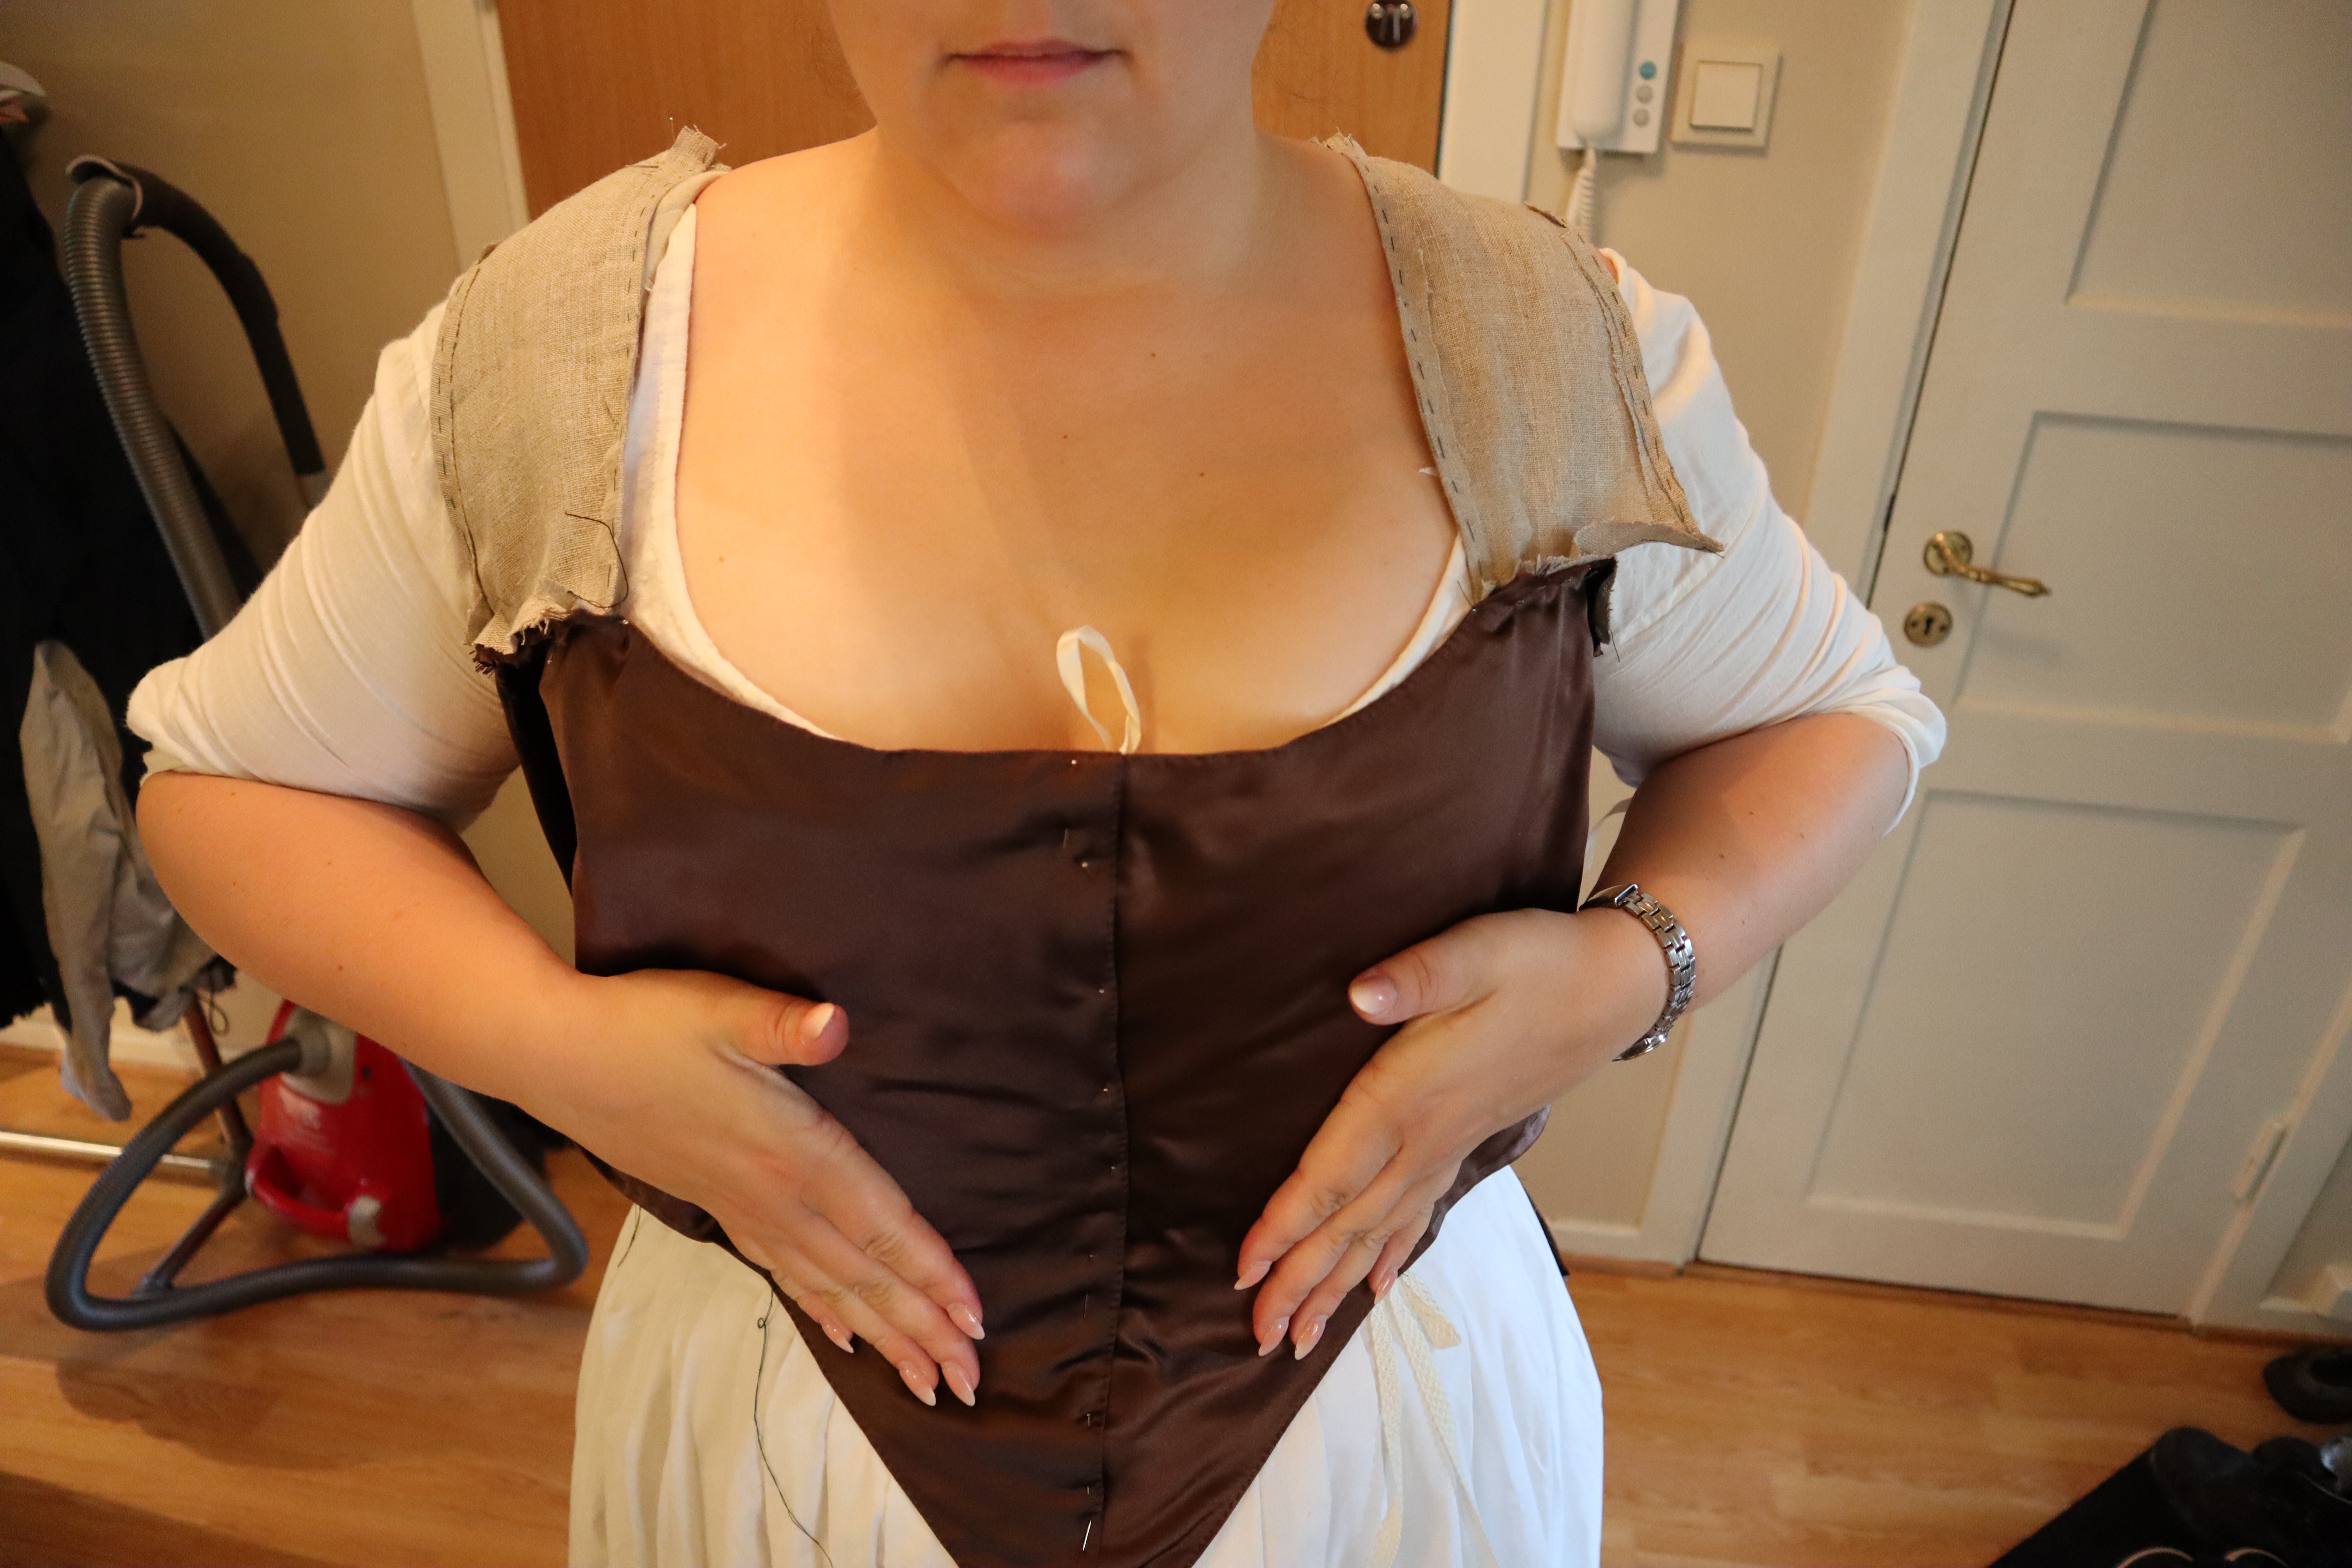
Pinning the bodice together with the shoulder strap linings, I was able to try it on, and adjust the side seams. They were pretty good, which wasn’t that surprising, seeing as this is a tried and tested pattern by now, but I was happy to see that nonetheless.

I also marked where I want my pocket slits to hit, because I didn’t include them in the negligée, and I regret it!

The lining is stitched together from the inside using small hem stitches, then the fashion fabric was lapped over the raw edges and stitched in place using a small prick stitch.
I then went on to bind the neckline. I started off with just a wide self-fabric strip cut on the straight grain, but my neckline is more curved than the one in the American Duchess book, so I kind of ended up with something between a facing and a bias binding. Anyhow, the neckline was bound! I think doing this before attaching the sleeves and shoulder straps makes the whole process simpler, and the end product neater (and neat is, I think, my favourite word!).

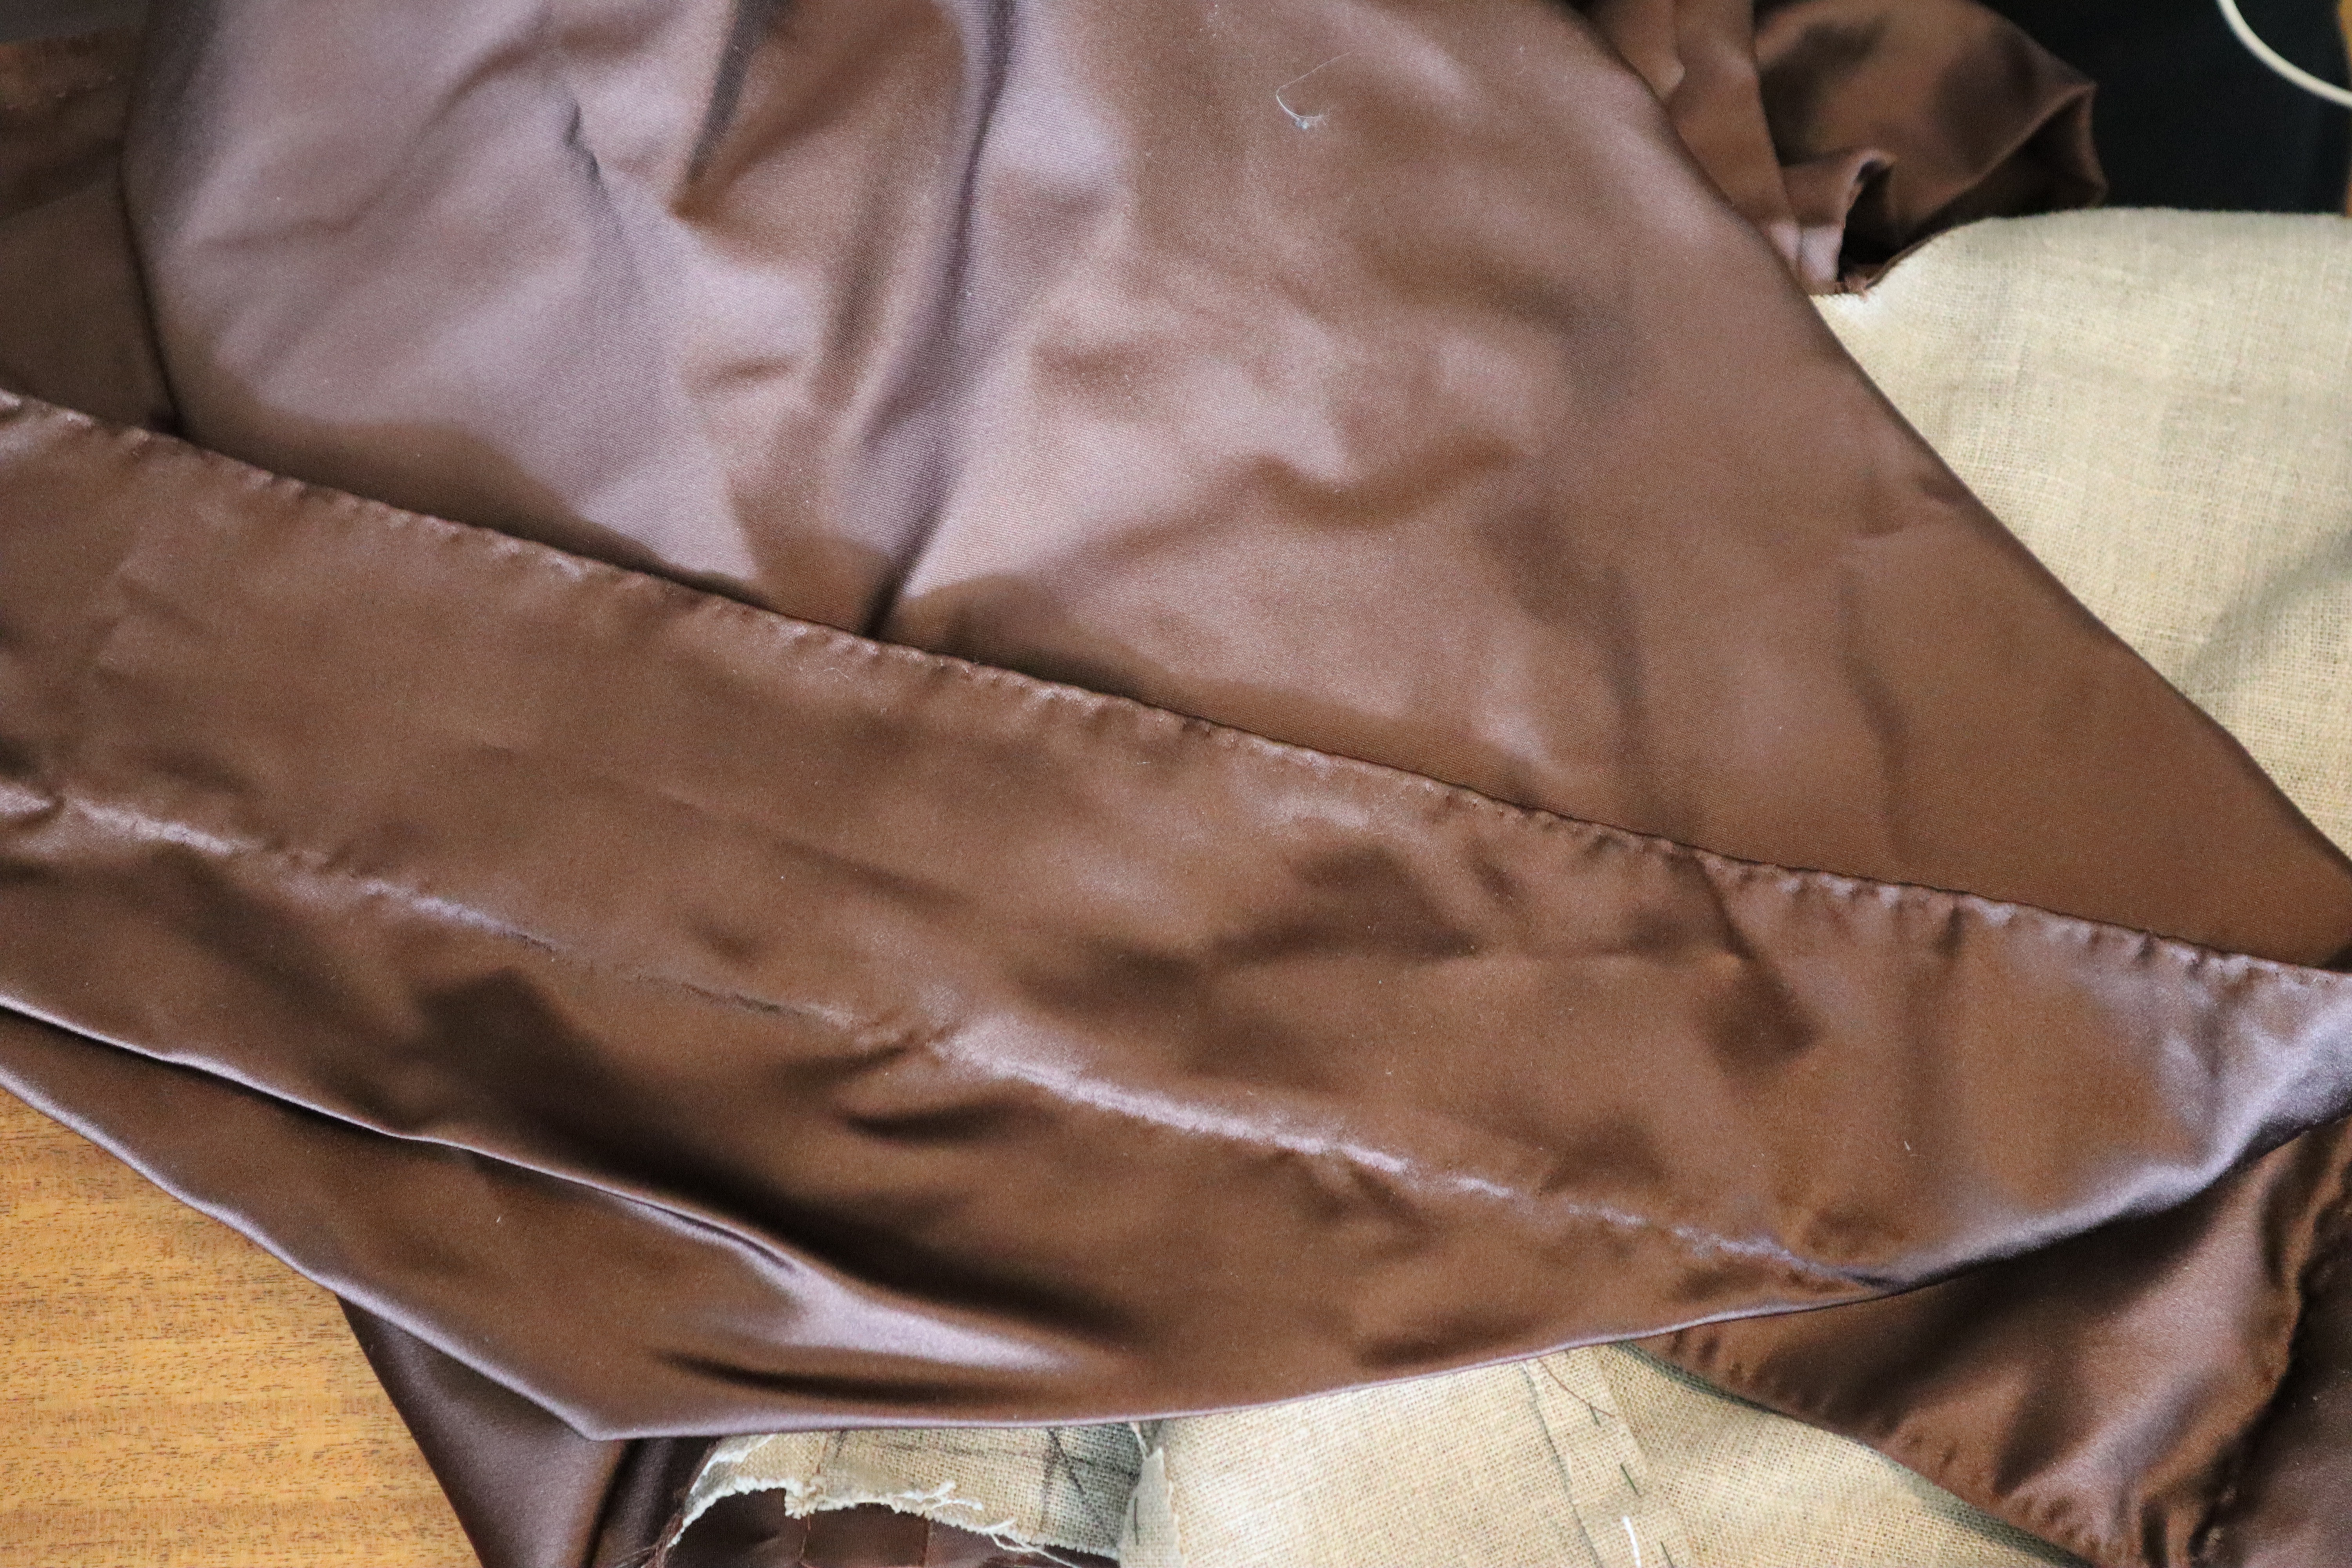
Onto the skirts next… I actually pleated and attached the back skirt before I even cut the front skirts, and that worked well. I never use calculations when I pleat something, I just fold and mark and fiddle with the pleats until I’m happy with them. This time I made an effort for the first skirt pleats to be hidden behind the back pleats, and and I pleated everything onto the lining, and stitched through all layers from the lining side first.


I then lapped the bodice (seam allowance turned in and basted) over the pleats and appliquée stitched it over the pleats.
The front skirts were attached very simply, just using a running backstitch seeing as I was working with selvedges. I had already hemmed the skirt fronts.

I left an opening at the top, c. 25 cm long, and hemmed it. This will be my pocket slit. I then repeated the pleating for the front skirt, and pleated it into the opening between front bodice lining and silk. I stitched the pleats down, first from the lining side and then from the outside, just like I did for the back.

Front skirts attached, I levelled the hem and hemmed it using horsehair linen. One day, I’ll go more in-depth on how I hem my skirts and dresses, but this is not that day, this post is more than long enough already!

I kind of “pre-fab-ed” the sleeves, made them while on vacation and took few pictures of the process. But the cuff hem was folded in and basted in place on both silk and lining, sleeve and lining was stitched together and turned, the cuff was stitched together using prick stitches, and I even applied a row of self fabric trim to spruce them up a little.
After finishing the skirts, I stitched the shoulder strap linings in place, using a backstitch, with all the raw edges away from the body, to be covered by the silk shoulder straps.

I fitted my sleeves in my favourite way (you know you’re a nerd when you have a favourite sleeve attaching technique…), by backstitching the lower part of the sleeve to the lower half of the armscye. I then try on the garment, pinning the sleeve head to fit over the shoulder strap lining. Happy with the fit, I stitch the sleeve head to the shoulder strap lining, from the lining side.

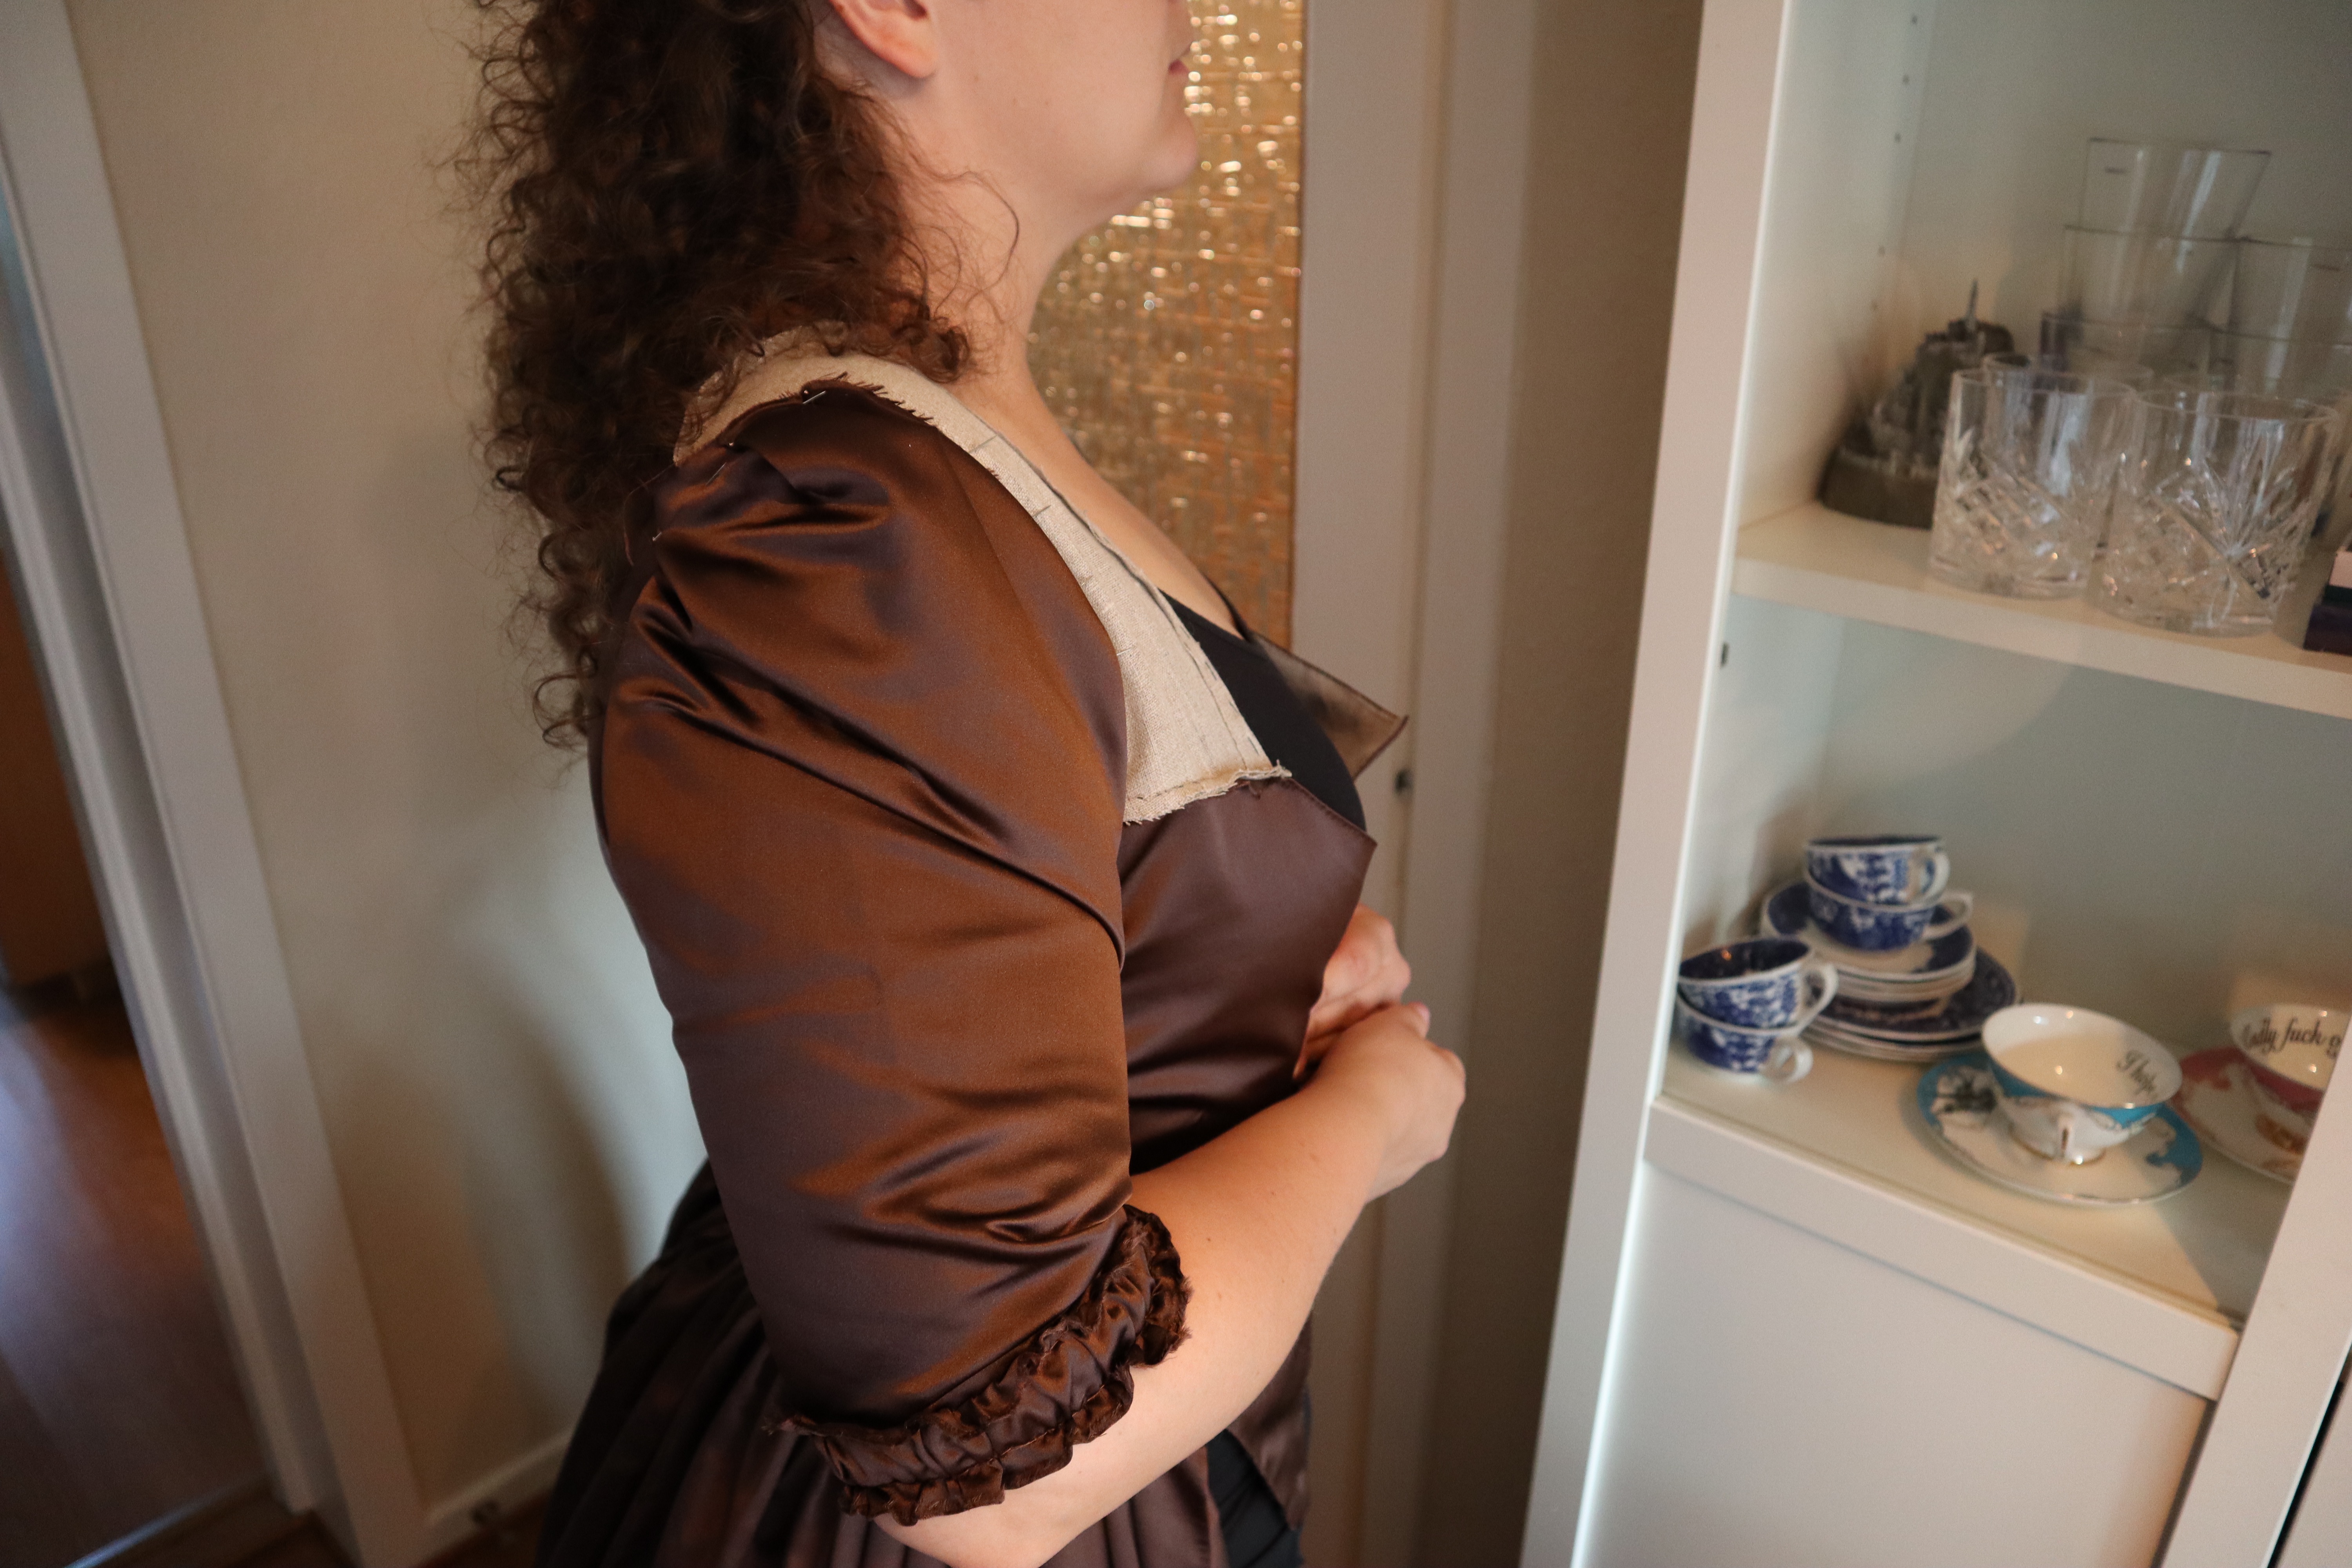


After trimming seam allowances and folding under and basting up all seam allowances on the silk shoulder strap, I pinned the shoulder strap over all the raw edges and stitched it down.

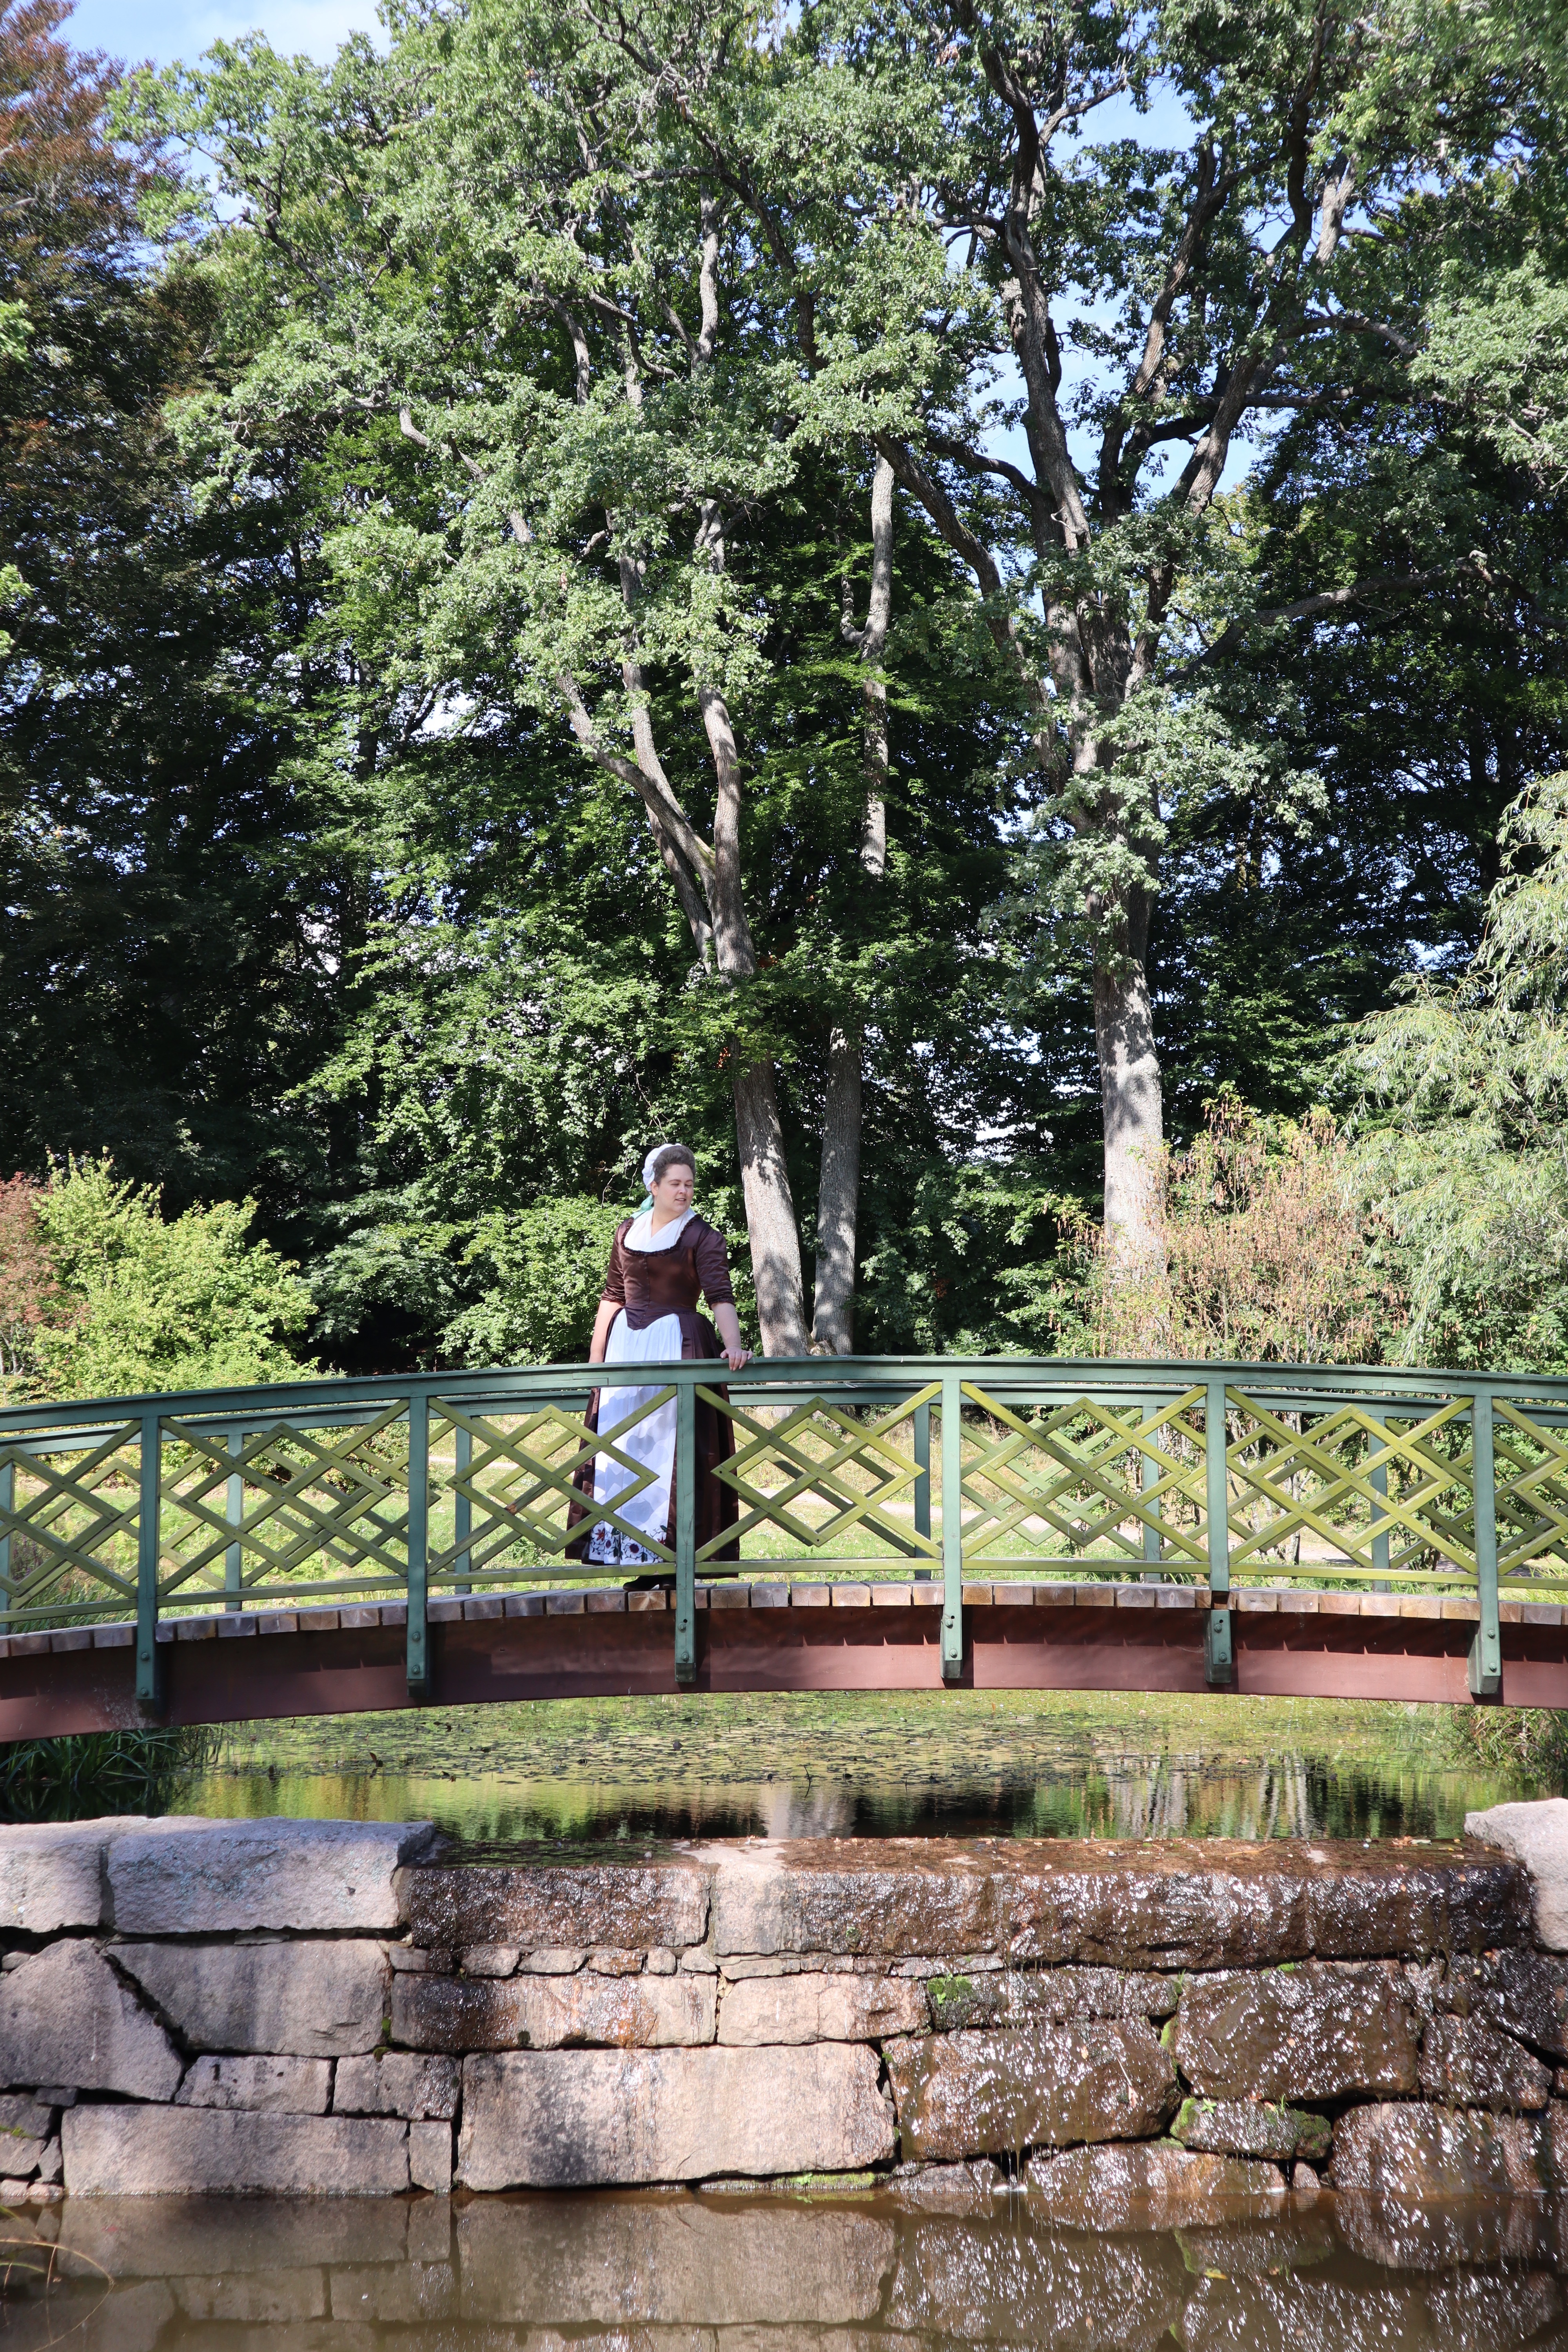
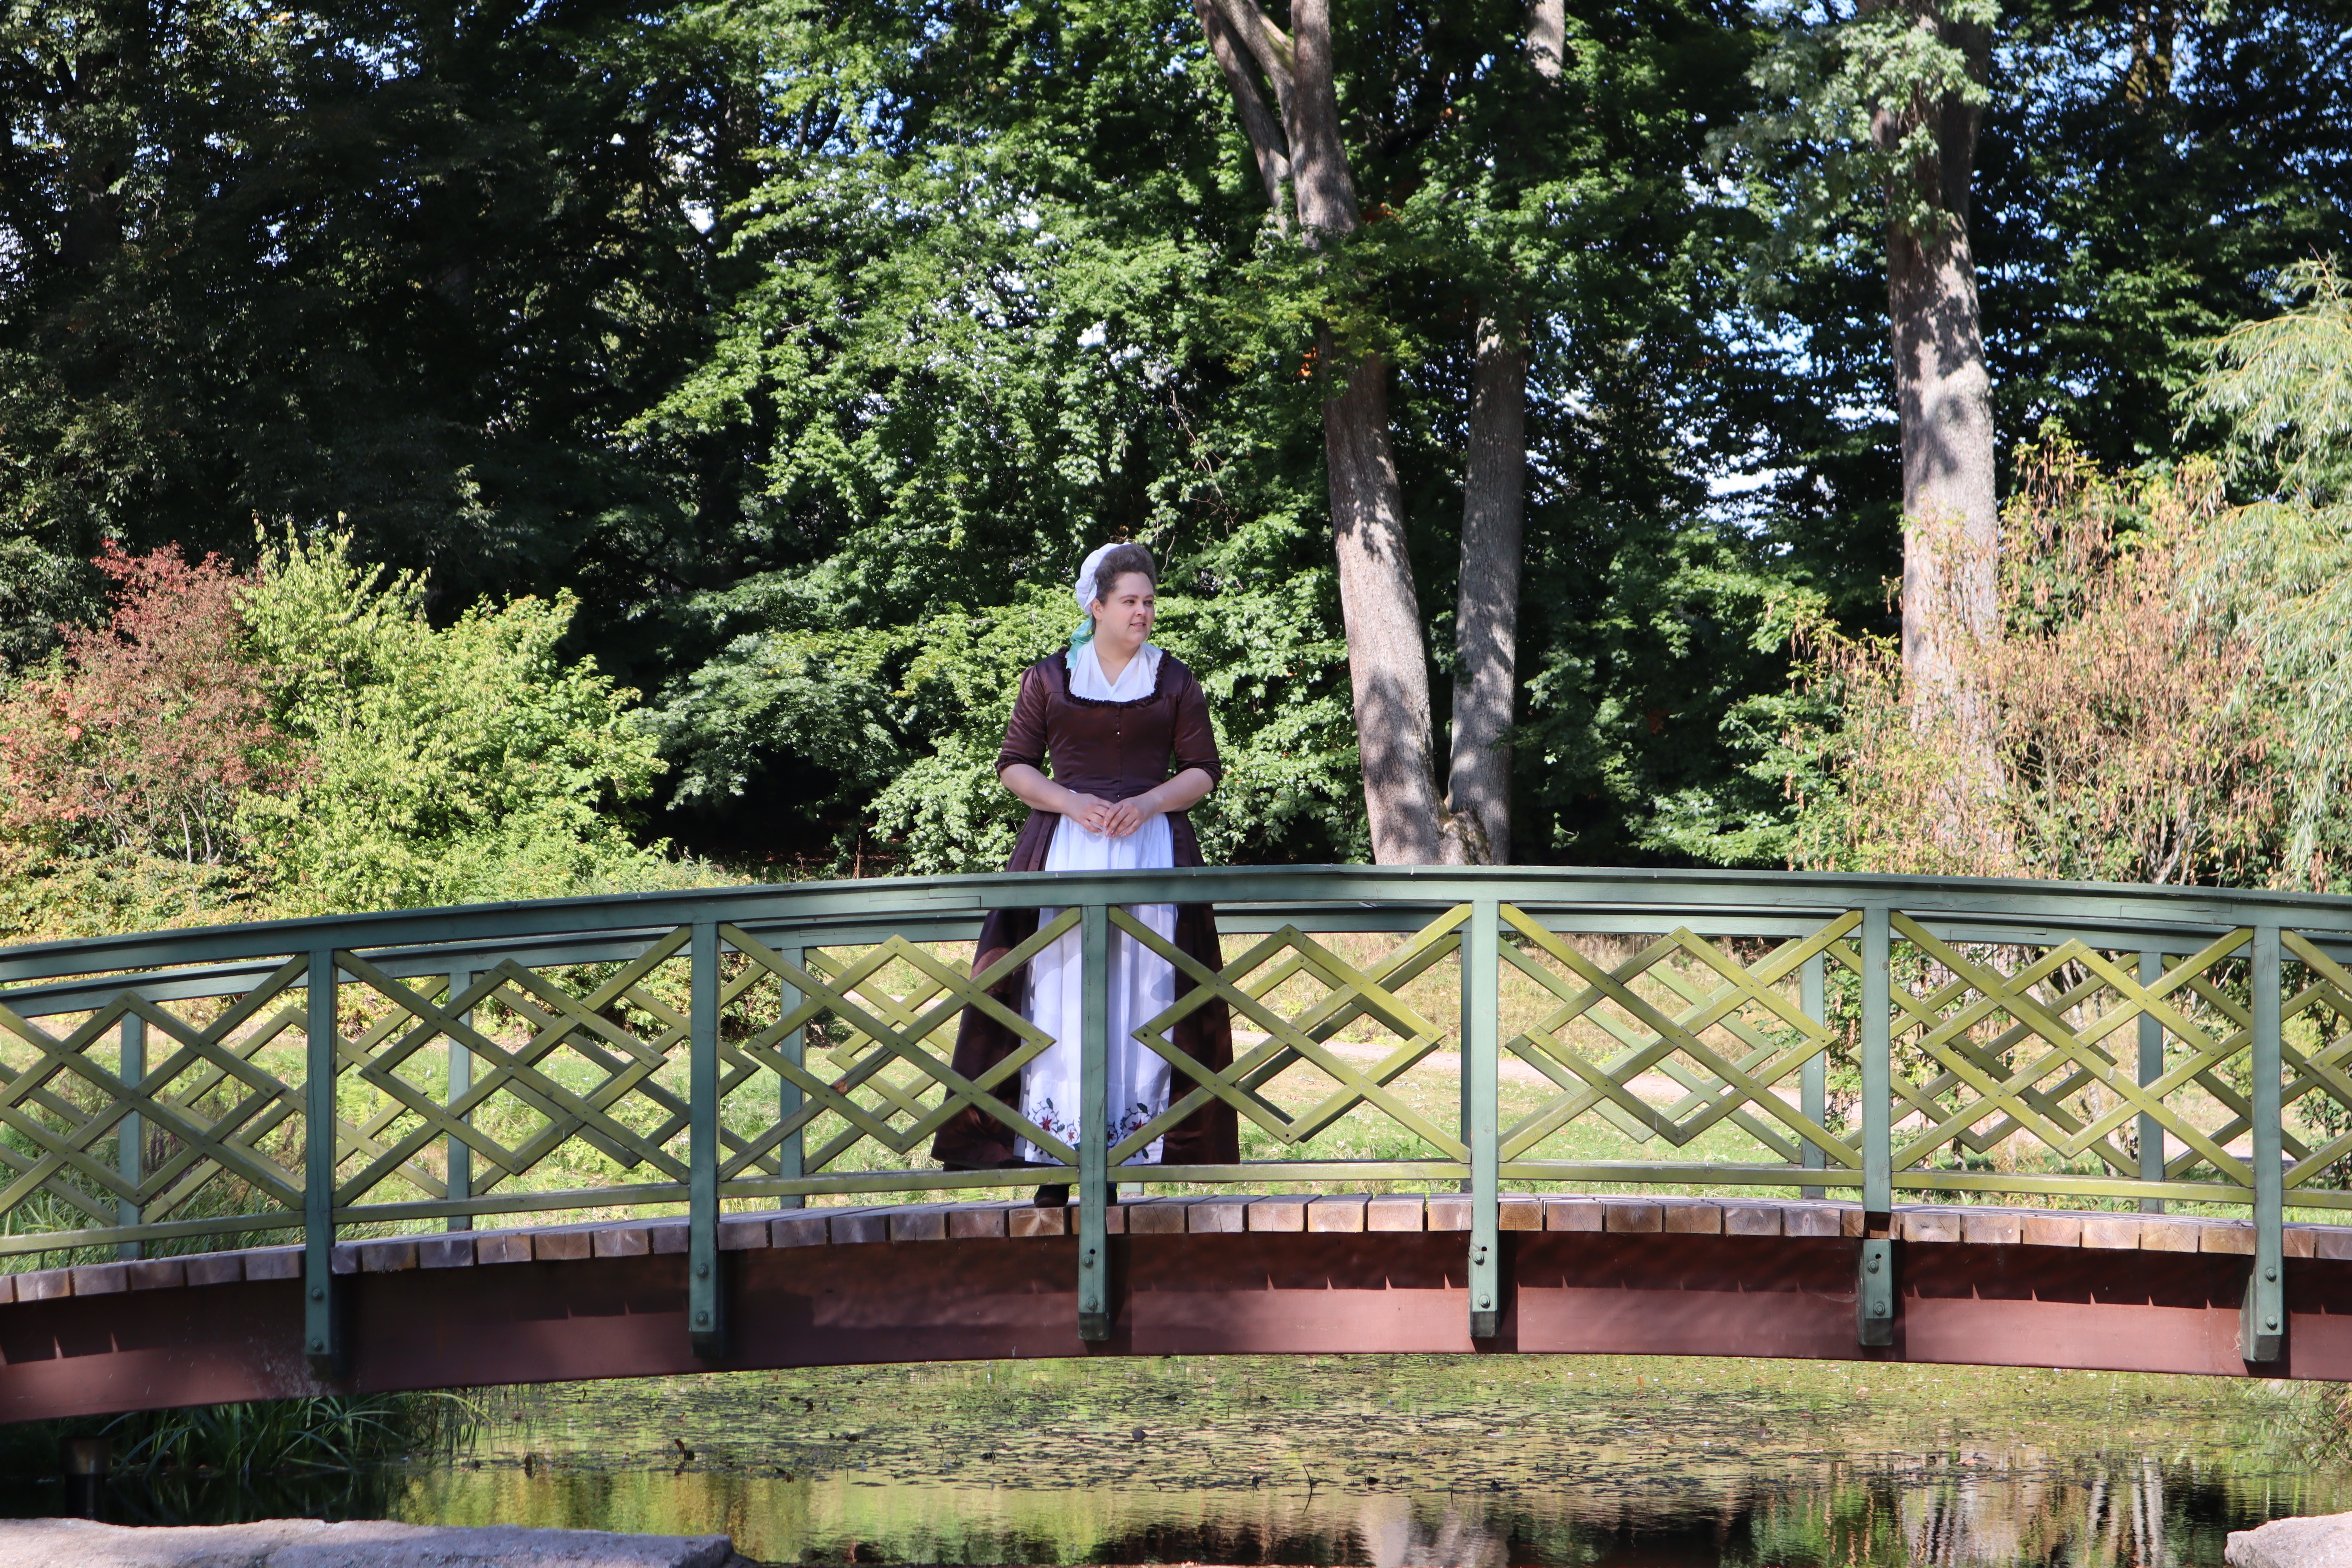
A little more self-fabric rouched trim around the neckline, and the dress is done! Happily, I have an 18th century English garden only 20 minutes from my home…