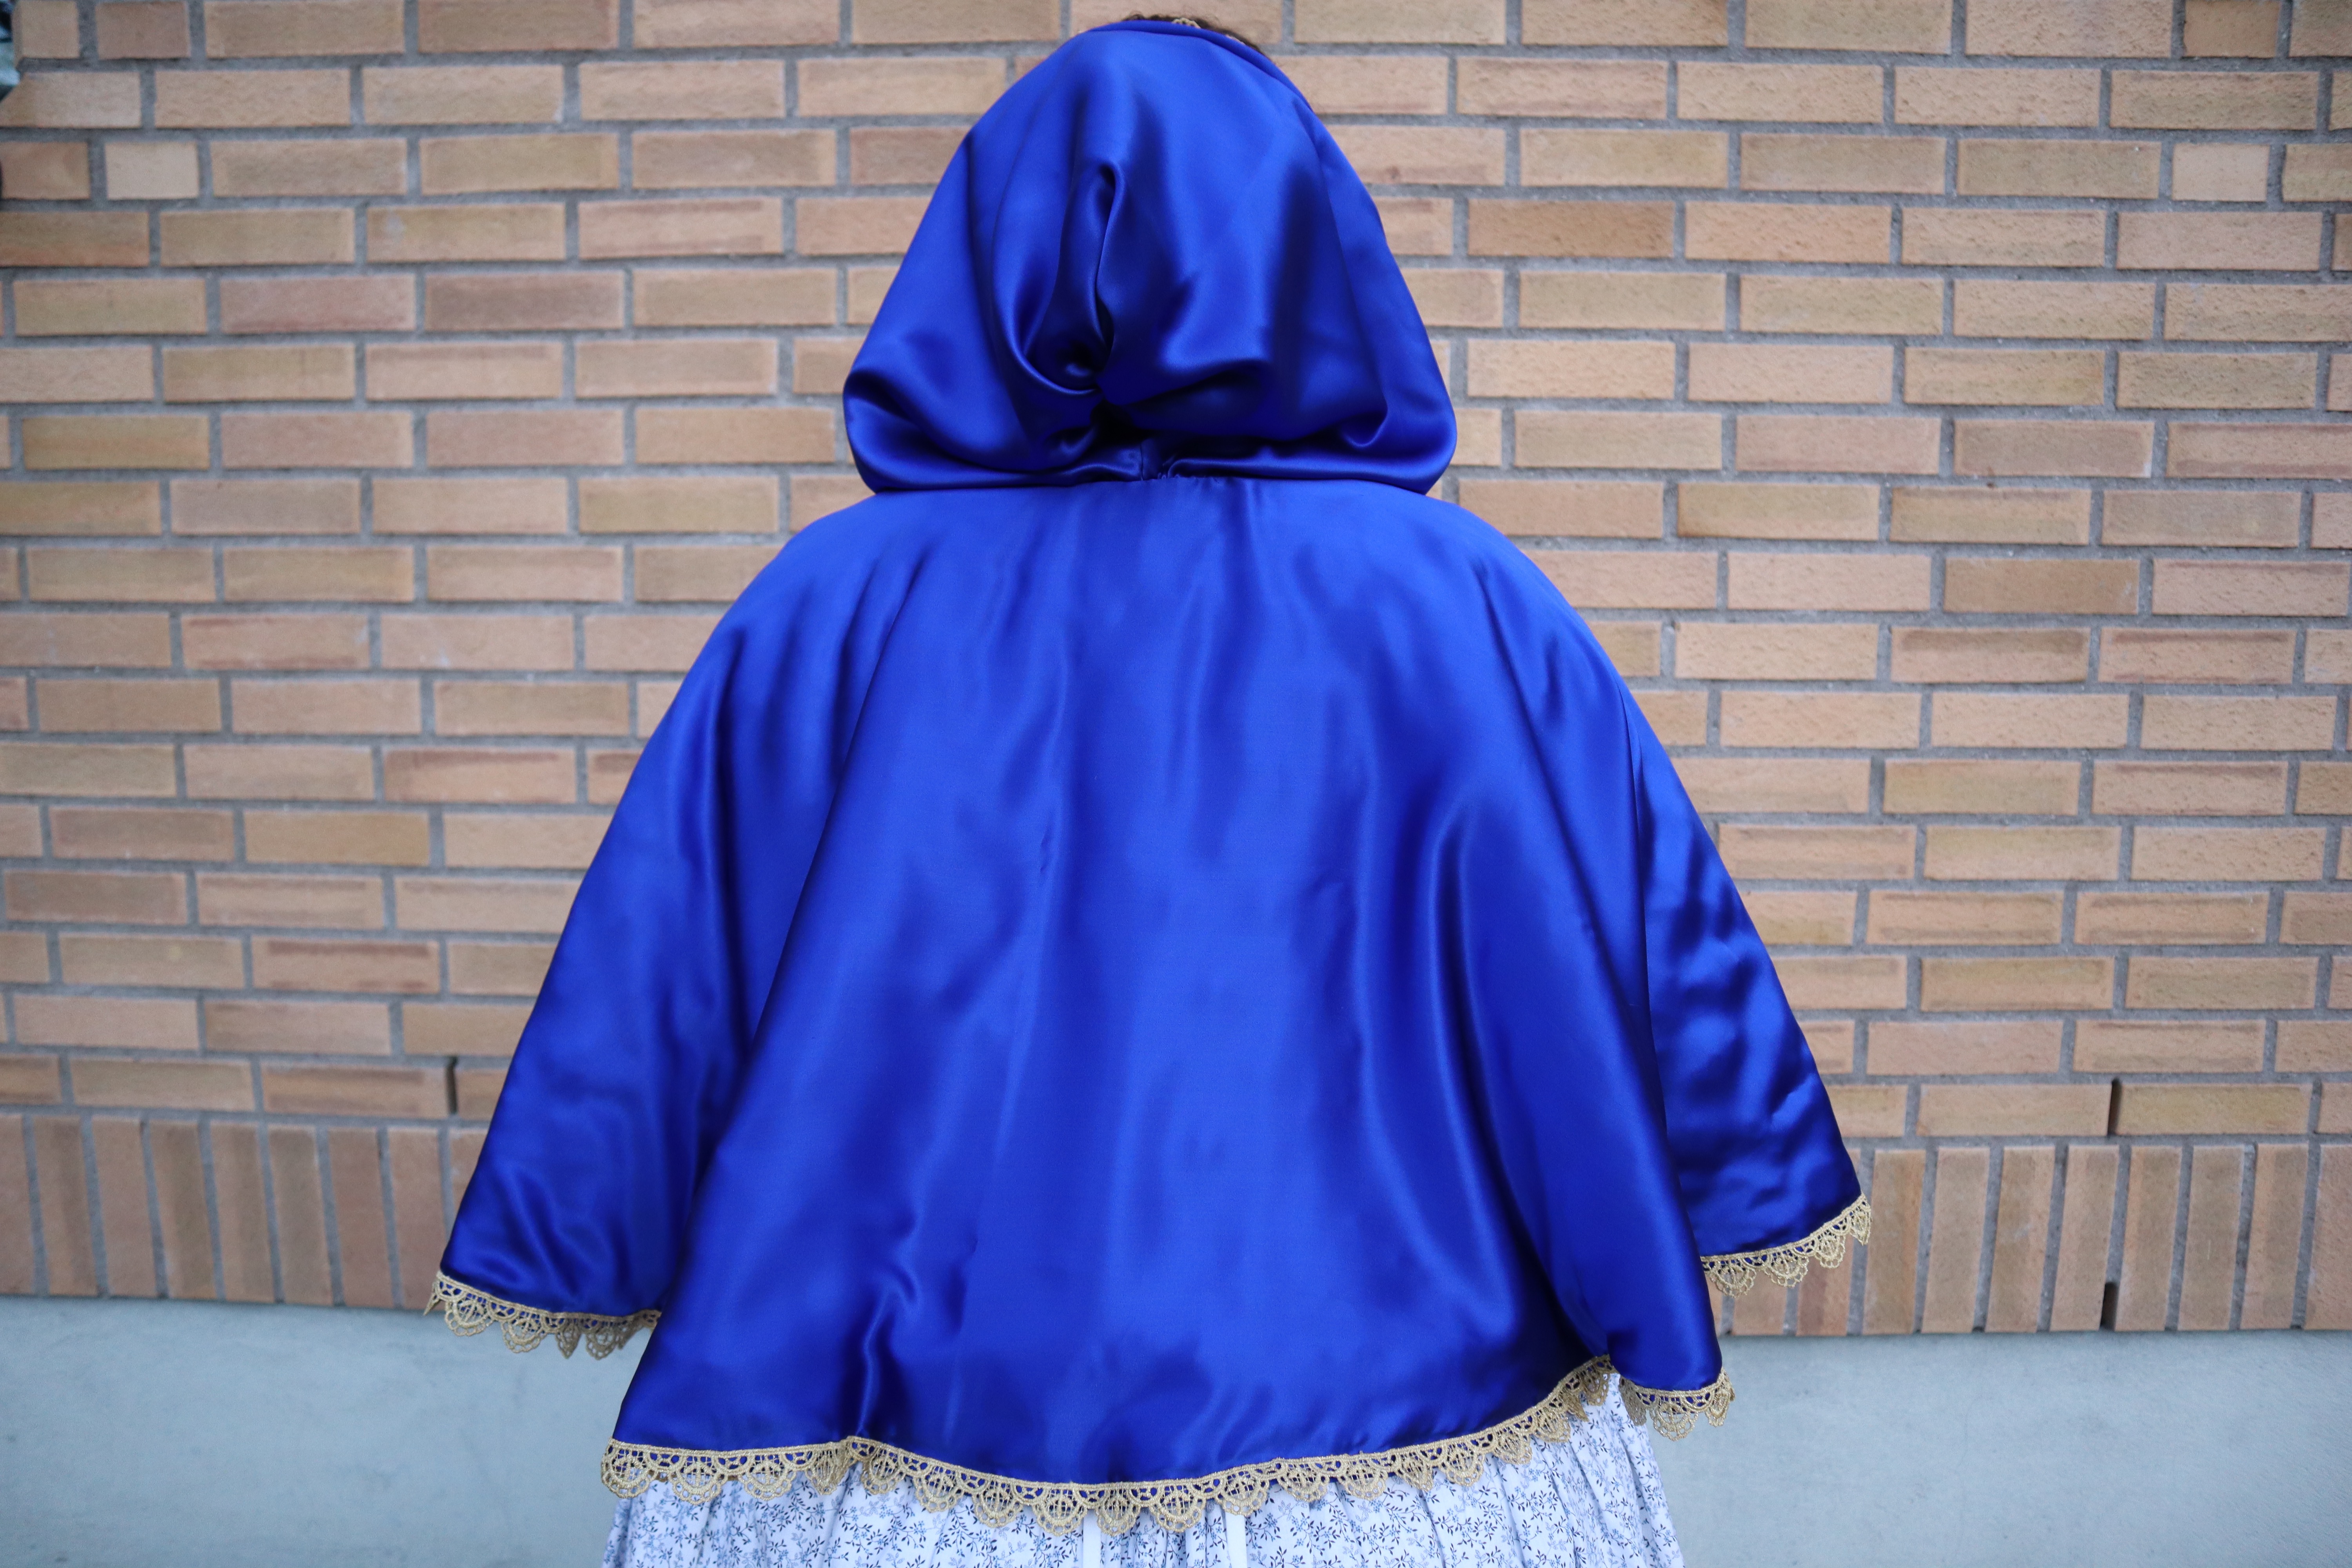
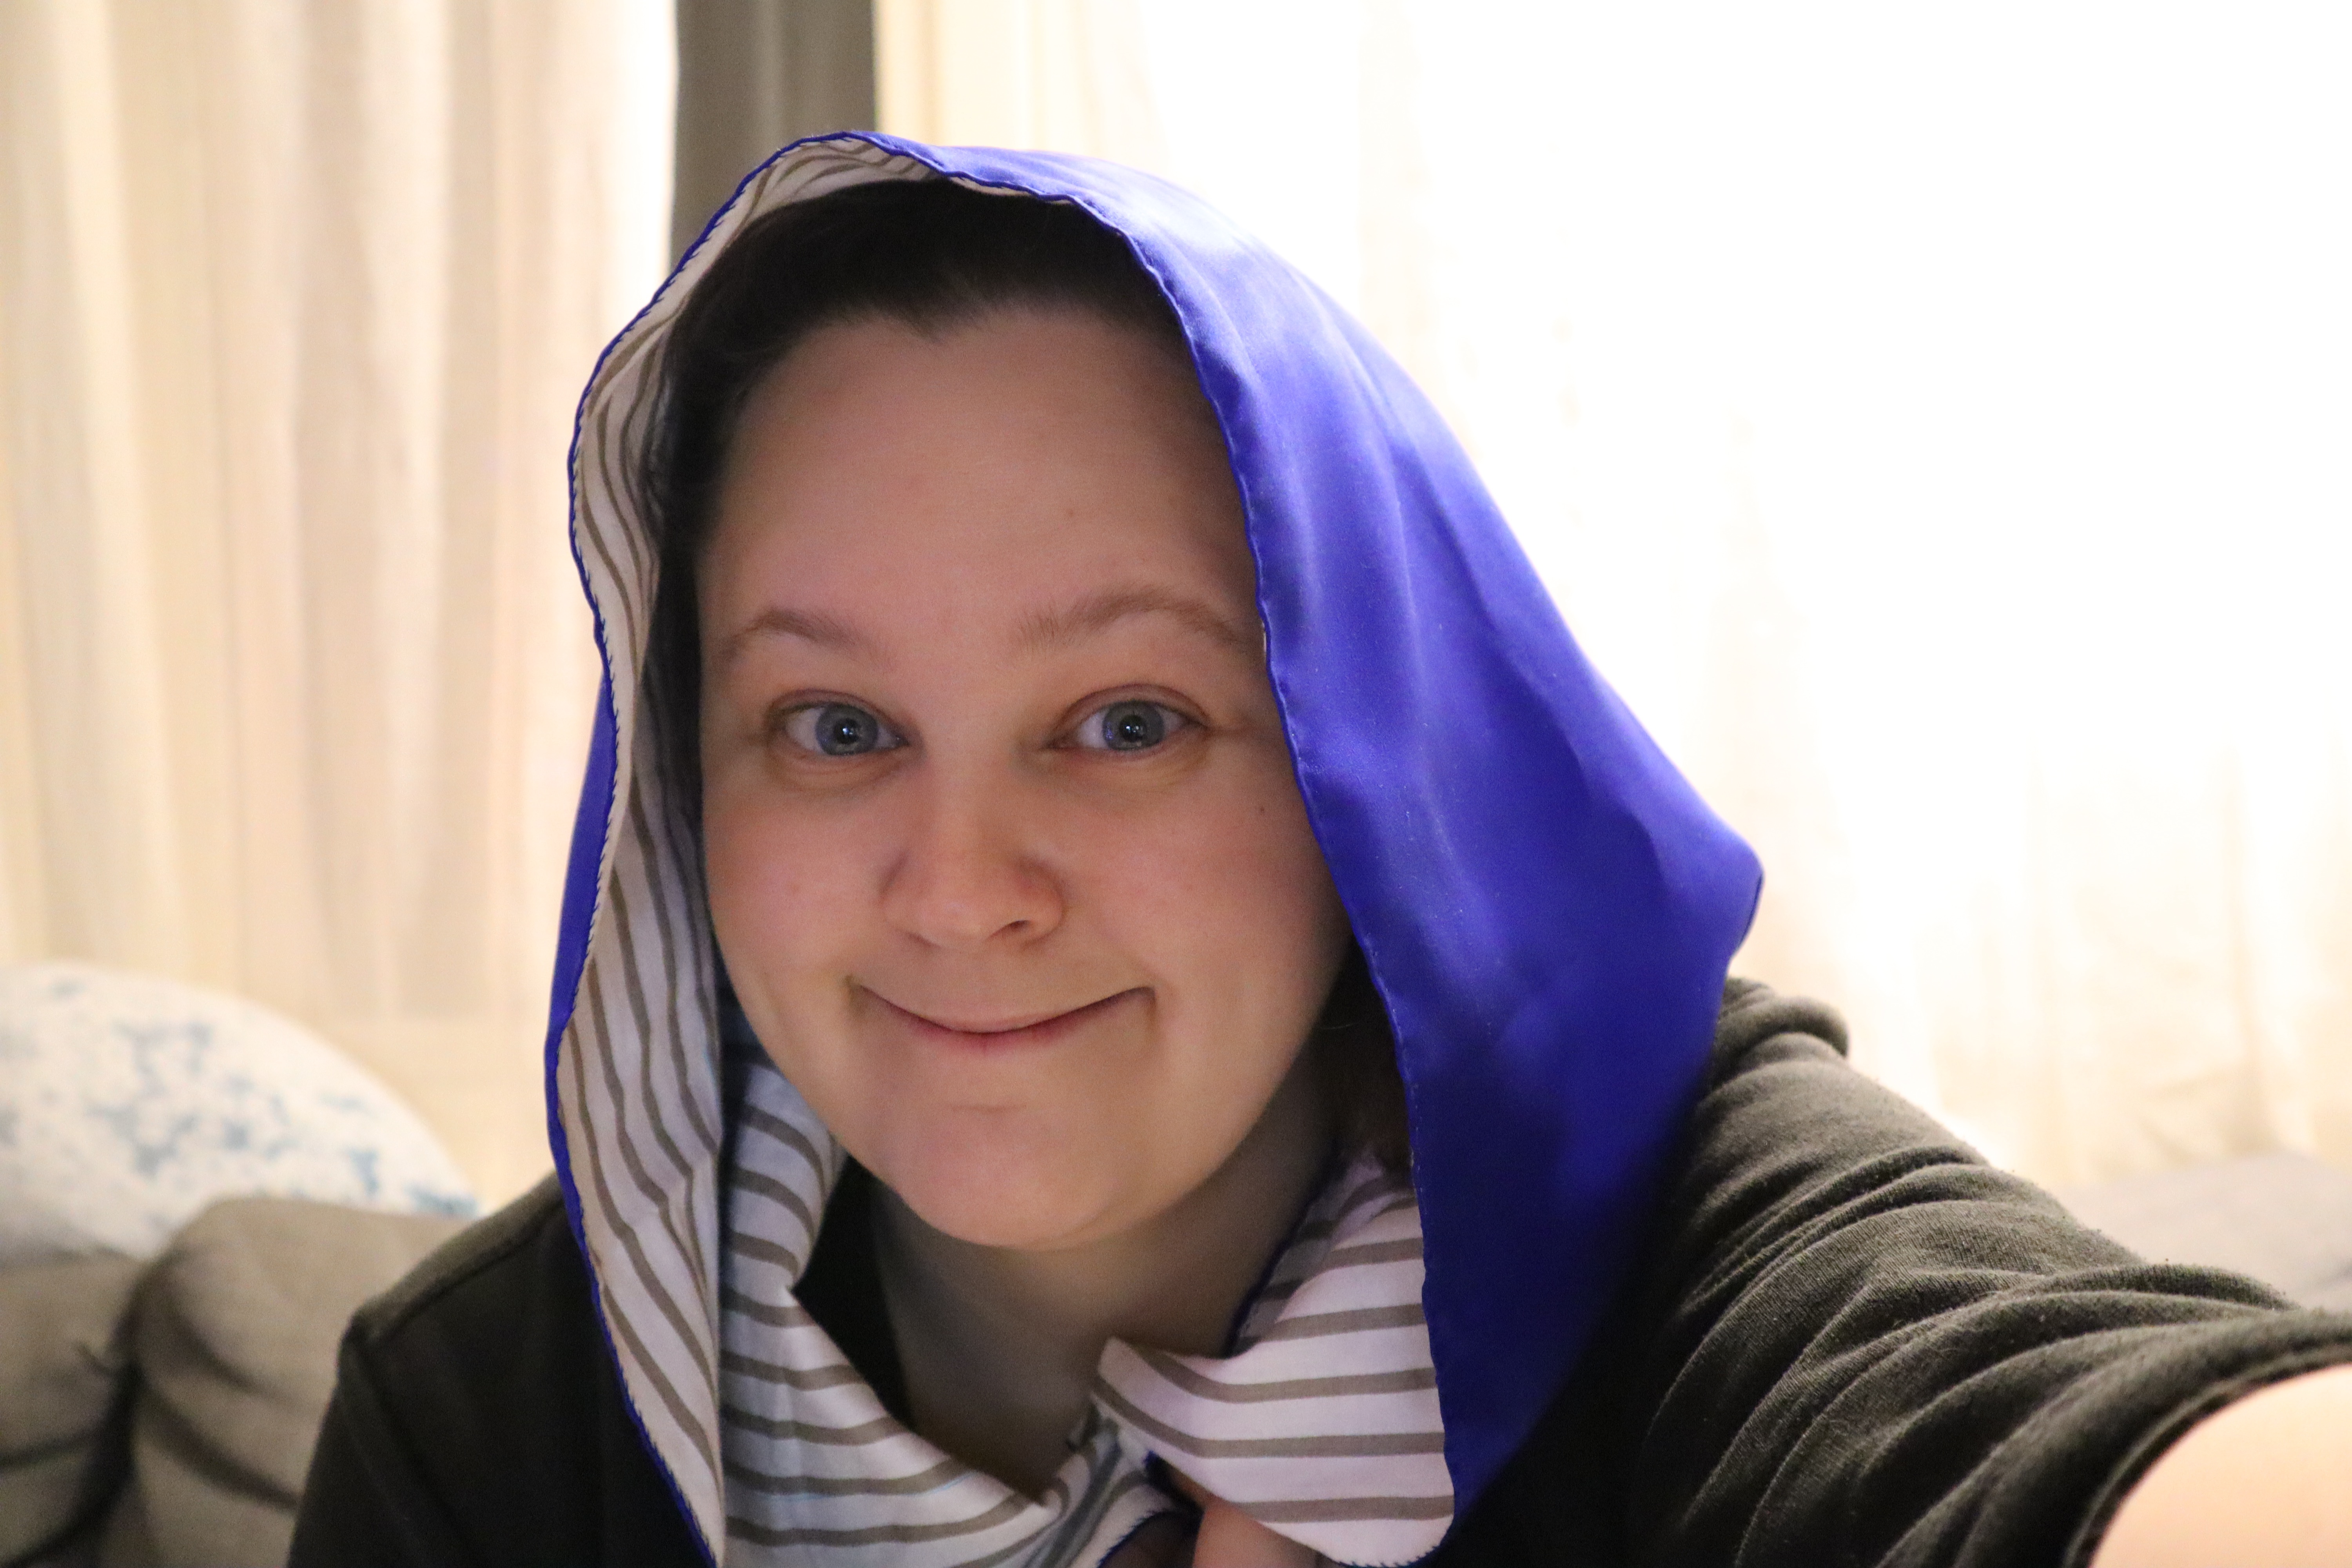
What wa it with Mrs. Bamford and cloaks? Her inventory includes a ton of them! One is described as a “Goldlaced blue Sattin Cloak”, which sounded extremely luxurious and lovely.
After a bit of sleuthing, I figured out that “goldlaced” didn’t mean “laced up with a gold cord” or something like that (and how do you lace up a cloak anyway?”, but rather trimmed with gold lace. It’s not easy to find nice, delicate gold lace these days, so the one I ended up with is a little bit chunky, but it’s ok. I might swap it for a better one in the future if I fancy it.
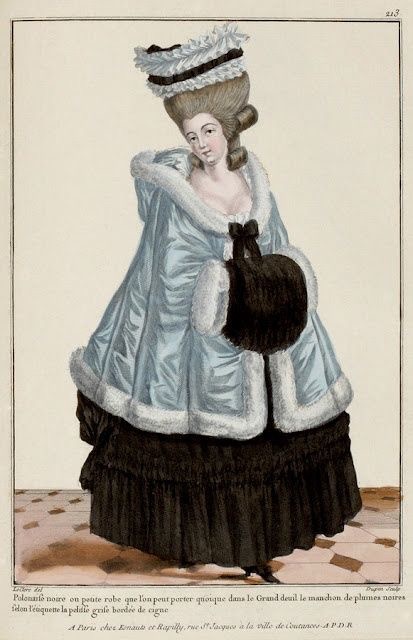
I found this fashion plate of a woman in a blue silk cloak, and I was struck by how thick and poufy her cloak was. Hers was probably interlined with a fluffy woollen material, but I don’t have that. What I have is a piece of pre-quilted cotton fabric that I bought ages ago and never got around to using.
I used the pattern I made for the white cloak, but enlarged it a bit. I also scaled up the hood pattern a little, as the hoods I’ve made until now have been a tad on the small side, which is no good if you want them to fit over your high Georgian hair!
I cut a back piece, to front pieces and a hood piece from the blue silk satin I had found, and the same from a striped cotton satin I had laying around. I did not cut the hood pieces from the quilted fabric, as I didn’t have enough of it, and didn’t really want to interline the hood anyway.


It hasn’t been easy, finding information about how 18th century cloaks were constructed. It’s even difficult to find inside pictures of extant cloaks! I therefore have no idea if the following is even remotely accurate for the period, but it’s one way of doing it, and the result isn’t too bad.
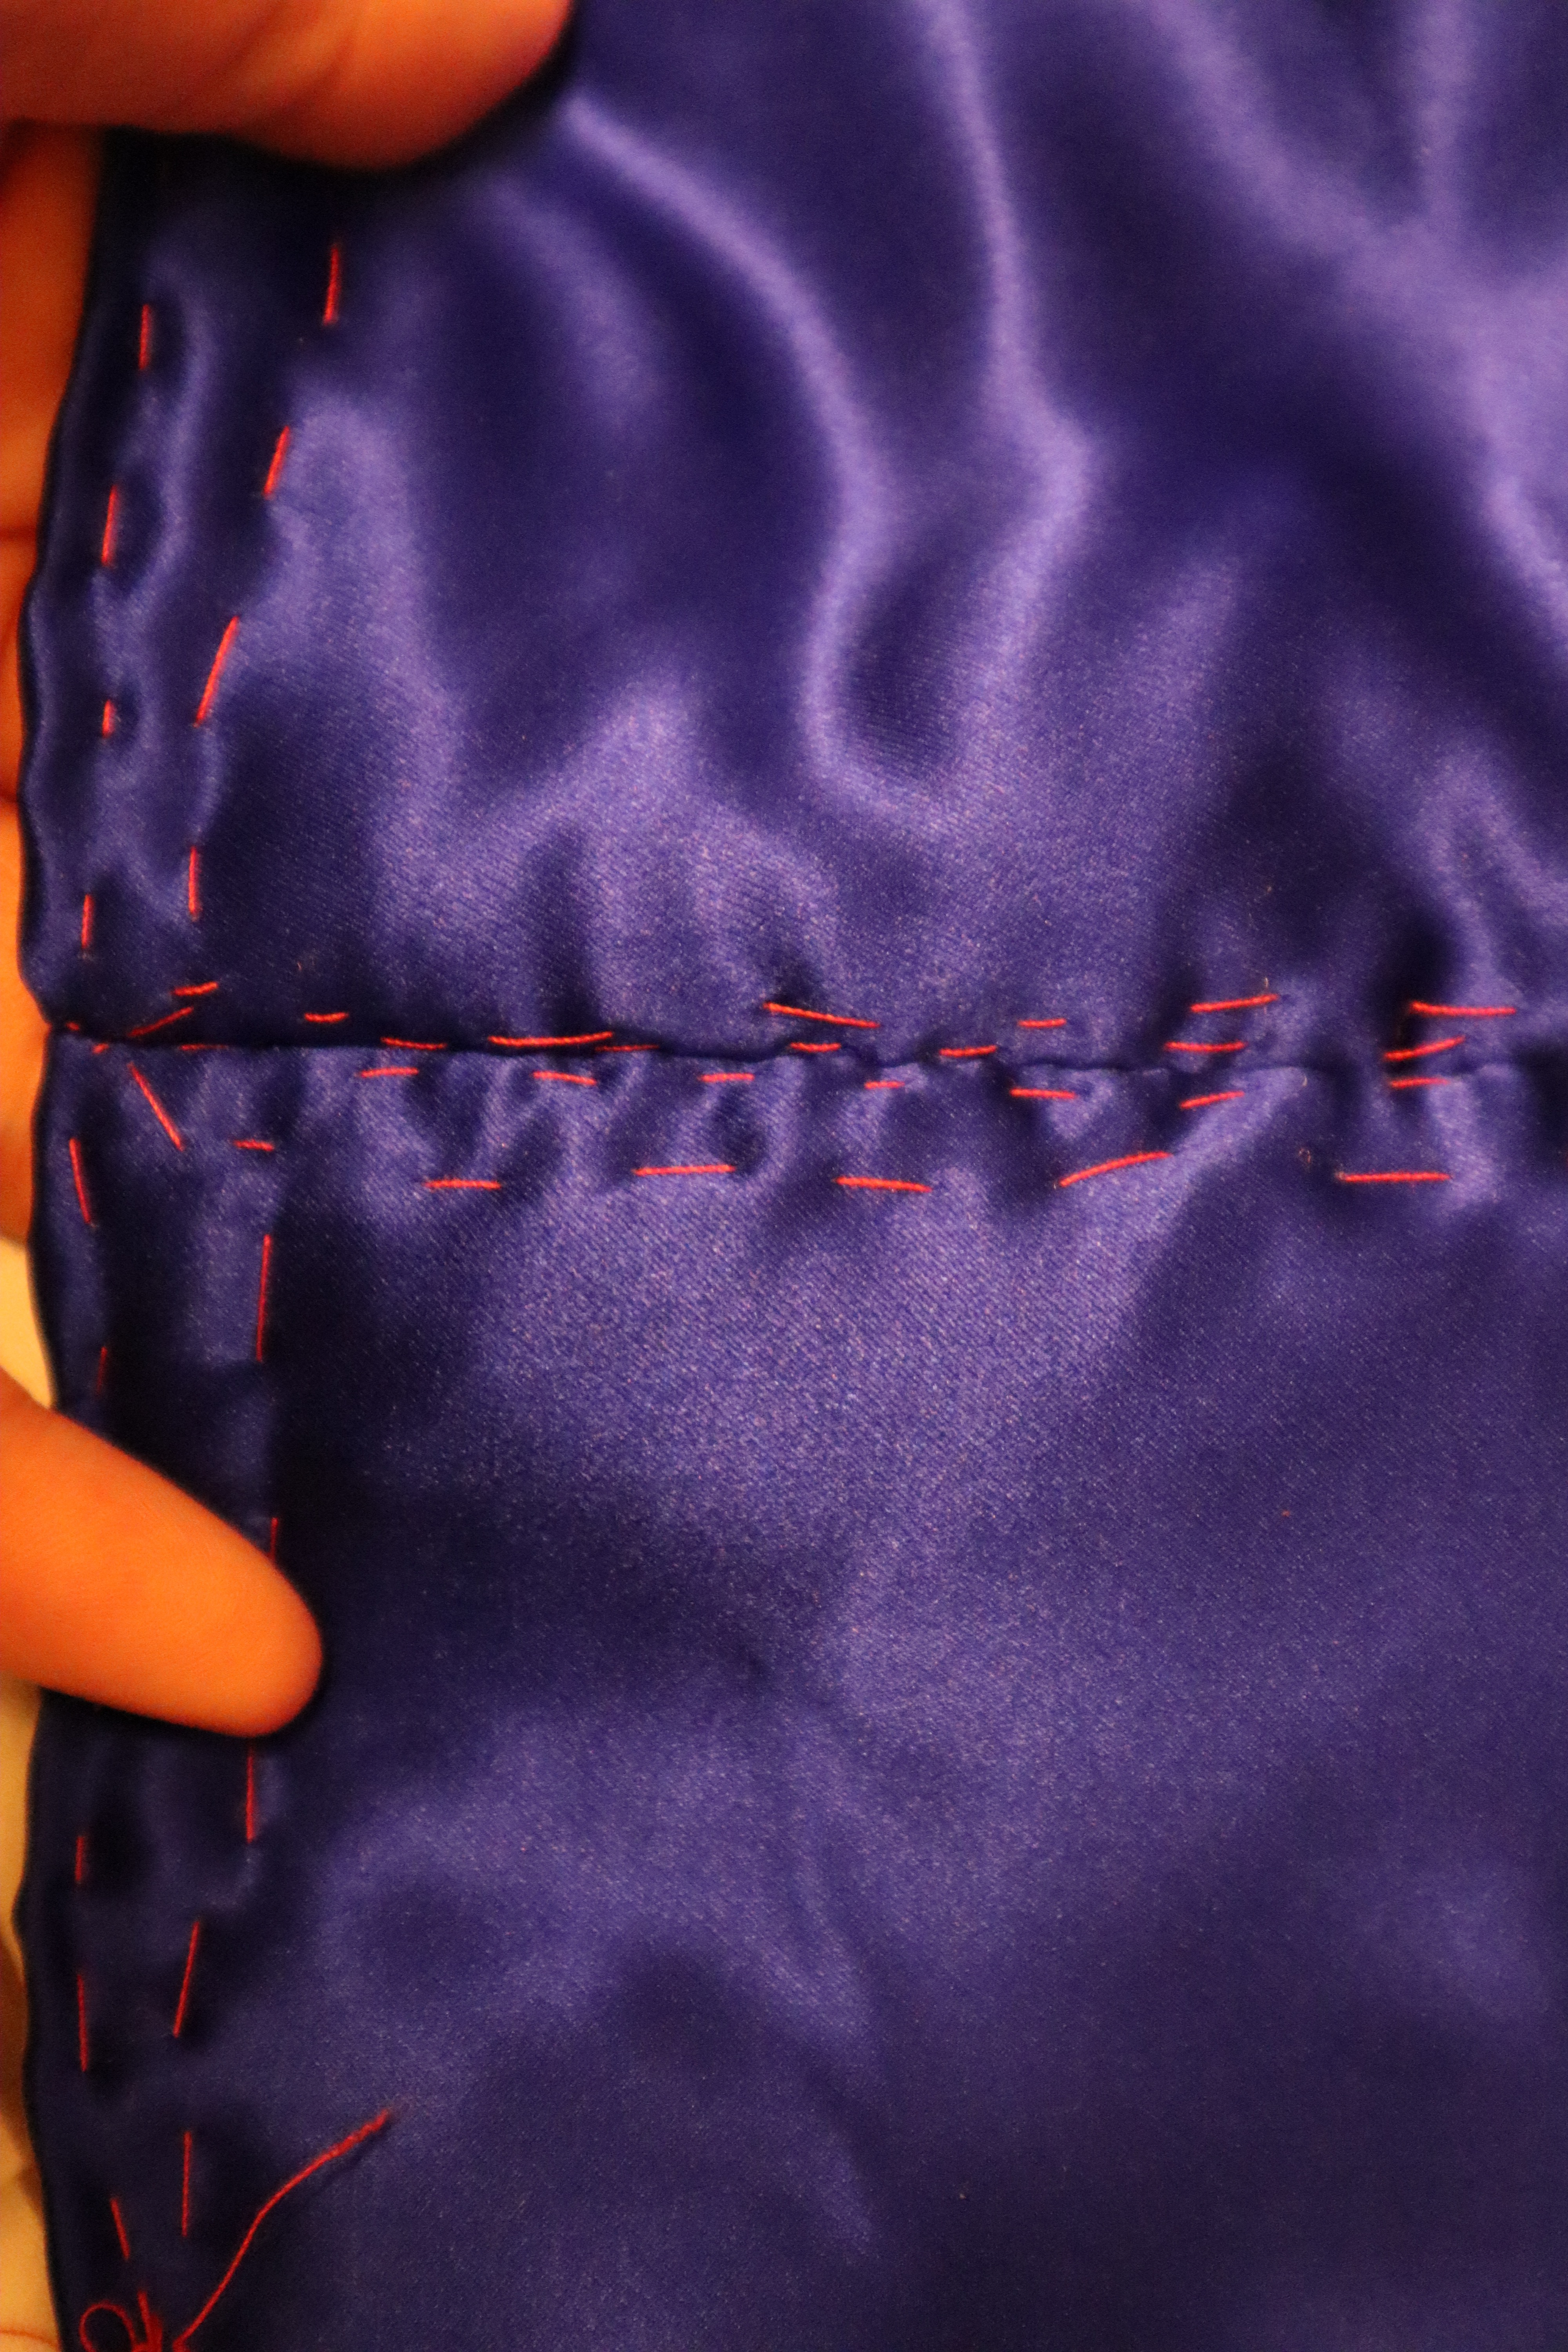
I began by wrapping the silk seam allowances over the edges of the quilted pieces and basting down, flatlining them. I then folded the seam allowances of the cotton lining in and basted those down.

Then, I lined each piece separately, so that I ended up with four finished pieces; the back, two fronts and the hood. I used small running stitches along the edges that would be stitched to other pieces, and a whipped prick stitch on all other edges. The only edge left unstitched was the neck edge.


To stitch the fronts to the back piece, I used what’s called an English seam, for no other reason than that I like it. Ok, that’s not completely true, it is a seam that will give shape and a bit of rigidity to a garment, and I felt like I needed that. But the main reason: it’s a quick, fun seam!


I made a couple of rows of gathering stitches along top of the back seam of the hood, gathered them up, and stitched the back using a sturdy whip stitch.


I also made gathering stitches along the neck hem of the hood, pinned it to the blue silk neckline (right sides together) and gathered to fit.
I stitched the hood to only the blue pieces along the neck edge using a whip stitch, before I folded the hood up, pressed the seam, and folded the lining on the cloak over the lining of the hood, hiding raw edges. The lining was stitched down using a small whip stitch, and I made sure I didn’t go through all the layers, to avoid ending up with a lot of tiny white spots on the back of my neck.


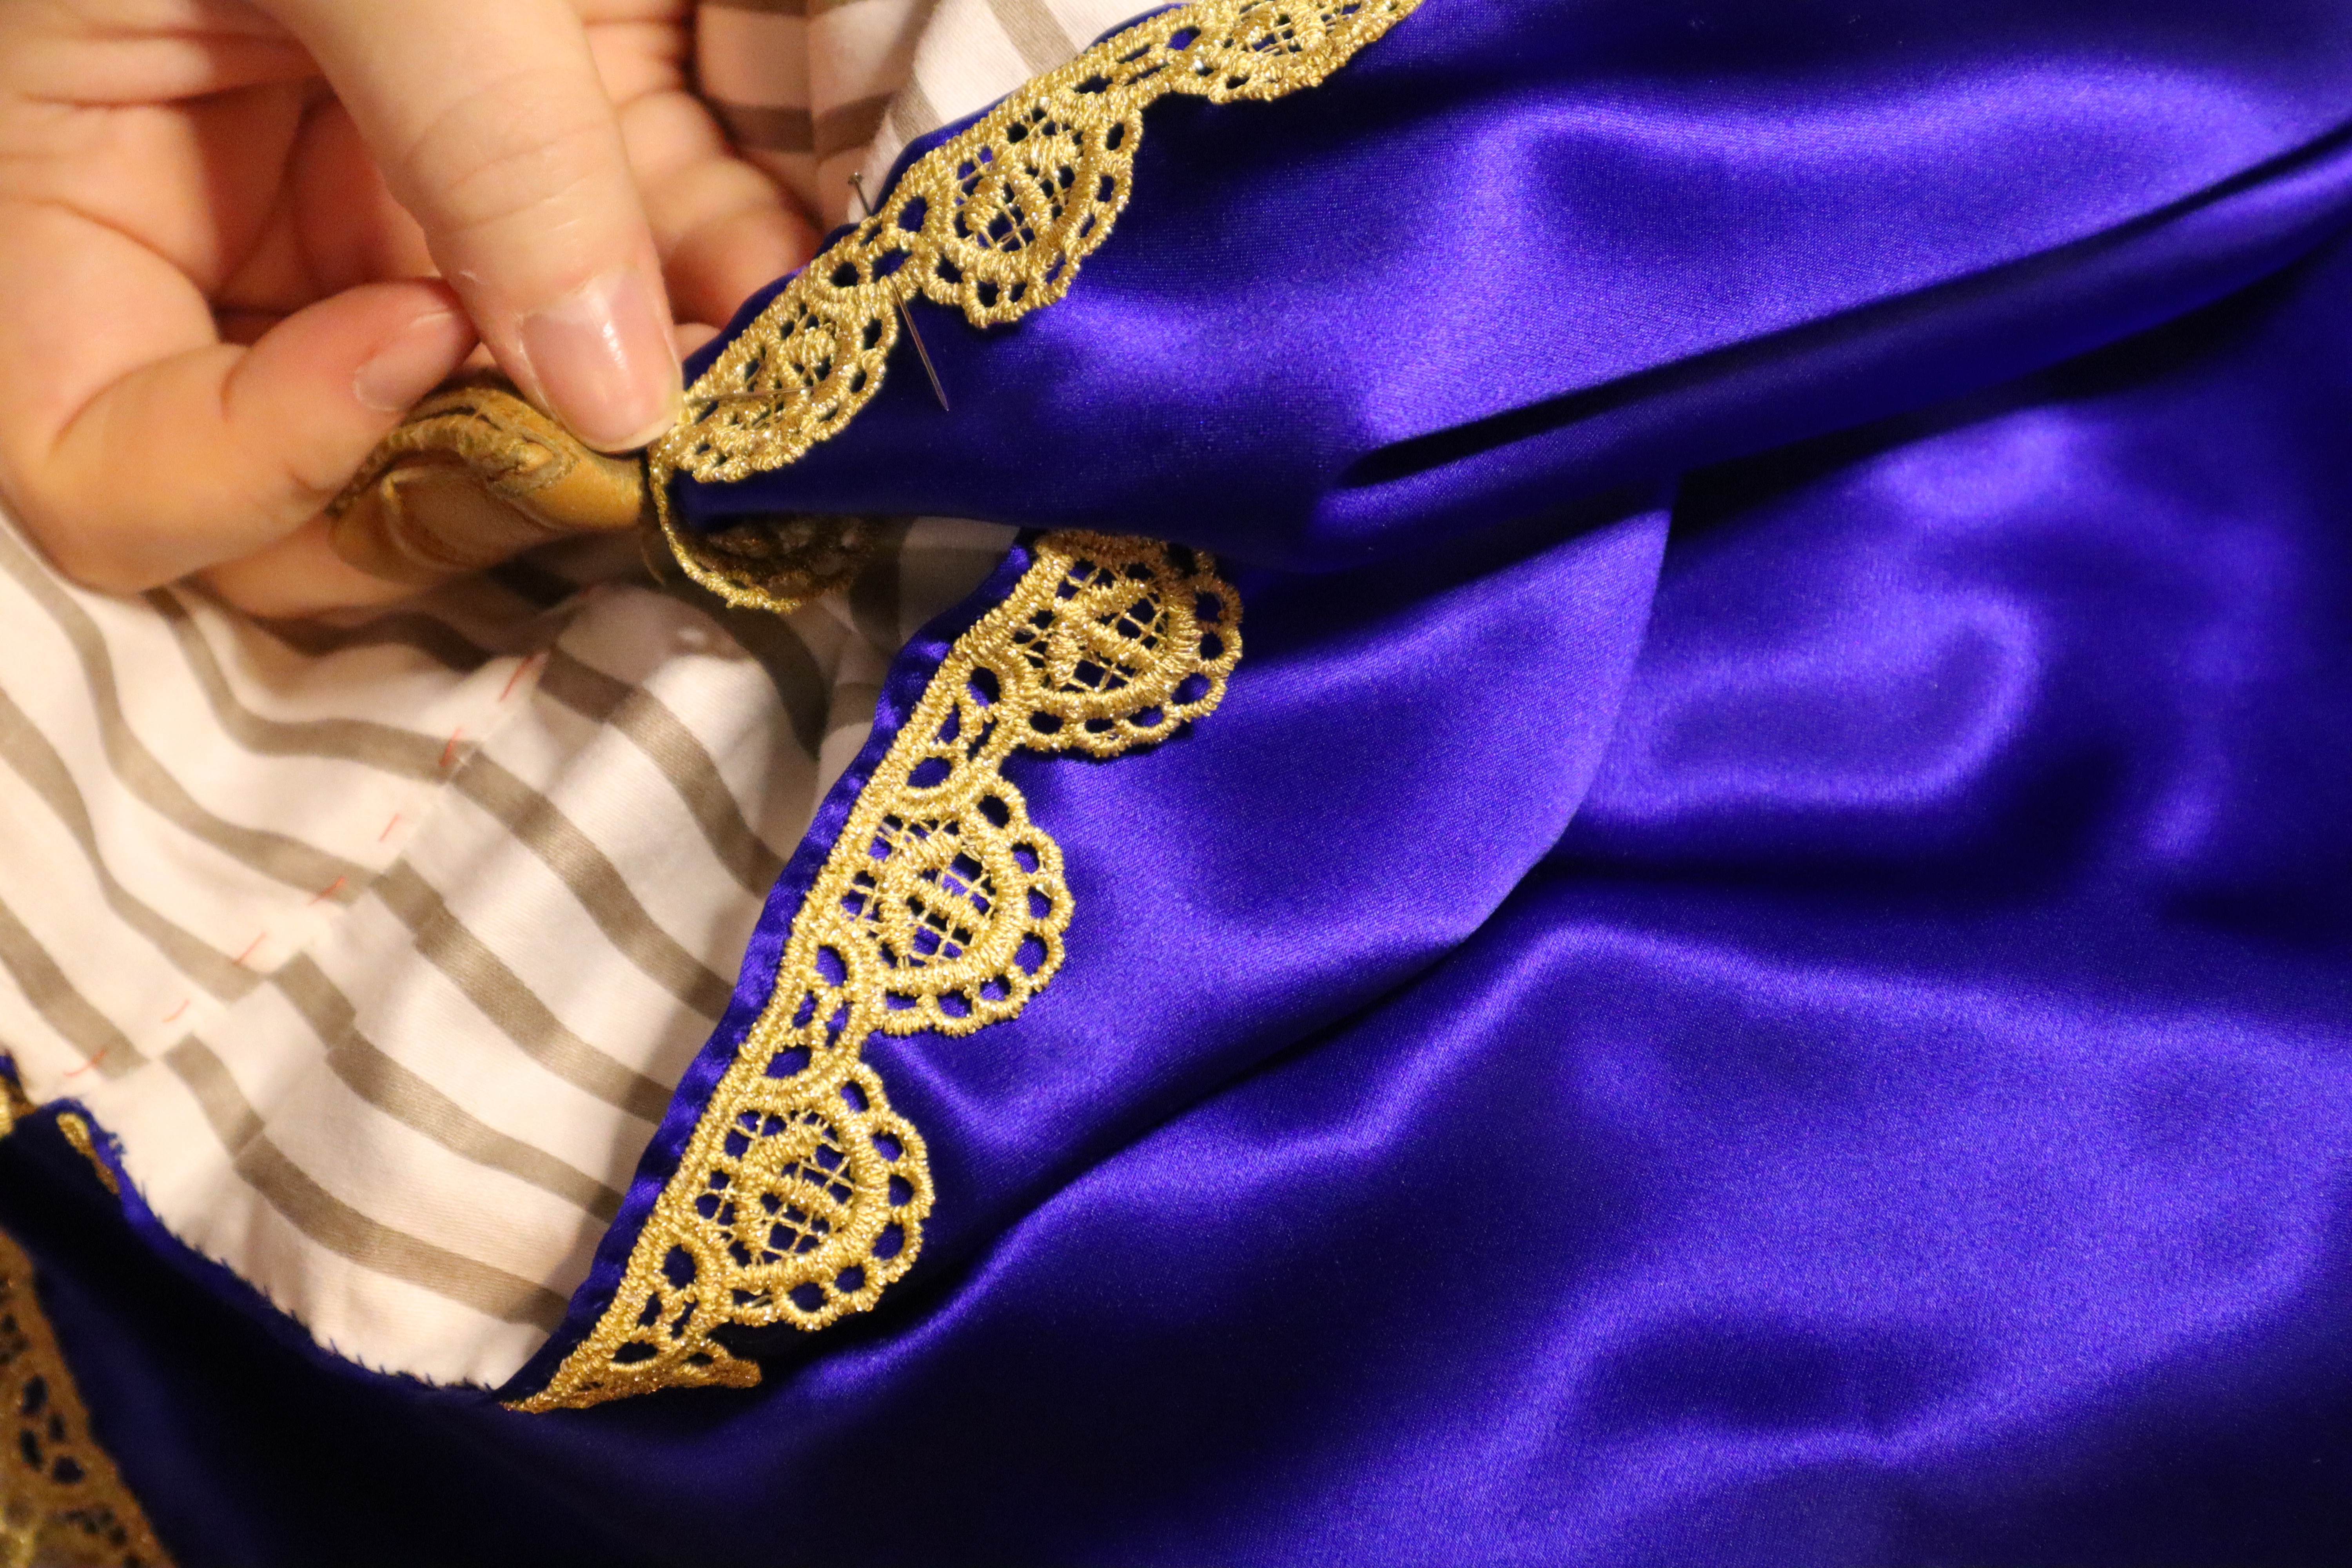
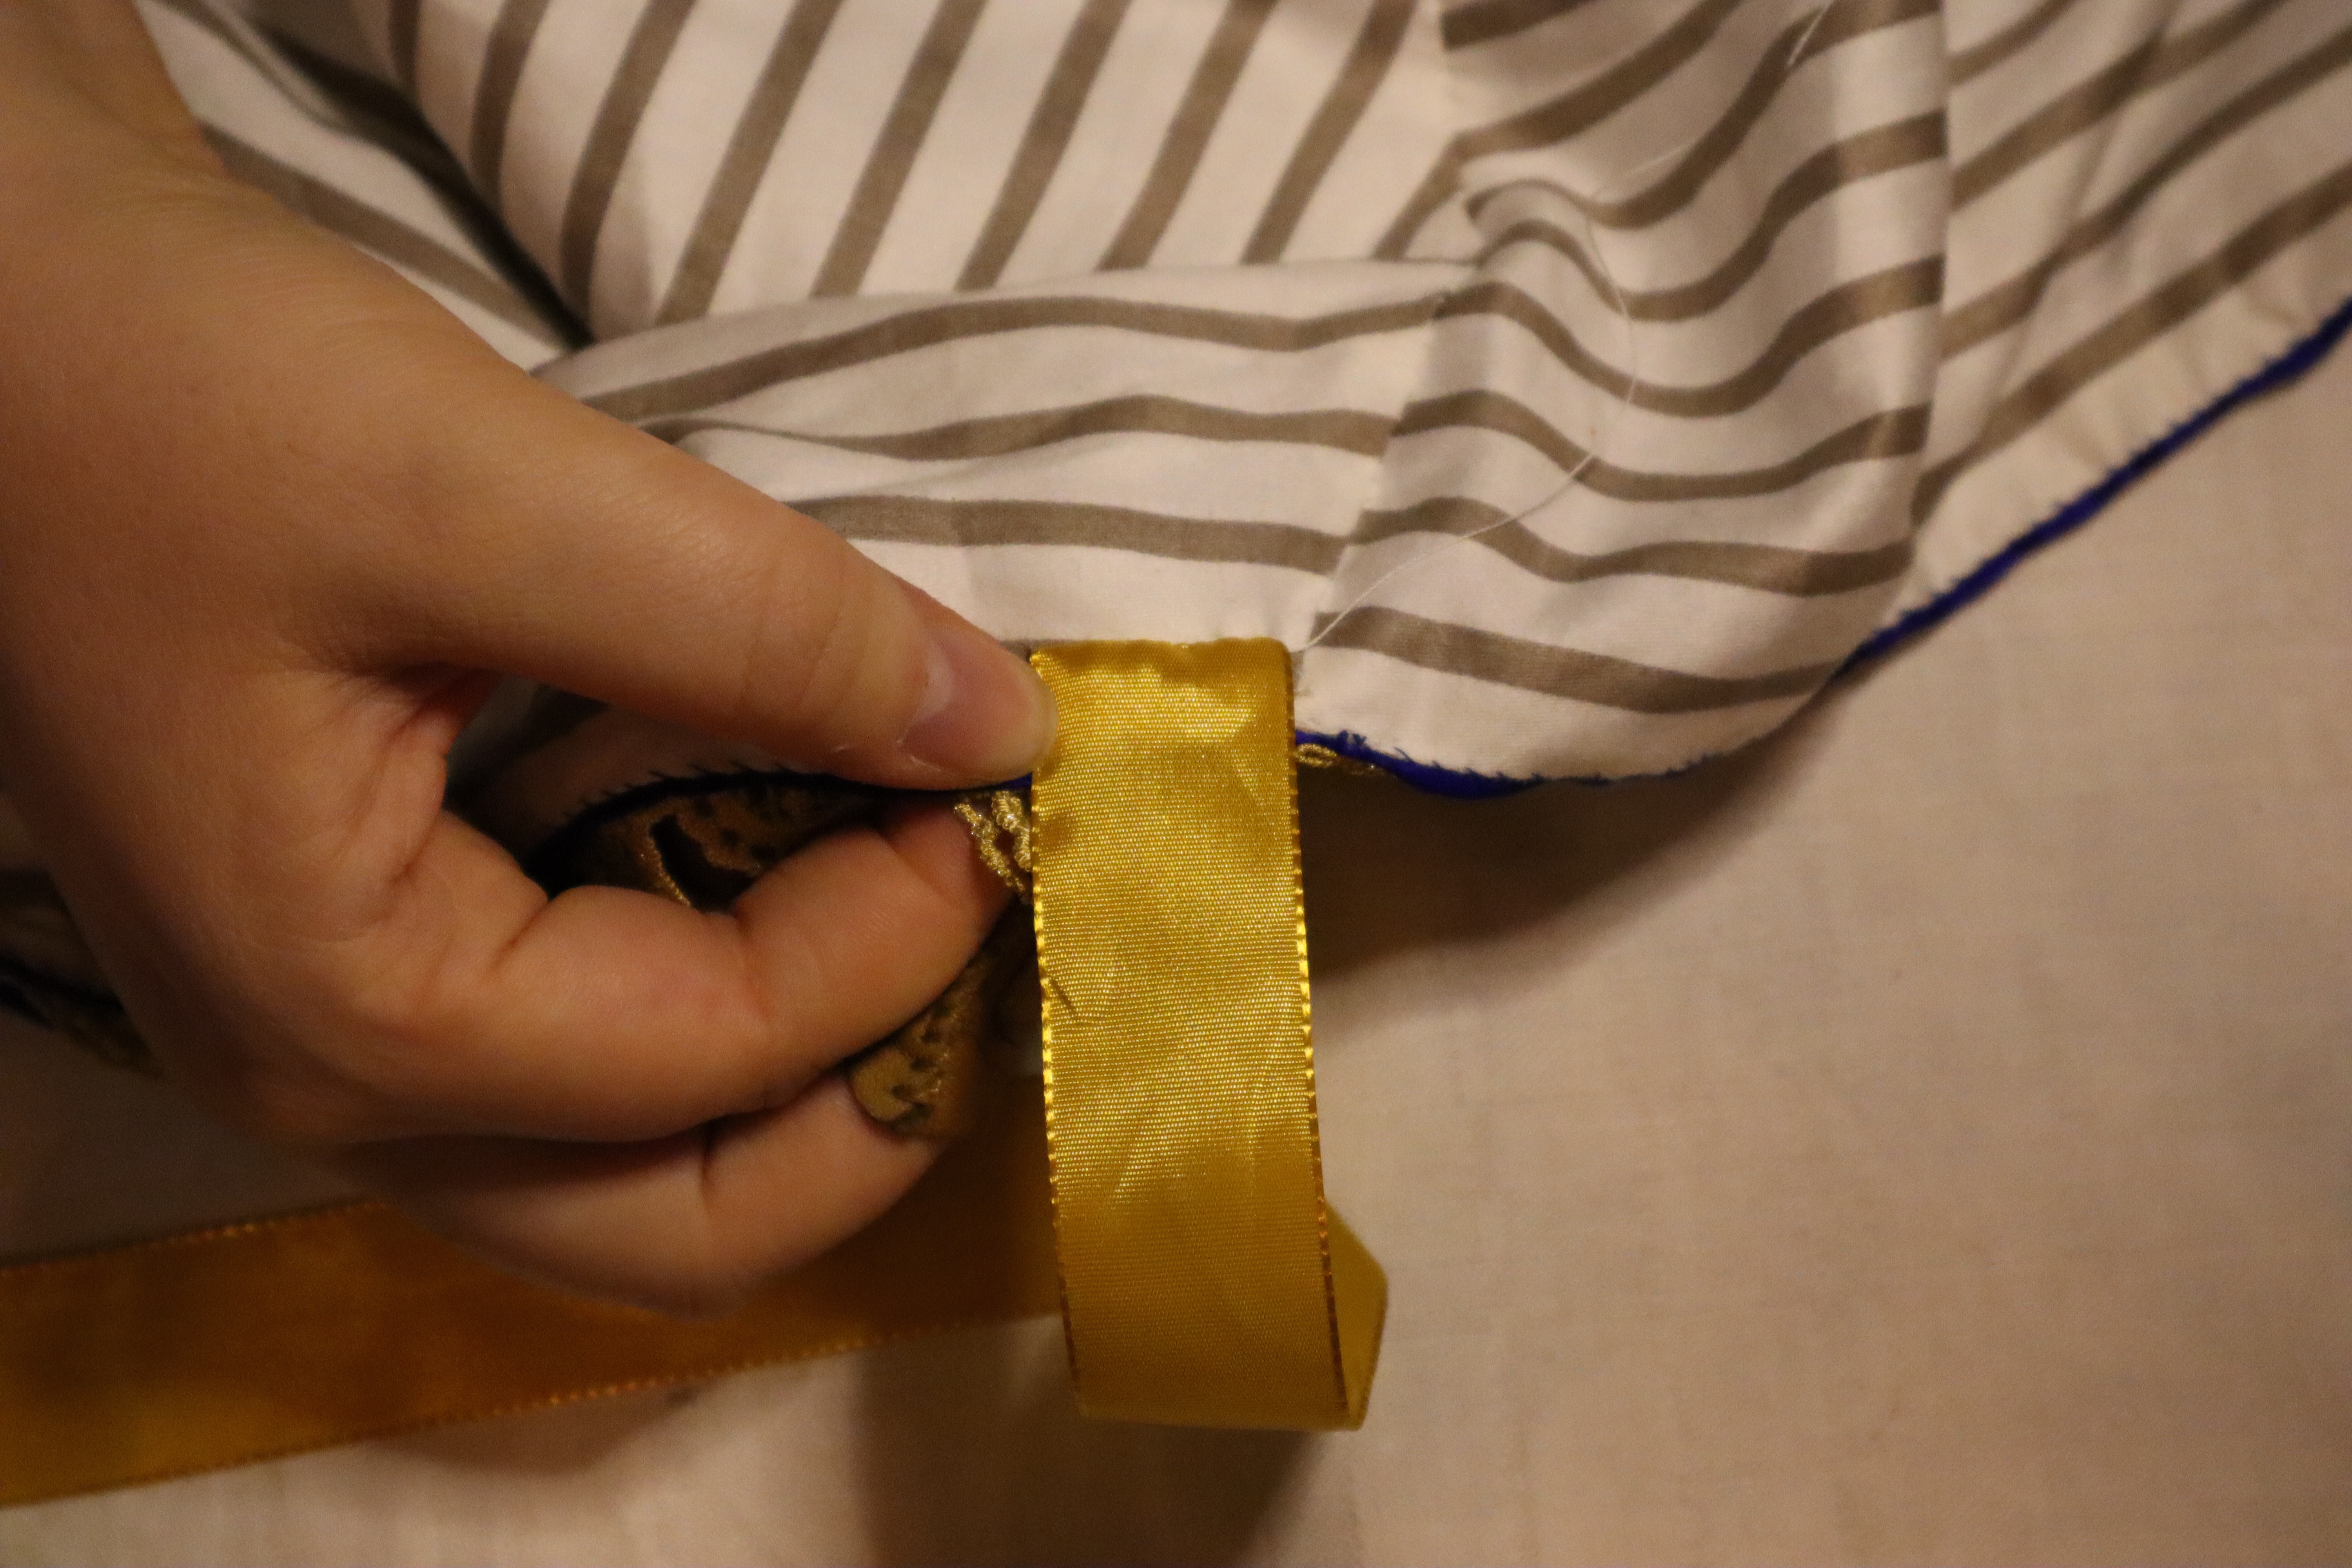
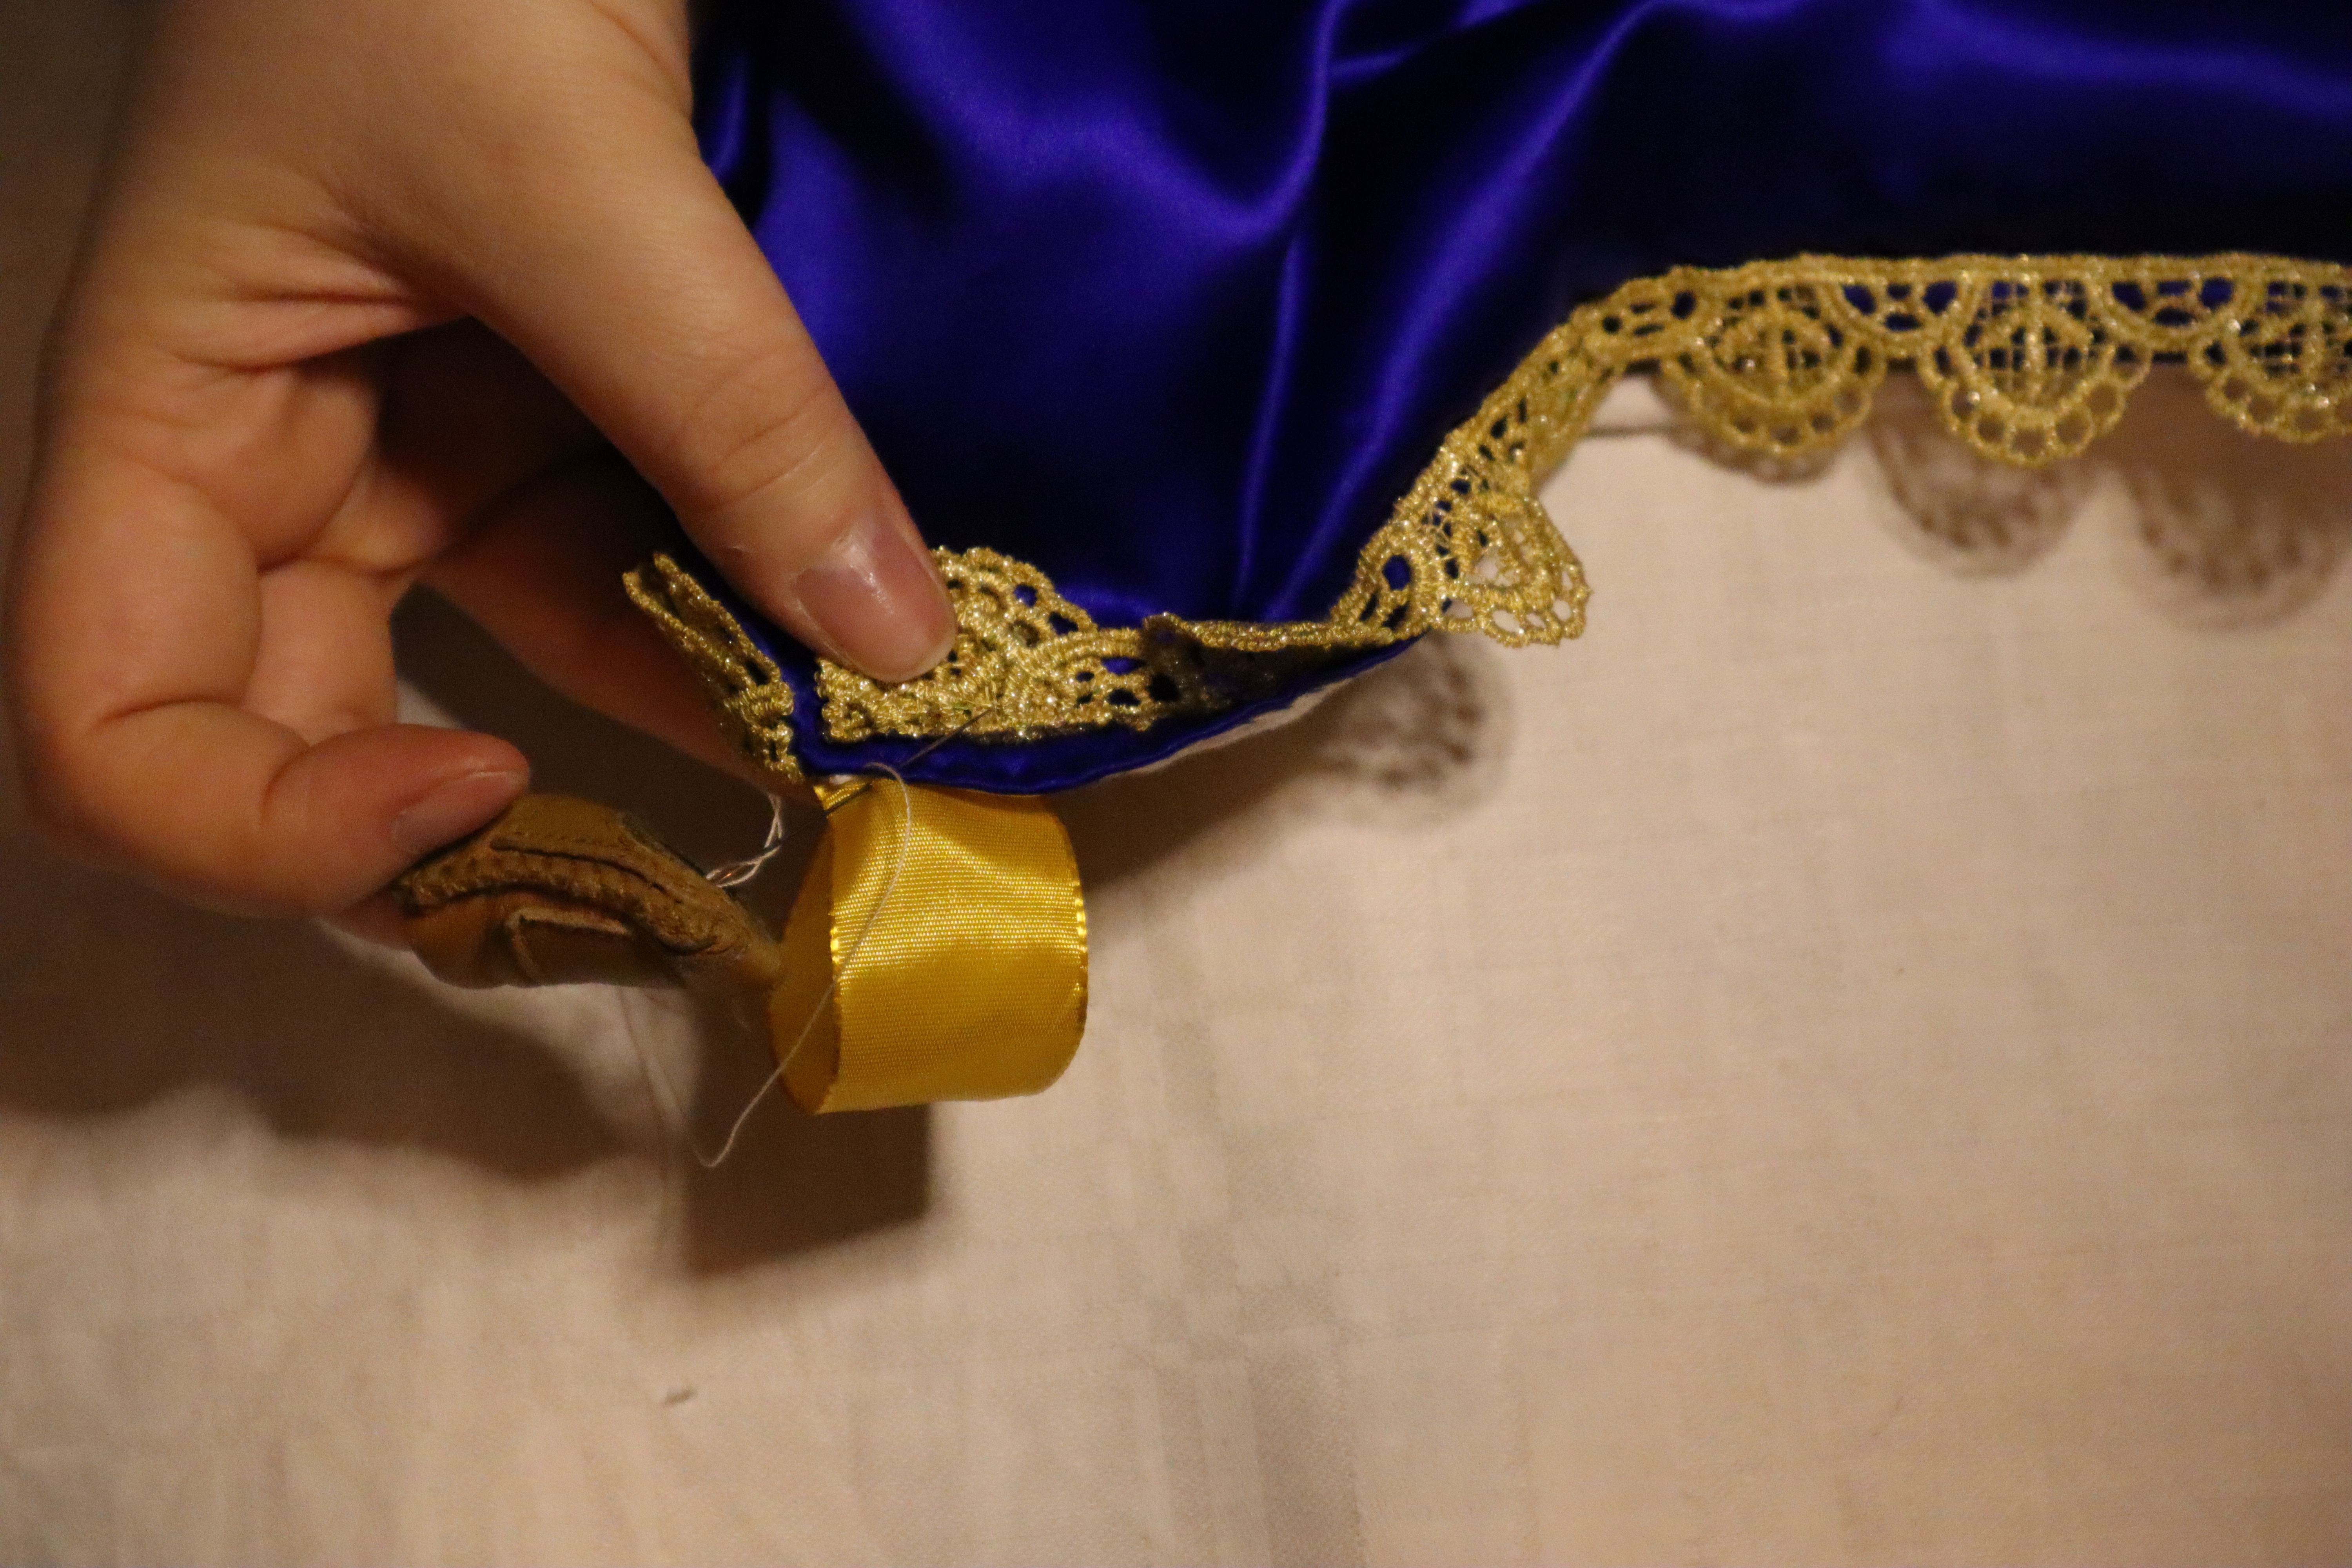
Then came the time to trim! Always the highlight of any project for me. I attached the gold lace up the front opening and all the way around the hem, with the scalloped edge pointing outwards. I used the same lace to trim the hood, but this time with the scallops pointed the other way. I didn’t want them poking forwards when I’m wearing the hood, and I thought it would look nice when the hood was down too.
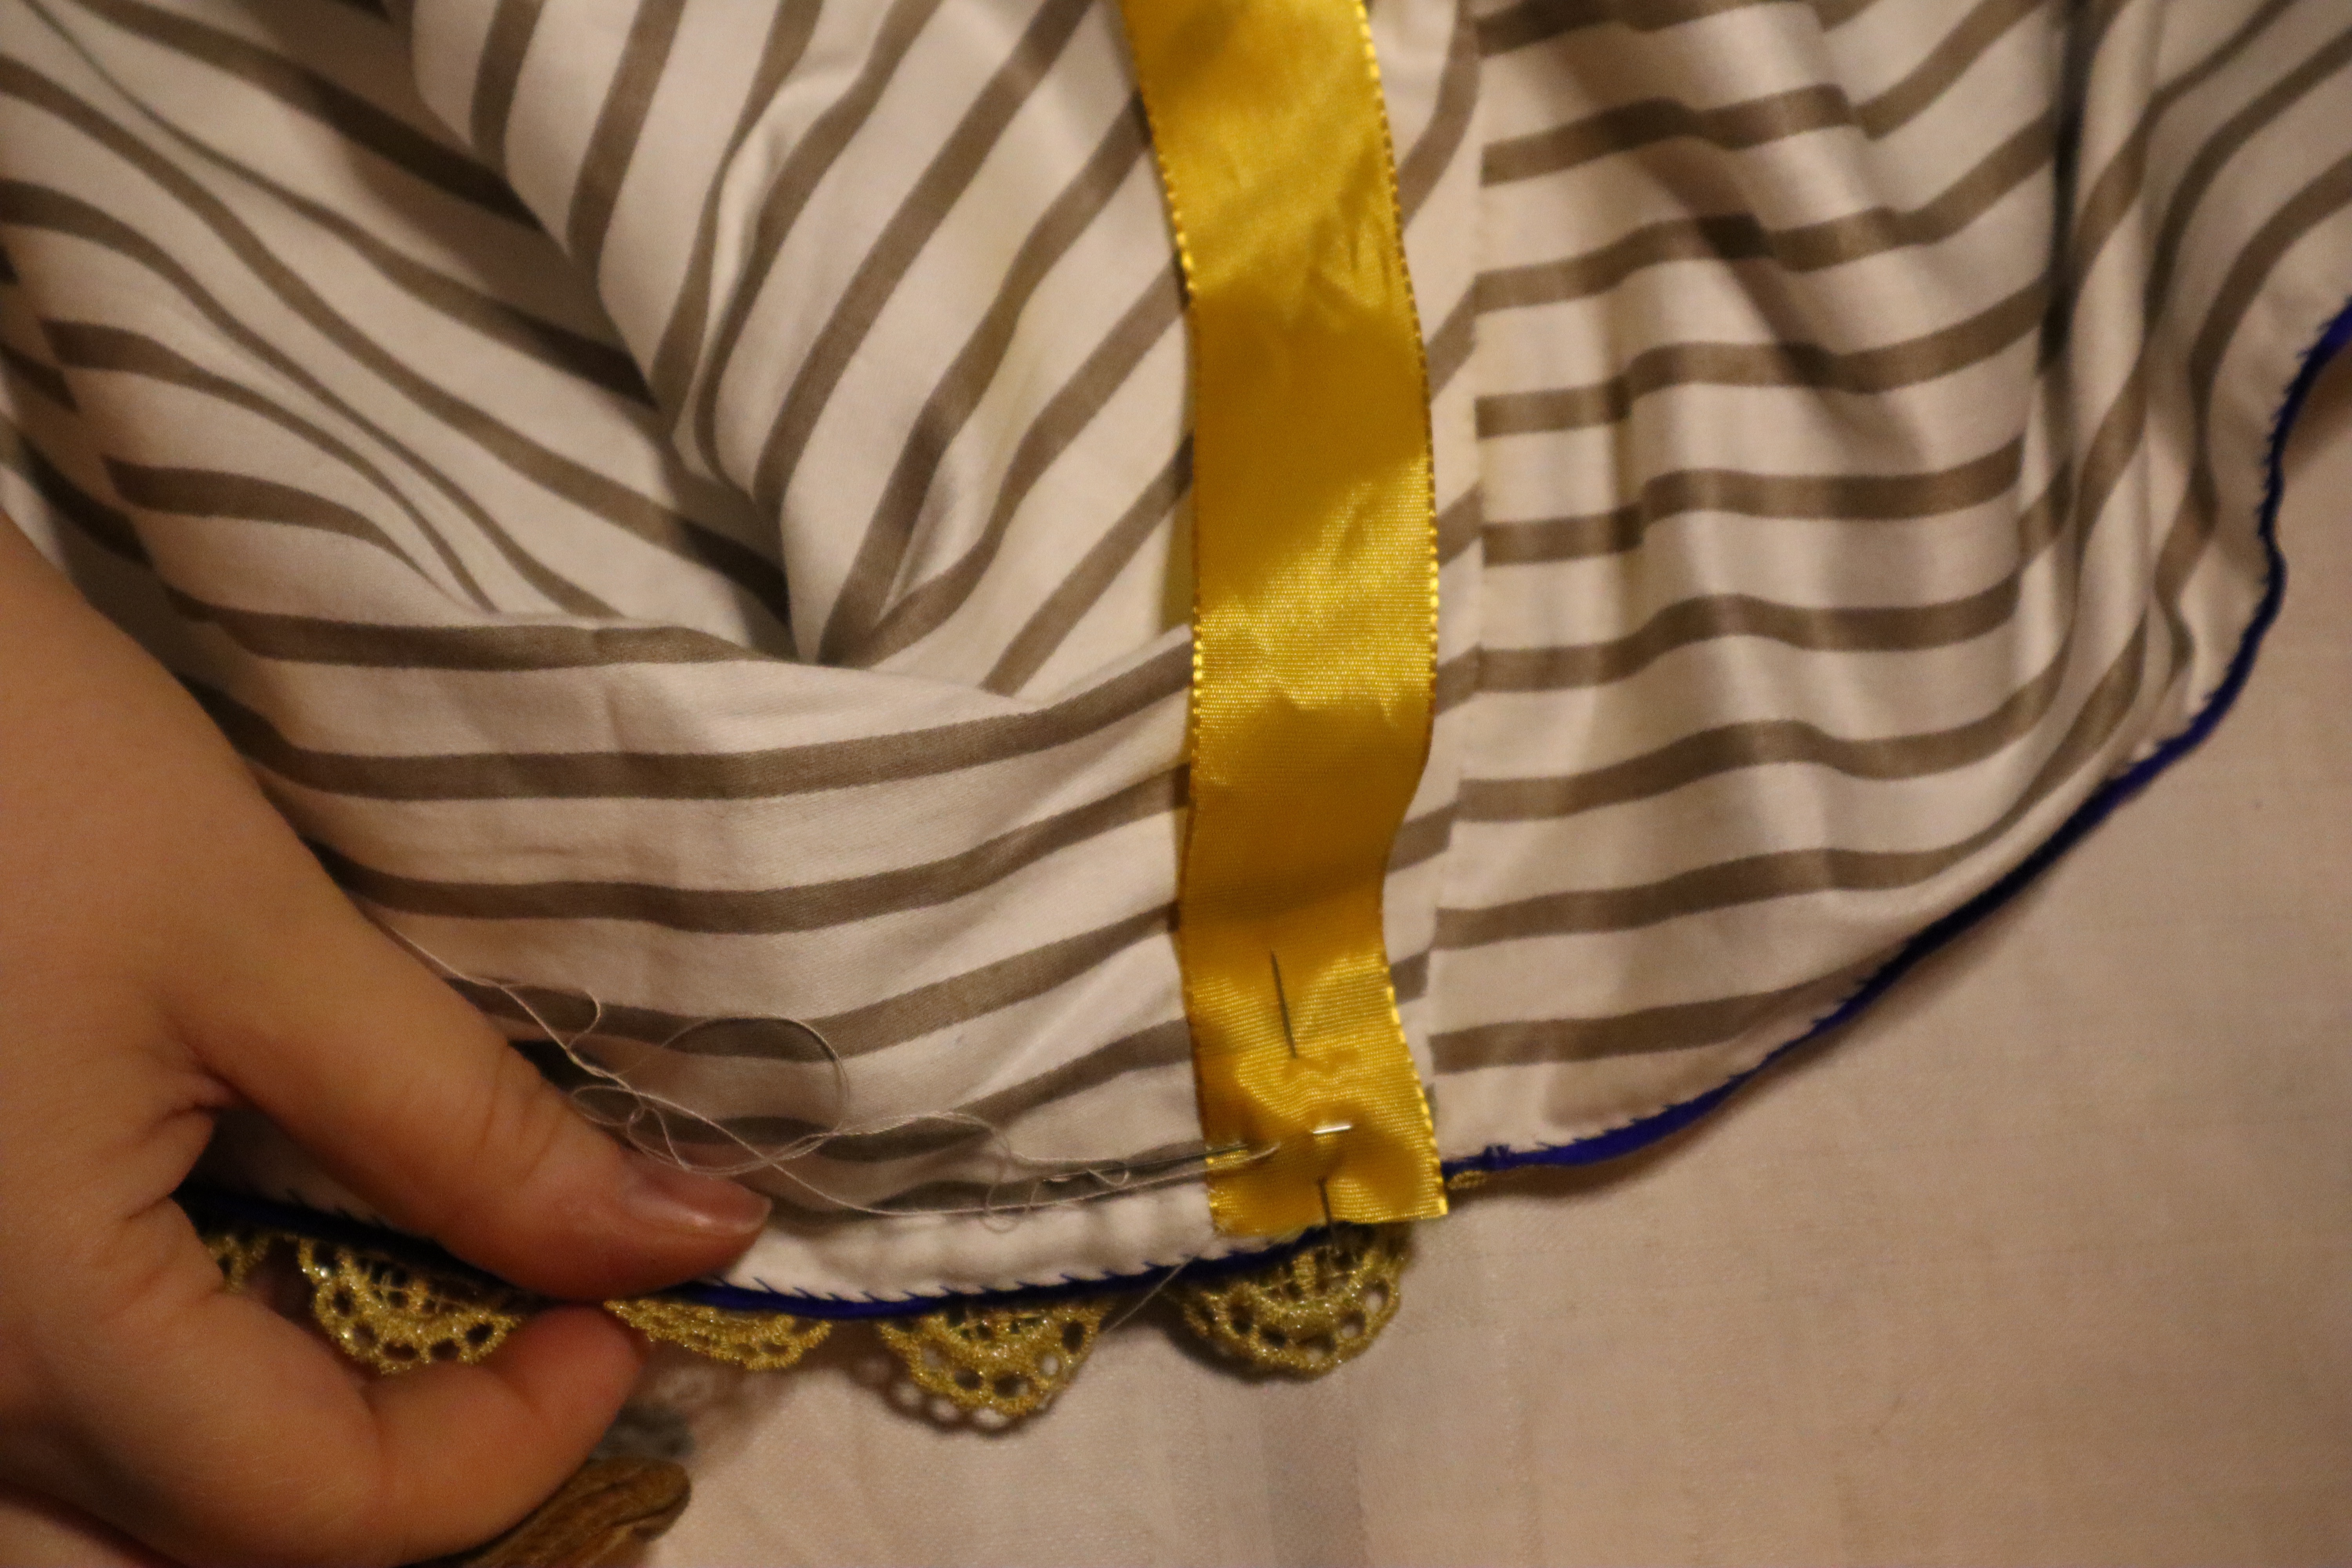
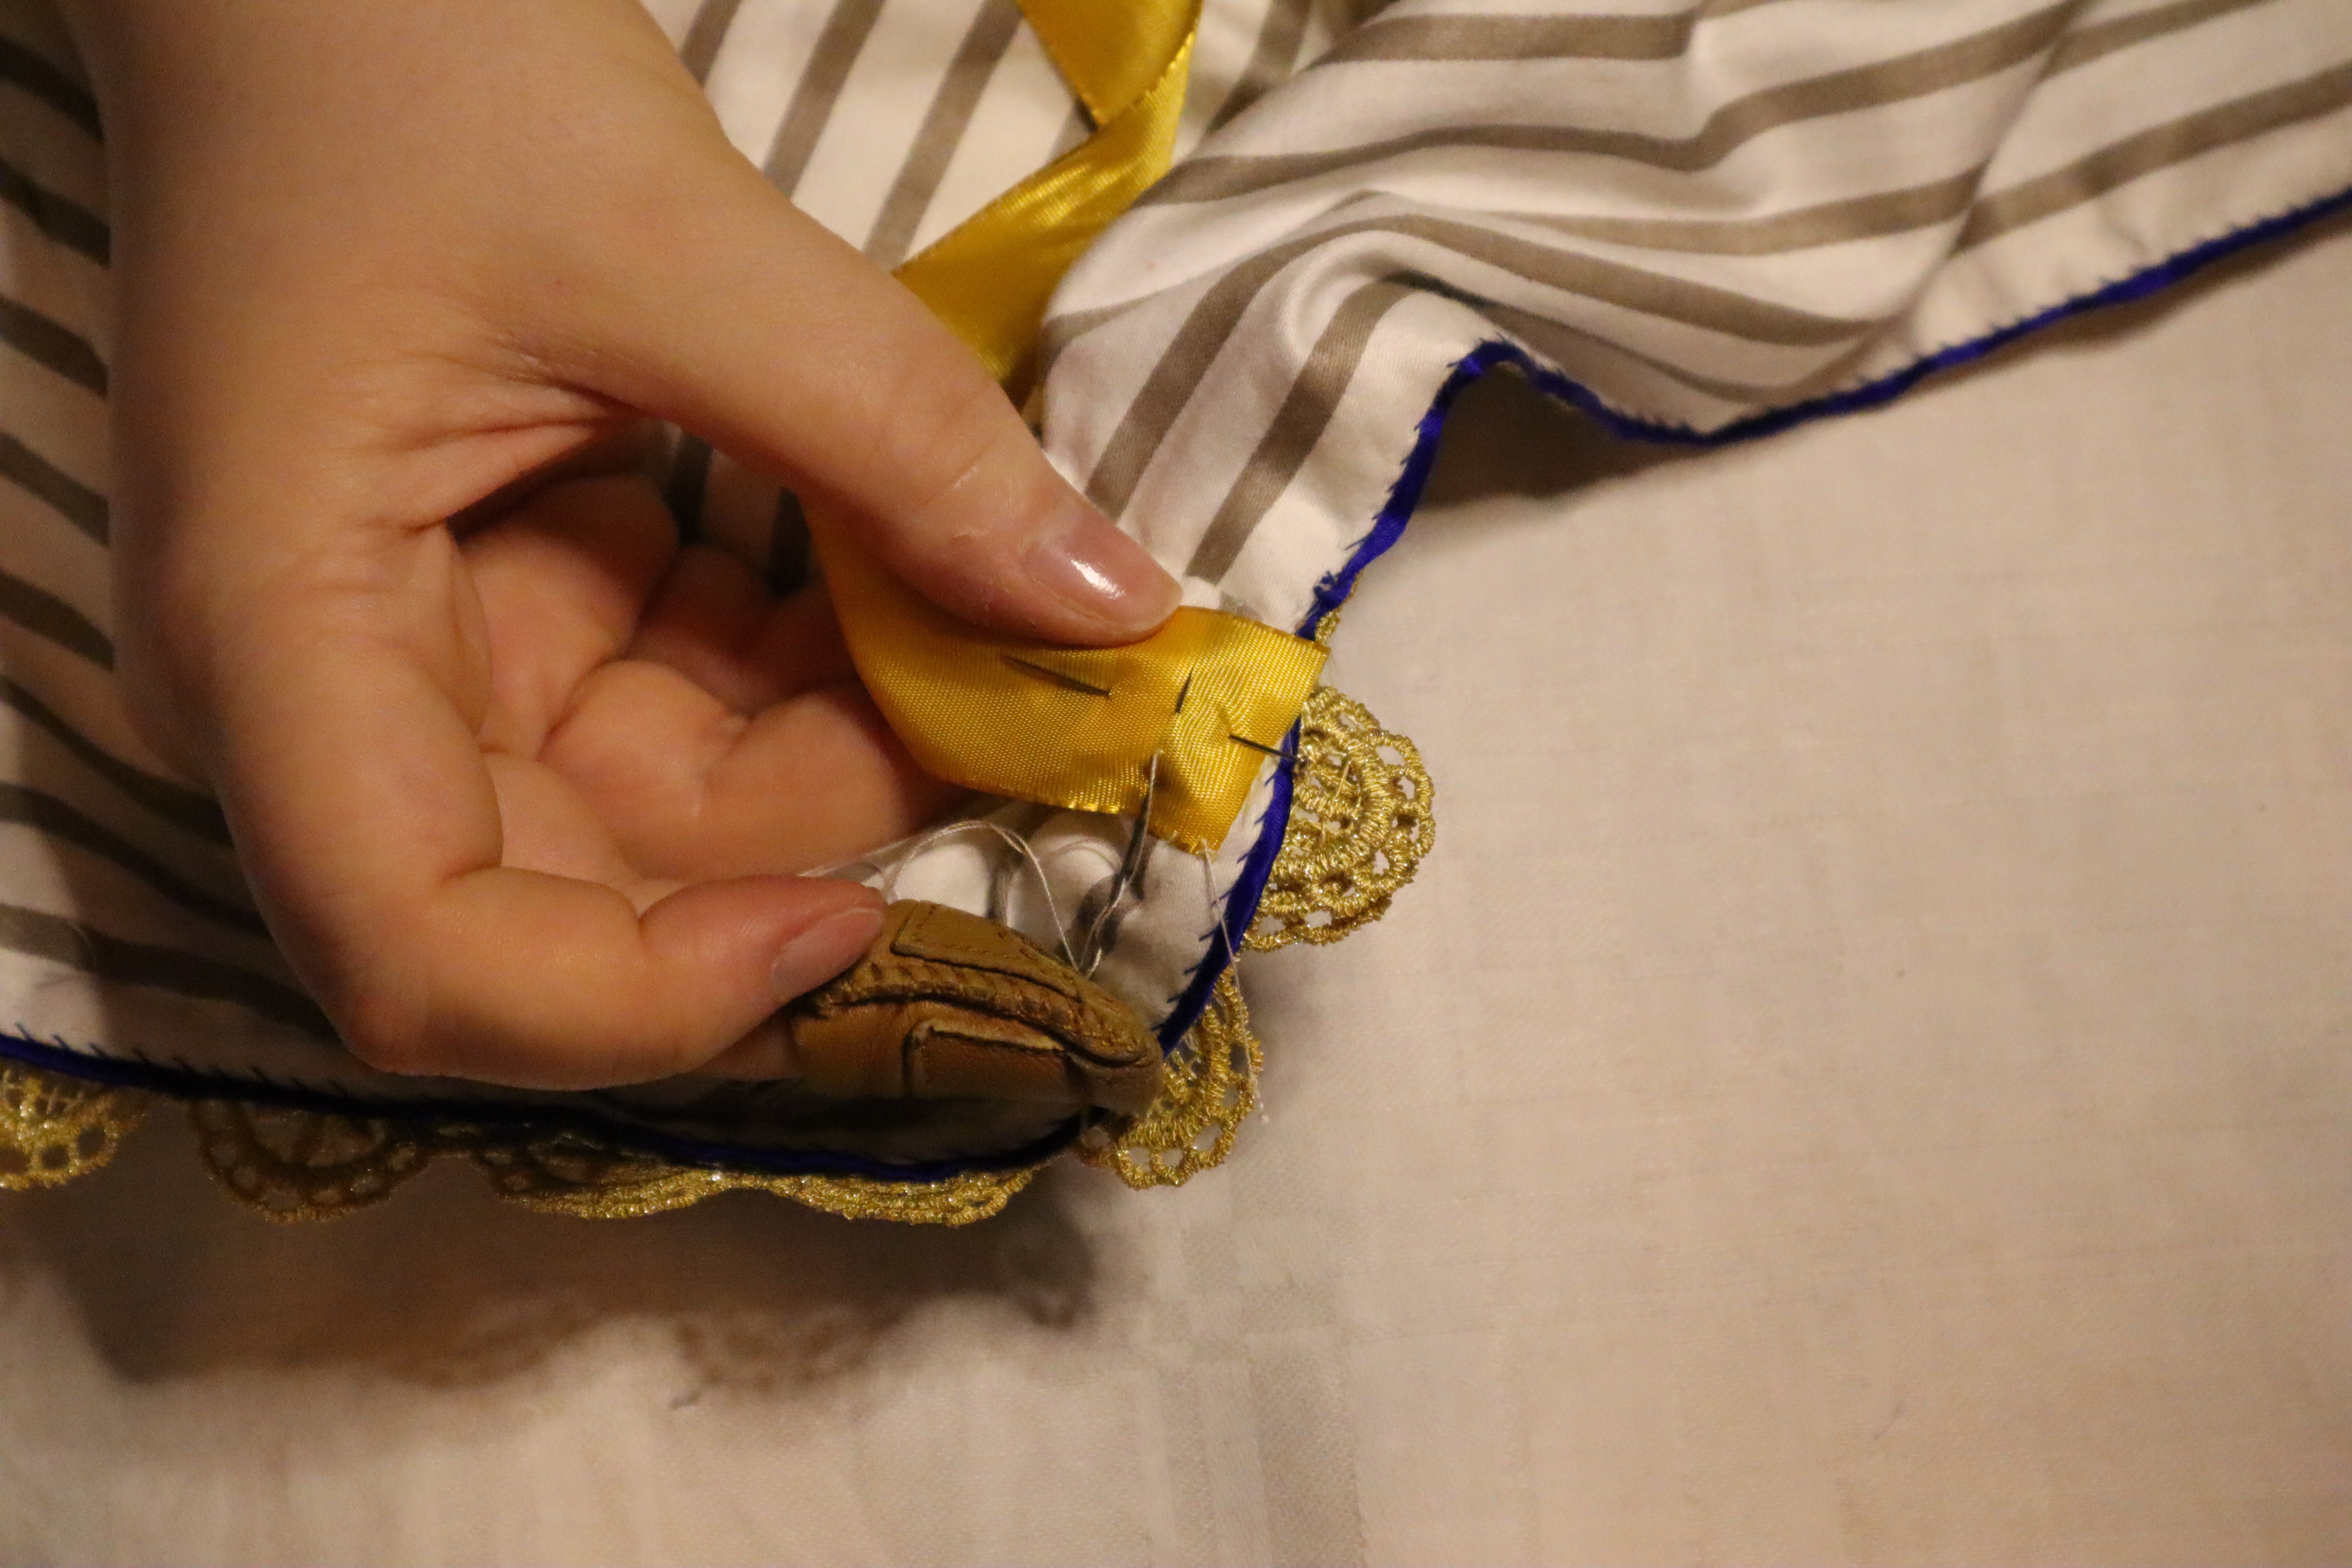
Finally, I attached ribbons at the neck edge. I tried to find some golden ribbons, but the result was a little more blue and yellow than I planned, which isn’t a bad thing these days.


All in all, I’m really happy with the cloak, and the way you can just about see the quilted pattern under the thin, float satin. It’s beautiful!