I like skirts. I like dresses too, but skirts are so simple to sew, and can be used with everything. I wear them on top of dresses, with blouses, sweaters, T-shirts and a cardigal…
So I thought I’d teach you the simplest way of making a skirt. This is the most useful skirt. It can be used as a petticoat for a circle skirt, under a different skirt or dress with some width, or alone. I chose black, because I want to be able to use it with all kinds of outfits, but you choose the colours you want. My fabric is super-duper ordinary black cotton from IKEA. I used a little less than 3 meters, but for a longer skirt, I would probably have need 4 or 5.
First: Some maths!
Before you start, you need to decide how many tiers you want. I wanted 3. Then you must decide how long you want your skirt.
I wanted my skirt to reach to my knees. From my waist to my knees, I’m c. 65 cm. Divided by 3, this makes 22 cm. Adding 2 cm of seam allowance, I ended up with each tier being 24 cm wide.
Now, measure your waist. The first tier of the skirt is your waist measurement times 2. The second tier will be twice the length of your first tier, the third tier will be twice the length of your second.
If you want more than 3 tiers, you have to do the rest differently, otherwise you end up with impossibly long tiers. Instead of doubling the tiers, you add your waist measurement to the lenght of the last tier.

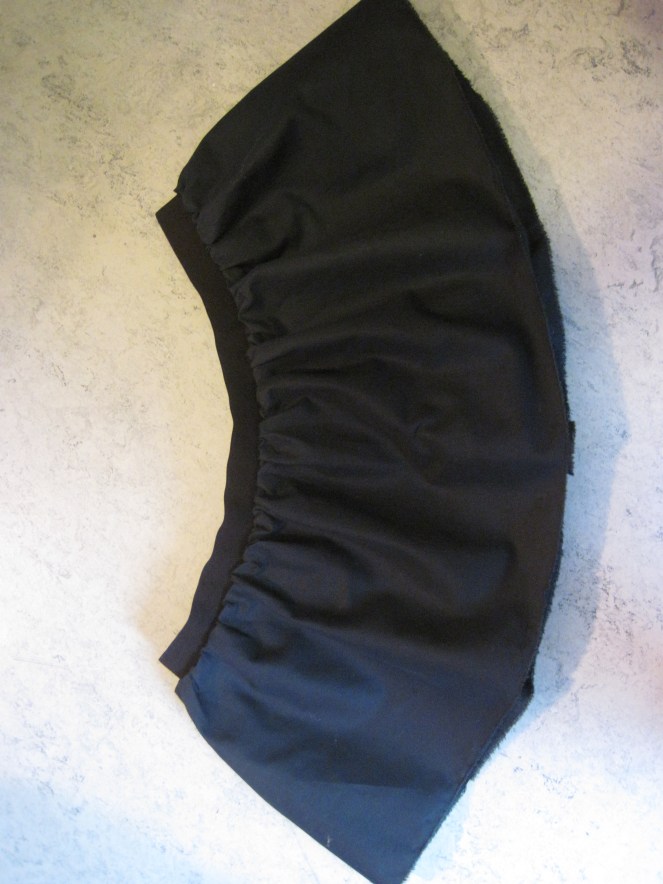
Iron all your pieces, this makes them easier to work with. Sew each tier into a circle. Make sure all your seams end up on what will become the inside of your skirt… (I learned this the hard way)
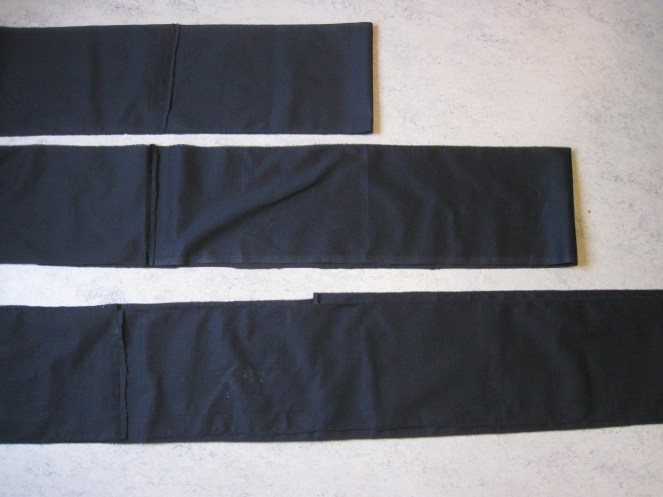
Press your seams.
You have several options in making sure your skirt doesn’t fall off you. You can make a drawstring casing on topp, making a waistband, or use elastic. I went with the latter.
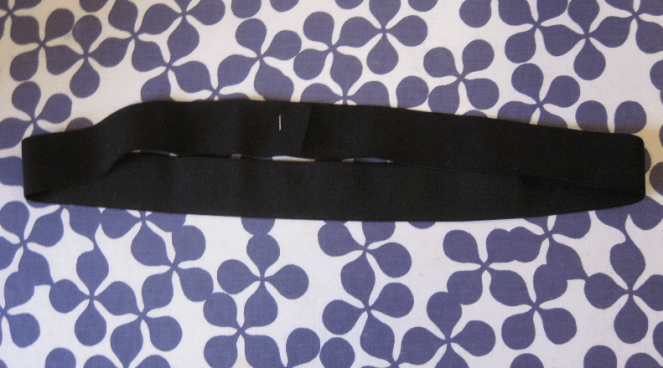
I took a piece of wide elastic band, long enought to be comfortable around my waist, but not to loose. I fastened with a pin, and tookit off, to make sure I could actually fit it over my hips and/or head. Then I sewed it into a circle.

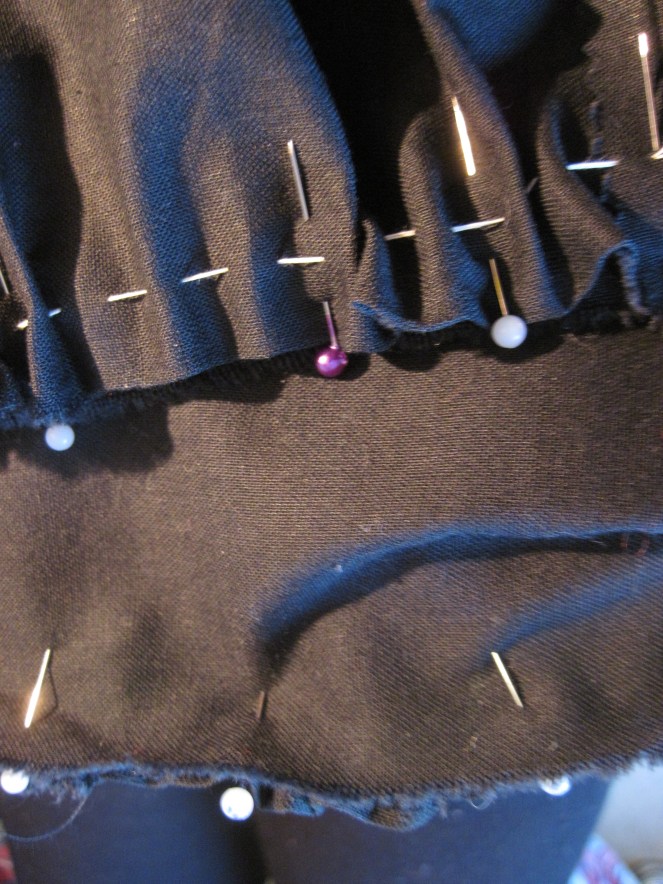
Folding the elastic in half, marking the fold with a pin, then folding it once more, marking the new folds with a pin. I then did the same with the top tier. Matching pins, I attached the tier to the elastic, right sides together.
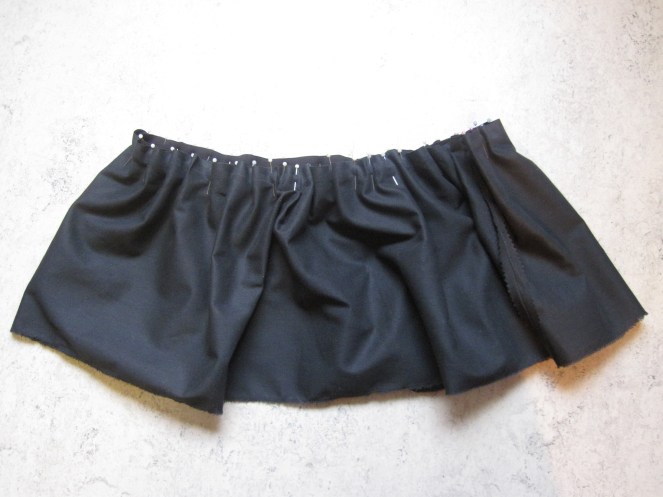
I pinned the rest of the tier to the elastic, making sure to stretch the elastic as I did so.

Then I sewed the elastic to the tier, holding taut while doing so.

The result, on the inside…

… and on the outside! Press the seam to make the elastic lie flat.
OBS! Use a towel or a piece of cotton fabric between your iron and the elastic, so you don’t melt it.
Then on to tier number two! Which has to be “shrunk” to fit tier number one. This can either be done by rouching…
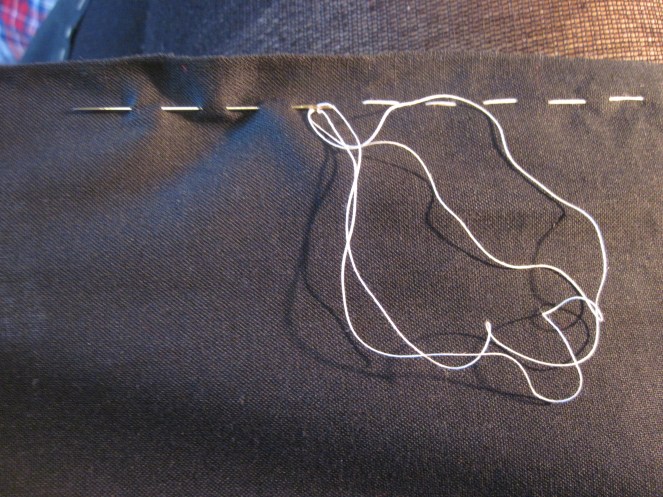
… done by sewing, in a strong or double thread, with big stitches along the top of tier number two, as shown above. Use shorter threads and make knots along the way to avoid the irritation of having one long thread that breaks when you tighten it.
When you’ve come around the tier, you tighten the thread and pin the now rouched tier number two to tier number one, right side to right side. Sew.
There is your second tier fastened, and you can remove the thread you used for rouching!
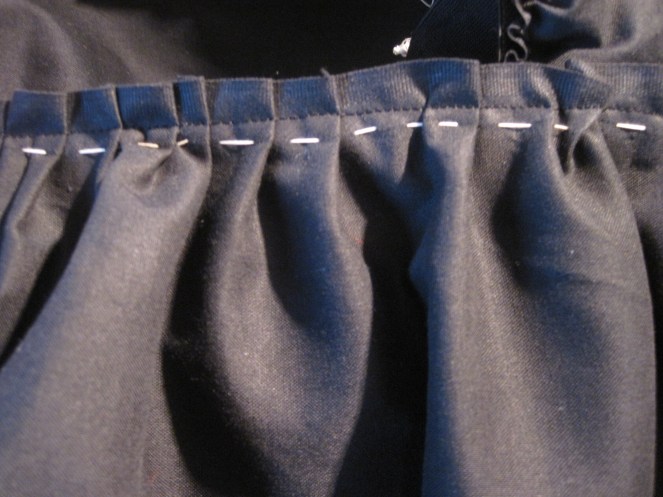
The other method is pleating. It takes a little longer, but I prefer it, as it gives me more control over how the fabric is distributed.

Fold one tier in two, then in four, then in eight, then in sixteen, marking the folds with pins. Do the same with the other tier. Right sides together, match pins. Pleat the surplus fabric.
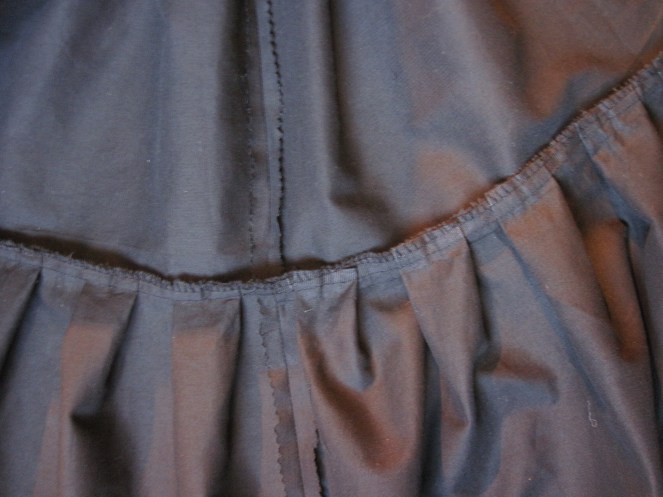
If your fabric tends to fray, overlocking the edges might be wise. If you don’t have an overlock machine (you don’t need one, I don’t have one) you can zigzag the edges or use pinking shears. The image above shows both.
Turn your skirt, and press the seams.
Continue doing the same until you have all the tiers you want.
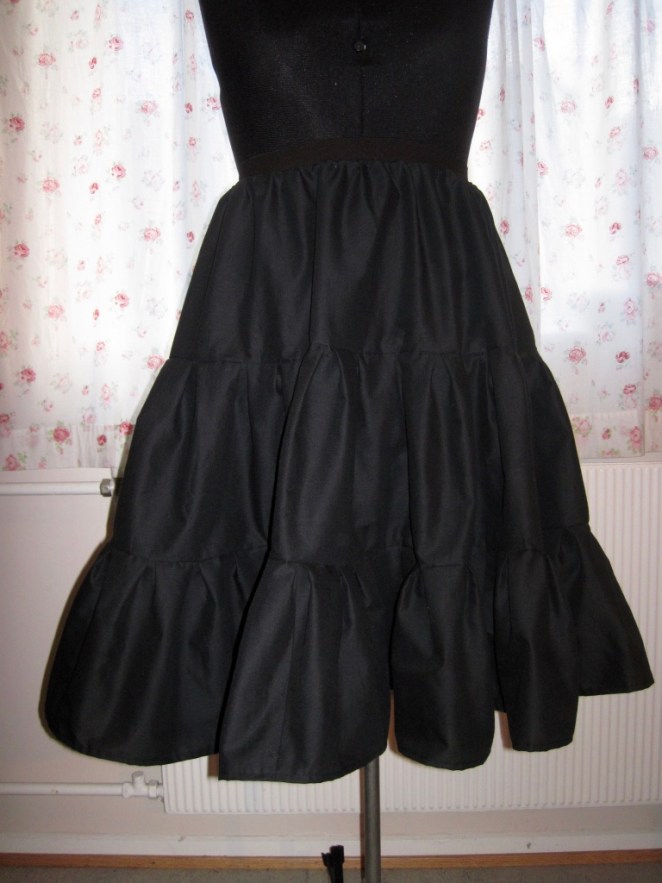
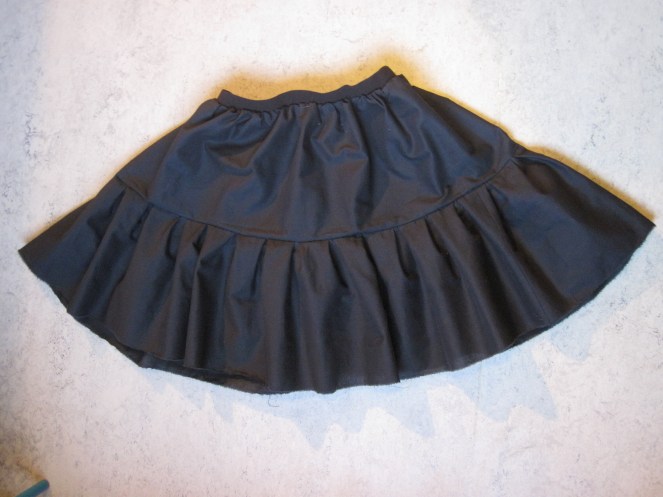
This is the finished product! The hem was just folded twice and stitched down. There is no skirt I’ve used as much as this one.

Hi thanks for posting thhis