The Ann Bamford Inventory saga continues! In this chapter: White silk cloaks. Mrs. Bamford seems to have had an affinity for cloaks in general, there are nine of them in her inventory, and three of them are of white silk.
Why? I haven’t a clue. Perhaps they were fashionable when and where she lived? Perhaps she thought they complimented her complexion? Perhaps she found white the easiest colour to mach with the rest of her wardrobe? (In my normal, modern wardrobe, I gravitate toward black for that exact reason)
I thought I’d have a go at making one (just one, at least for now), and ordered myself some lush white silk taffeta from The Historical Fabric Store. However, when it arrived, I realised I had messed up my order, and only ordered one meter. I could have ordered more, but instead decided to make this a challenge for myself.
I also had a good long think about what sort of cloak to make. Last winter, I made a green satin cloak which was fairly full and long, with a big hood.

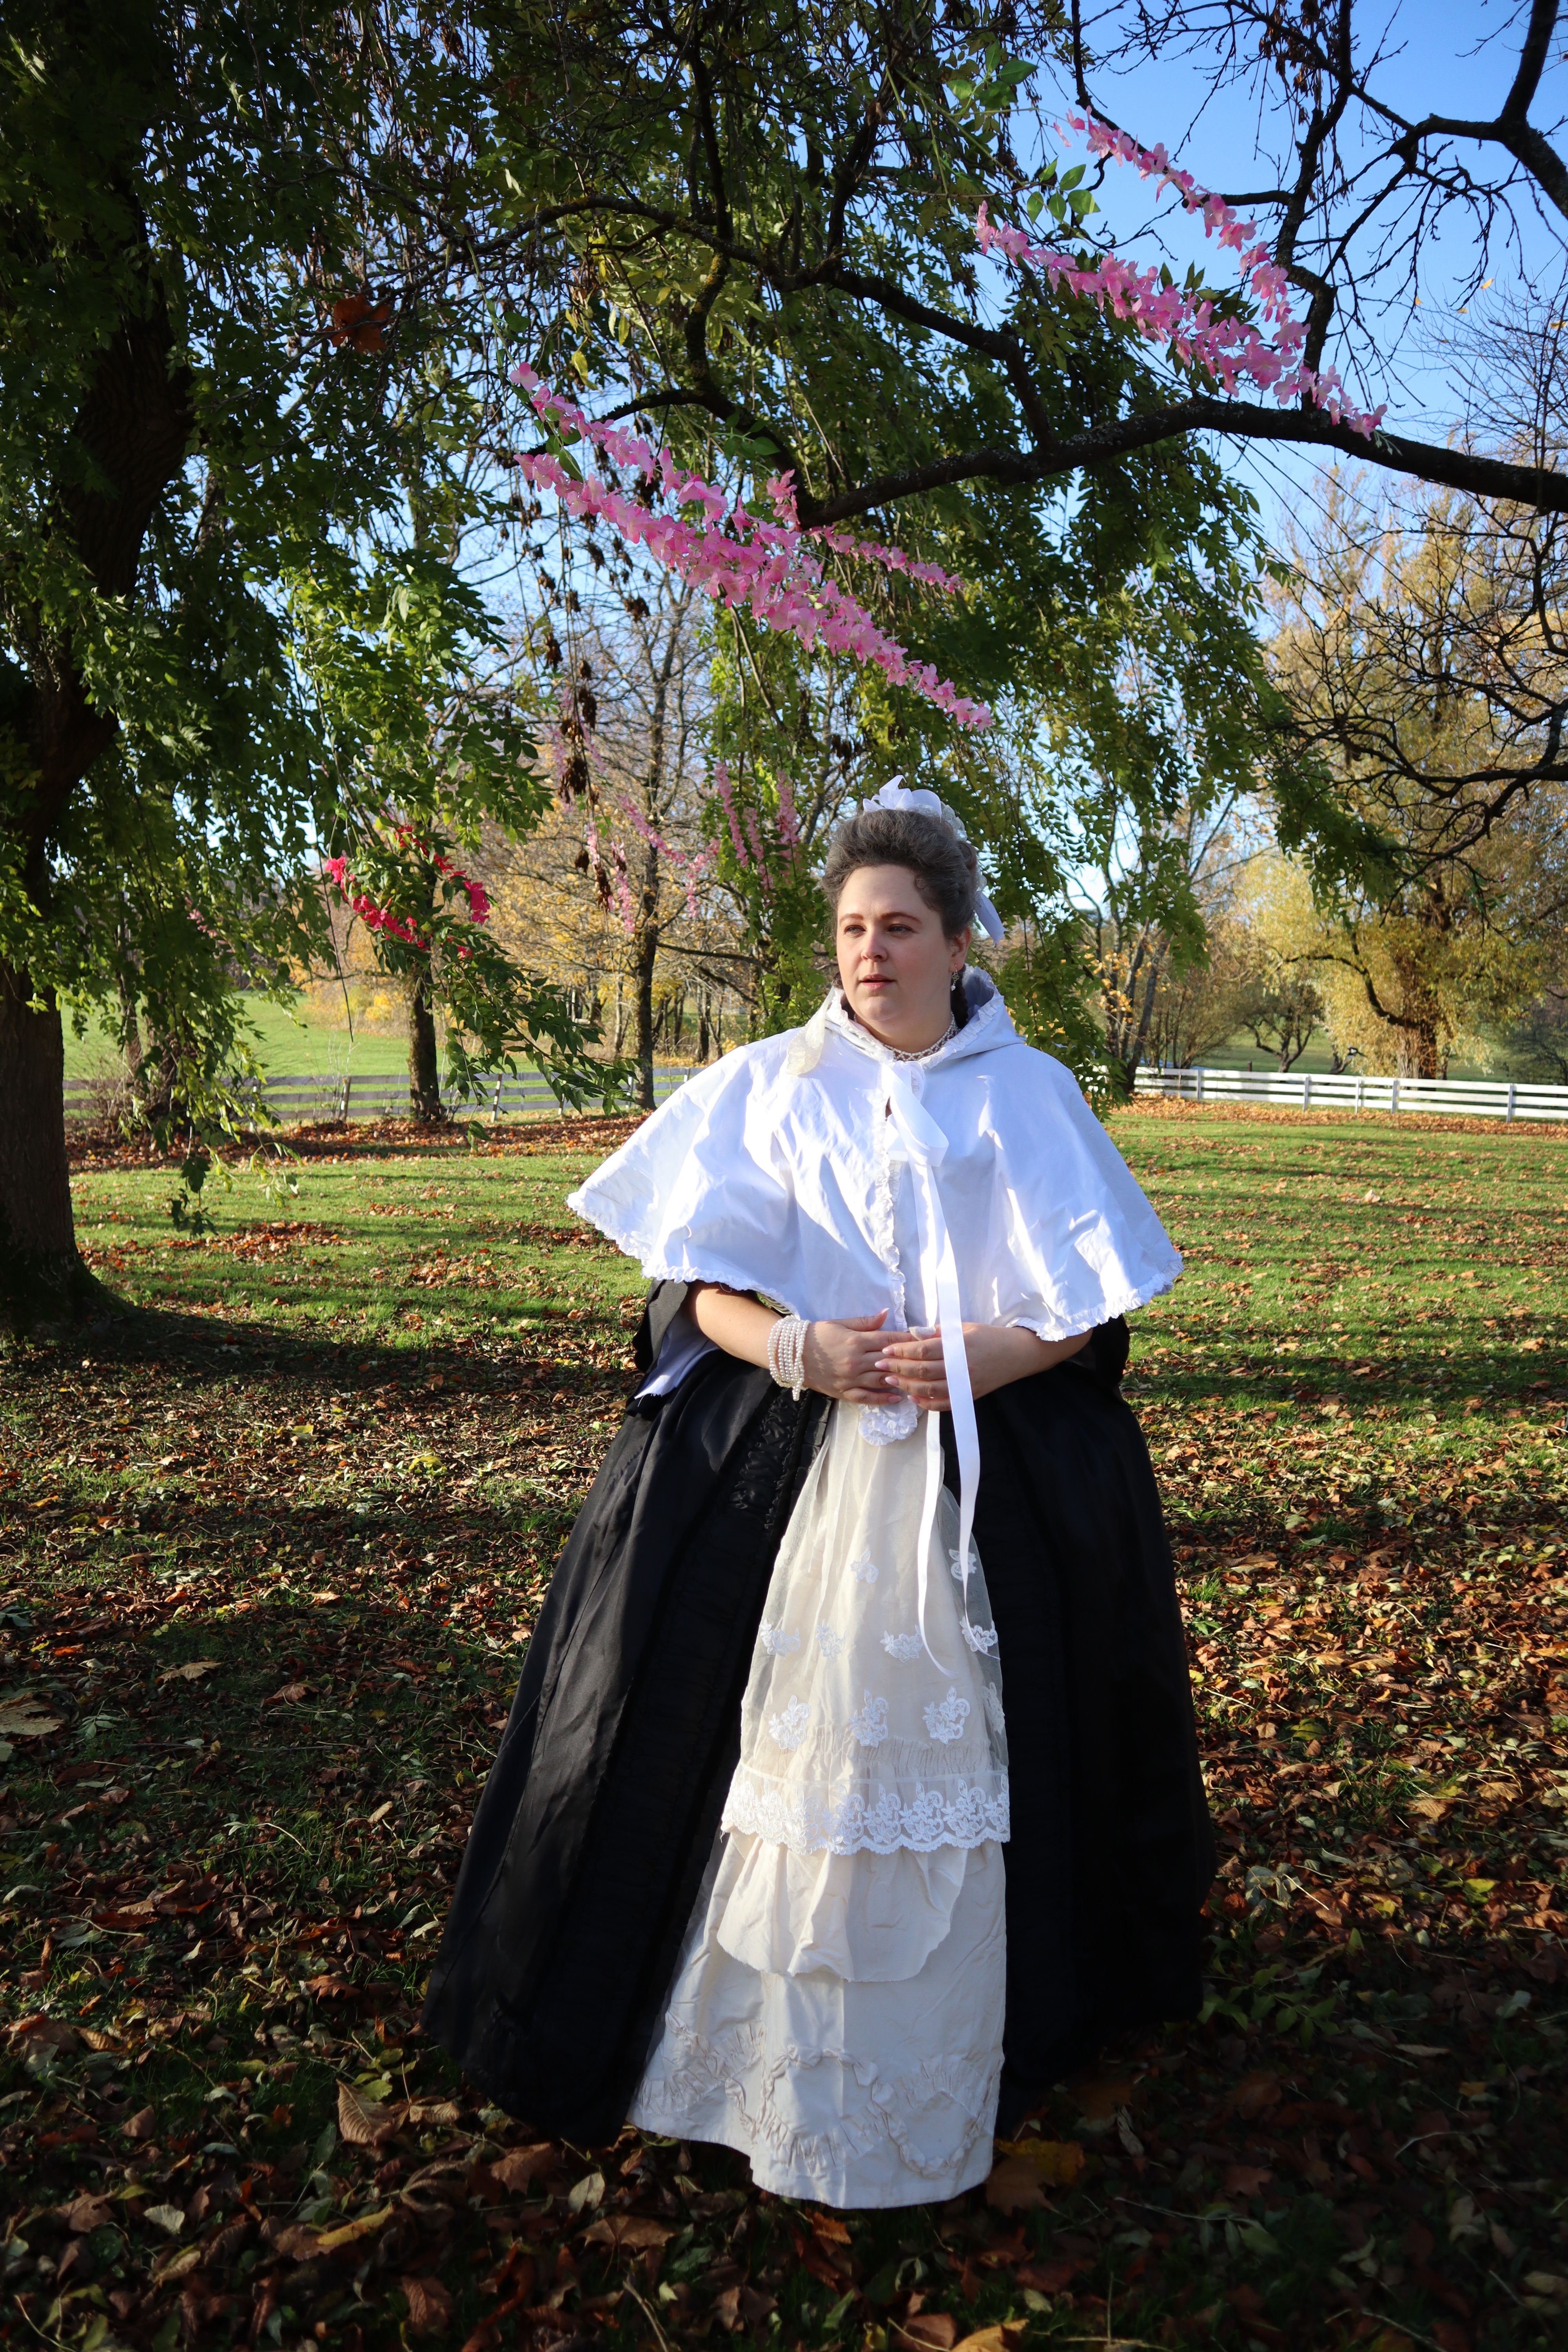
I wanted to make a different kind of cloak this time around, a shorter, more decorative mantle-type cloak. After a bit of digging about, I found this cloak, owned by the V&A Museum in London:
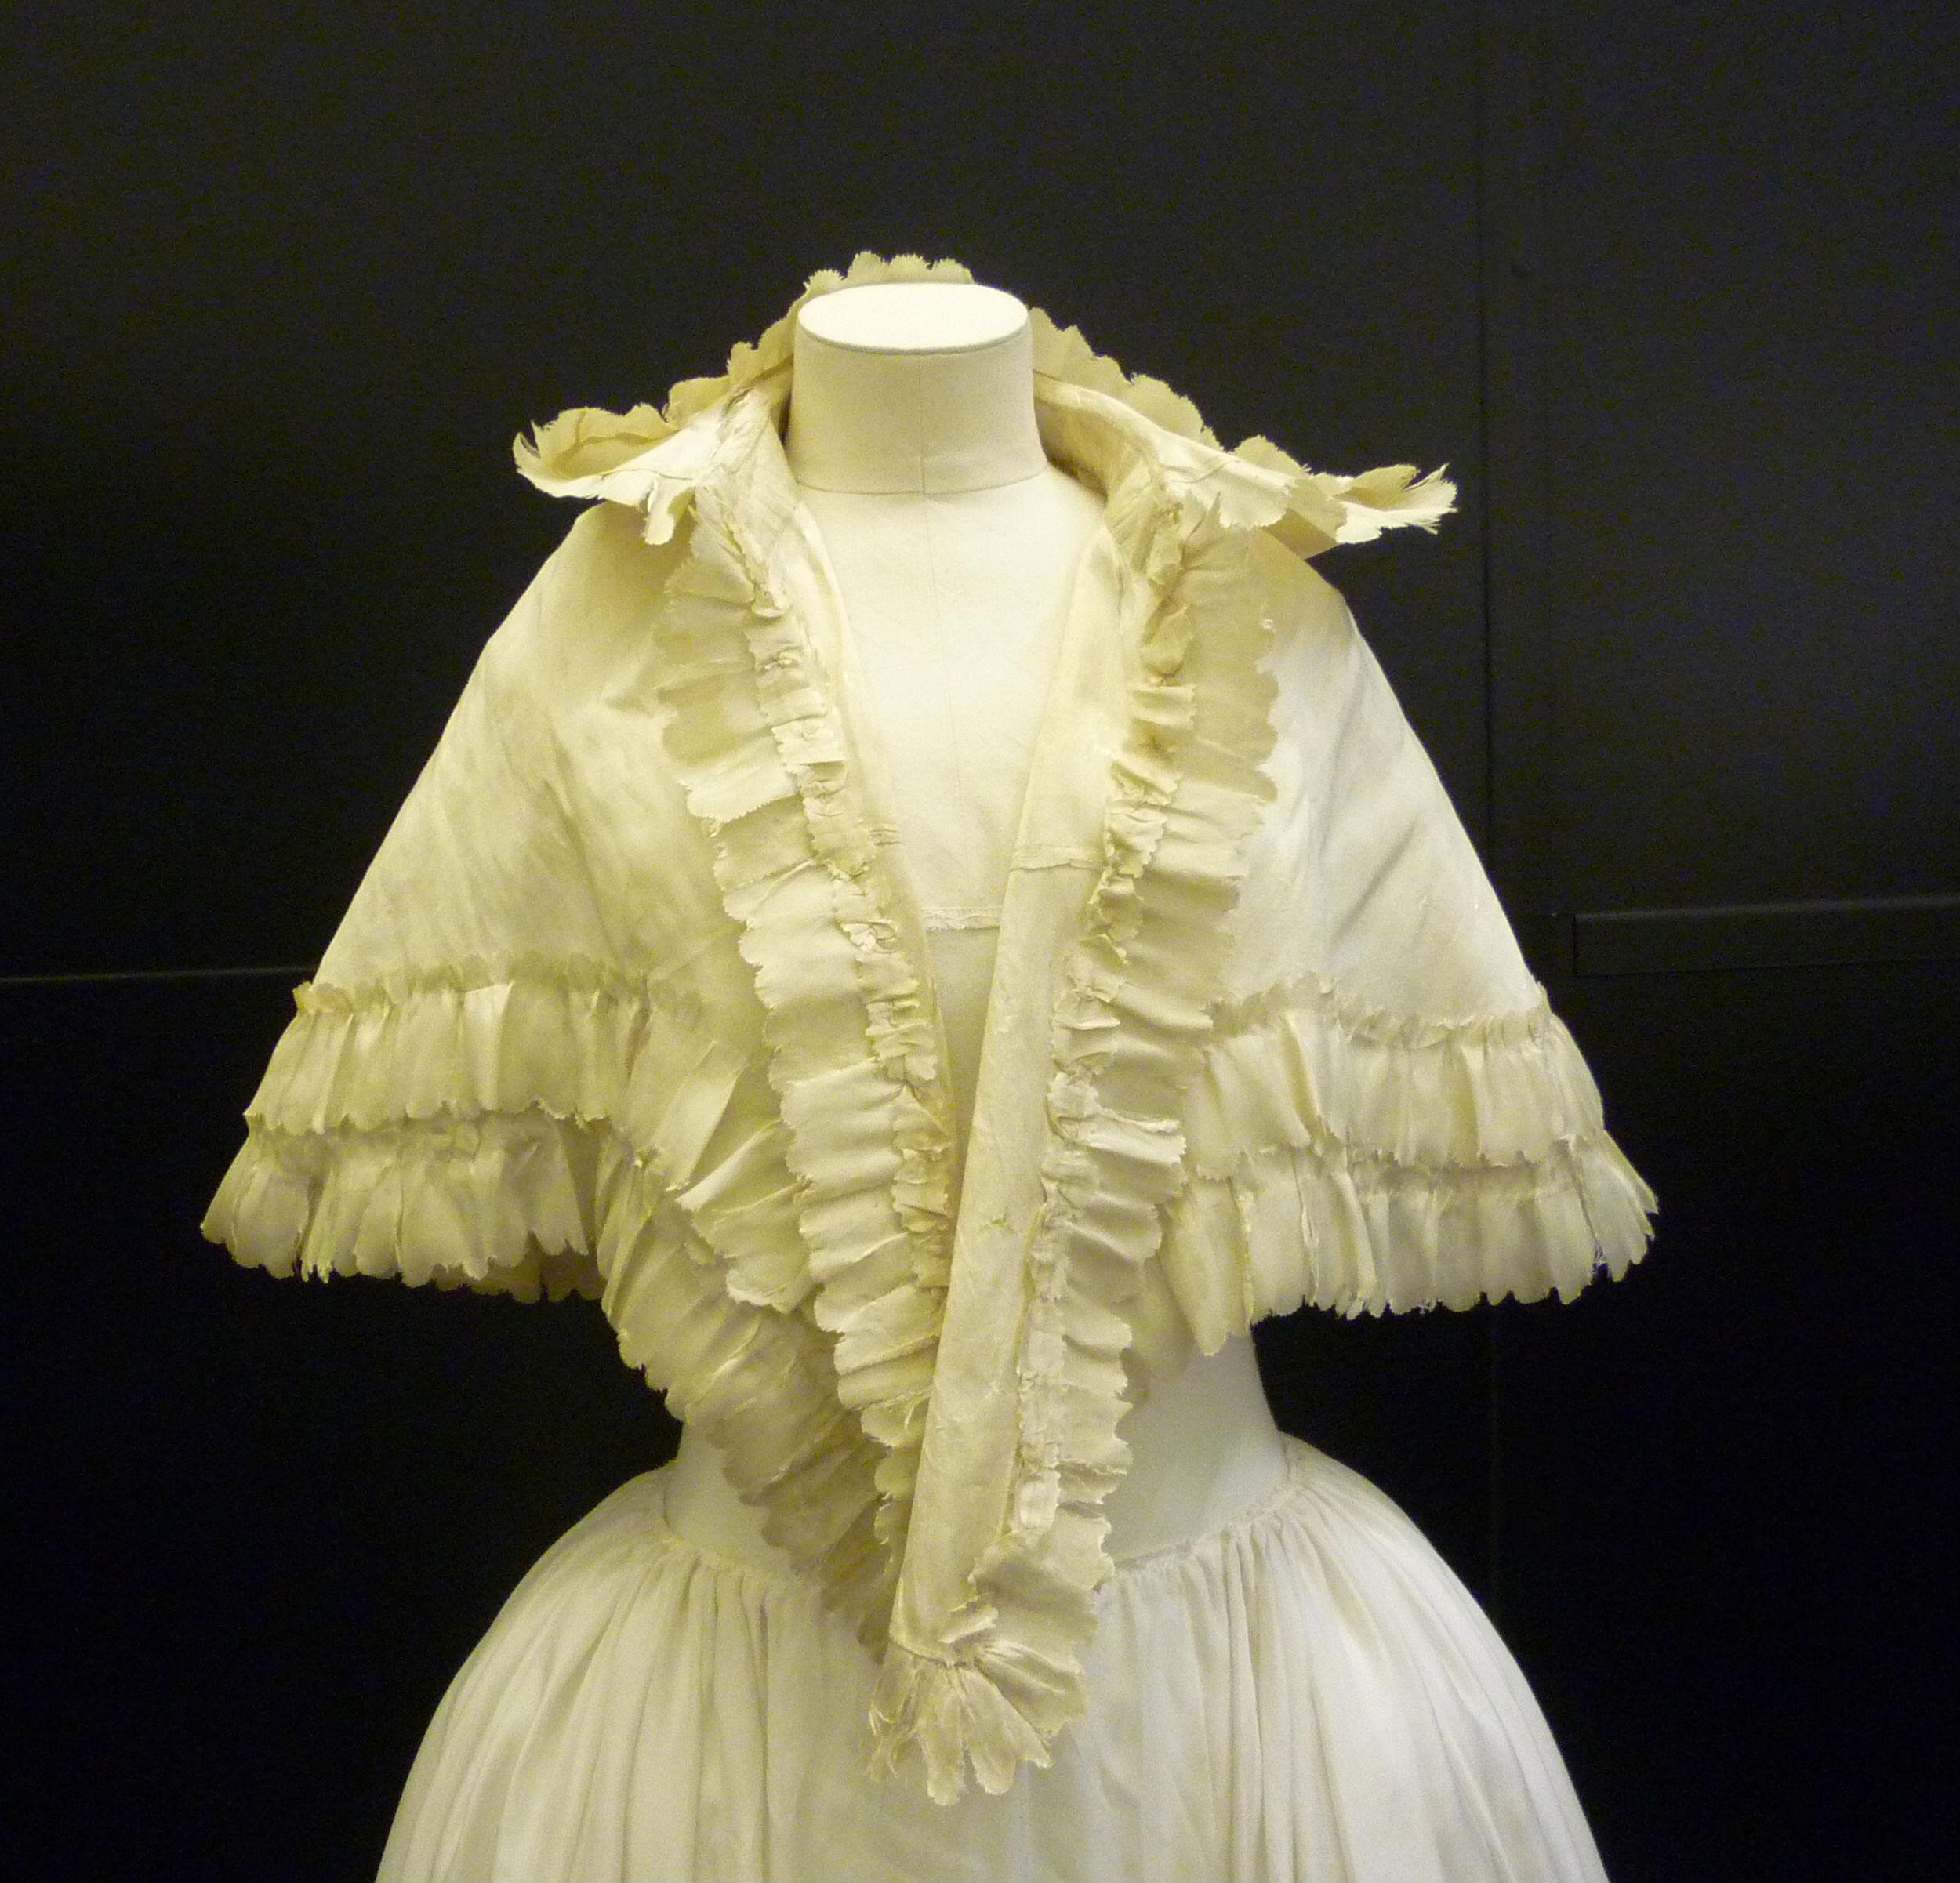
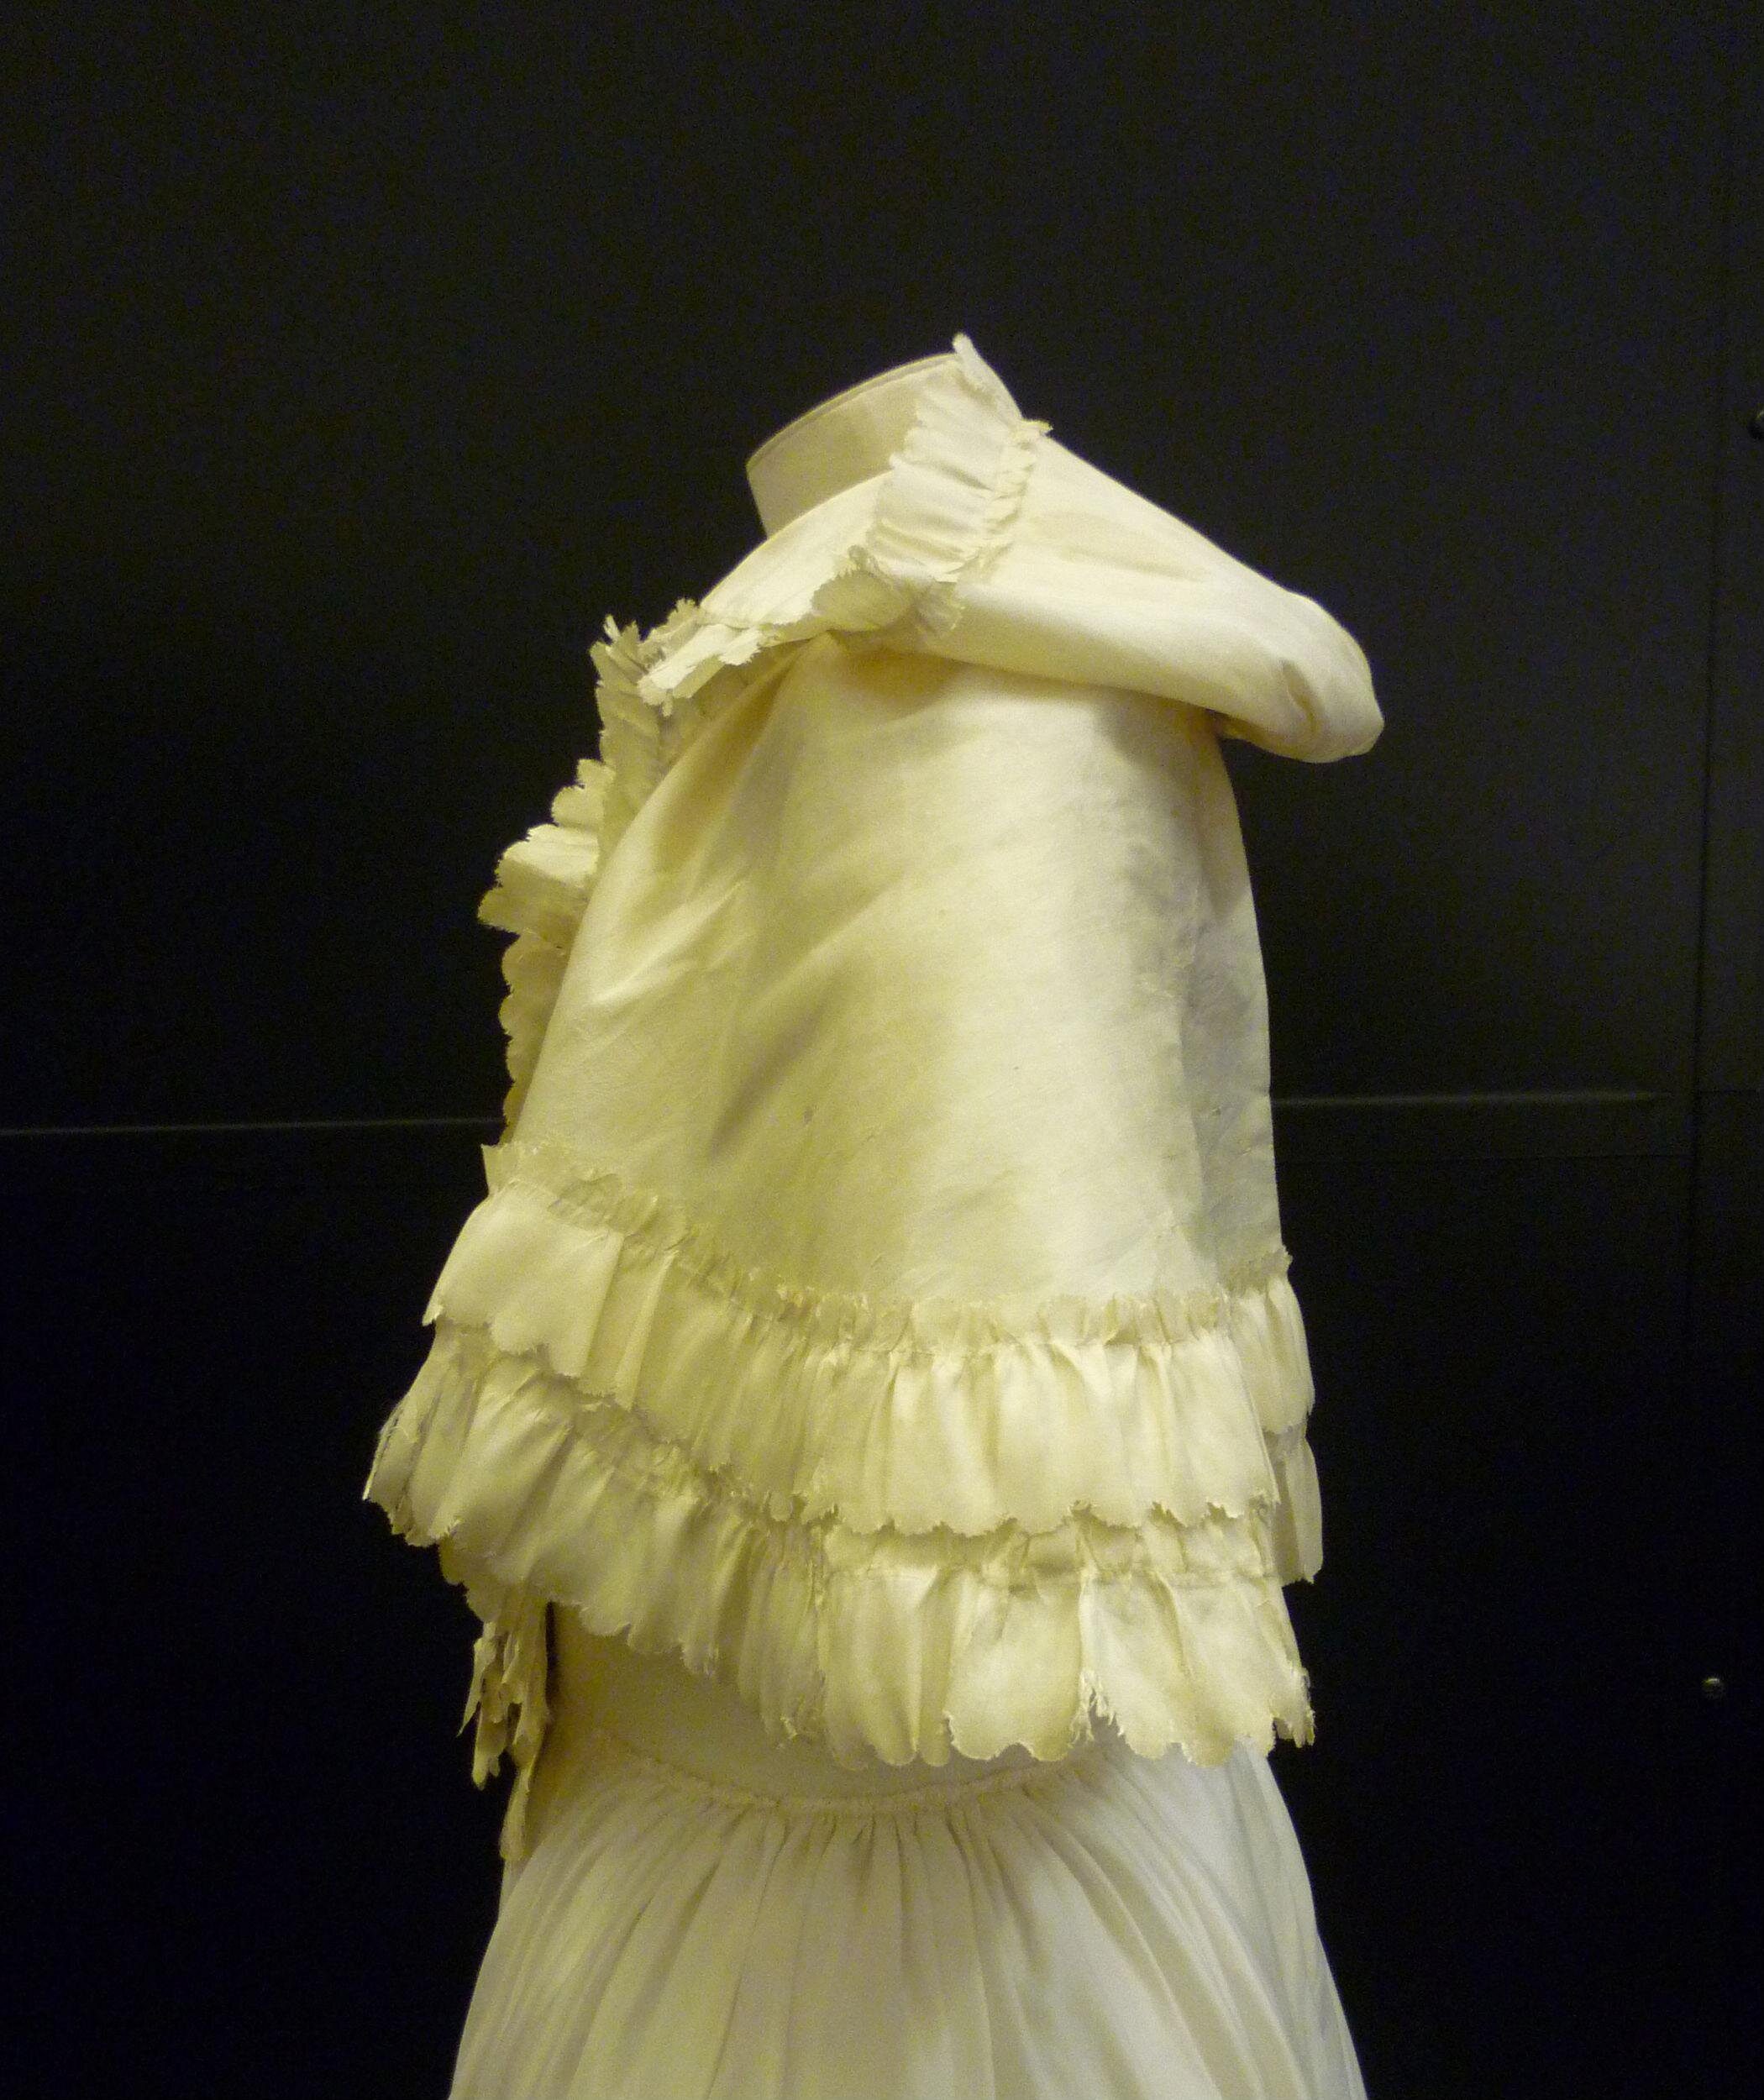


This is perfect! It’s English, it’s from 1760, and I love the rows of self-fabric trim. However, with my very small amount of fabric, I was going to plan very carefully if I were to have fabric enough for the cloak, let alone for any trim!
I decided to make a mockup. I’m glad I did, even if I’m no great lover of mockups (a waste of time and fabric! Bah! Humbug!).


I made my mockup asymmetrical, to test out how much volume I would need, and I opted for the smaller alternative. Even that was luxuriously voluminous. The hood, which fit perfectly here, actually ended up being a bit on the small side when I needed to fit a Georgian hairdo into it, but it’s mostly for show anyway.

My pattern pieces, laid out on my piece of silk. What little you can see between the pieces, I later cut up into strips and stitched together to make the trim. There was practically nothing left when I was done cutting – which I am fairly proud of. It felt very much like the Georgian mantua maker way of treating expensive silk fabrics.

In addition to the silk, I cut interlining pieces from some blue wool I had laying around, as well as lining pieces from a striped cotton and the hood lining from white cotton satin.
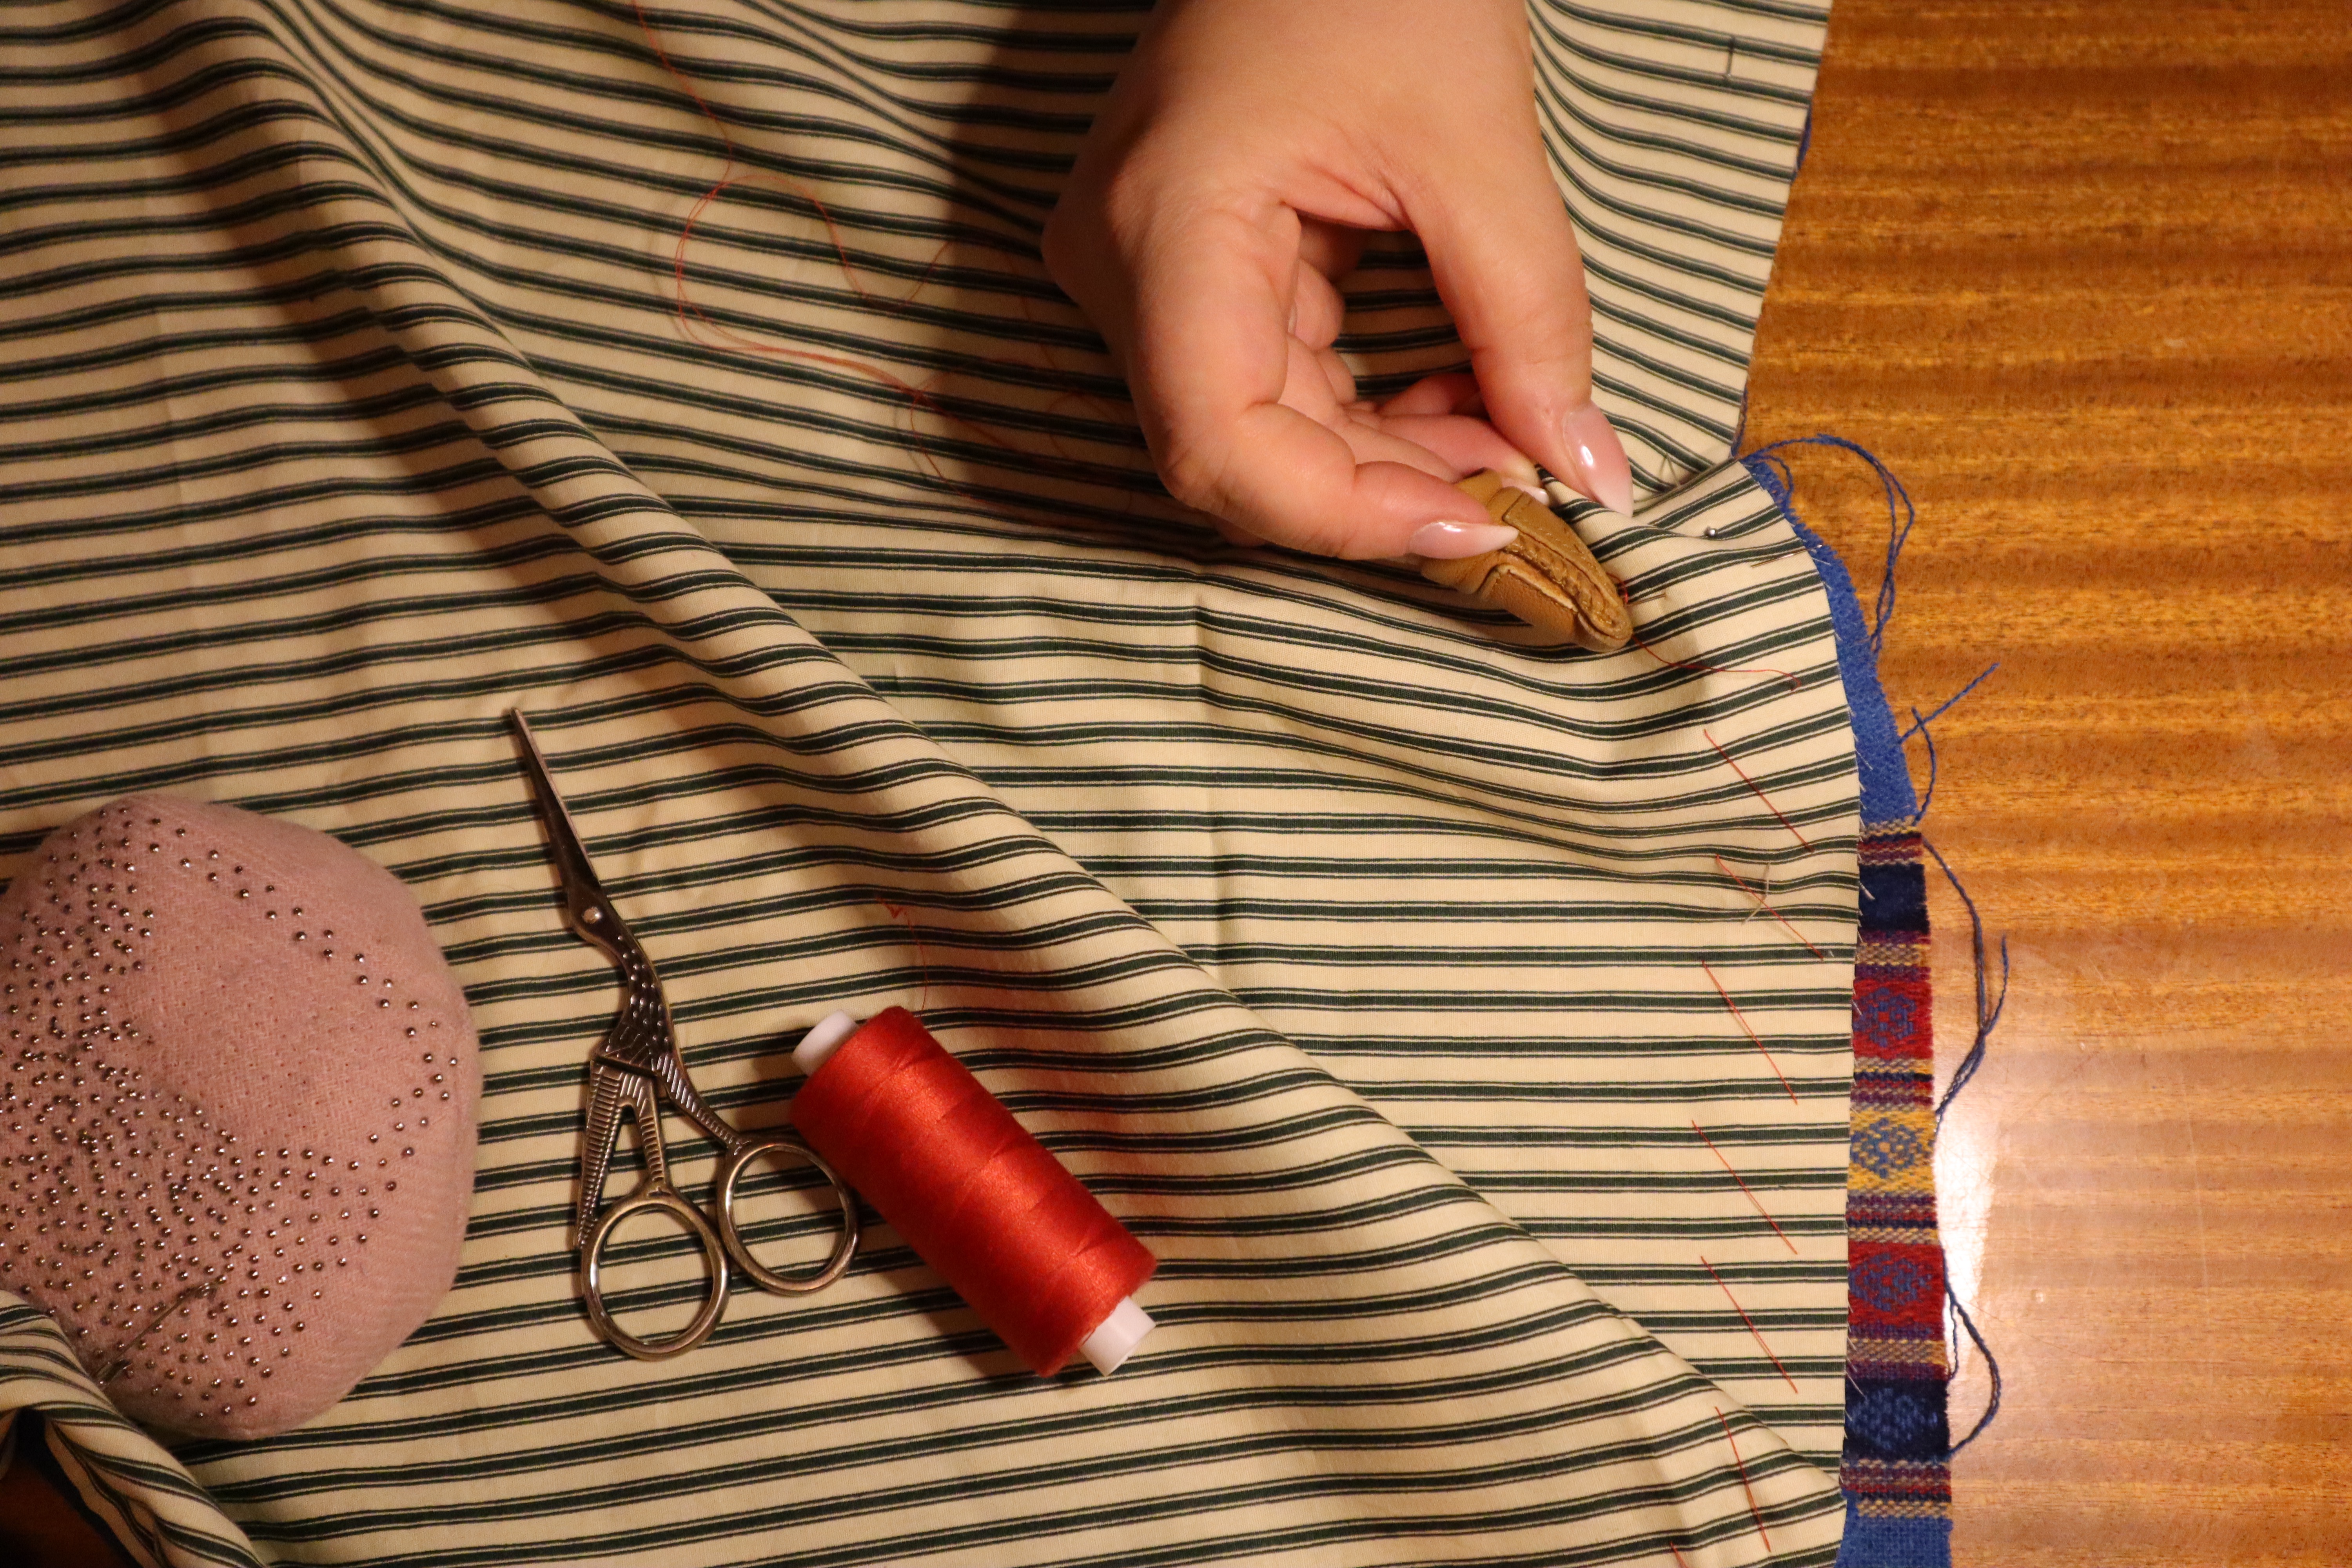
To make my own life easier, I decided to tack the pieces of wool interlining and cotton linings together, and treat the two as one from now on.


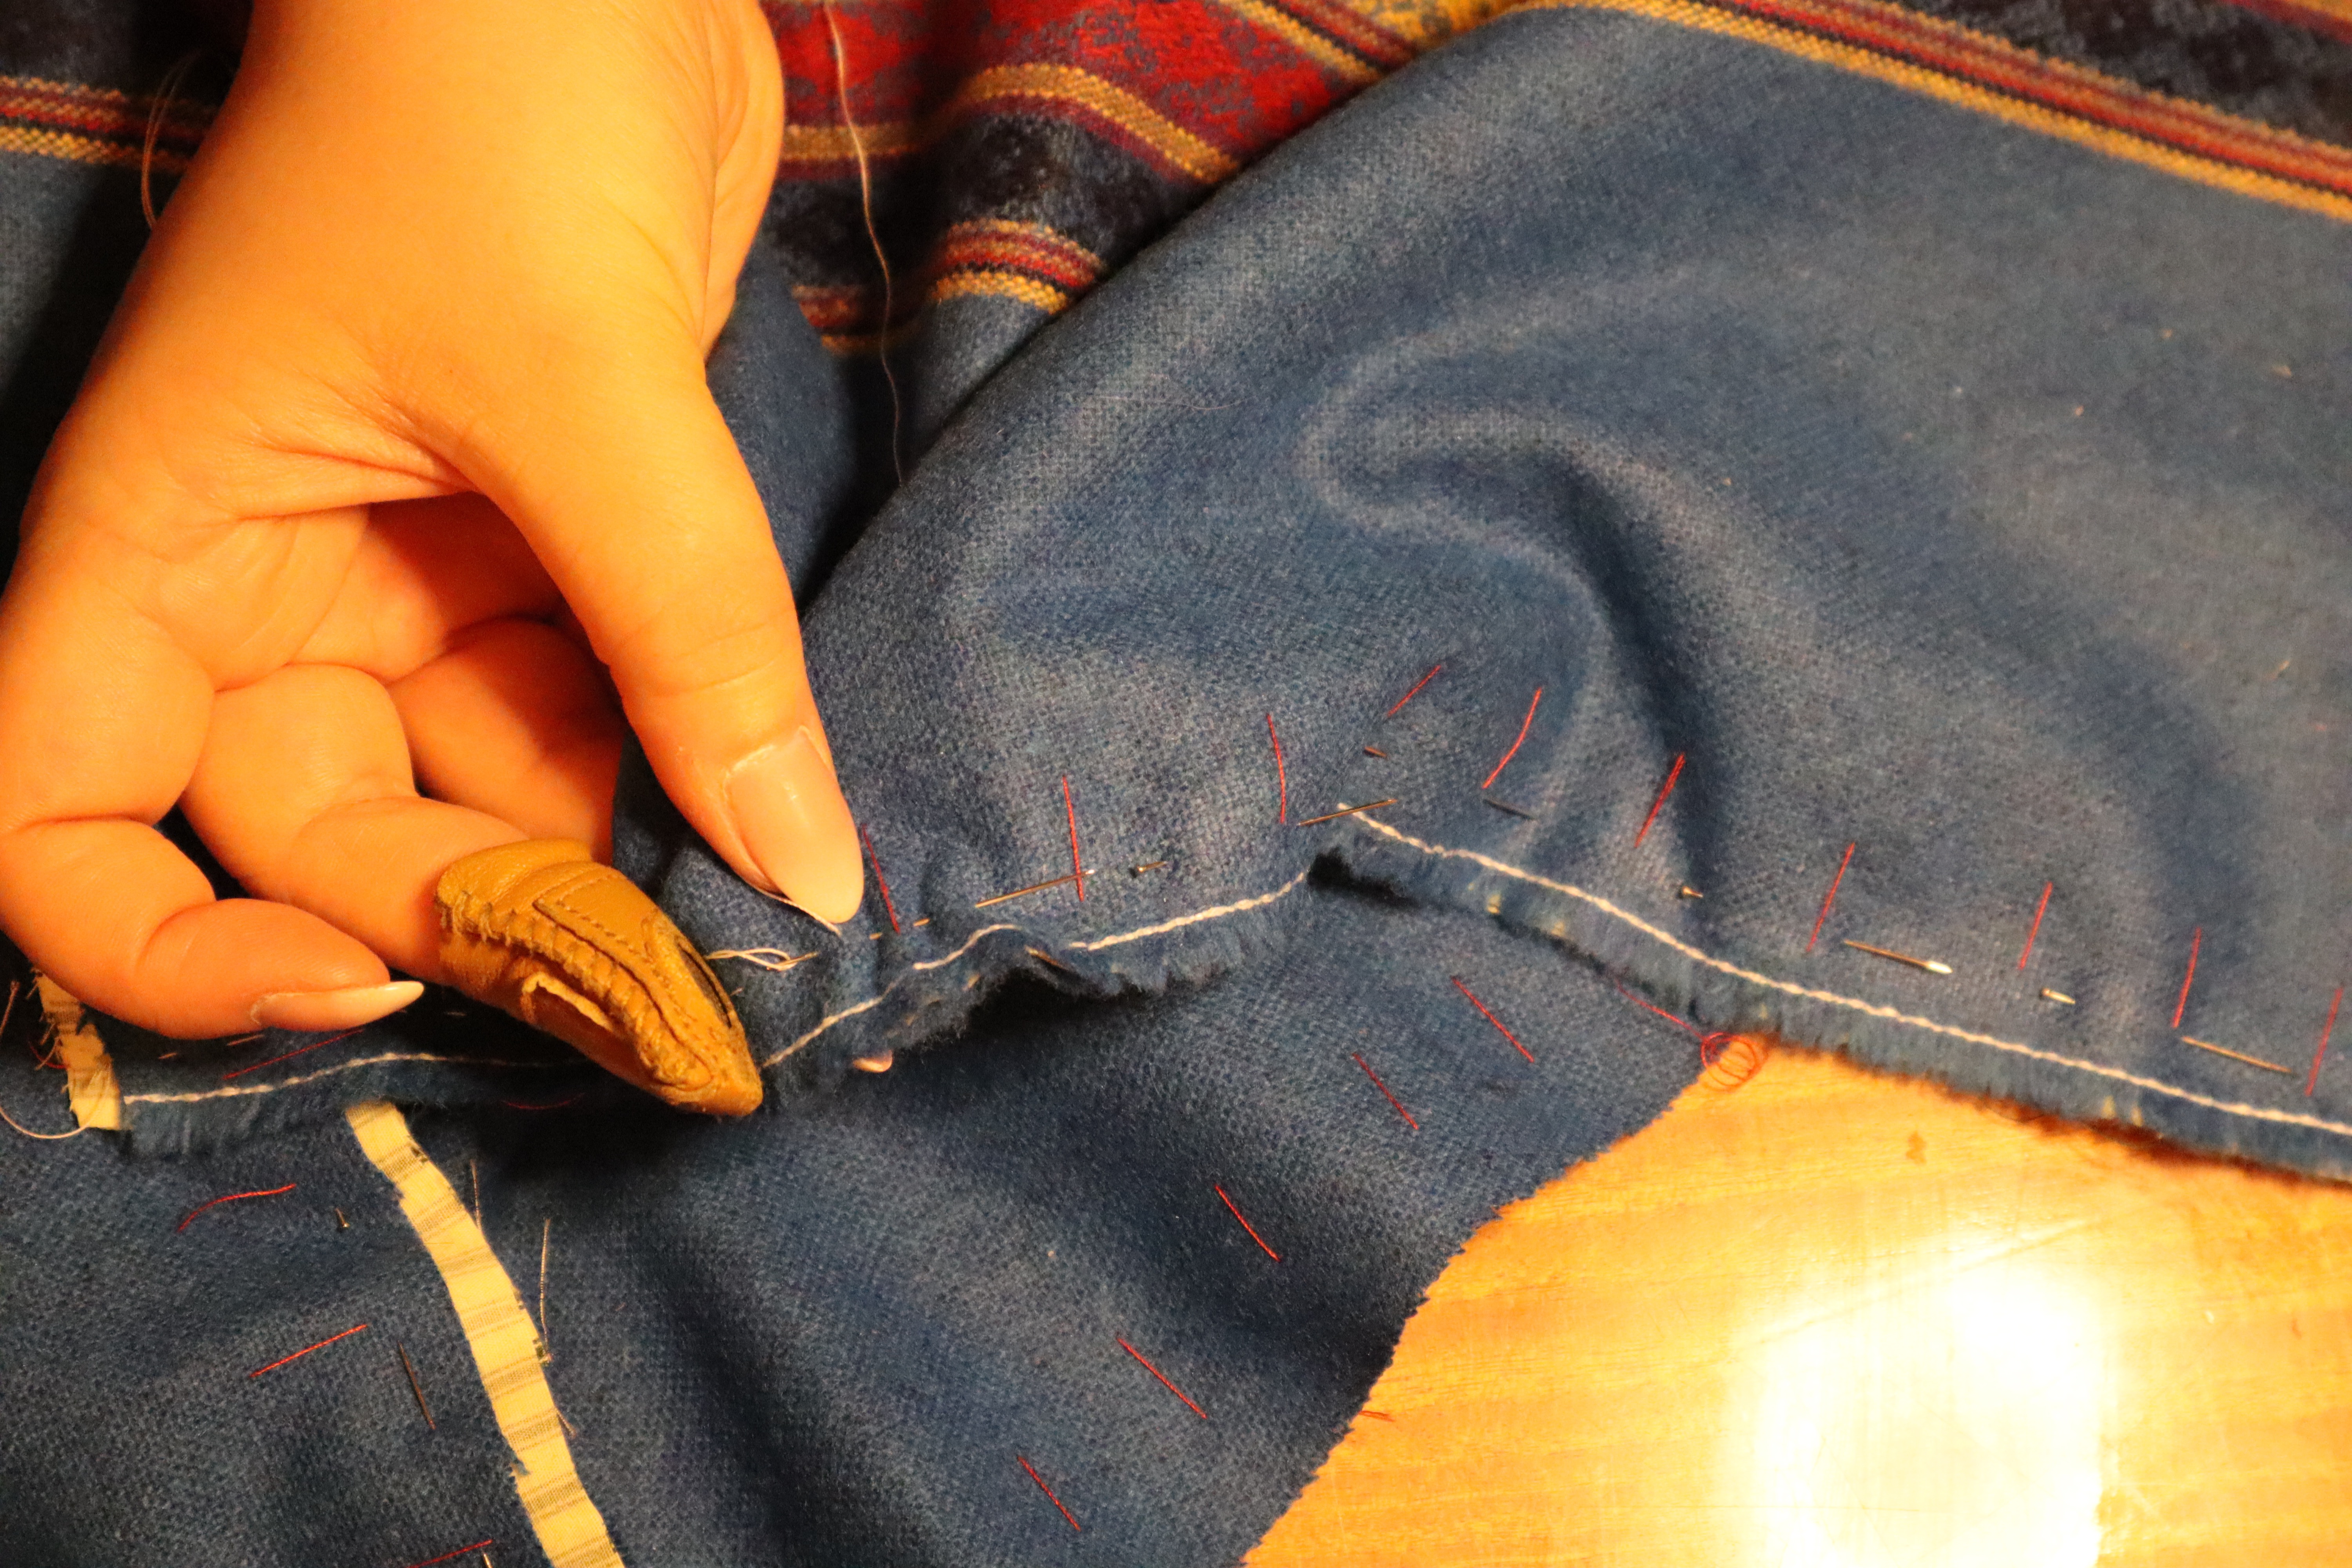
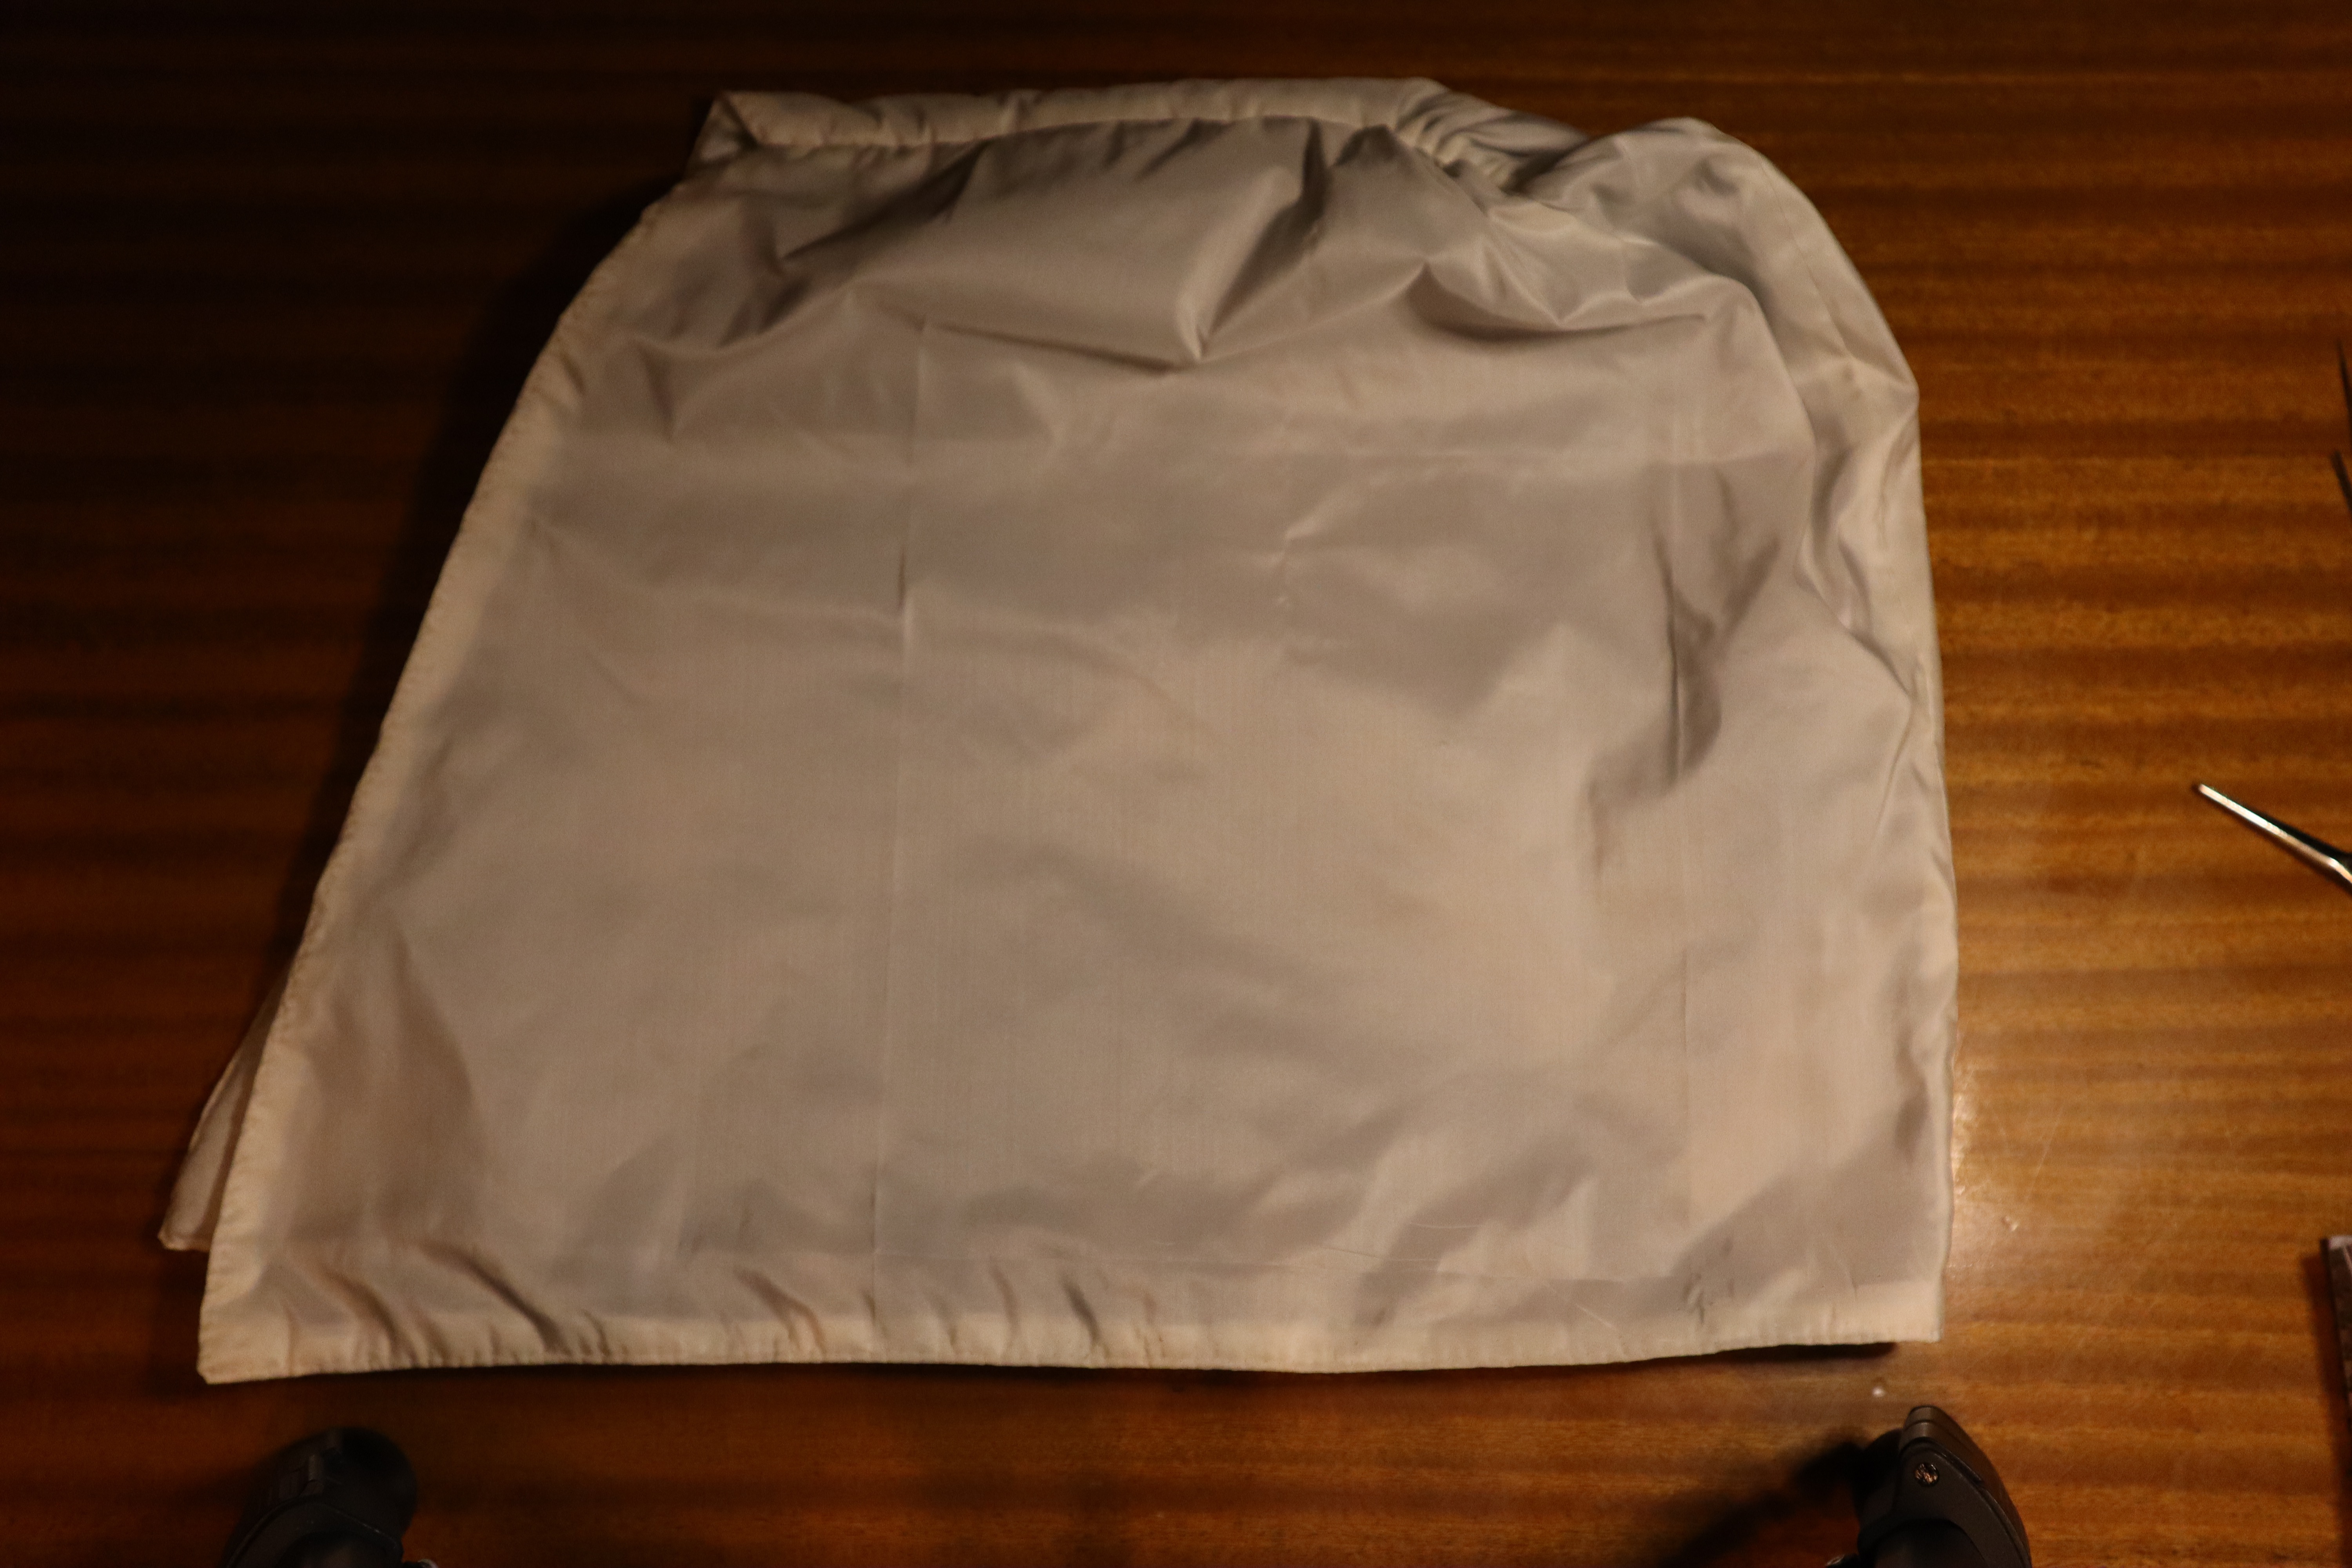
I then stitched the cloak lining together at the back and side seams, and laid the seams to reduce bulk. My hope was that the extra layer of wool would give both warmth and body to the garment.

I stitched the silk layer together too, and pressed the seams flat using my fingernails. This silk taffeta is so beautifully and tightly woven that I didn’t really have to do anything to avoid fraying.


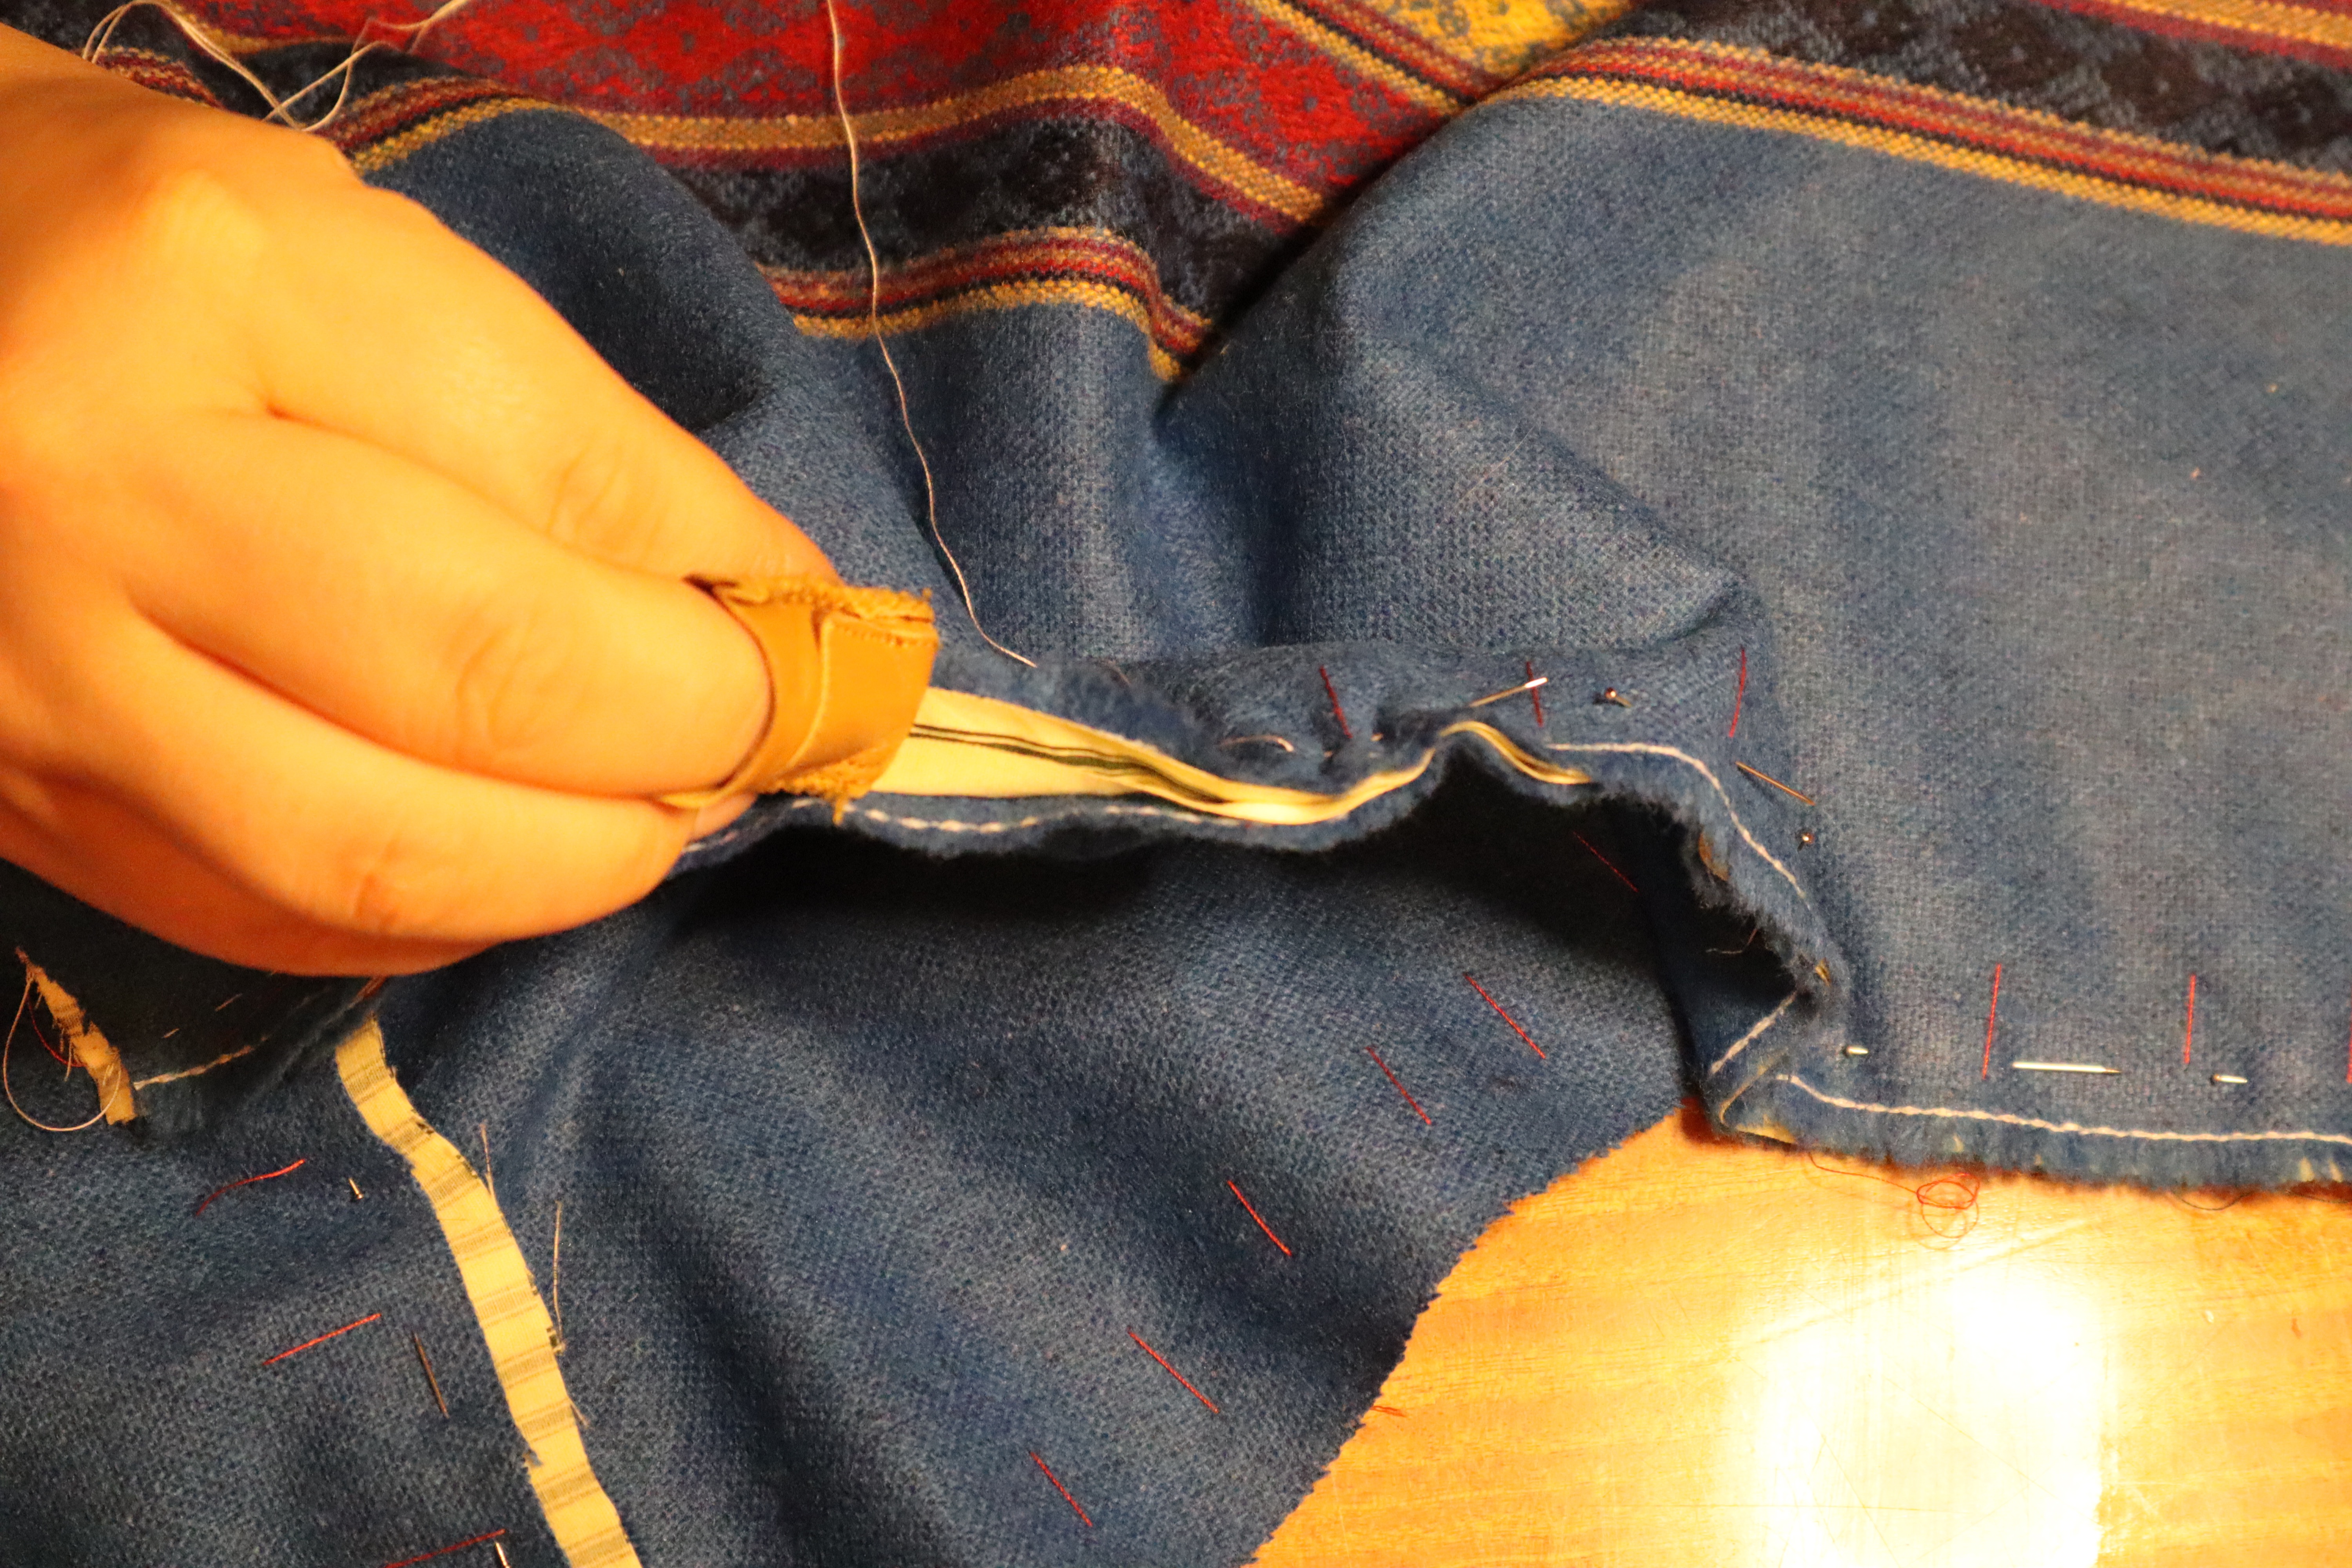
I then folded in the seam allowance around the whole cloak and the hood piece, as well as on the cloak and hood lining, and basted it down.
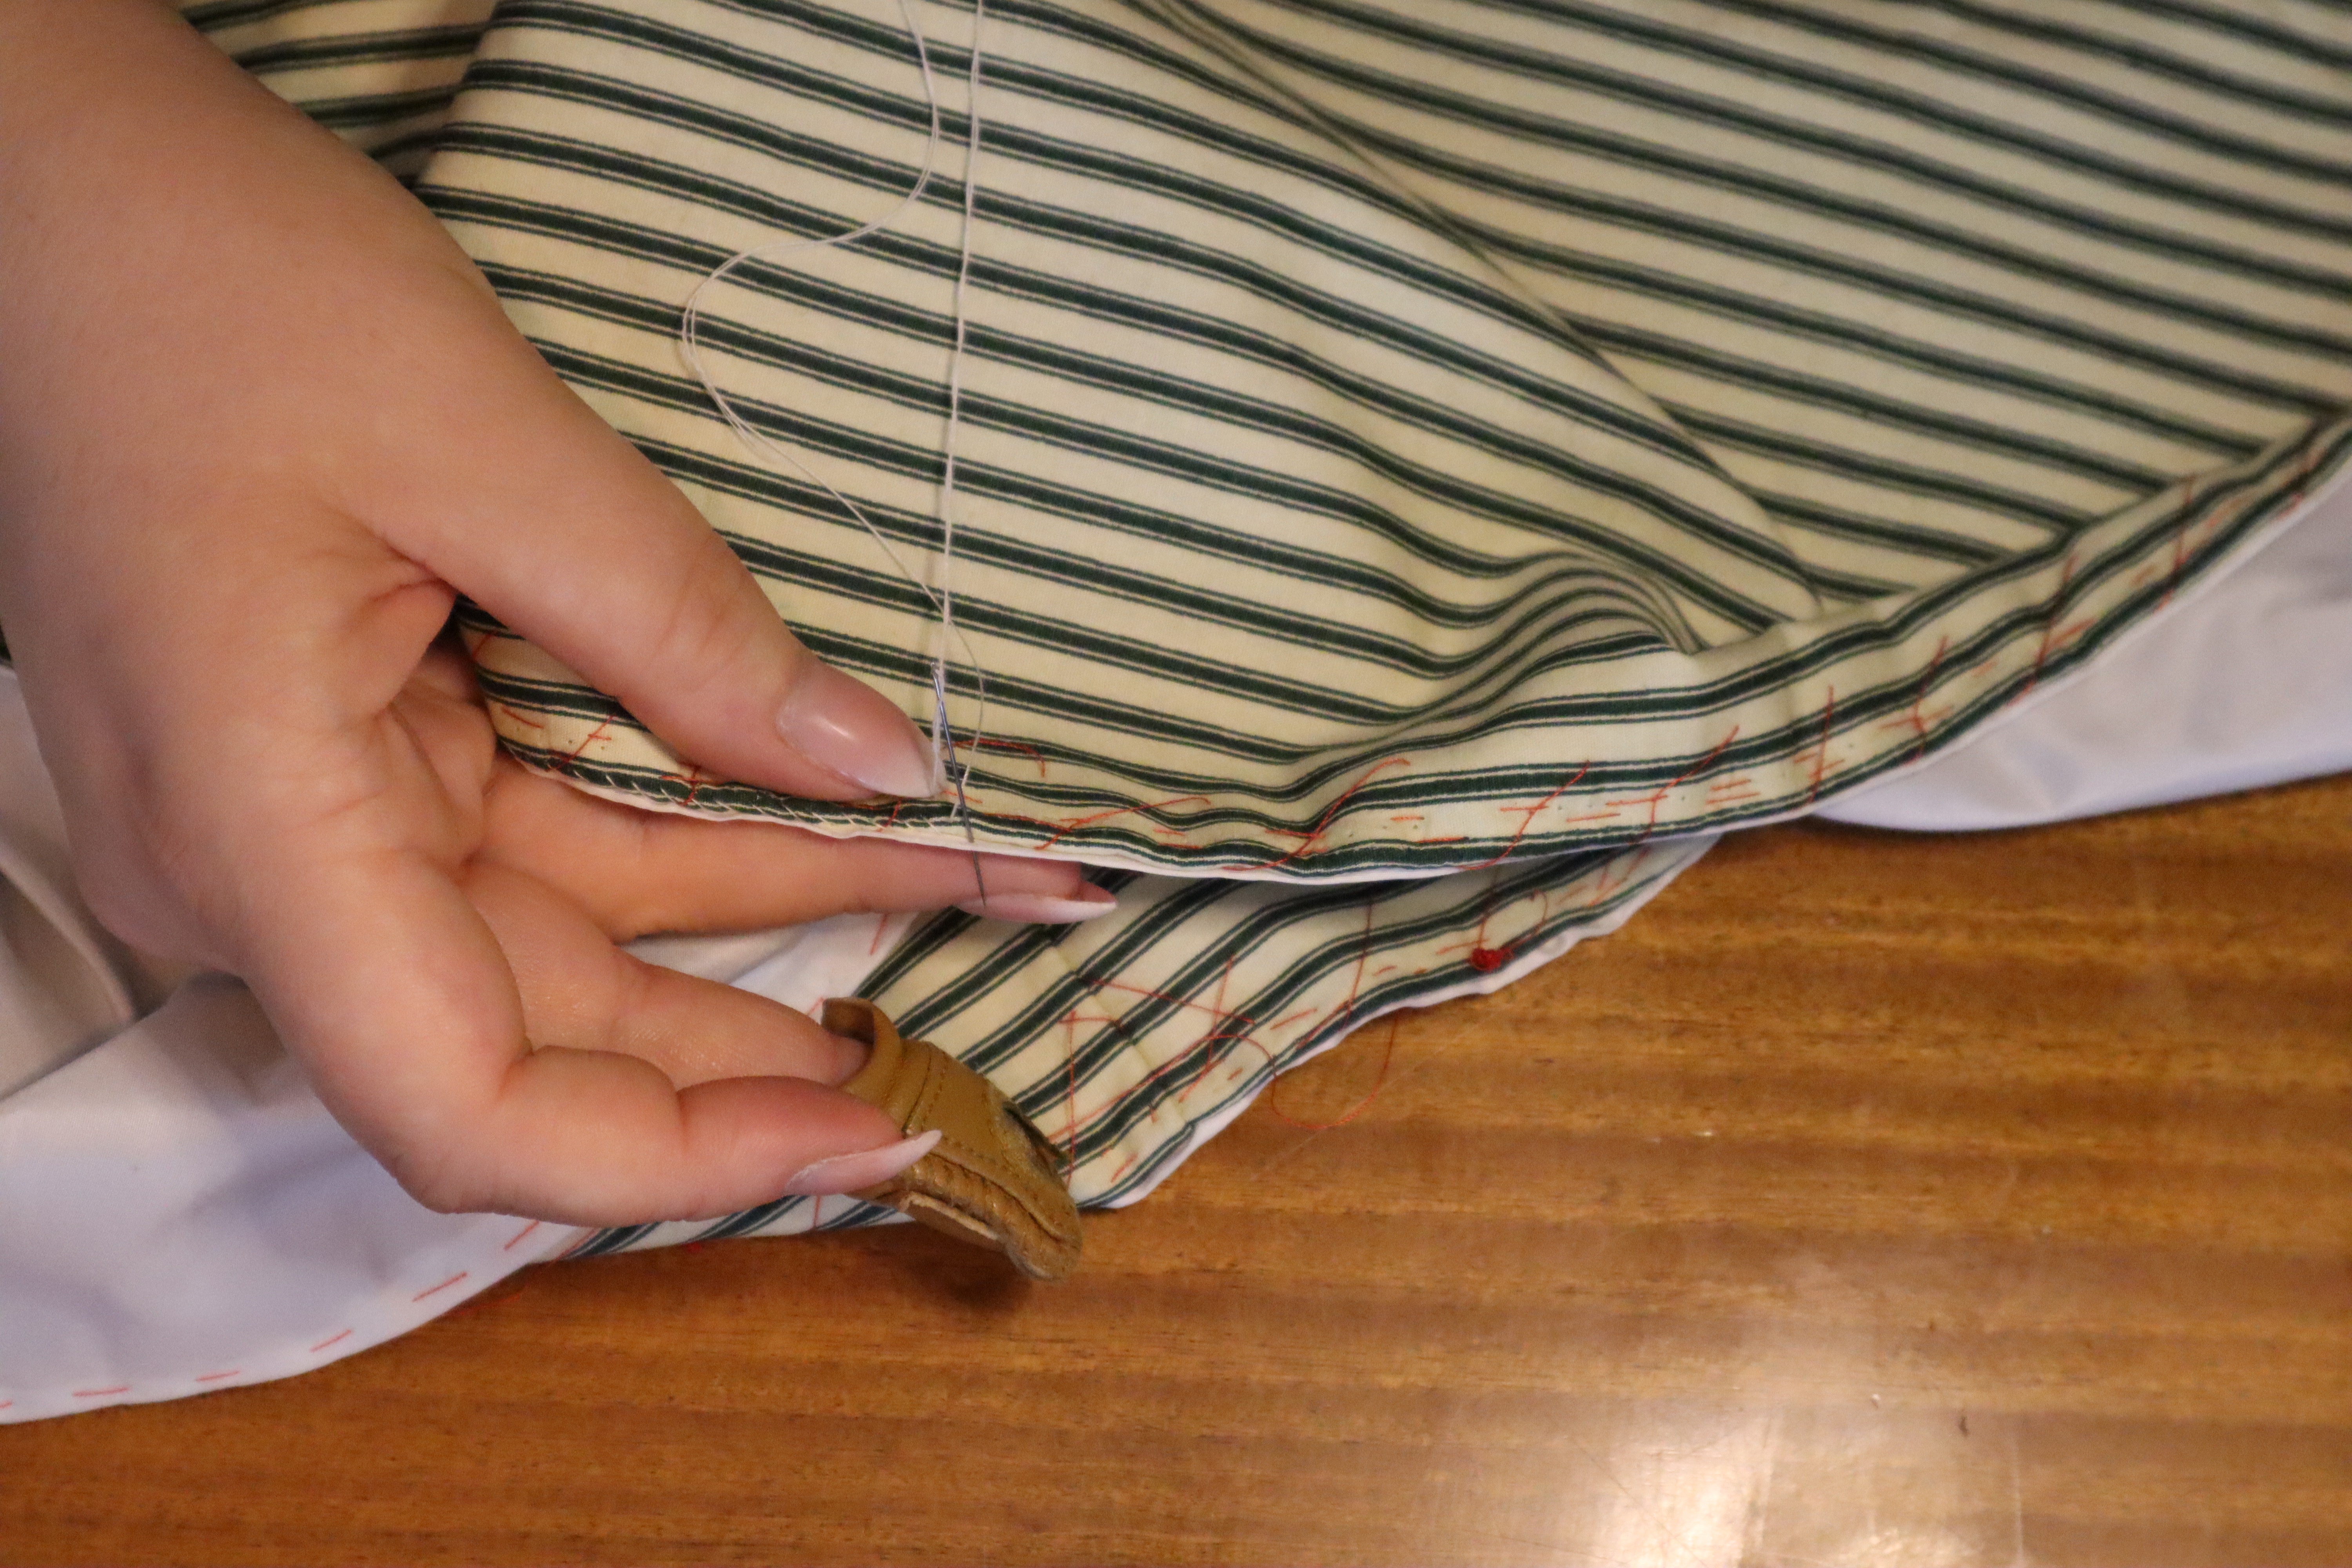

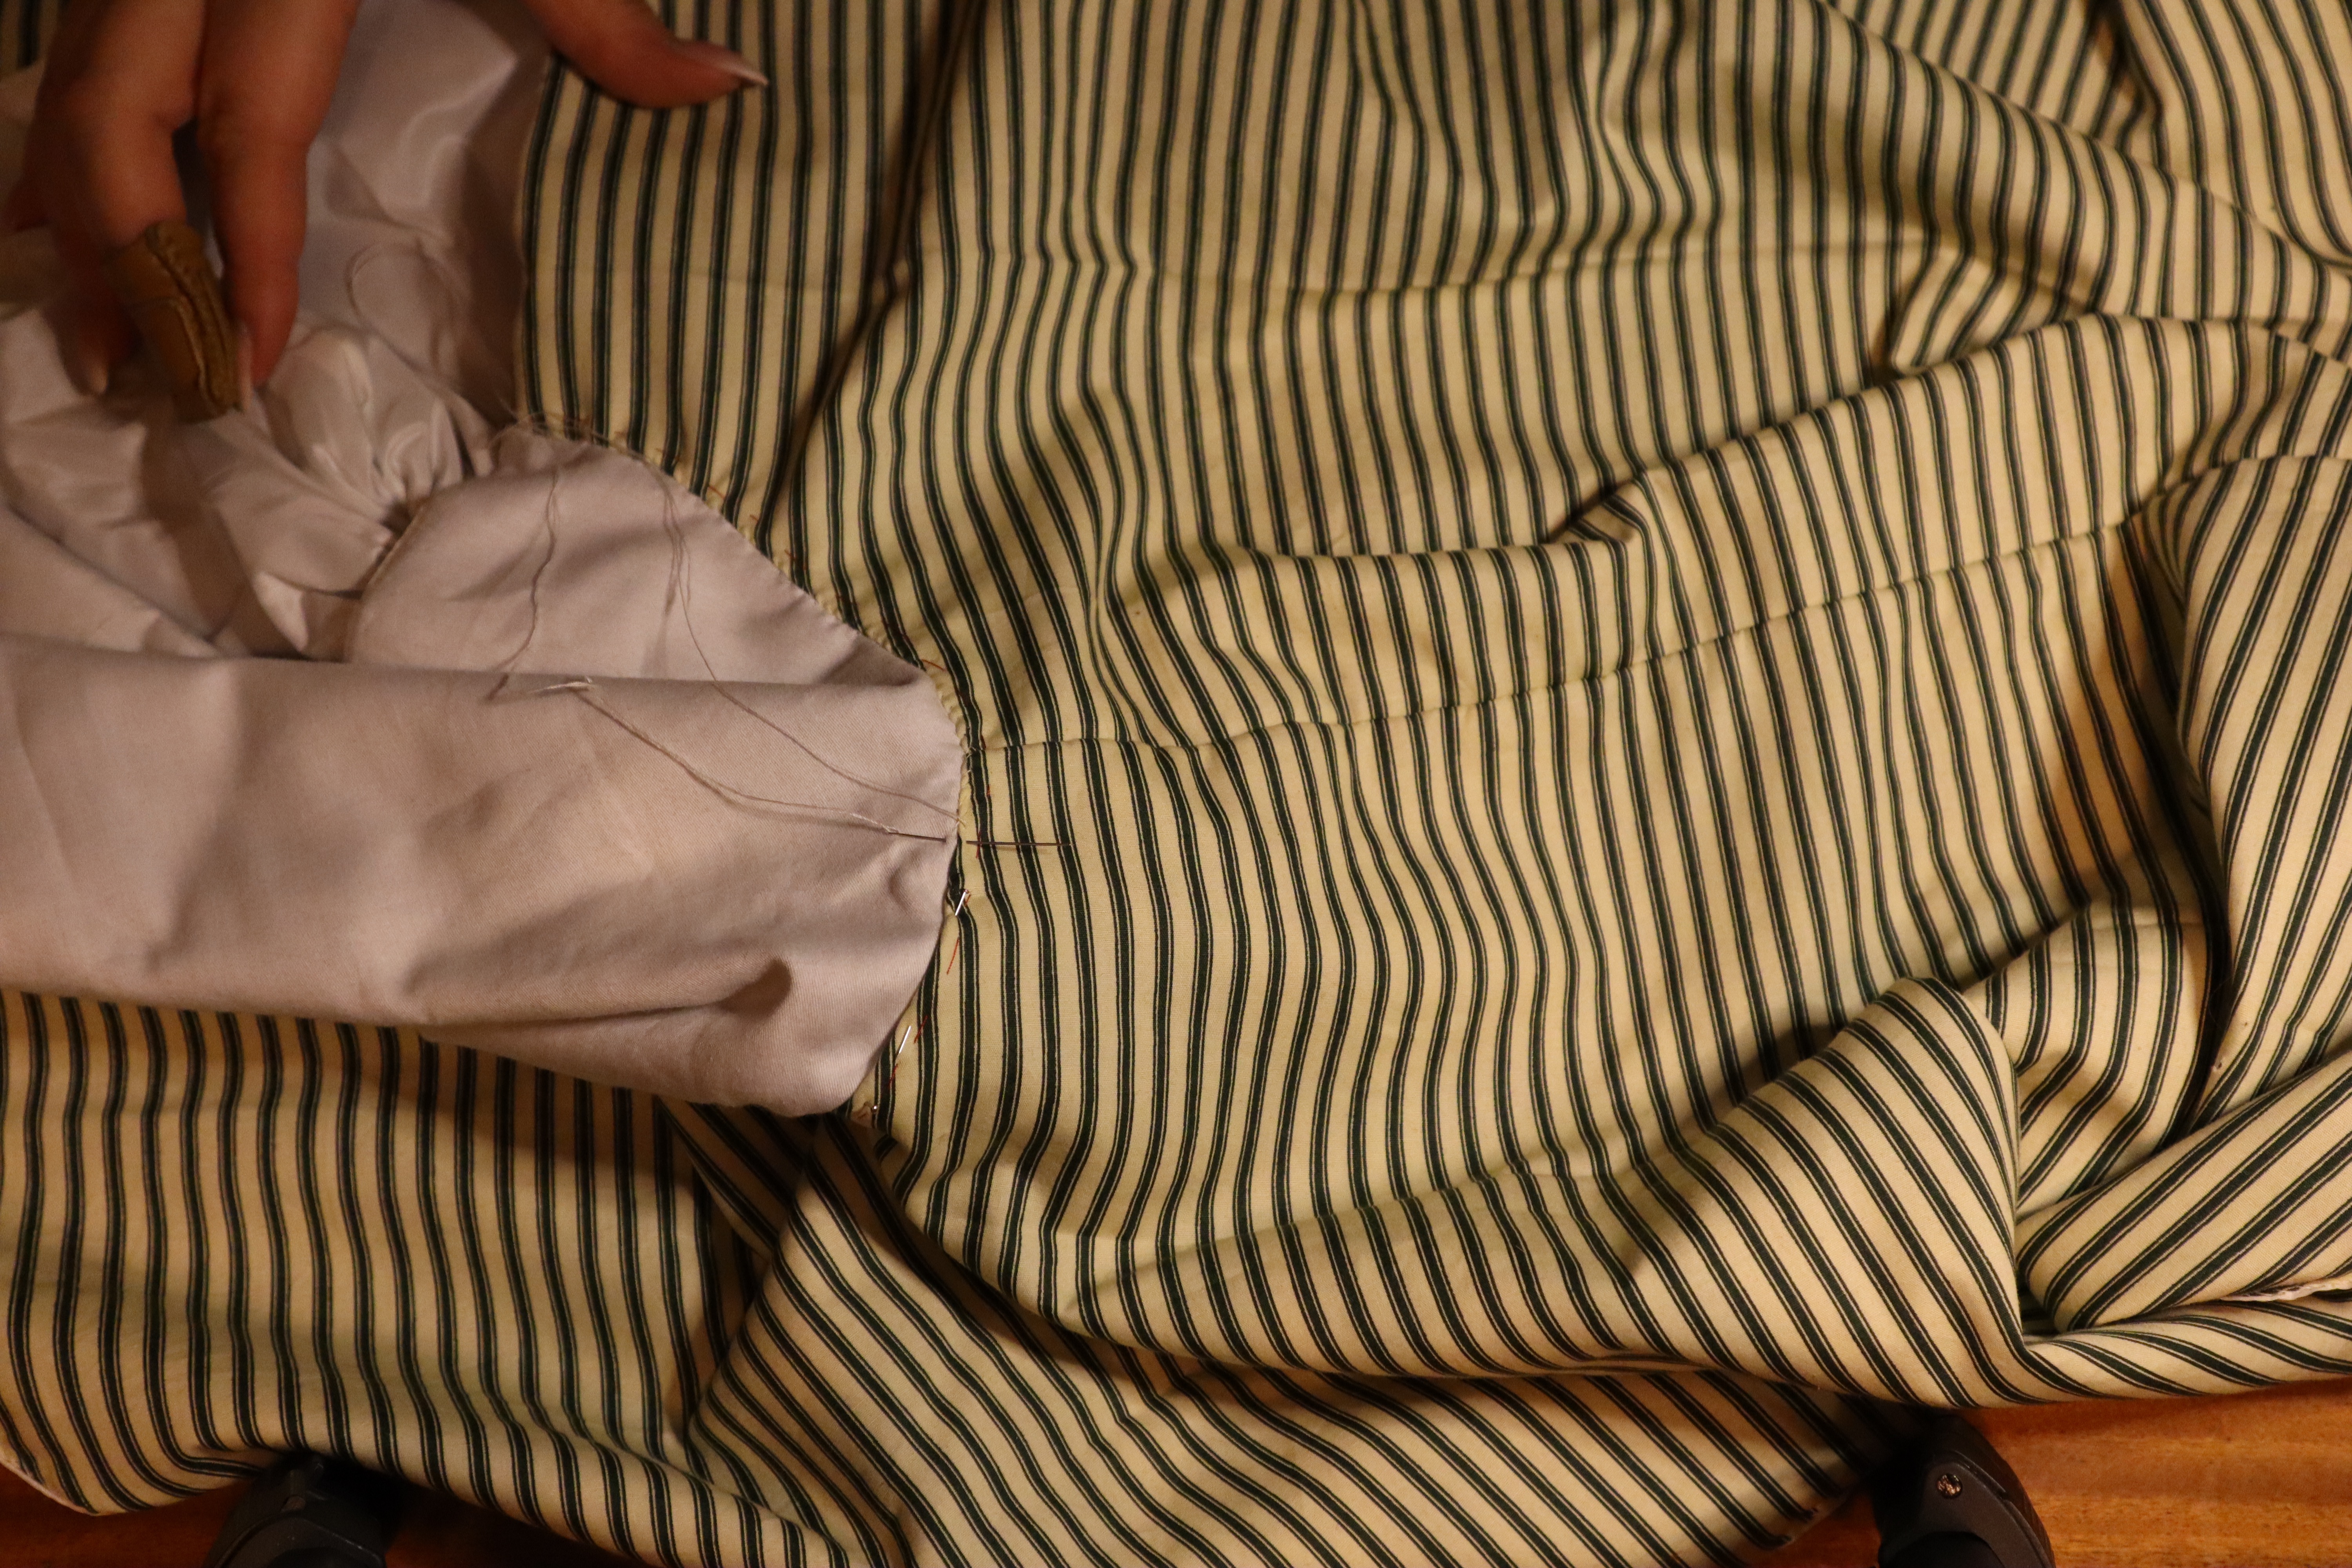
I placed the lining on the silk, wrong sides together, and stitched them together all the way around from front edge to front edge using small whipped prick stitches. I left the neck edge open, as that’s where my hood will go! I also did this to the hood lining and silk pieces, before stitching the hood together.

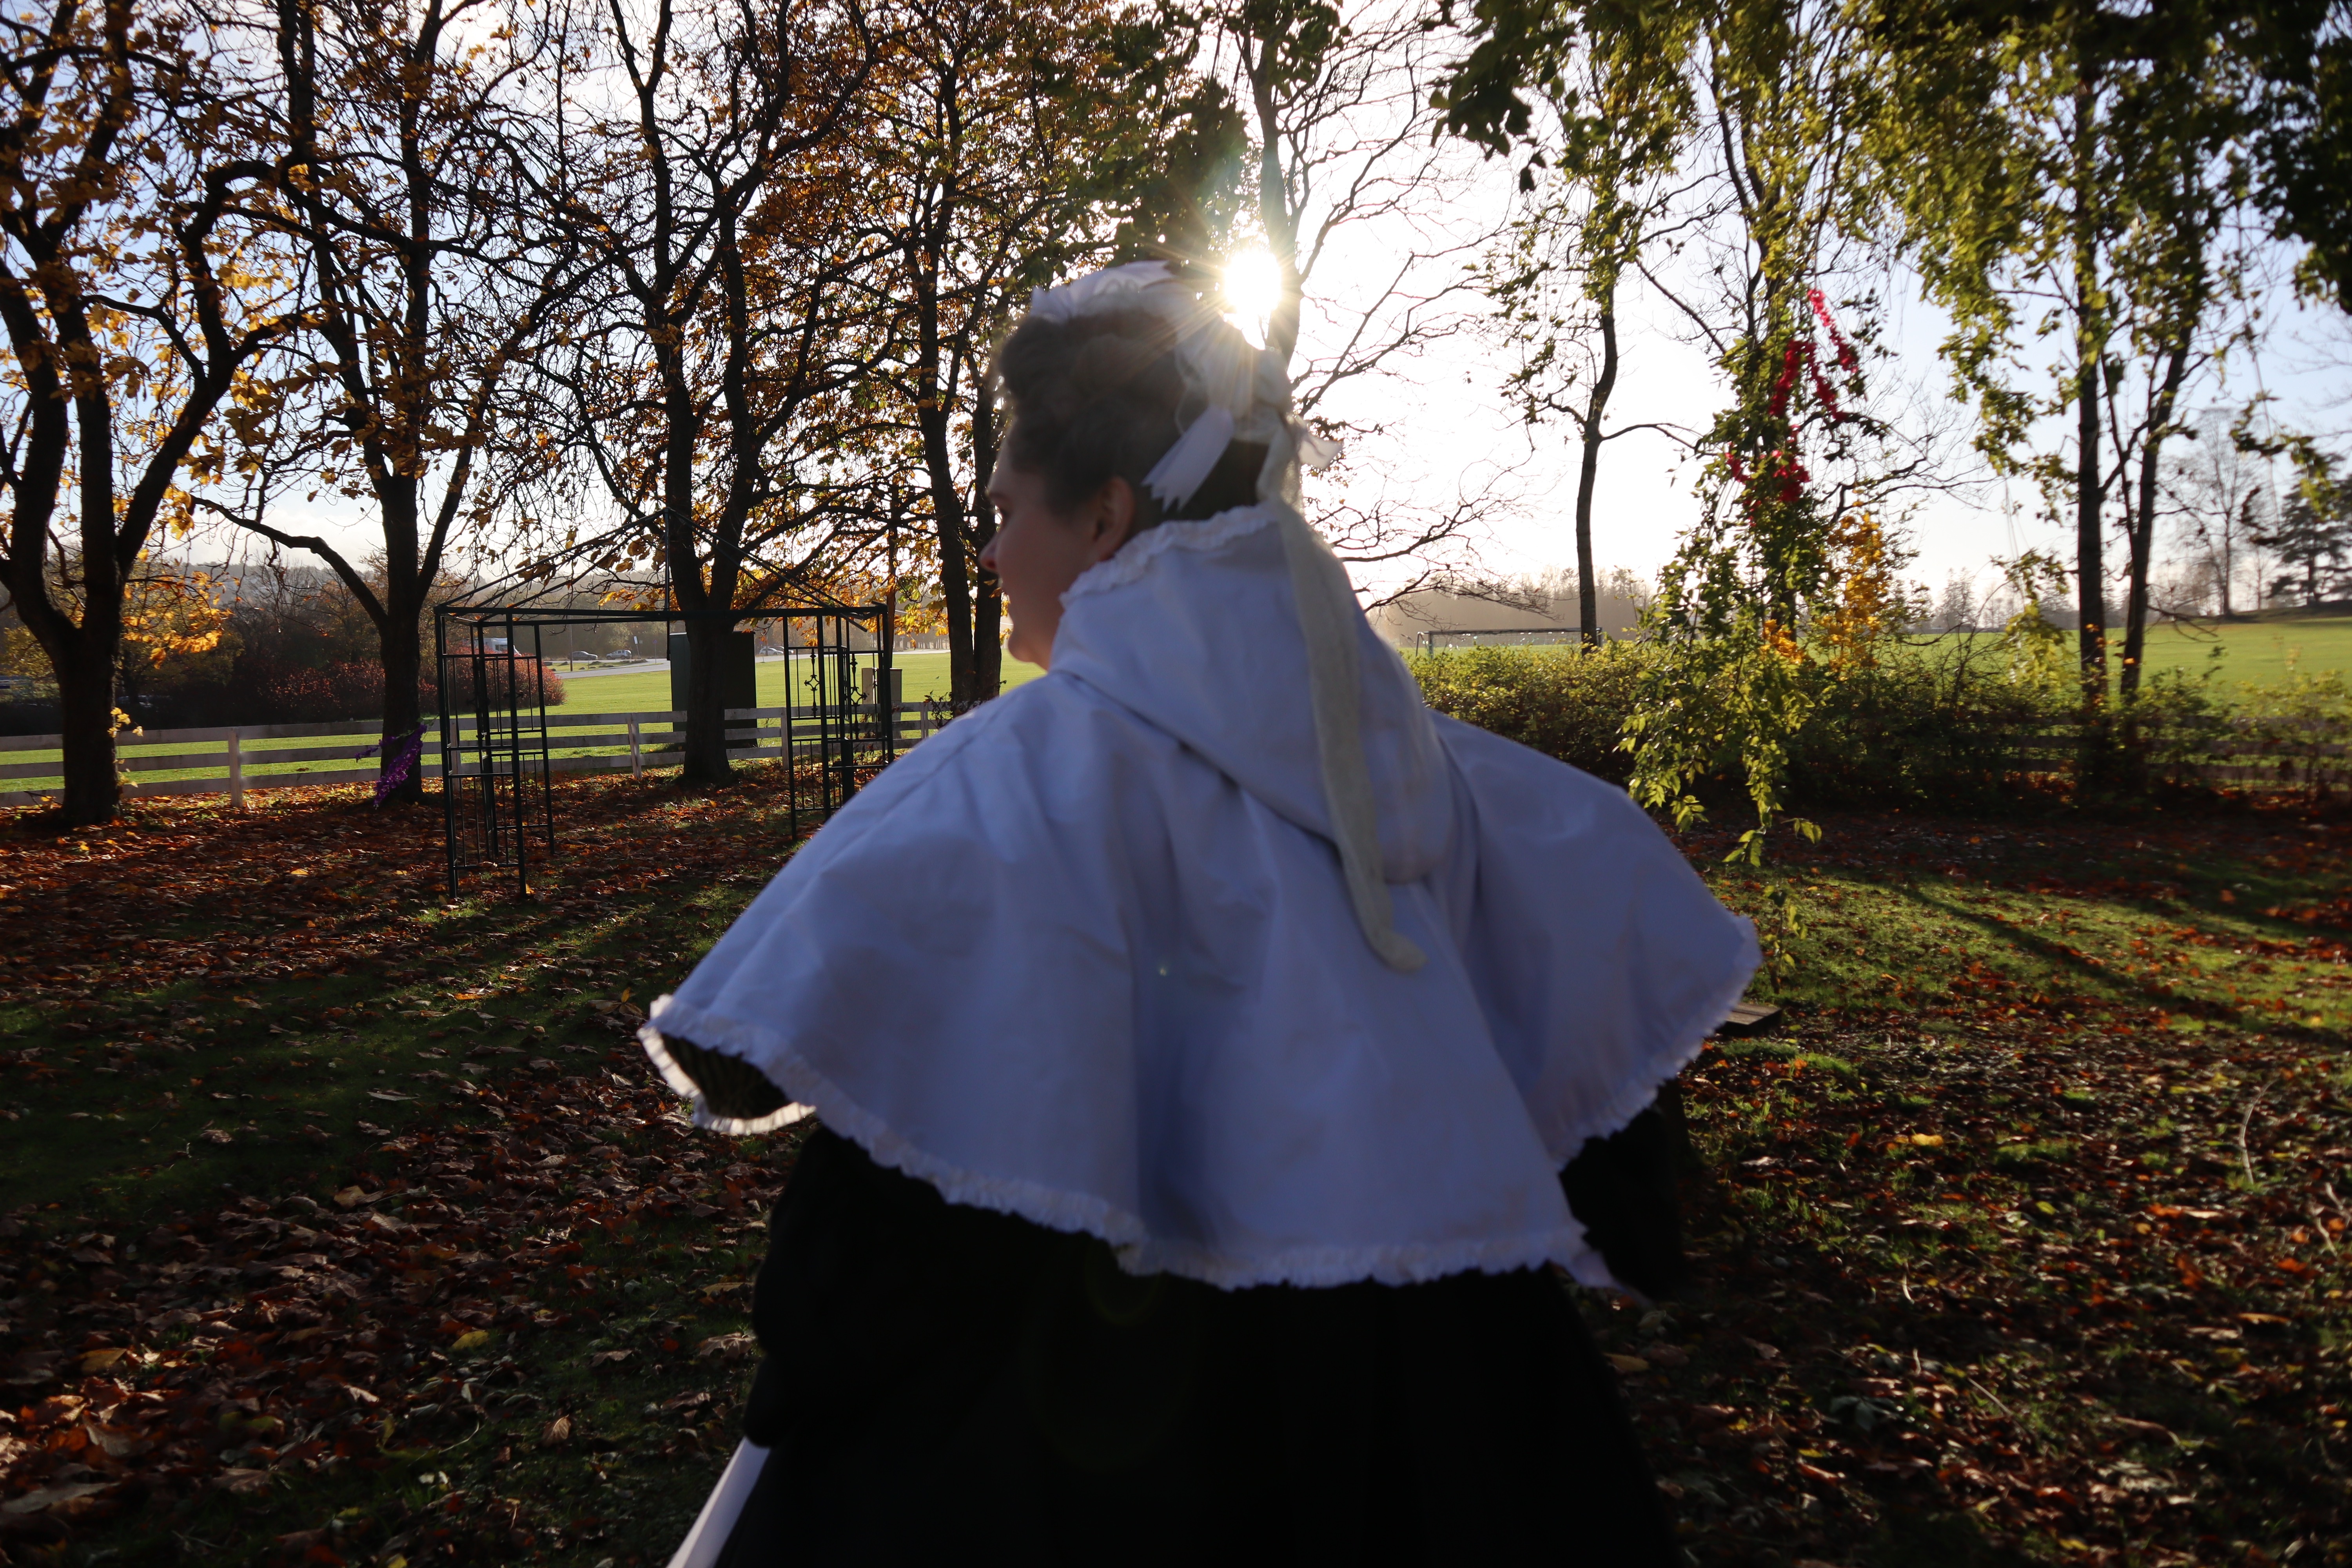
After the hood was lined, I made some running stitches towards the top of the back seam, and pulled them tight, before stitching the back seam up using teeny-tiny whip stitches. I’m really happy with this, what is it about hoods that they always make me so pleased? Is it the feeling of magic they bring, the way they remind me of wizards and fairytale princesses? I don’t know. I only know that I LOVE a good hood!
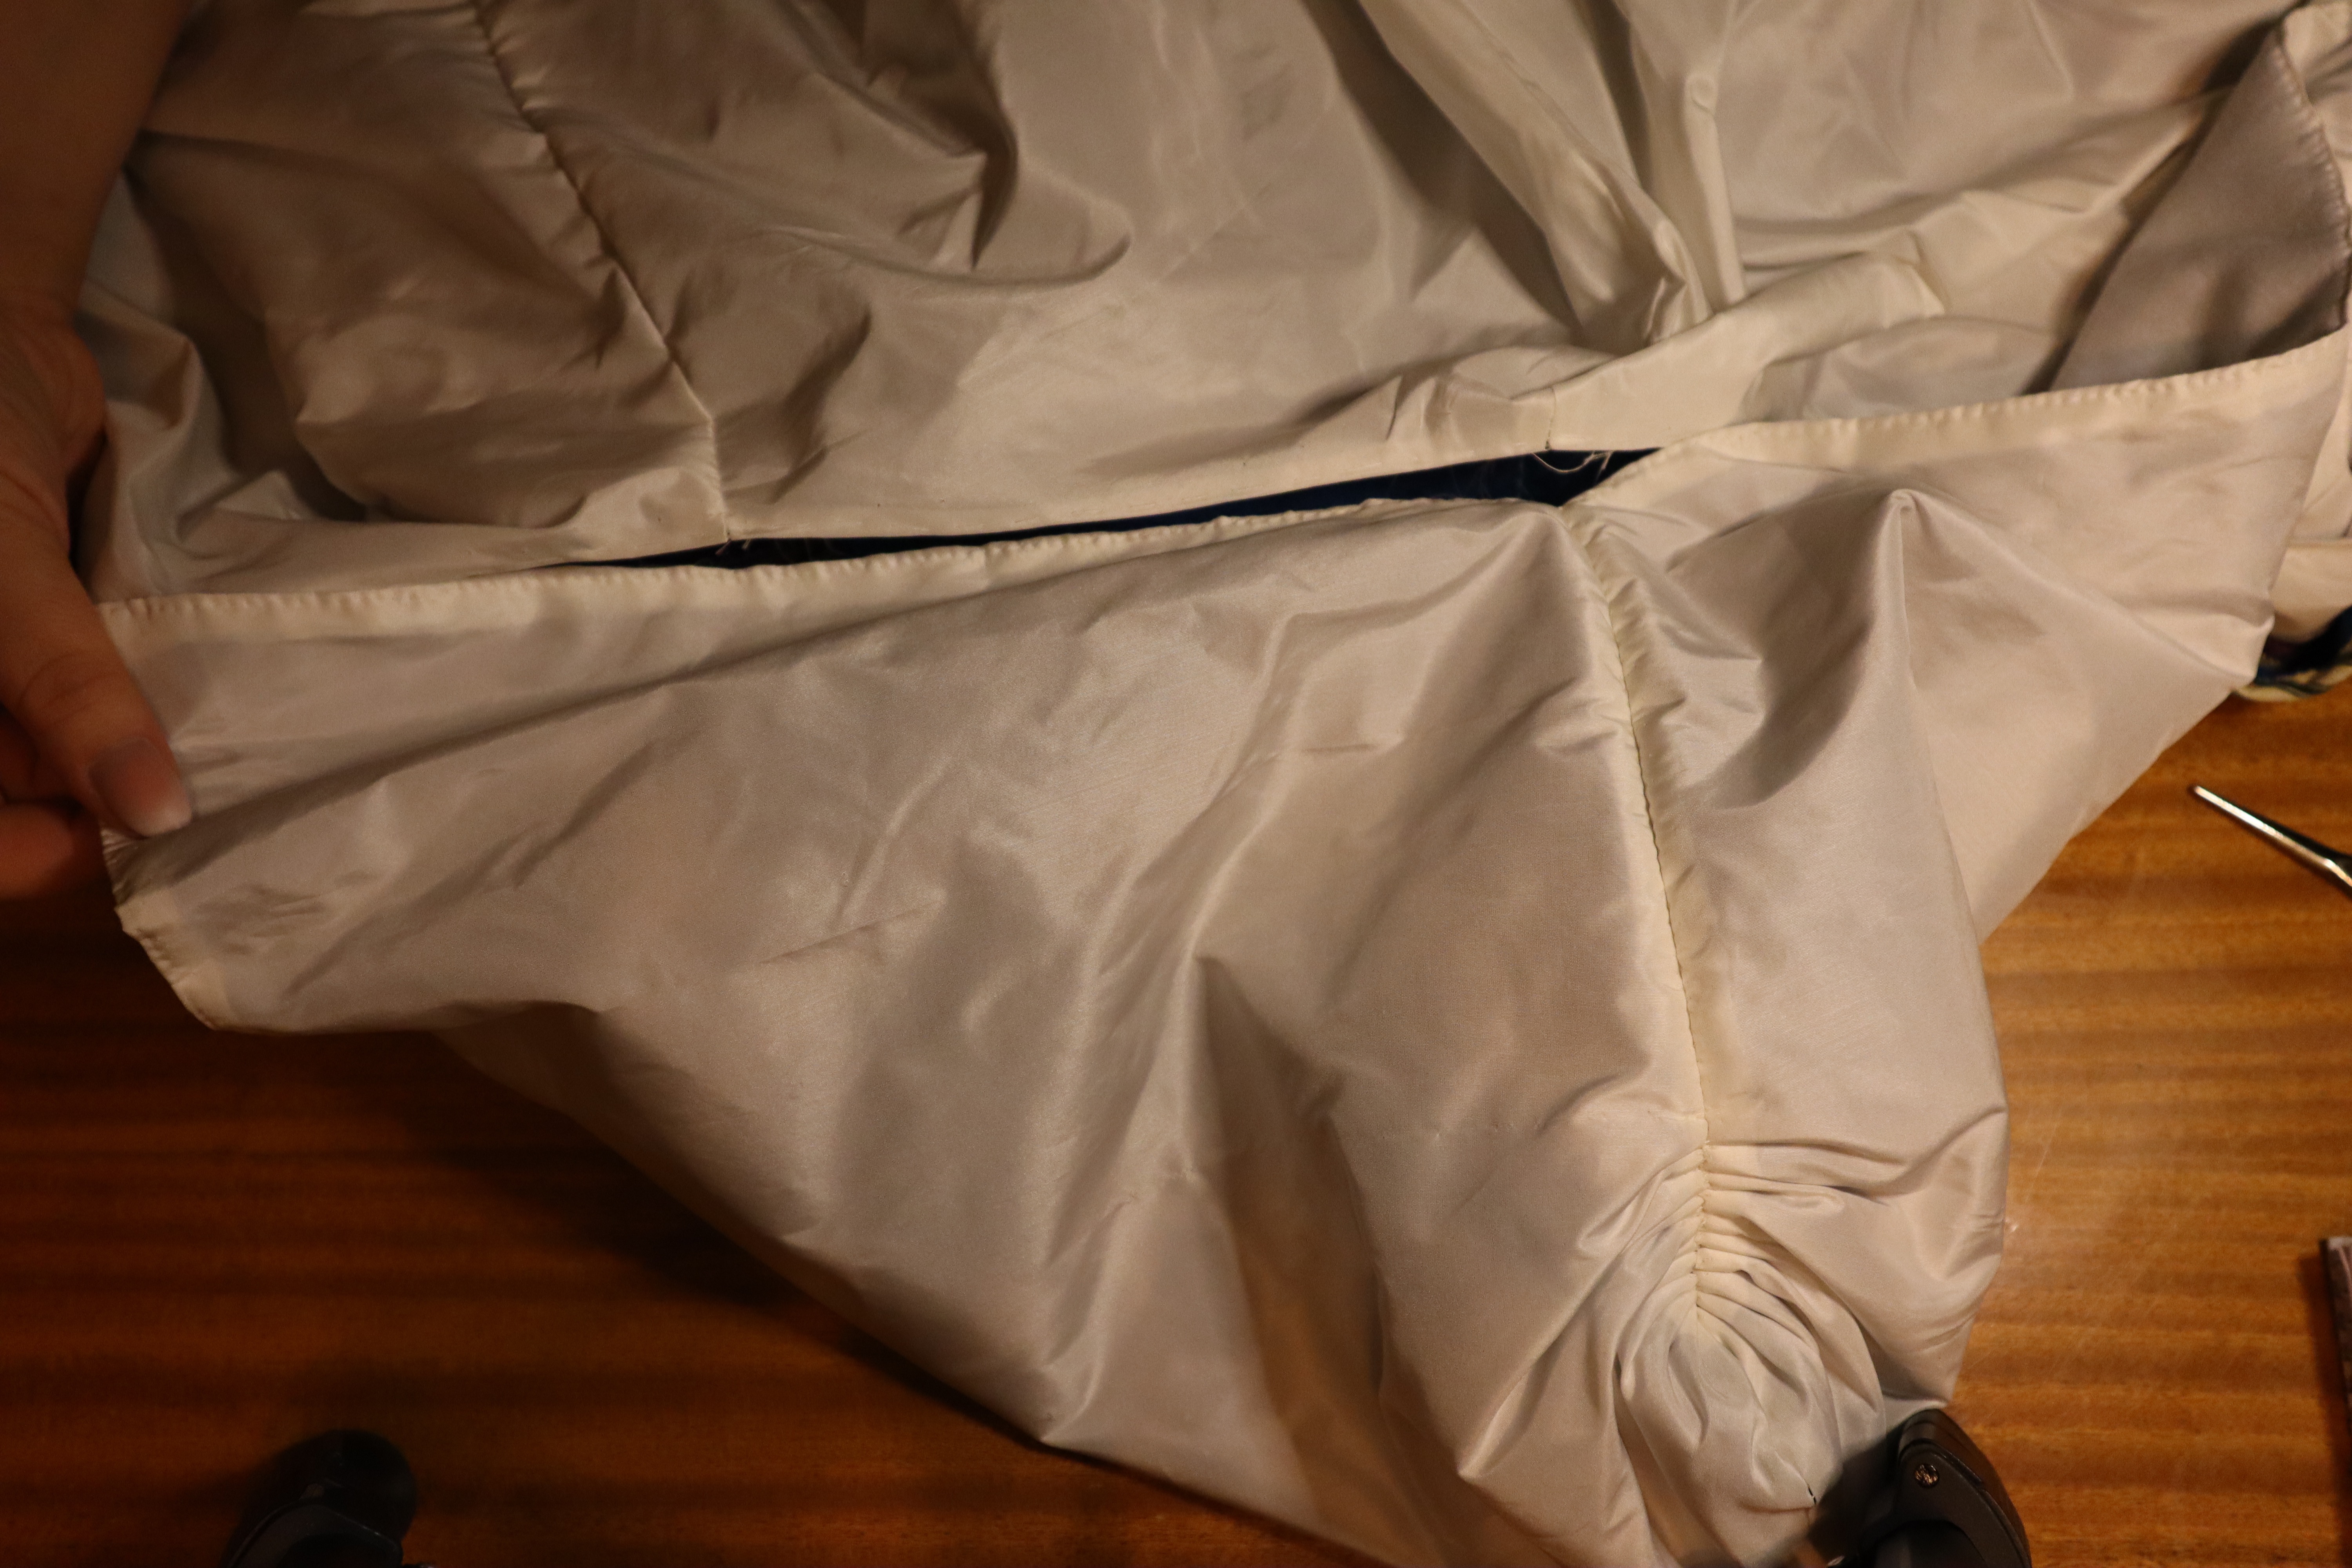
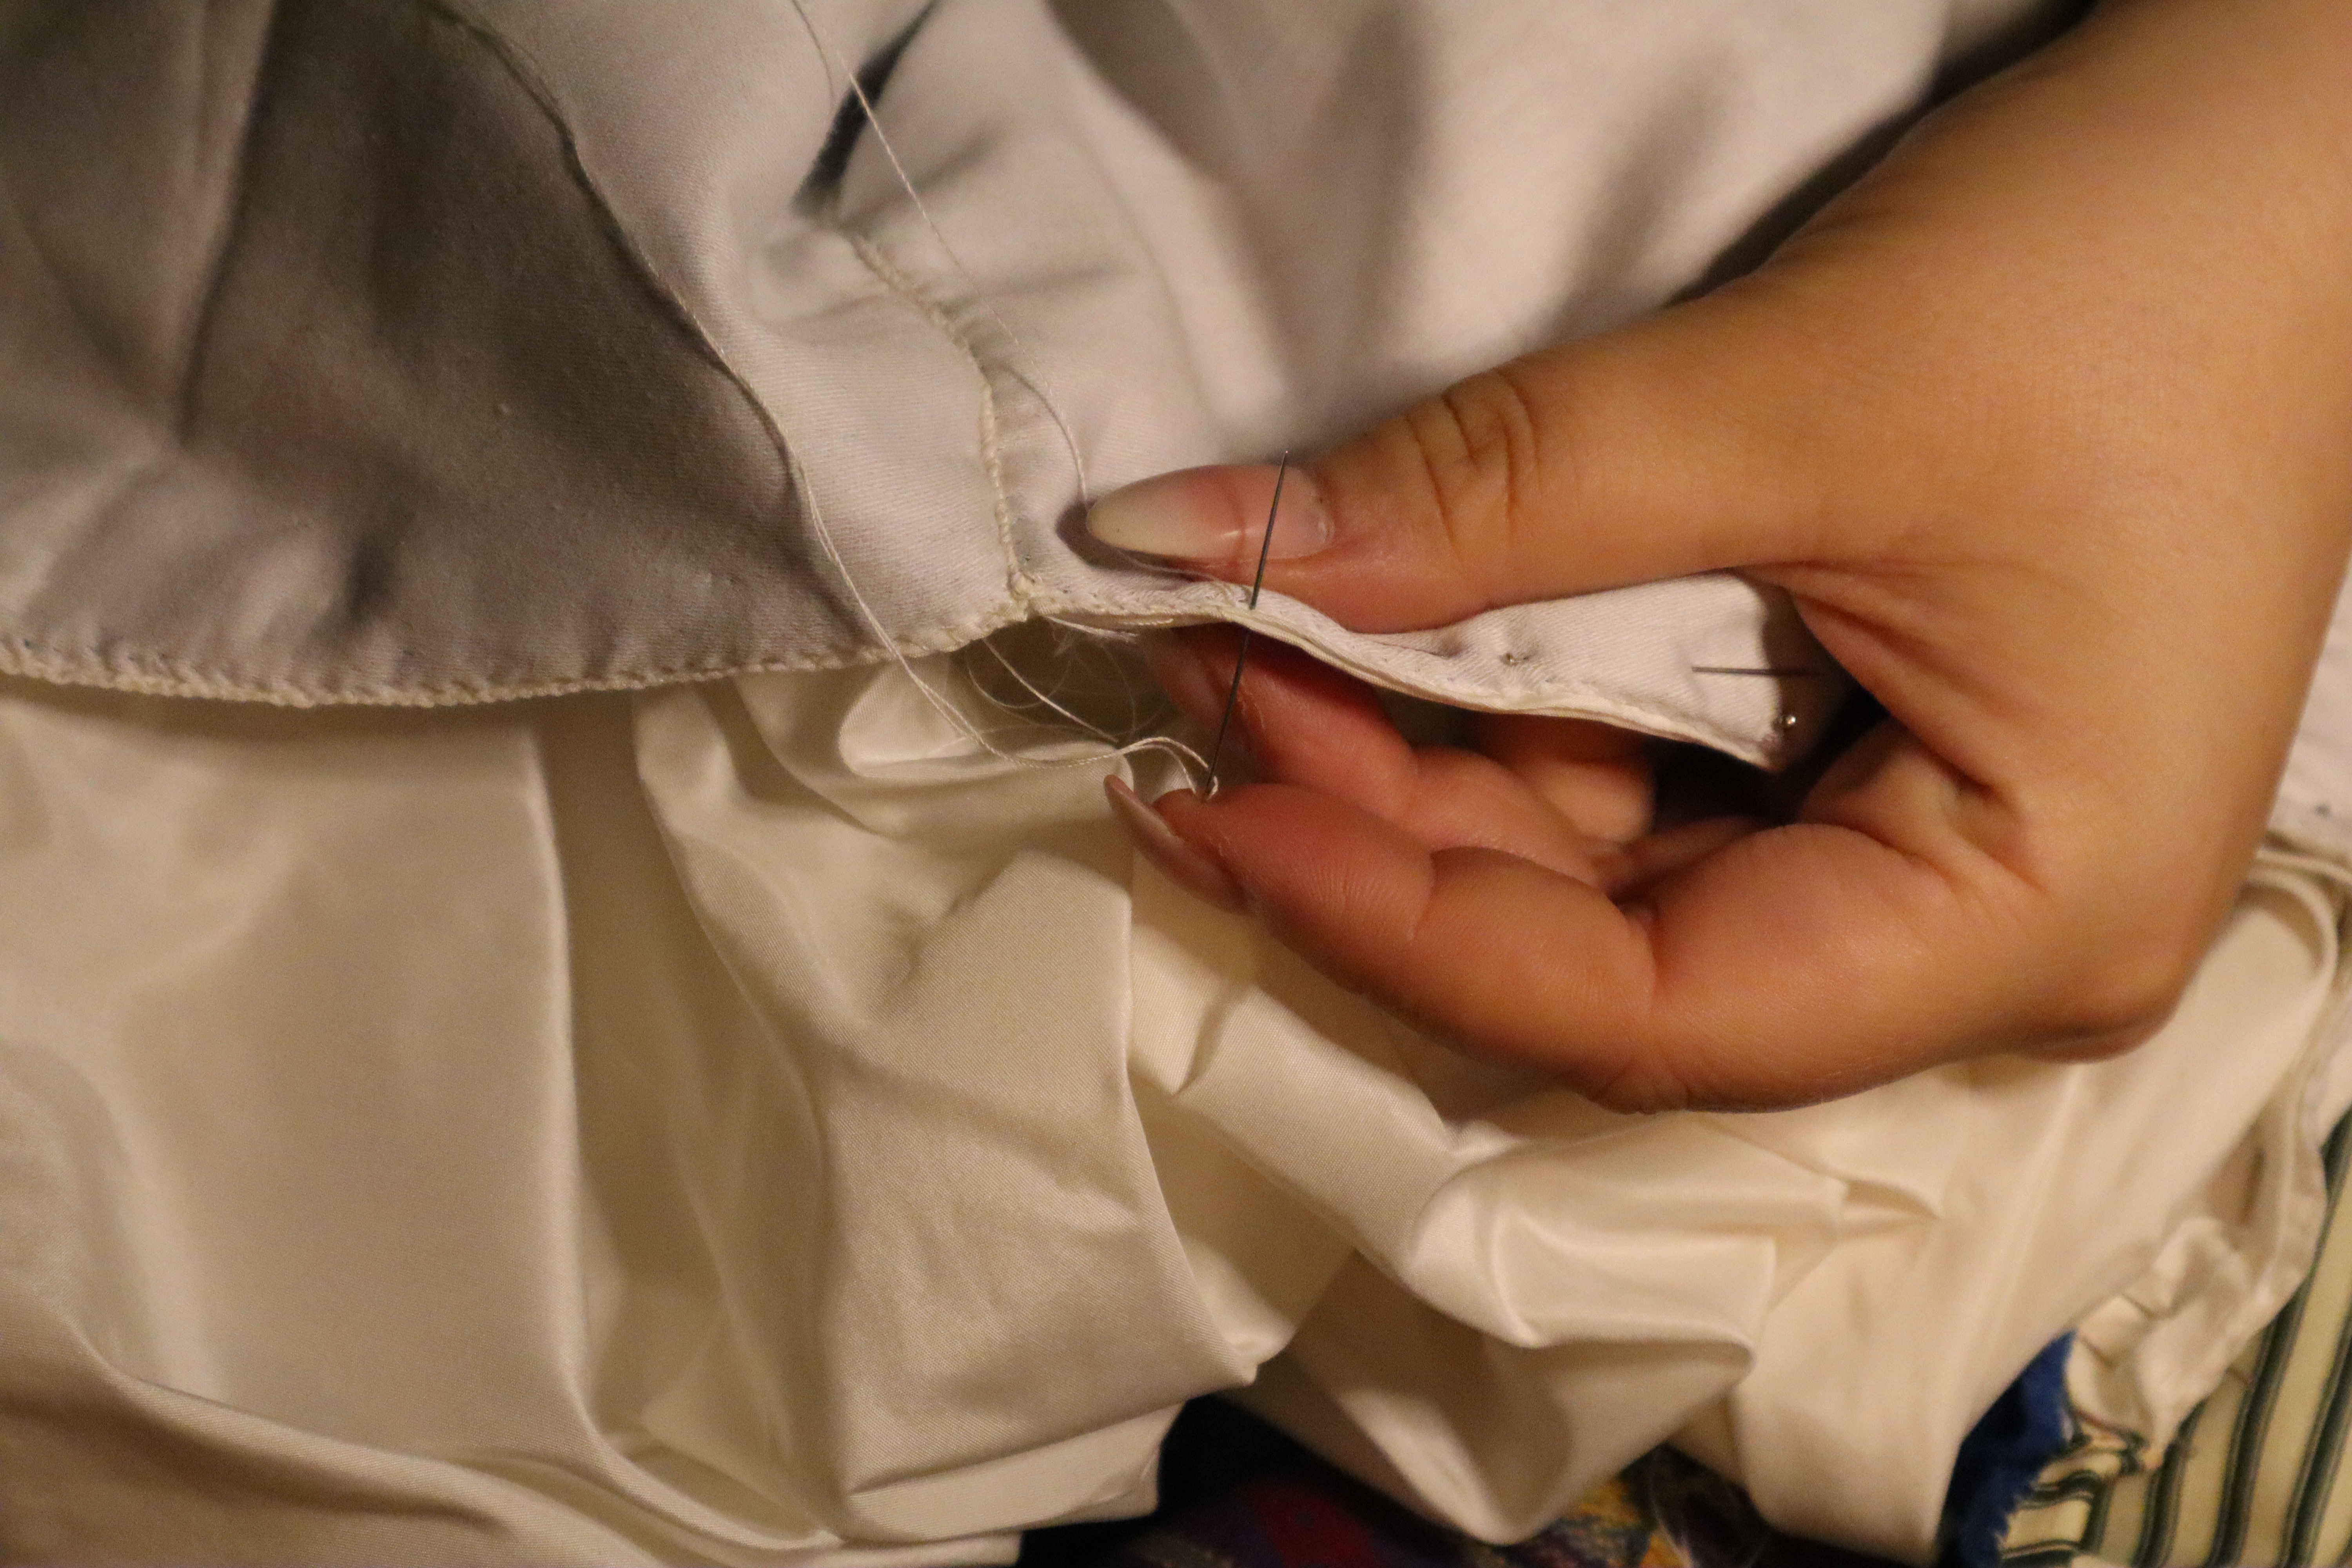
I lined the hood up with the silk neck edge of the cloak, right sides together, and stitched them together, again using a small whip stitch.
I then pulled the neck edge of the cloak lining over the seam allowance, and stitched it to the lining of the hood, using (you guessed it) more whip stitches! I used to think whip stitches were really frail and not really useful for anything, but I am loving them more every day. They are strong and flexible, and I think they look nice!

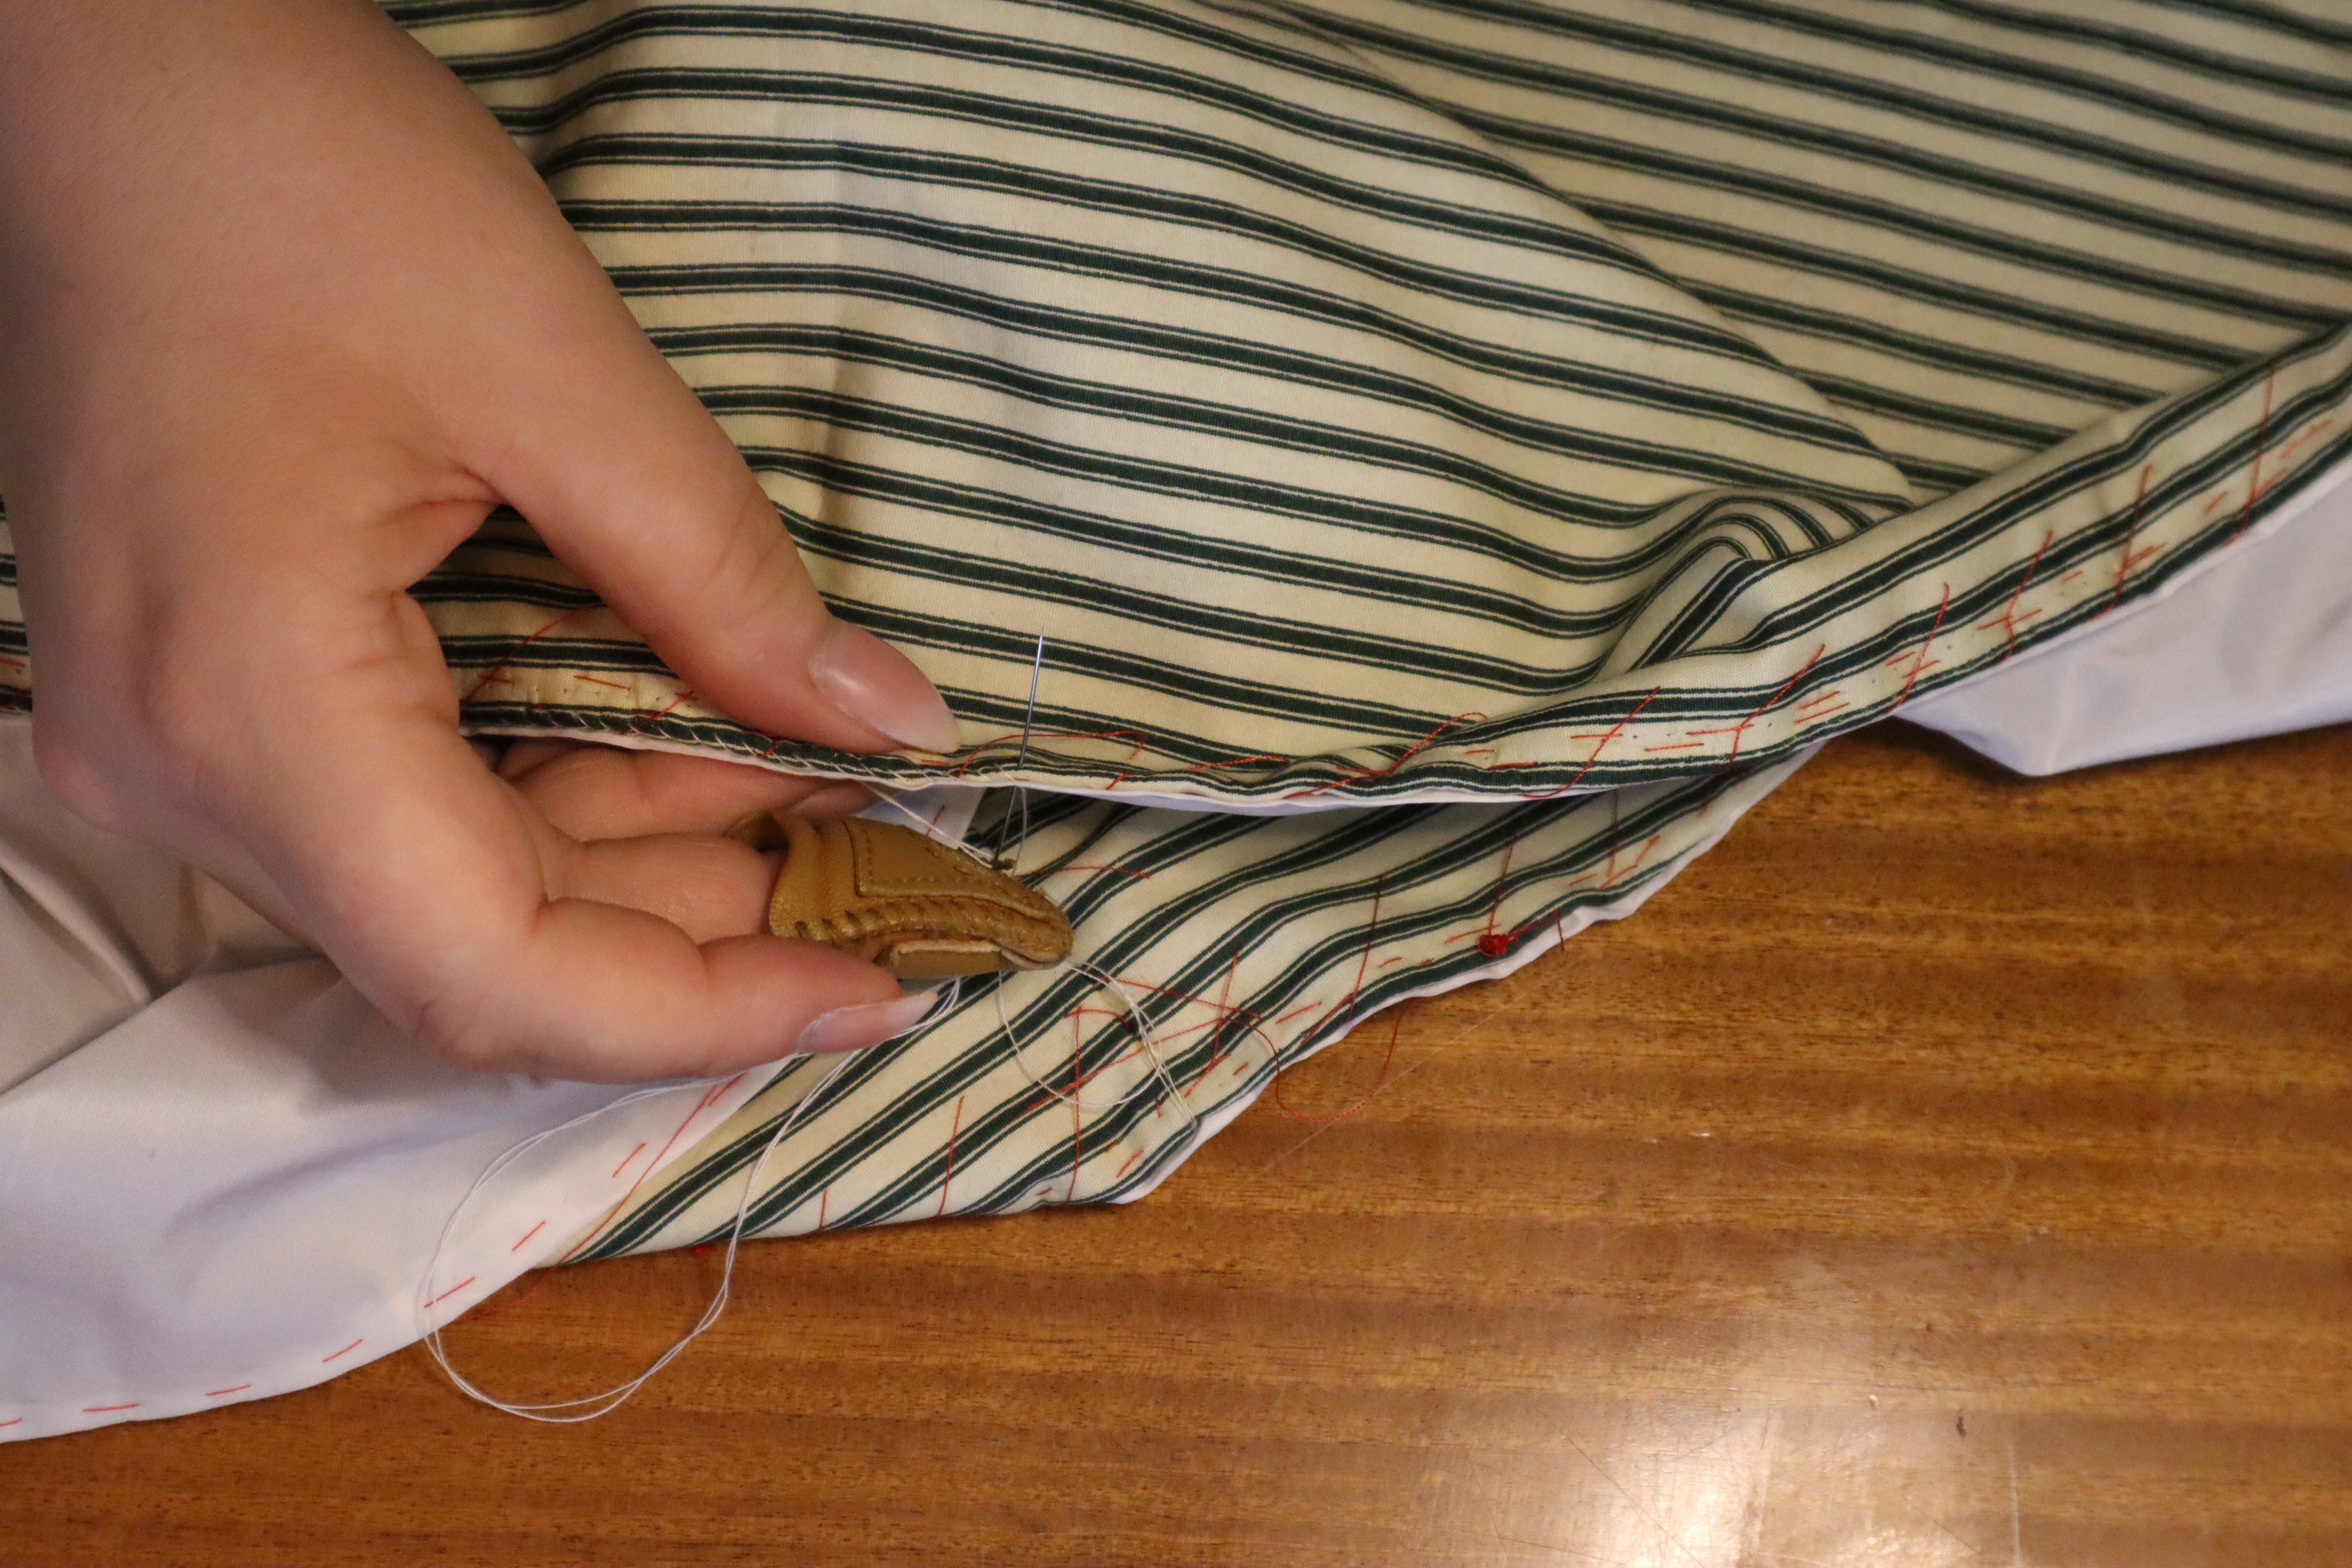
Do you remember the bits of silk between the pattern pieces? This is them! I cut them into narrow ribbons using pinking shears, stitched them together (which took an absolute age) and then gathered them, making several meters of rouched trim.

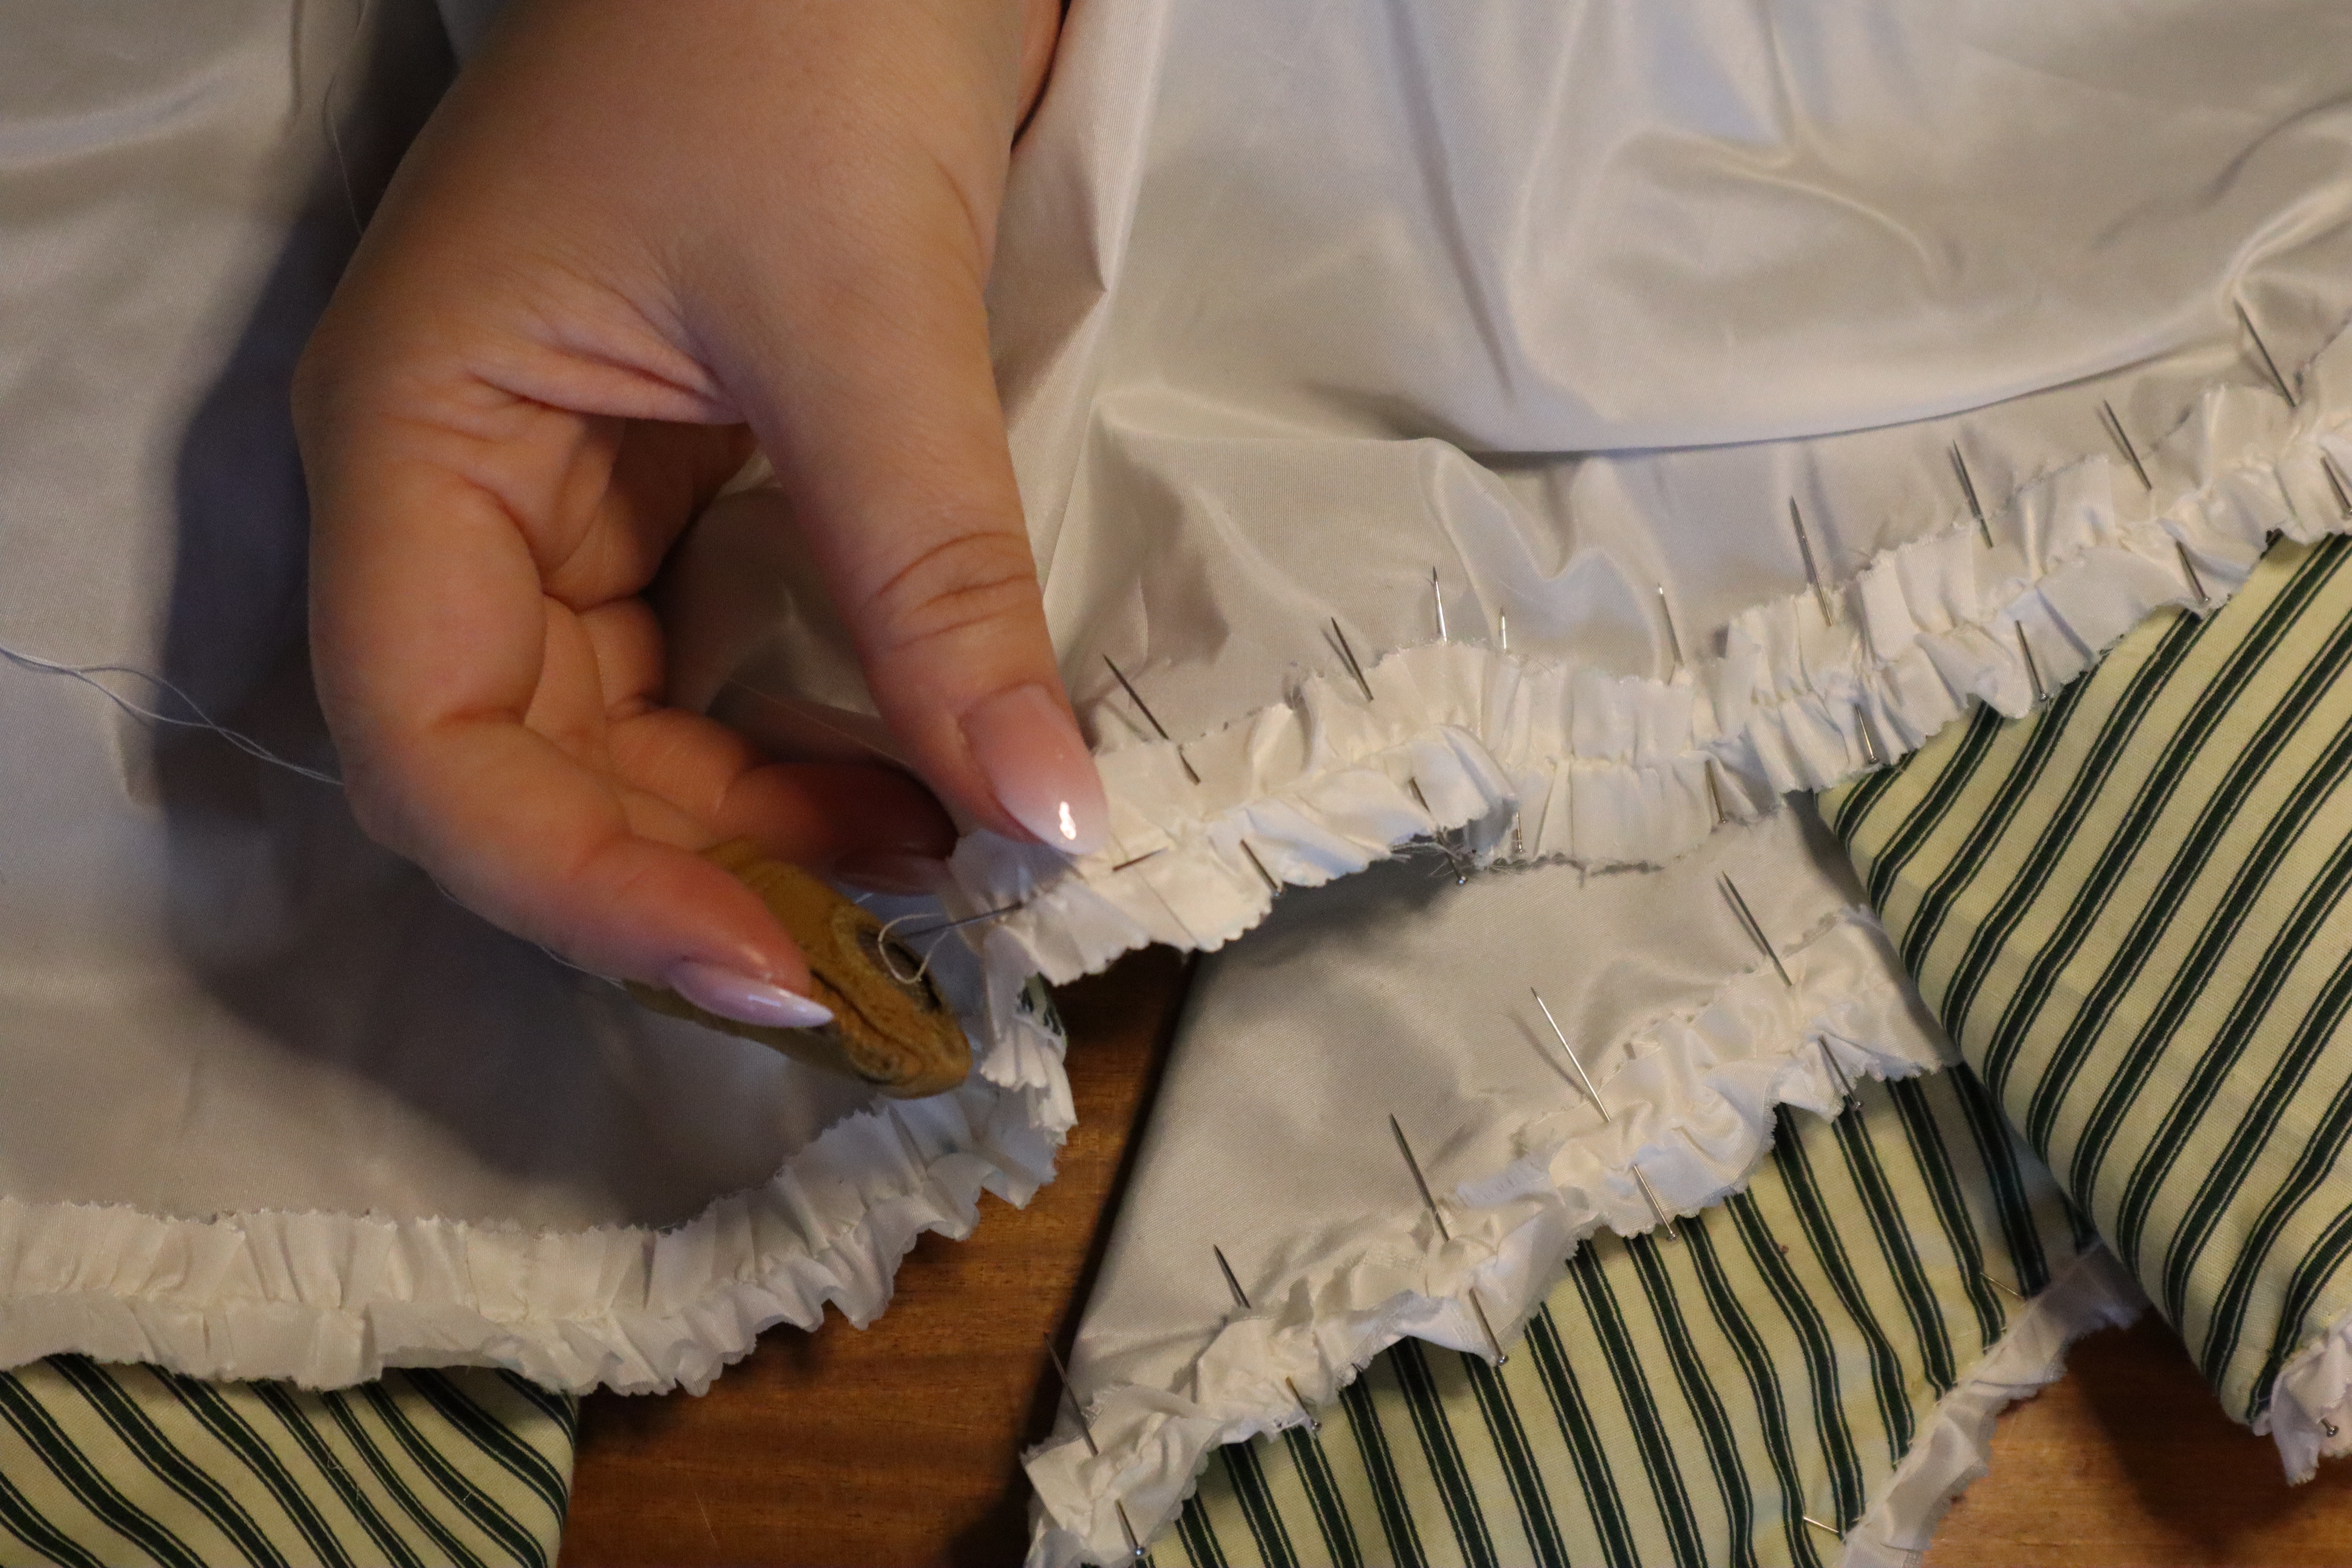

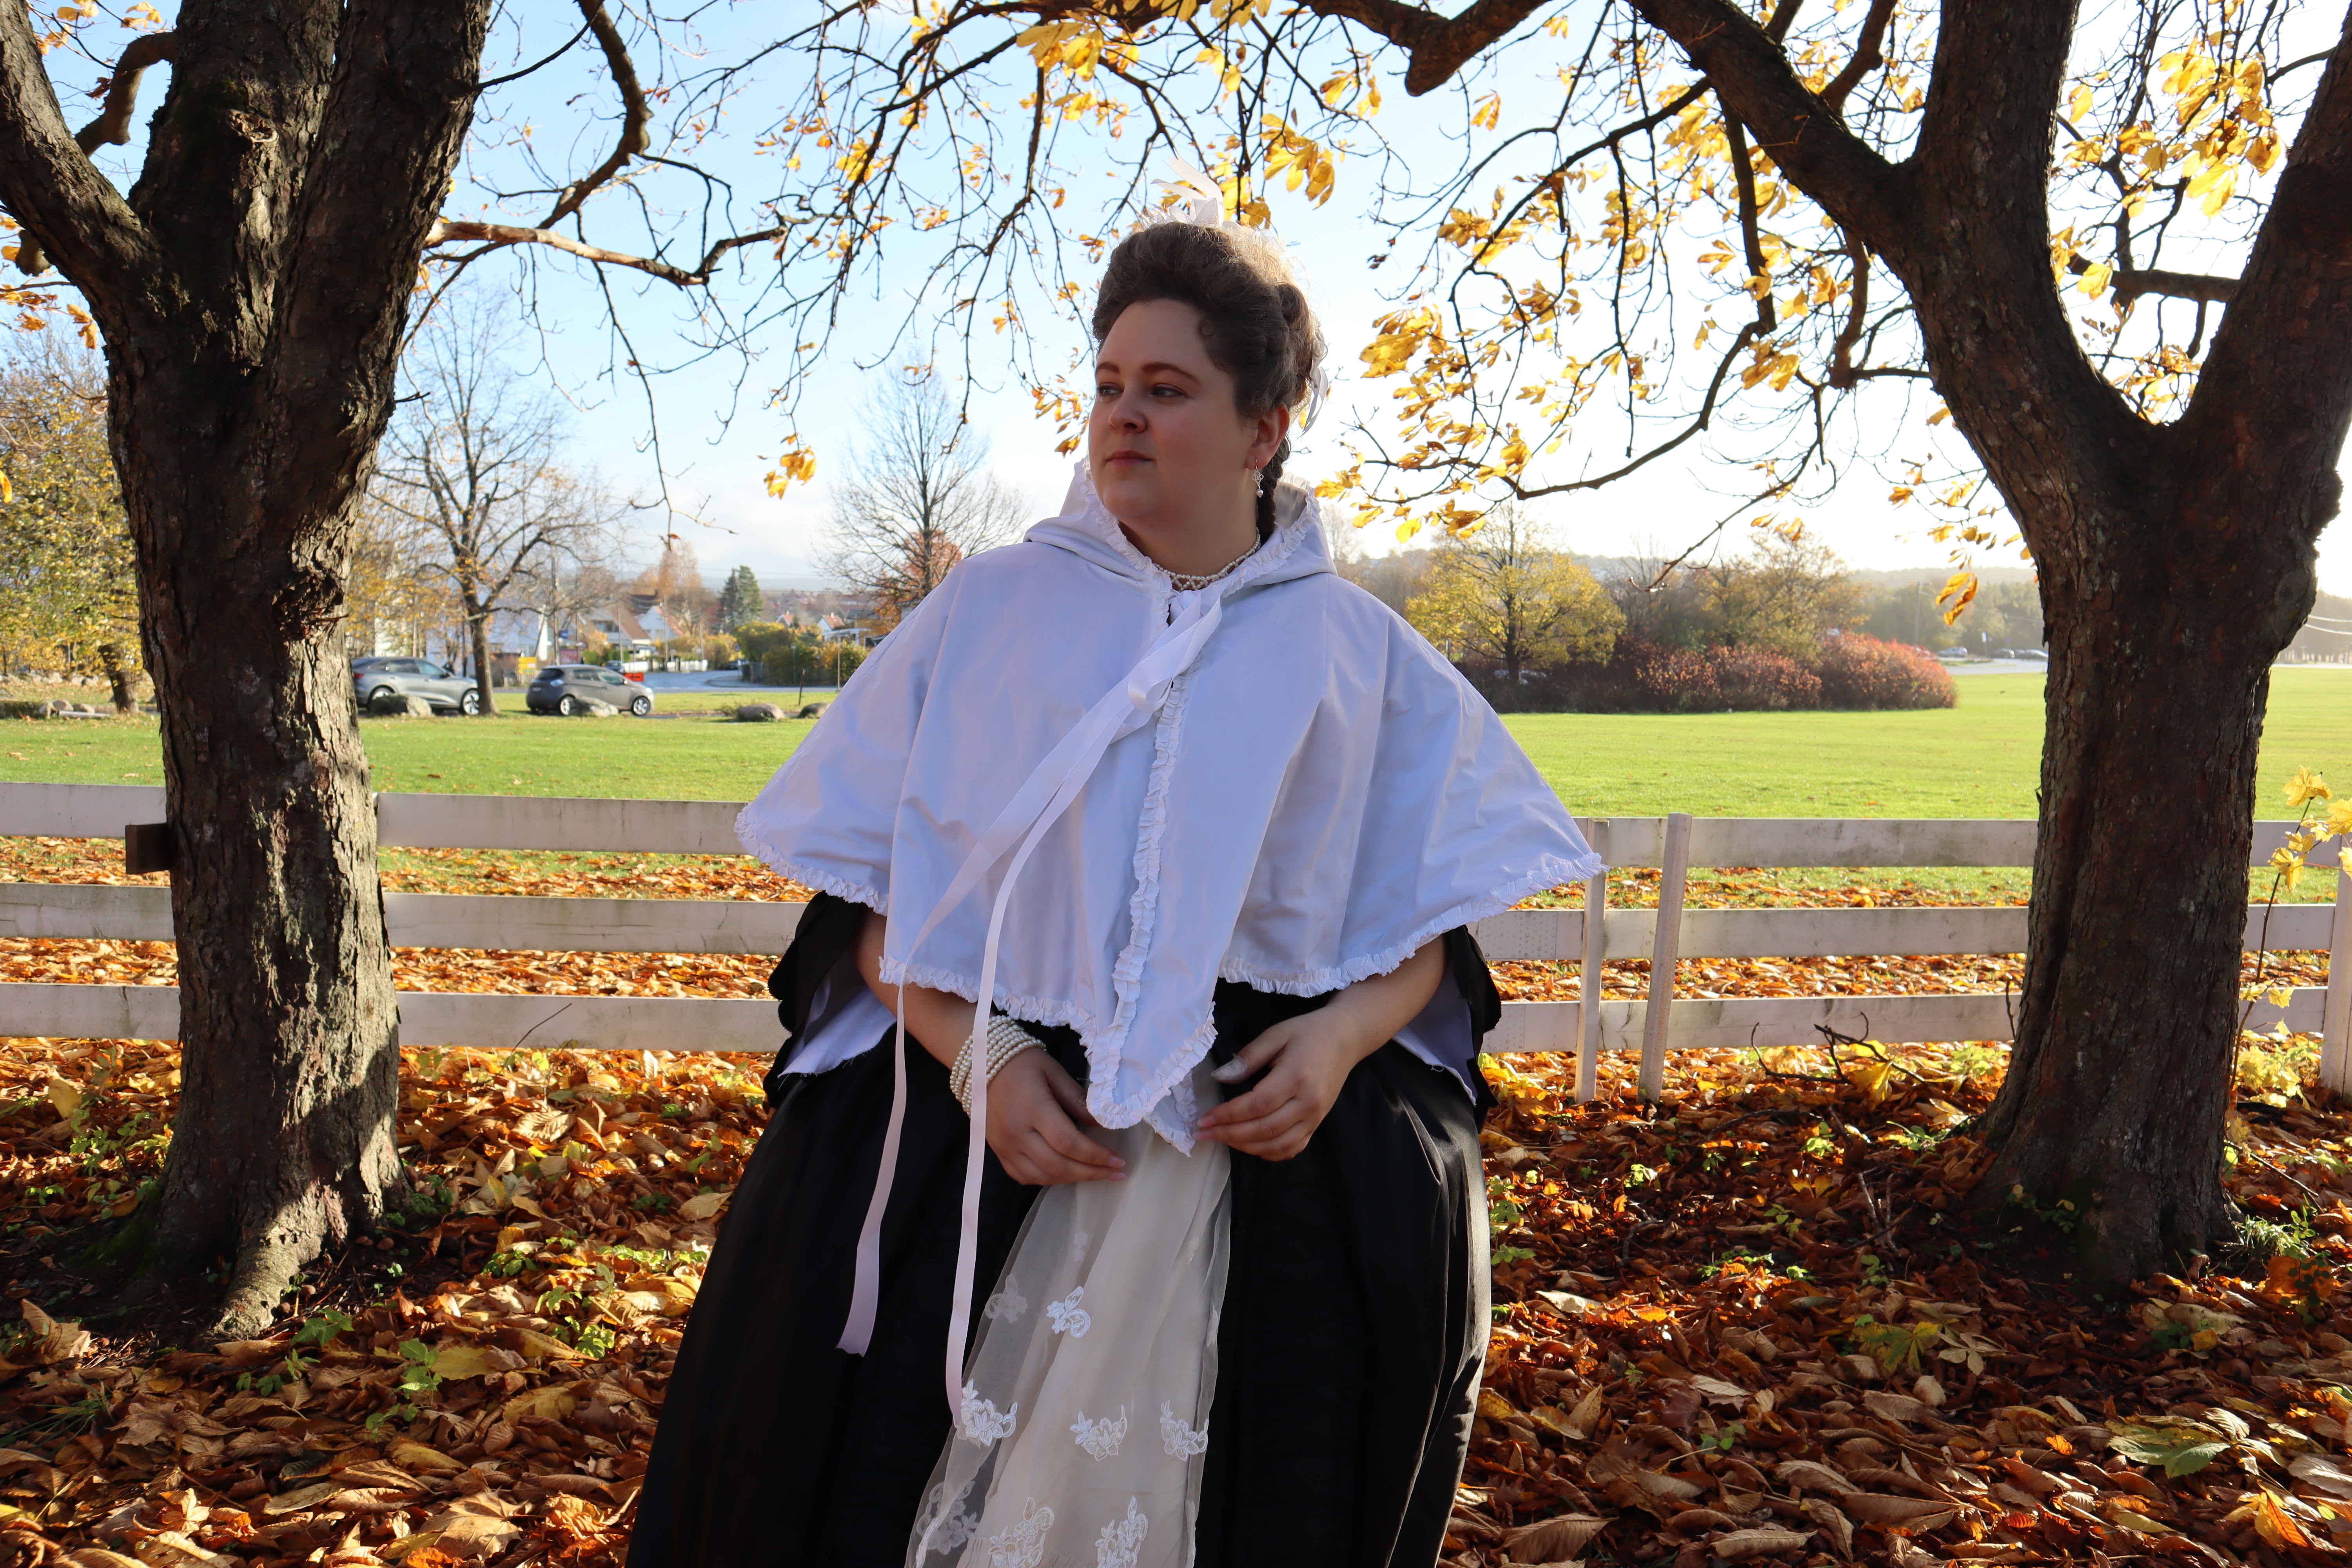
The trim was stitched on to the edges of the cloak and hood using small, spaced back stitches. I made it all the way around the hem of the cloak, up the front, around the hood, and down the other front, with about 4 cm trim left when I was finished.
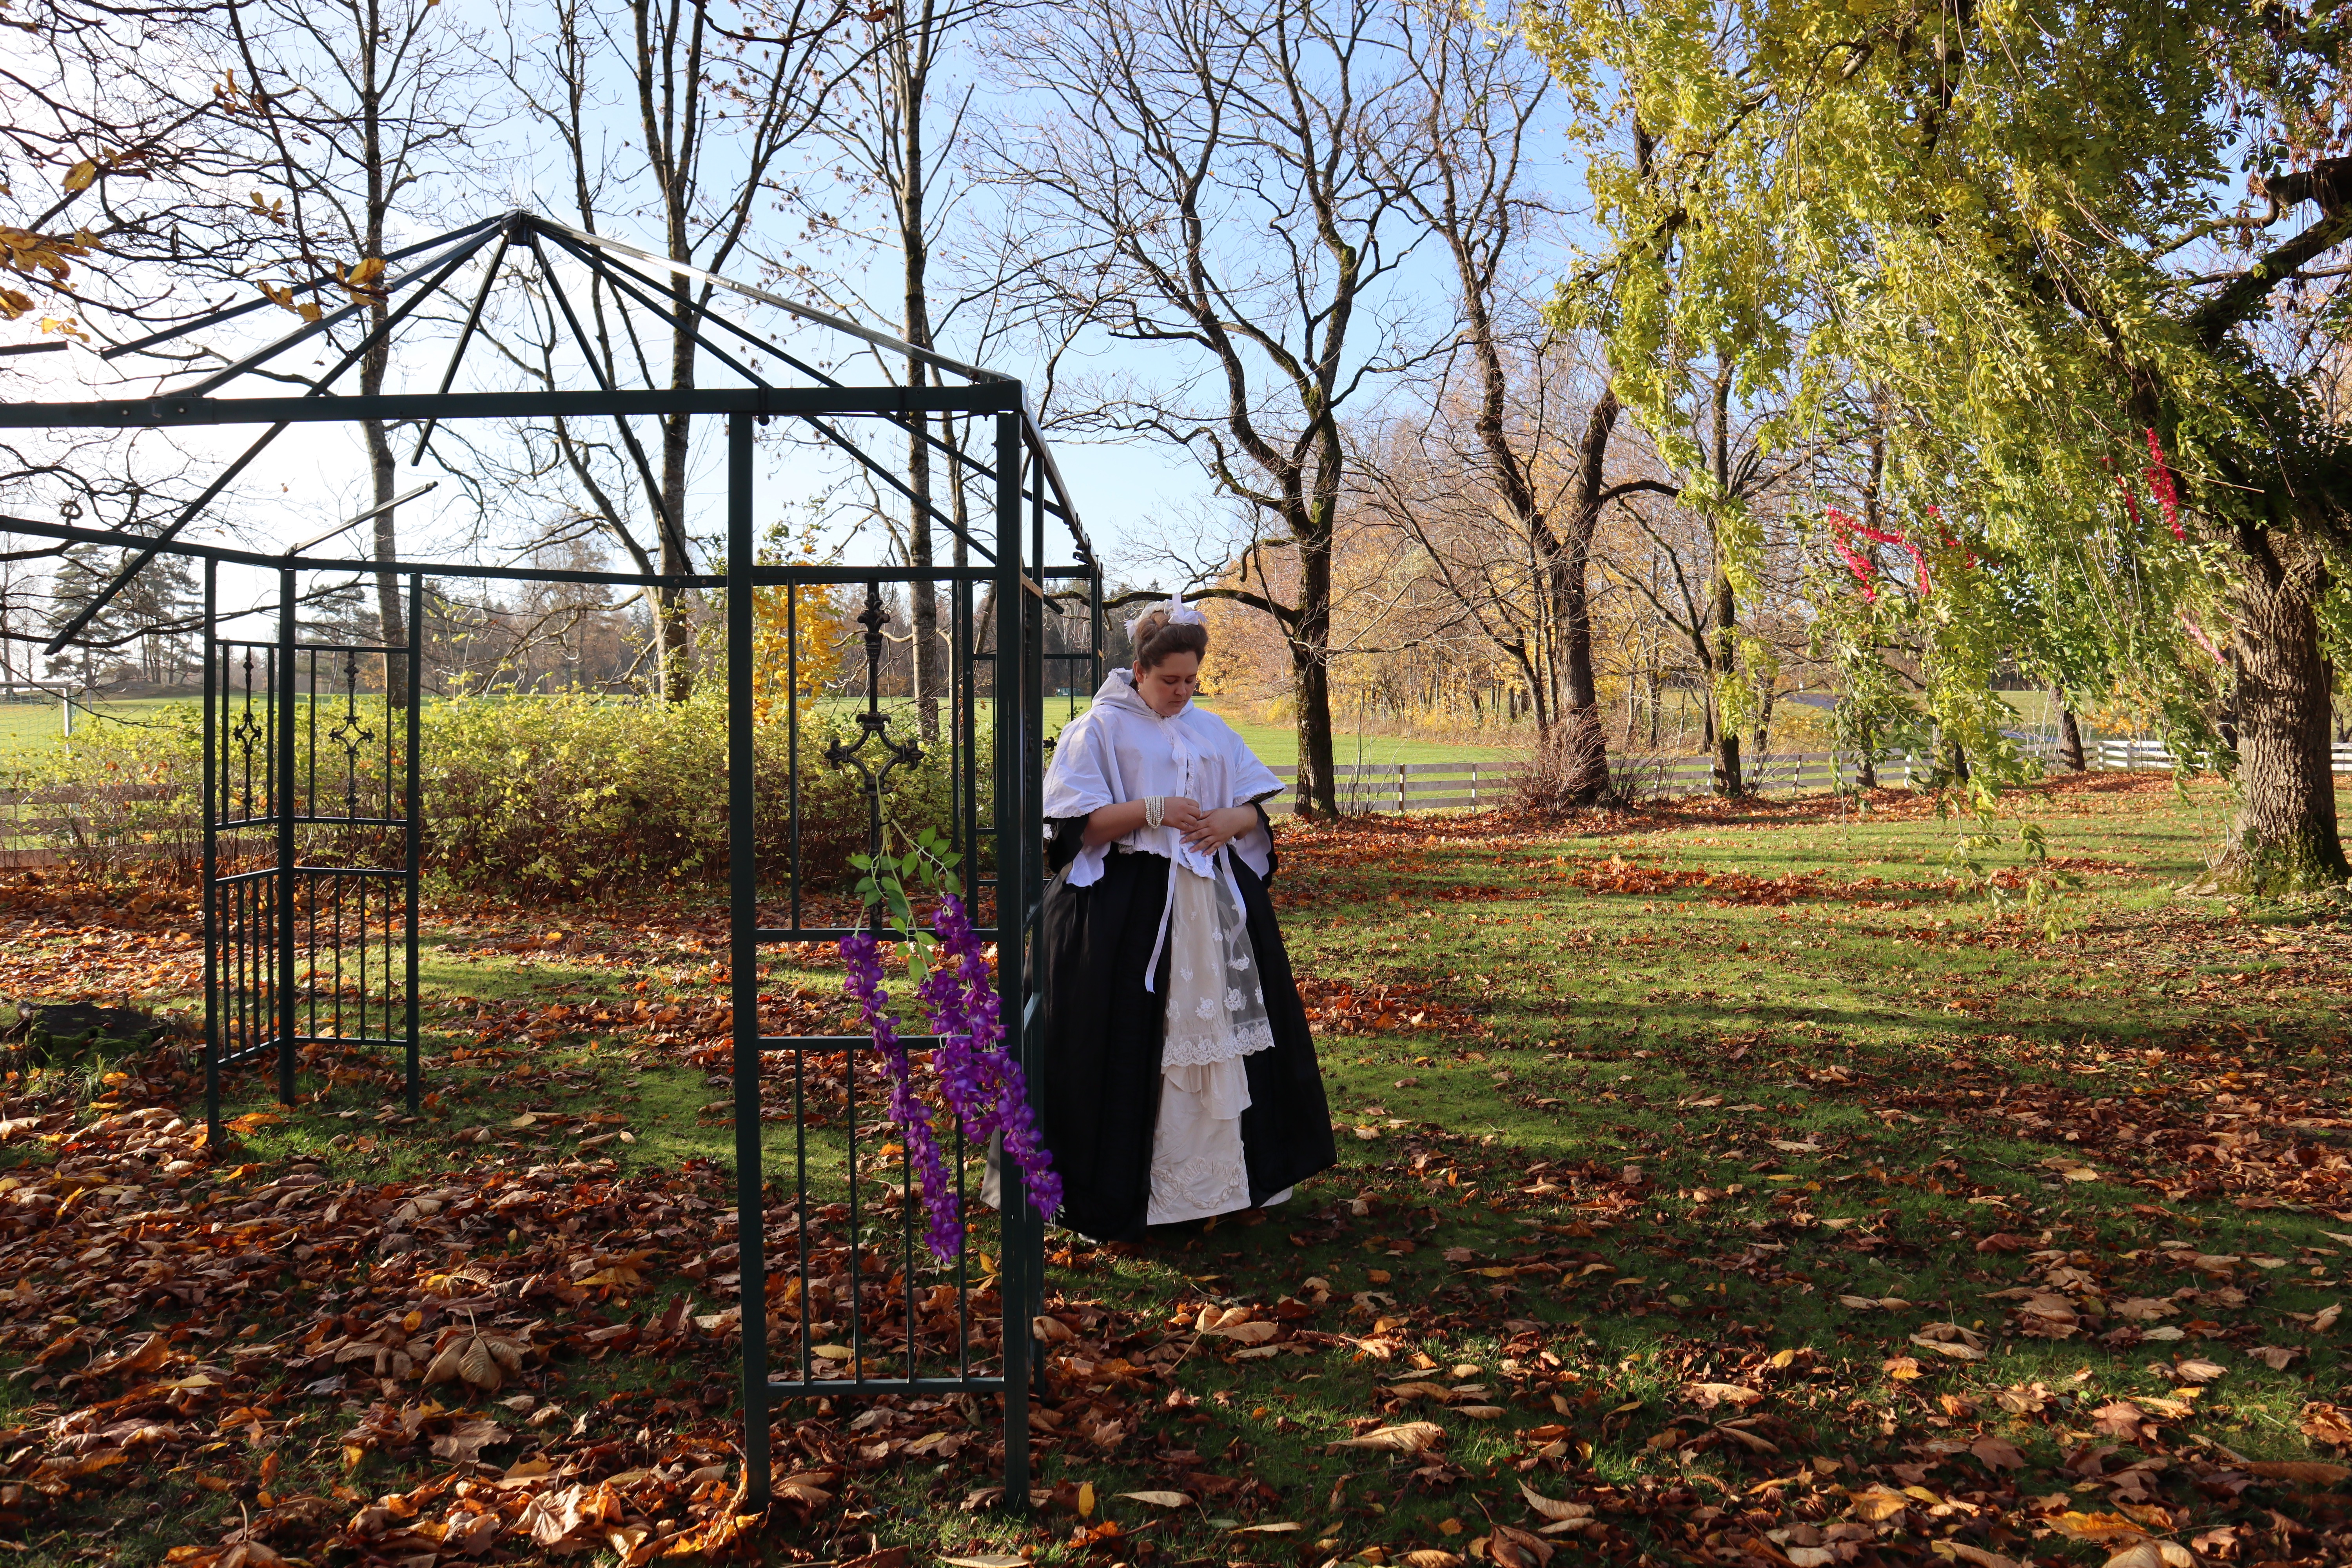
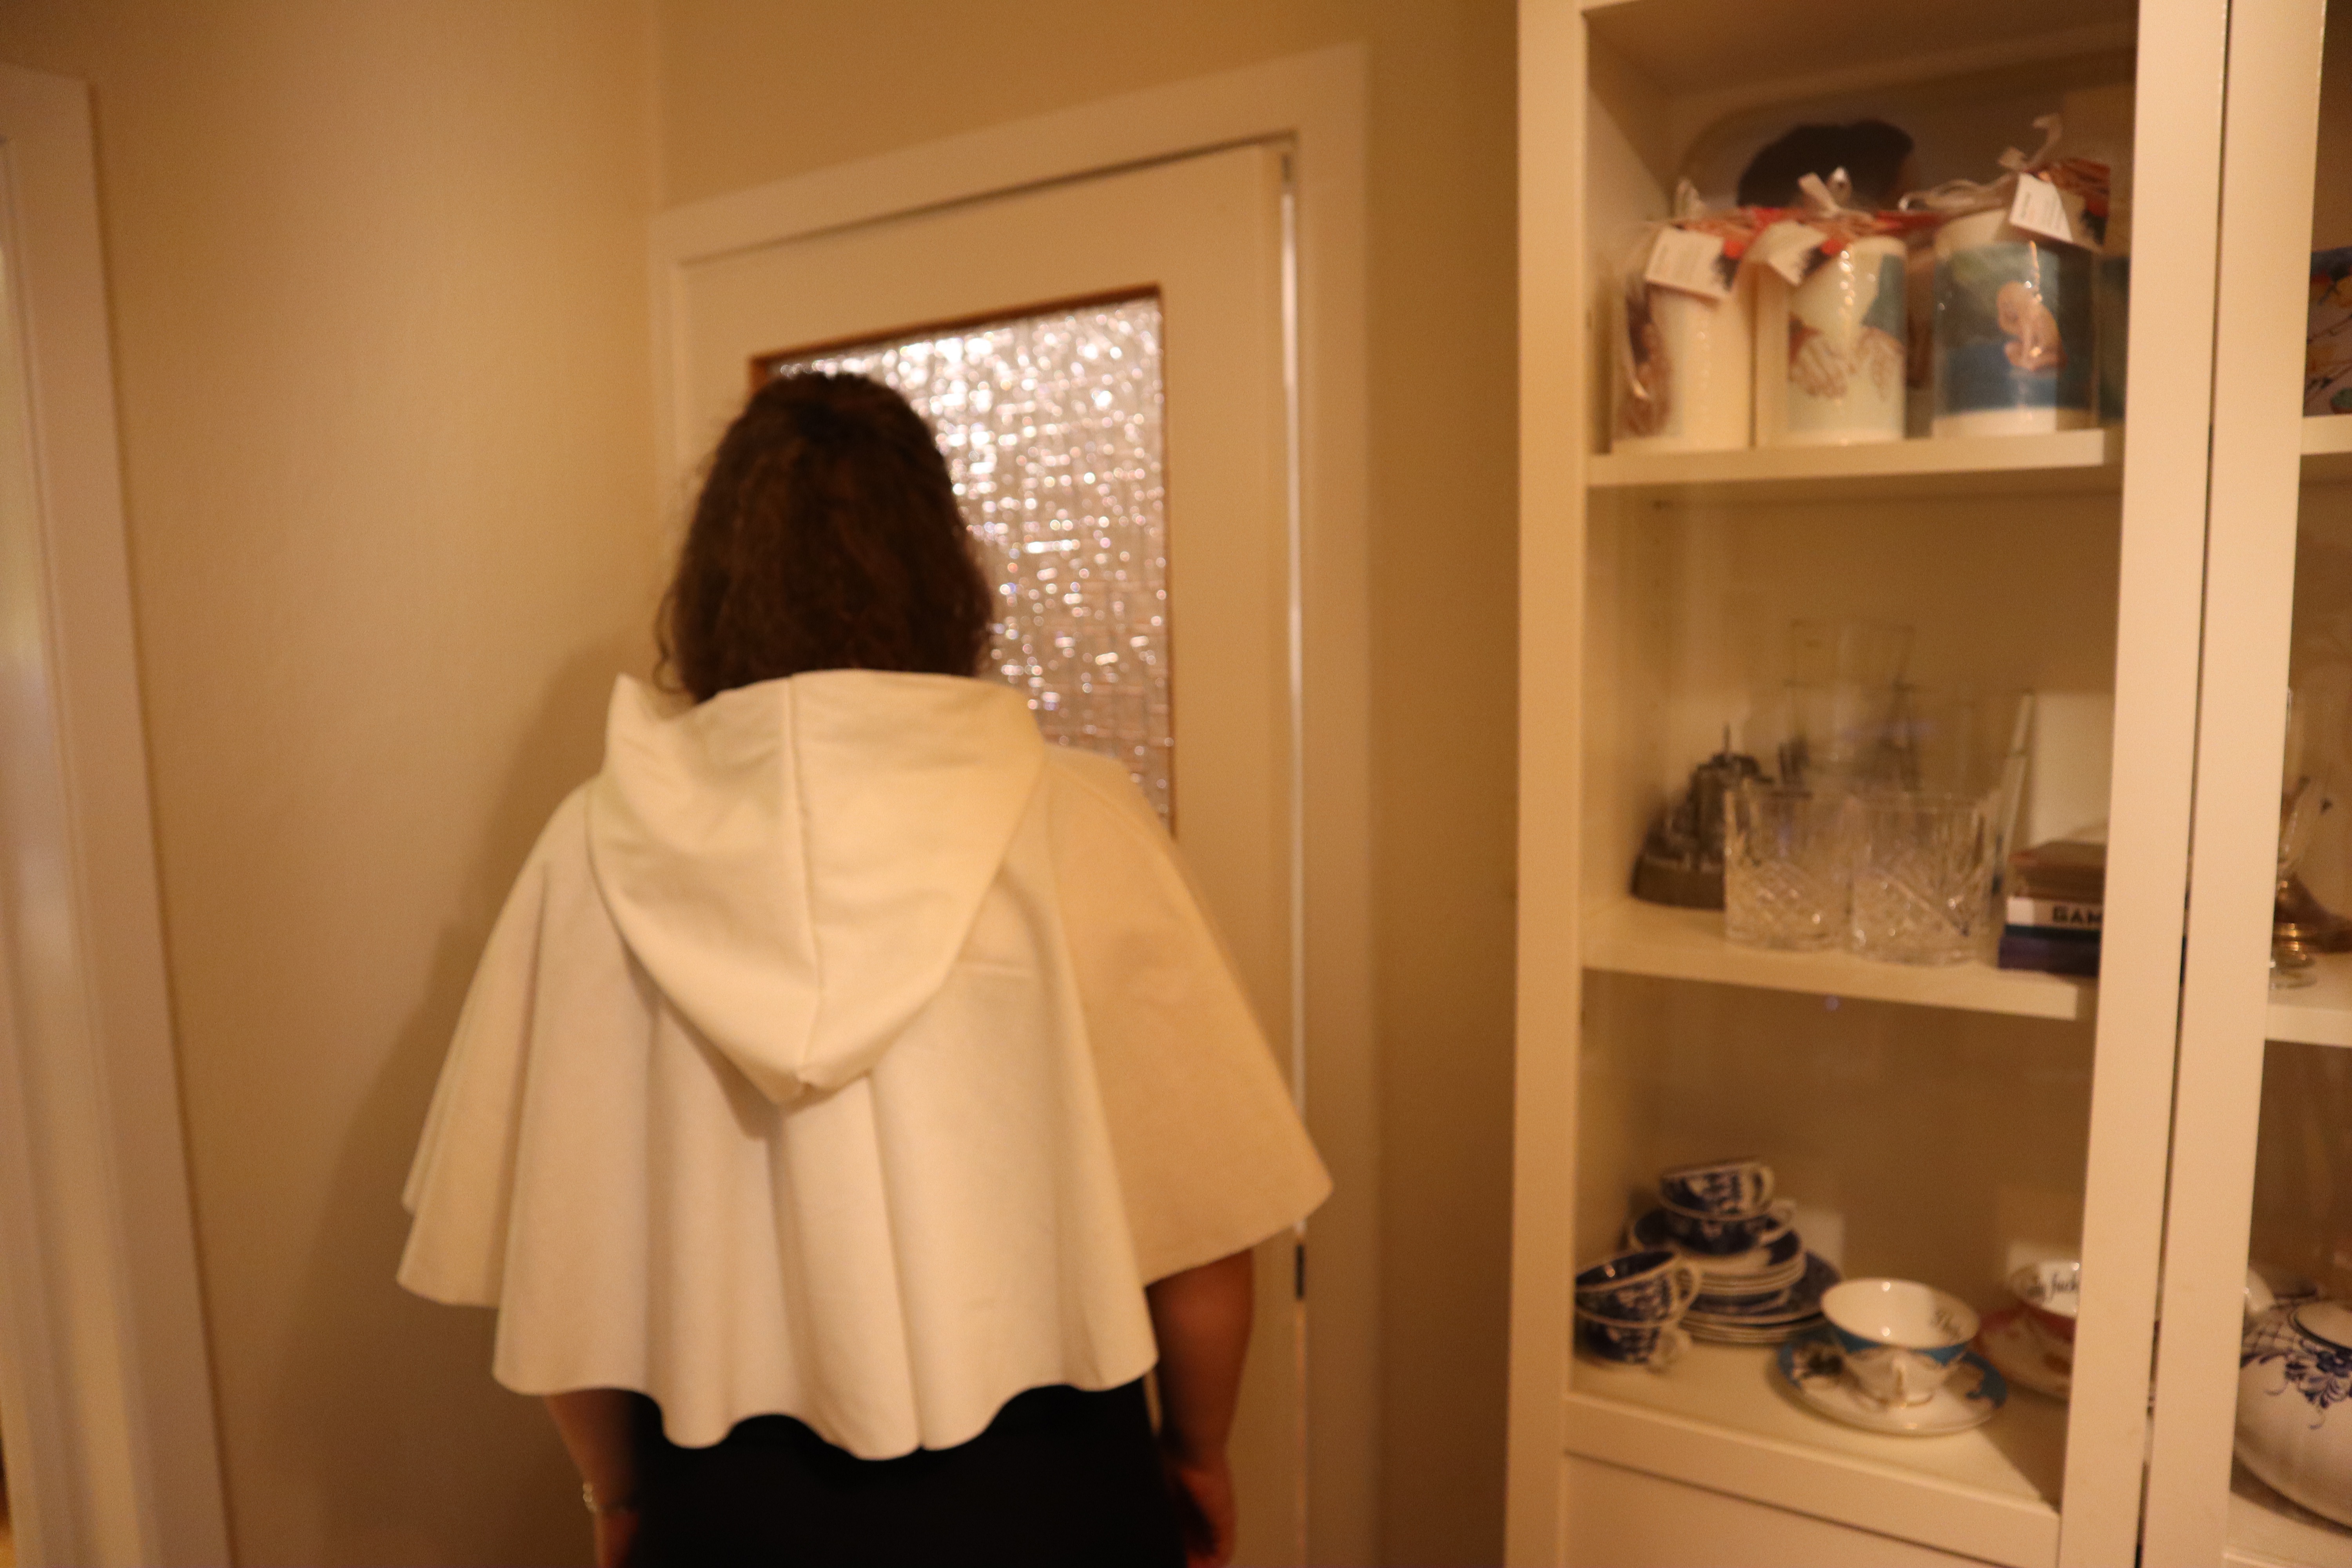
And with that, my cloak was done, and I took it for a spin!