I love the circle skirt. It should be on the curriculum of every school, it is the best combination of maths, arts and crafts and history ever!
Did you know that the circle skirt, which was important to Christian Dior’s “New Look” from 1947, was so provocative and problematic in the 1950s that Queen Elizabeth II did not dare use it? The use of fabric in it was considered so scandalously uneconomic and wasteful, it was considered indecent only a few years after the rationing of wartime.
The circle skirt is so named because it is circle shaped. It’s a circle of fabric with a hole in the middle for your body, to put it plainly. Even though I love garments that make good, economic use of fabric (something the circle skirt really does not!), I love these skirts. They make you want to dance swing or sing “Summer Loving”… and they’re so simple to make!
First, you need two measurements: your waist measurement and how long you want the skirt to be. I will use myself as an example: My waist is 80 cm, and I wanted a 50 cm long skirt.
Do you remember how to calculate the circumference of a cirkle? 2 times π times the radius. In this case, we need the radius, but have the circumference, so we need to change the formula to radius=circumference divided by 2π
For me, this means radius is c. 12 cm.
We have to add those 13 cm to the 50 cm of the skirt length, otherwise, the skirt will end up being too short.
If you’re brave, you can measure and draw directly onto the fabric. If you’re less brave, making a pattern is a good start. I wanted a circle skirt with side pockets, a zipper and a back button, and a pointed waistband. If you want the same, you can do the following:
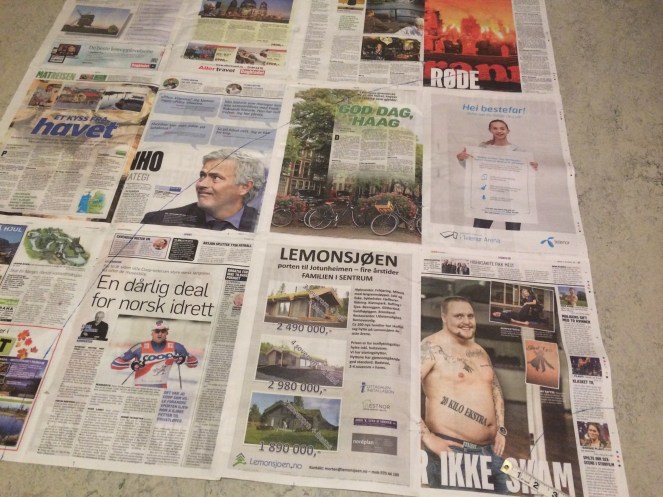
You will need: 2-3 m fabric, a newspaper, cellotape, some string, a pen or pencil, tailor’s chalk, pins, a 25 cm long zipper, a button, sewingmachine or needle and thread.

Cellotape newpaperpages together into a large square, larger than you want your skirt to be long, plus 20 cm. Cut a string the length of the radius (in my case: 13 cm), and tie it to a pen. Seeing as this skirt should have a shaped waistband, subracting 2-4 cm could be wise, depending on how tight you want your skirt to be. Using the corner of your paper as a epicenter, draw 1/4 circle with this radius.

From the small 1/4 circle, you measure the length of your skirt down the side. Make a mark.
Using another piece of string, as long as down to your mark. Make a 1/4 circle the same way, marking the bottom hem of your skirt. Add 2 cm seam allowance for the bottom hem.

Cut away everything inside the small 1/4 circle and outside the large one. And you have your pattern! Now, you need four of these pieces to make a skirt.
If you want just a plain, simple waistband, you can skip this part. Just cut a rectangle, as long as your waist measurement and four times as wide. Attach it like you would bias tape (look here for demonstrations). For a more complicated lining…

Decide how wide you want your waistband. Measure and draw.

Cut off. If you want a round waistband, skip the next bit…

… however, I like making making life difficult for myself, so I drew the lining onto a piece of paper, and used a ruler to make a point, which I will place at the front of my skirt.

If you don’t want pockets, you can skip this part…

… however, if you want pockets, you can do as following: Take a piece of paper. Put your hand on it.

Draw around. Remove your hand. Draw a “bag shape”, a little bigger than your hand.

Draw an extra “edge” on the pocket, and make sure it is big enough for you to get your hand into it. Cut out.

Lay all your pieces on the fabric, cut out. You have pattern pieces for half a pocket, half a waistband, and 1/4 of a skirt. You need four pocket pieces, four skirt pieces (the best would be if the skirt could be cut on the fold, avoiding a seam down the centre front), four pieces to make the back half of the lining, and two double pieces to make the front of the lining.

All the pieces laid out.

Overlock, zig-zag or cut with pinking shears to stop the fabric from fraying.

Take one of your skirt pieces and one of the pocket pieces. Right sides together, pin the straight edge of the pocket to the skirt side seam.

Sew.

Turn the seam allowance towards the pocket, and stitch it down.

This is the inside…

… and this is the outside. Do the same with the rest of the skirt and pocket pieces, until you have two pocket pieces in each side seam.

Right sides together, sew the side seams. When you get to the pockets, sew along the outside. Sew the top edge as well.

Cut a small notch in the small corner under the pocket. Don’t cut the seam!

Press the side seams.

Make two identical waistbands. Right sides together, sew the waistband pieces together.

Press the seams.

Attach one waistband to the skirt, right sides togehter. Start with the point, if you have one.

Sew the top edge of the pockets to the waistband on the front side.

Lay the other waistband on top of the first one, right sides together, and attach it to the upper edge.

Press the seam allowance up towards the second waistband, and stitch it down.

Now, the time has come to insert the zipper! There are many ways of doing this, but I will show you my favourite way. Sew the two back skirt pieces together, but leave approximately 20 cm at the waist end. Press the seam allowances to the sides.

Lay the zipper over the opening on the wrong side, and pin it to the fabric.

Turn the skirt, and pin further from the right side. If you want to, you can roughly stitch the zipper to the fabric, removing the pins.

Open the zipper, to make sure you can.

If you have a sewing machine with a zipper foot, use it. This way, you will get close to the zipper, making it almost invisible.

Finished!

When the zipper is inserted, you can finish the waistband. Fold the second waistband towards the inside of the skirt, hiding raw edges.

Pin it to the inside of the skirt, making sure it overlaps the first seam a little.

Pin the right side, this is the side you’re sewing from.

Stich, using the seam between the waistband and the skirt. This way, the seam will be all but invisible from the righ side.

The right side…

… and the inside!
Now, all that remains is to finnish the ends of the waistband, make a buttonhole and attach a button, and hem the skirt, and you’re done!
This is how my skirt ended up:


Diver så flink! Jeg har, som du vet, prøvd å sy et sirkelskjørt, kanskje til og med i samme stoff som du bruker her. Men i motsetning tilbudet er jeg ikke tålmodig eller nøyaktig, så første forsøk ble bare tull. Men jeg skal prøve igjen! Hvilket type stoff anbefaler du å sy sirkelskjørt i?
Oi, sorry, jeg er visst skikkelig treig. Det kommer an på om du vil ha det mykt eller litt stivt og struttete igrunn. Om du vil ha noe som faller litt pent, så anbefaler jeg et mykt bomullsstoff, eller et hvilket som helst stoff som er litt tungt 🙂