So, when there is only a couple of hours until you’ve got to be ready packed and in your car, heading for a caribbean island alá 1792… What do you do? You make a hat. Obviously. Time for a history lesson/tutorial!
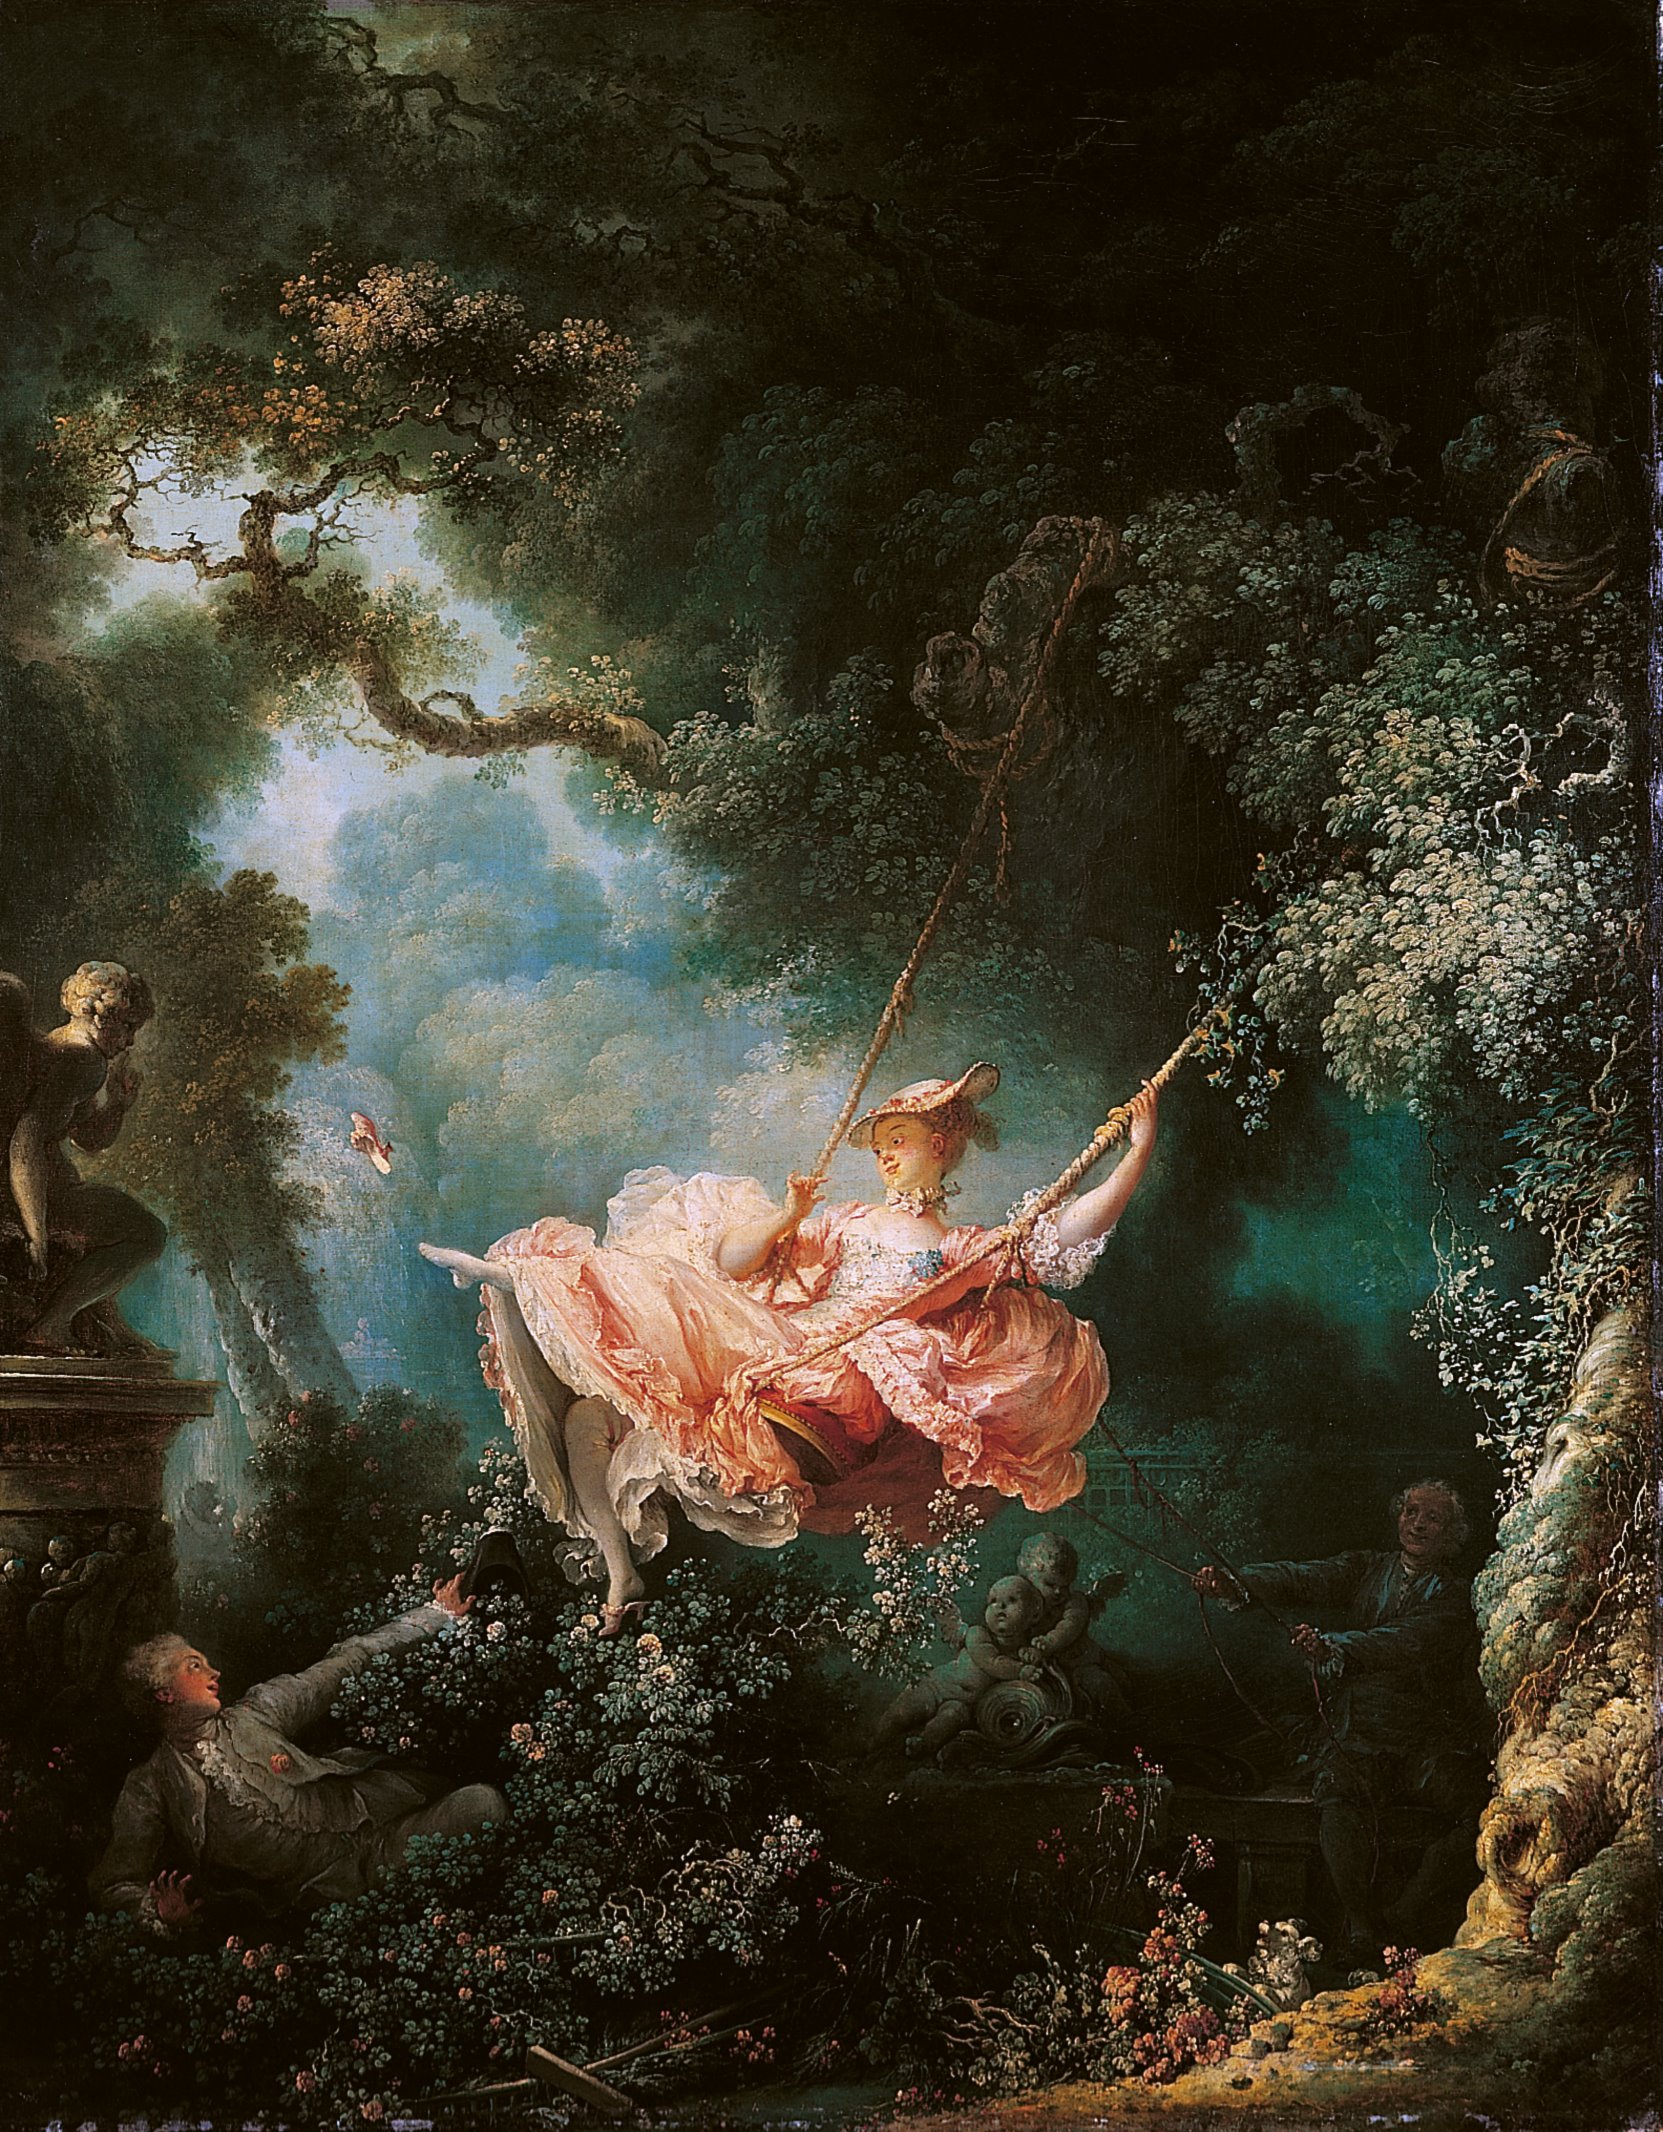
Broad-brimmed, low hats were really, really popular during the last part of the 18th century. They were often made of straw, tied under the chin or hair, with a ribbon that was either stitched to the underside of the hat, or around the top. The perhaps most famous example of a pretty lady with a hat like this, is Jean-Honoré Fragonard’s painting Les Hasards Heureux de l’Escarpolette (which means something along the lines of “The happy accident of the swings” in French, according to google translate). It even features in the Disney success movie Frozen!
Bergére means shepherdess (female sheep babysitter for you urban kidz), so it seems reasonable to assume that the popularity of this hat has some connections to the shepherdess hysteria that entered the fashions of the period through Marie Antoinette’s romantic dream of living as a simple and carefree farmer’s wife. If farmer’s wives spent their time walking in the garden, picking flowers, collecting already cleaned eggs and tying ribbons on little lambs, that is.
The hats were usually straw (this page has an amazing tutorial on how to modify a modern straw hat into a lovely bergére hat), however, some were covered in silk or other fabrics. The were apparently often decorated with laces and ribbons and flowers and other frothery.
My shepherdess hat is not suited to outdoor work, as it isn’t too fond of water. However, if you want a fairly simple, quickly made, 18th century lady’s hat, this is not the worst way to do it.
You will need:
- Some cheap scrap-cardboard (like the cardboard you find at the back of notebooks and sketchbooks) to test the size of the hat.
- White cardboard.
- Sticky tape. Both simple cellotape and something more sturdy, like masking tape, sports tape or duct tape.
- Glue. I prefer a hot glue gun, however you use what you feel comfortable using.
- Fabric. I used a white cotton scrap, 1m x 1,5m should be more than plenty.
- Needle and thread.
- Ribbons and decorations.
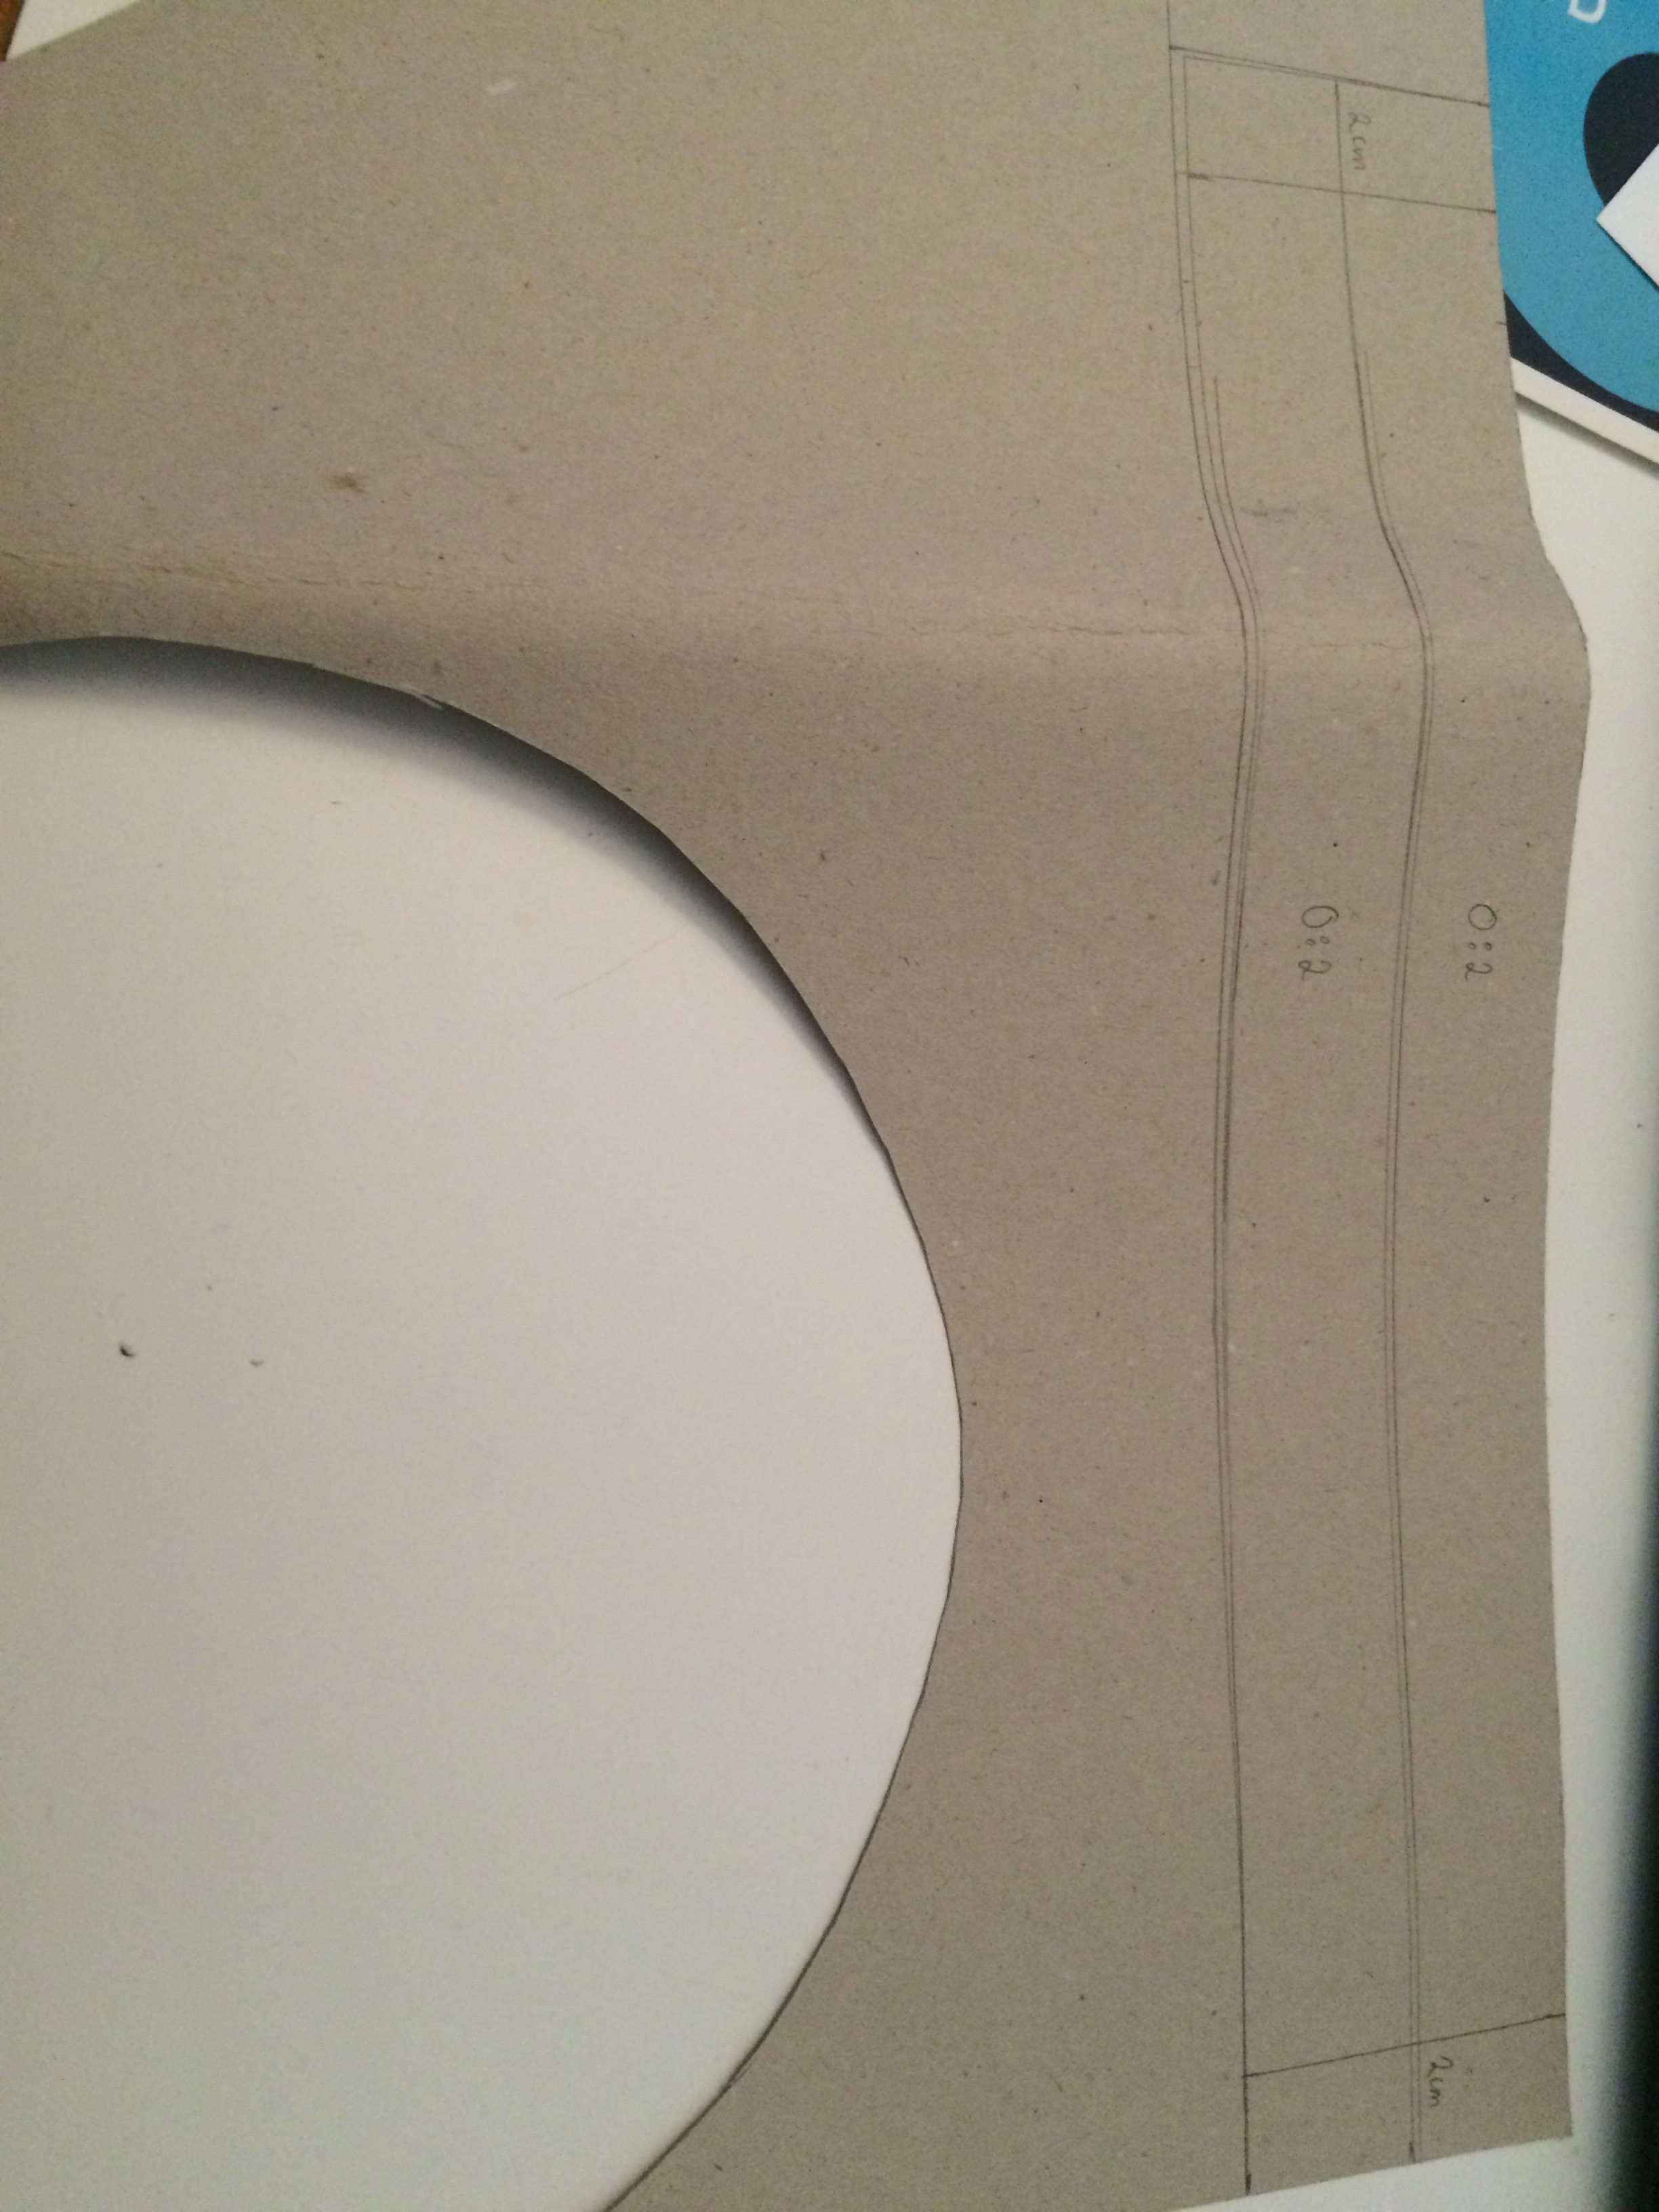
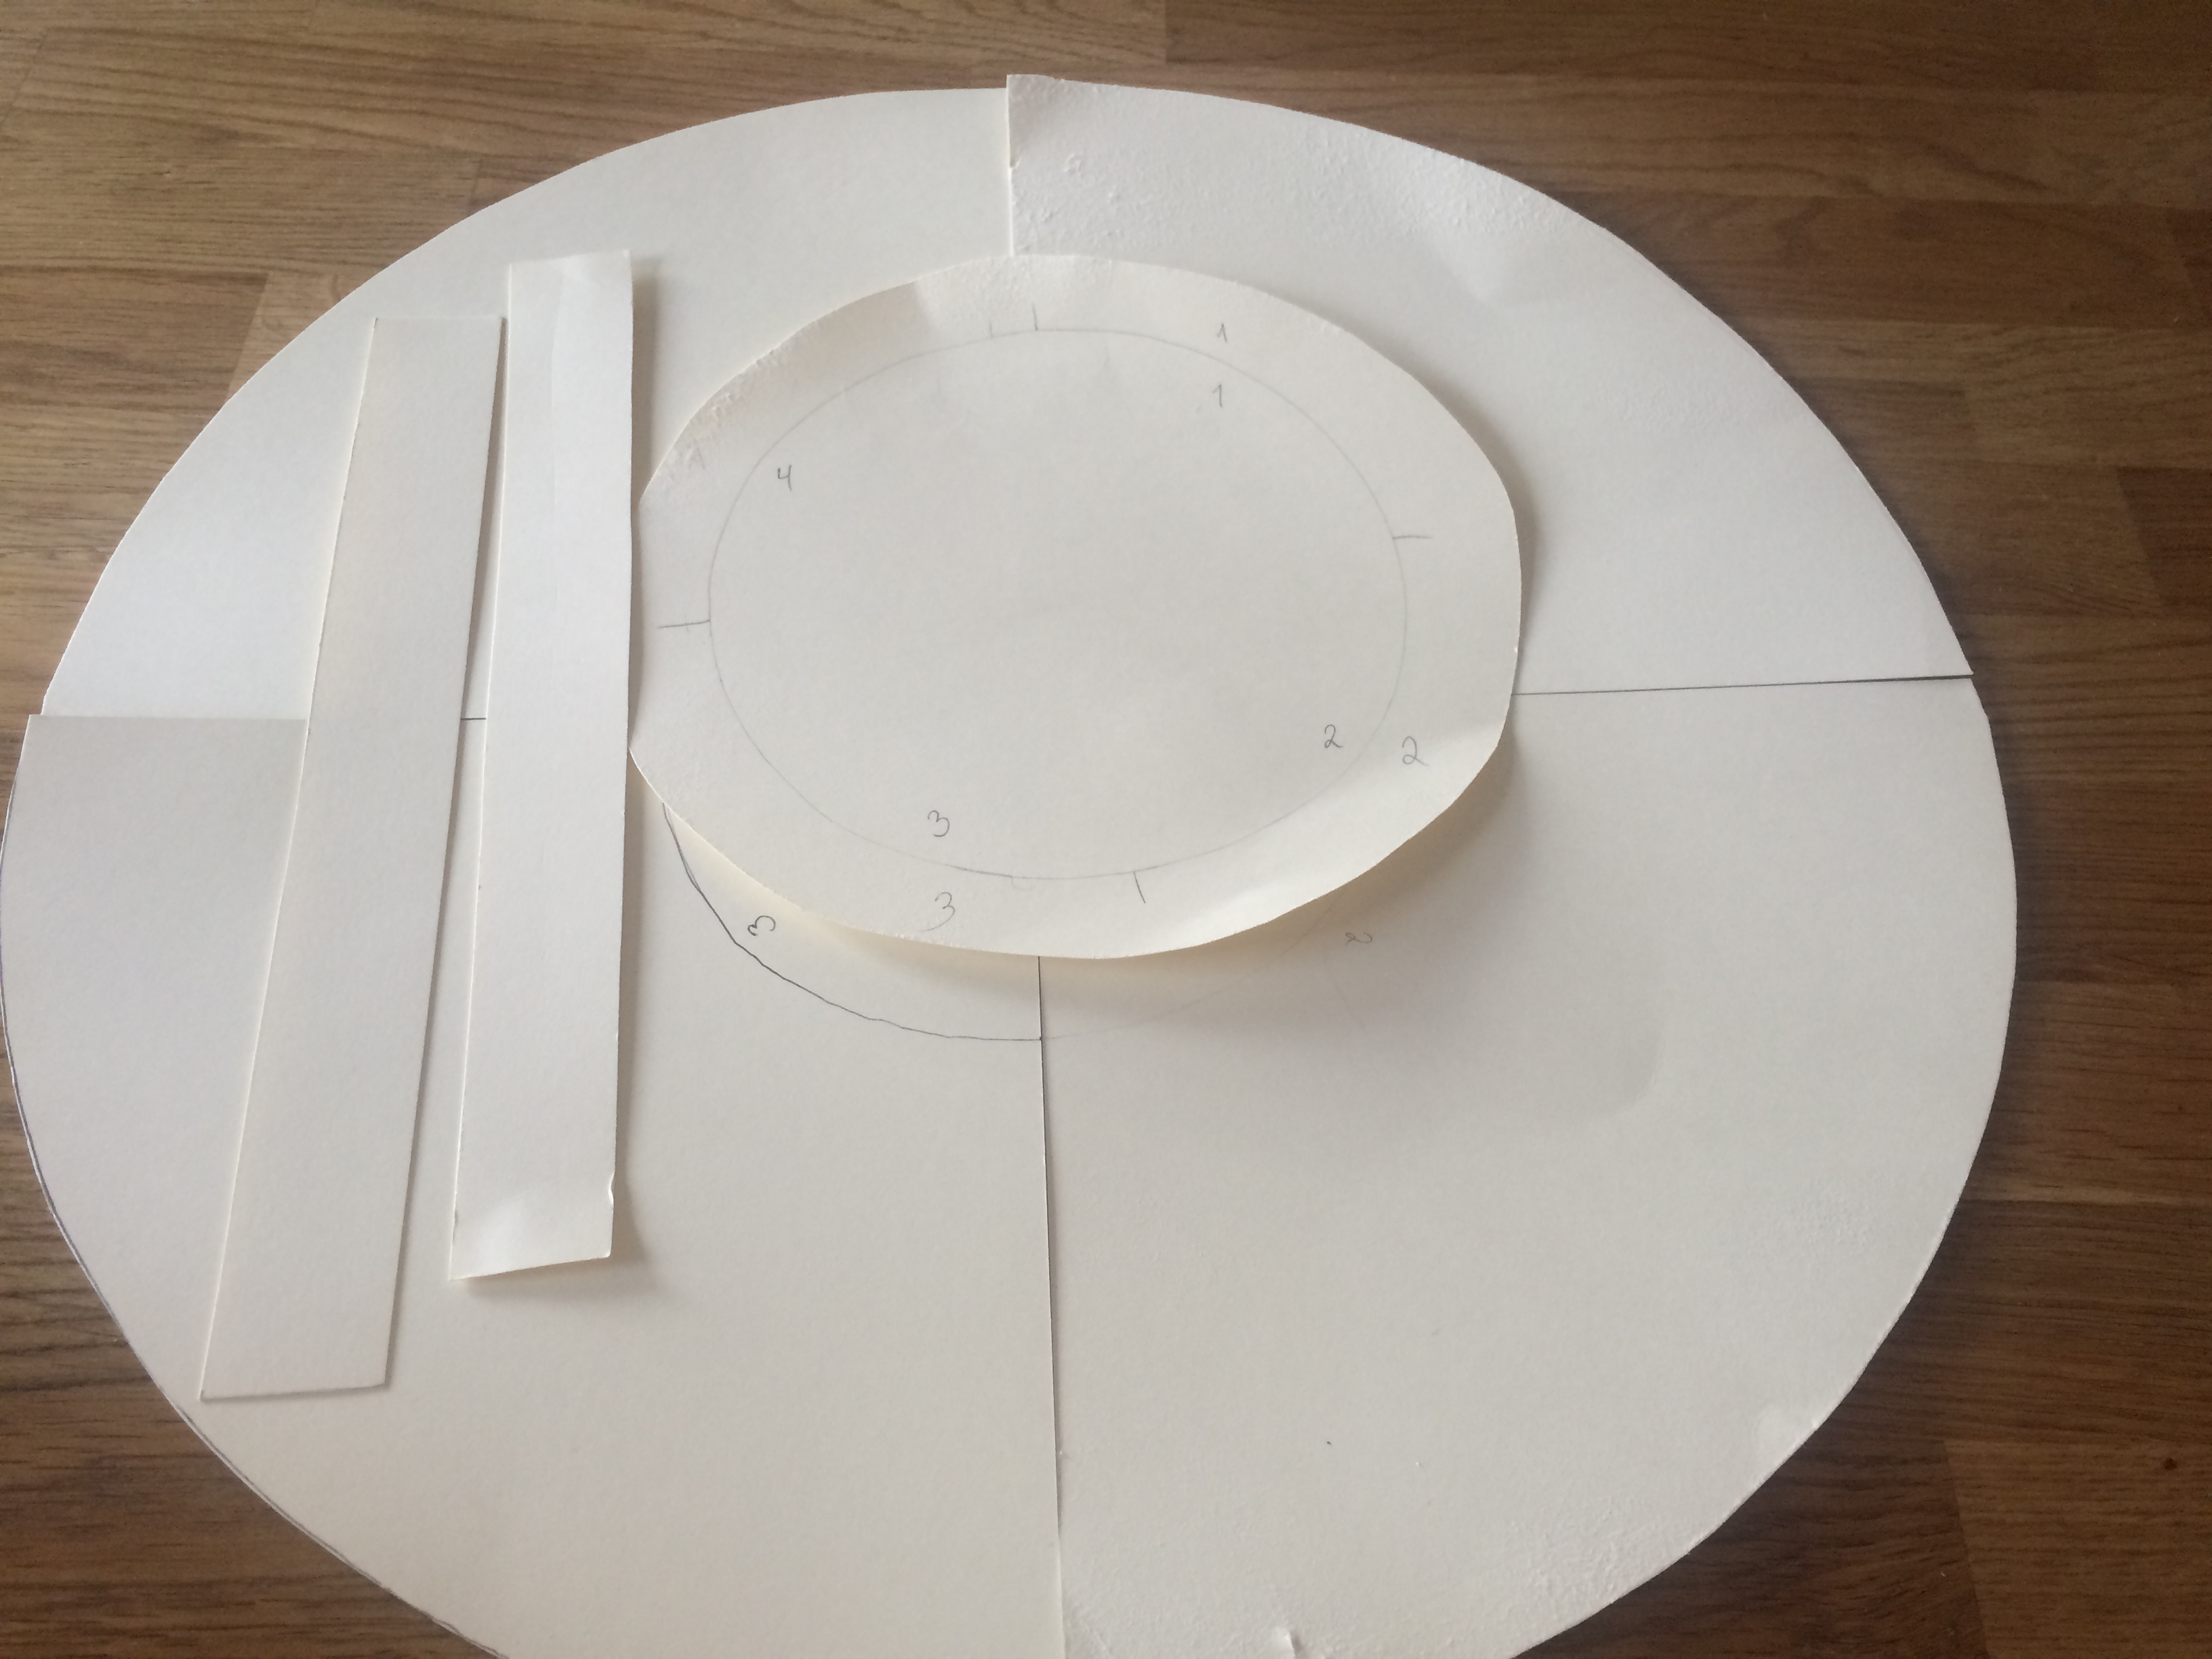
1. Grab some cardboard, approximately A4 size, and cut 1/4 of a circle. Mine got a radius of 20cm (this means the two straight, non-curved, sides are 20 cm long).

2. Use this as your template, and make three more.

3. Cut a smaller circle of scrap cardboard. I wanted a radius of 10cm, so I cut mine with a radius of 11cm, to give 1 cm of “seam allowance” (… cutting allowance?).
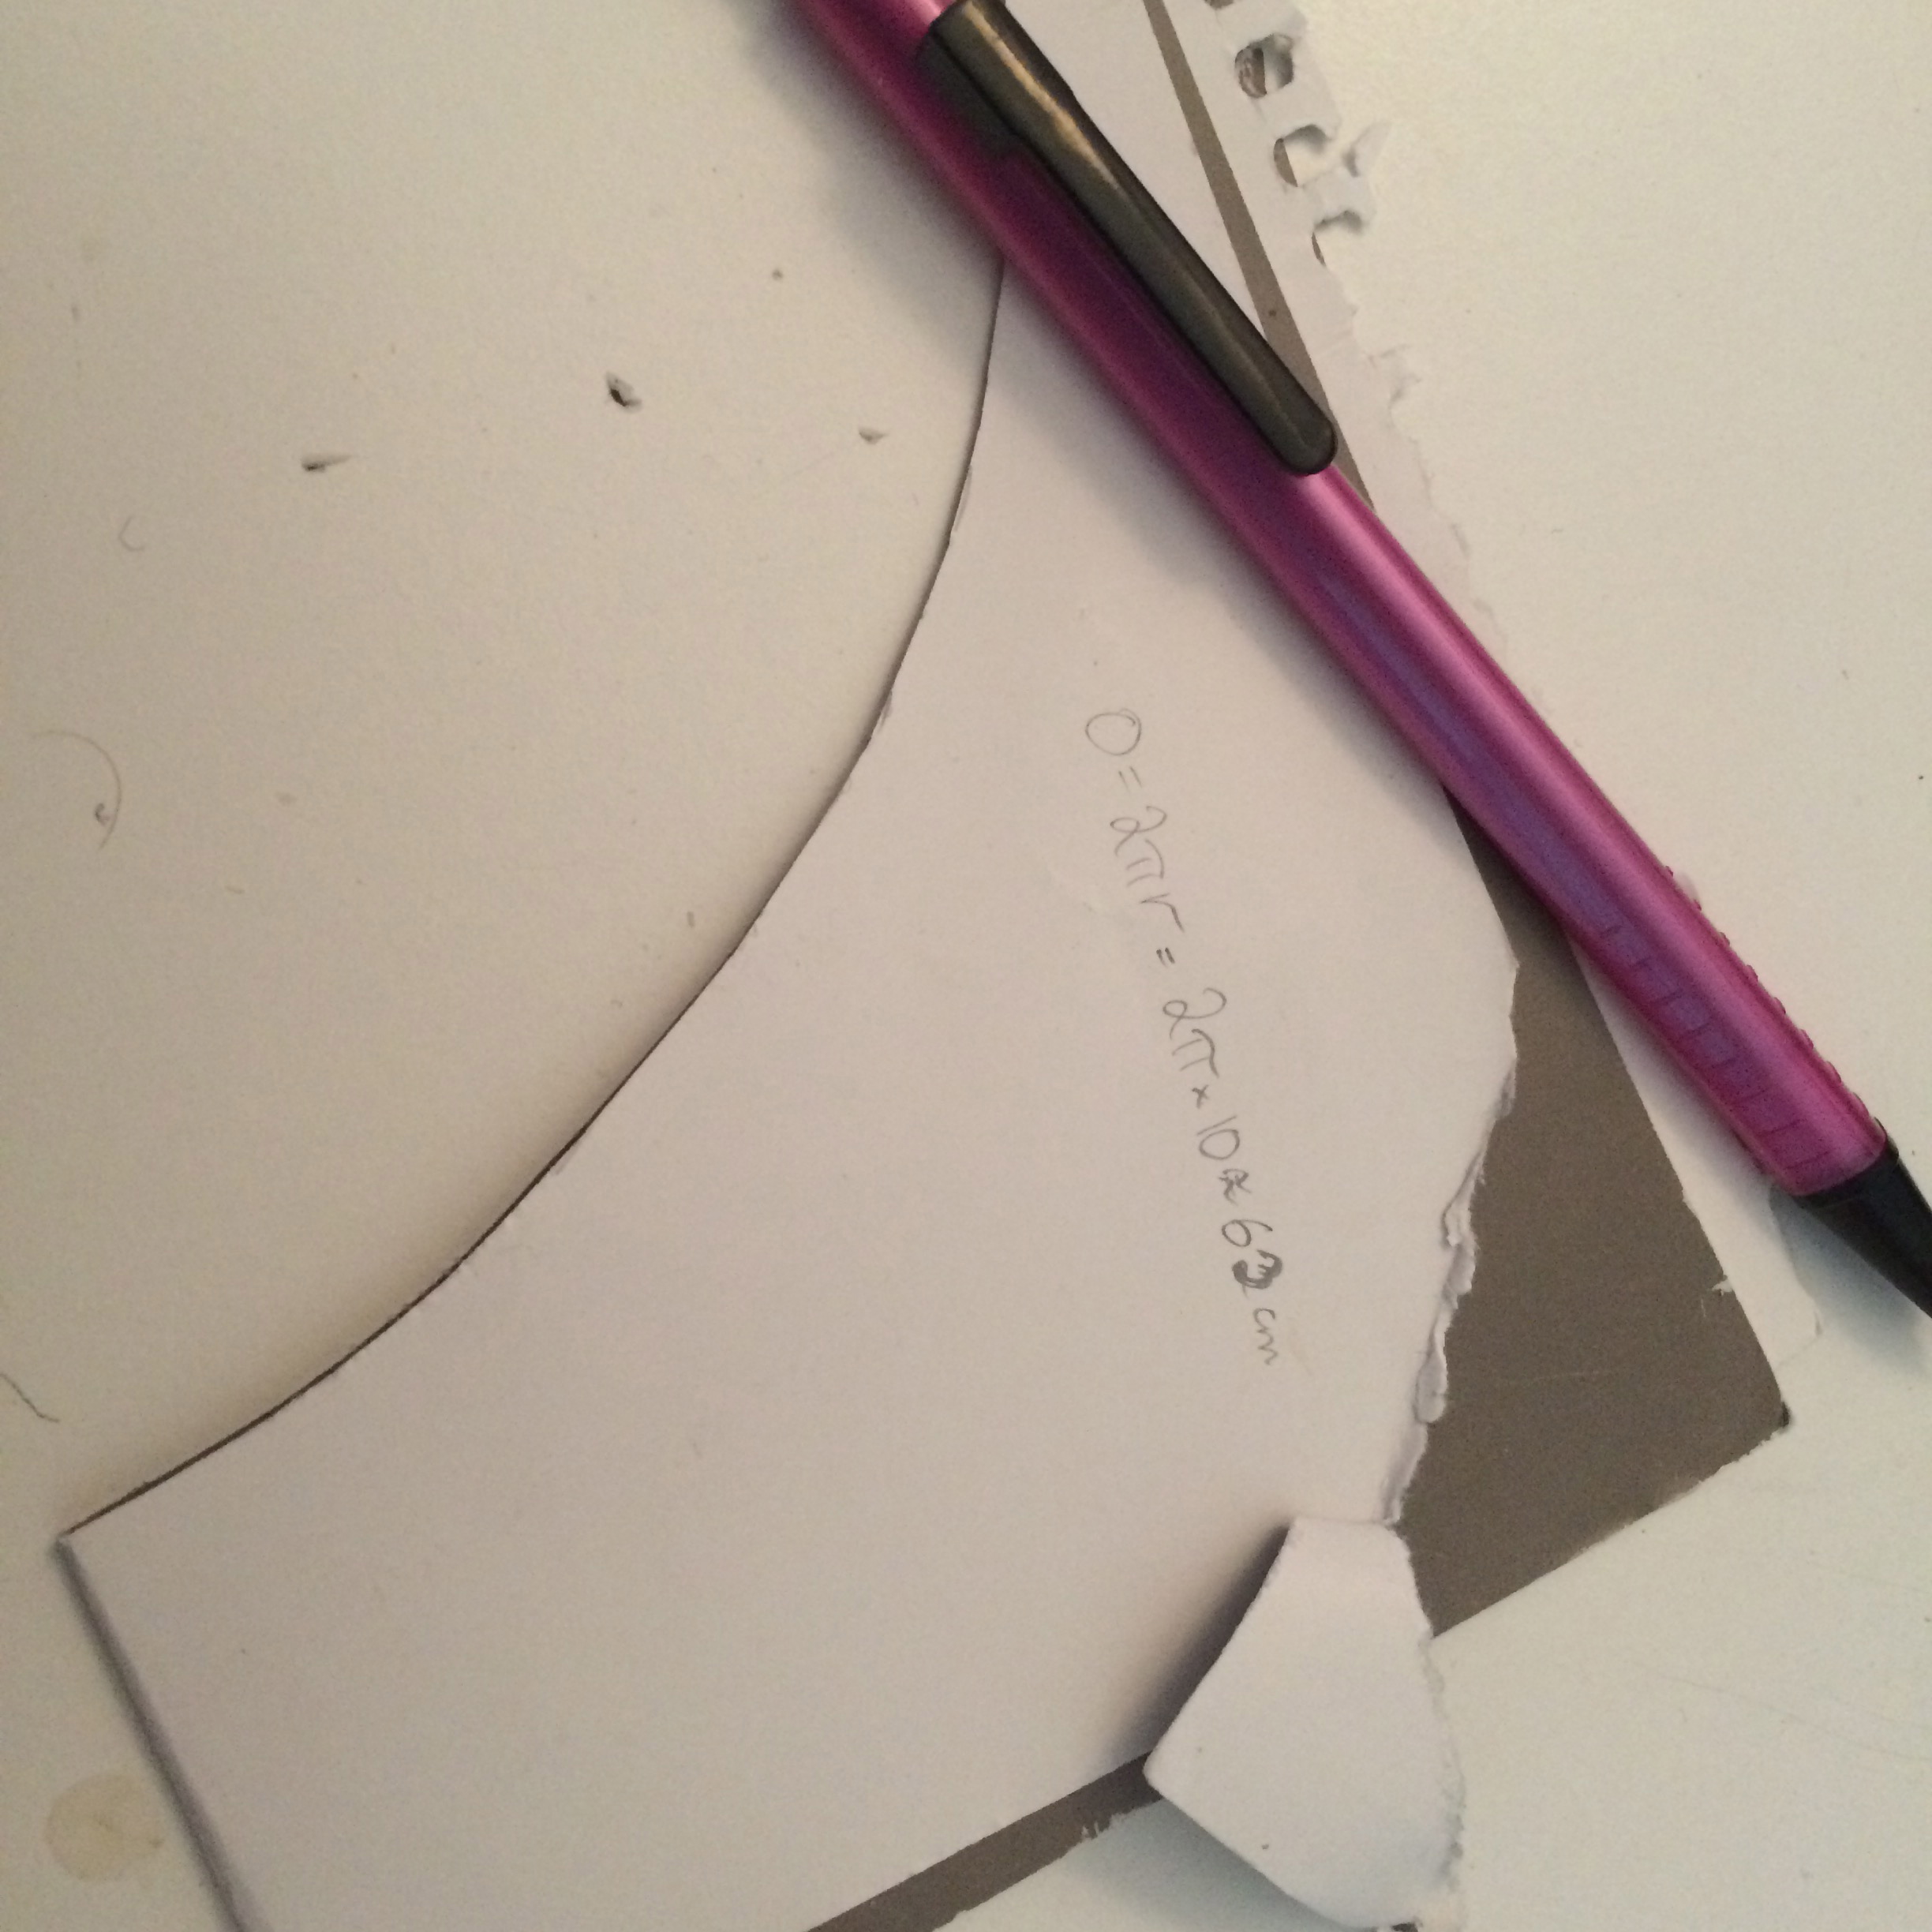
4. Now comes the time to dust off some of your secondary school maths. The circumference of the small circle will be the length of the bit that connects the brim and the top. To calculate this length, you need to find the radius (11 cm) times pi (3,14) times 2 (11cm x 3,14 x 2=69,1cm):
5. Divide the number you get by 2, add 4 cm, and cut to lenghts of cardboard with the number you get (69,1cm/2+4=38,6cm).
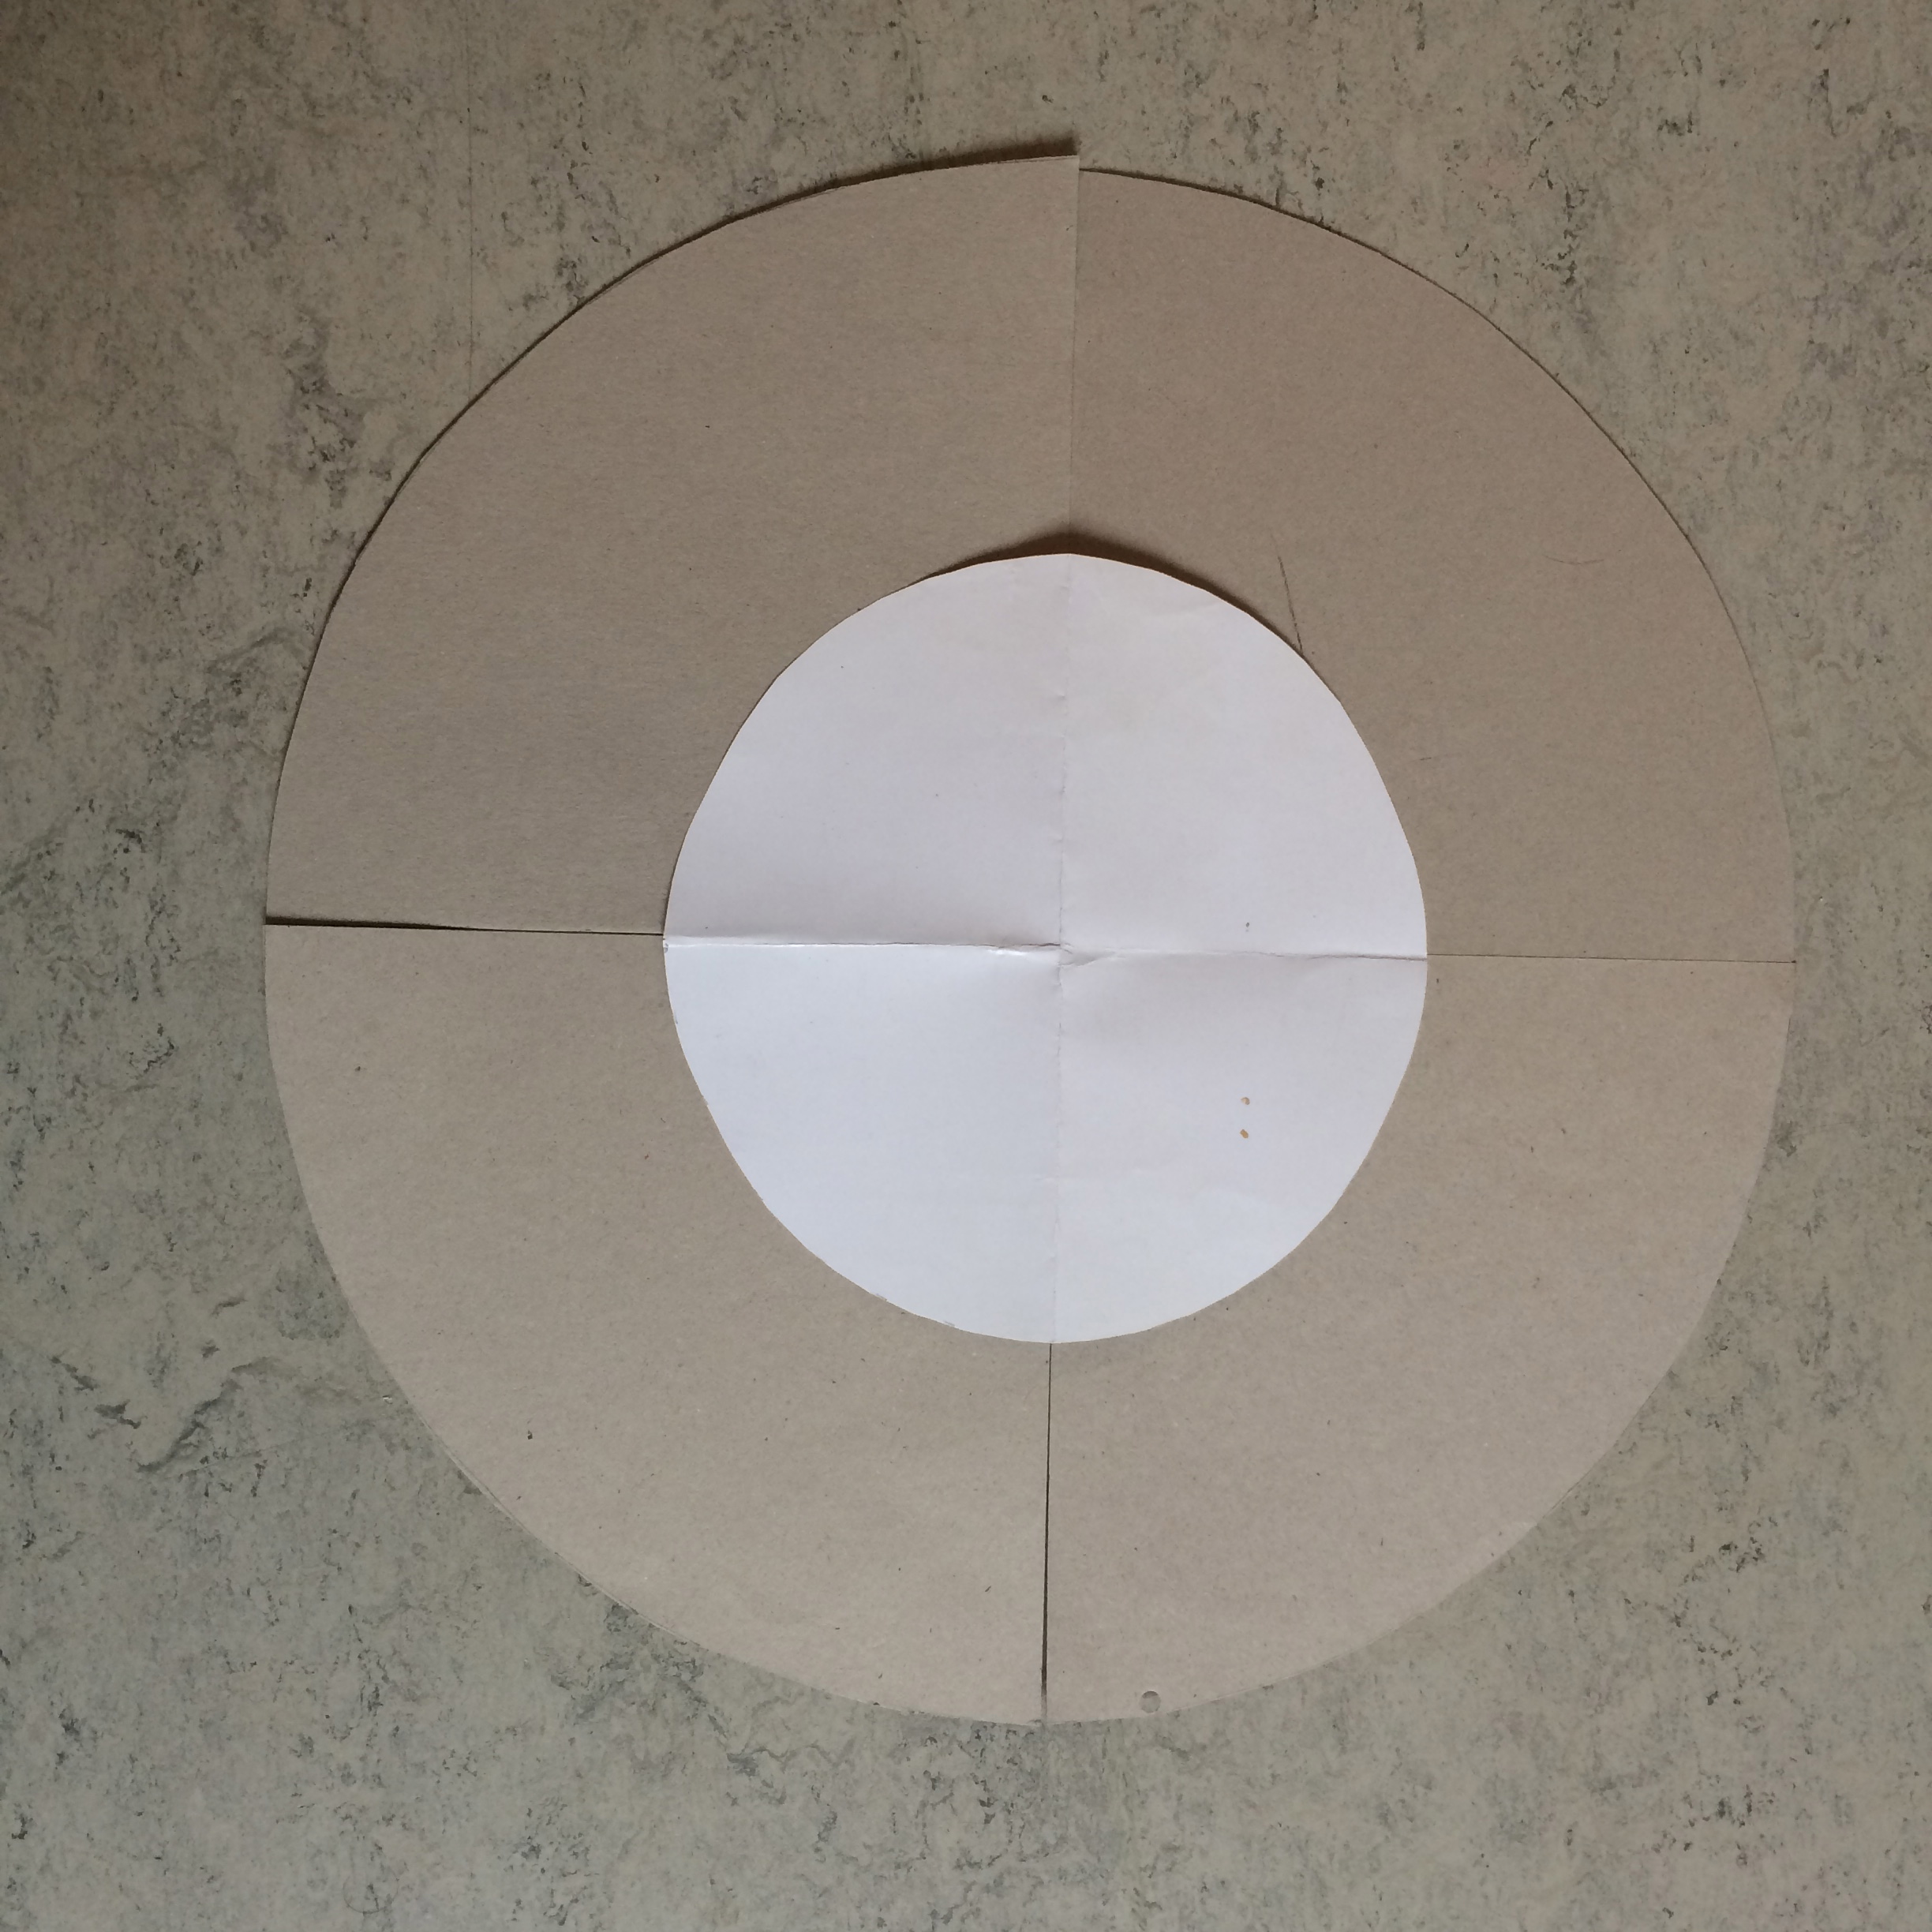
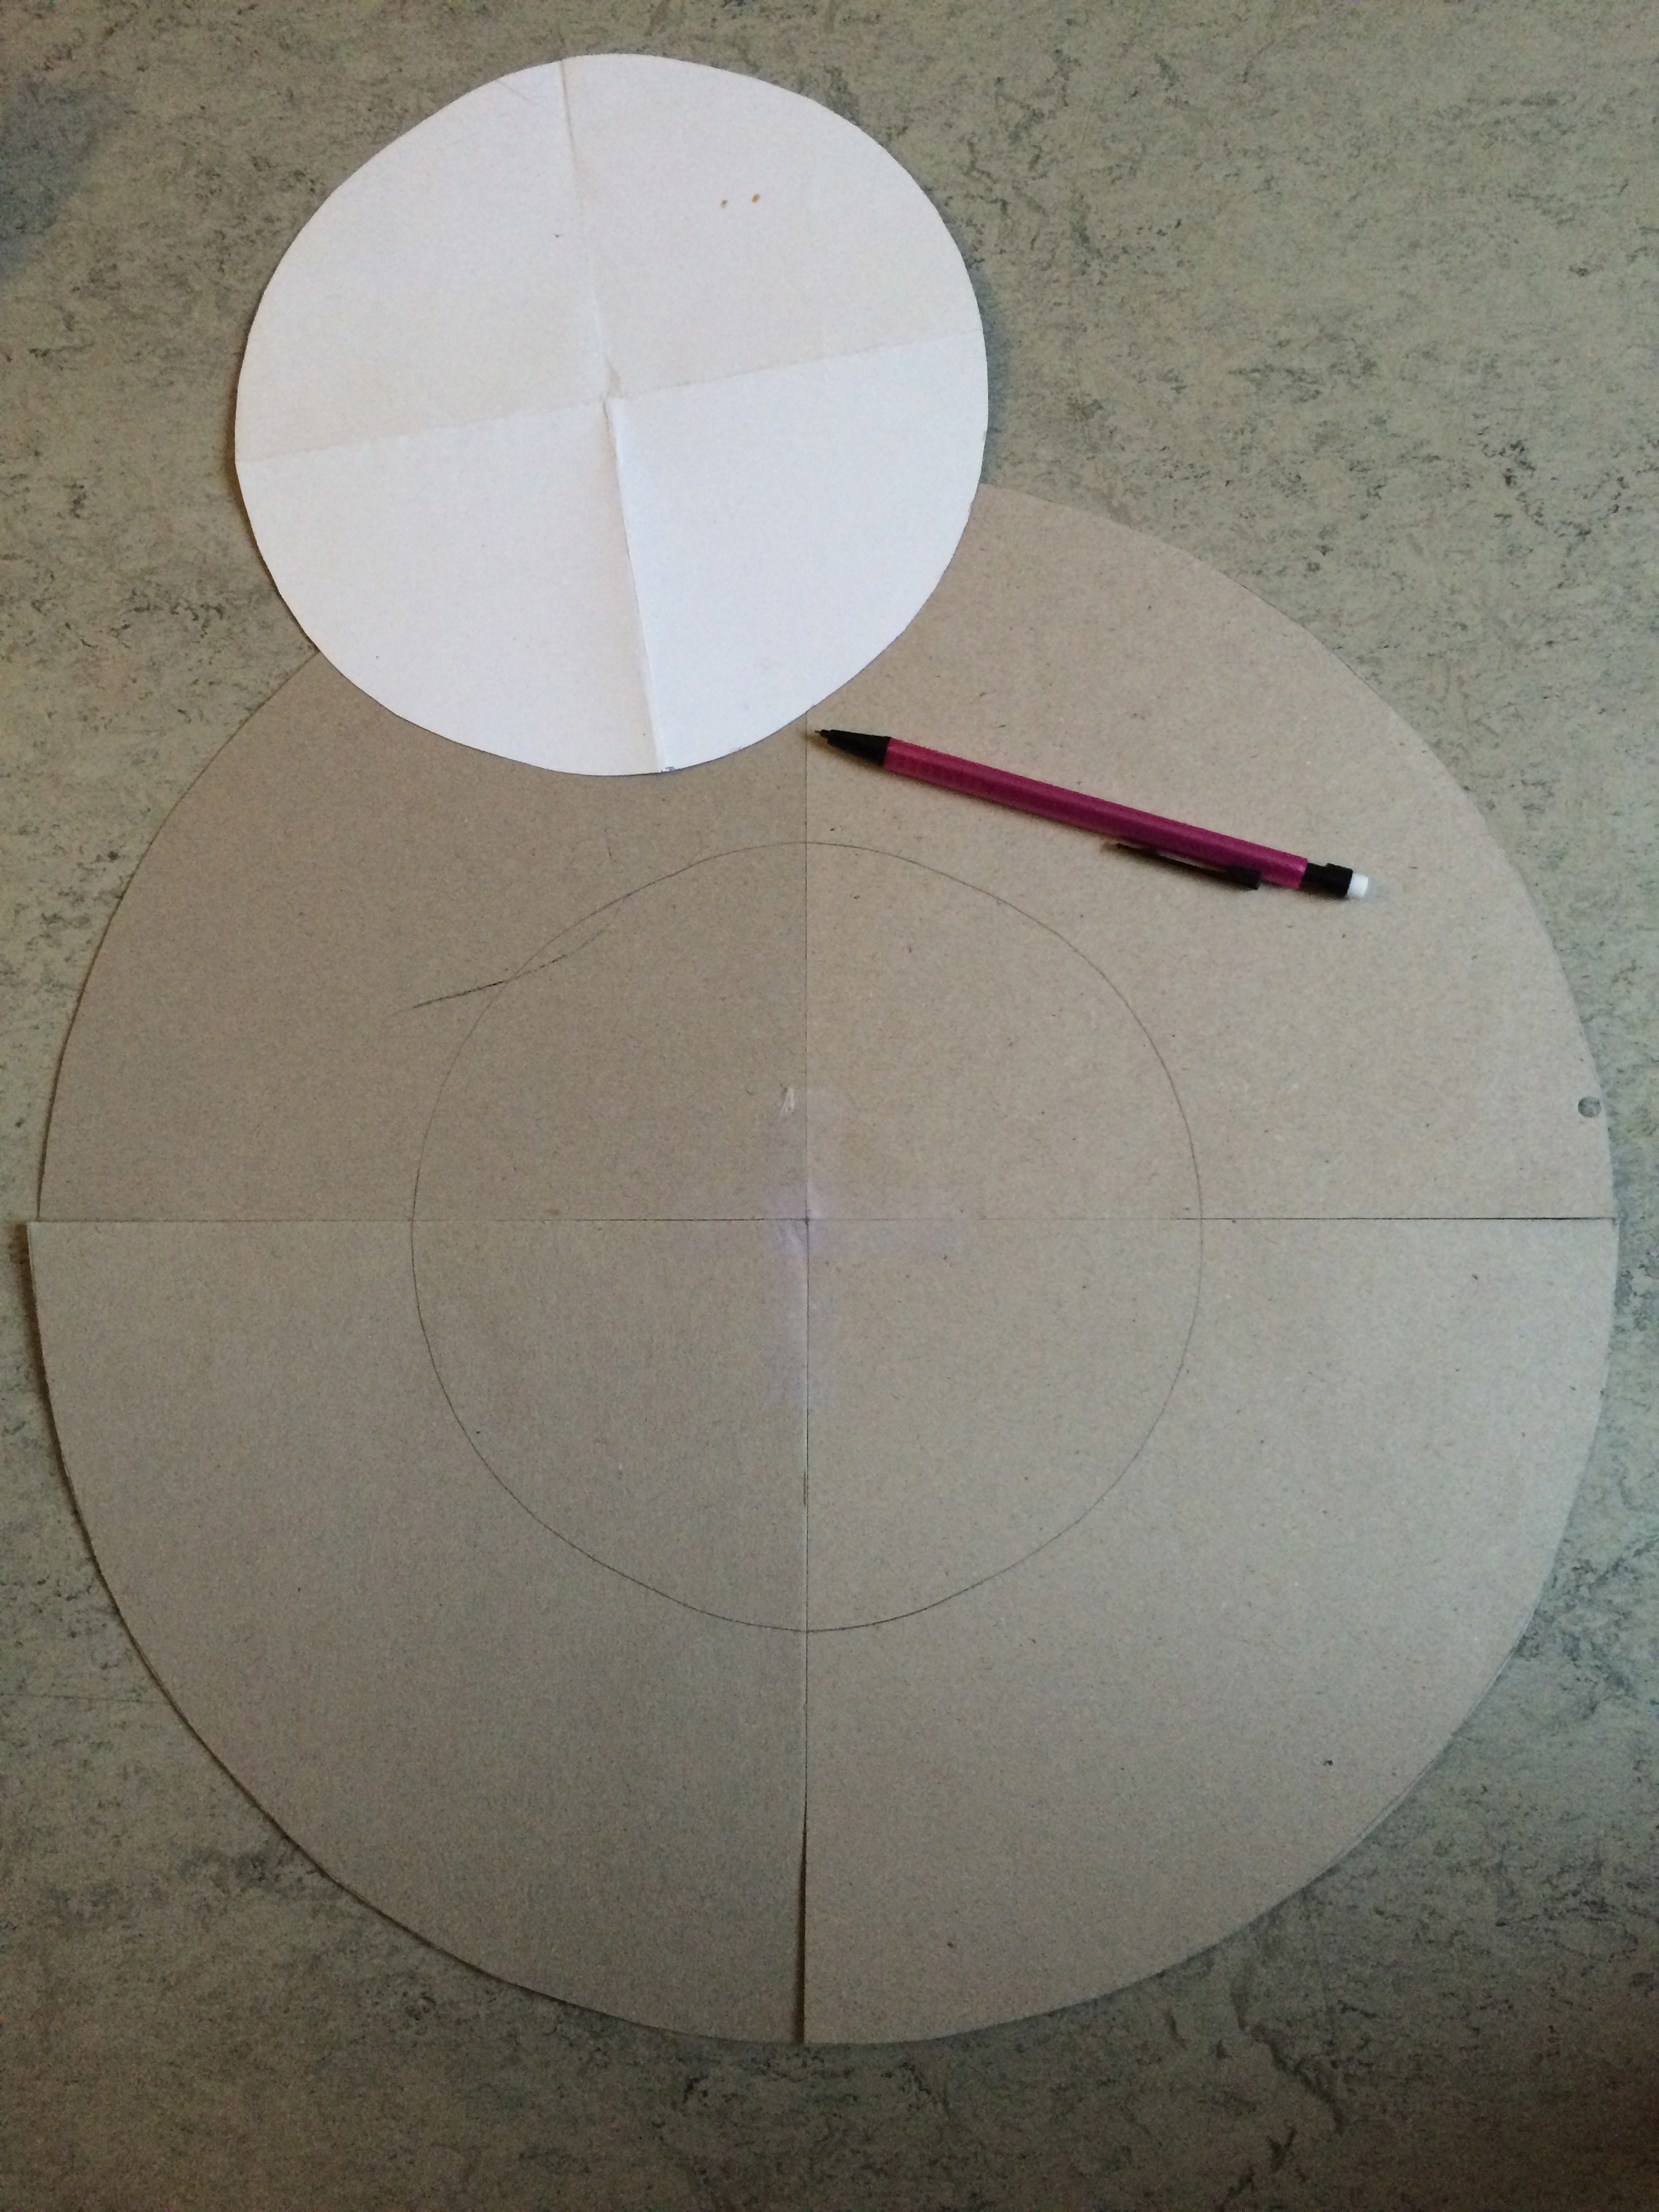
6. Put the small circle on the middle of the large circle (made up of four pieces), and draw around it. Cut a hole in the middle of the large circle, 1cm in from the line you drew. Cellotape the two cardboard lengths together, and cut slits 1cm from the middle of the large circle and along the outer edge of the small one.
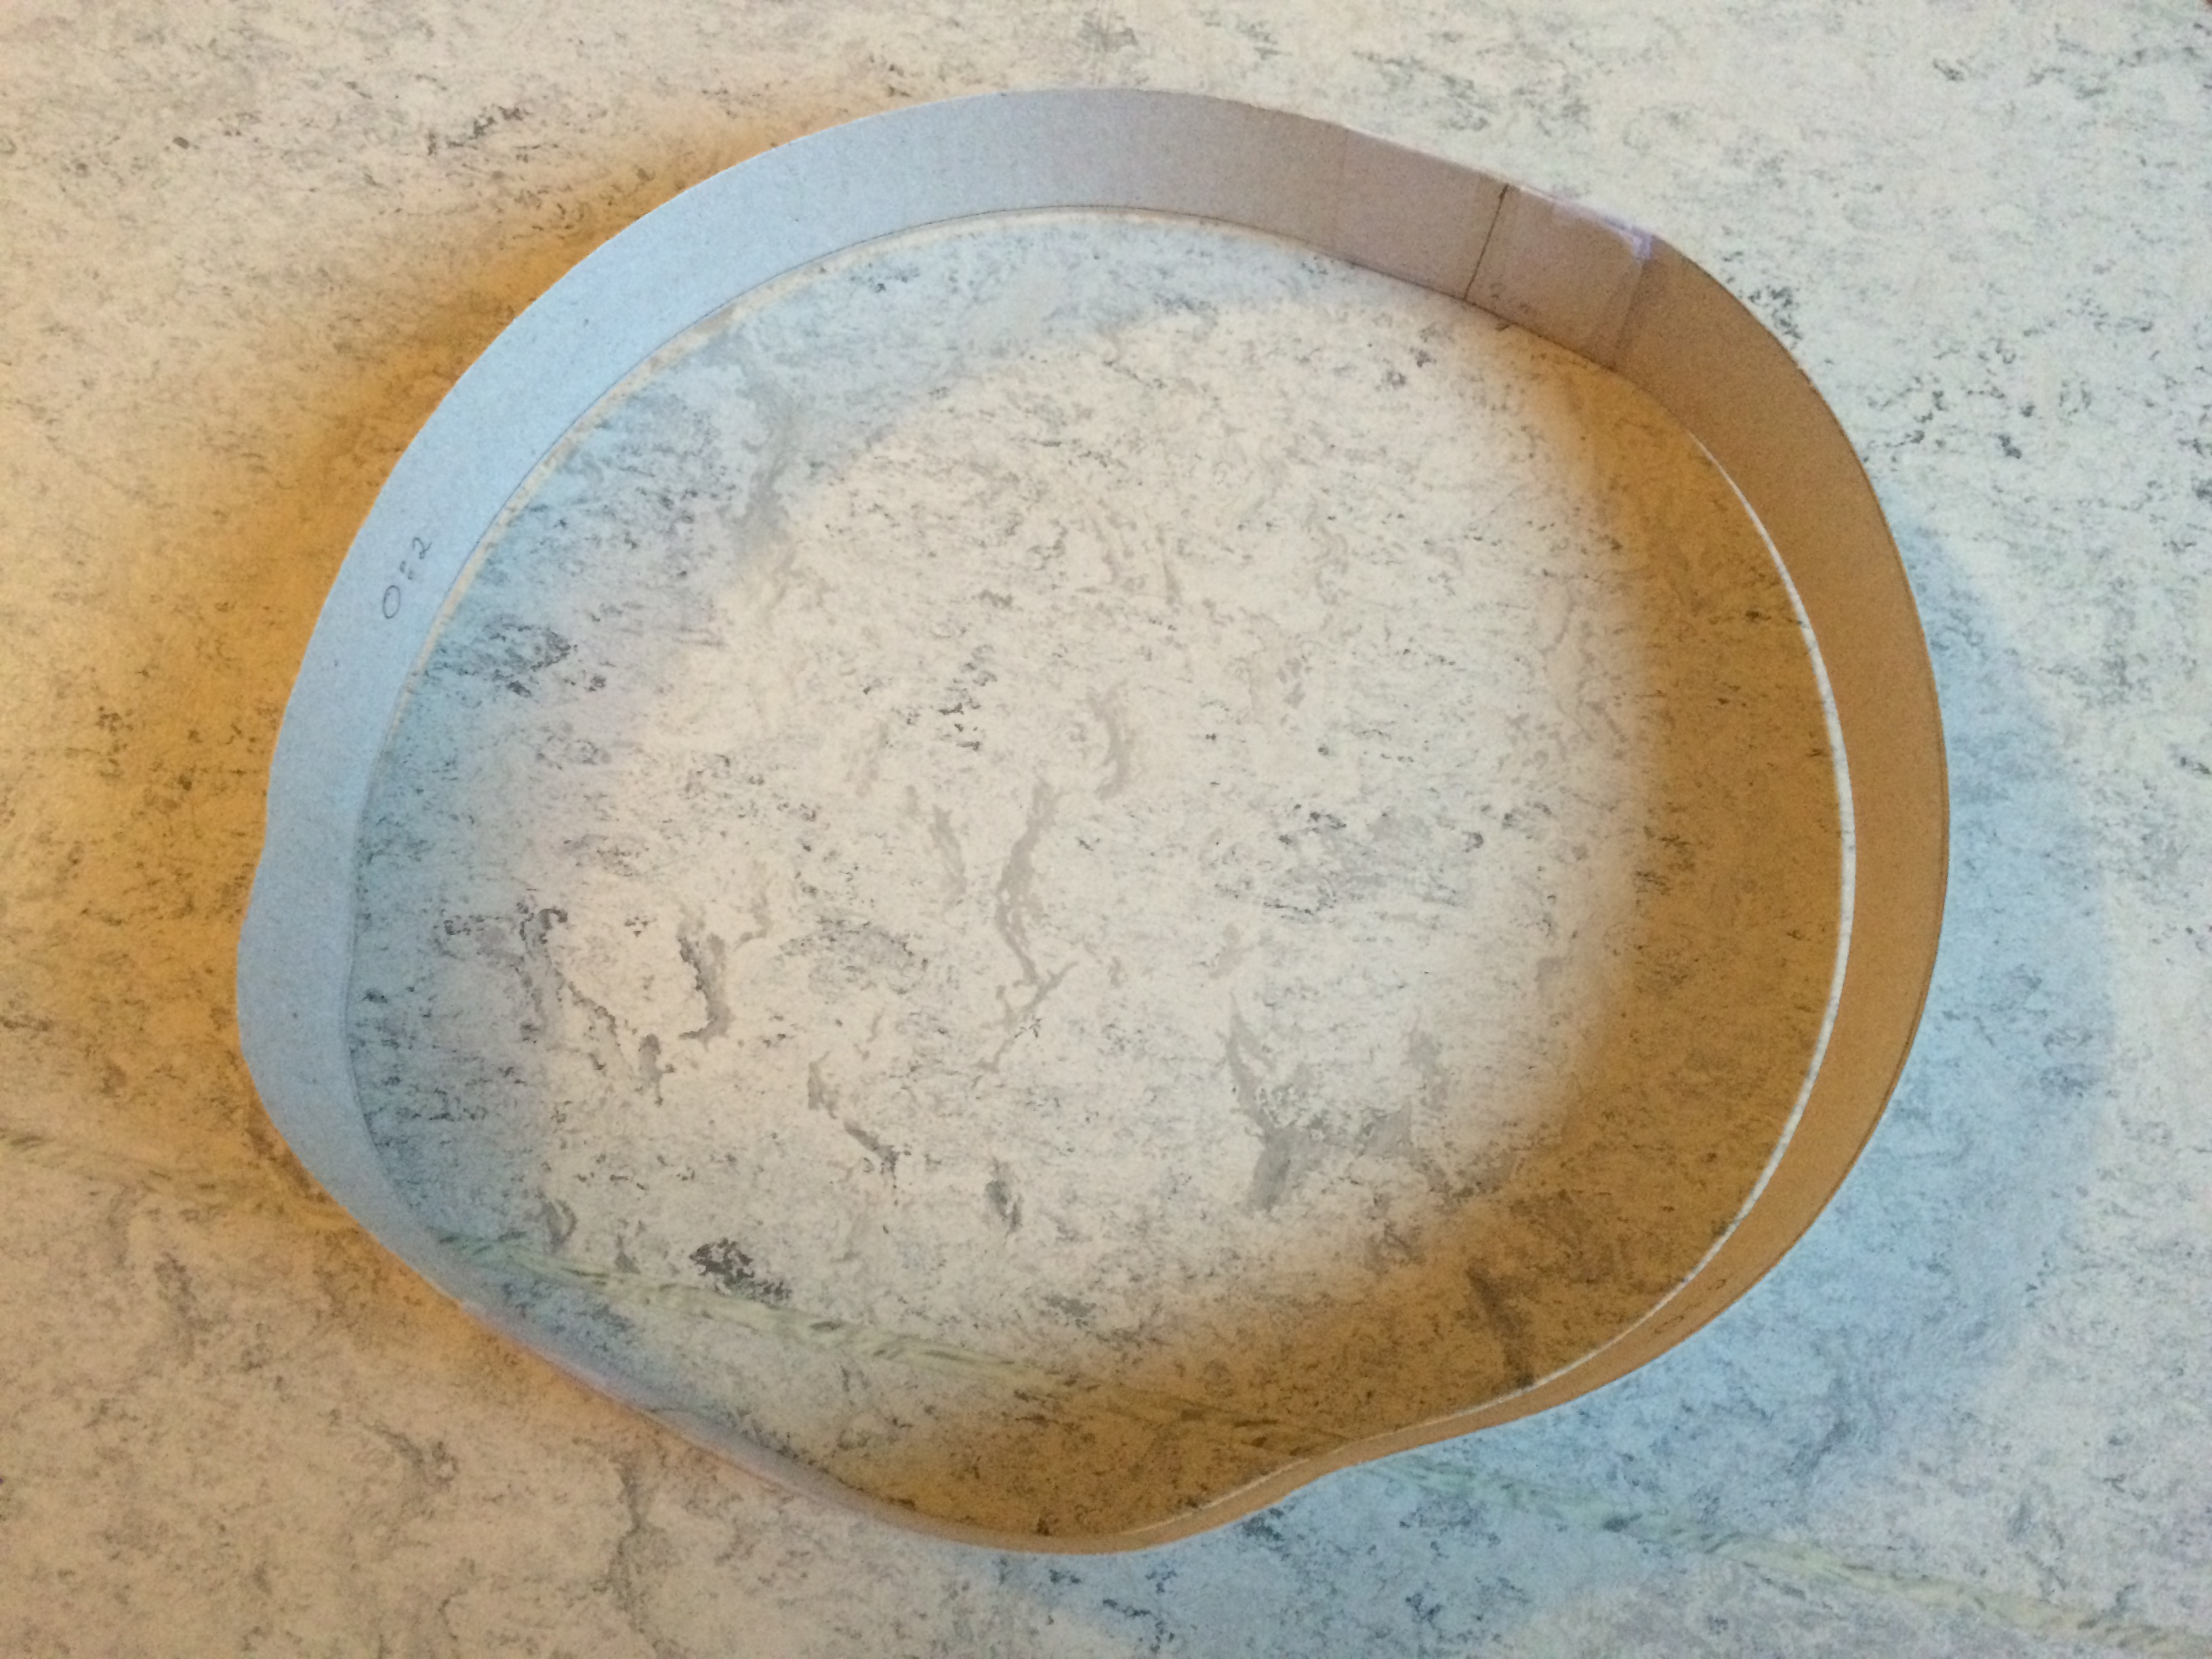

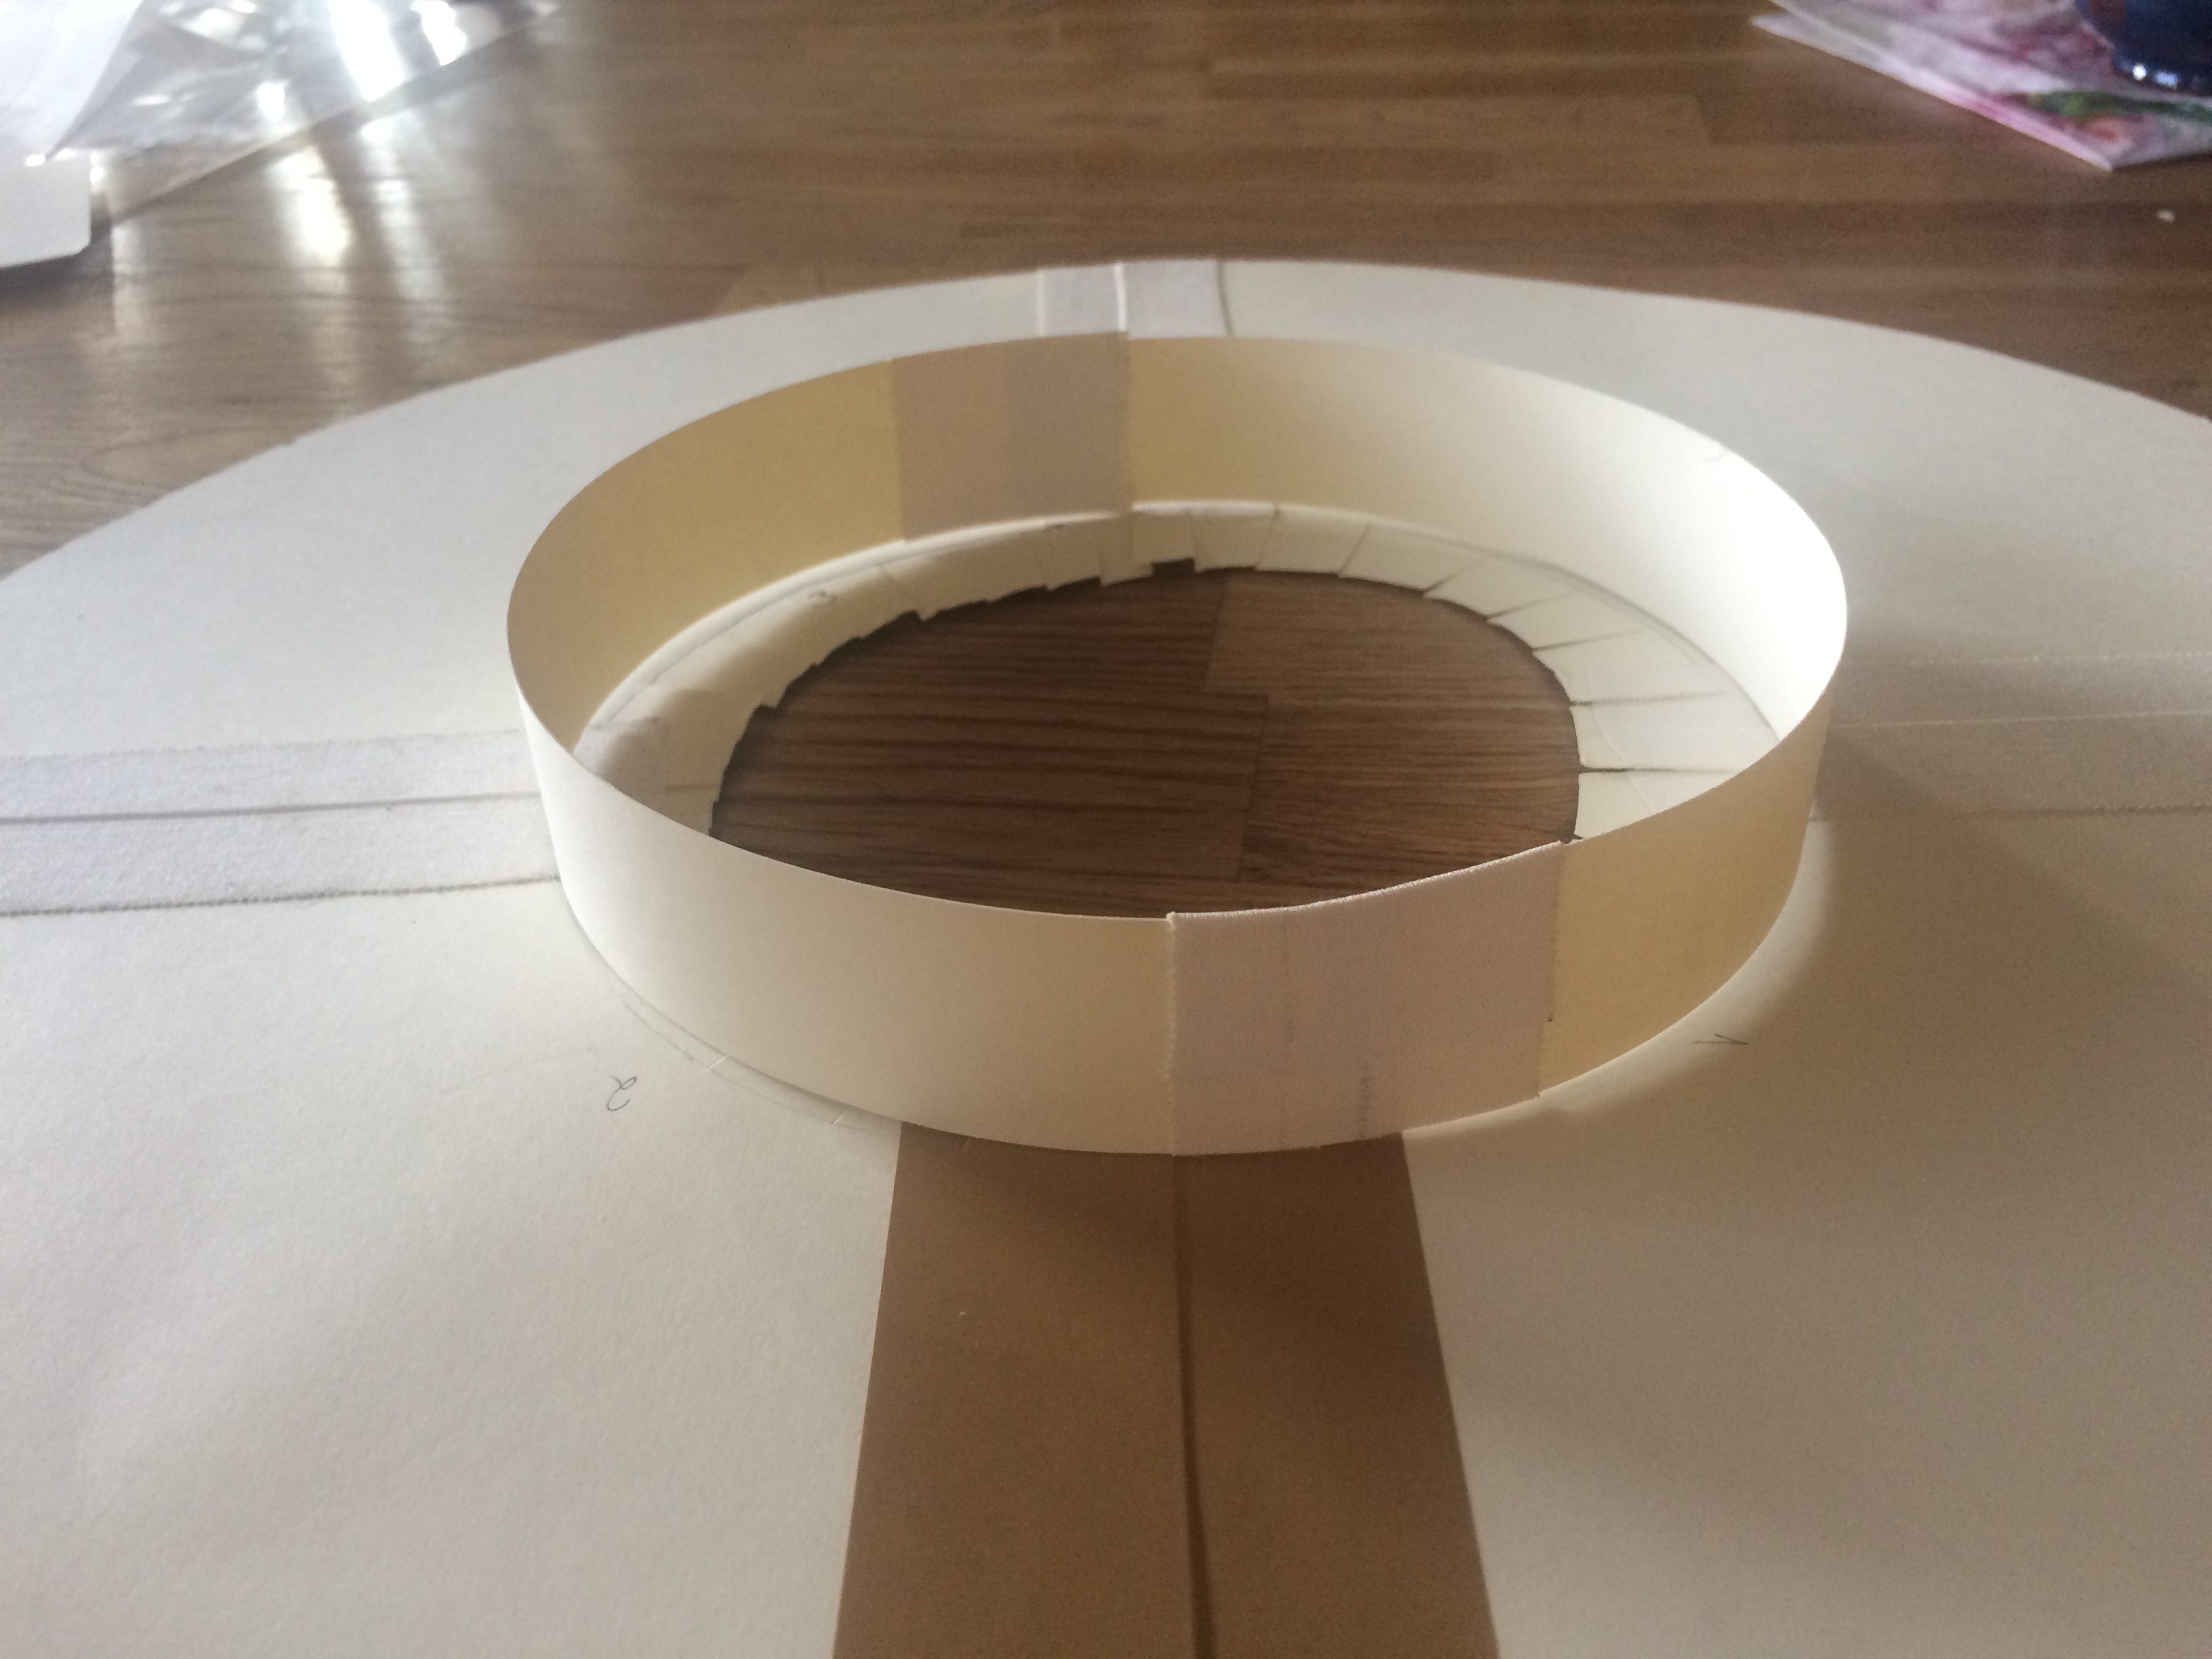
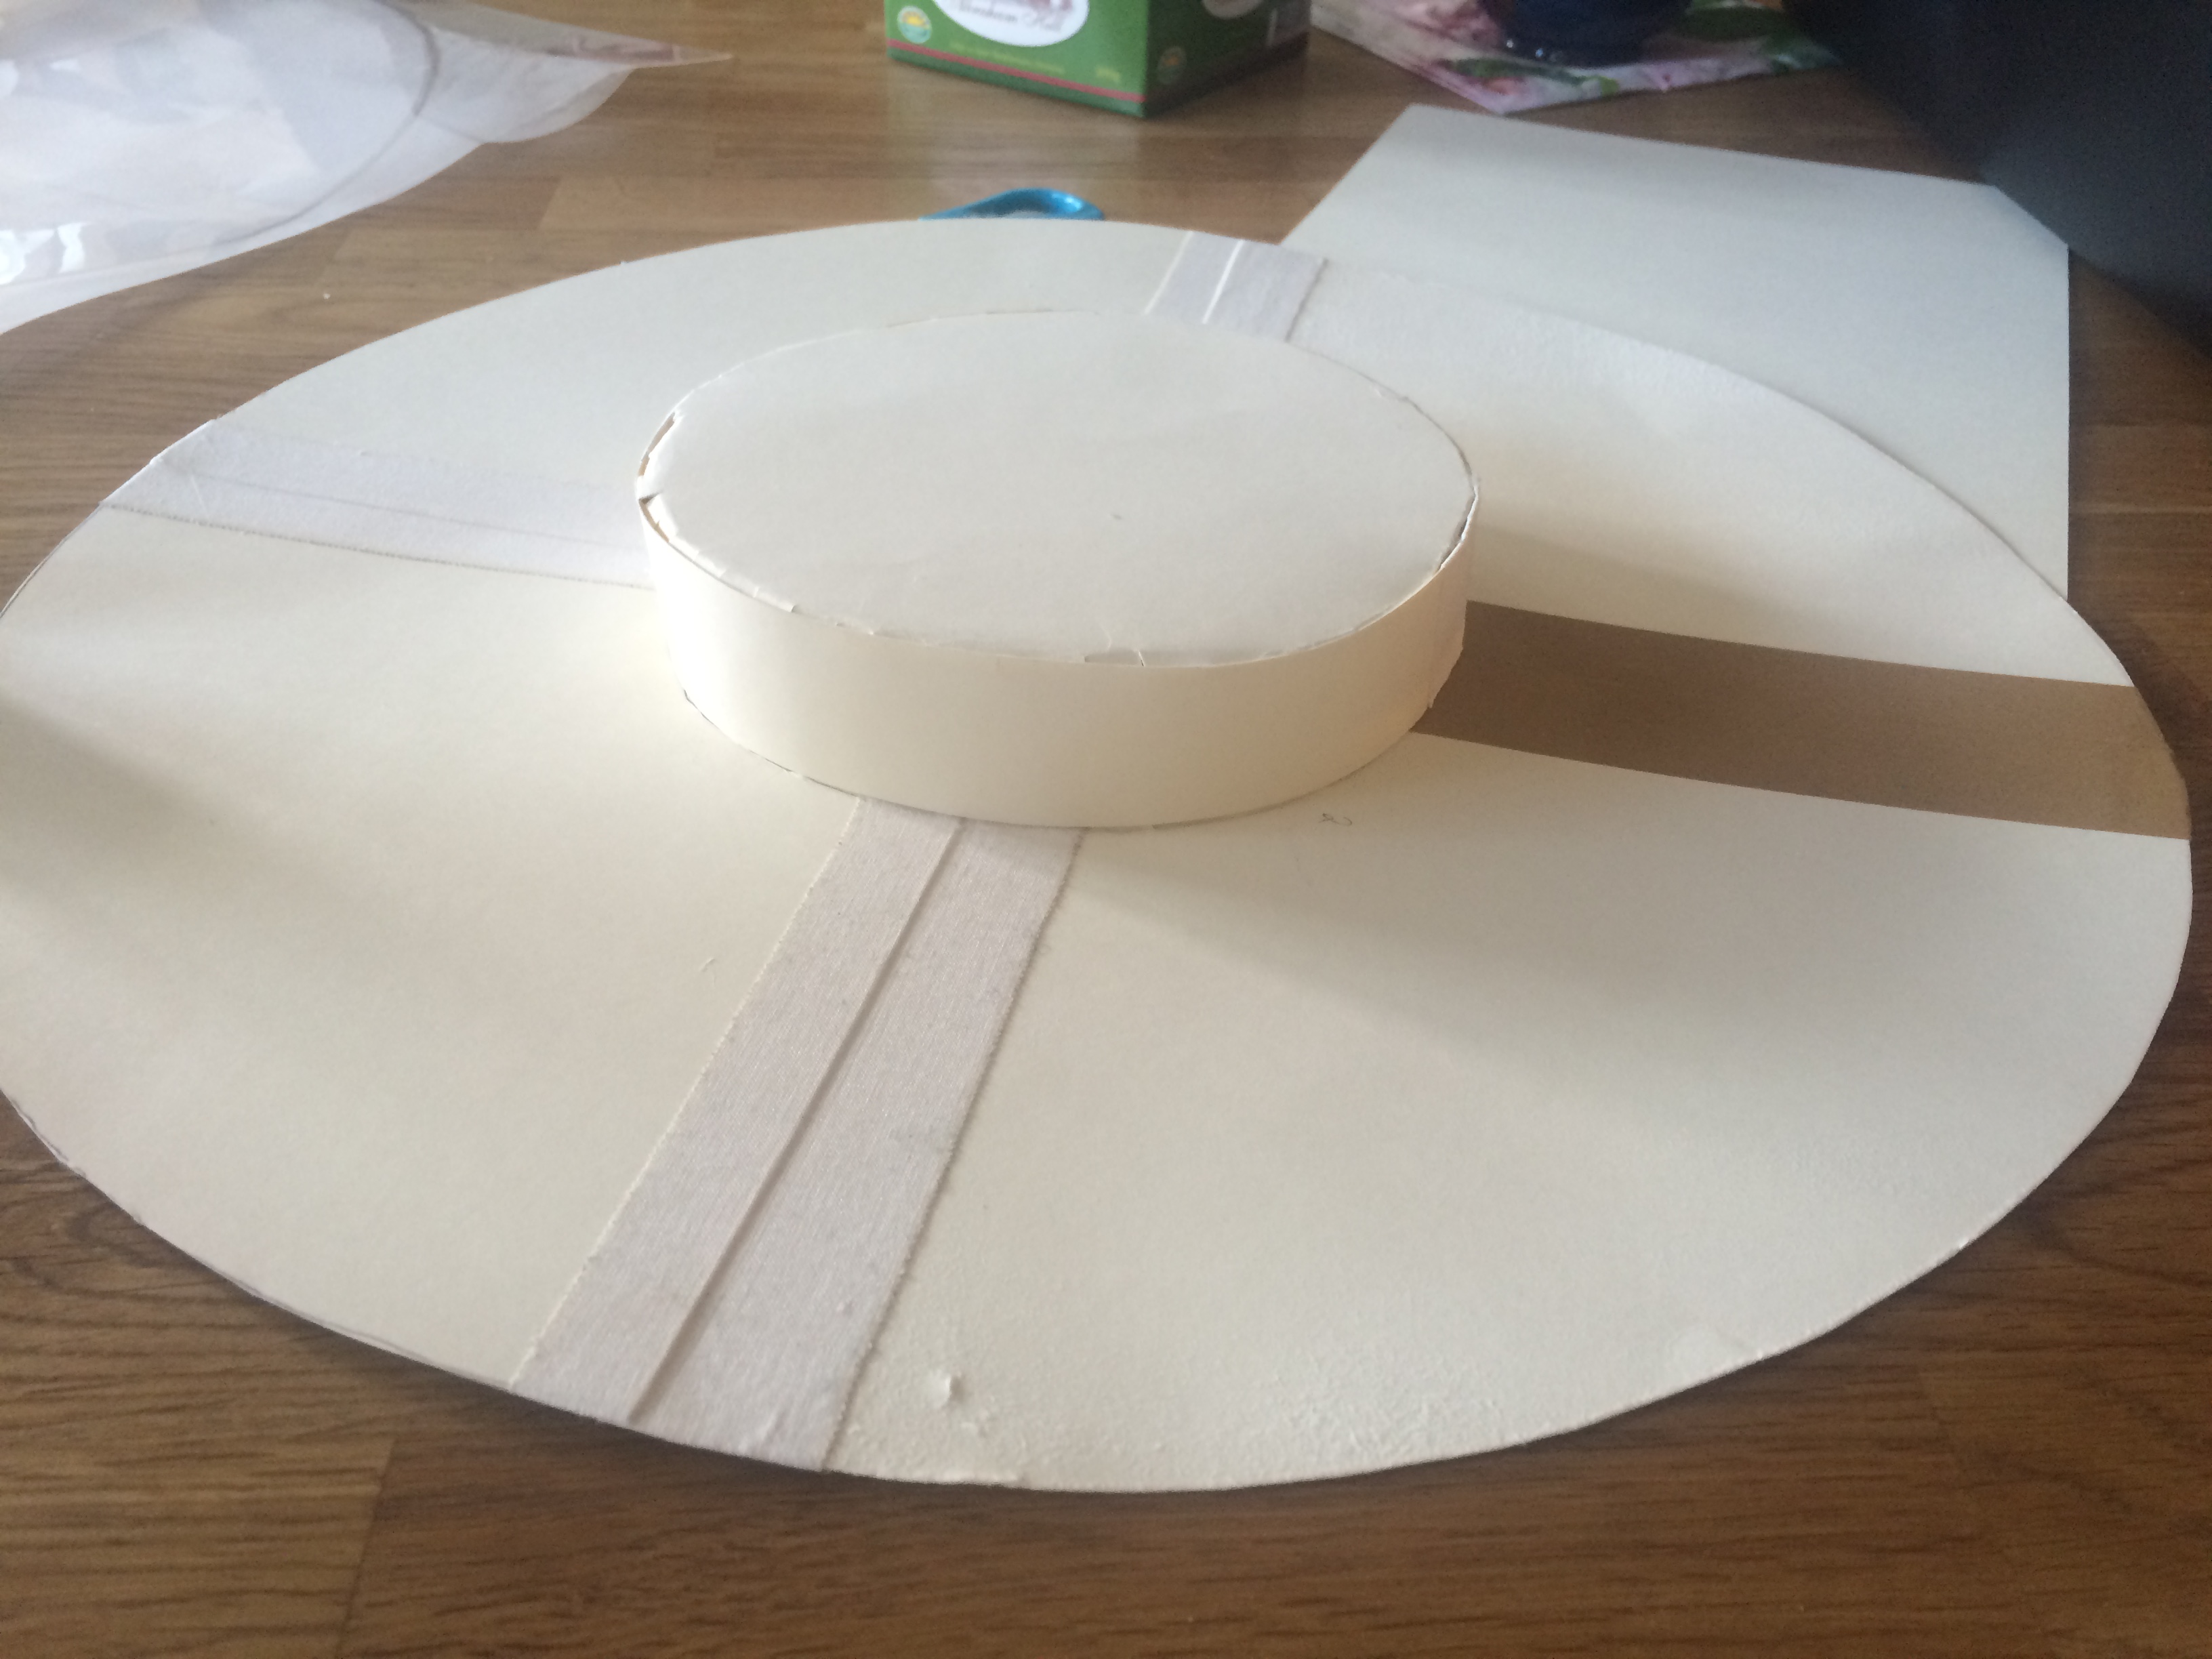
7. Put your hat experiment together, use shitloads of cellotape. Try it on!

This was mine. As you can see, the top is waaaay to large. Other than that, the hat looks fine, the brim is wide enouh and the top not too high or low.
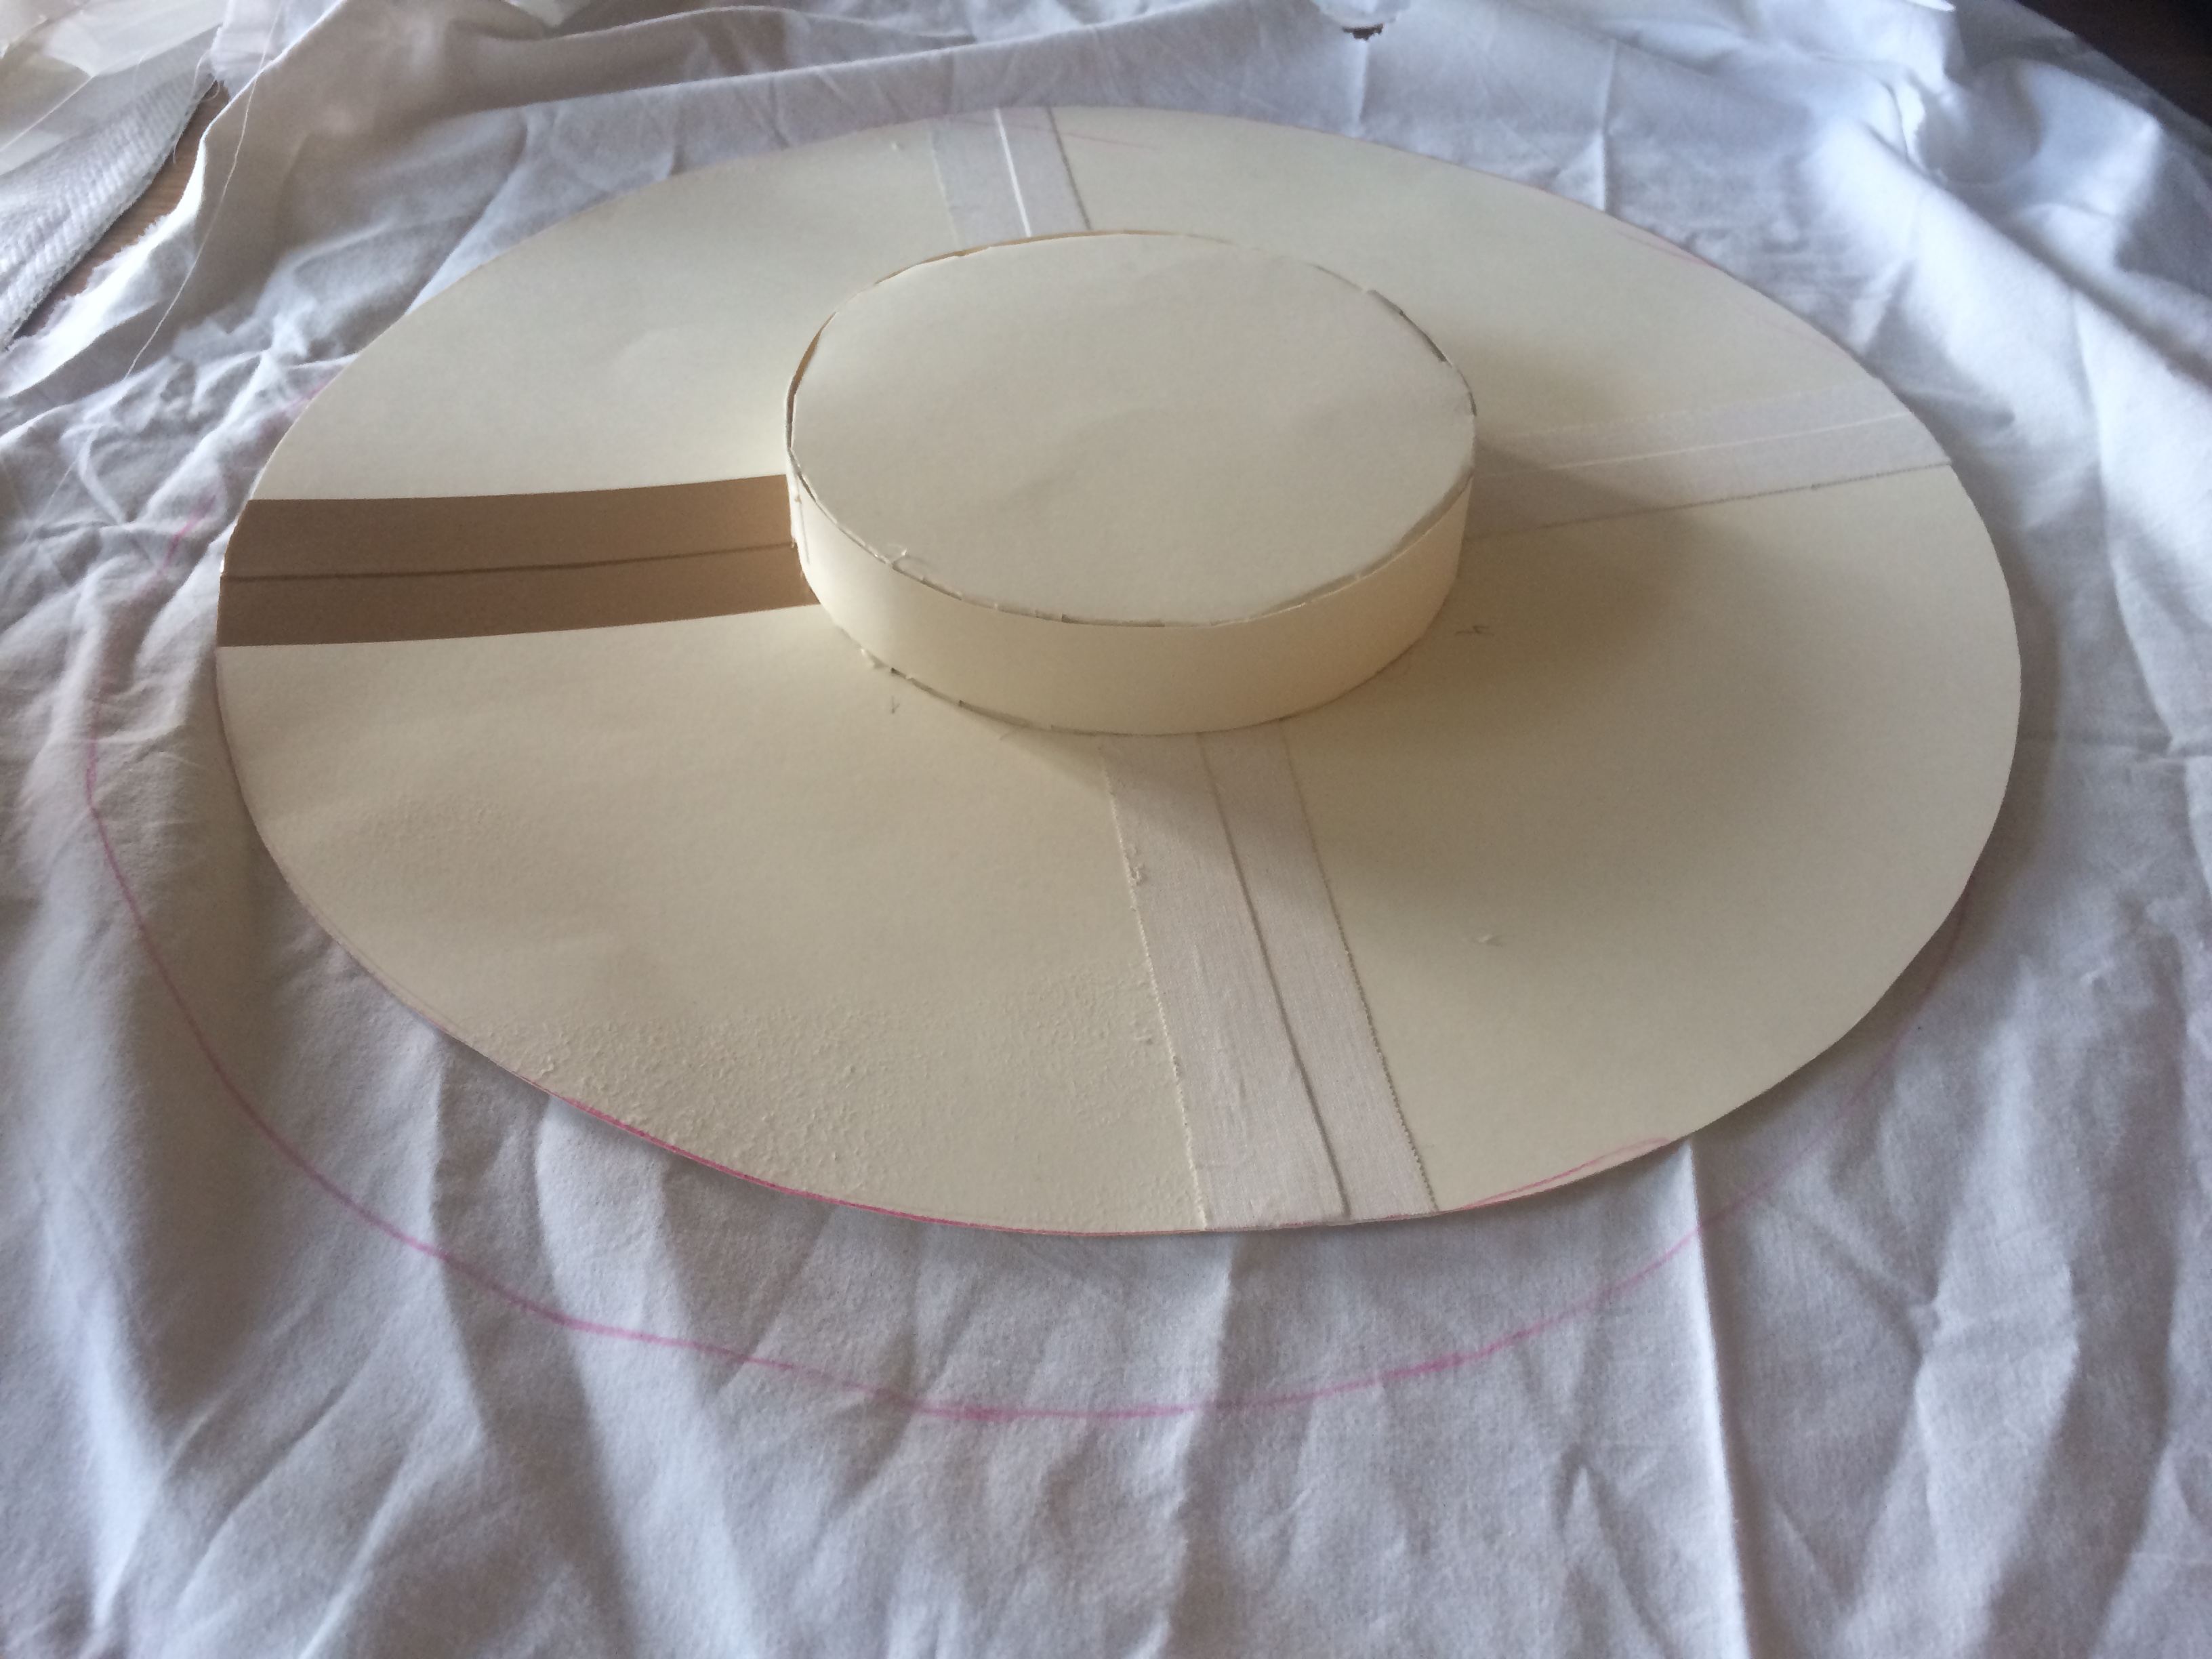
8. Make the changes that needs to be made. I changed the top, took it from 10cm to 7cm.

9. Use your cardboard mockup and as a pattern, and cut it out of the cardboard you want to use for your hat. Of course, if you’d like a hat that doesn’t crumple in wet weather, you could use something other than cardboard, or laminate the pieces after cutting them. Or, you know, use proper hat makers’ buckram, but that stuff is hard to get hold of in Norway, and I was a poor student. Remember that when the size of the top changes, so does the length of the piece around the top.
10. If you have to make your brim from several pieces, this is the time to tape them together. Let them overlap a little. Using a strong, stable kind of sticky tape makes the brim surprisingly steady!

(BTW: Sports tape FTW. Works!)
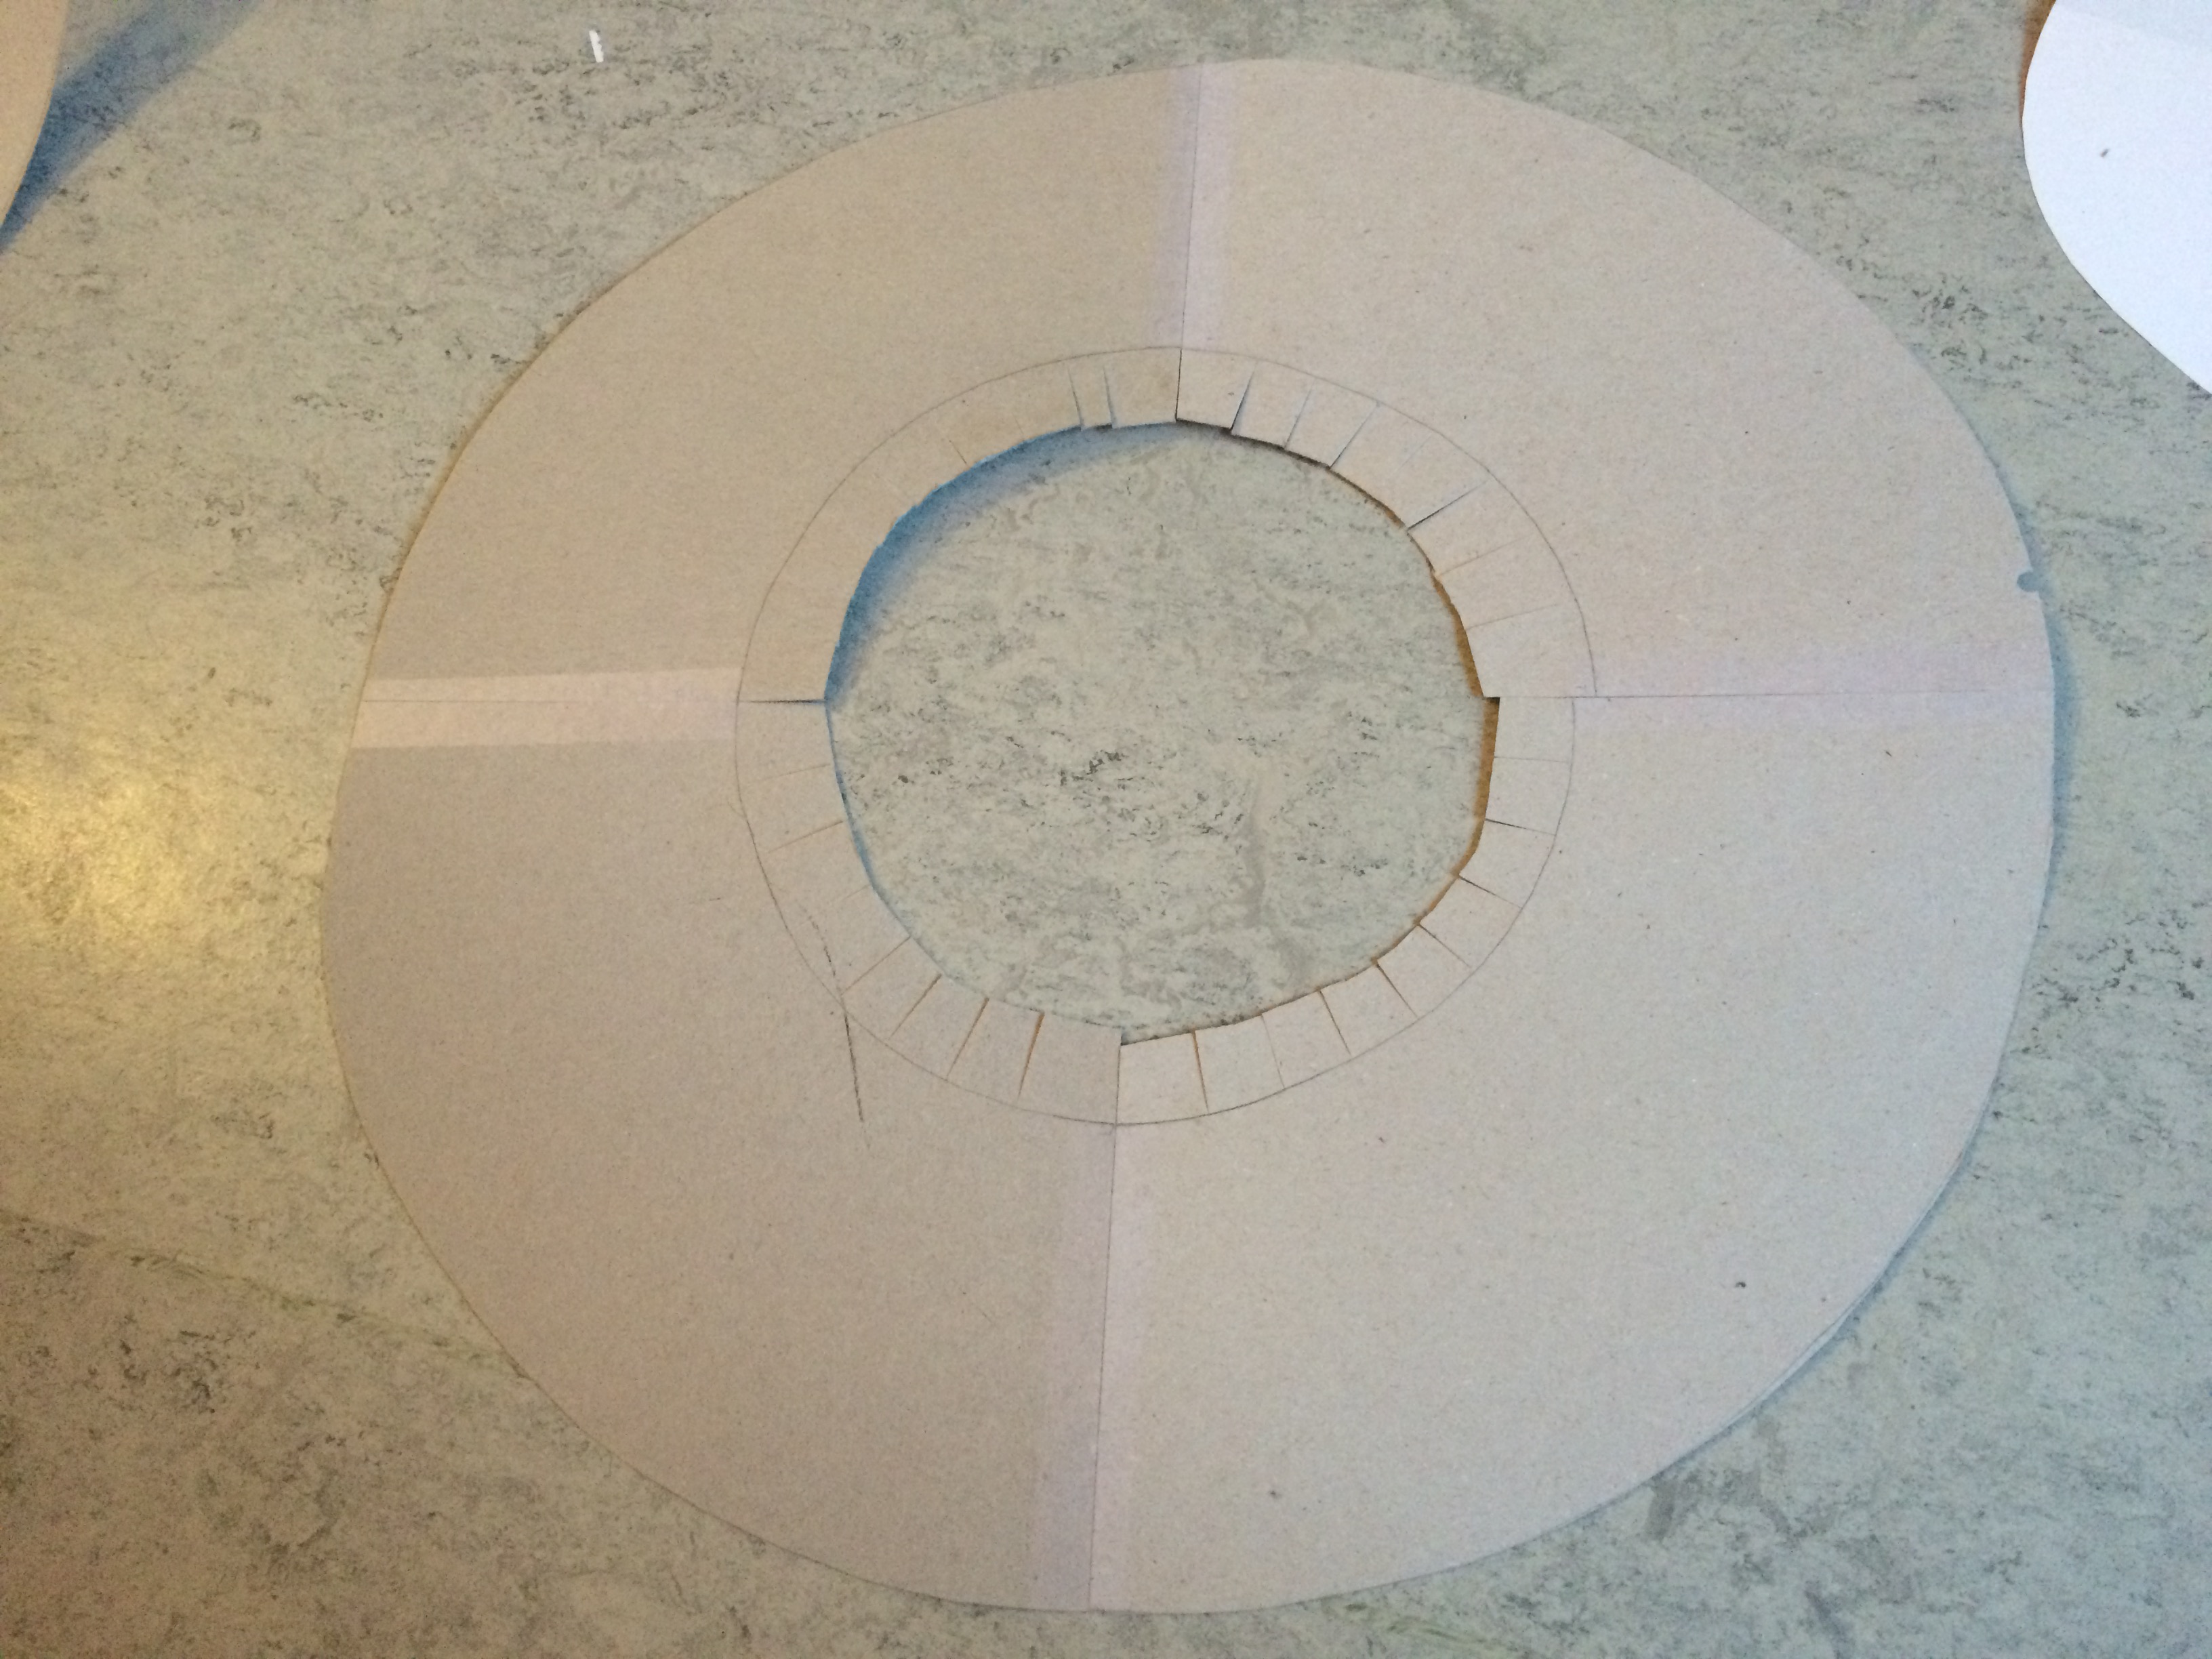
11. Cut the slits.
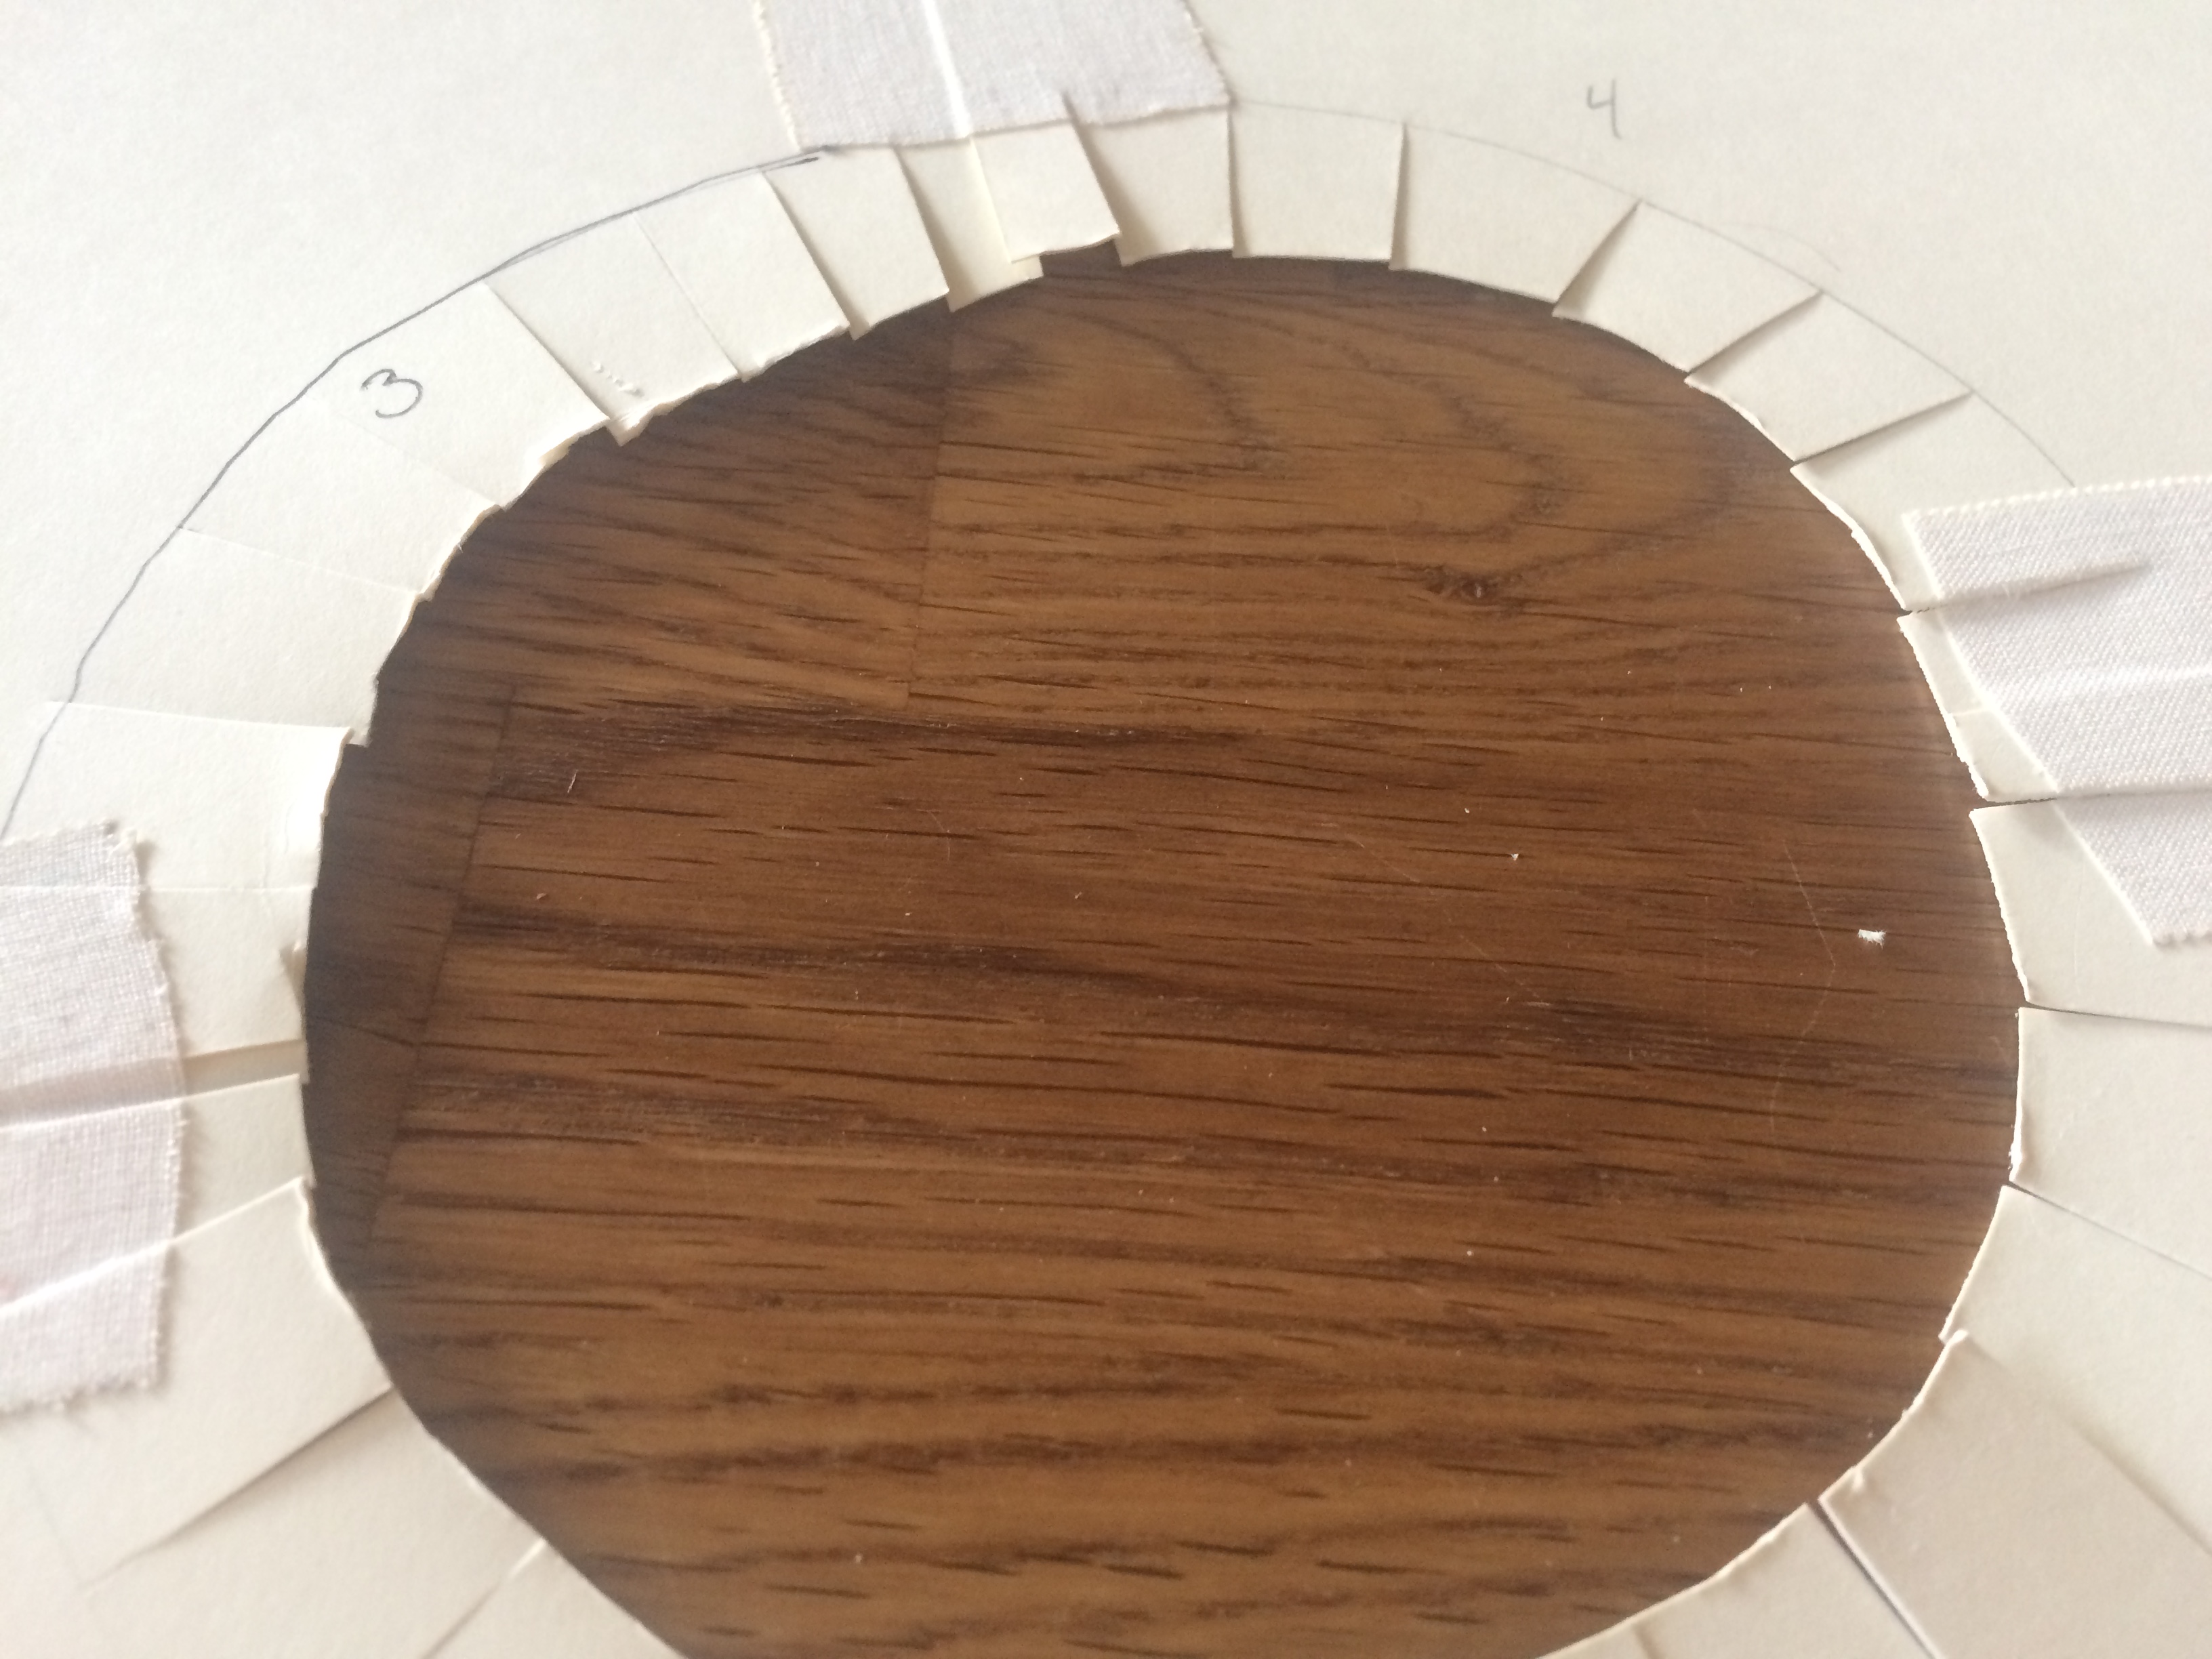
12. Glue the lengths together.
13. Fold the tabs up, and glue them to the circle your lengths made.

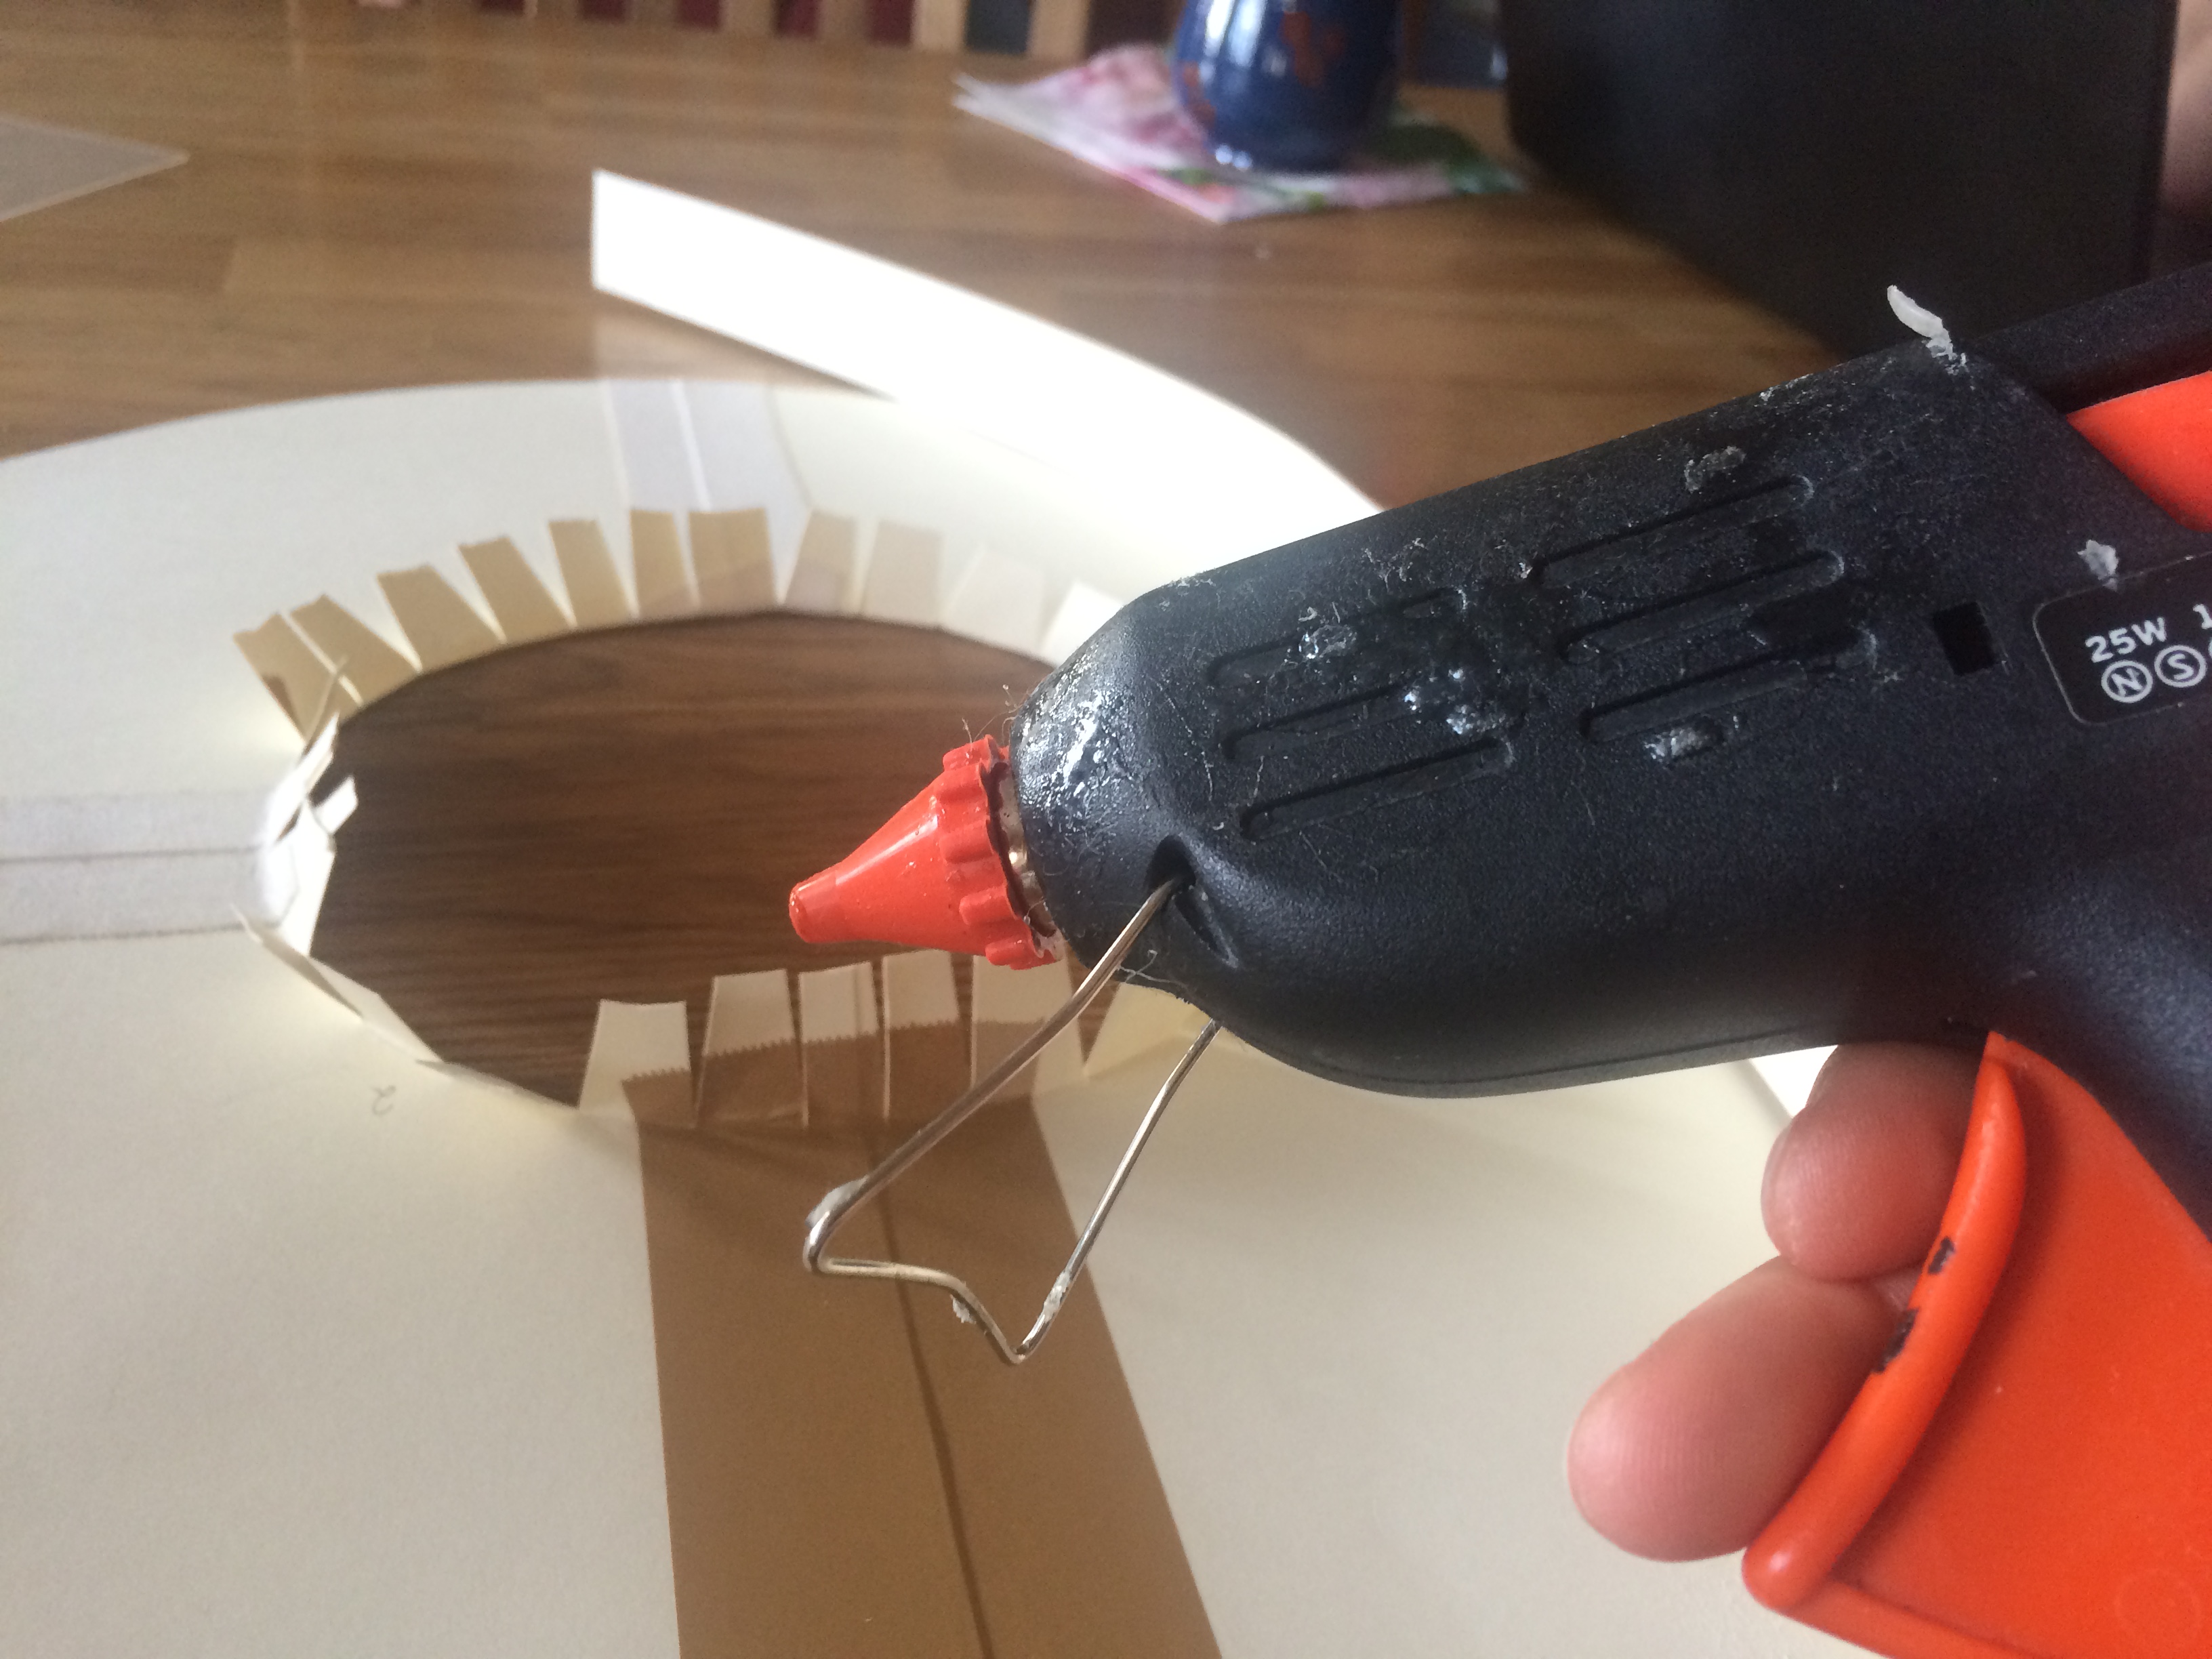
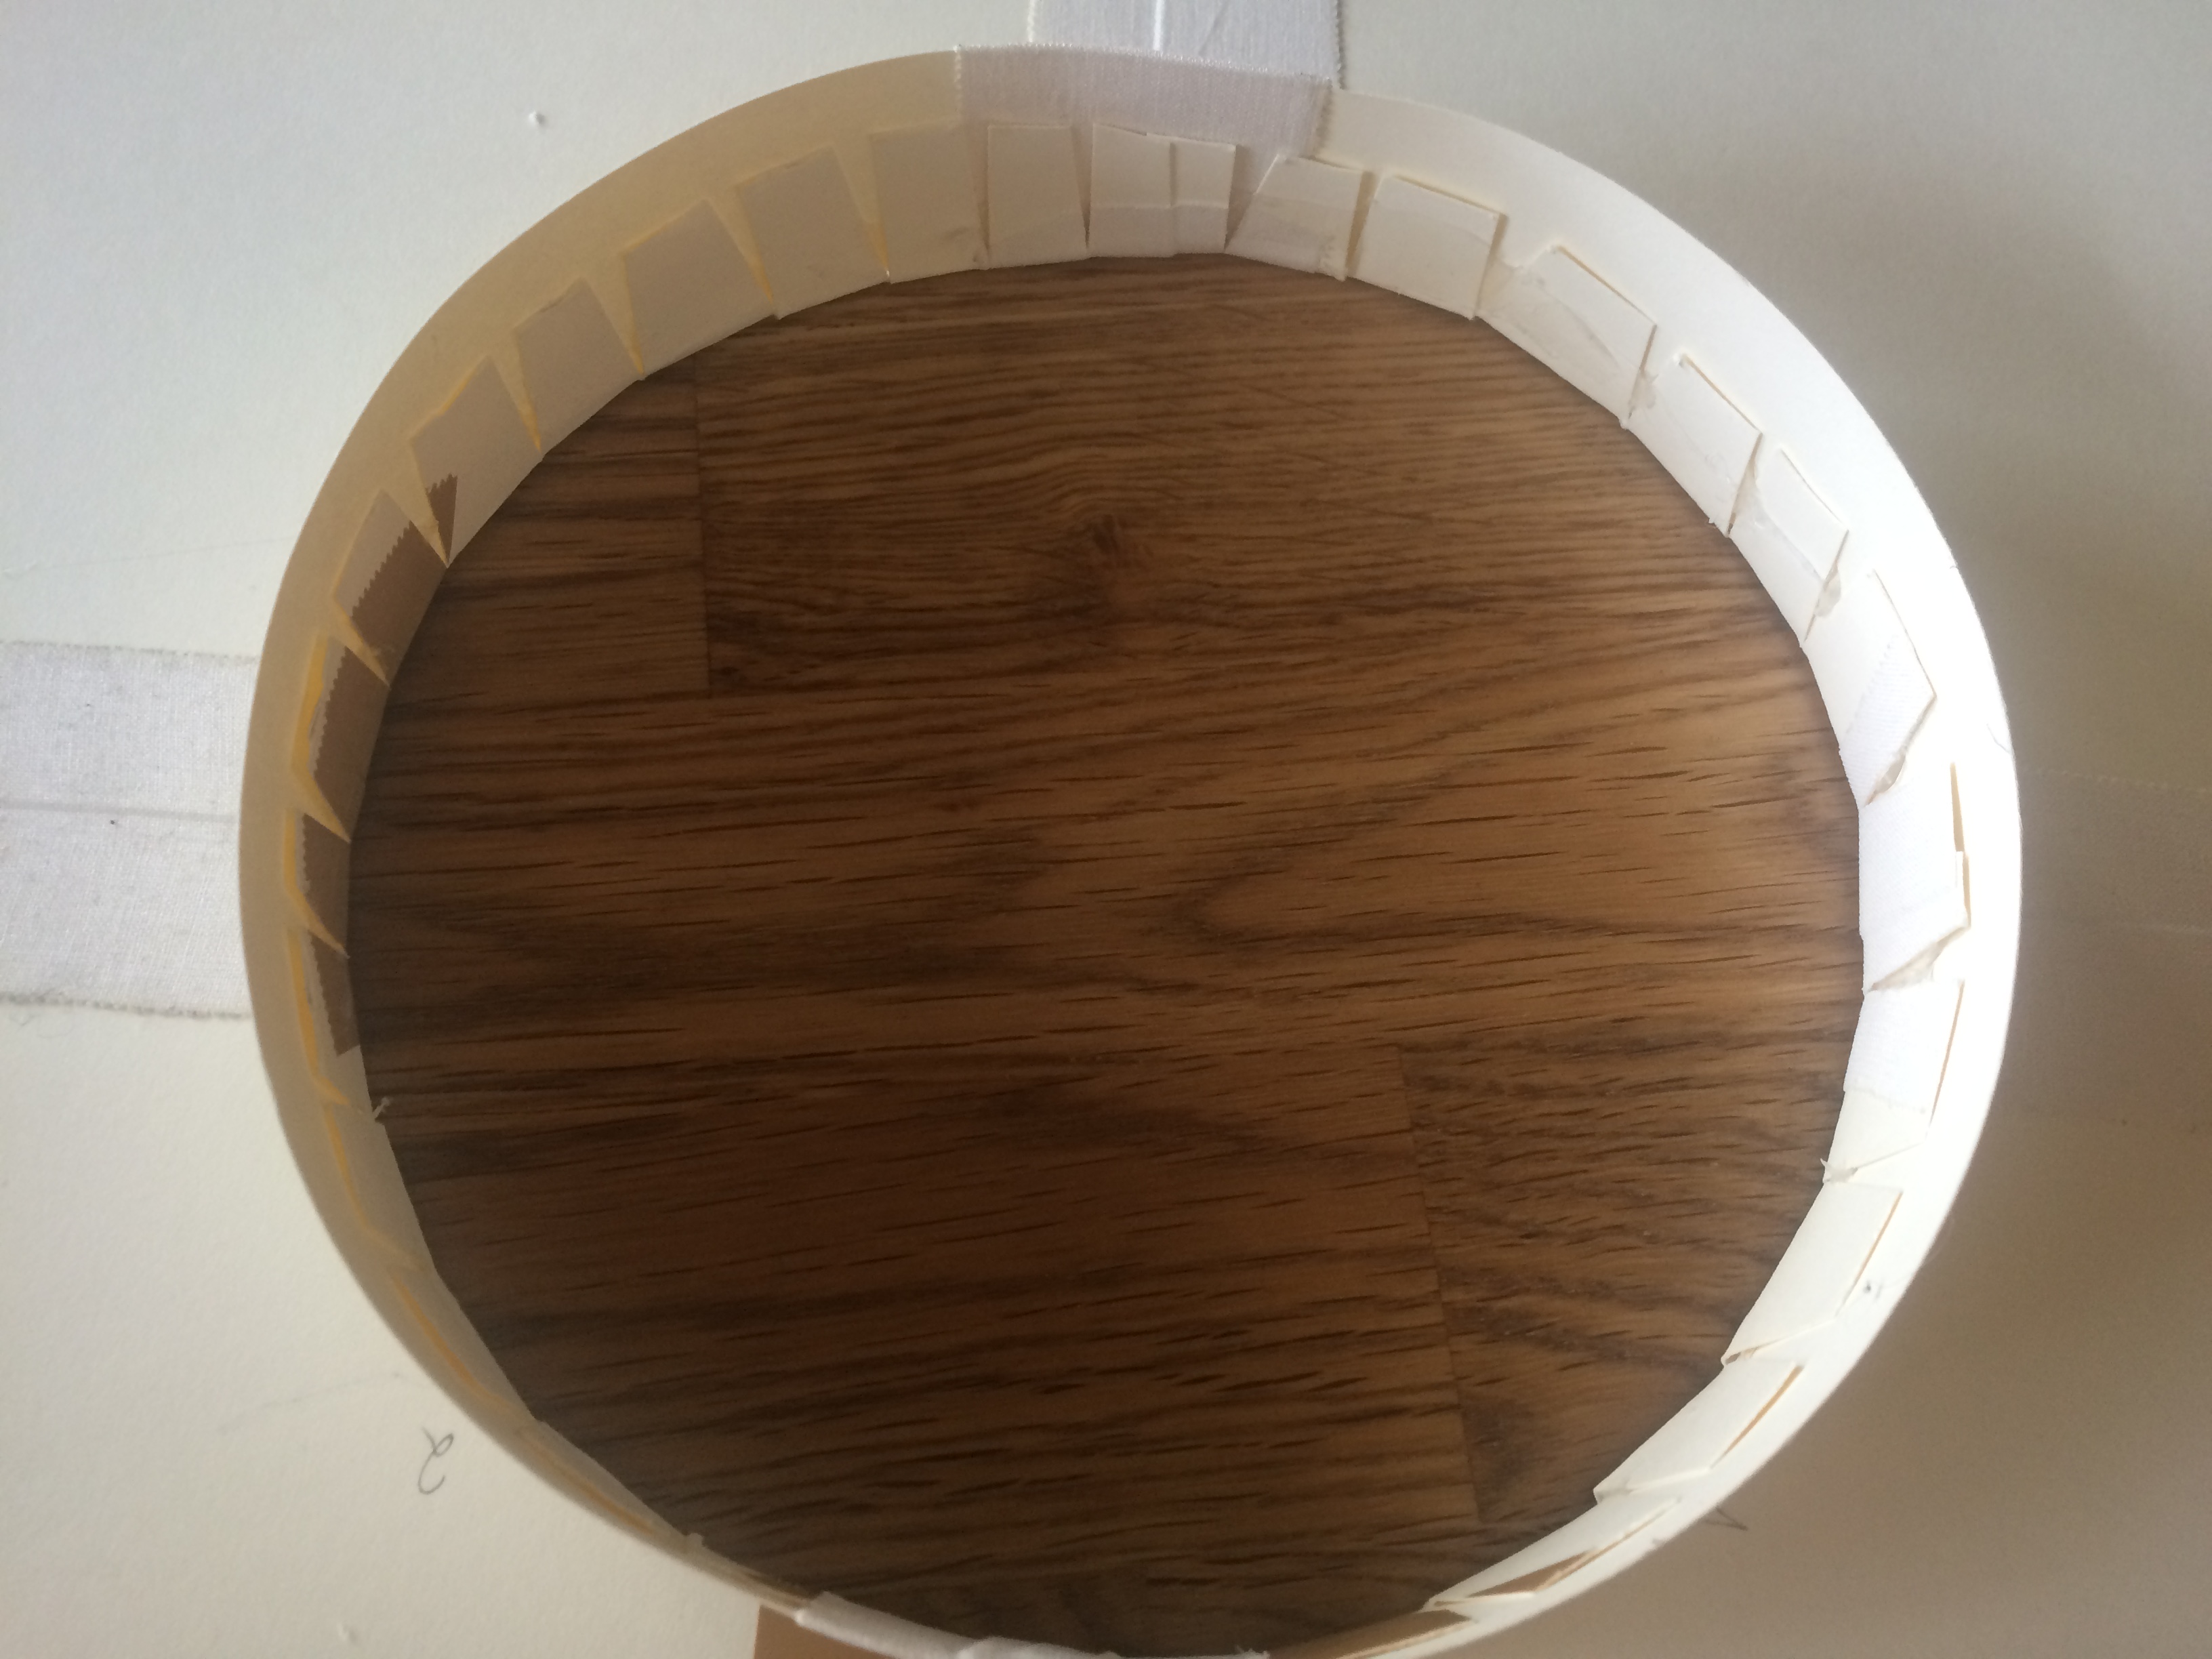

14. Fold the tabs into the circle, and glue them to the circle. Cover them in tape, this keeps them secure and smoothes the surface. Do the same to the top of the hat.


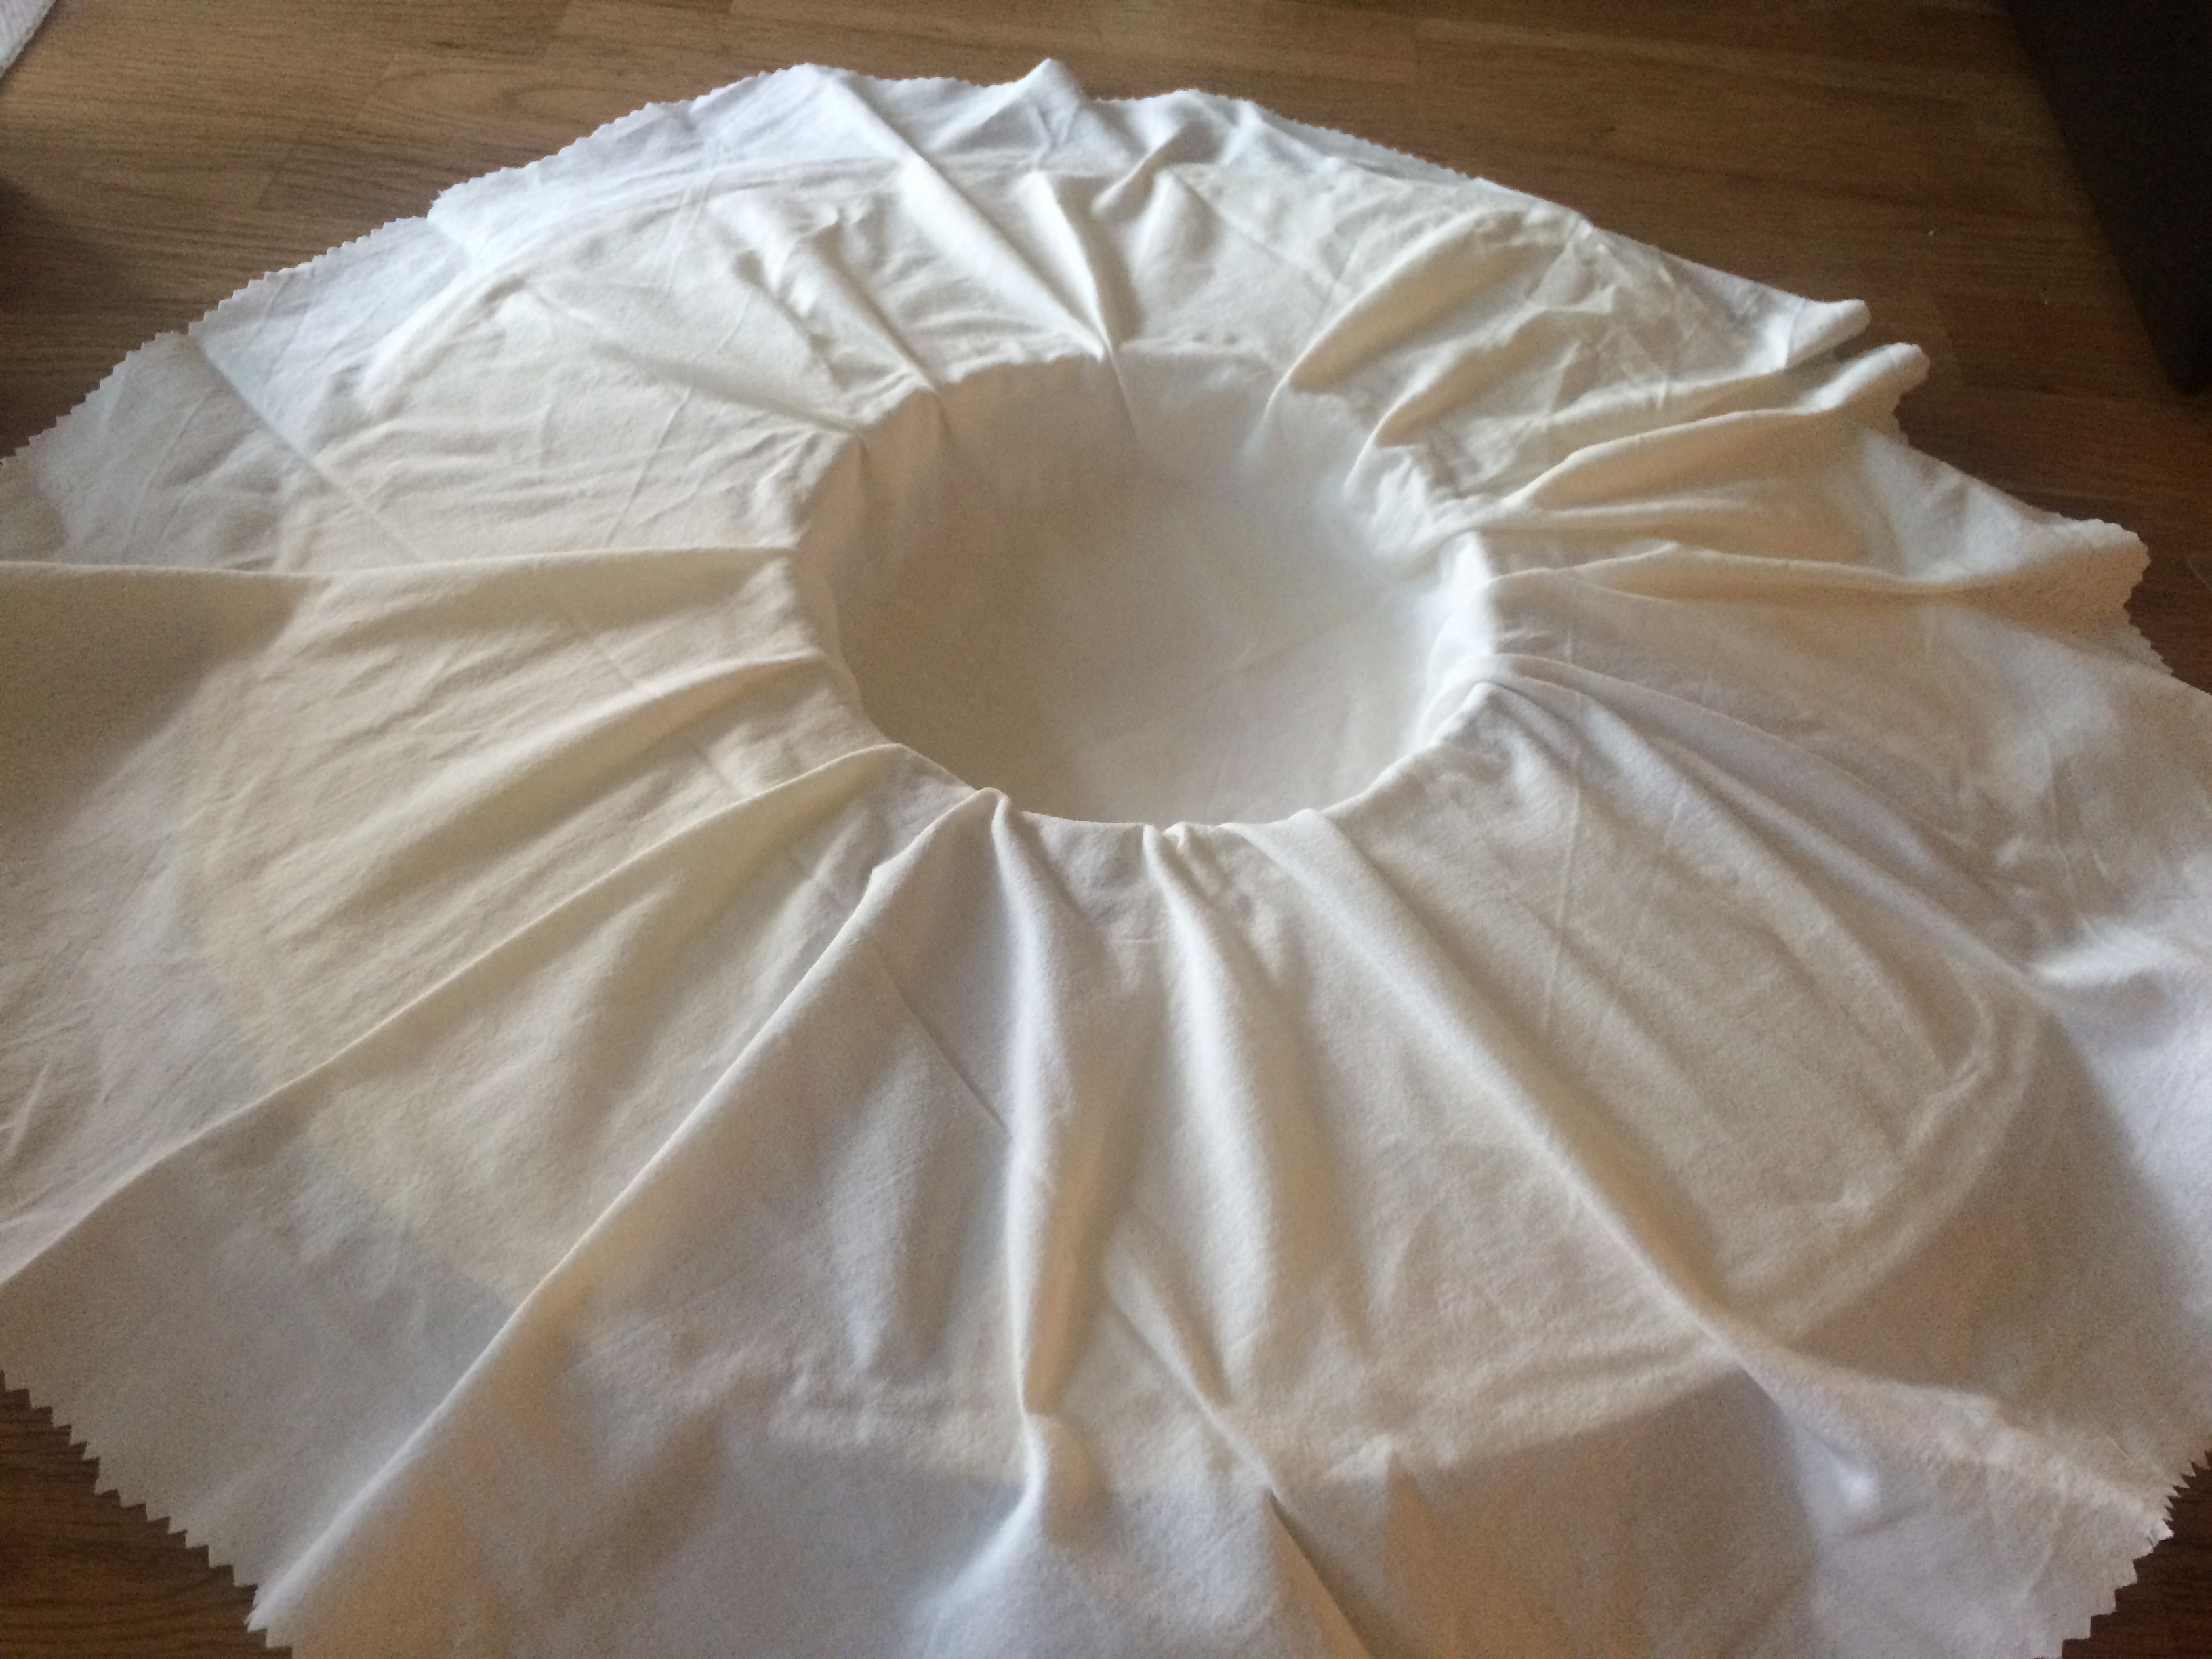
15. You’ve got yourself a hat, of sorts! Because it is a really ugly hat at the moment, we will cover it in fabric. Use your cardboard pattern from earlier, and draw around the brim, on the fabric. Give yourself a lot of seam allowance, 5-7cm or thereabouts. This will be the fabric that coveres the underside of your hat. Cut the fabric.
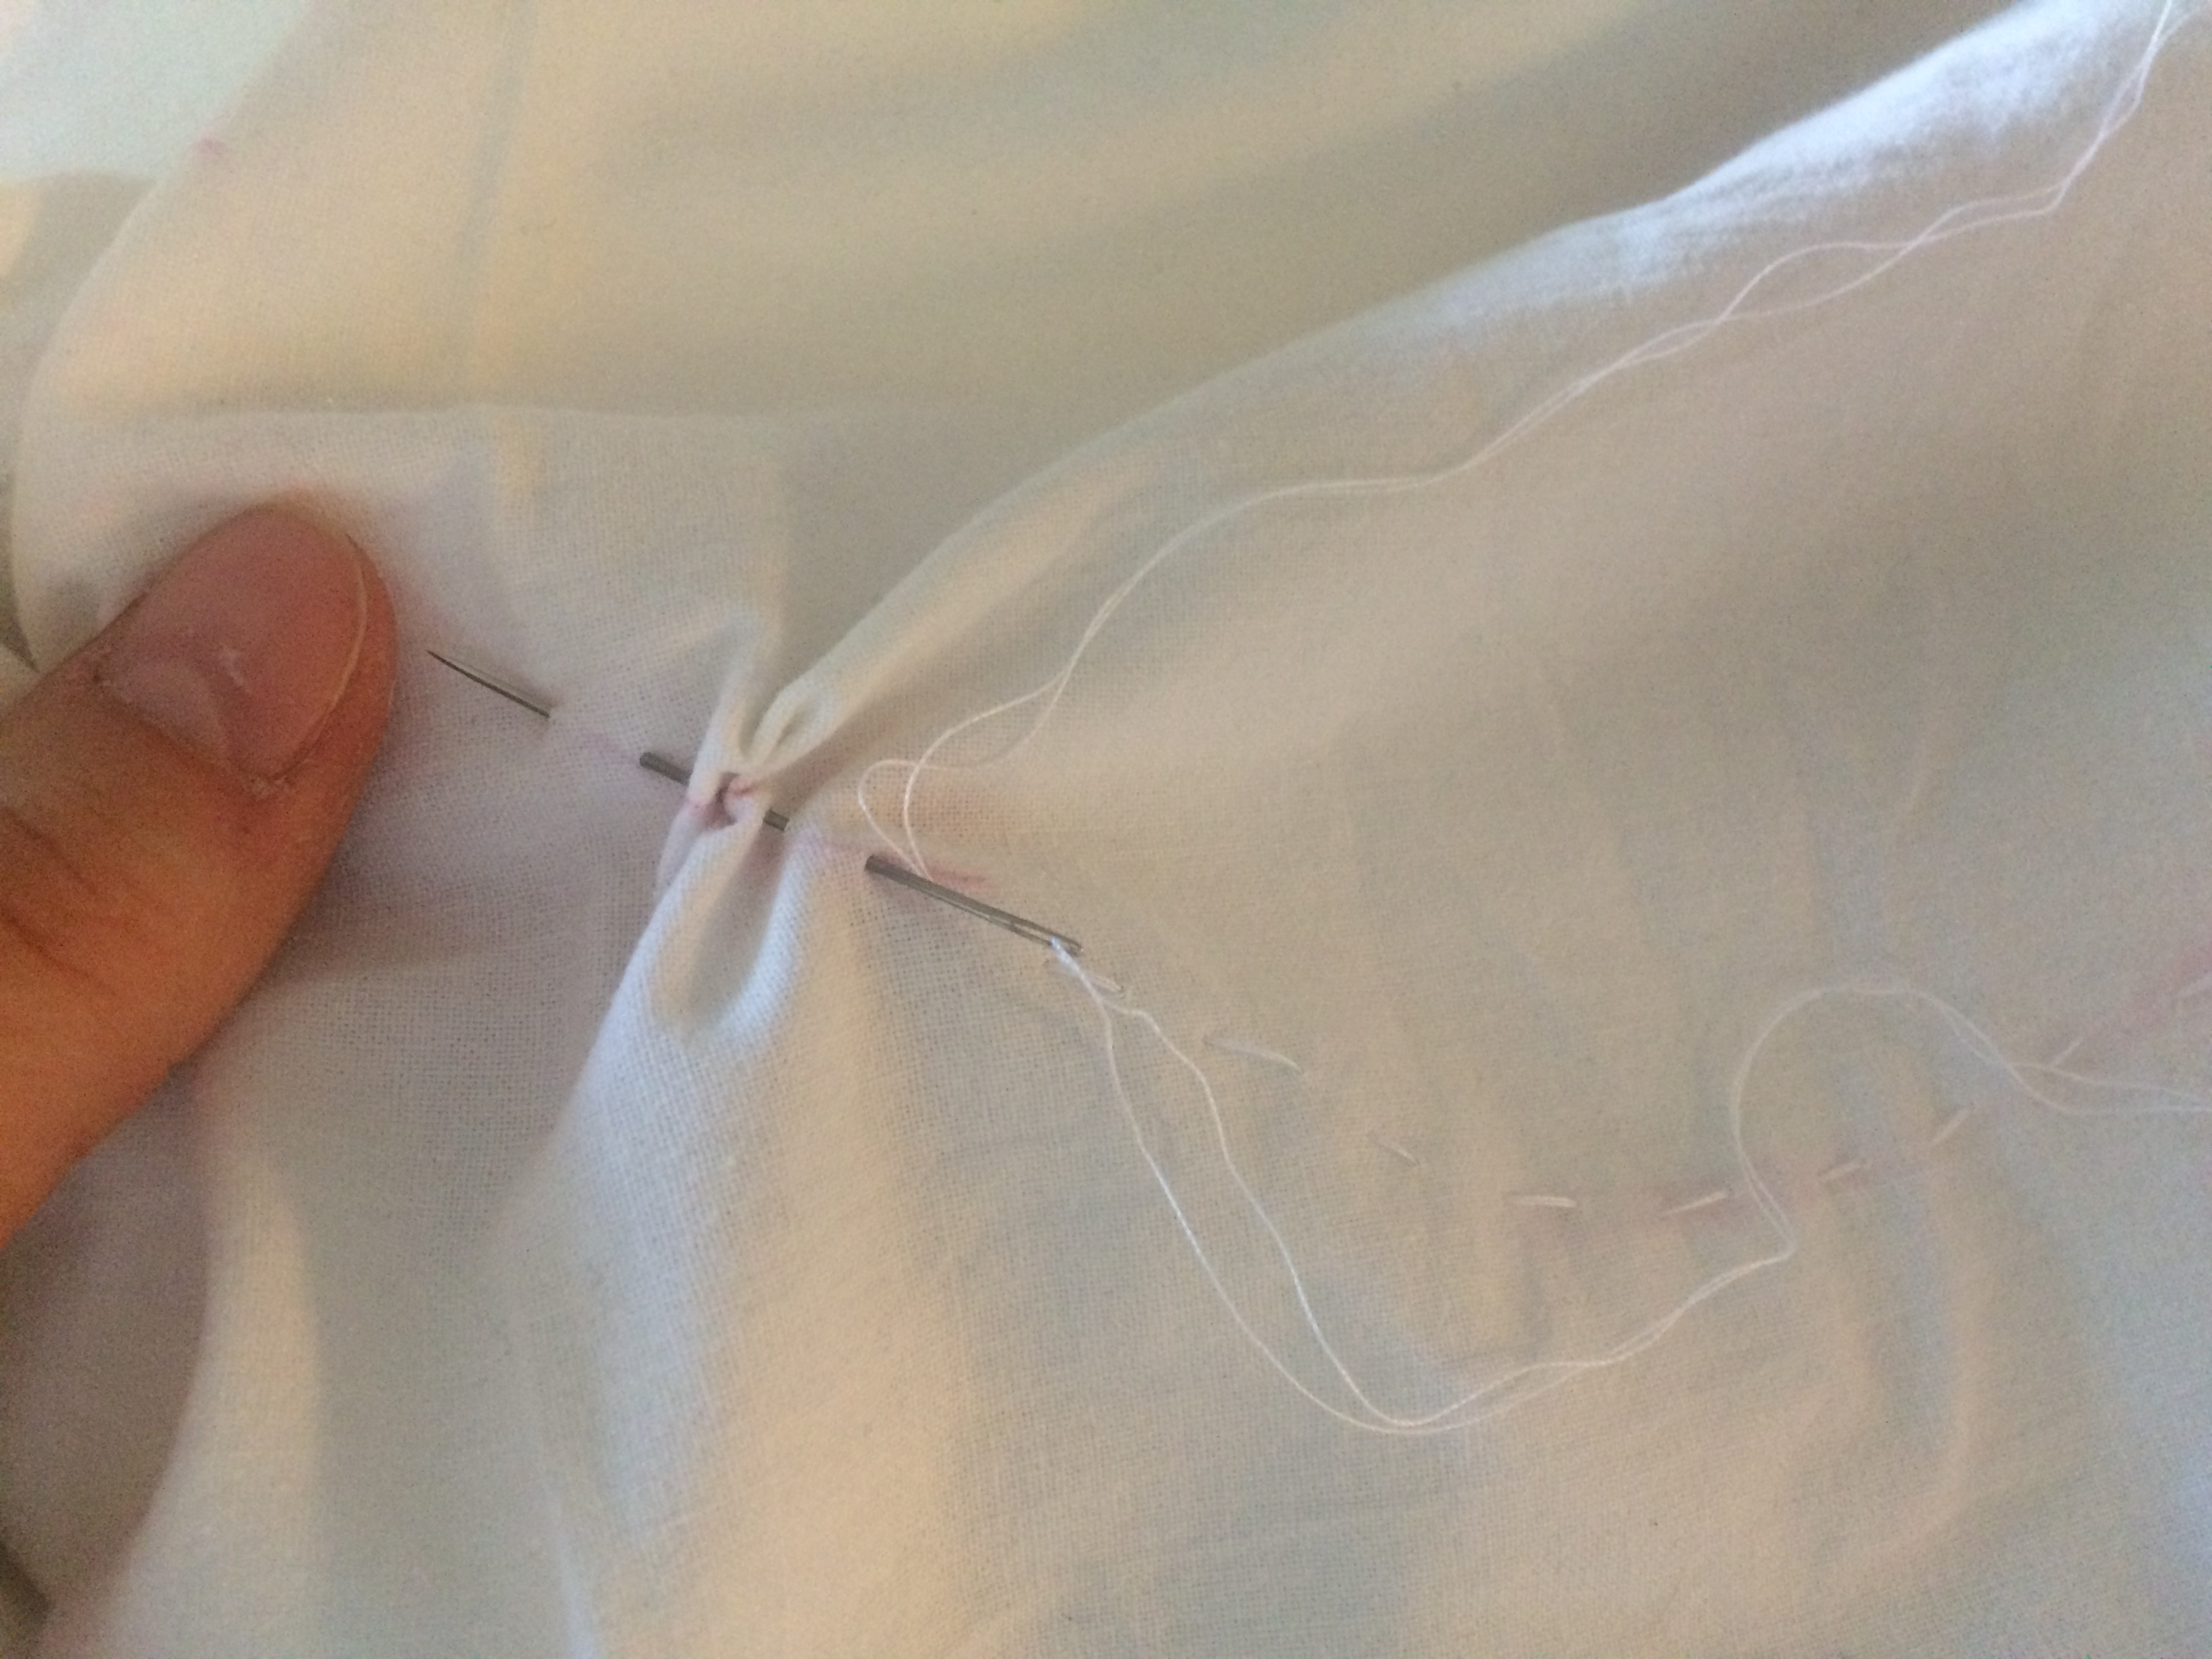
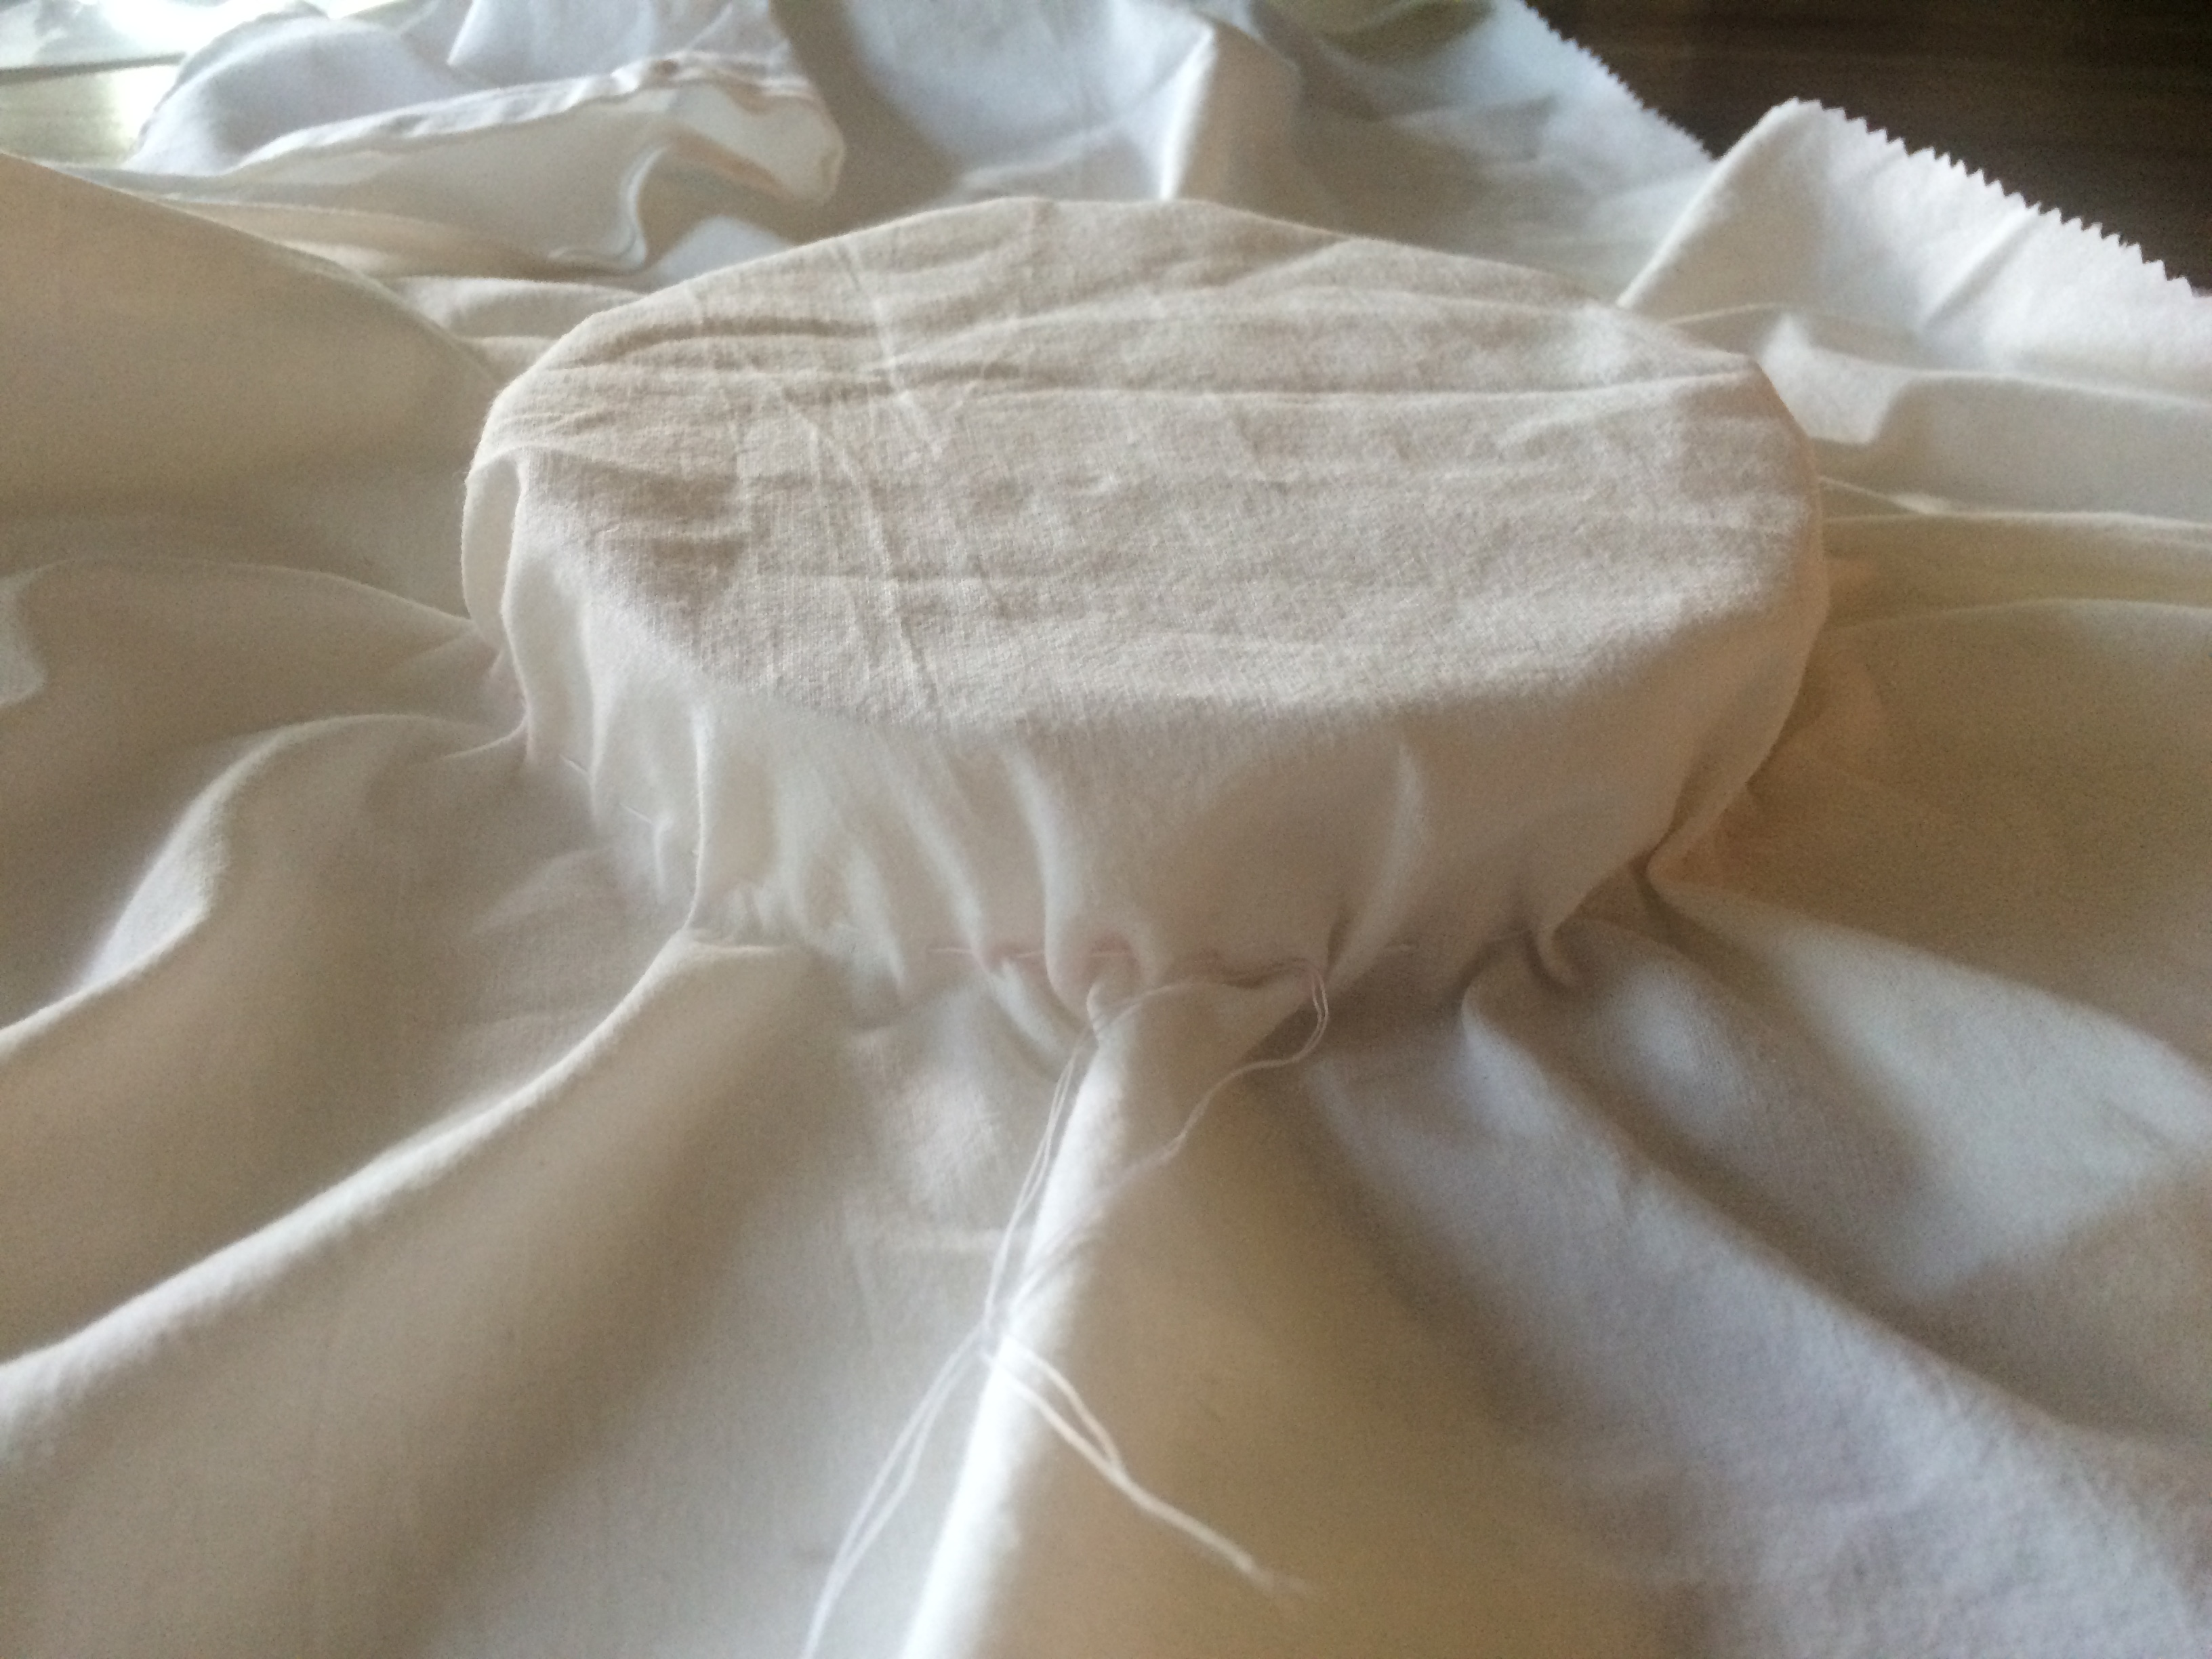
16. Here, I got tired, lost my patience, and went berserk with the glue gun. I glued the fabric to the inside of the top hat, stitched a gathering thread around the hole, distributed the fabric sort of fairly evenly around the hole and glued it there too. Then I glued the fabric to the outer edge of the brim. Hot glue bonanza.
17. Then I did basically the same for the outside of the hat, only with less glue, to avoid it looking smooth. The only place I glued this was towards the outer edge of the hat.


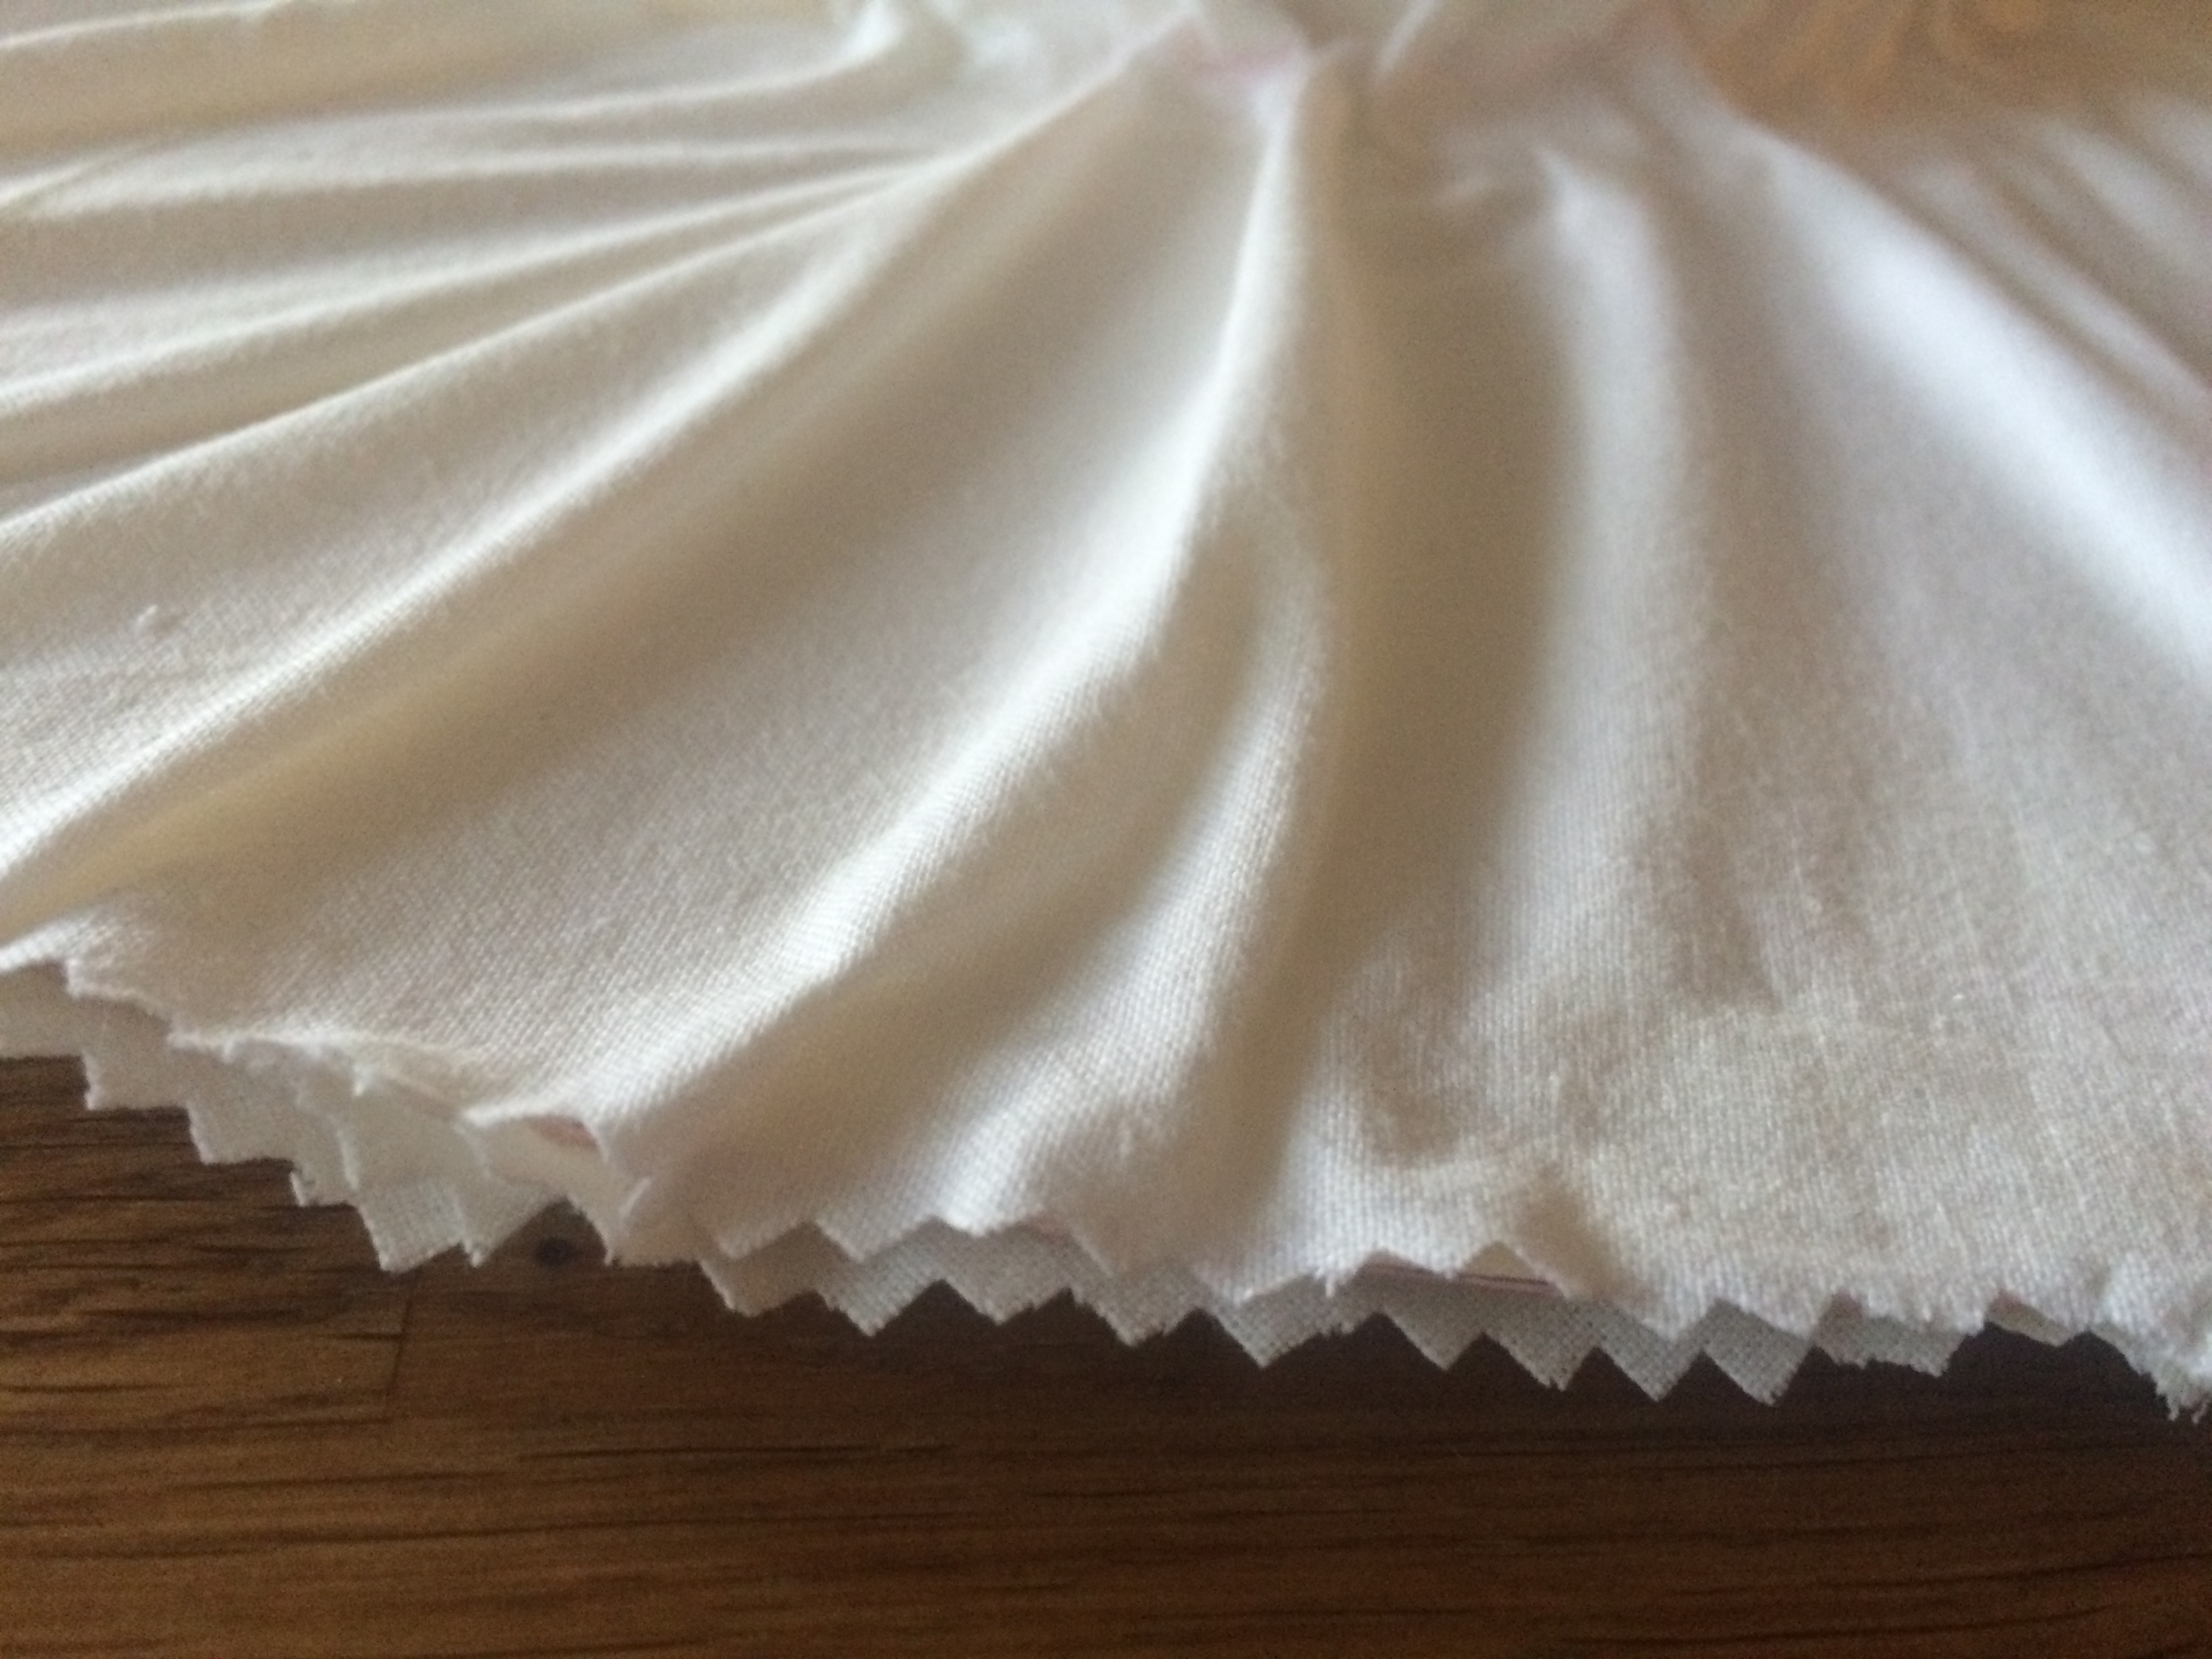
18. Cut off excess fabric along the edge of the brim, pinking shears are wonderful here. Cover the edge with a ribbon or bias tape, to cover the raw edges.


19. Attach ribbon to the underside, so you can tie your hat on i windy weather (it’s a flat hat, it will fly away if not fastened to your head). Decorate your hat with ribbons and flowers and all things pretty to your heart’s desire!


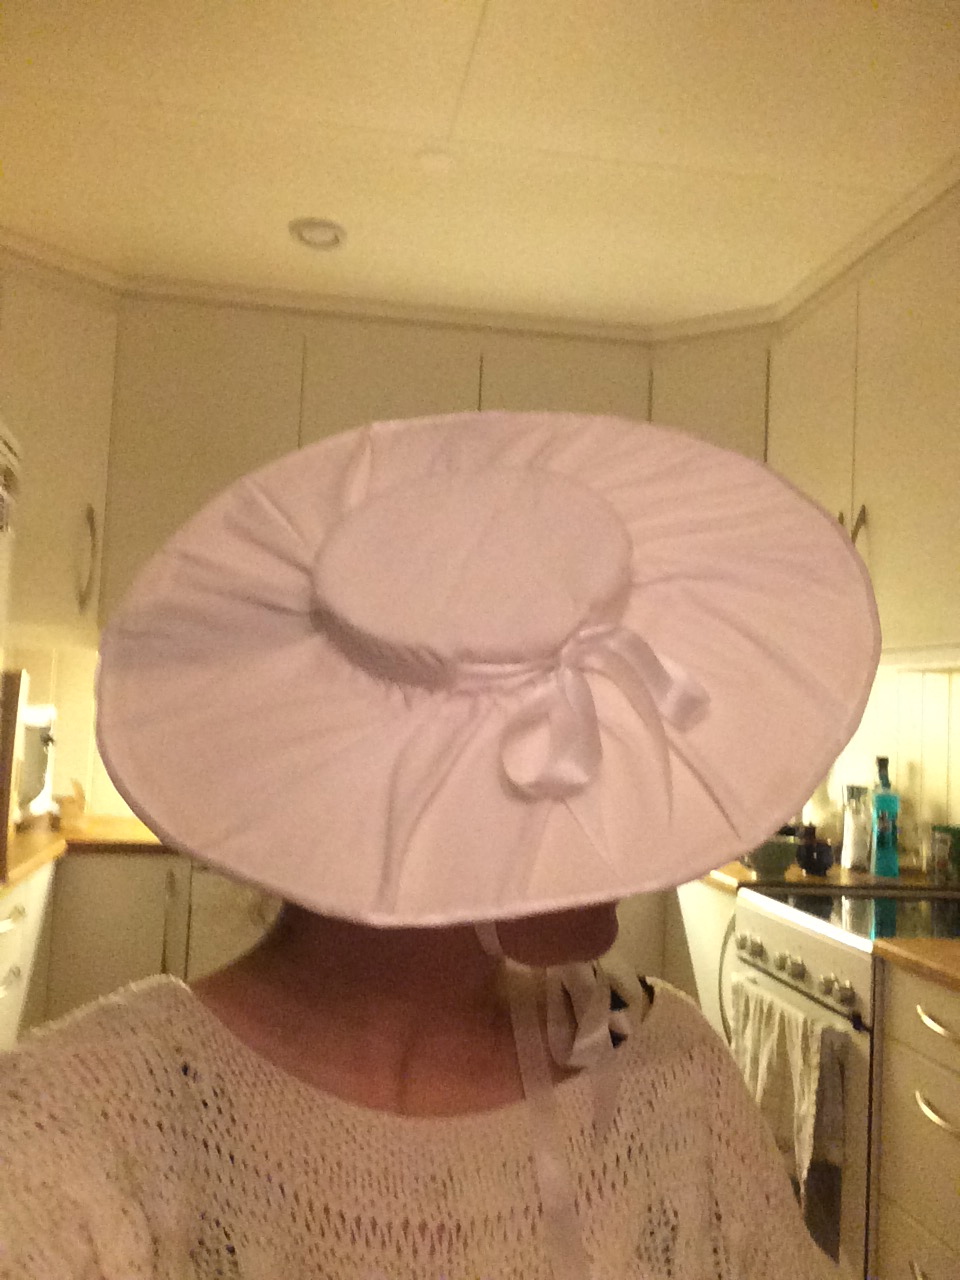
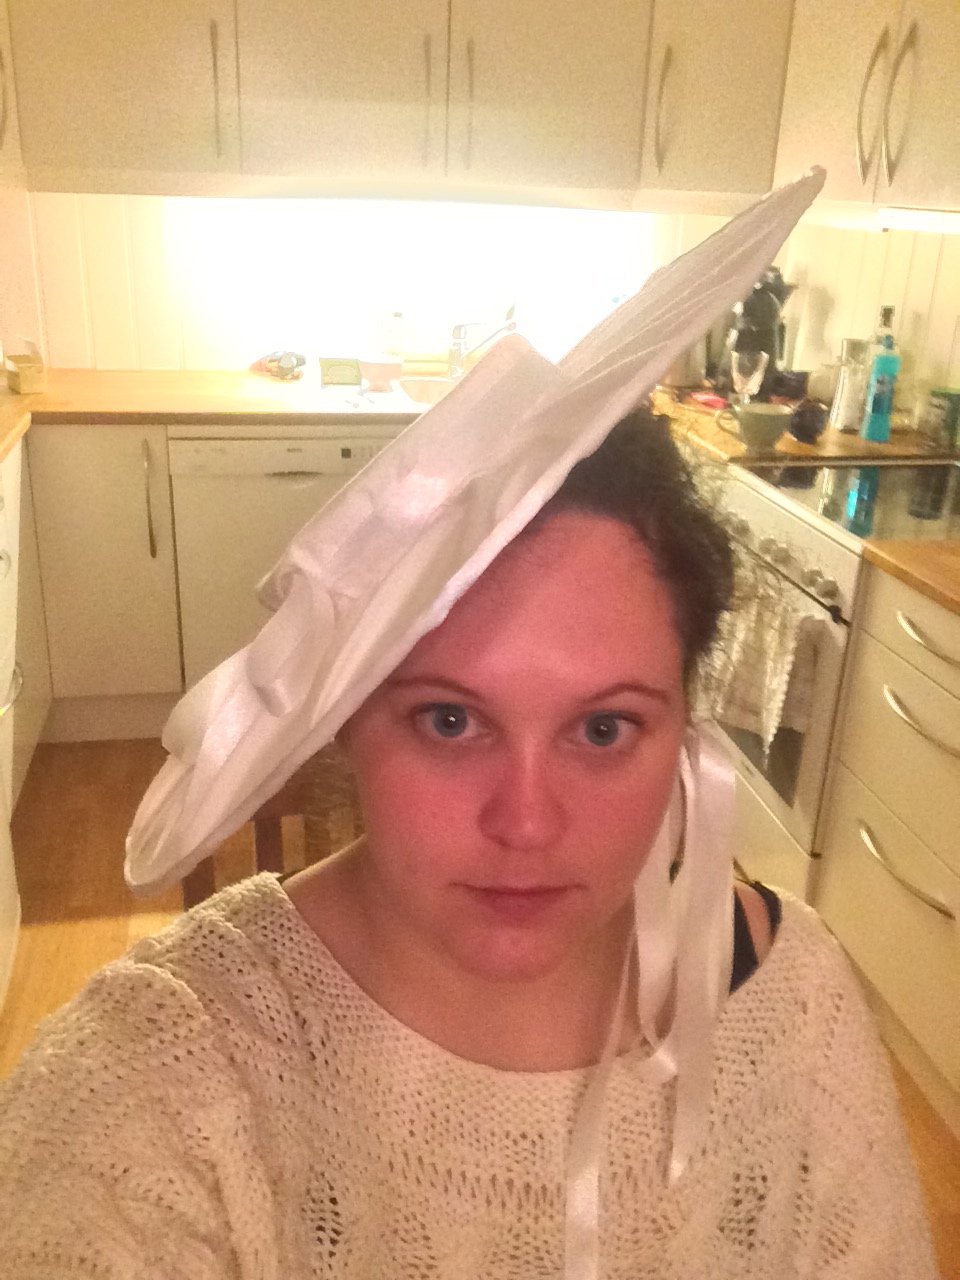
20. Voilá! You are now the proud owner of a sunhat alá fancy 18th century lady. Wear it however you like, tied behind your hear or under your chin. Go wild!


3 thoughts on “That’s (t)hat!”