This is not an exaggeration! Have you ever wanted a really large and nice skirt that took little time to make, that was adjustable, and that looked really fancy? LOOK NO FURTHER. 18th century petticoats, my darlings. I made two, in one evening, sewing by hand.
How, you ask? Why, the secret is simple, flat bedsheets…
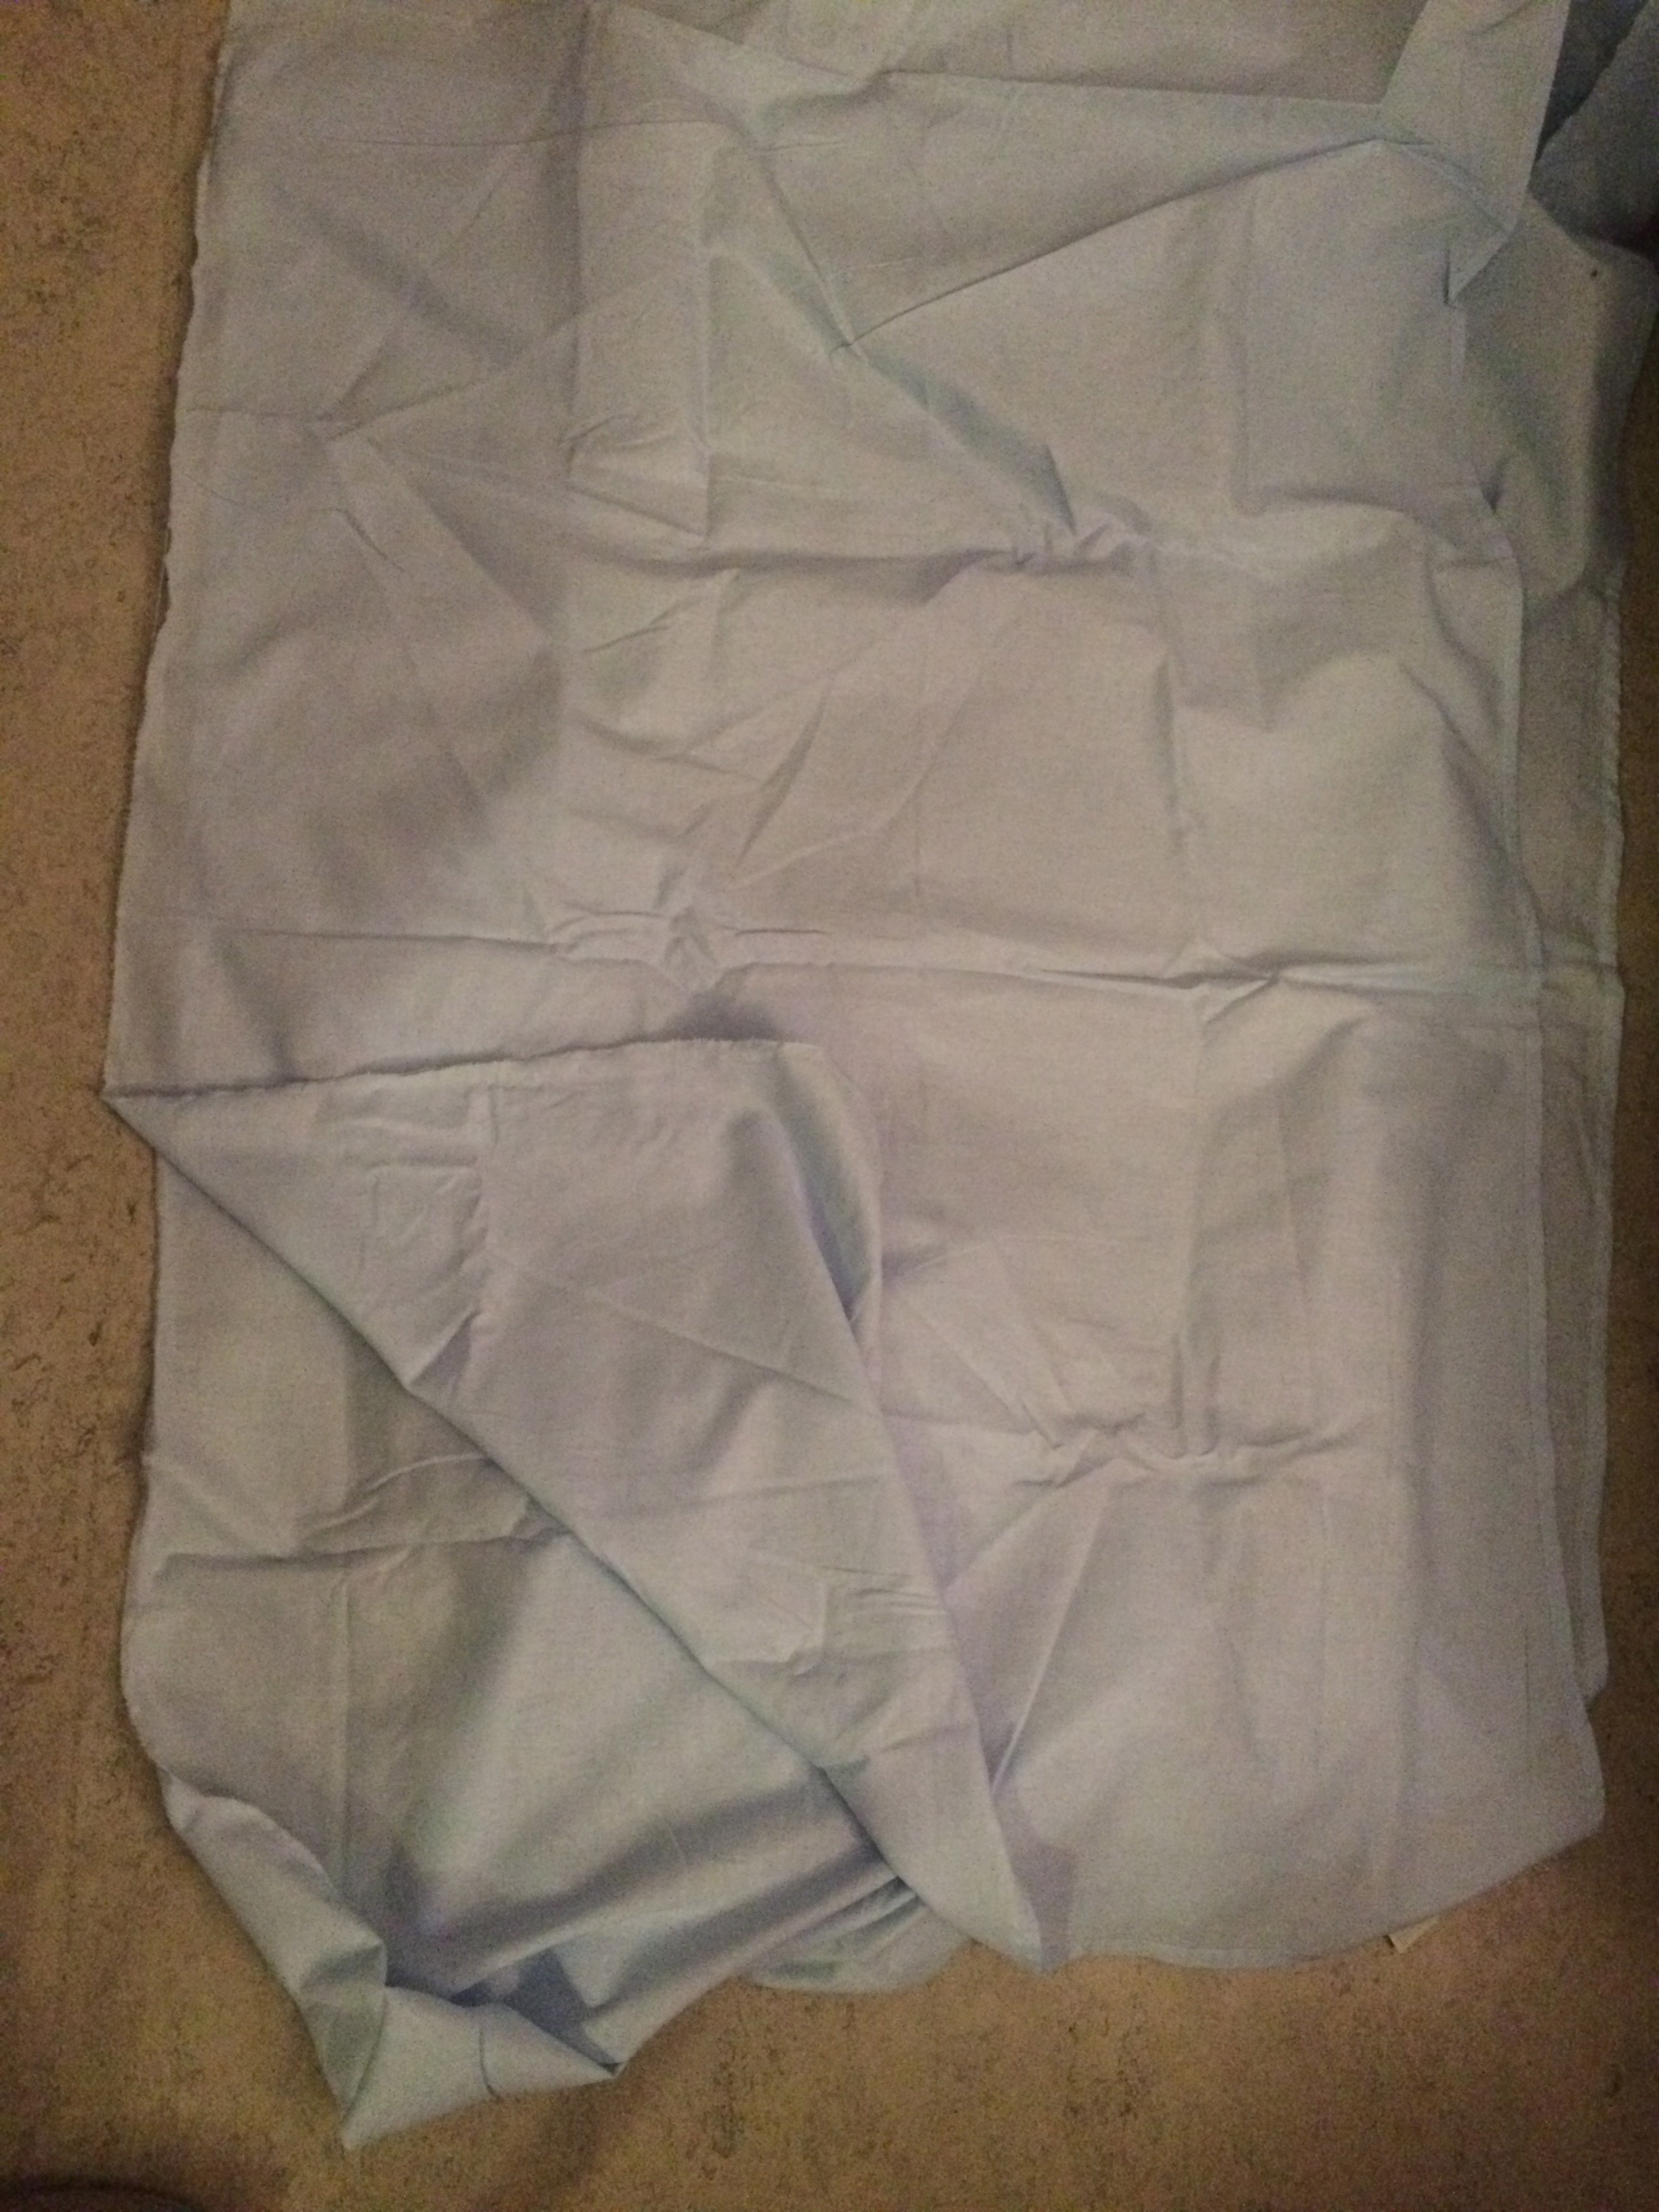
1. Take one bedsheet…

(In this case, this is a pale blue double bedsheet in cotton, bought a couple of years ago for a blouse that never came to be, and a white single bedsheet, also cotton)
2. Measure yourself…
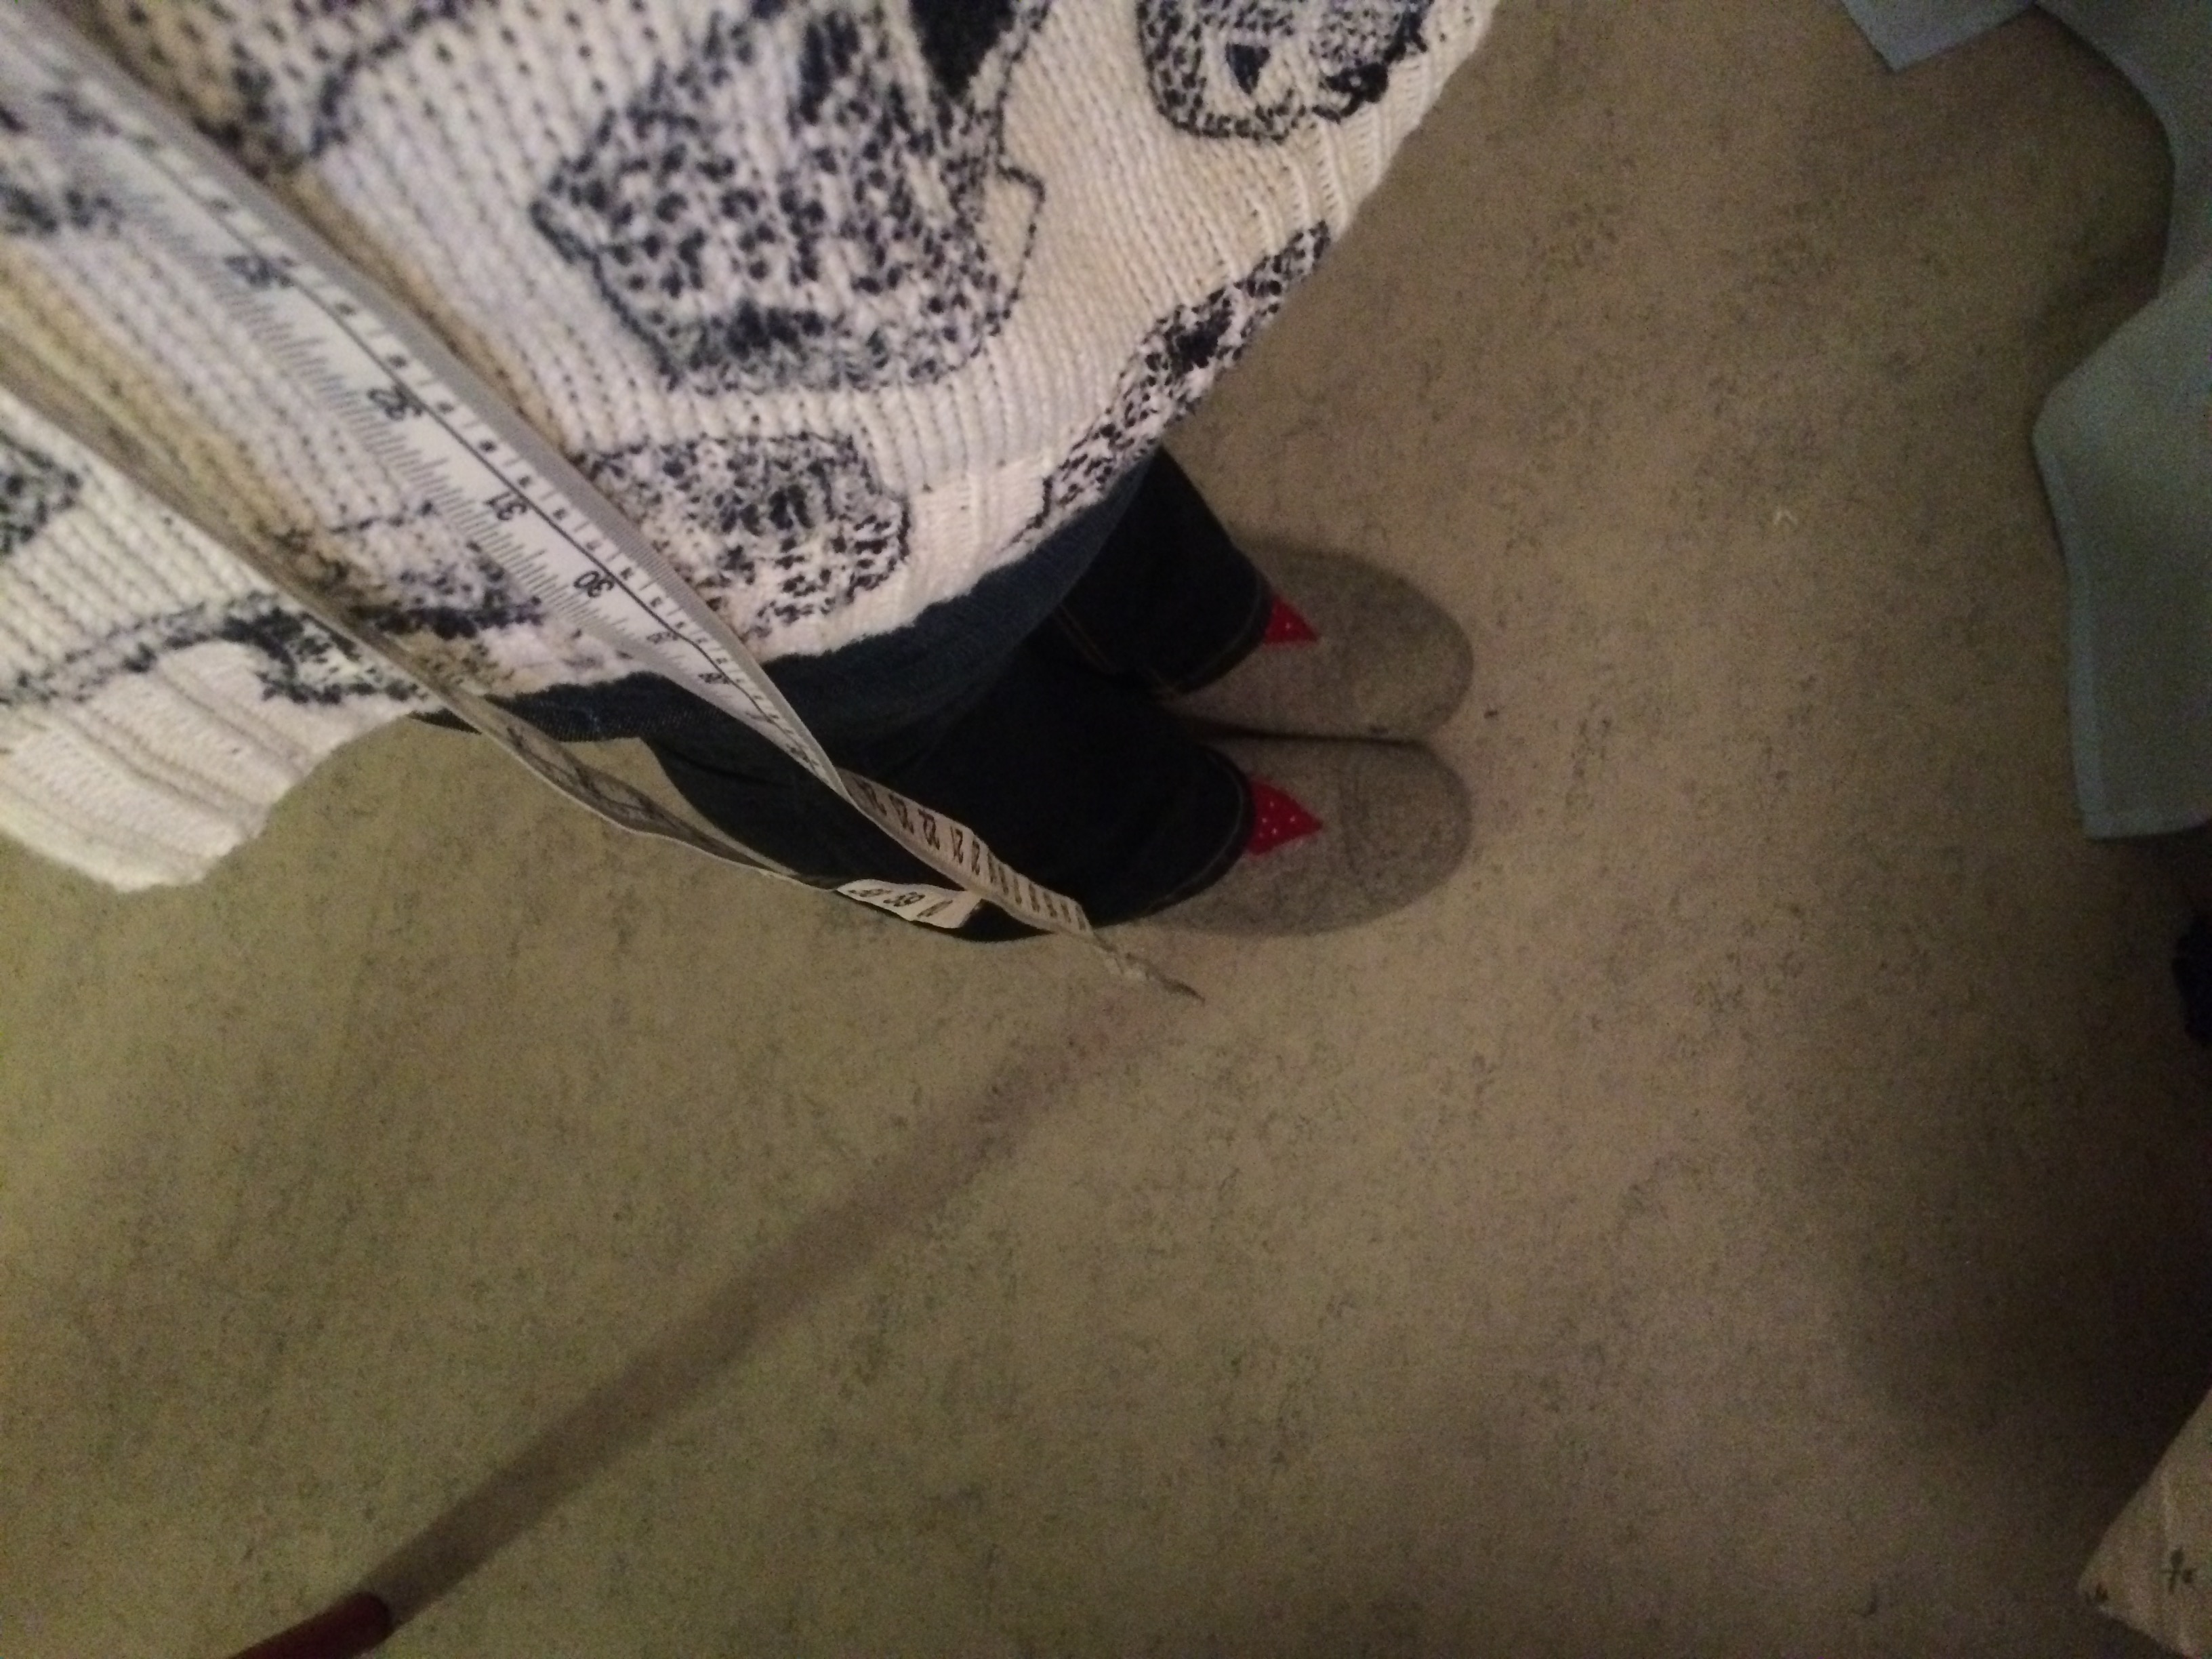
(From the waist to wherever you want your skirts to fall)
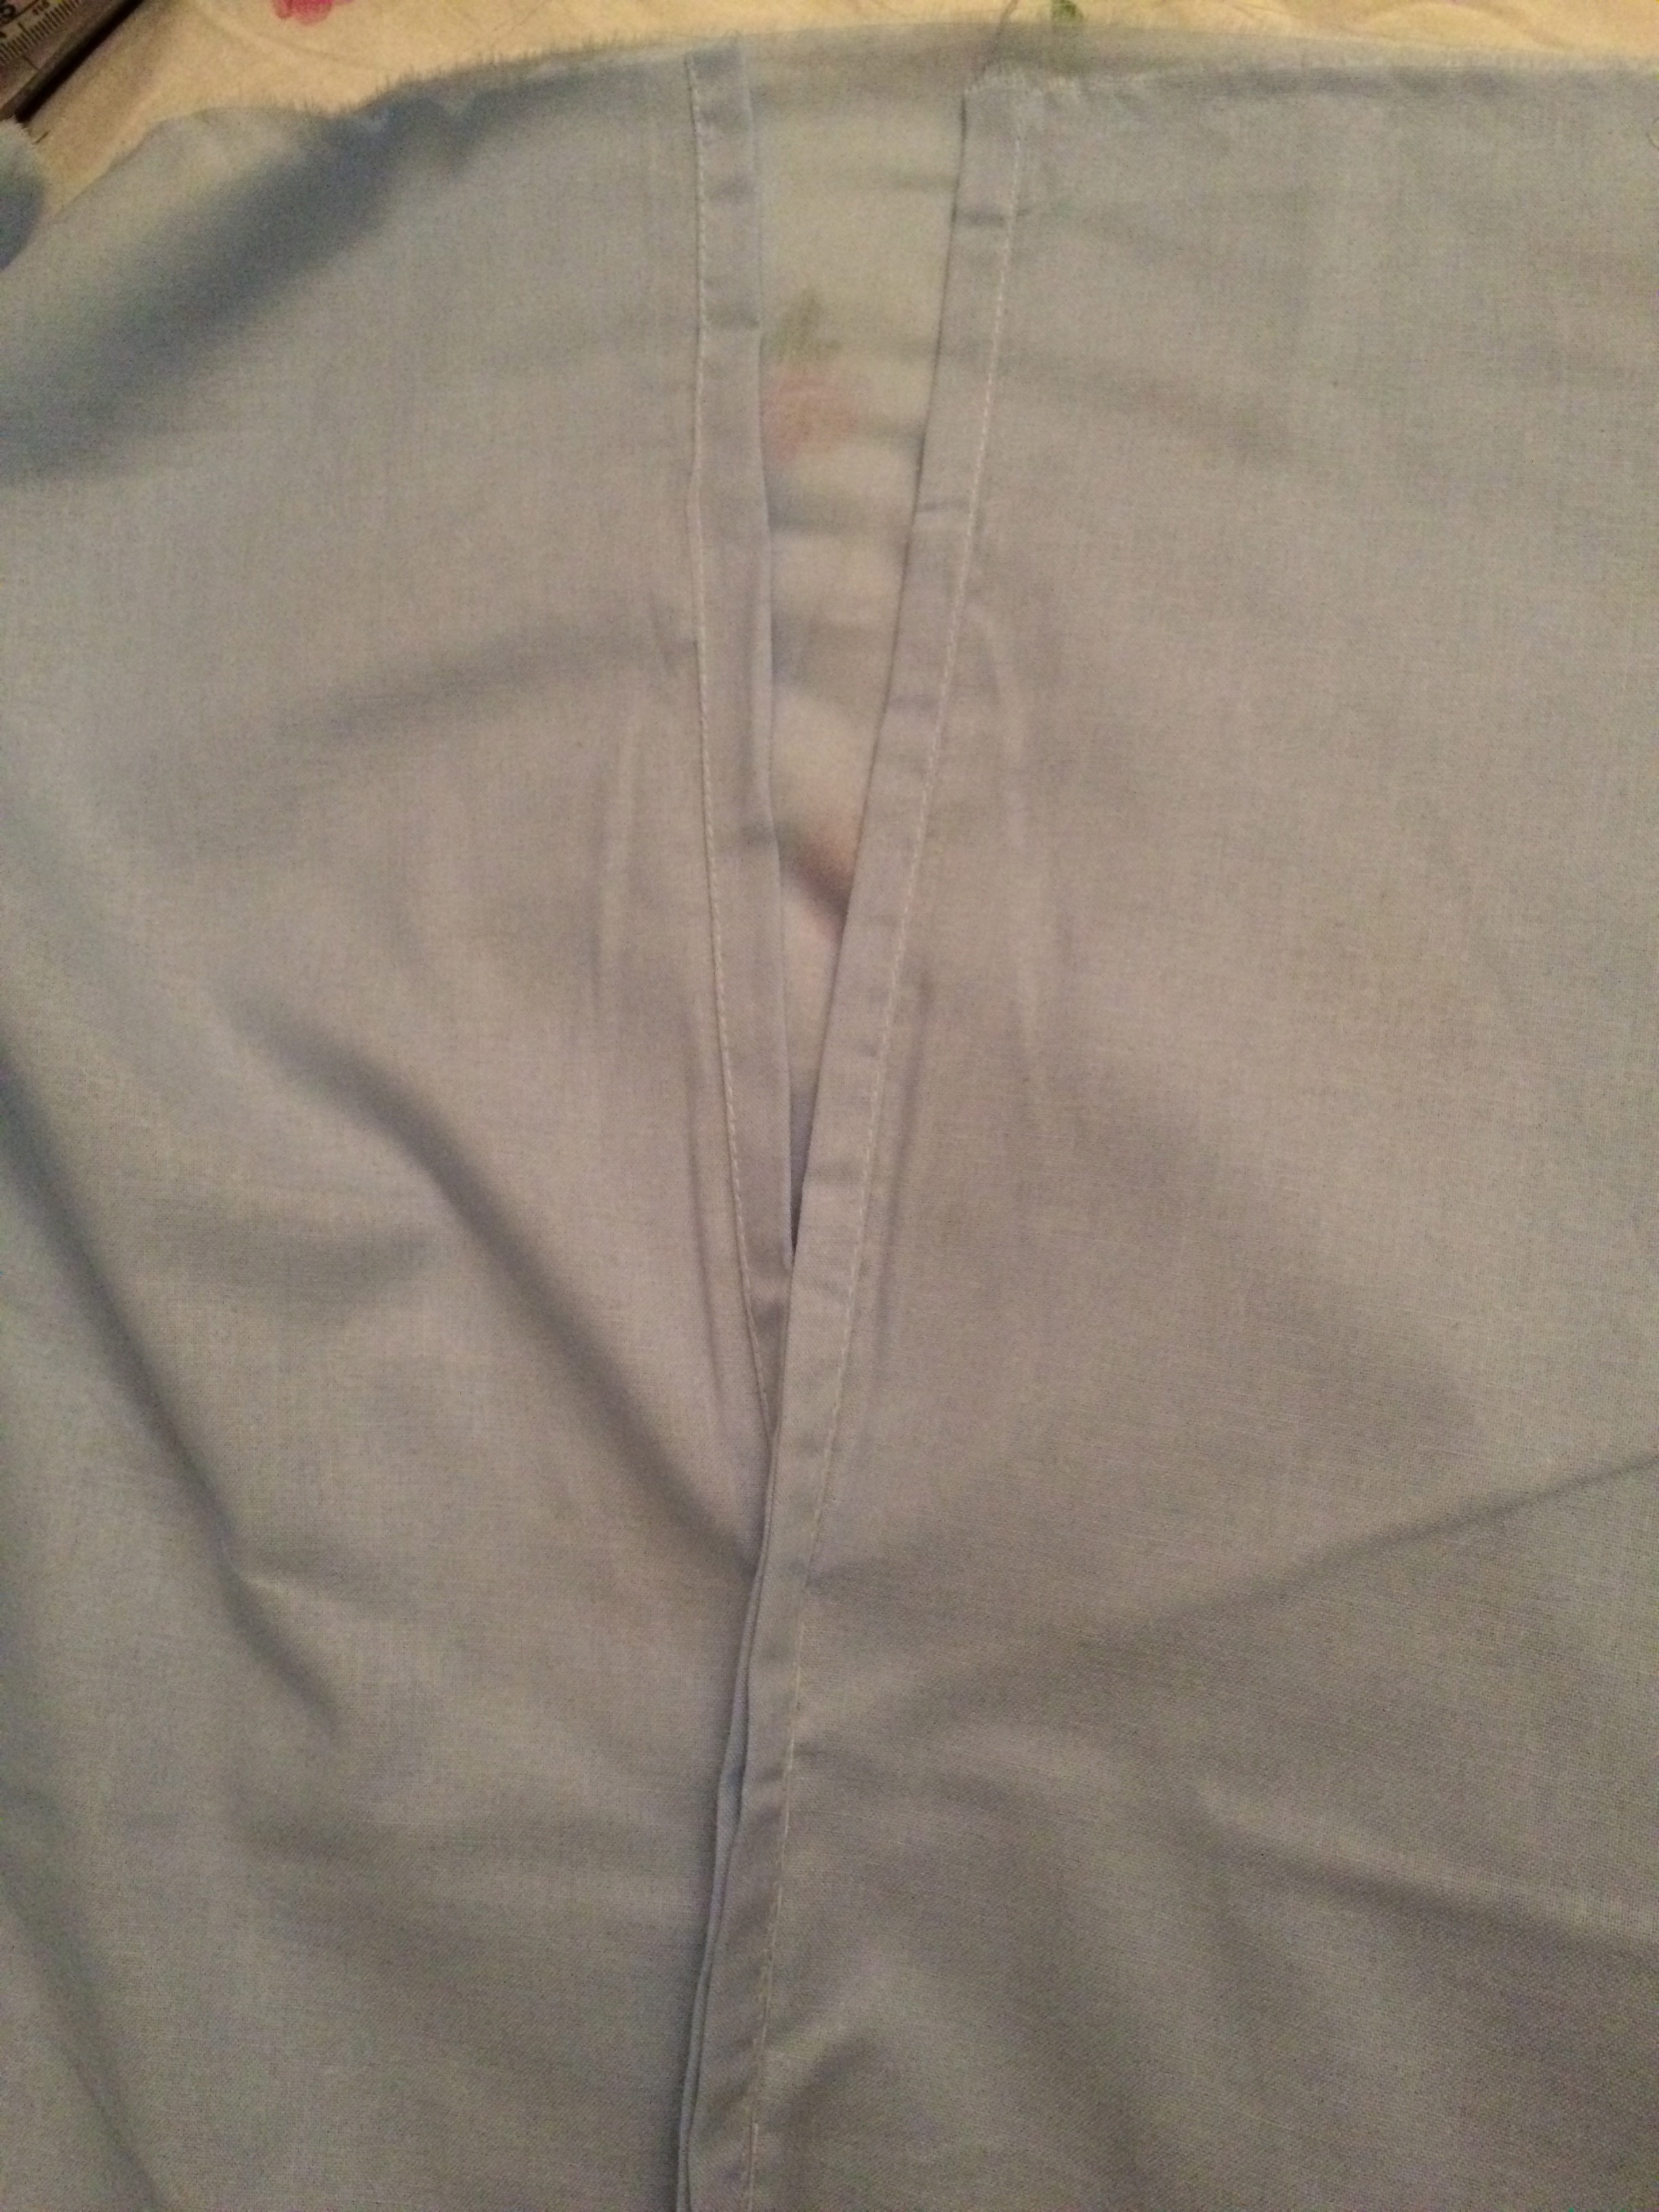
3. Cut the sheet so that you have one or two fabric rectangles, as wide as you want your skirt to be long, and as long as you can be bothered. Make sure the edges of the sheet, the ones that have already been hemmed at the large bedsheet factory, are intact along the long edges! This saves you ALL THE TIME in the world.
(The double sheet made two rectangles, the white one. This means that the blue skirt will have more width than the white)
4. Sew the short sides together, leaving both sides open the last 10-12 cm. The unhemmed edge is the top of your skirt.
4b. If you make your skirt from only one rectangle, you have to cut a 10-12 cm slit on the opposite side of the seam, and hem the slit.


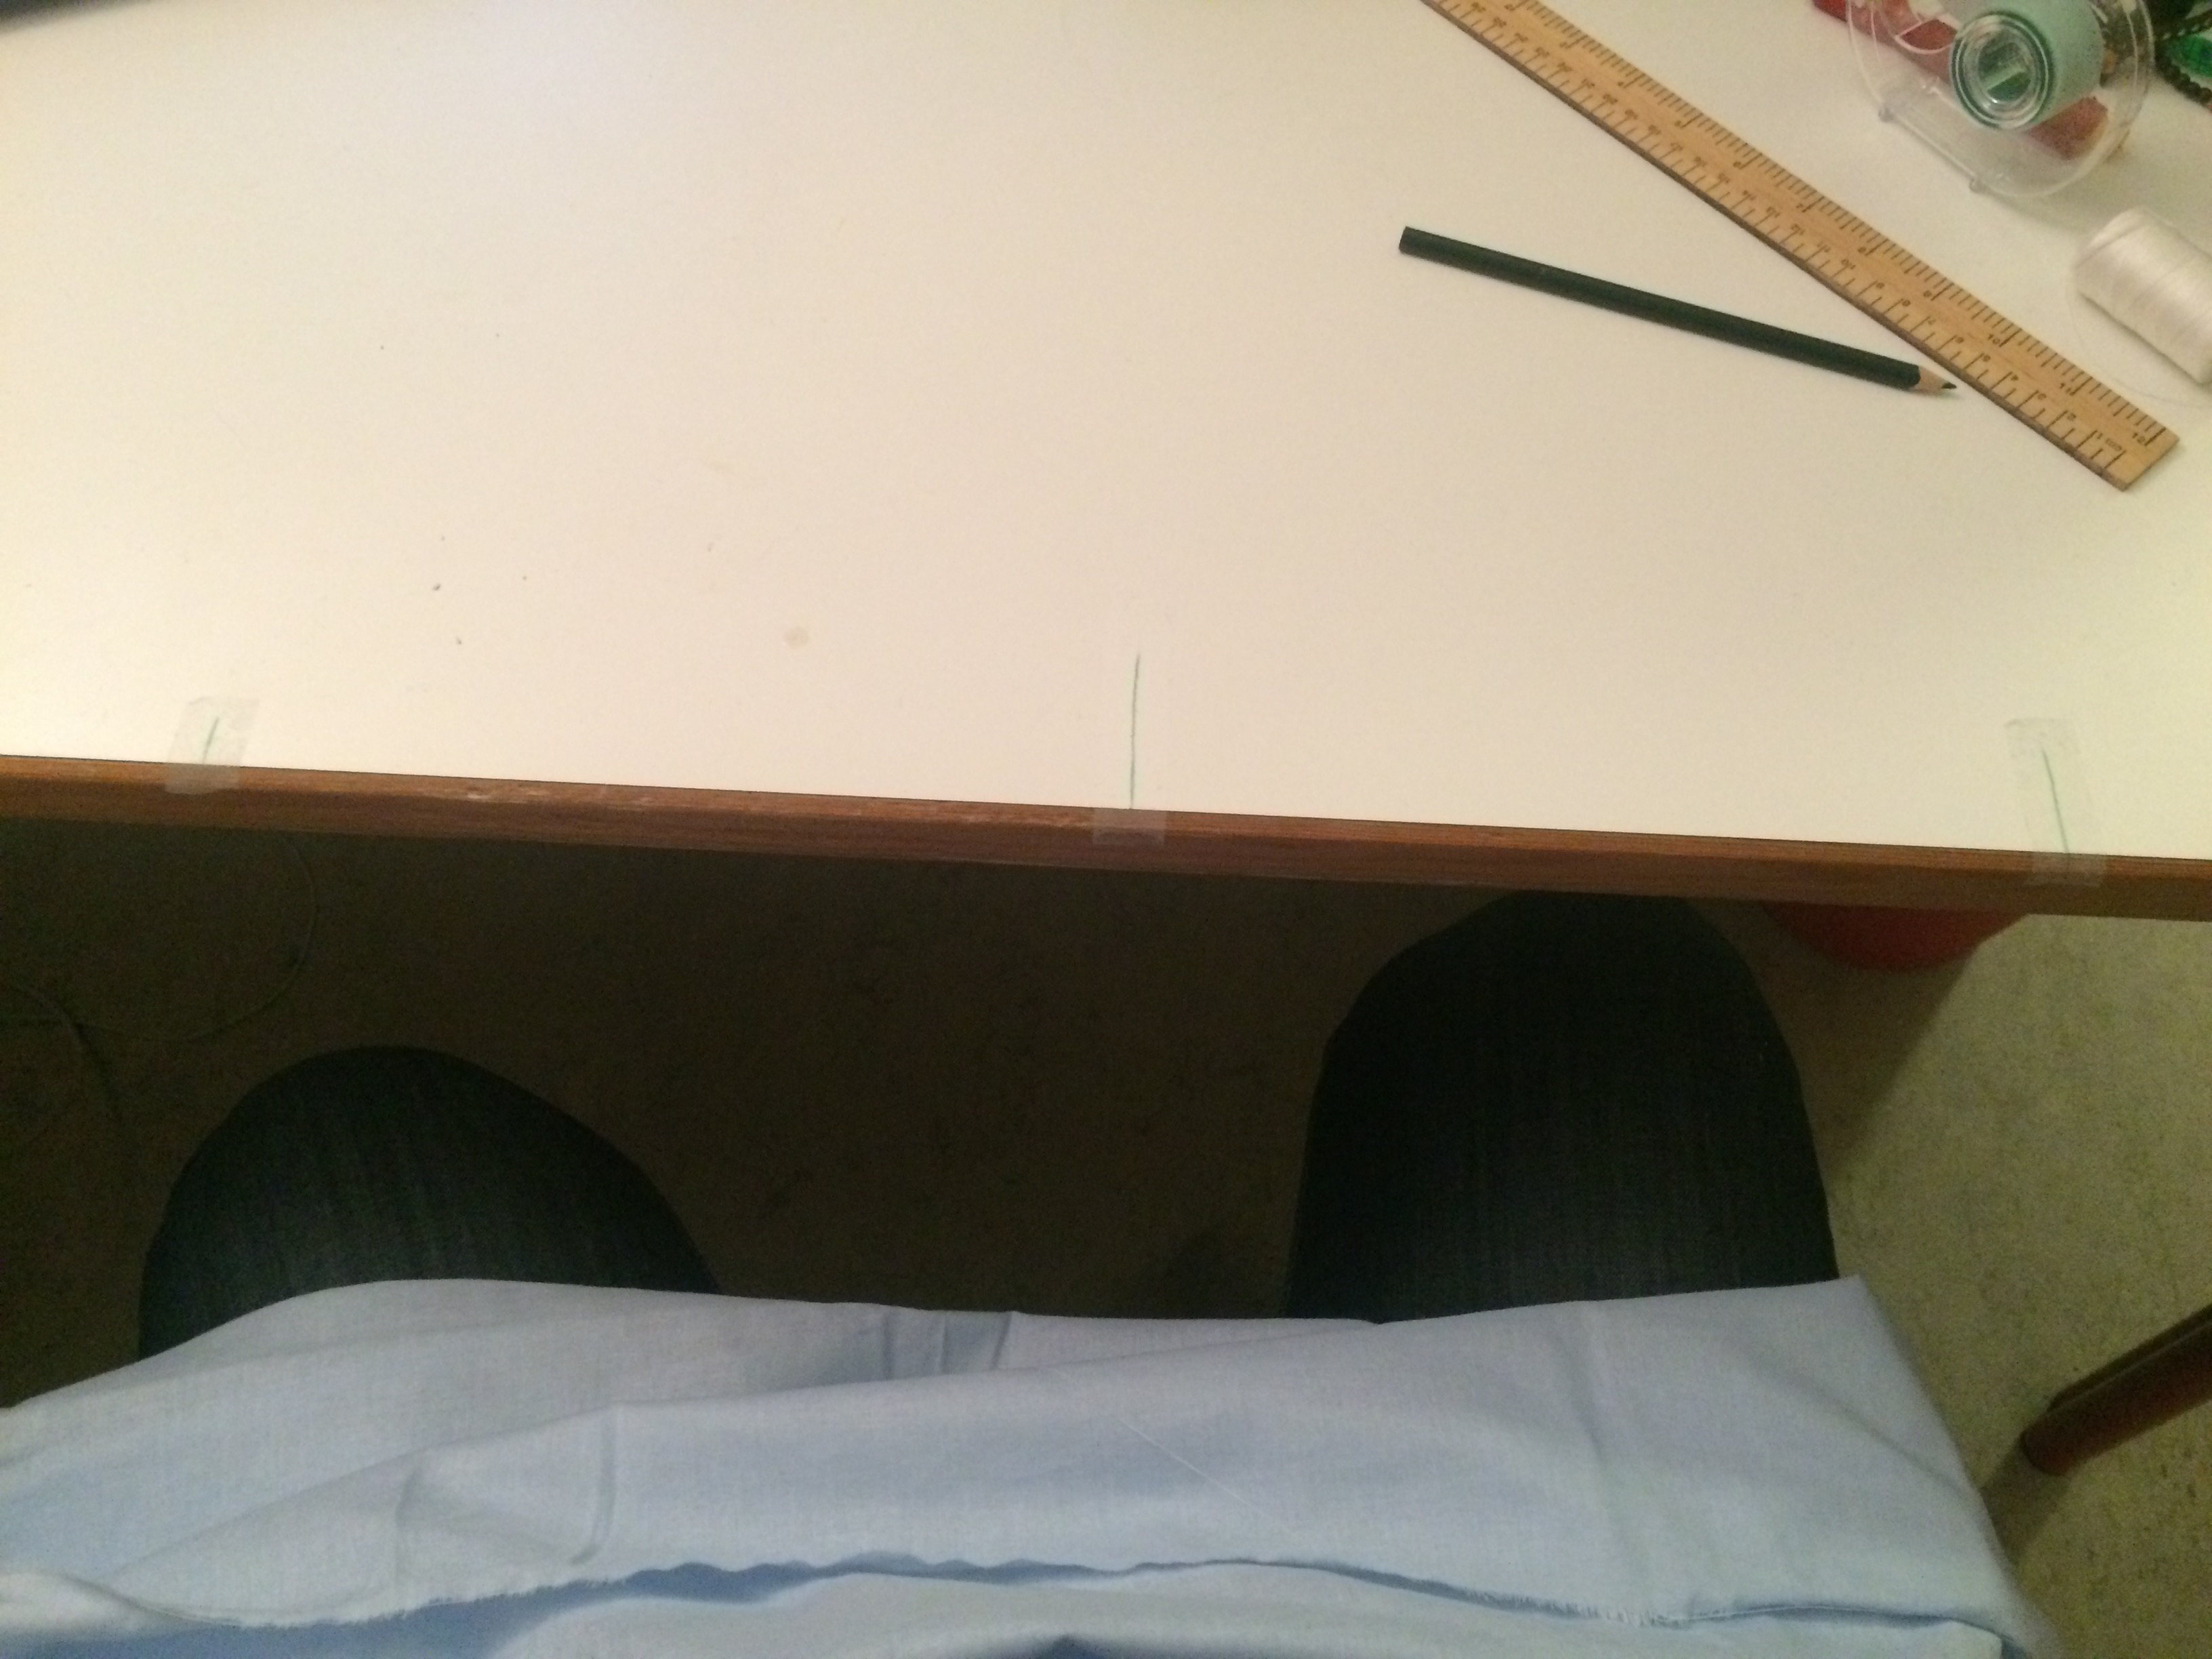
5. Now, find a table or some clear floorspace or anywhere that is reasonably flat and smooth and uncluttered. Here comes the maths: Measure your waist, where you want your skirt to sit. Divide by 2. Add 5-7 cm (the more you add, the more room you have to grow, smart to consider if you’re pregnant, for example) to get the width of one skirt side. If you don’t want to draw on your table or floor, place a piece of cellotape, and draw a line on it. Divide the width you got by two, and measure that amount of cm from the line to the side. Make another mark here (on tape, if you prefer). Do the same to the other side. It will now look something like this:
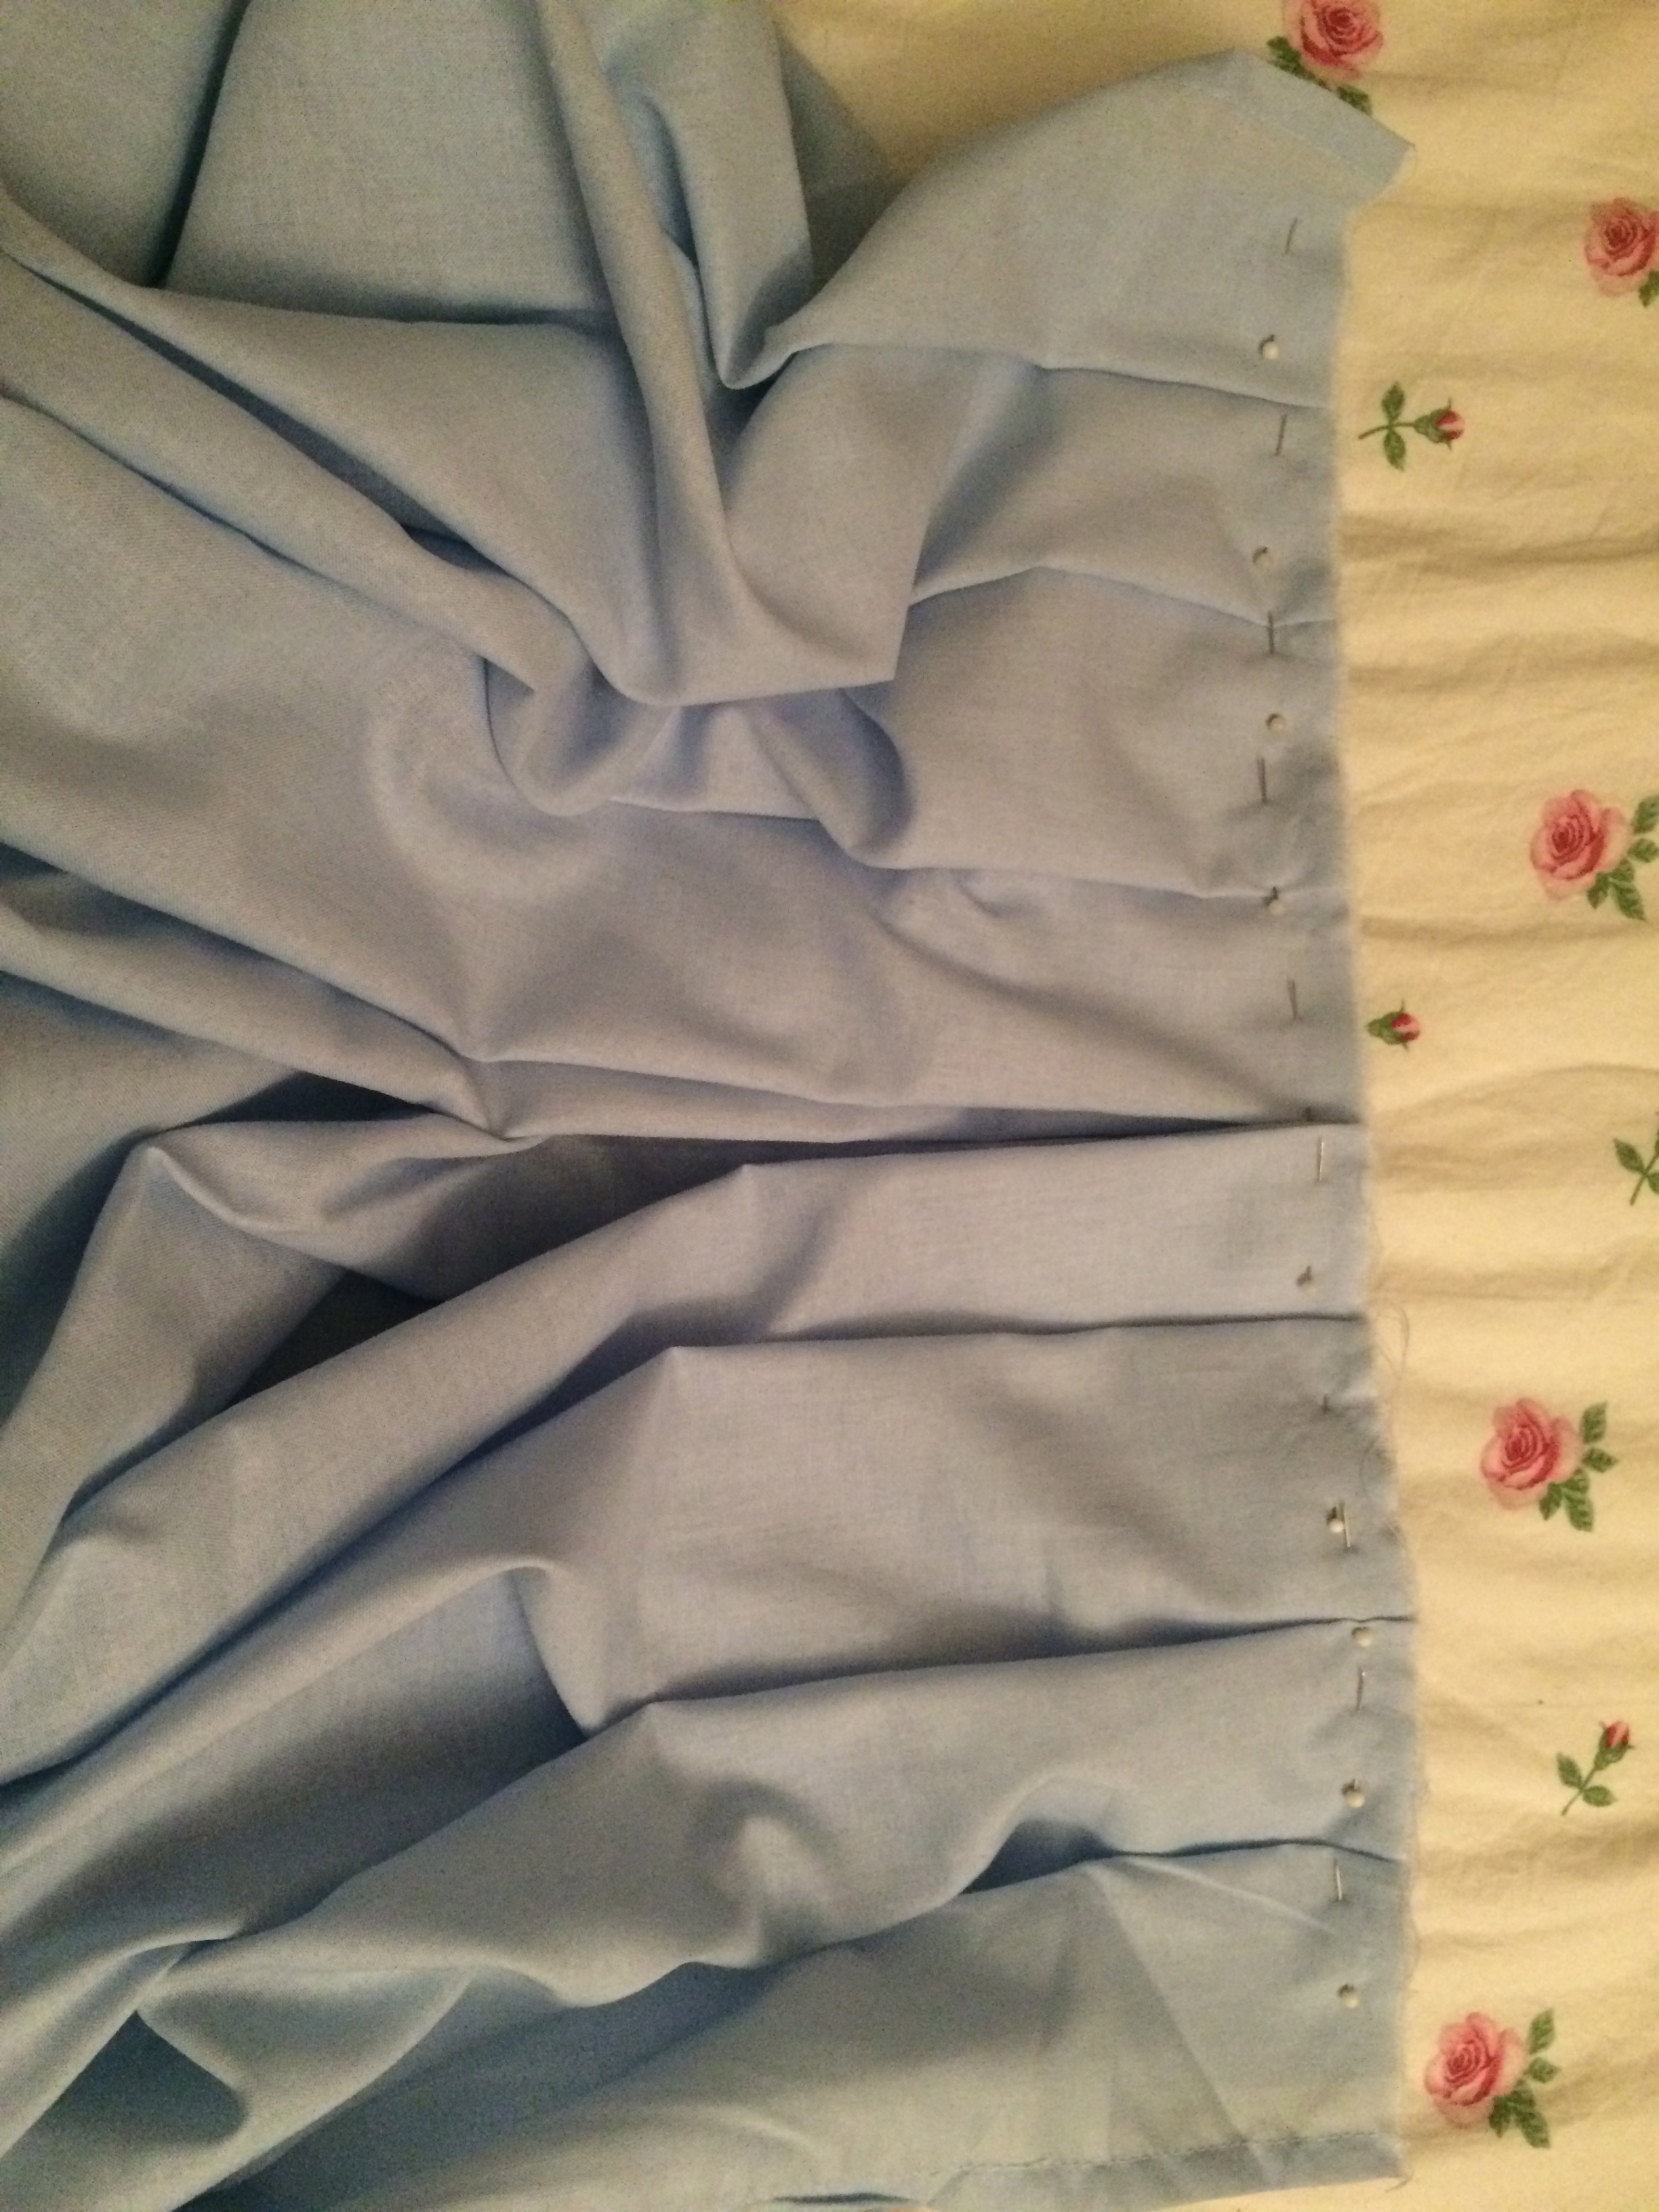
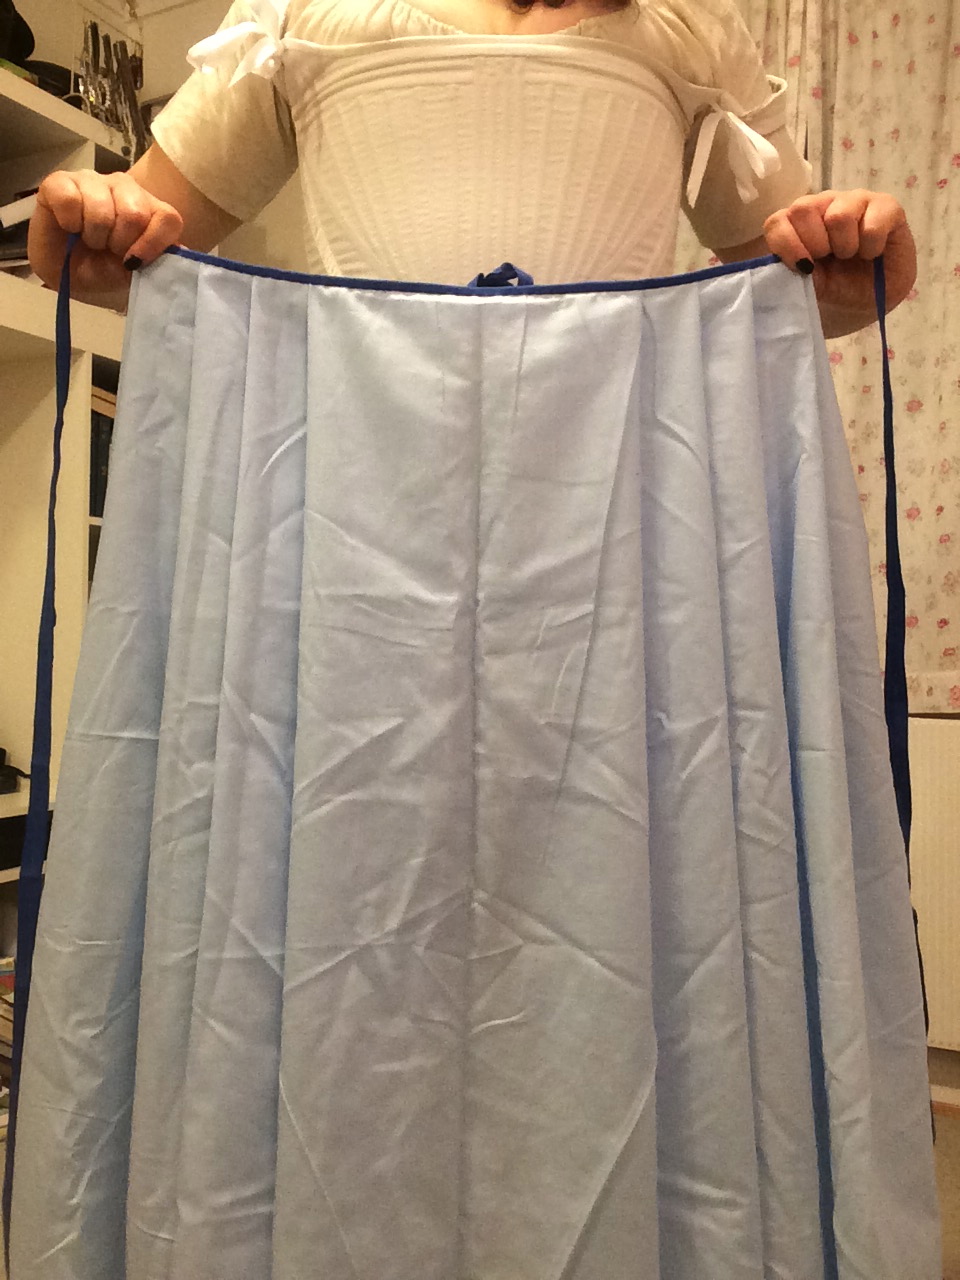
6. Pleat the raw edge of the skirt so that it fits between the marks you’ve made. Decide what rectangle should be the back and which is the front, and pleat away from your front, and towards your back. This is the front…

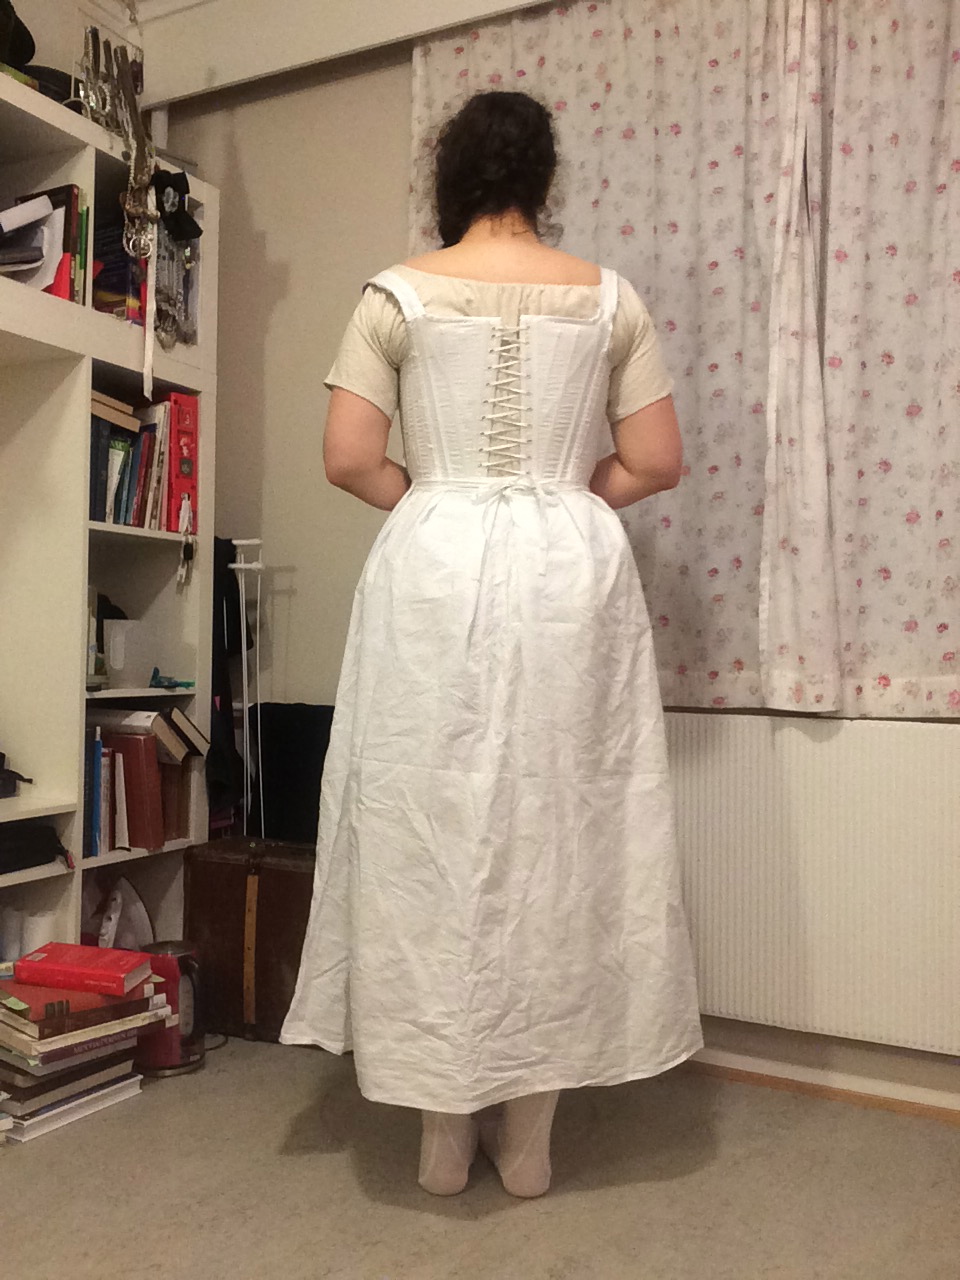
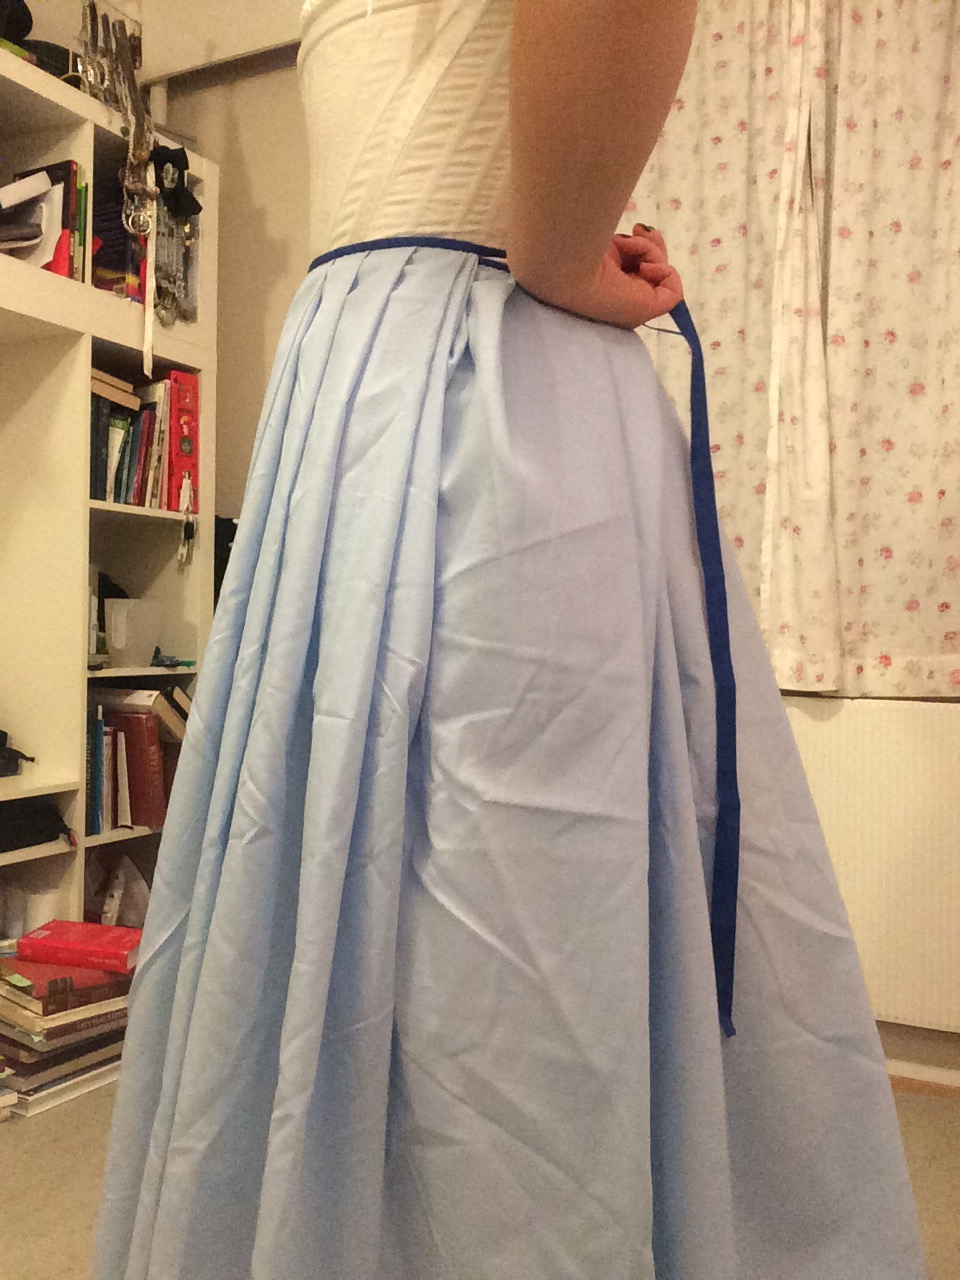
… And this is the back:
By the way, no need to be mega-exact if you don’t want to, as long as it is approximately evenly spaced. 18th century people never measured this very precisely.
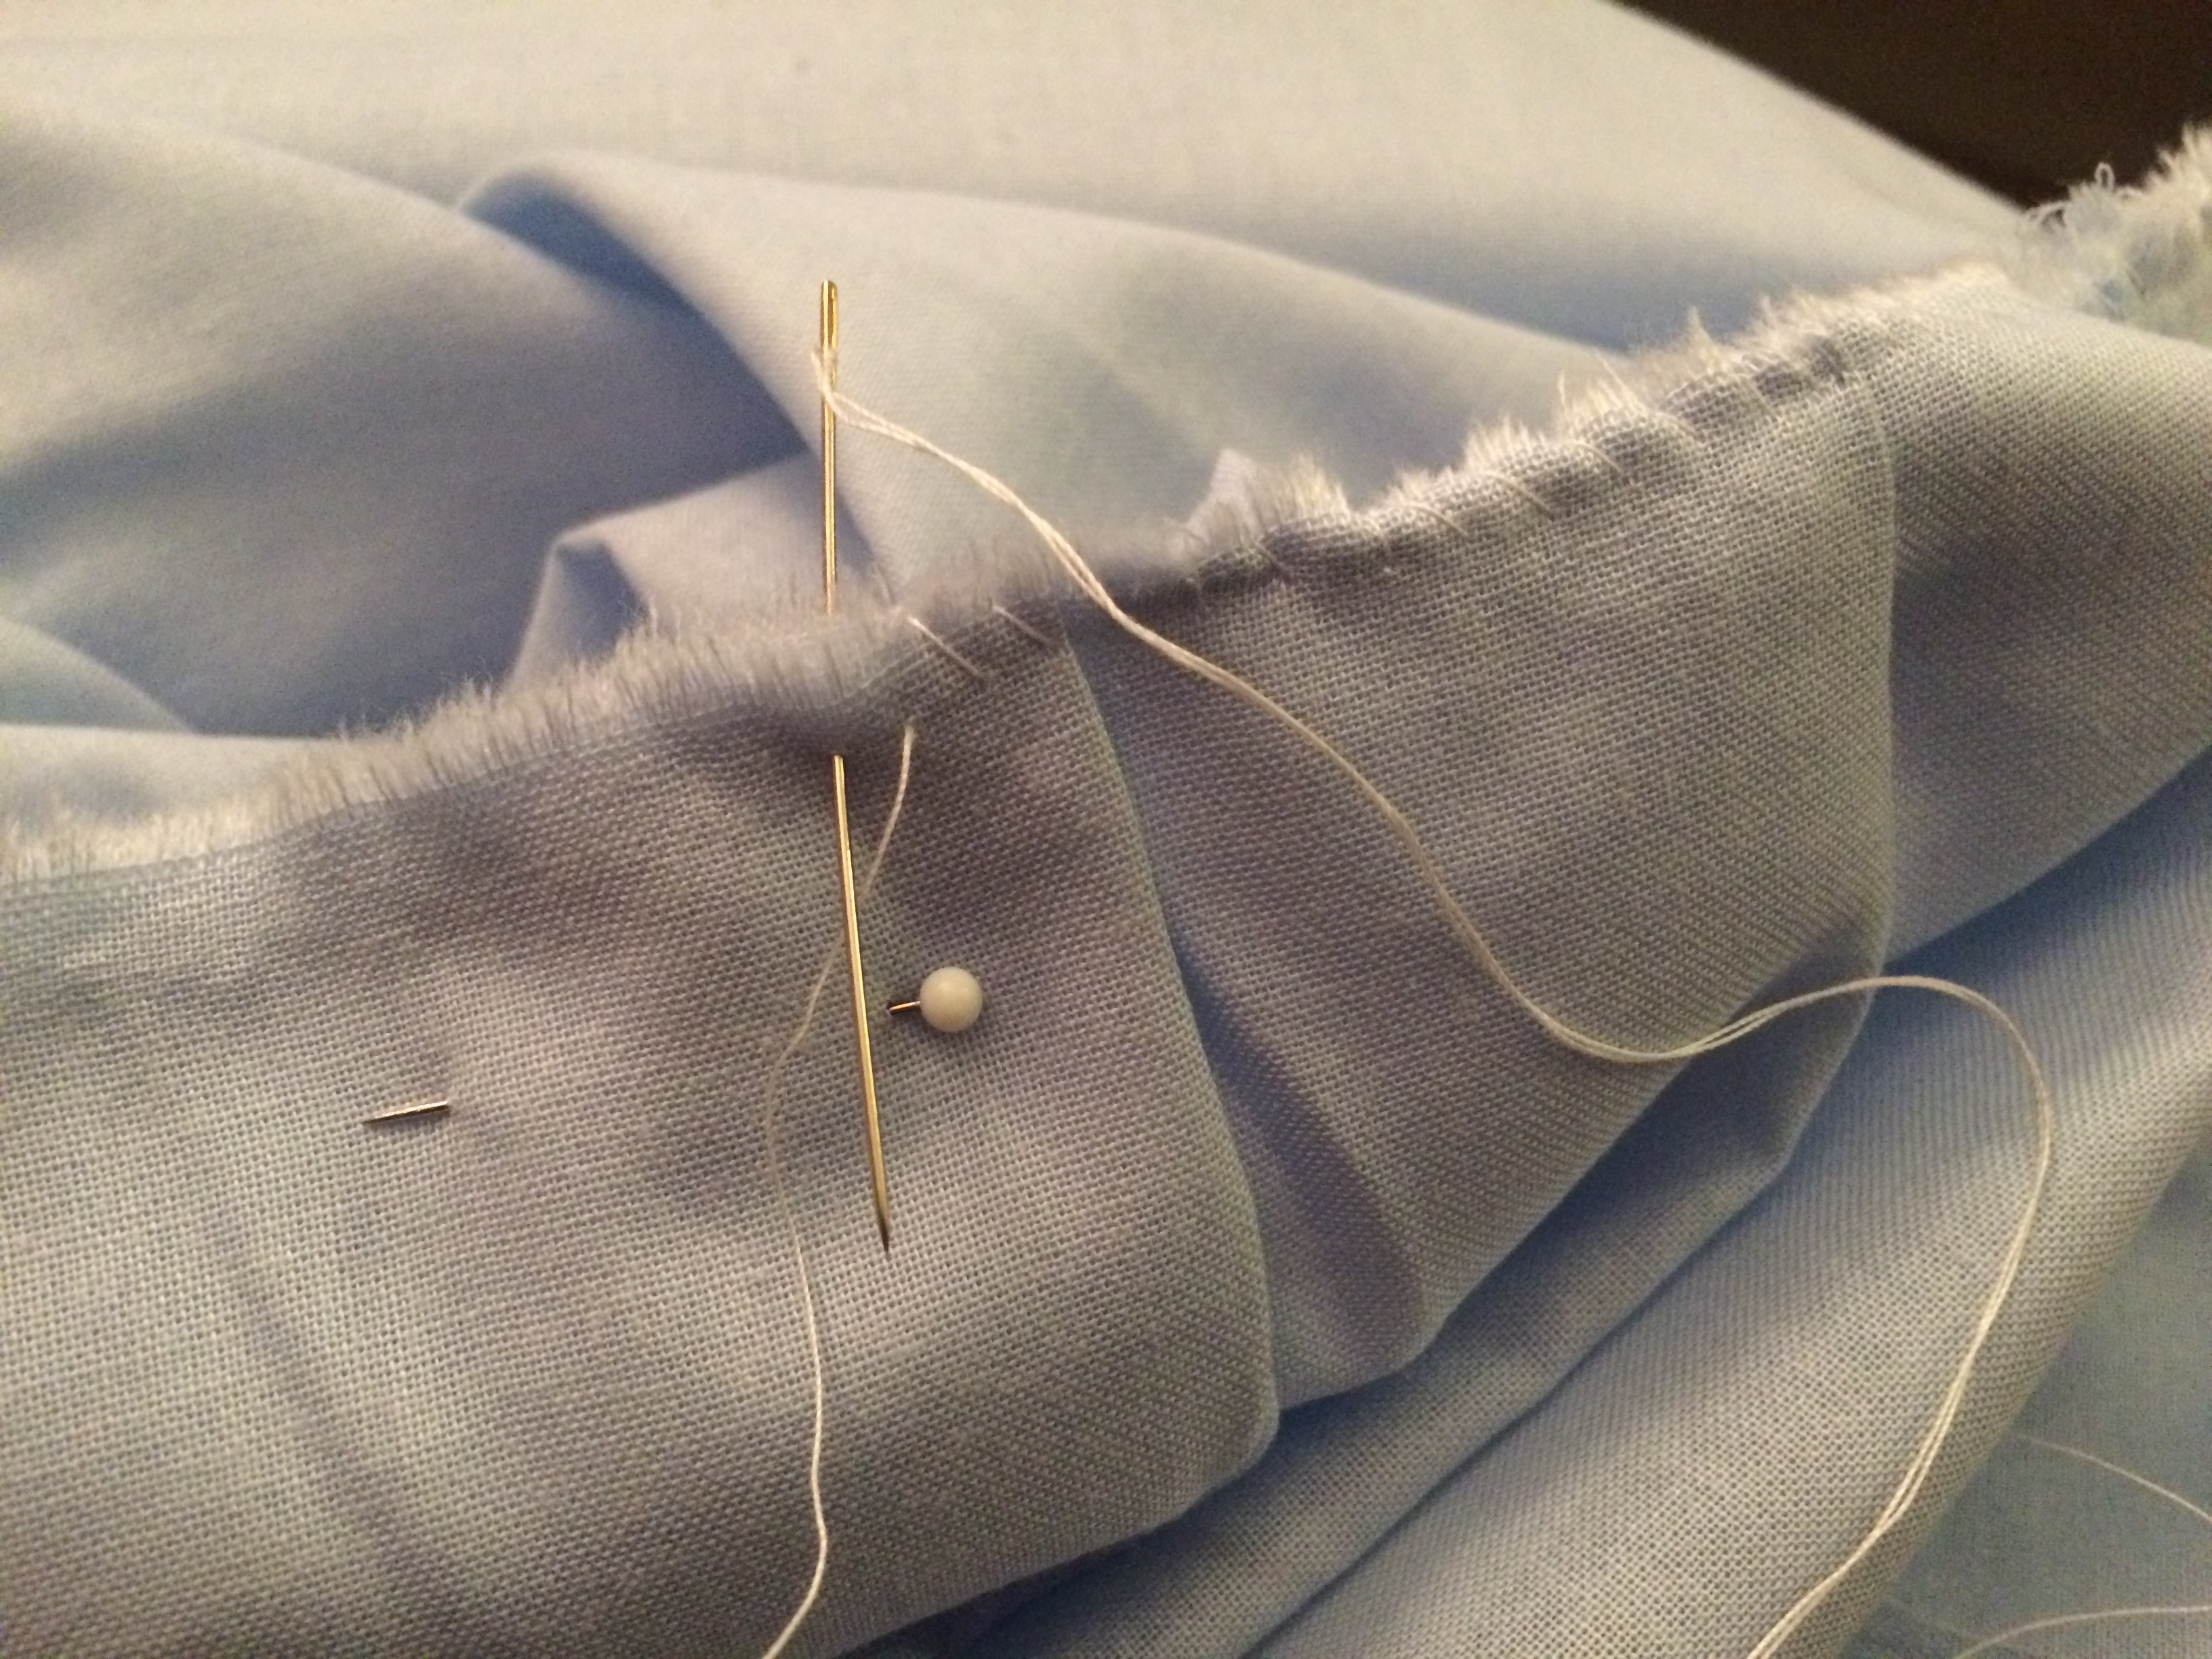
6b. Not necessary, but nice: cast over the raw edge. This way, you keep the pleats in place, and the fabric from unravelling.
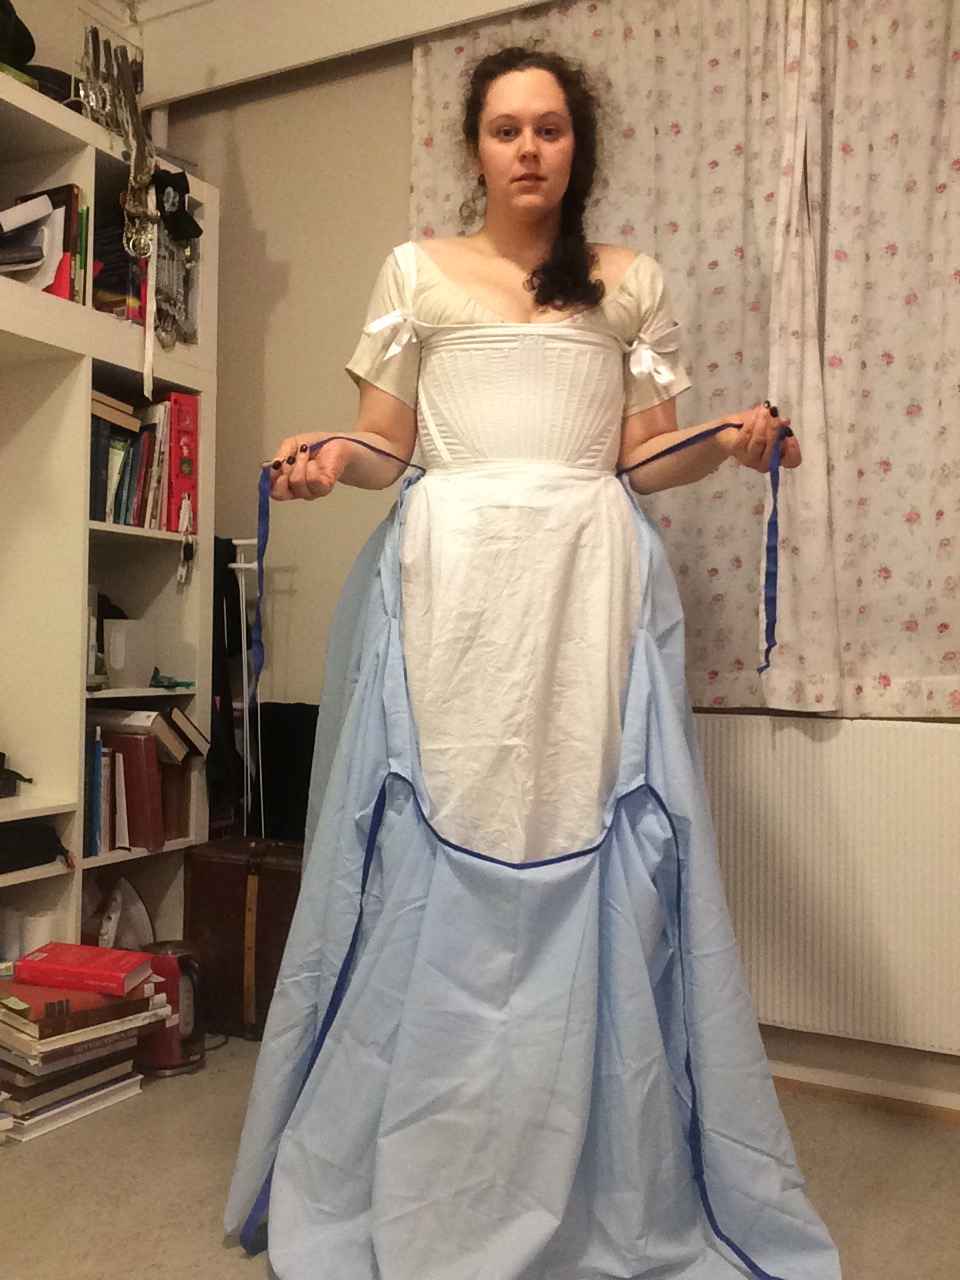
7. Sew bias tape or another sort of ribbon on to the raw waist edge, one on the front piece and one on the back pice. Let there be an excess of approximately 50 cm of ribbon or tape on each side of each panel, like this:
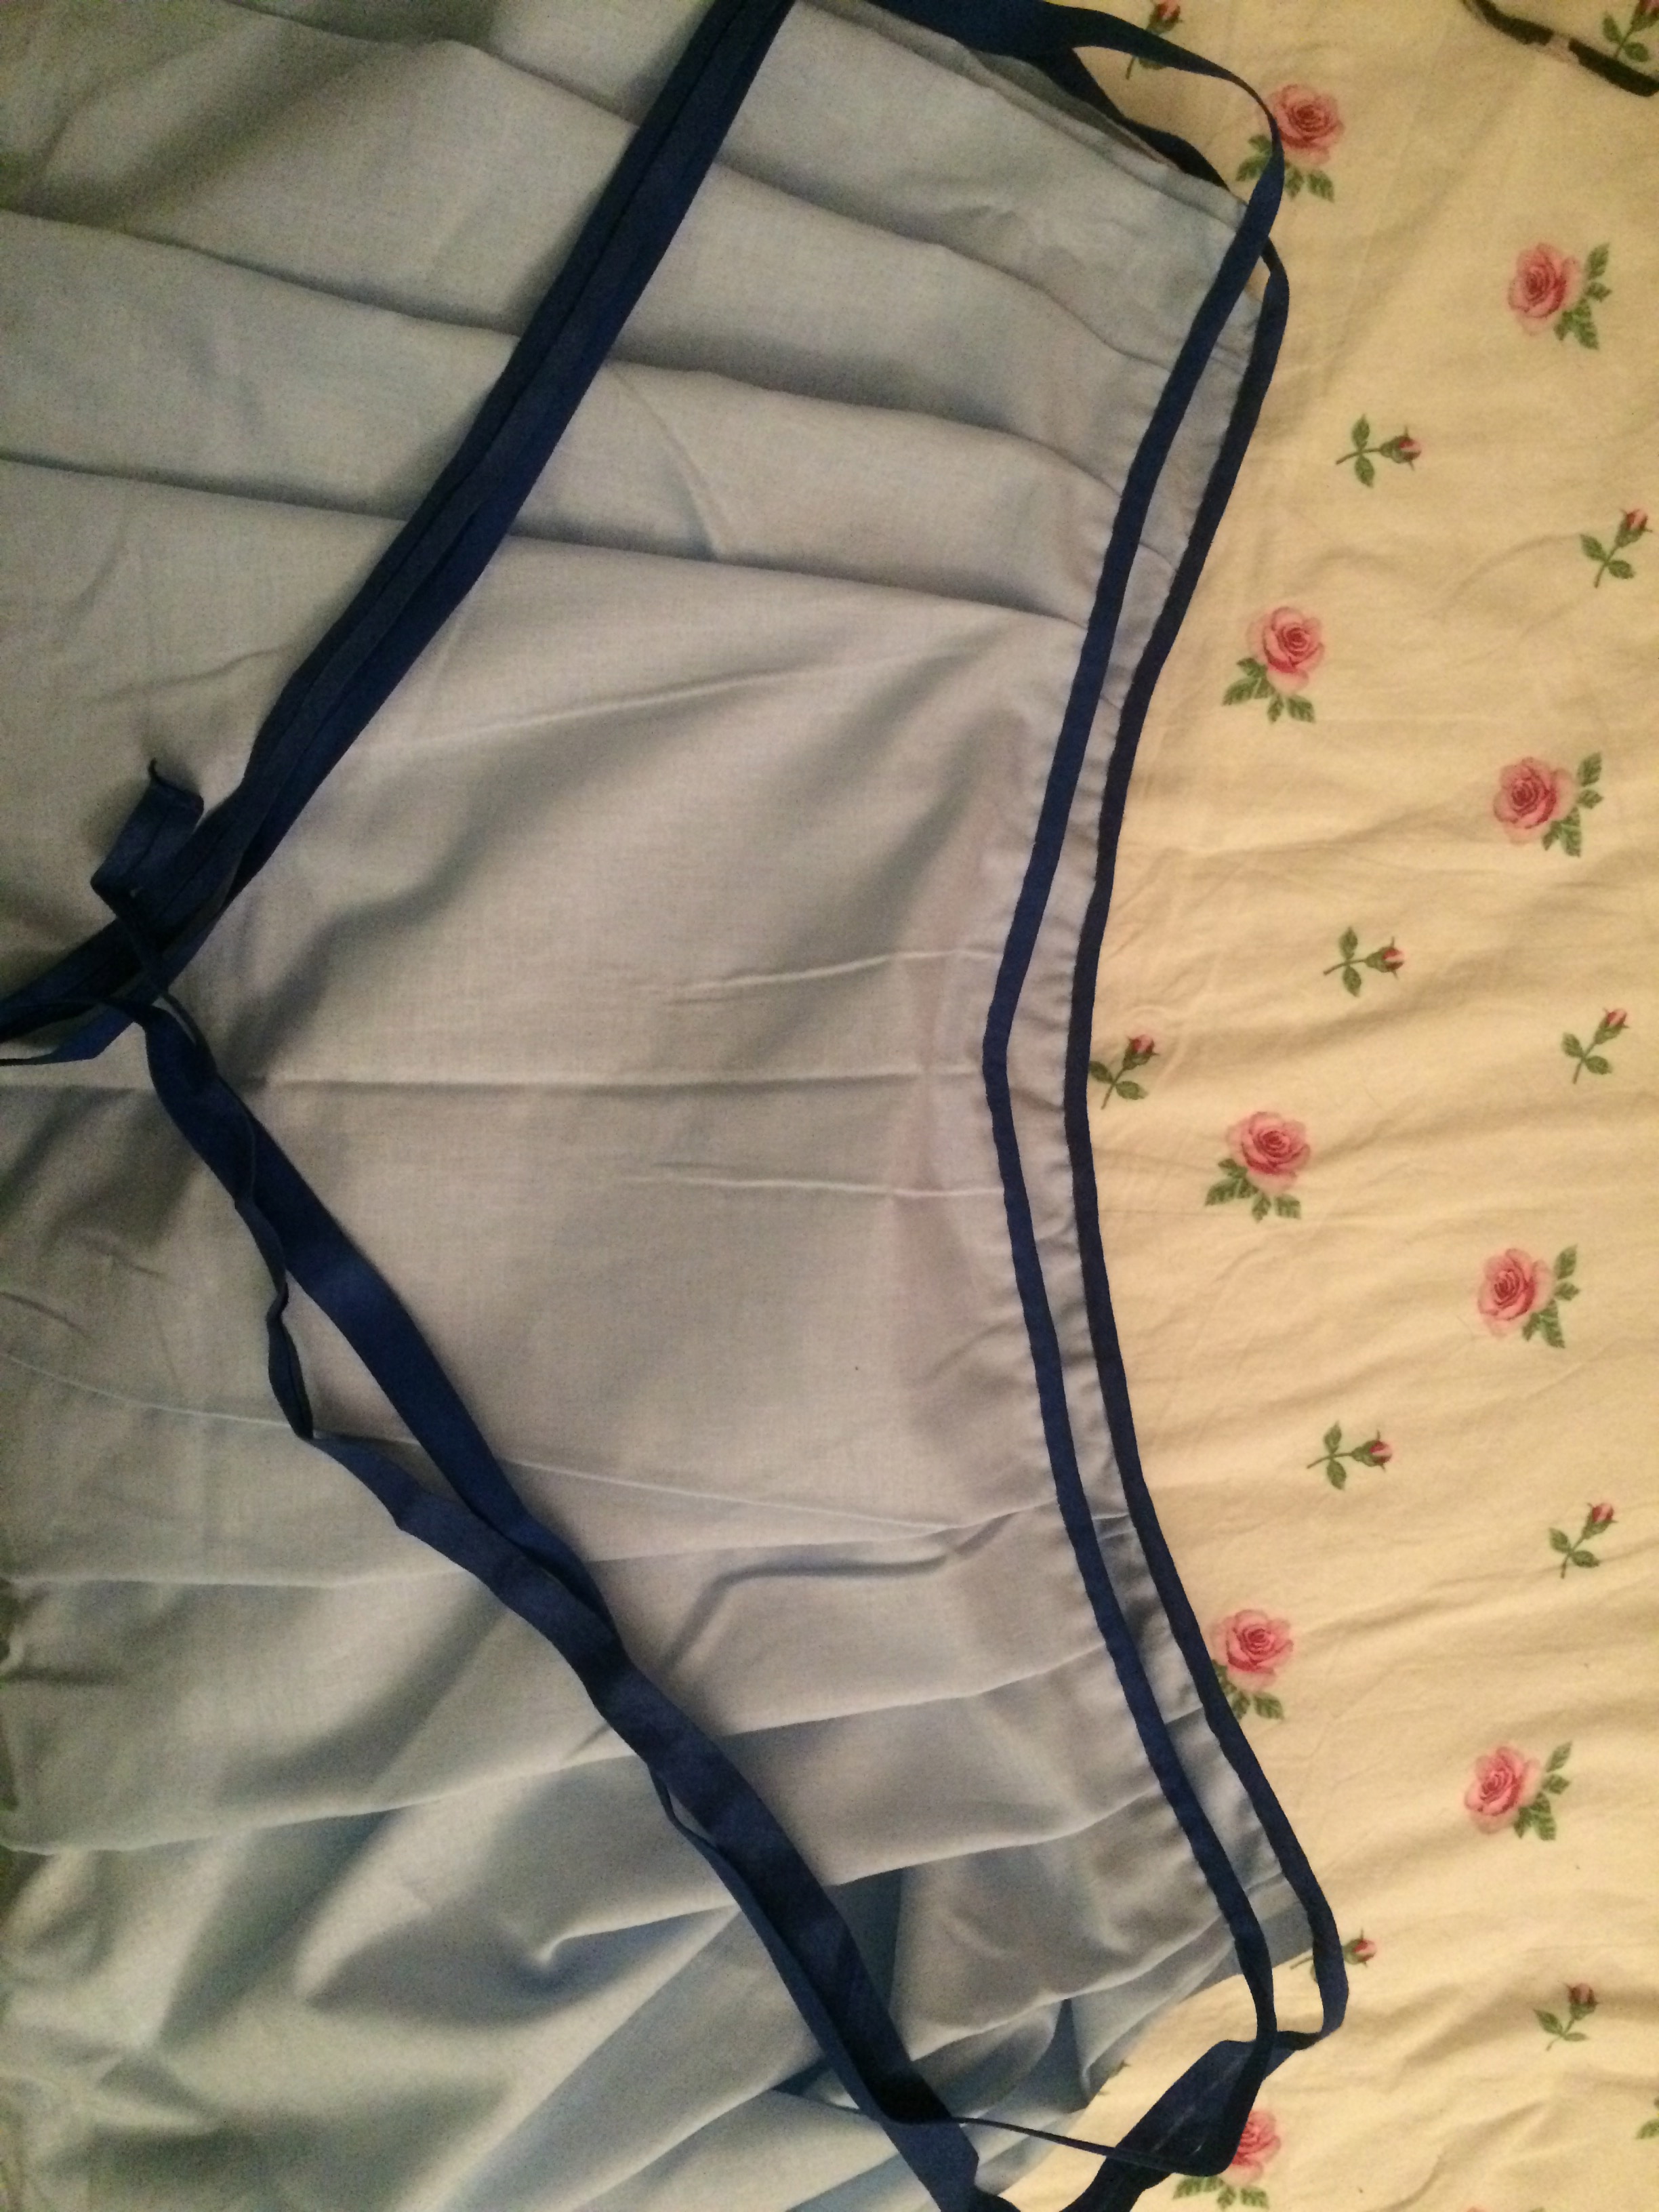
(NB! Do NOT sew the back and front panels together! If you do, you won’t be able to put your skirt on…)
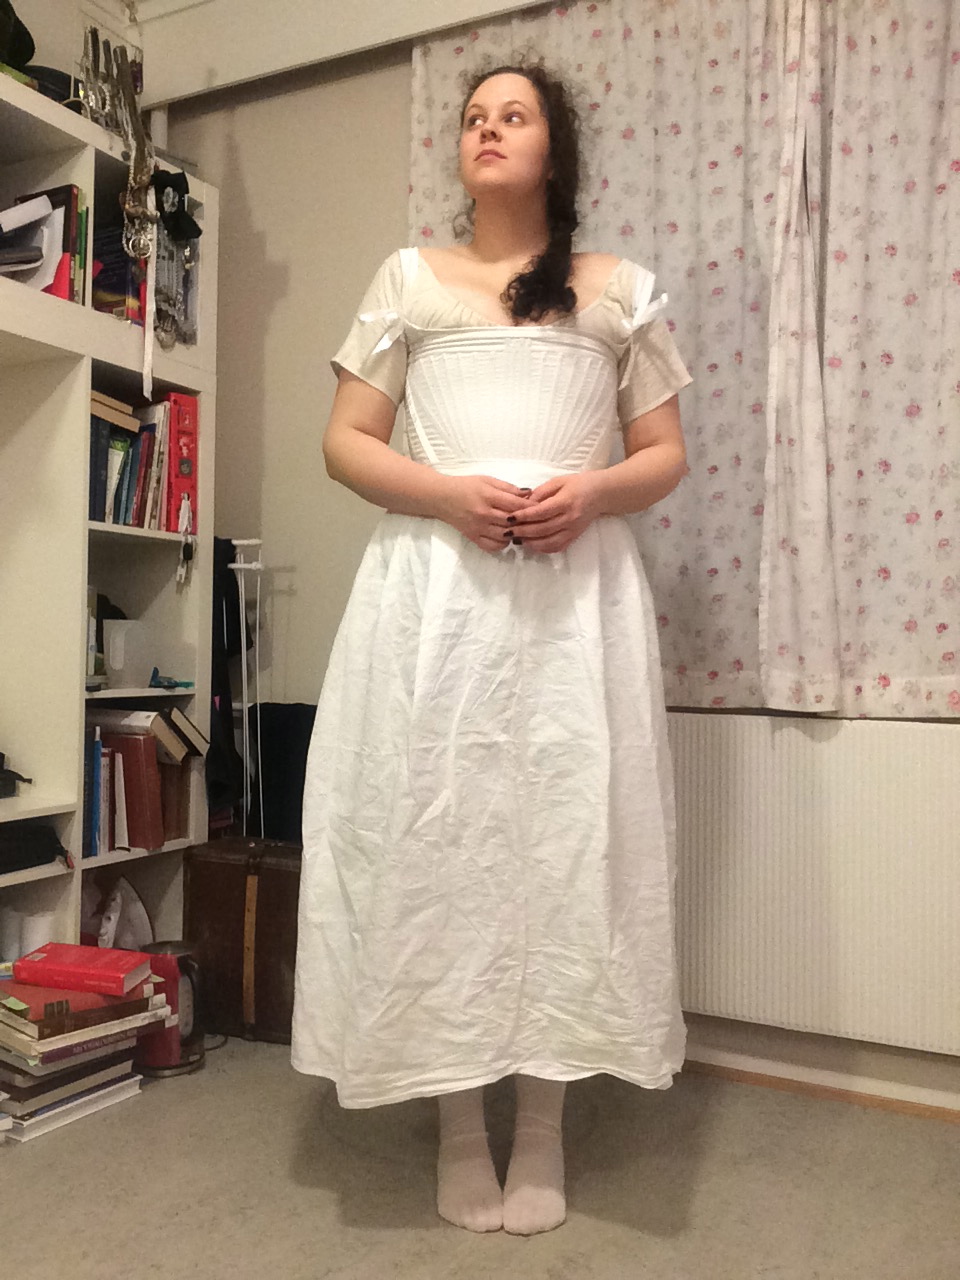
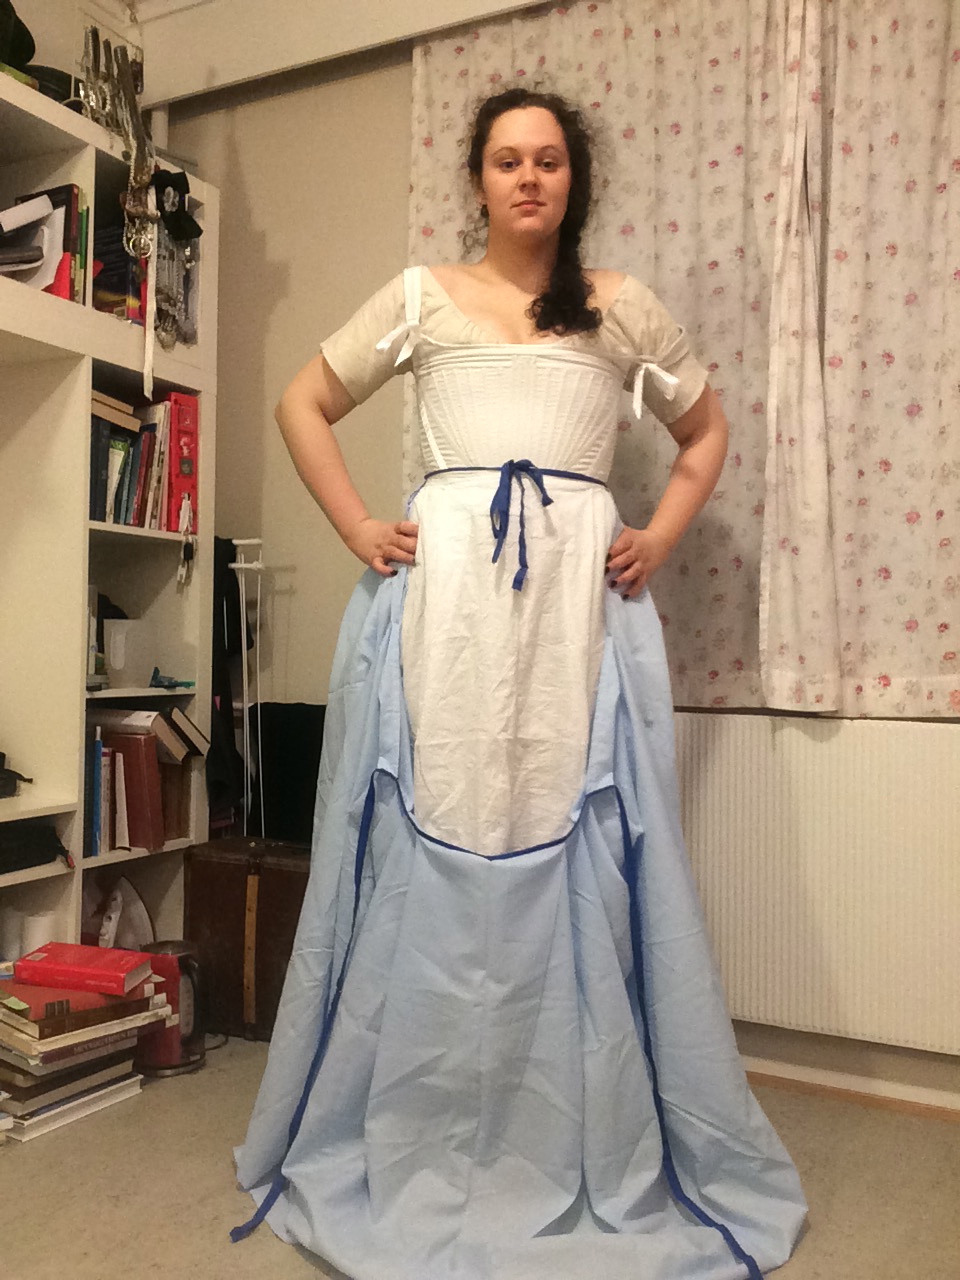
Here you have the finished product! This is my white petticoat, work with chemise, stockings and stays:
“How to put on a skirt with openings everywhere an masses of ribbons?” you might ask. Well, ask, and ye shall know…
1. Step into your piece of massive skirt.

(Make sure you have the front in front, and the back in the back)
2. Grab the ribbons attached to the back panel, and pull them forward.
3. Tie them around your waist.
4. Grab the ribbons attached to the front panel.
5. Tie these around your waist too, this time on your back.
Voila!
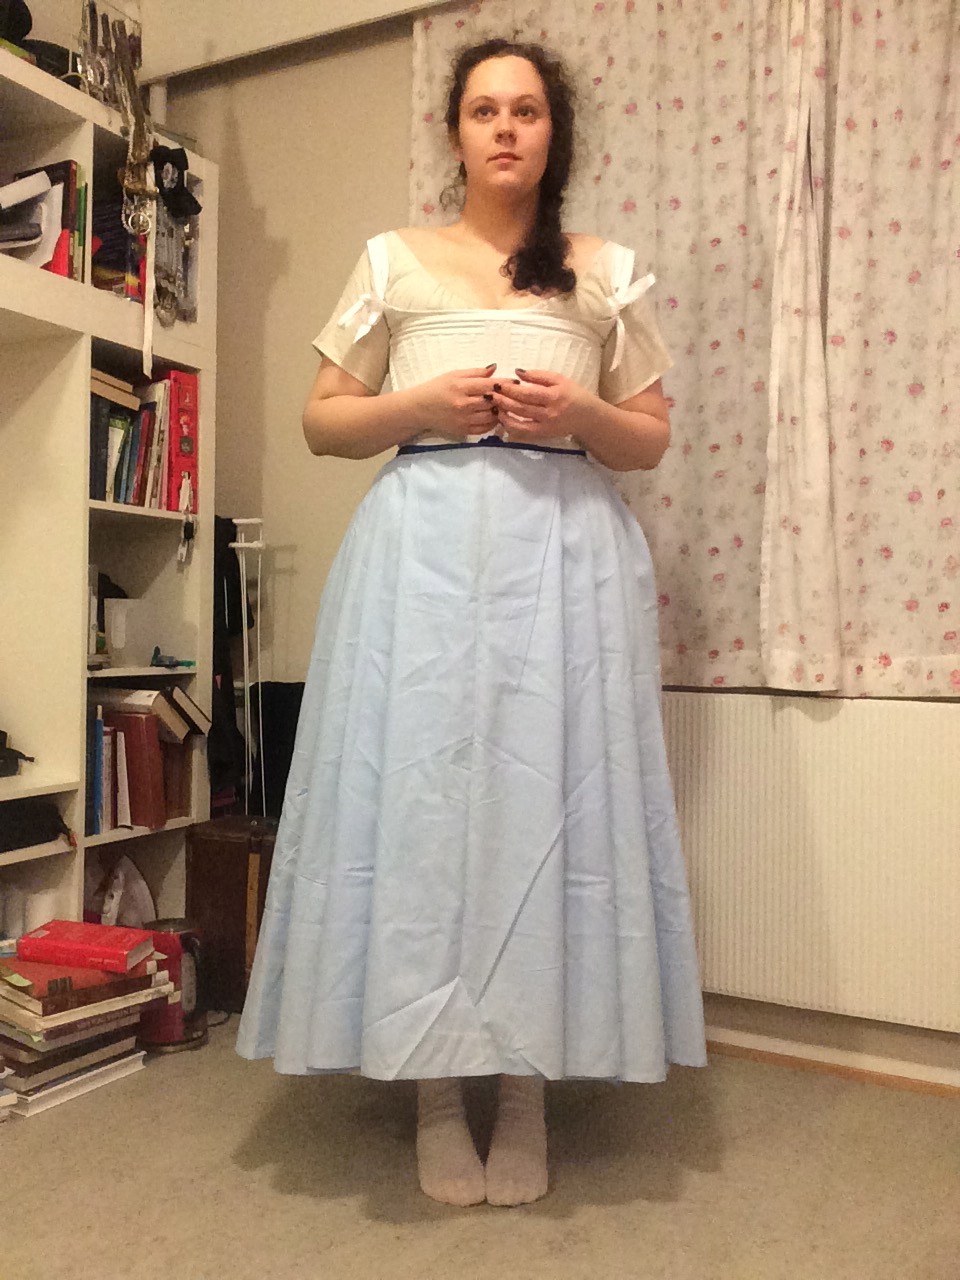
The best thing about these skirts: They are quick to make, easy to adjust to various periods and sizes, Look great, give volume to your hips, and you can wear separate pockets underneath them! What’s not to love?

It’s actually not difficult to make an actual waistband and you can use hidden hook and eye fasteners to close it. If you leave skis in the side seams so you can access the pockets underneath it will still be easy to get into.
Absolutely! But this was a very common way of making skirts in the 18th century, and not just for the pocket openings. It also gives you a flexibility which is magical, and must have been so very practical in a time when women were pregnant a lot more often than we are today.
what are ‘skis in the side seam’?
I’m guessing it’s a typo, and that they meant «slits» 🙂
I was just thinking that I needed a long skirt to cover my legs while I water plants so the bugs don’t get to me—I’m making this skirt!
I so wish you had a video of this! I’m having such a hard time putting the instructions in mind based on the pictures. I’m a beginner seamstress but this looks like the perfect skirt I’ve been wanting to make! Do you have a video on it? It looks wonderful! Thank you! 🤍
As a matter of fact, I do! Several years later, I made a video on the exact same kind of skirt. You’ll find it here! https://youtu.be/L1bPm35IwV0?si=maC5aIN2fcGs0sbm
bless you, thank you so much!!! ❤️
A pleasure!
I am making this skirt right now. So happy to see you just replied to a comment above. This is just amazing 🌸
I’m so glad you like it!
I wish adjustable clothing was still a thing nowadays. I love learning how people used to sew clothes. They seemed so much more savvy back then Haha. I also love that you used a retired bed sheet. So smart.
this is why I make so many of my clothing items. If I make them, I I can make the adjustable.
I know exactly what you mean!
I agree, it’s so smart! And thank you!
I just love this. I am going to make a couple for fall. Thank you for e
Thank you!
I’m confused on how to do the pleats to get the width of the material down to the desired width of the skirt. I seem to have too much fabric and don’t understand how to get 115cm down to 15cm.
I understand the problem! The way is usually do it, is to pin the ends of the fabric to the ends of the waistband. Then I find the mid points of both and pin those, leaving me with two «pockets» of sorts. I then find the mid point of the pockets and the waistband between the existing pins, dividing into 4. Then continue until I’m happy with the size (or lack thereof) of the pockets. The pockets of fabric become my pleats. I’ll try to make a video of it some day and show you, but I hope this helps!
i used this to make skirt for Esmerelda costume! thank you! it came out perfect I am planning to make more for everyday use!
Lovely 😍 I made a similar skirt in linen, and love for adjustable it is. Love the explanation on how you achieved the pleats too. I just winged it first go 🤣😵💫
Going to have a look at your video, as I’ve bought some more linen to make another 💗 I have some old sheets begging to be made use of too.