So, I left you when my bodice lining was done – or, as done as it could be at that point. So much has happened since! I was so worried about cutting into my expensive and possibly not sufficient fabric, and procrastinated it as long as I could, but unless you’re planning on making a toga or a peplos, you’ve GOT to cut into your fabric at some point.

The fabric I ordered came in three pieces. All 148 cm wide, and 217 cm, 228 cm and 253 cm long, respectively. Not nearly enough fabric for a full gown and petticoat, at least not if I cut it without careful planning and piecing. Luckily, piecing is extremely period!
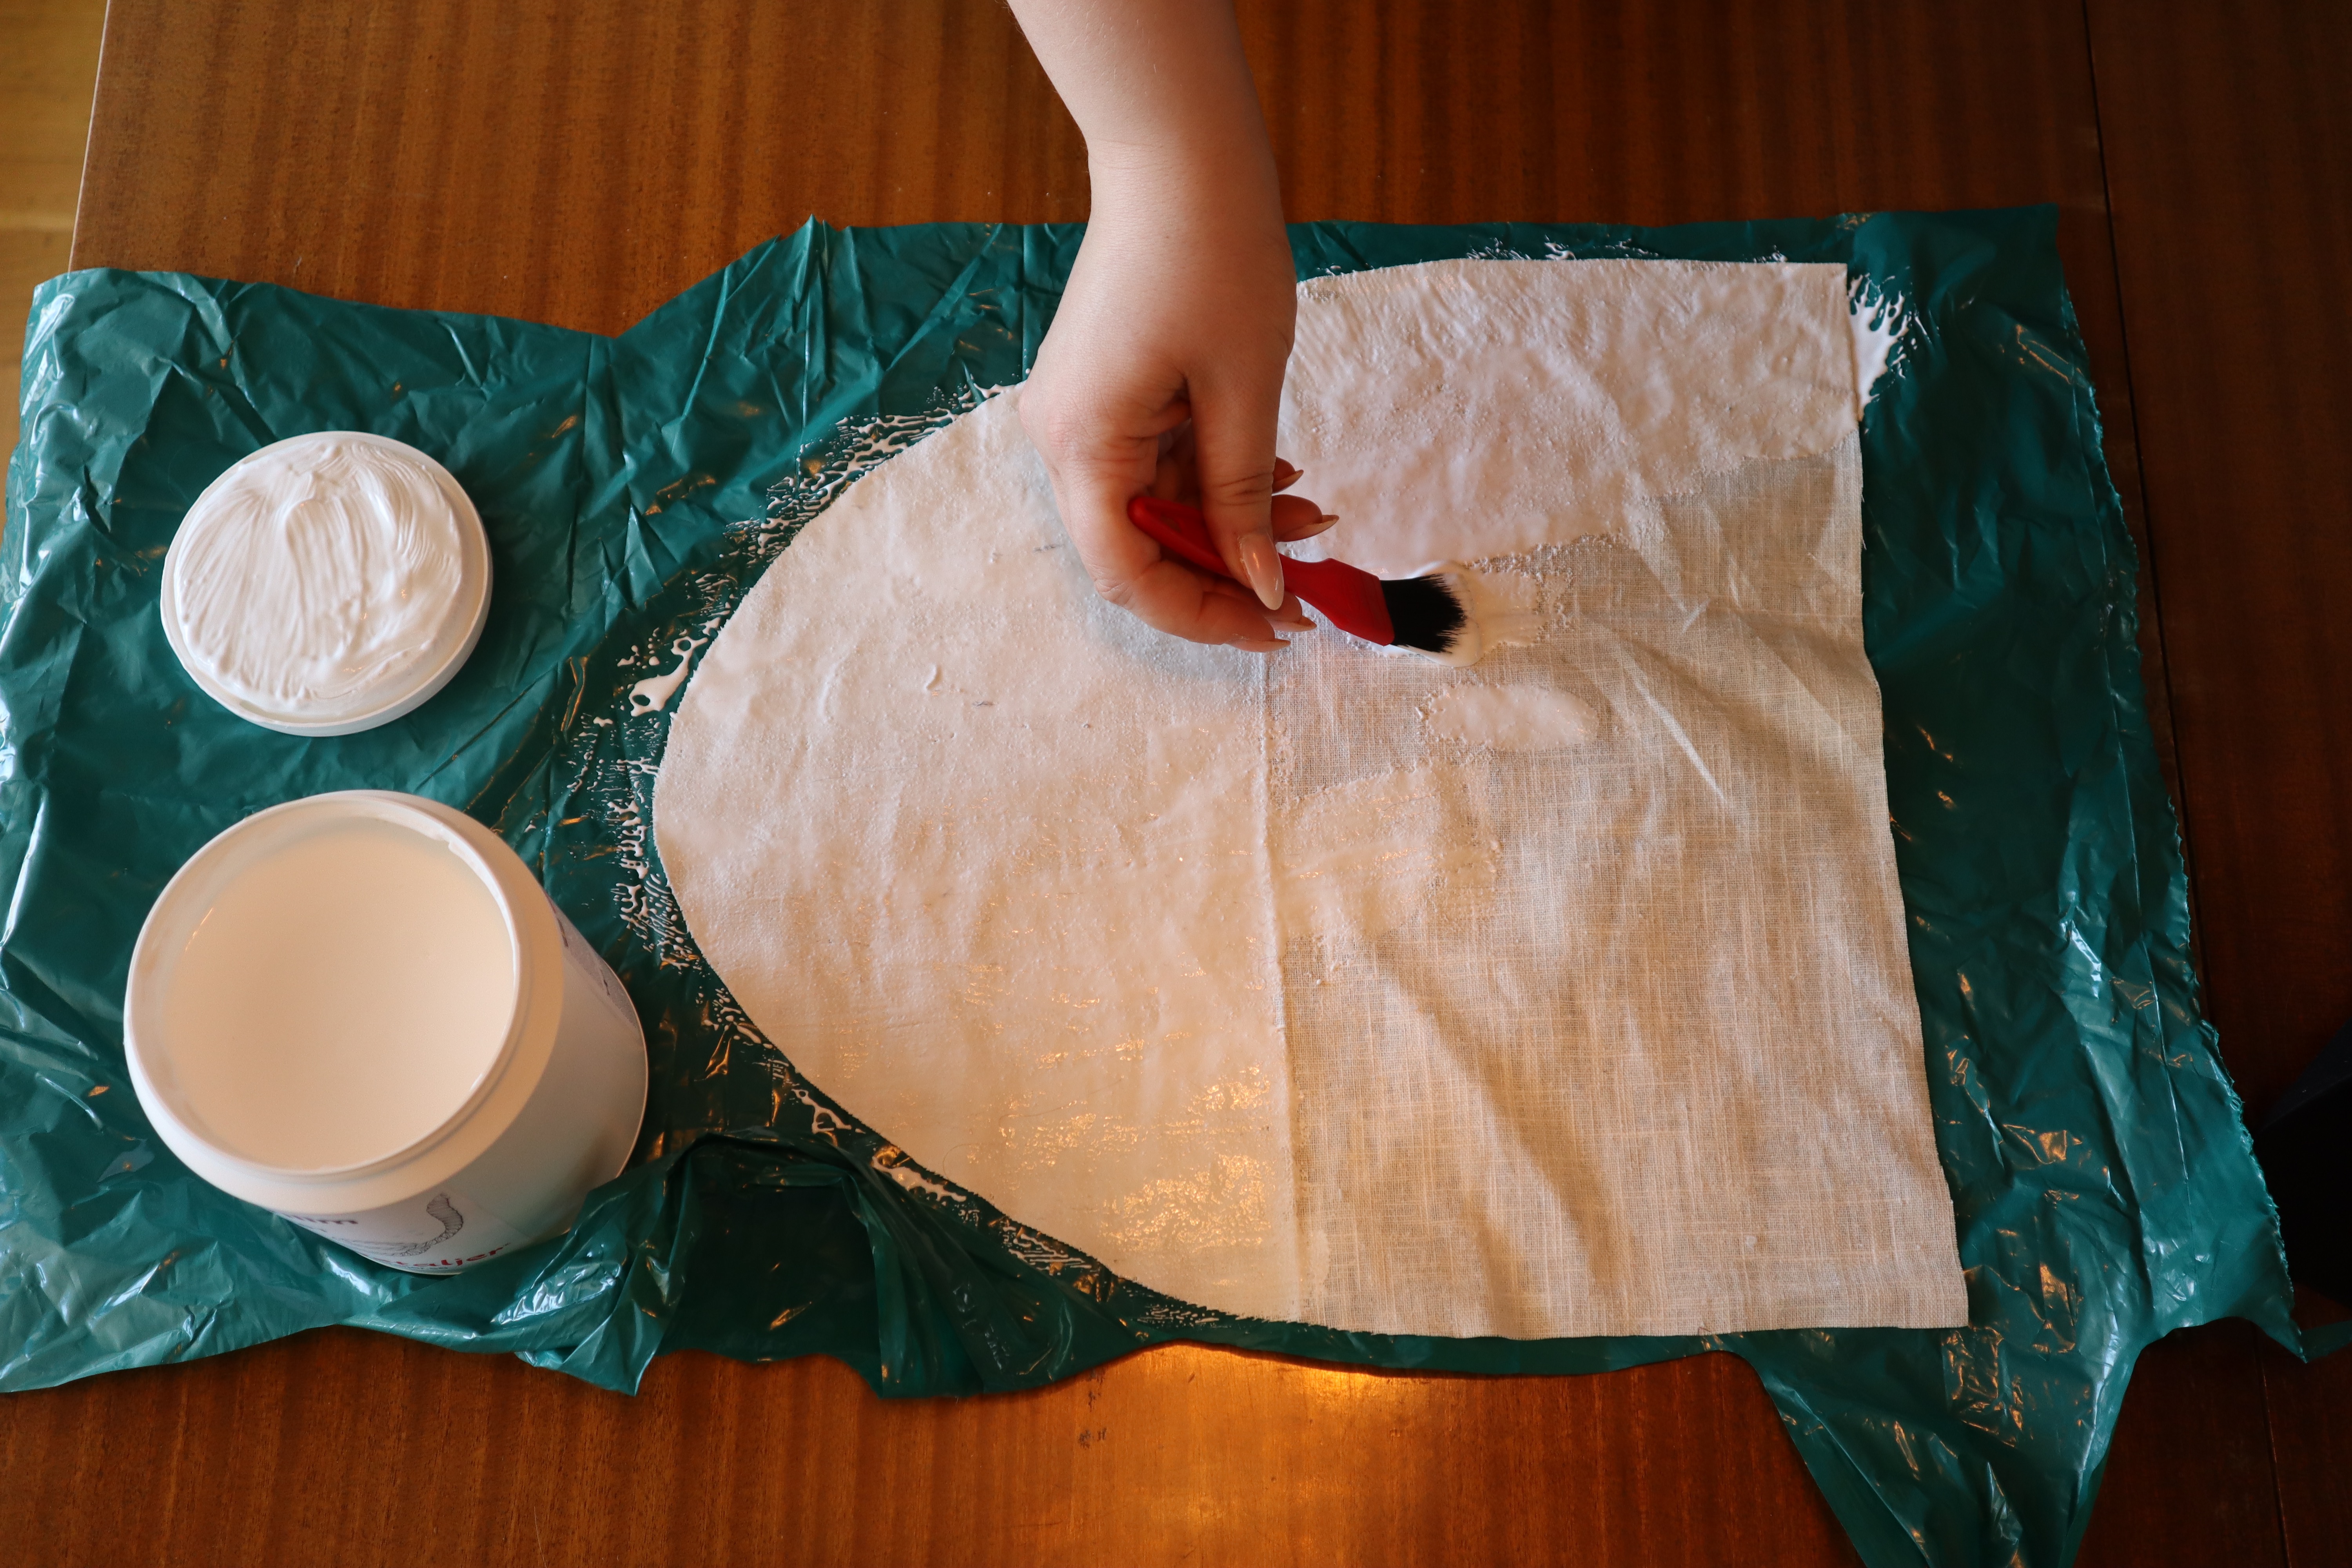
I started with the least scary part of the outfit and the smallest piece of fabric; but how to make a petticoat using such a small piece of fabric? I’ve looked at a lot of paintings from the period, and all the negligees I’ve found have really intricately and beautifully trimmed petticoats – how could I get enough fabric to trim my petticoat?
The solution: cheating. I’m pretty sure this was done in the period, and I know I’ve sees examples of this from the preceding and succeeding periods. I cut my front skirt panel from the bombazine fabric, but only the bottom half of the back. The top half, which will never be seen, even if I wear the skirts up in an “a la retousse” fashion, I cut from a cheaper black cotton sateen, which I had laying around. That left me with a piece of my bombazine fabric that I could use for trimming the petticoat!
After piecing my petticoat together, hemming it and pleating it onto a waistband (if you want a more in-depth step-by-step tutorial on petticoat making, you can find one here!), I cut the remainder of that fabric piece into two narrow strips and two wider. I pieced the strips together into one narrow and one wide, hemmed them and gathered them to the front of the petticoat. I wasn’t quite happy, so I added a third row of trim, using some black silks ribbon I had in my sewing stash.
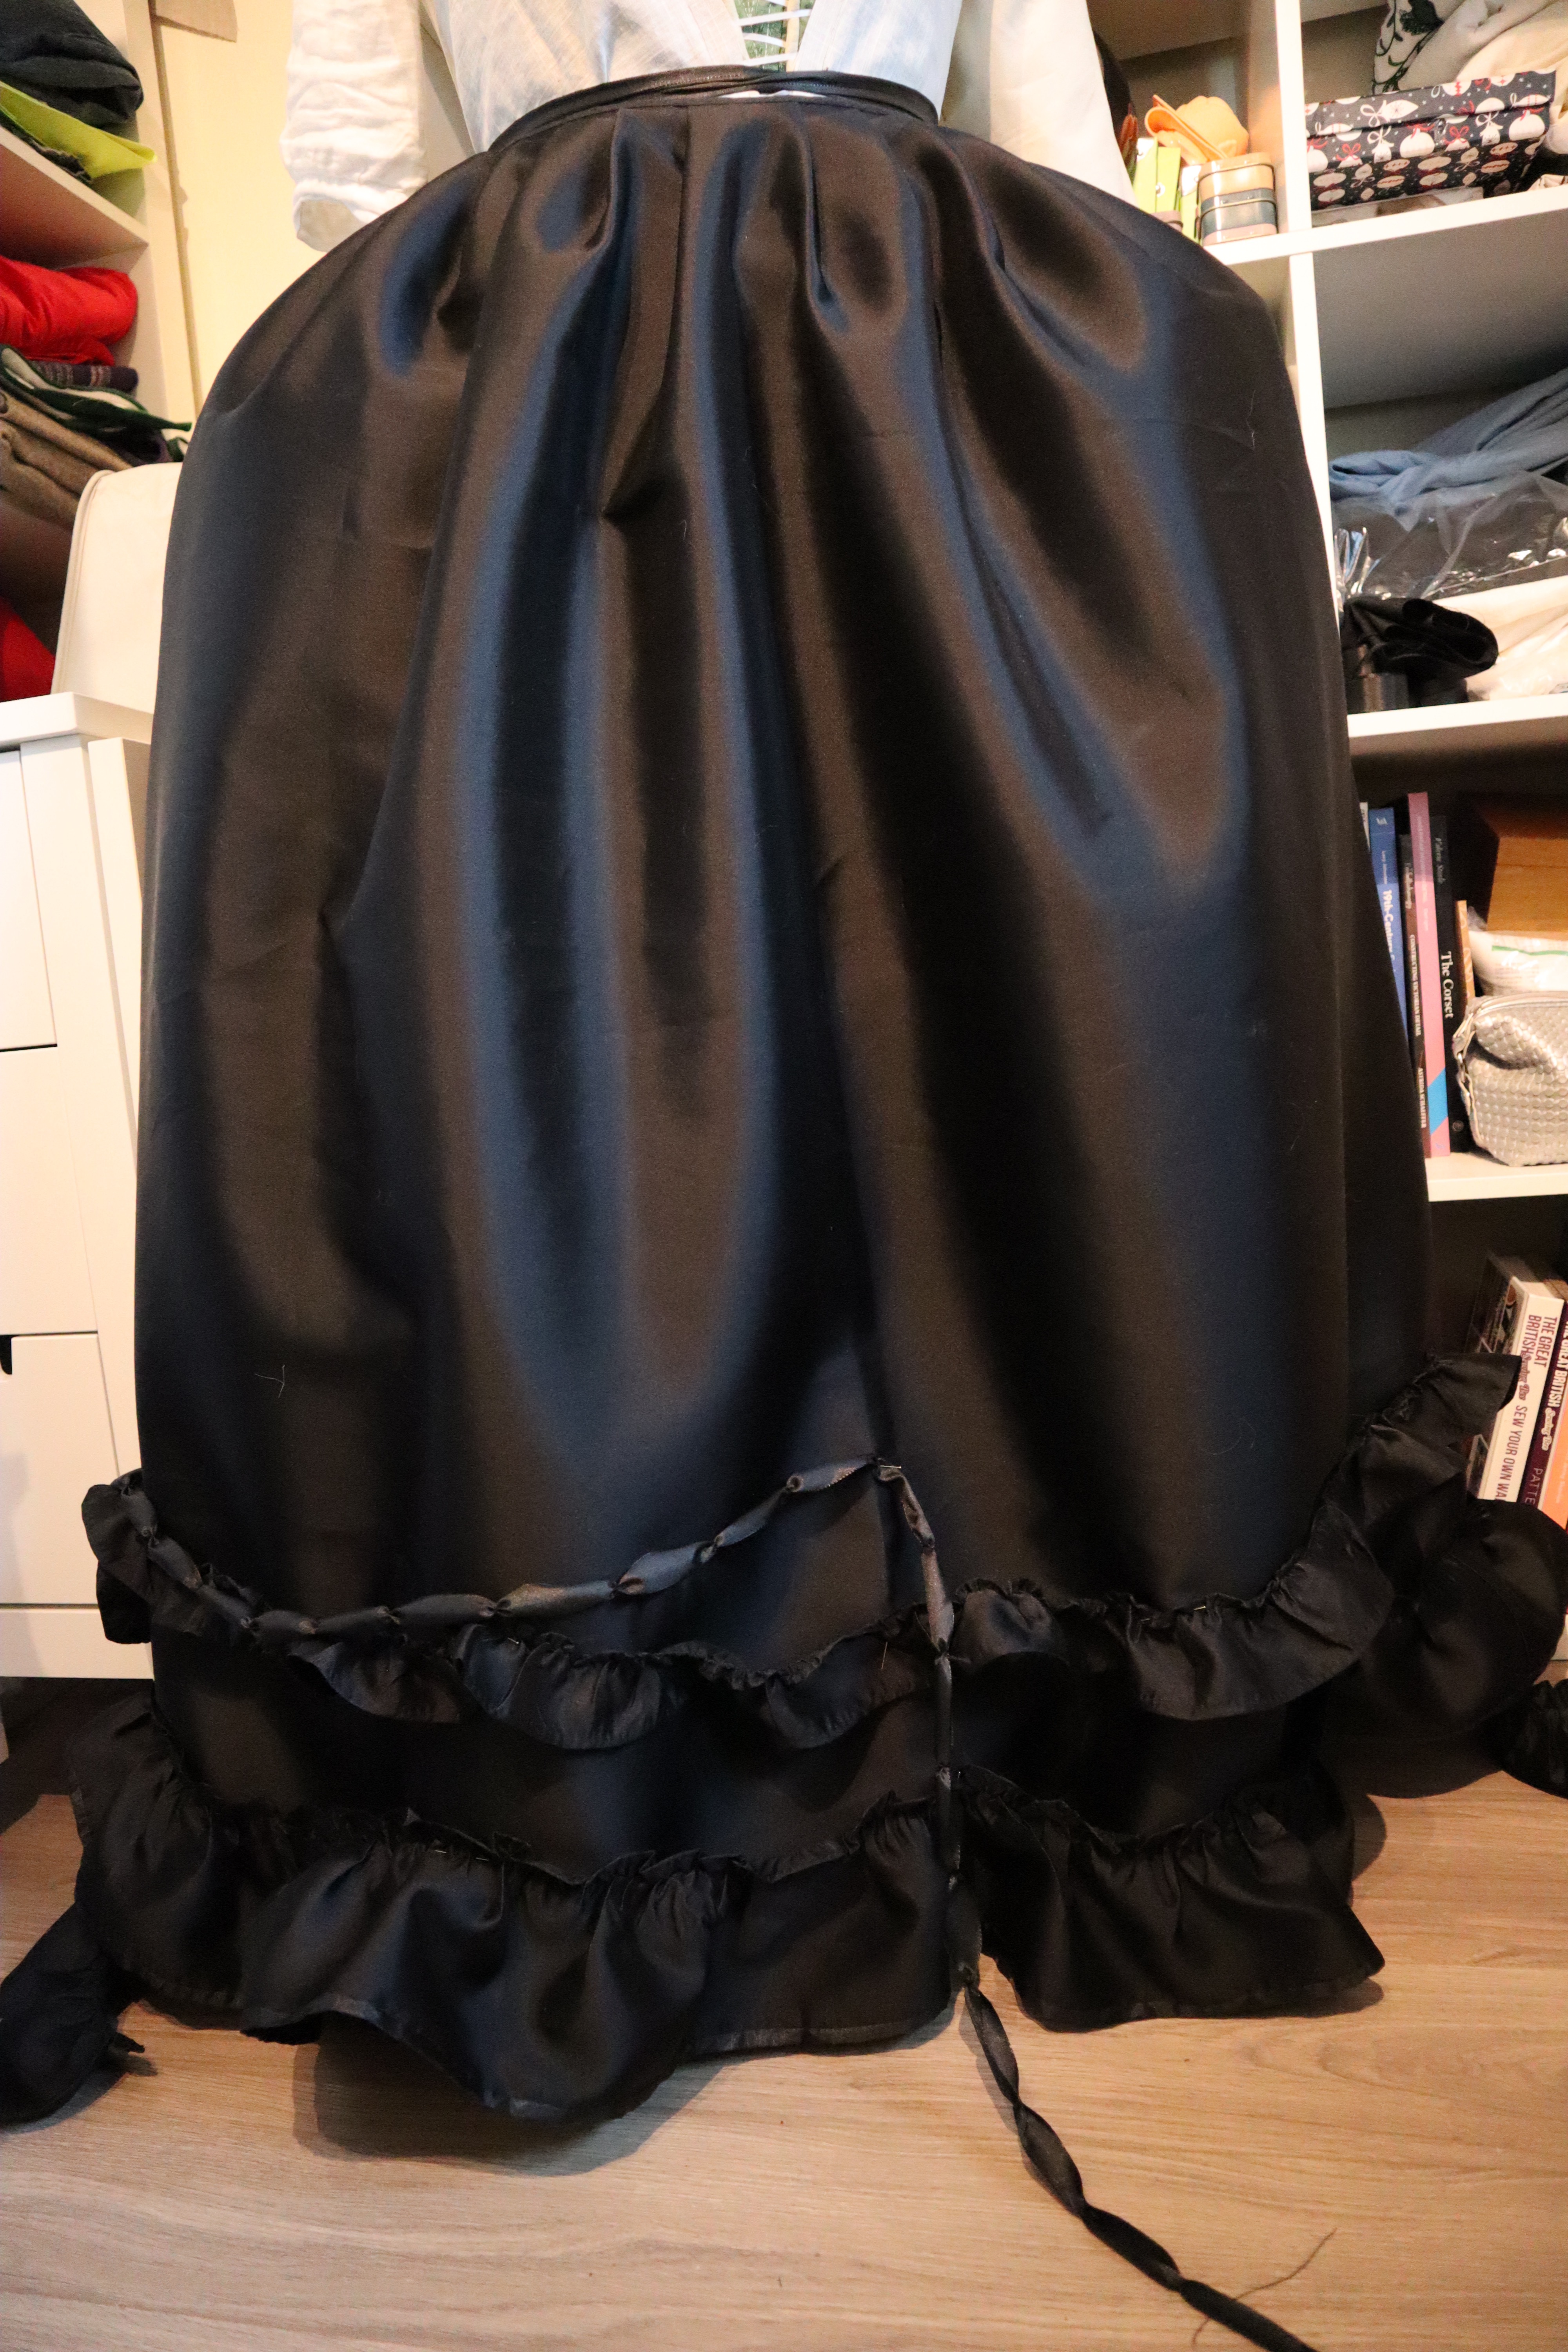
One trimmed and finished petticoat! The gowns from the 1770s seem to be trimmed in a fairly straight fashion, less curvy and swingy than trim on earlier gowns. It’s only the front that is trimmed, but that’s fine – that’s the bit people will see most of the time!
With the petticoat done, there was no way to procrastinate cutting the gown itself anymore. I made a very, very precise plan, making sure I could fit everything I needed on the two pieces left.
I decided that to make sure I could fit the bodice fronts, front skirts, the sleeves and the stomacher, in addition to the massive back piece, I had to cut the back piece in five pieces; two backs, two sides and one back hem. Luckily, the fabric catches the light really beautifully, so I think the piecing will add to the look of the finished gown.
Having cut all pieces, I procrastinated a little more by making the stomacher. I cut two linen pieces, covered one of them in bookbinder’s glue, and stitched it together with the glued linen sandwiched between the fashion fabric and the unglued linen.

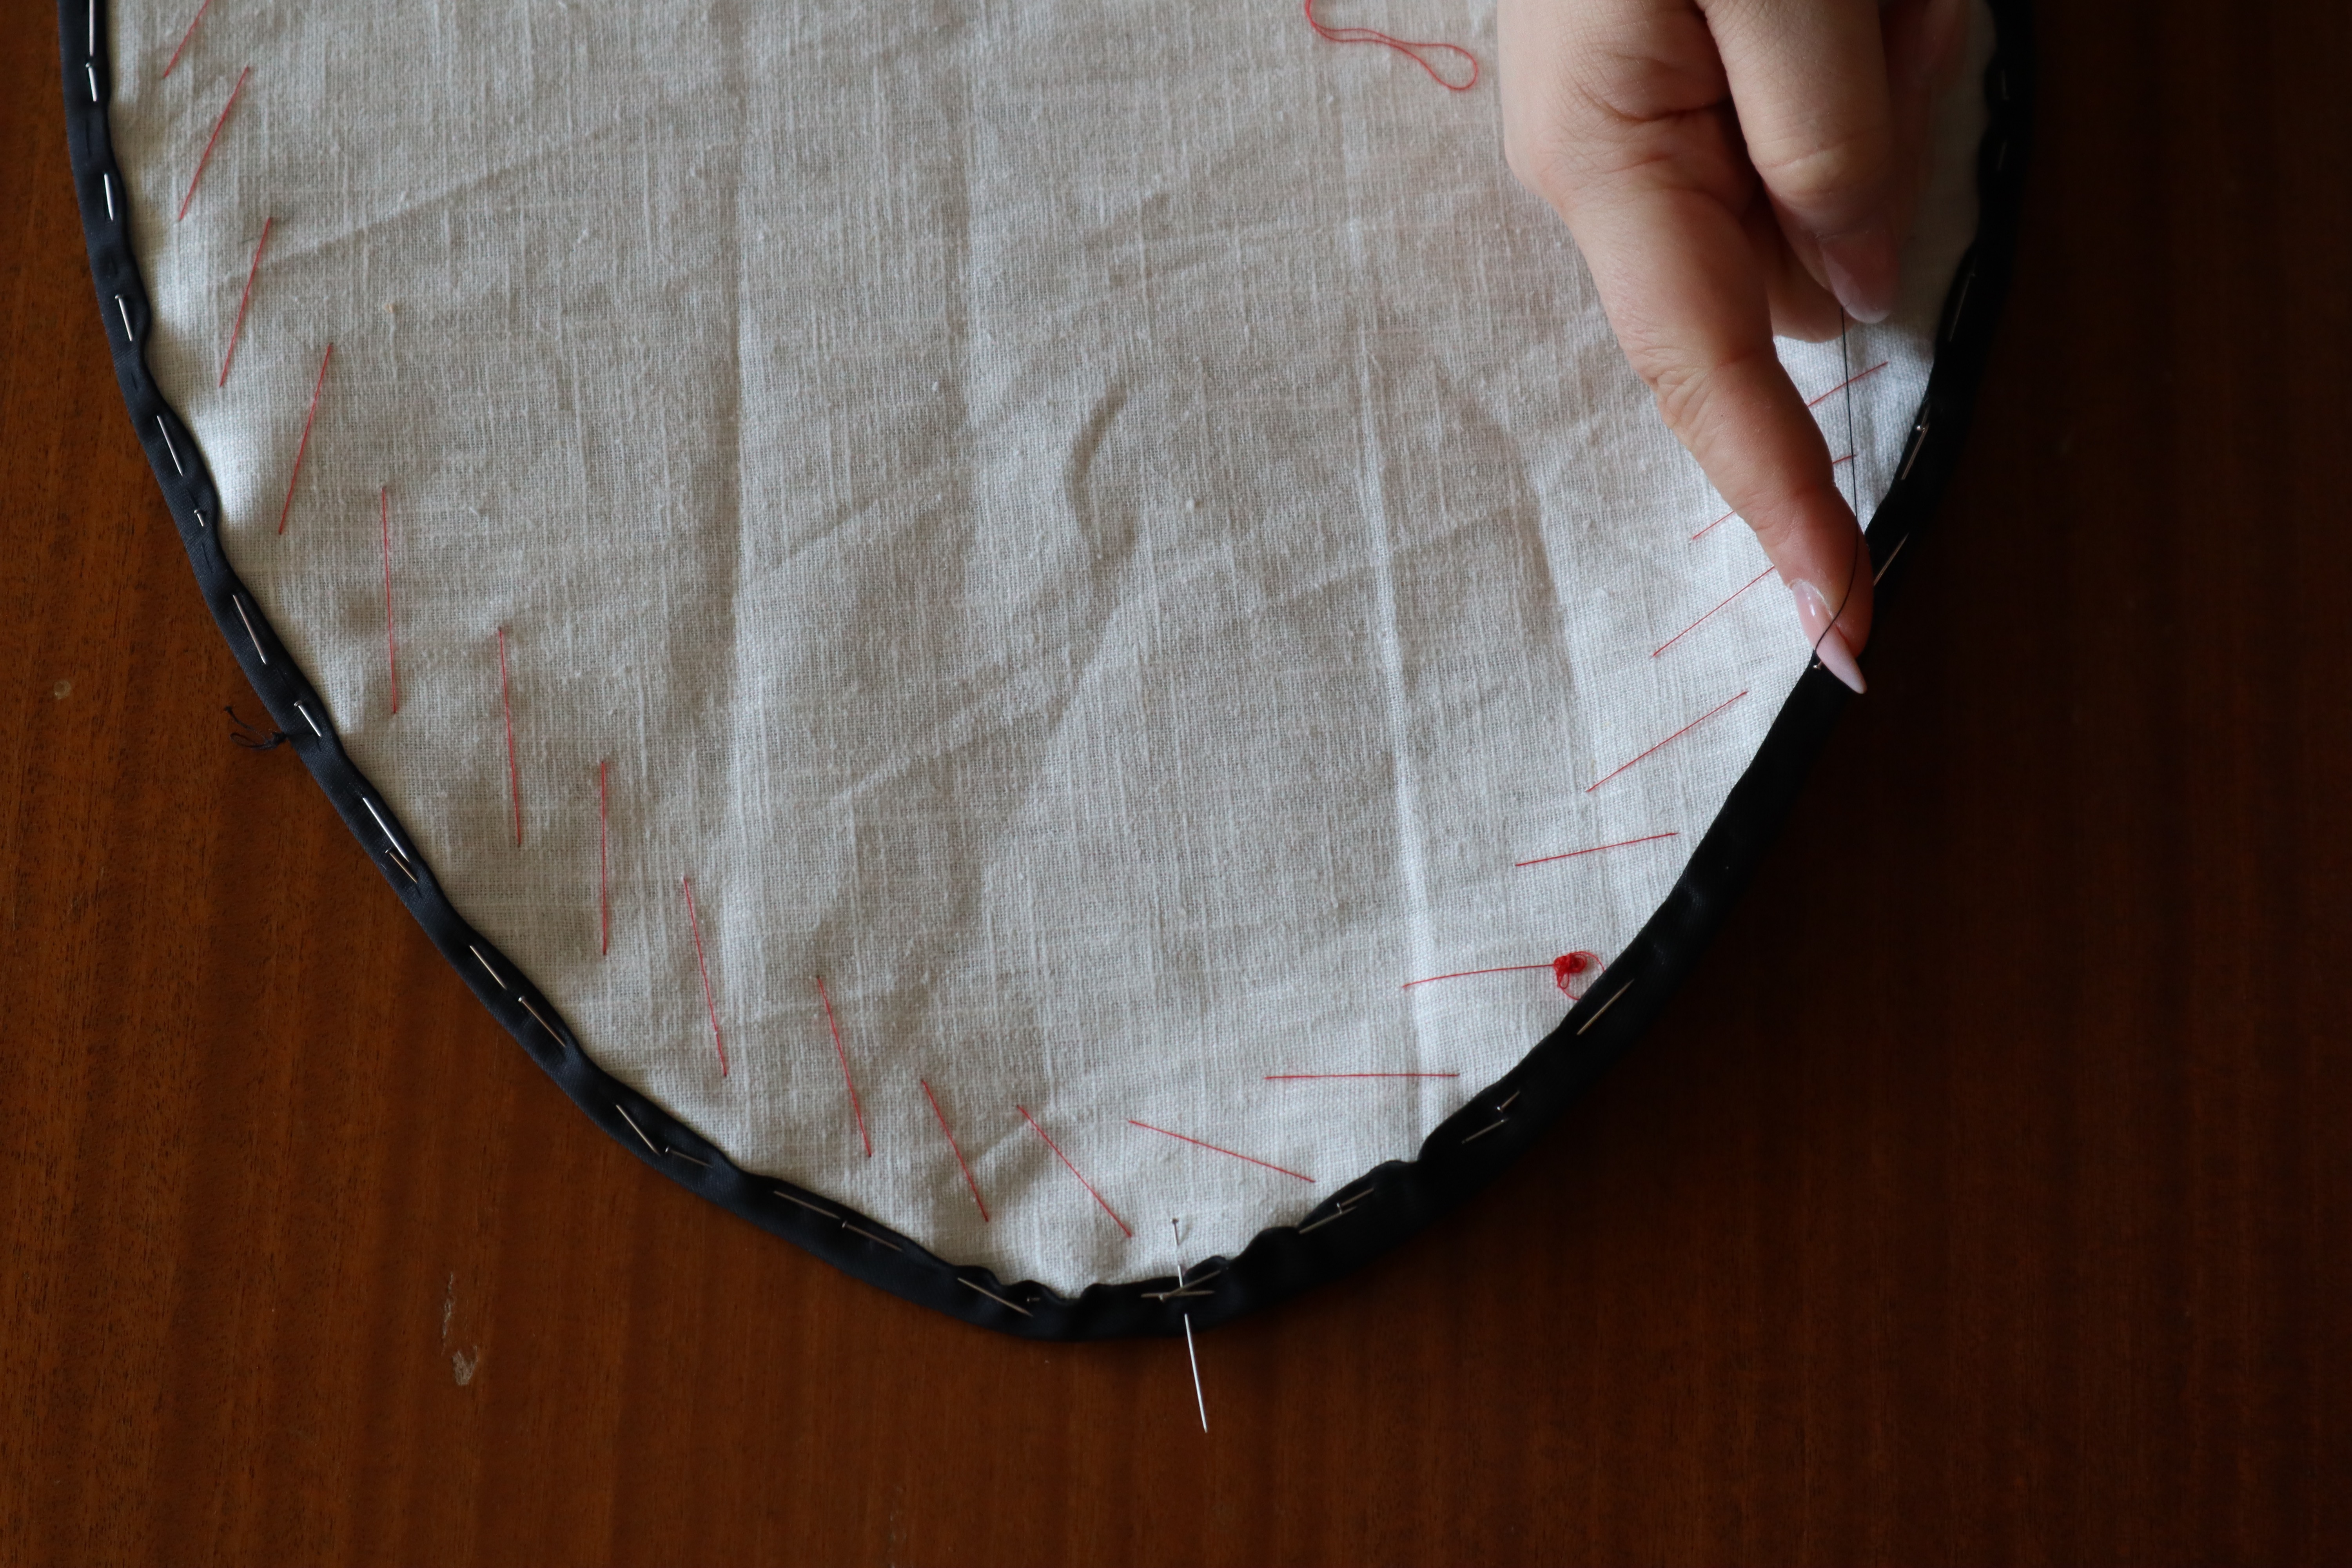
I found a lot of 1770s stomacher a with a fake row of buttons down the front, so I added that to mine, in addition to some rows of black lace, just to add some interesting texture, and two rows of pleated ribbon trim.


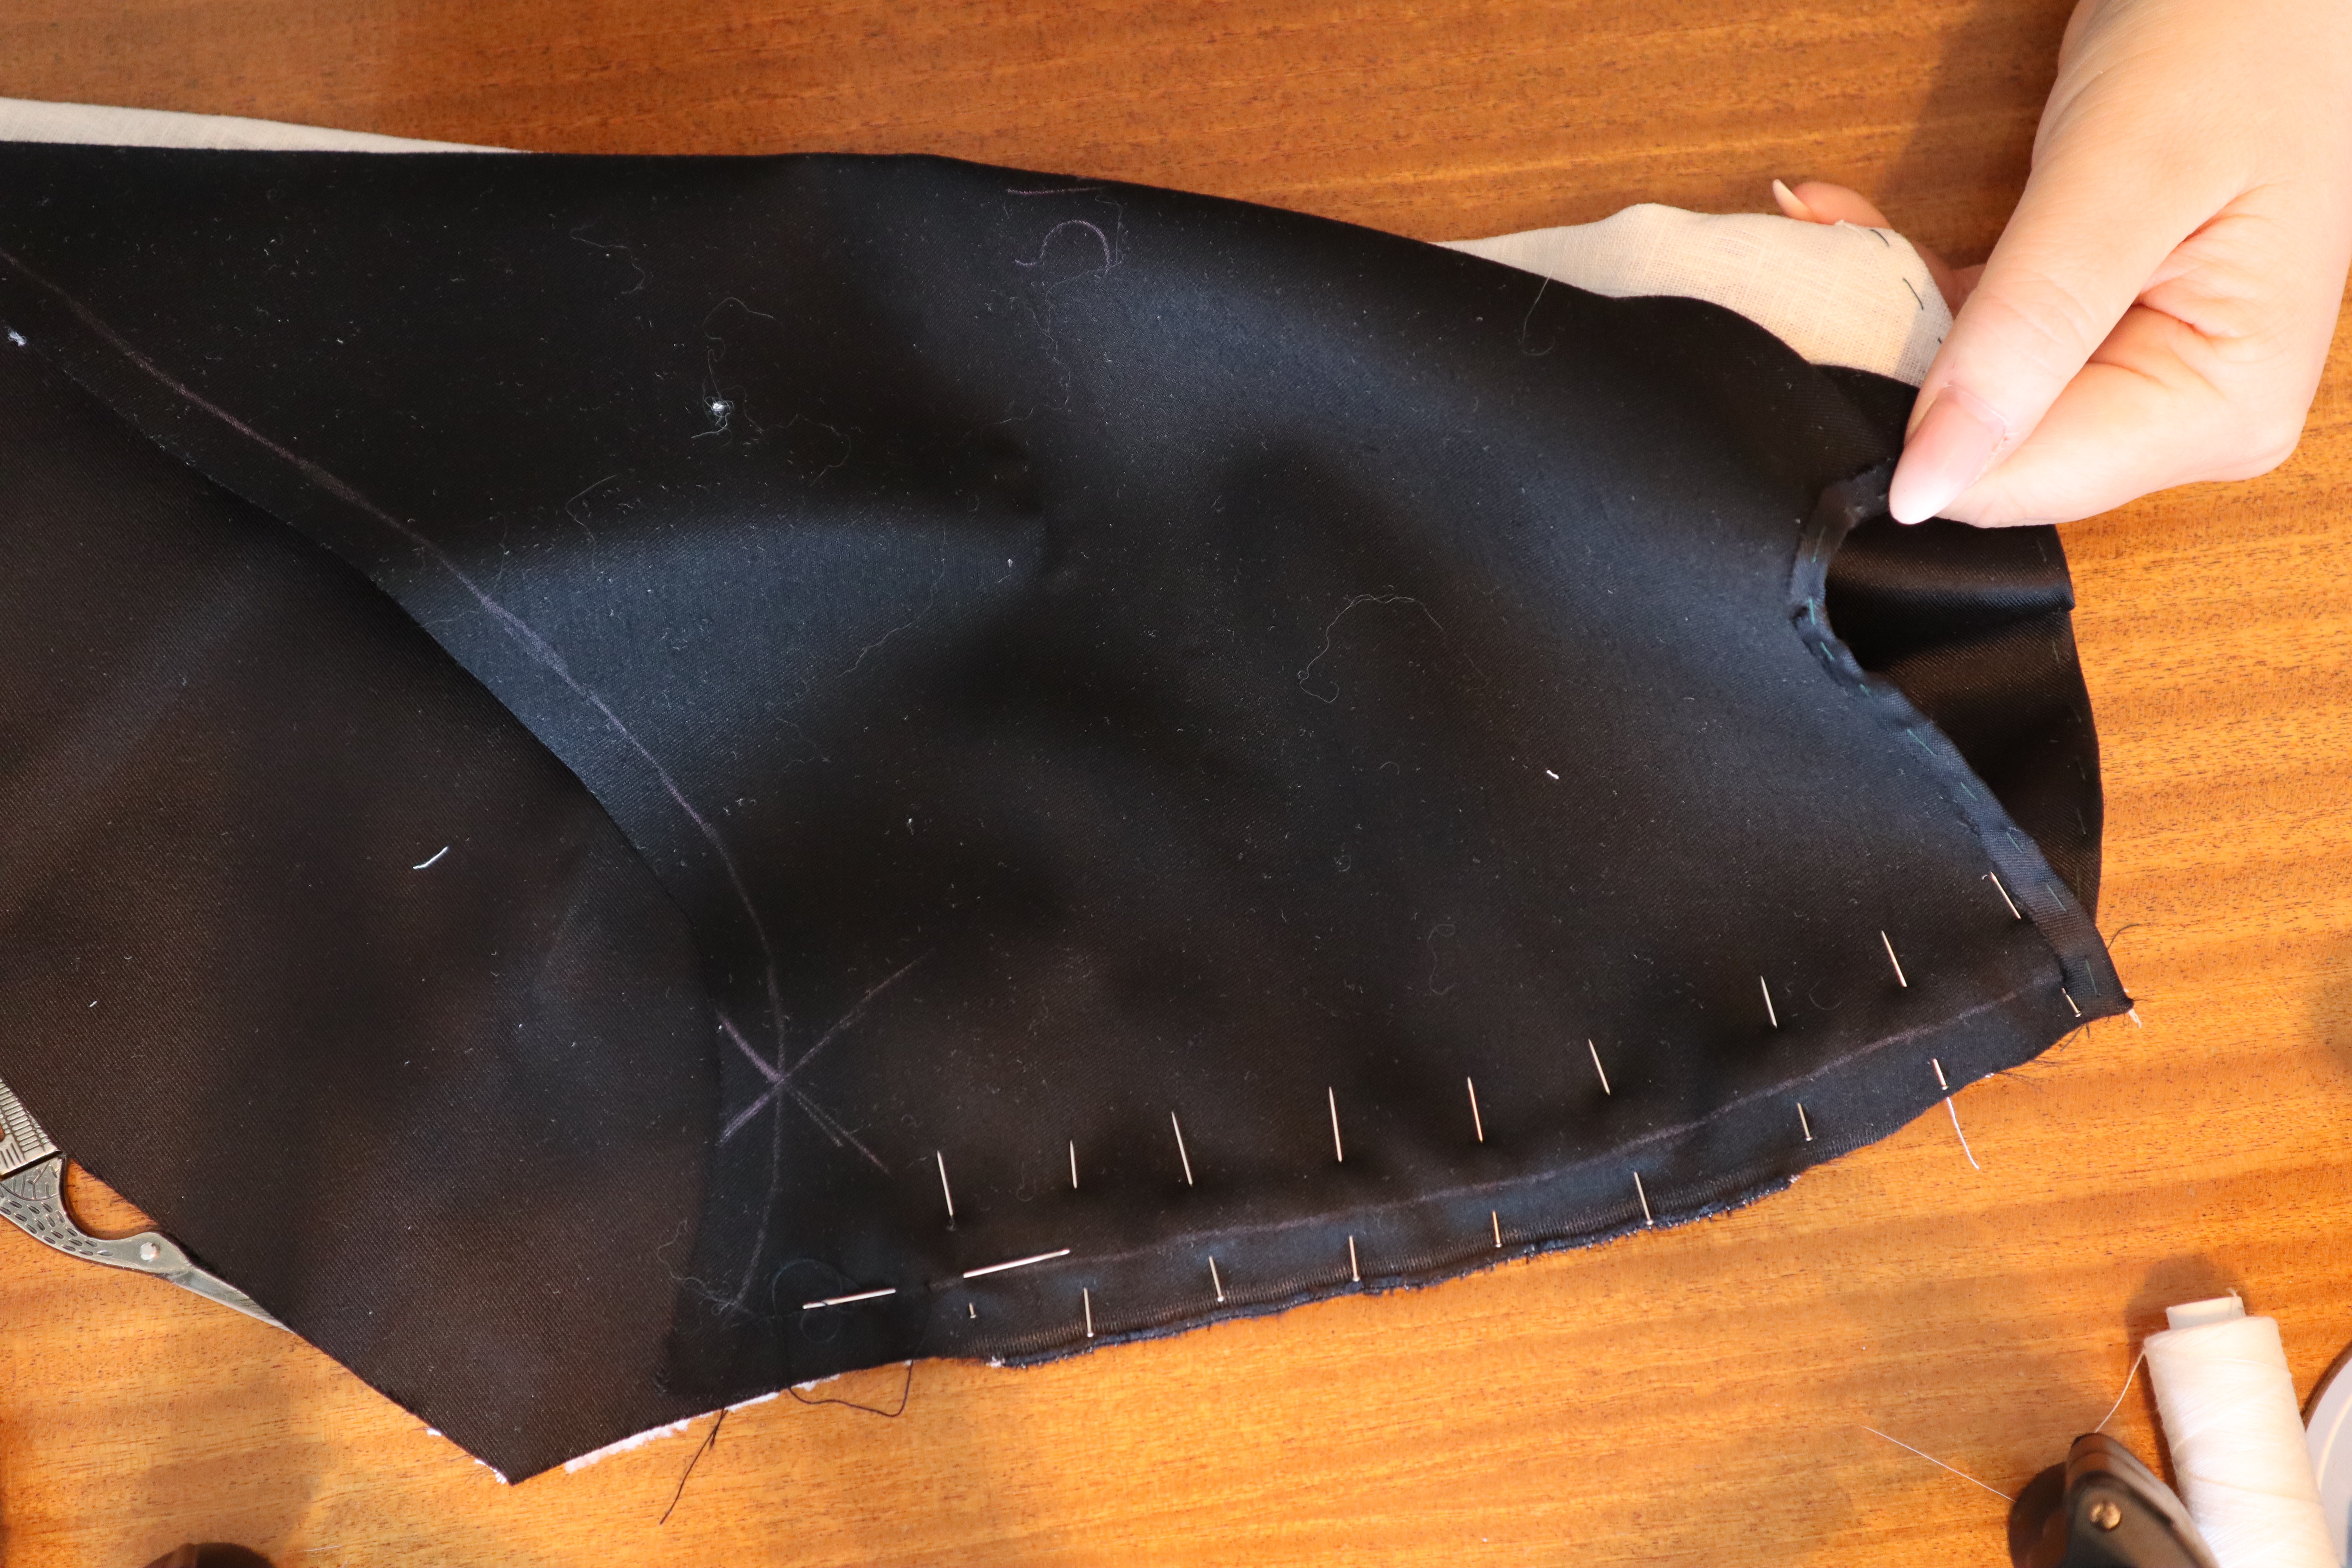
With no other smaller bits to procrastinate with, I started on the gown itself. I began by stitching the fashion fabric bodice fronts to the lining, leaving the side open.

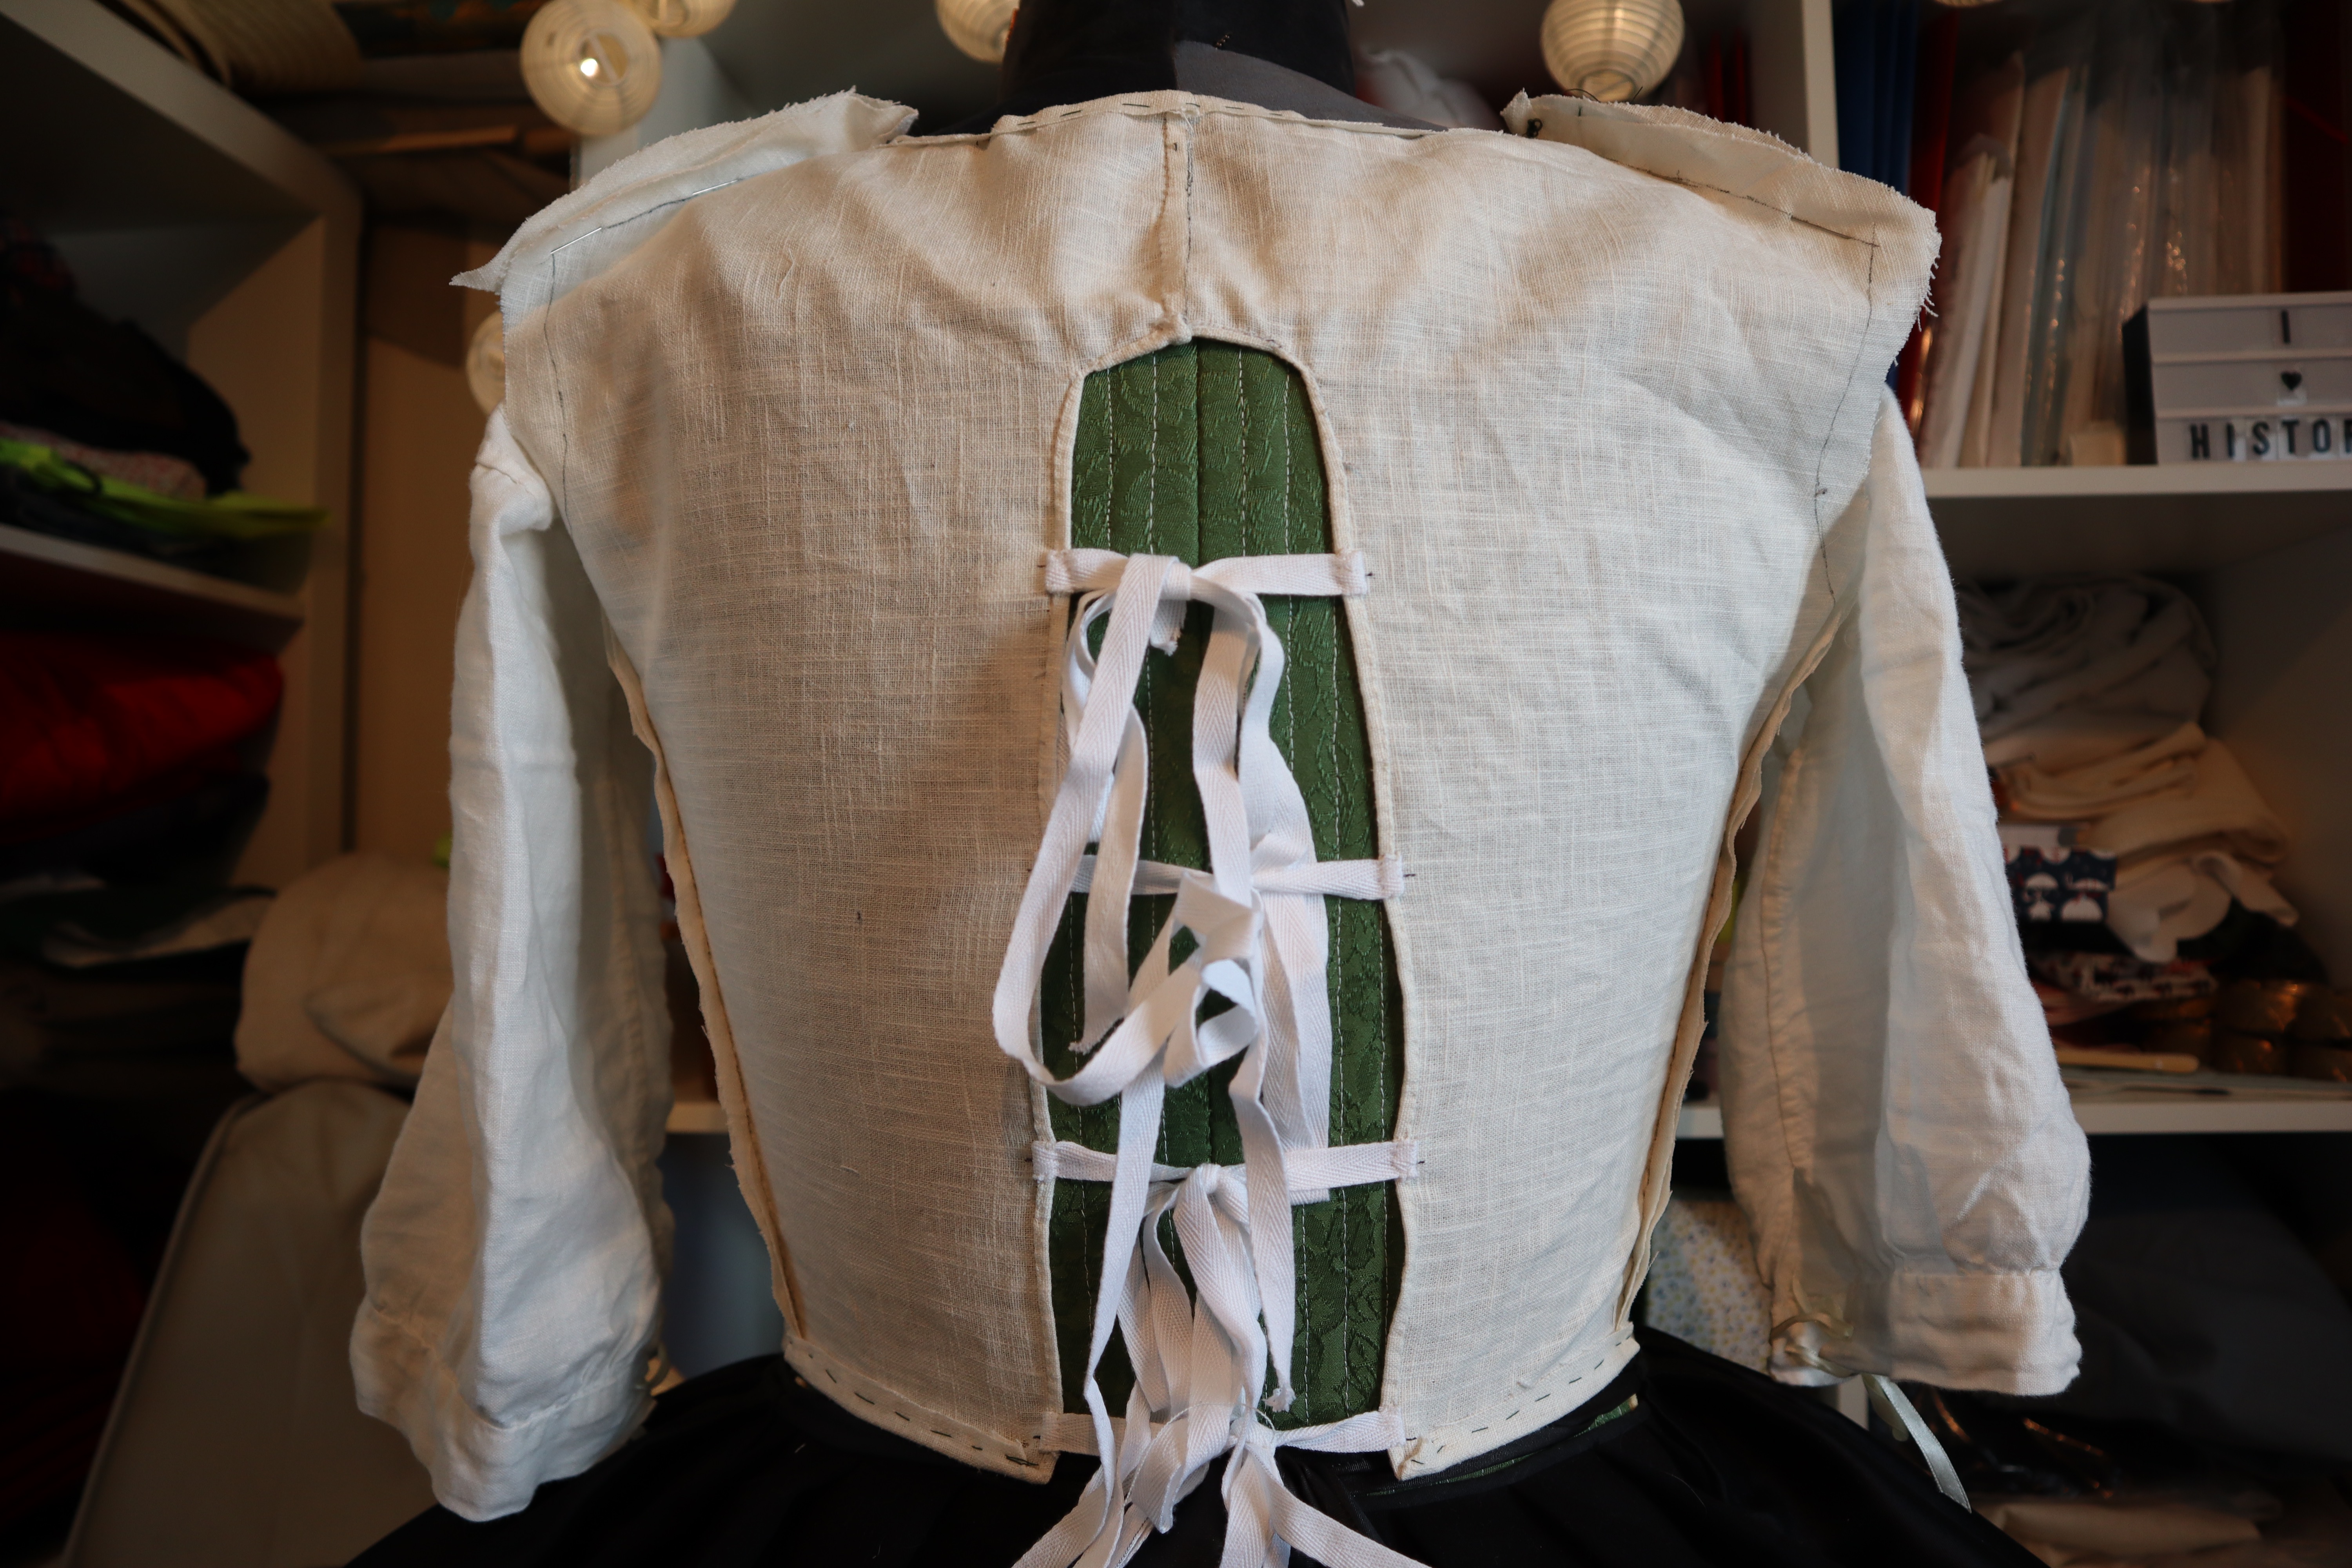
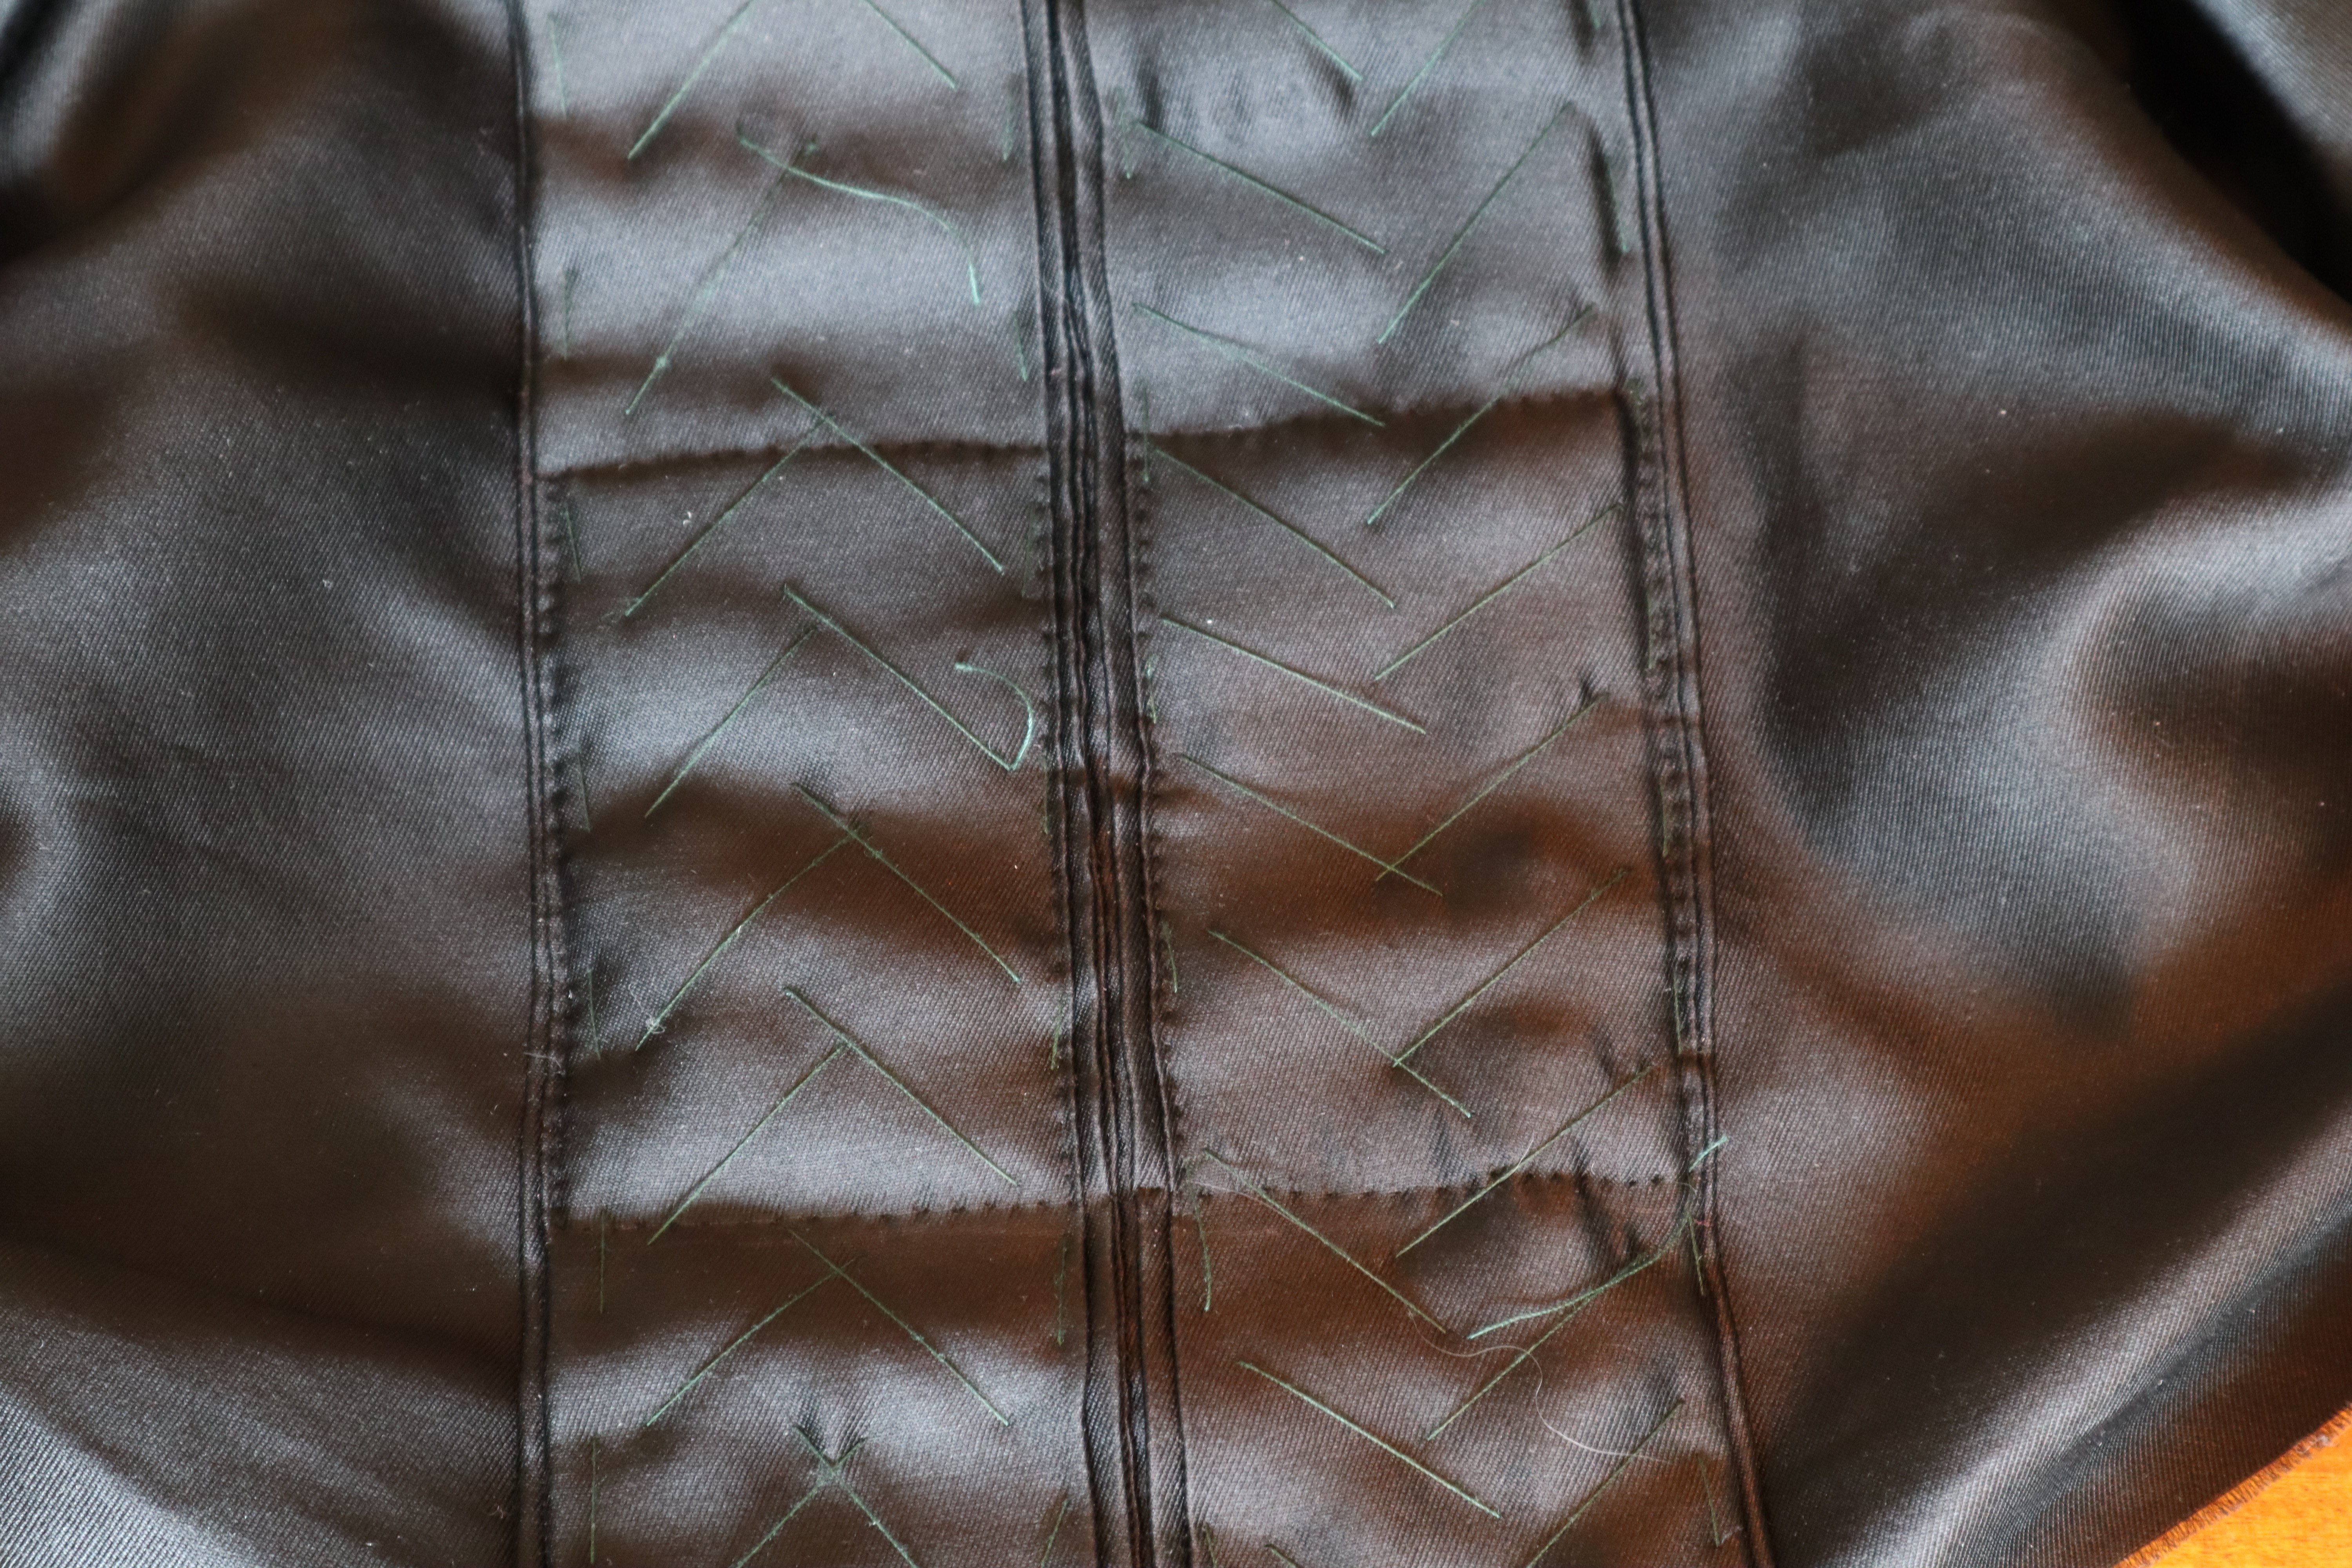
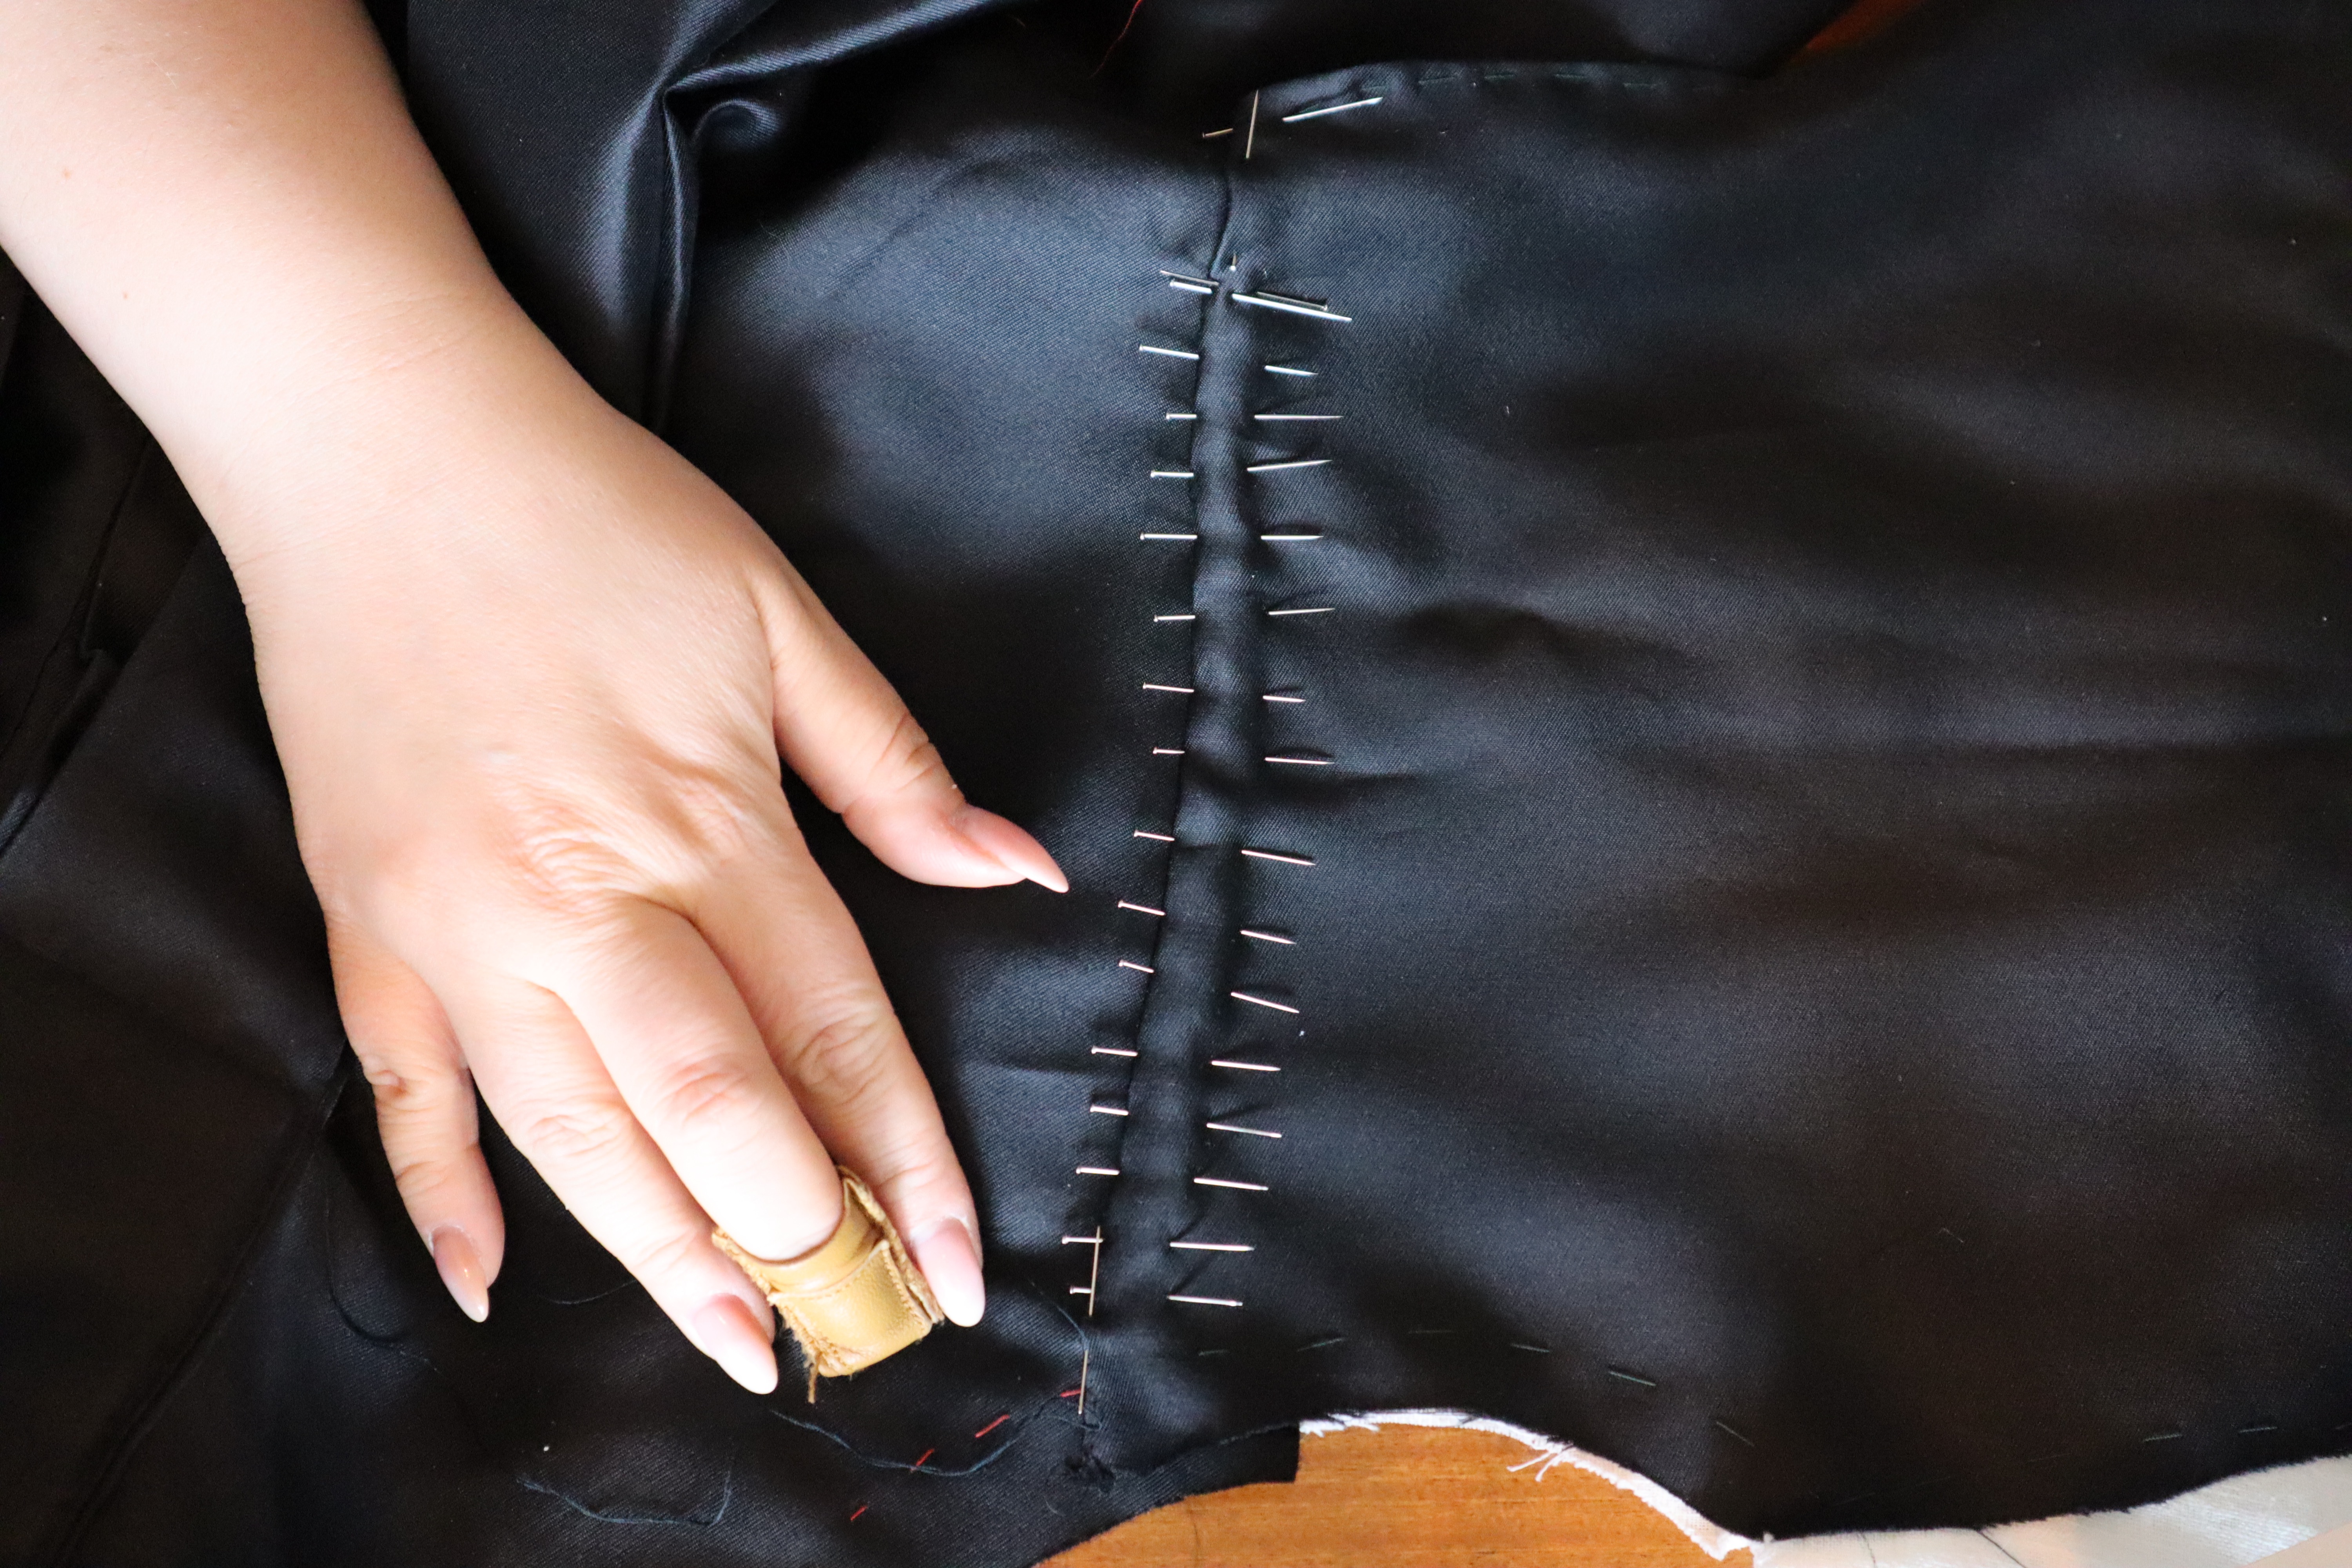
I then pieced the big back piece together. The most characteristic part of the negligee is the back pleats, and I spent a lot of time fiddling with them and making them look the way I wanted. There are so many layers of fabric in each pleat!

The pleats this late in the 18th century tend to be fairly narrow, so I tried to make mine narrow as well. However, I’m a tall and big woman with a fairly broad back, so I tried to make sure they didn’t look silly or proportionally too narrow either. Balance is the key!

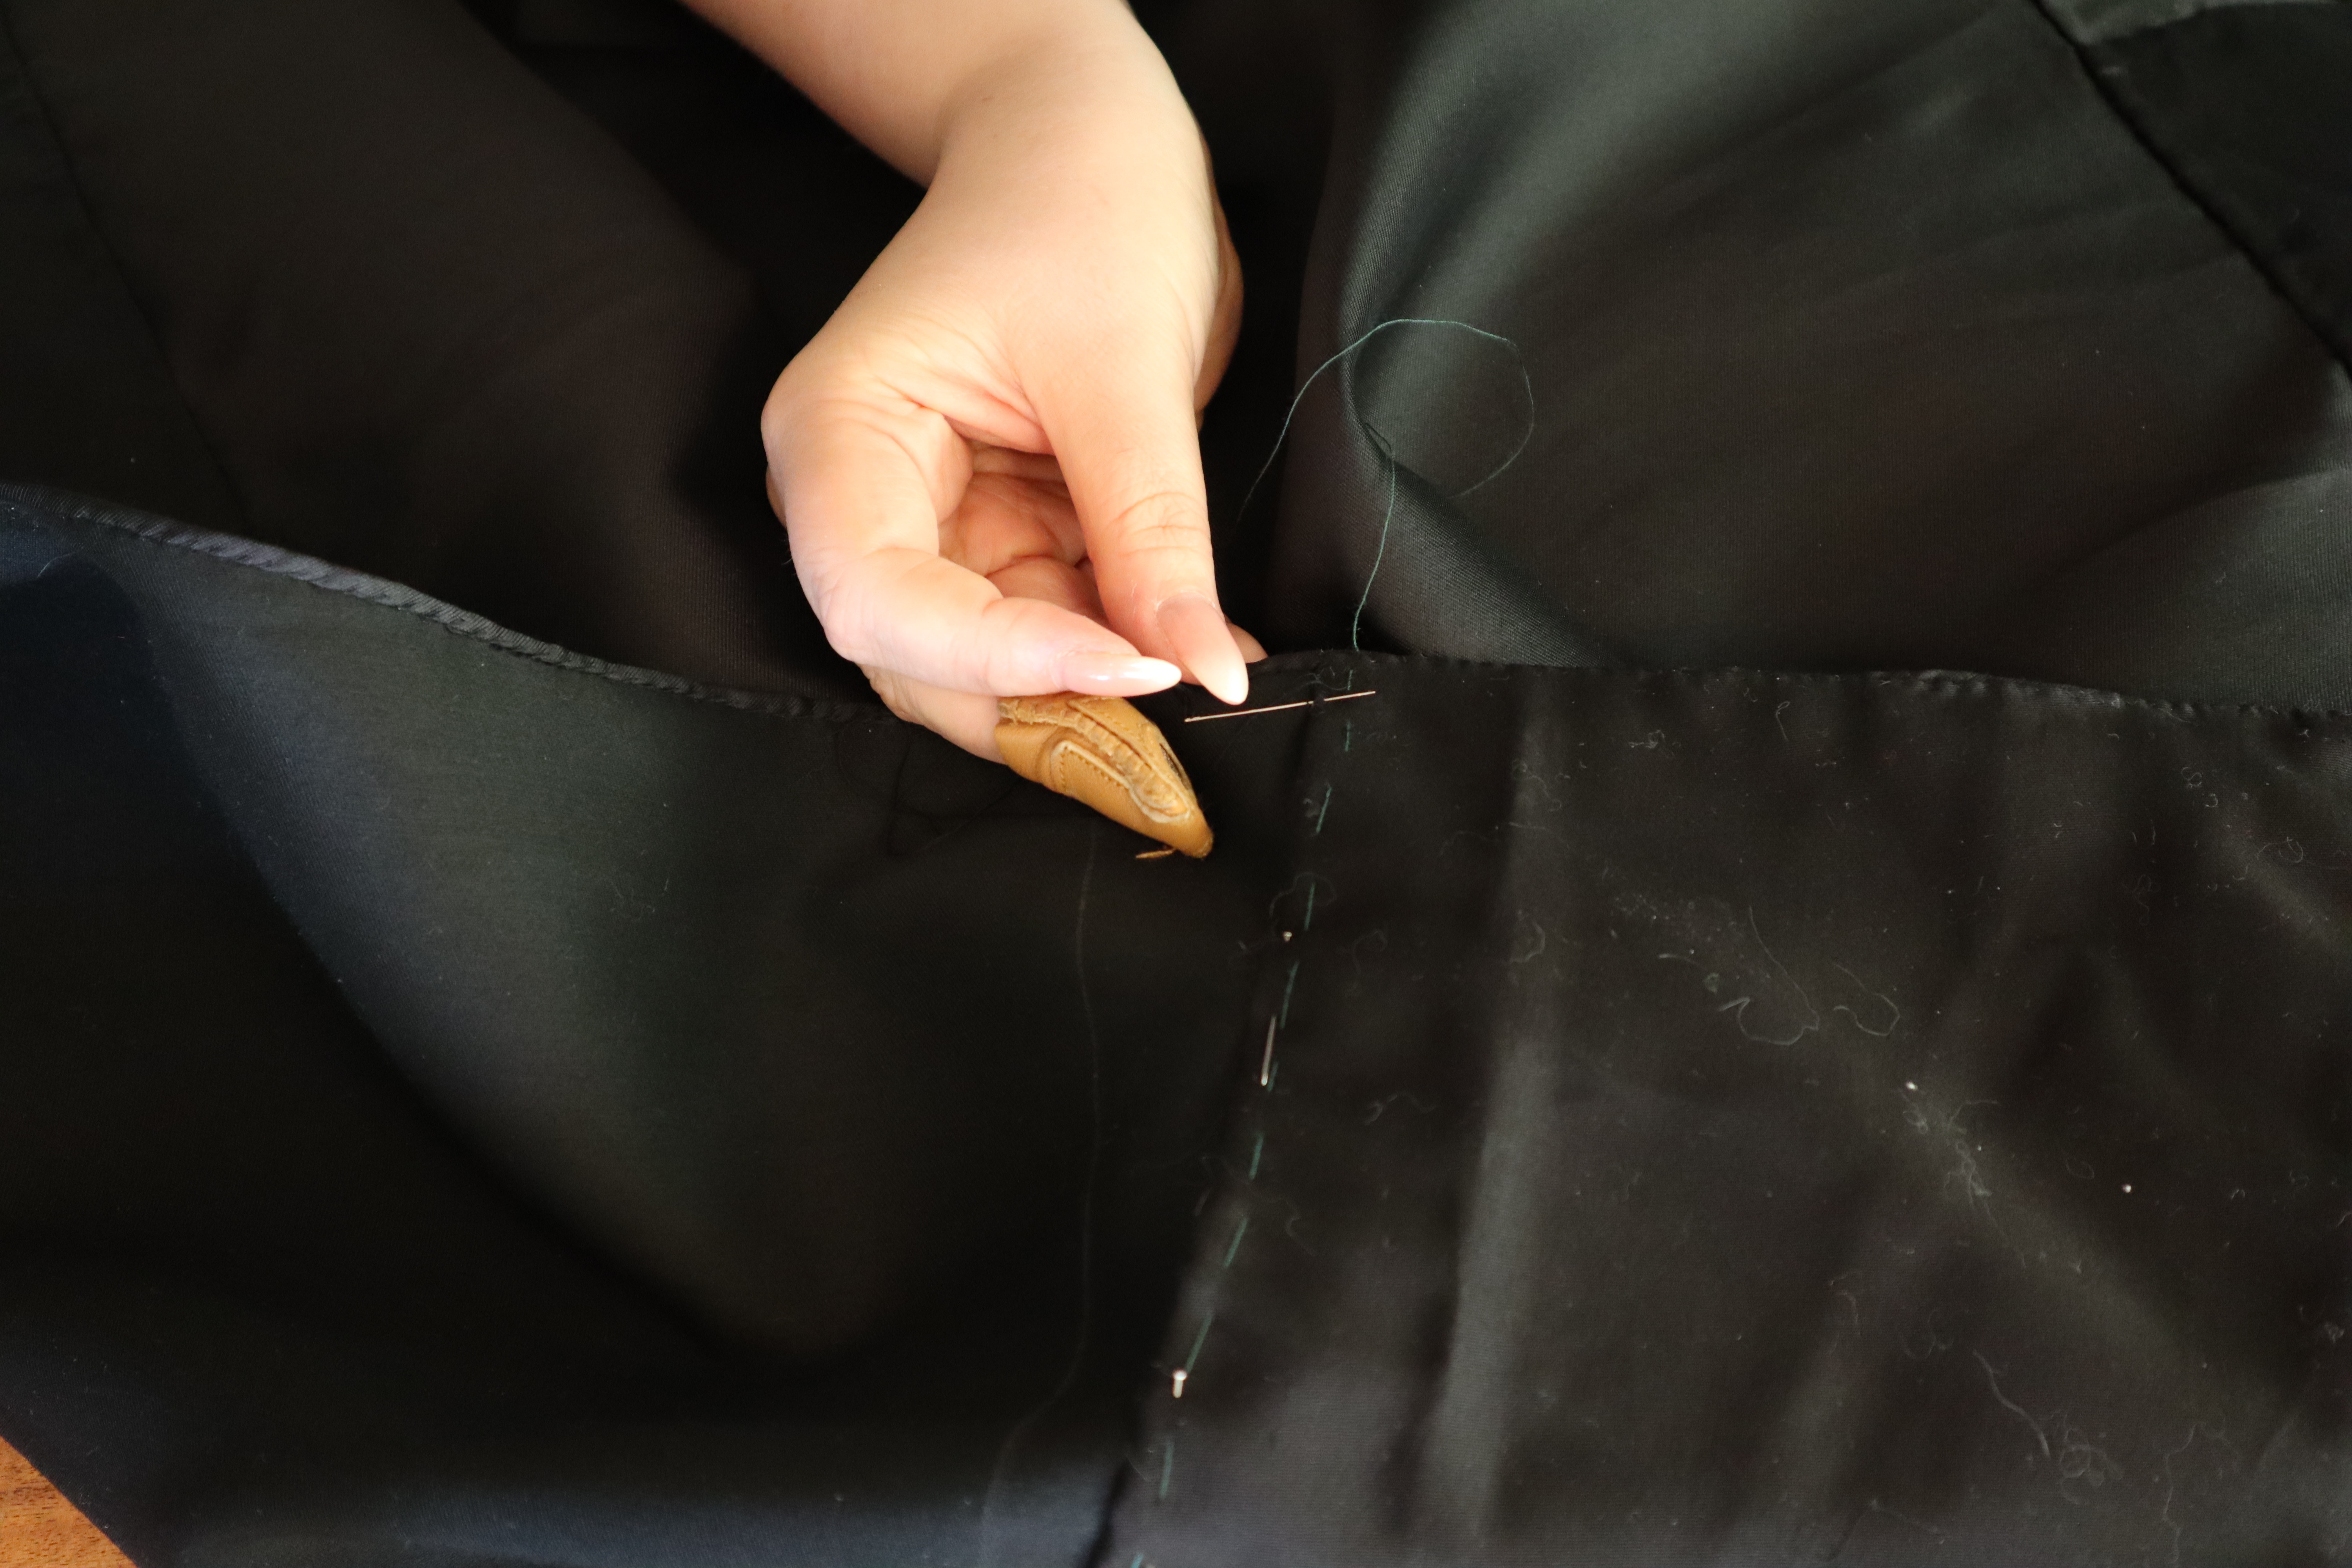
Once I was happy with the pleats, I basted them down (I love basting! LOVE IT!) and mounted them over the opening in the lining back. Then came a process of sewing the pleats to the lining over and over and over again…
The pleats are sewn down in a sort of rectangle at the top.
Then, they’re stitched to the top of the back opening (but only the “underside” of the pleats, not through all the layers).

The back is then stitched to the lining along the sides of the back opening…
And finally, the front piece is lapped over the back and stitched down using tiny prick stitches.
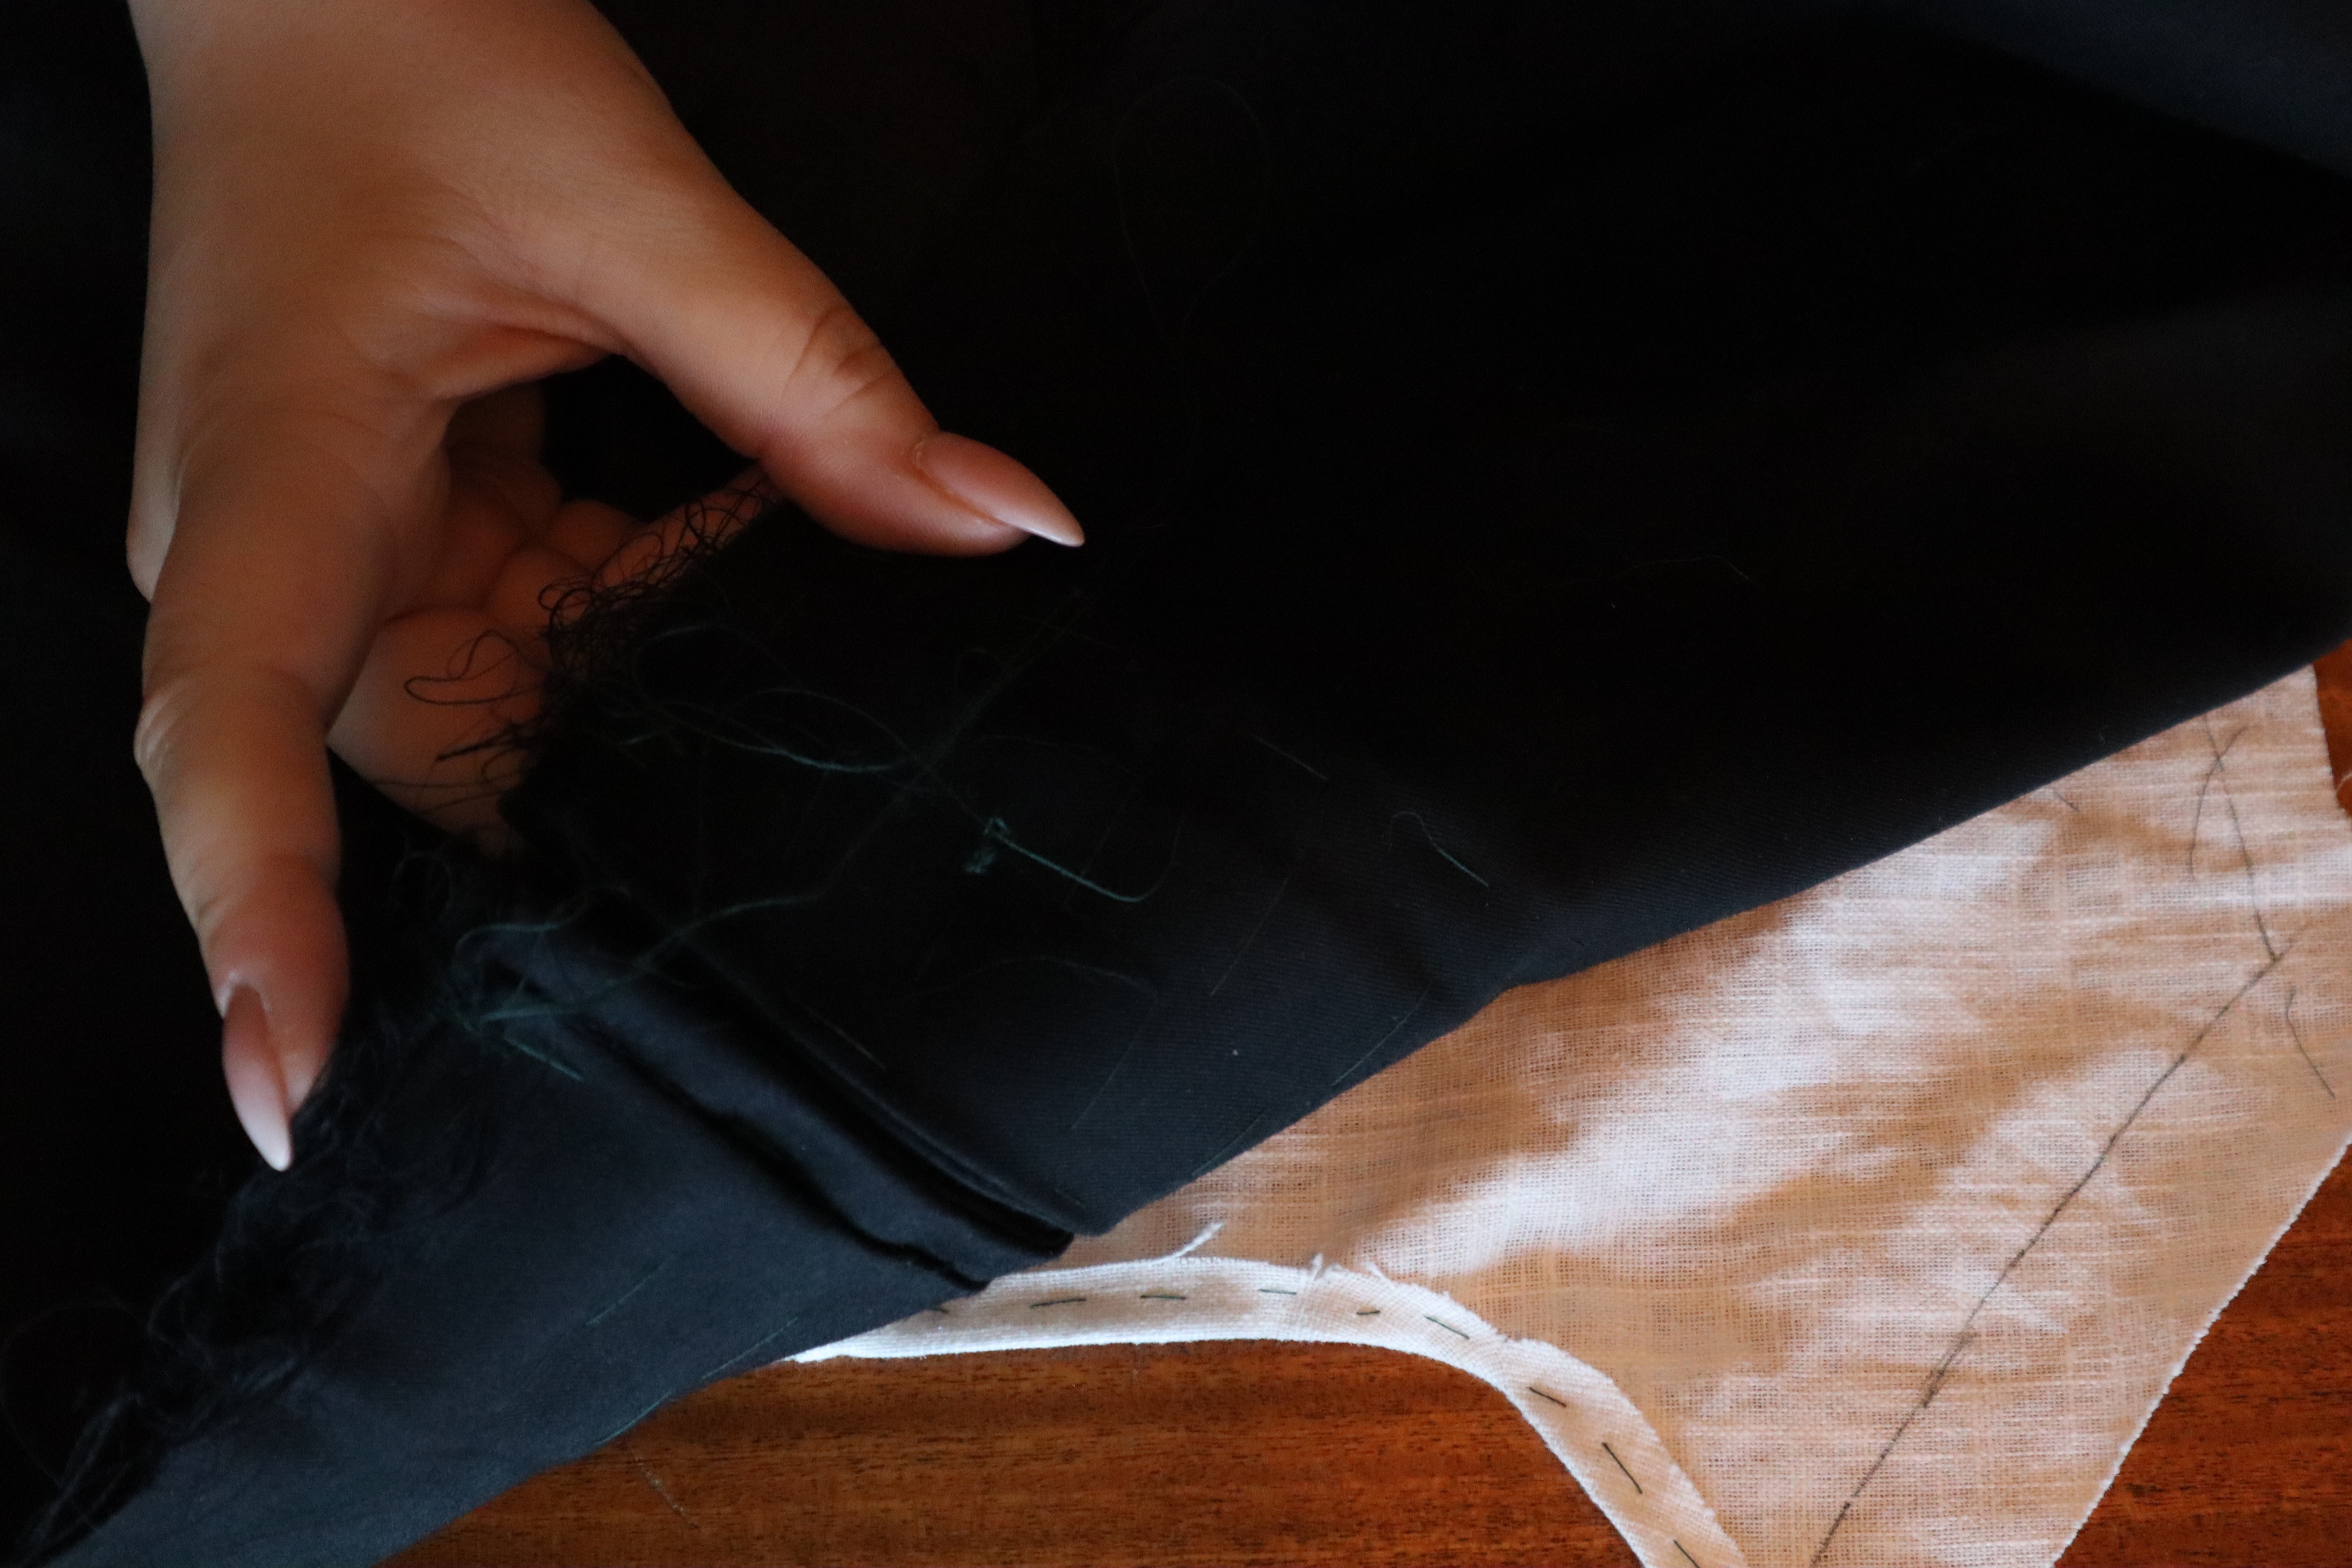
As the back piece was a big rectangle, a piece had to be cut from each side to fit it under the front edge, but this didn’t go to waste – I ended up using that for the sleeve ruffles!
Time to try on everything!


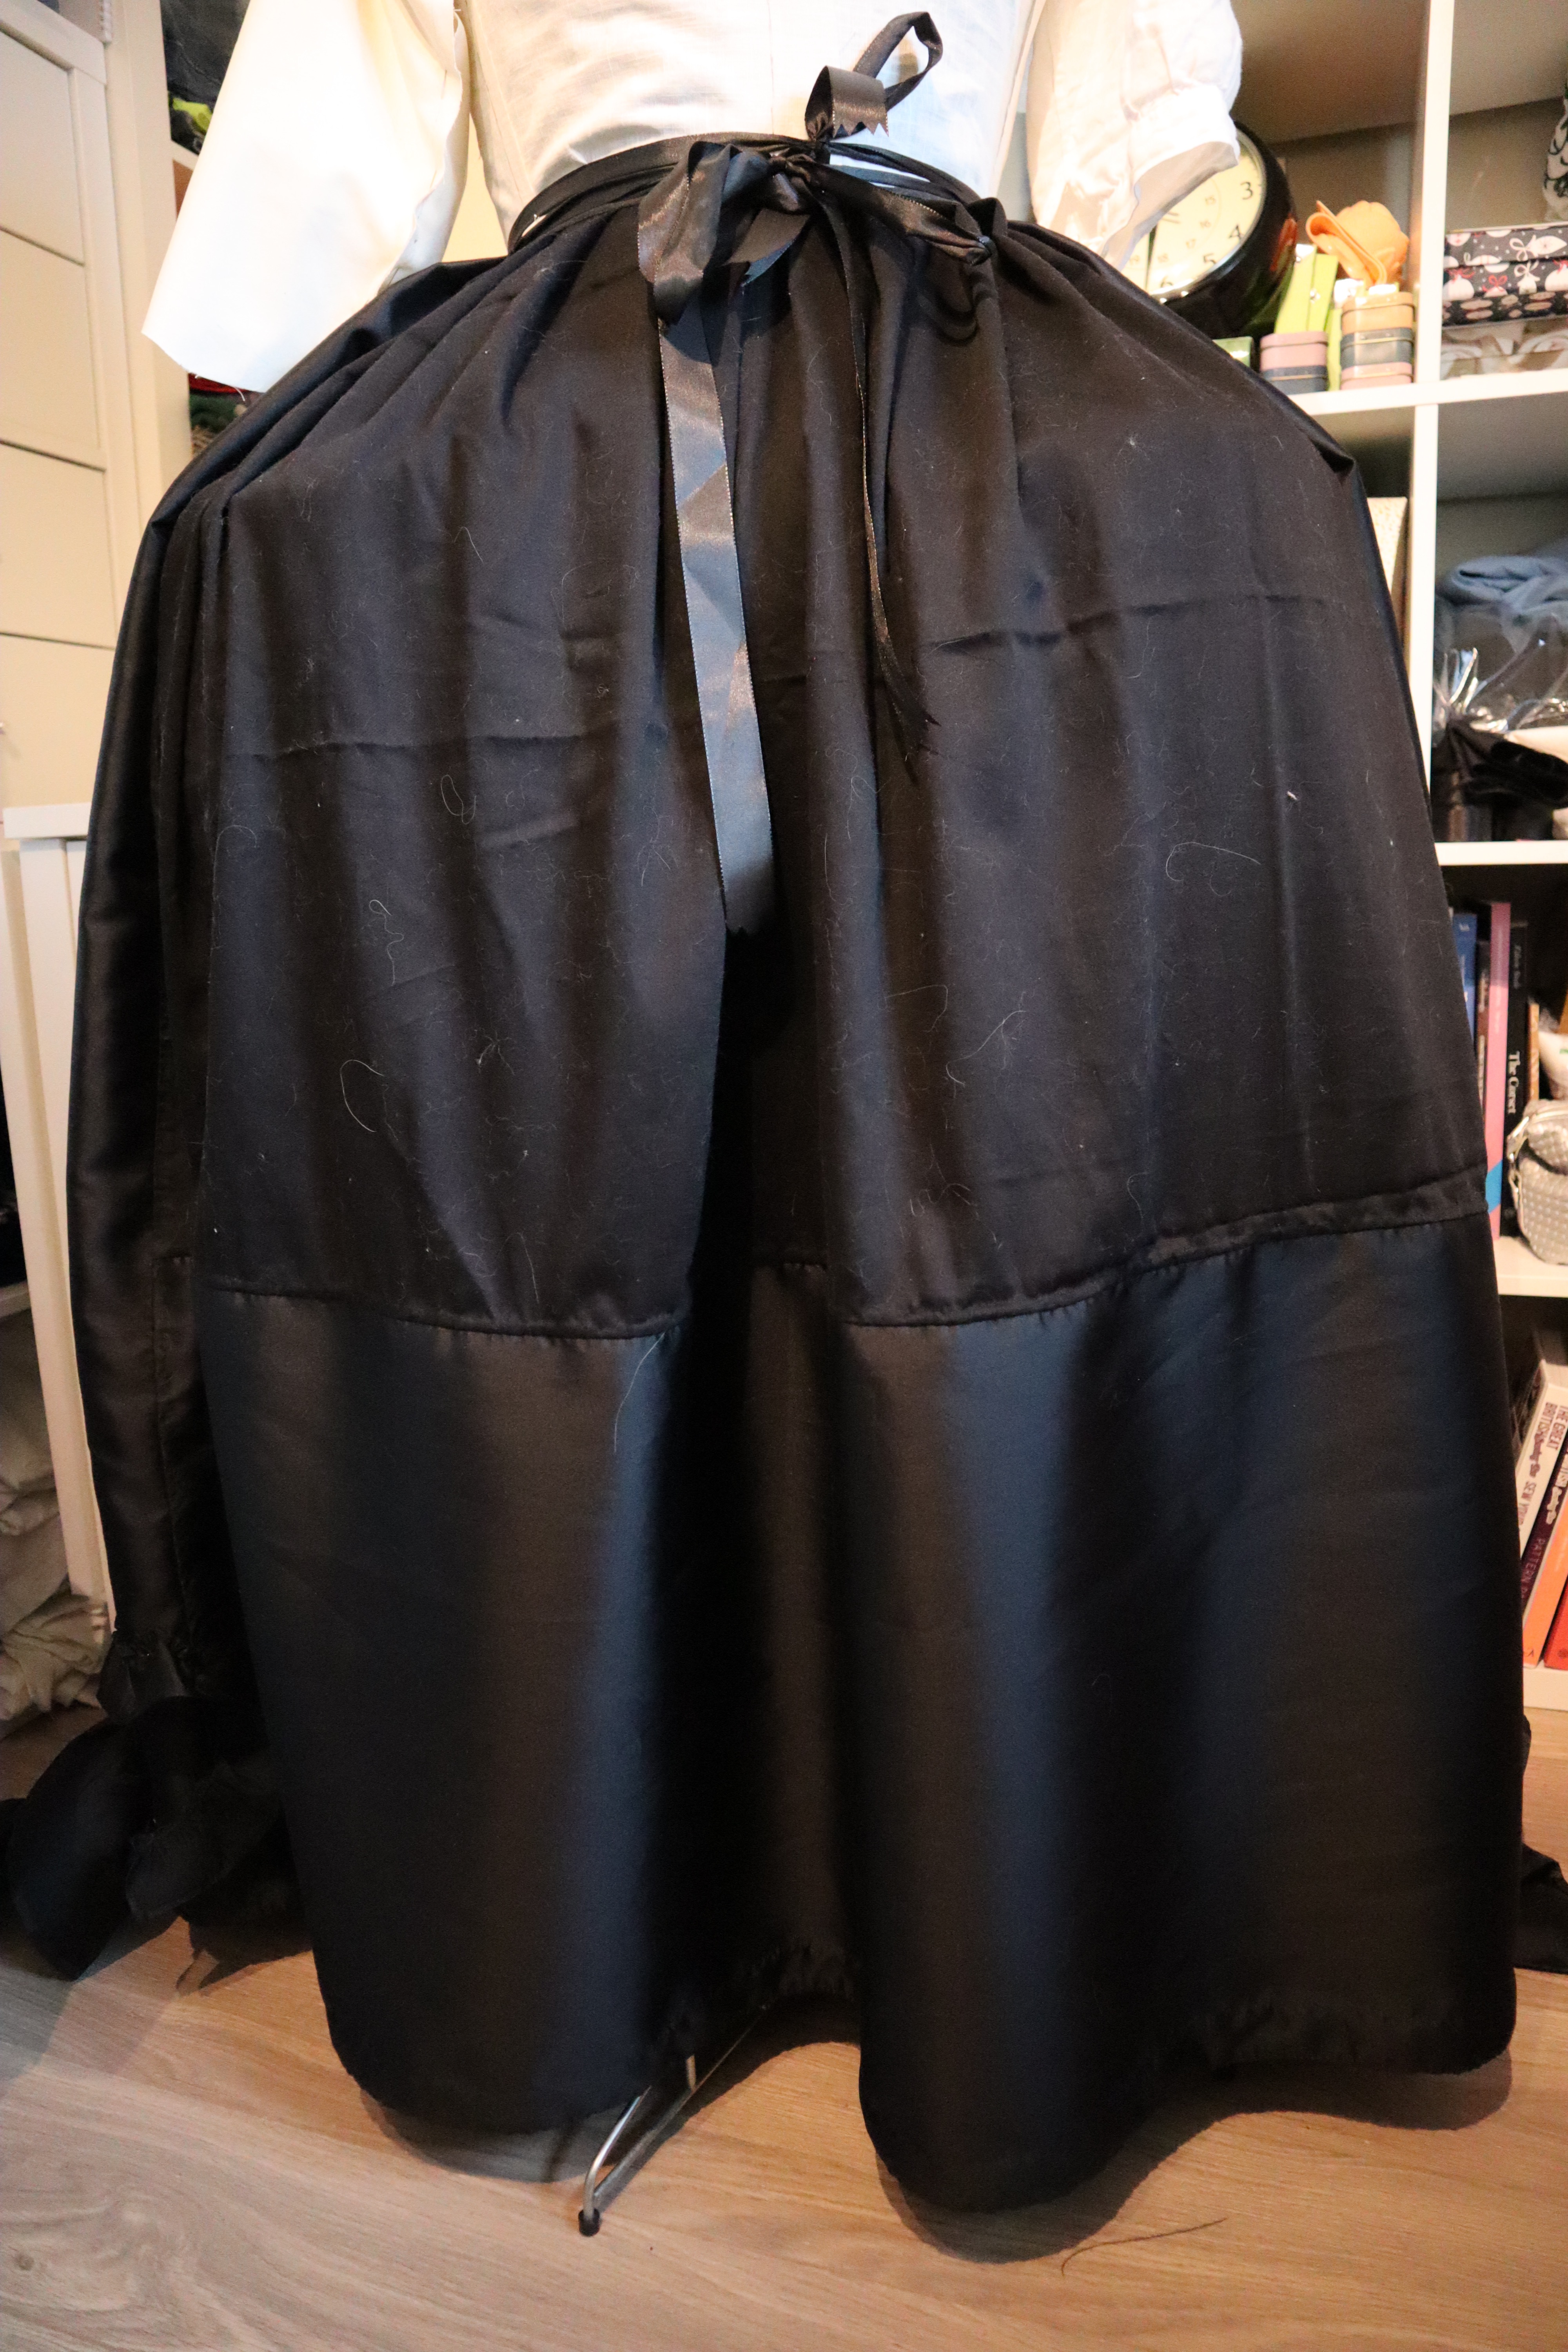
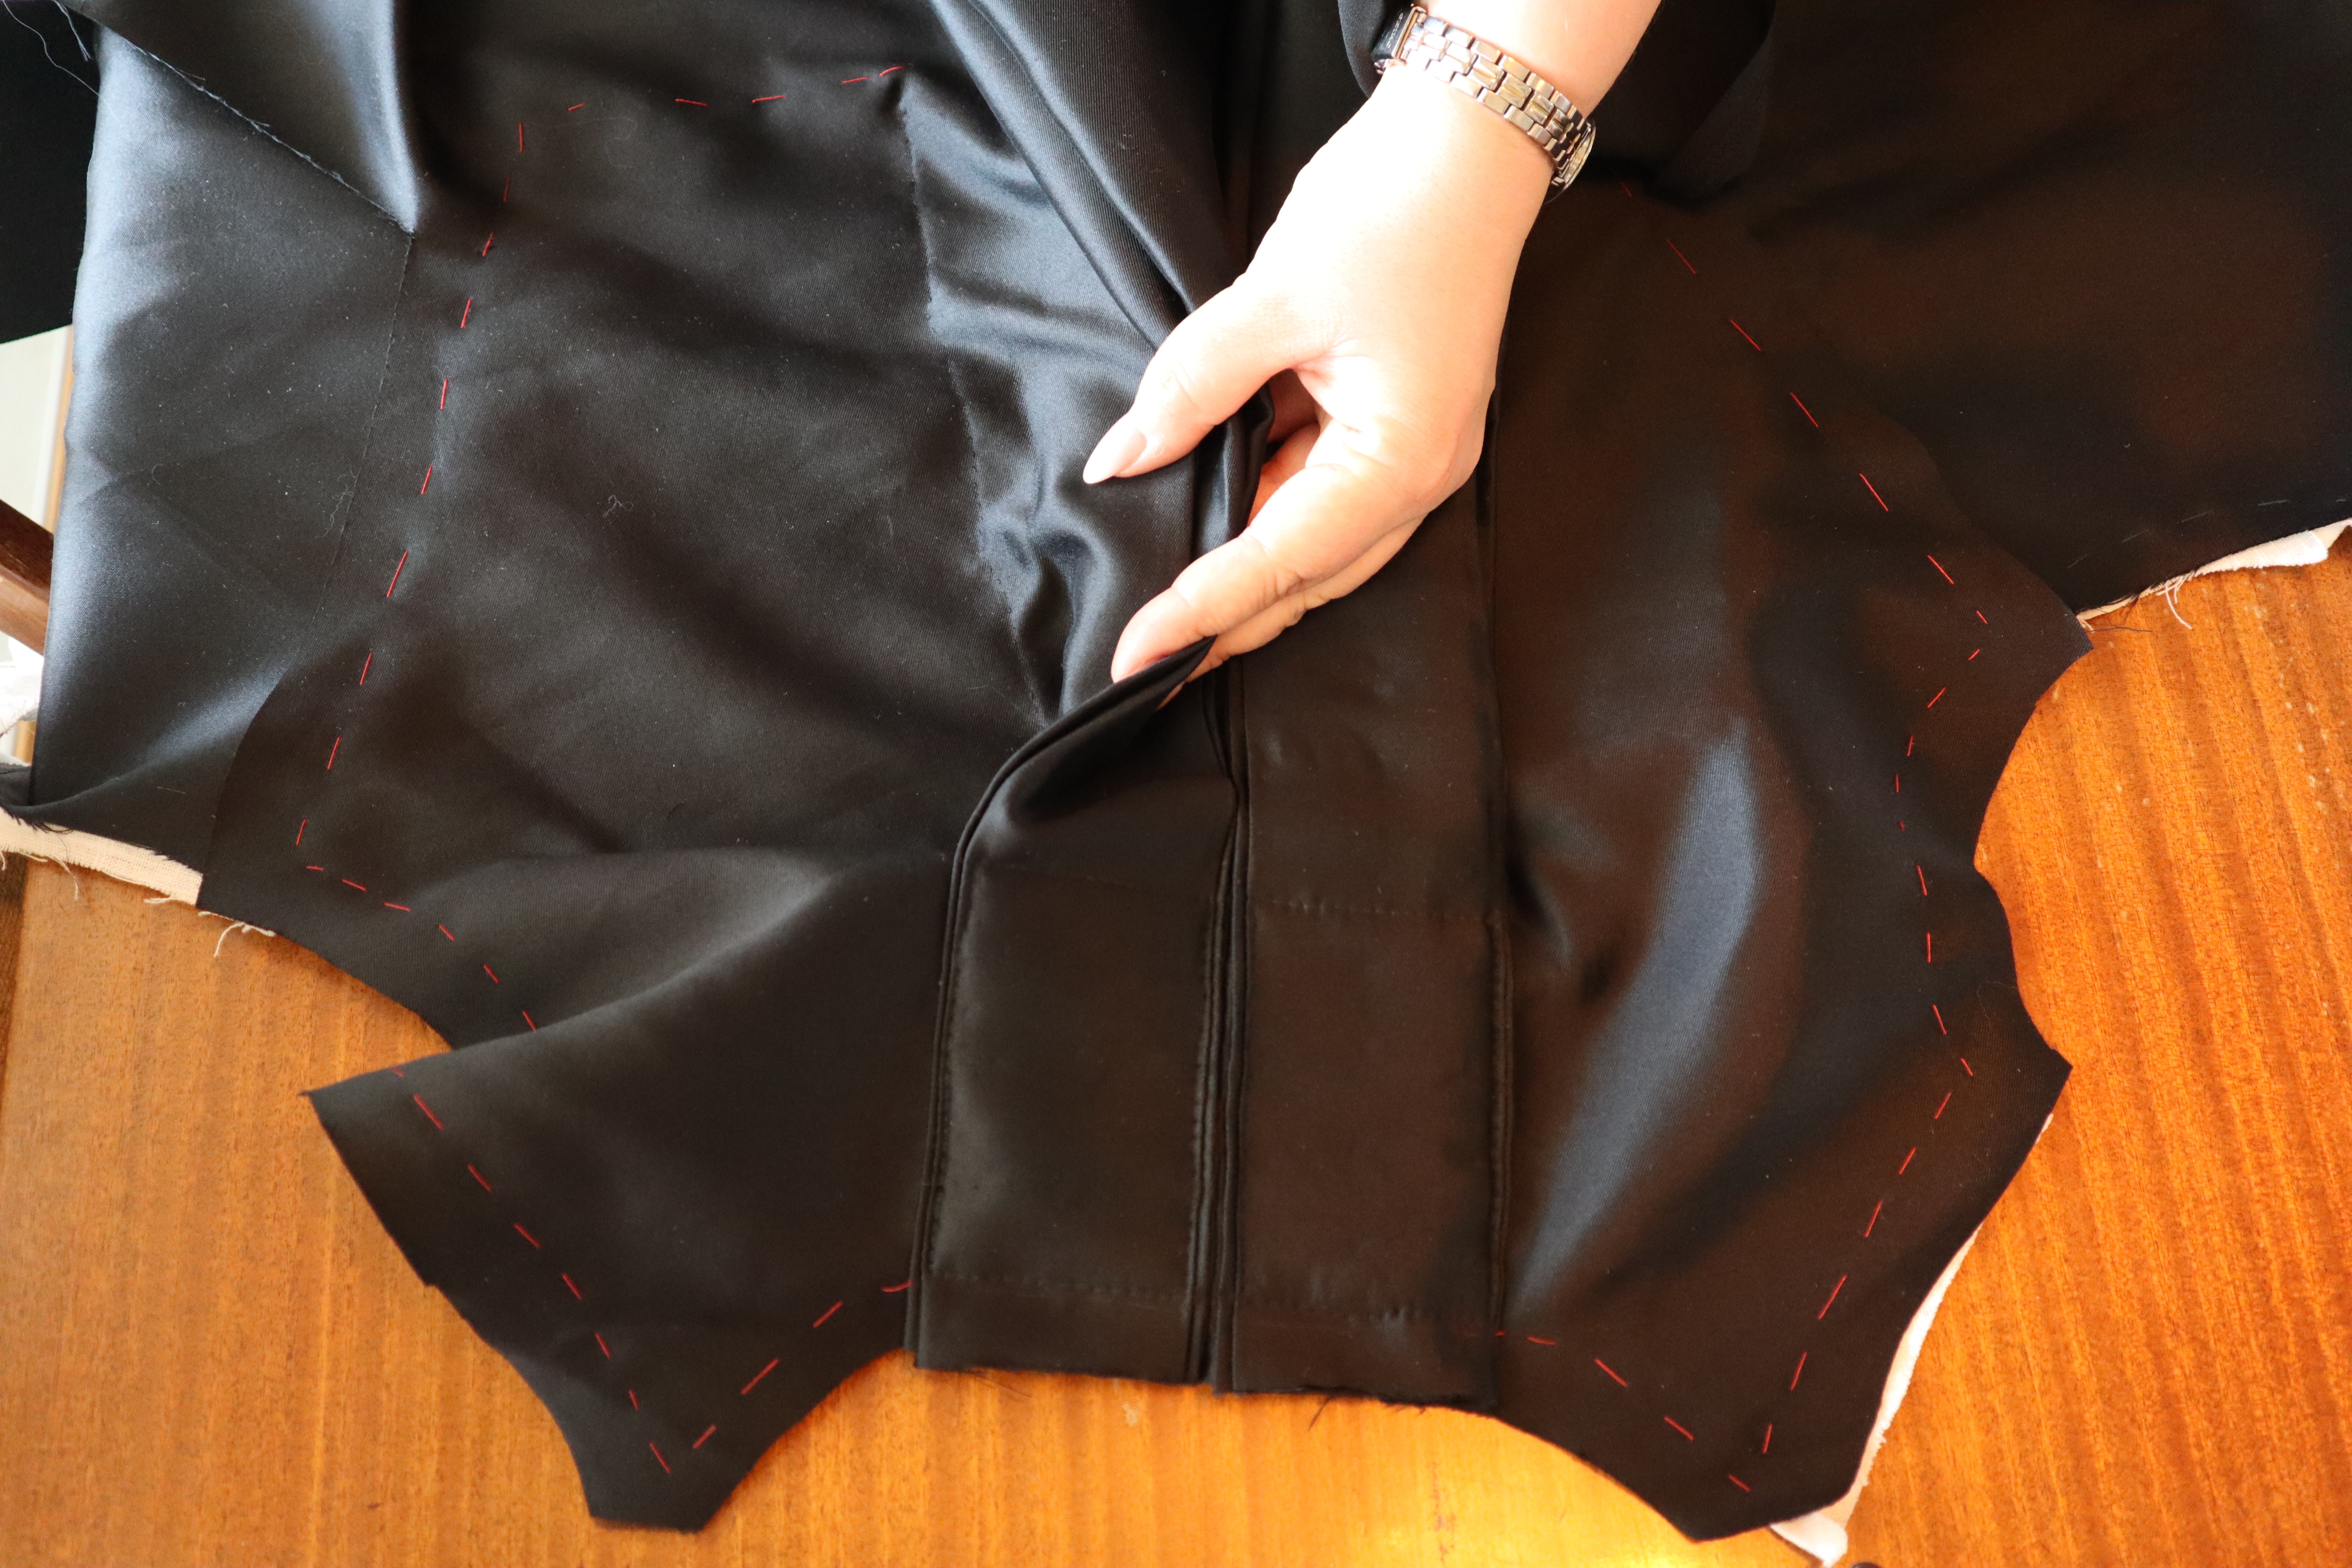
The front skirts of the gown are really very small, compared to the massive back piece (mine ended up being nearly 400 cm across!). With some clever cutting and piecing, I got two slightly slanting front skirt pieces.
Holding them up to my waist, I could see where I needed to attach them to the bodice to make them lay flat and elegantly, without puckers.
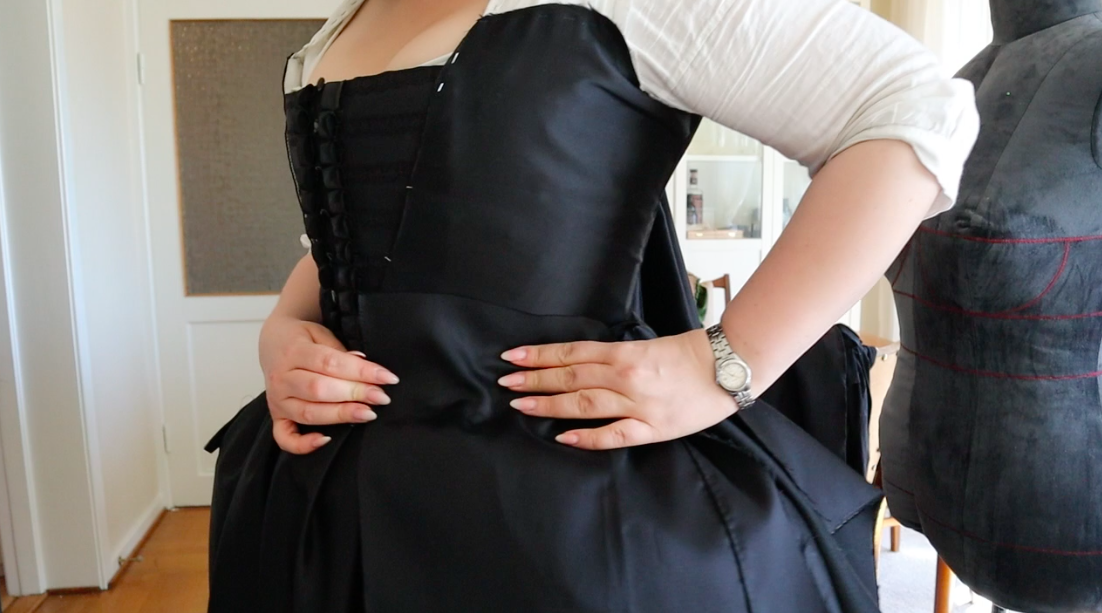
The point of the front skirts is to be a flat canvas for my glorious trim later!
I stitched the front skirts to the bodice using appliqué stitches from the outside and whip stitches from the inside, cutting away the excess skirt fabric at the front.

I pleated the surplus back and front skirt fabric and sandwiched it between the fashion fabric and the lining of the bodice.

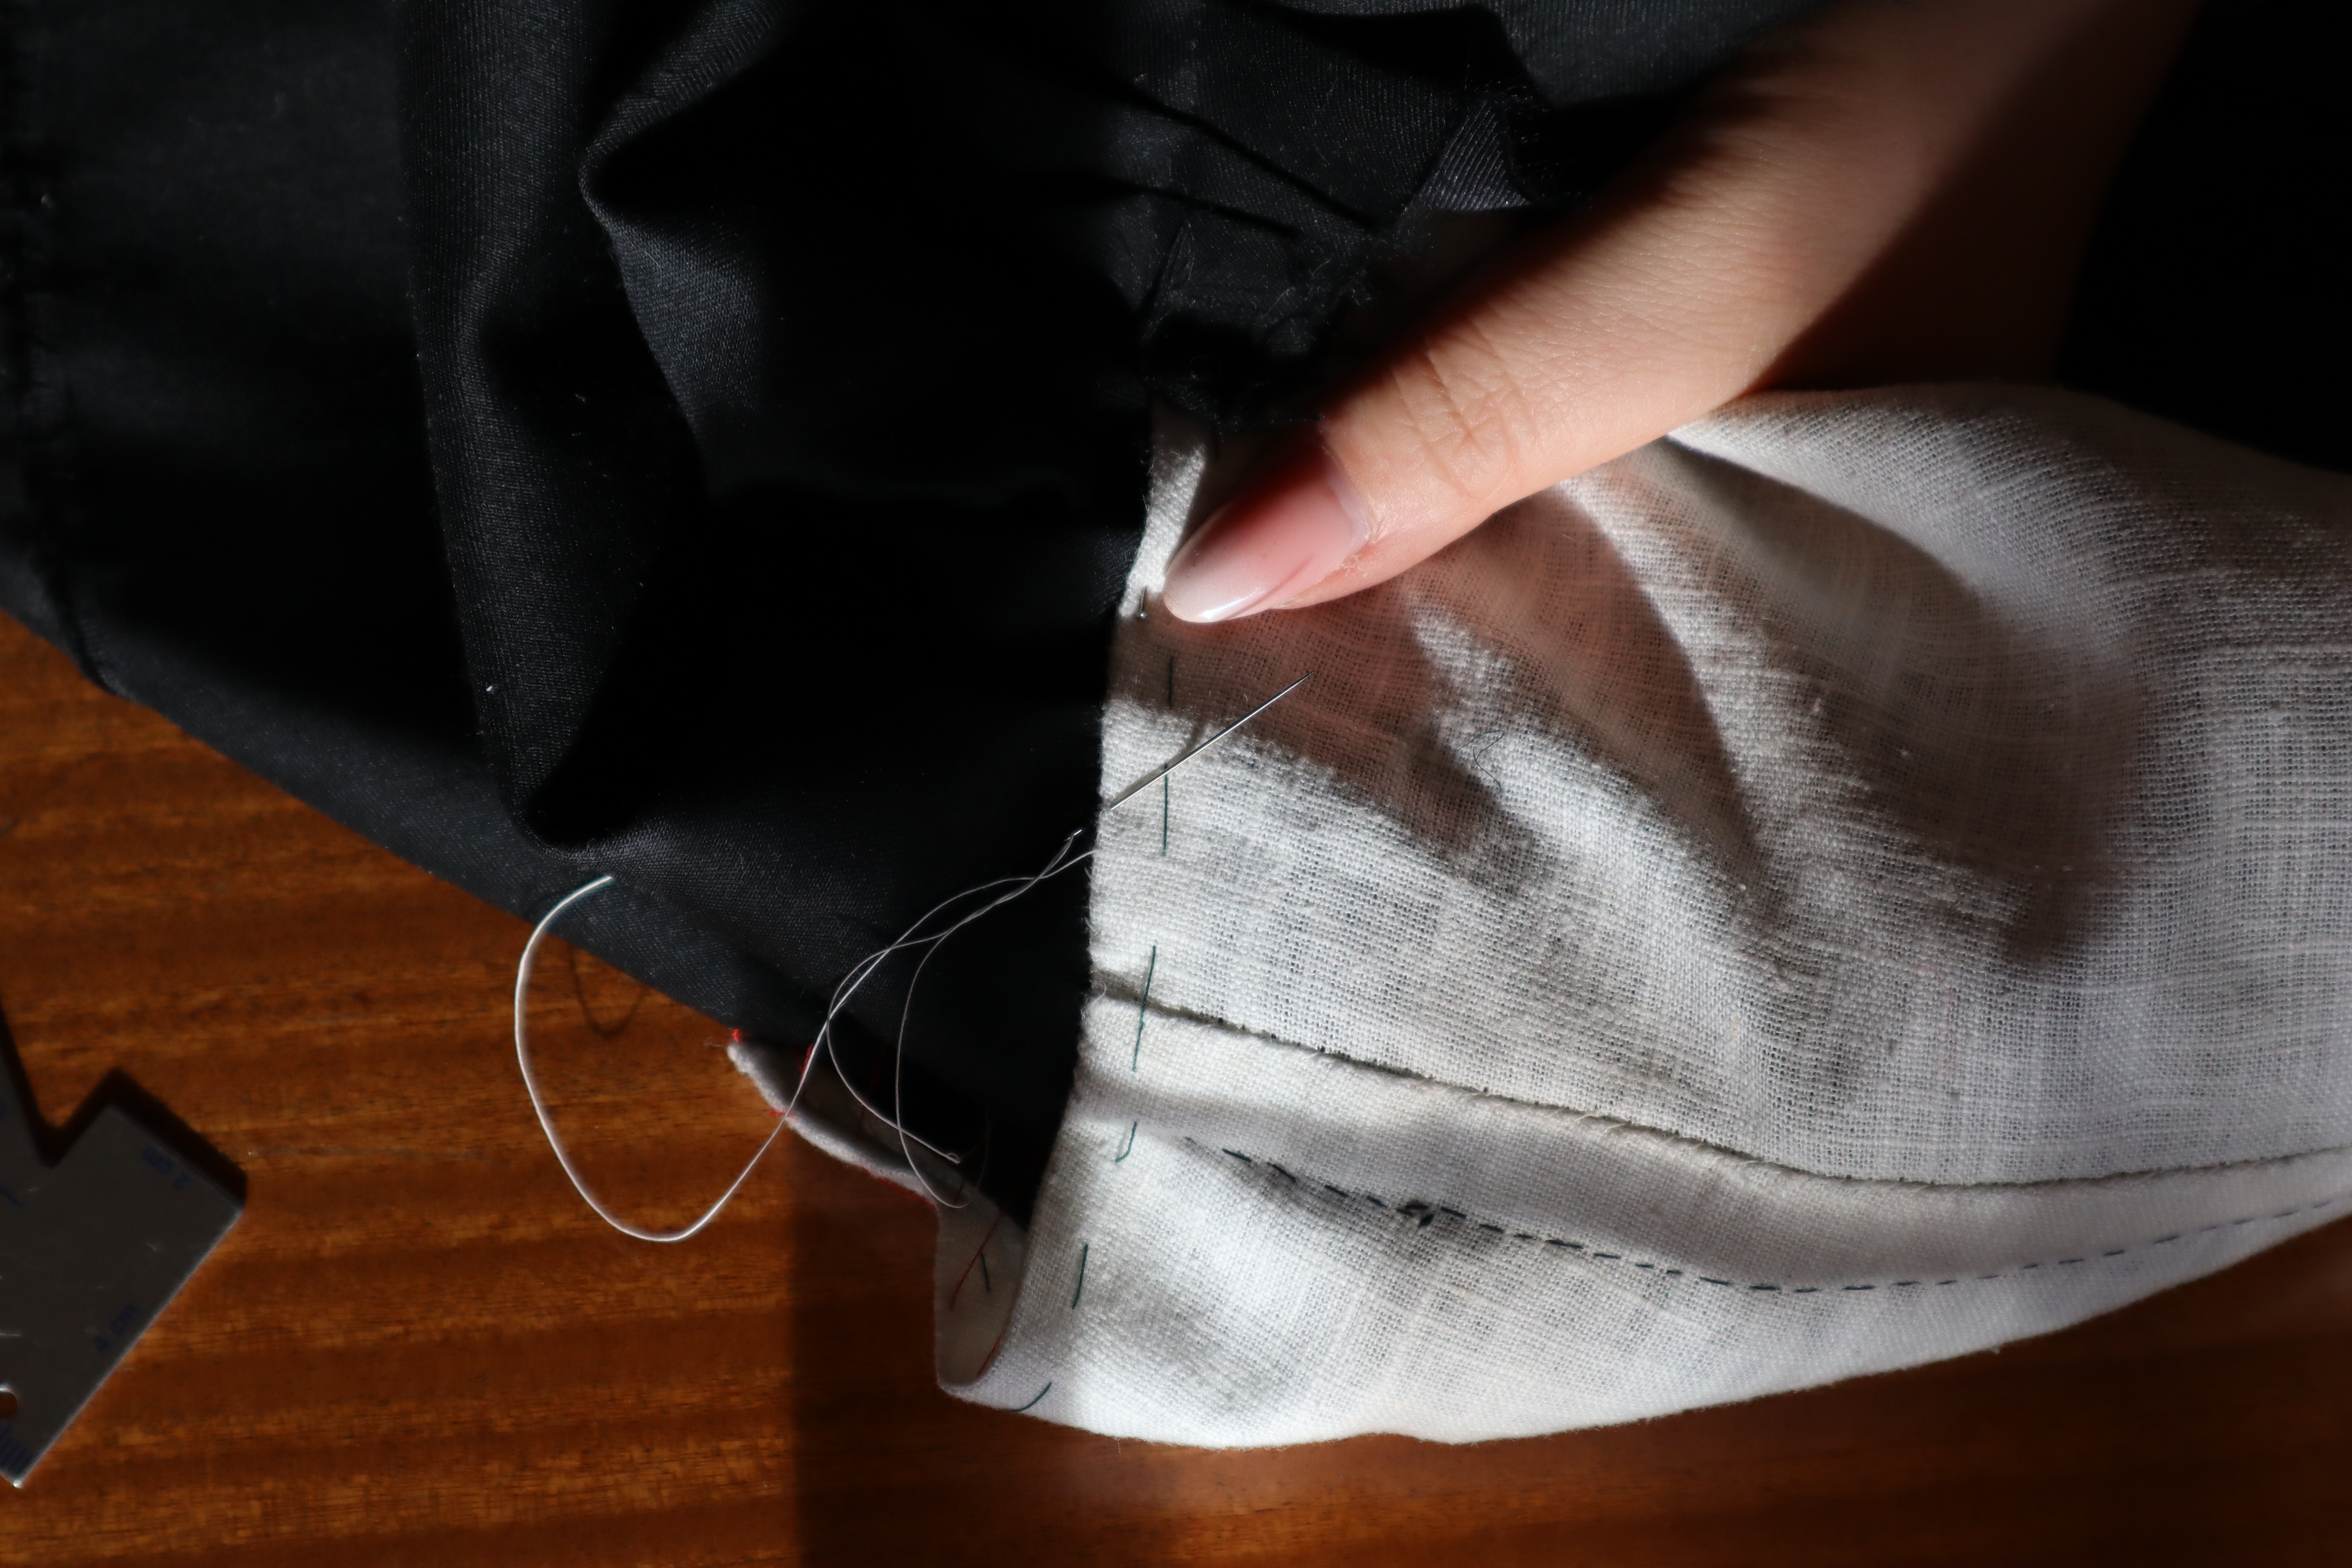
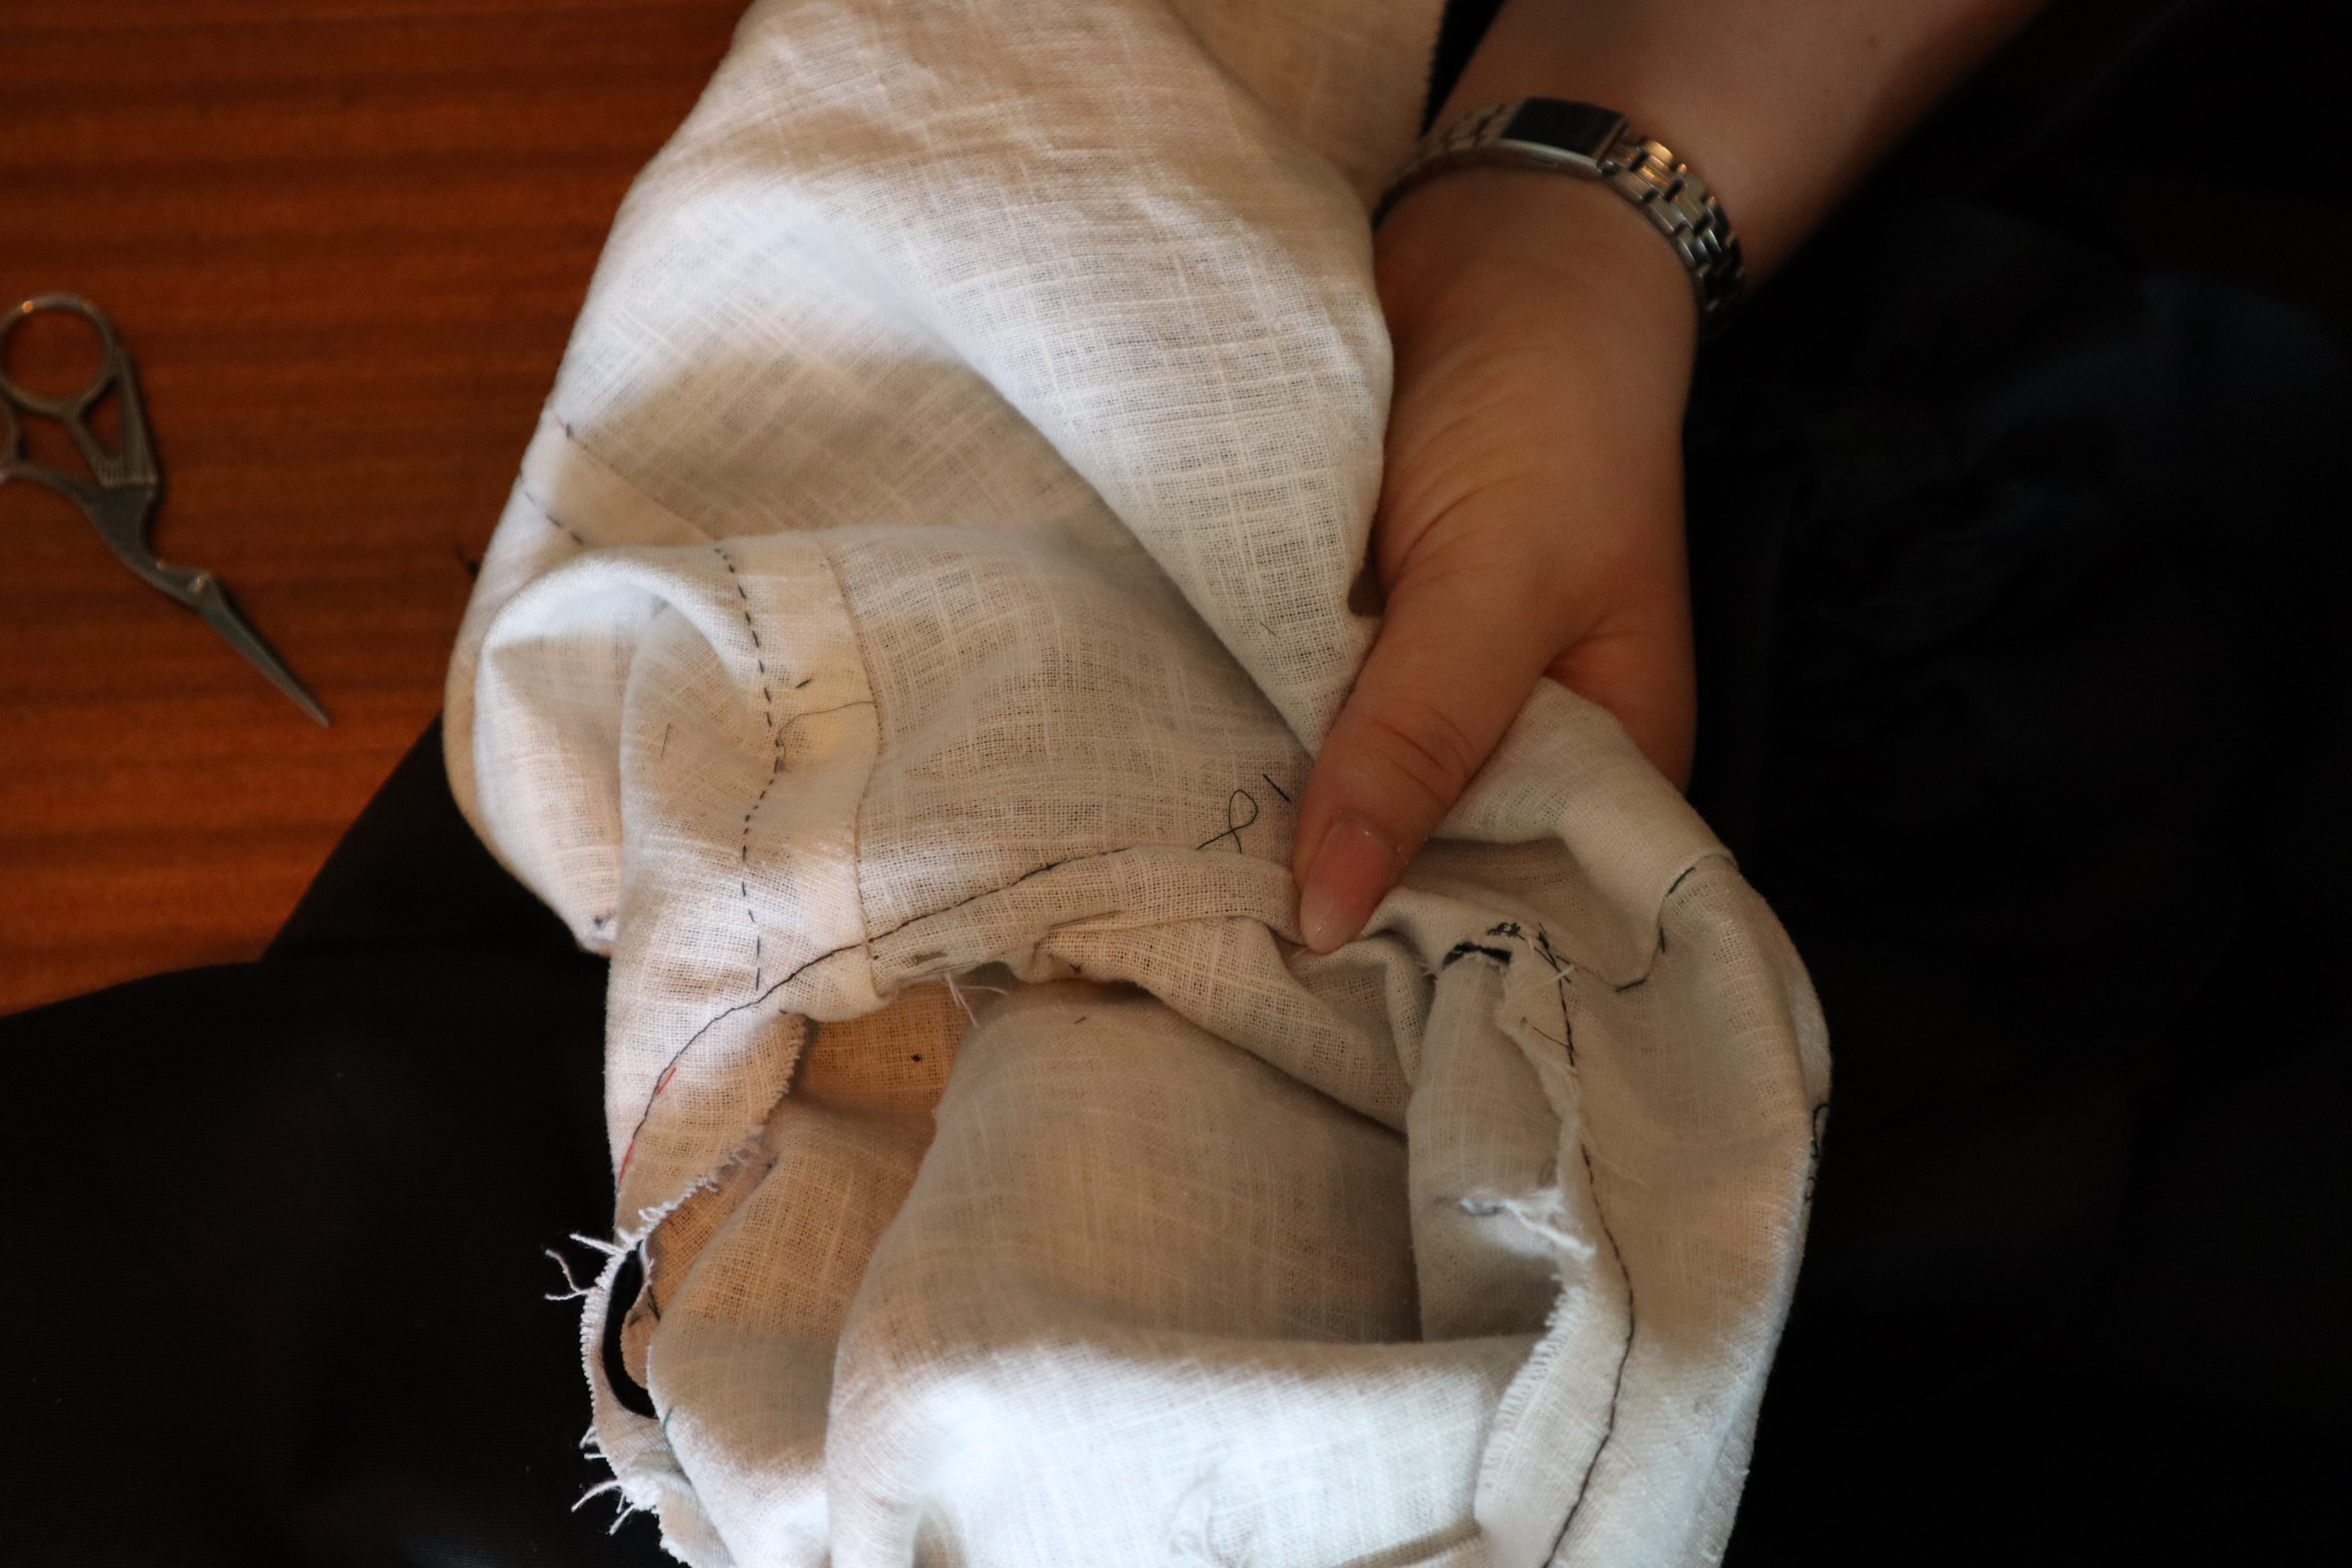
After closing the side seam in the skirts, I moved on to the neckline.
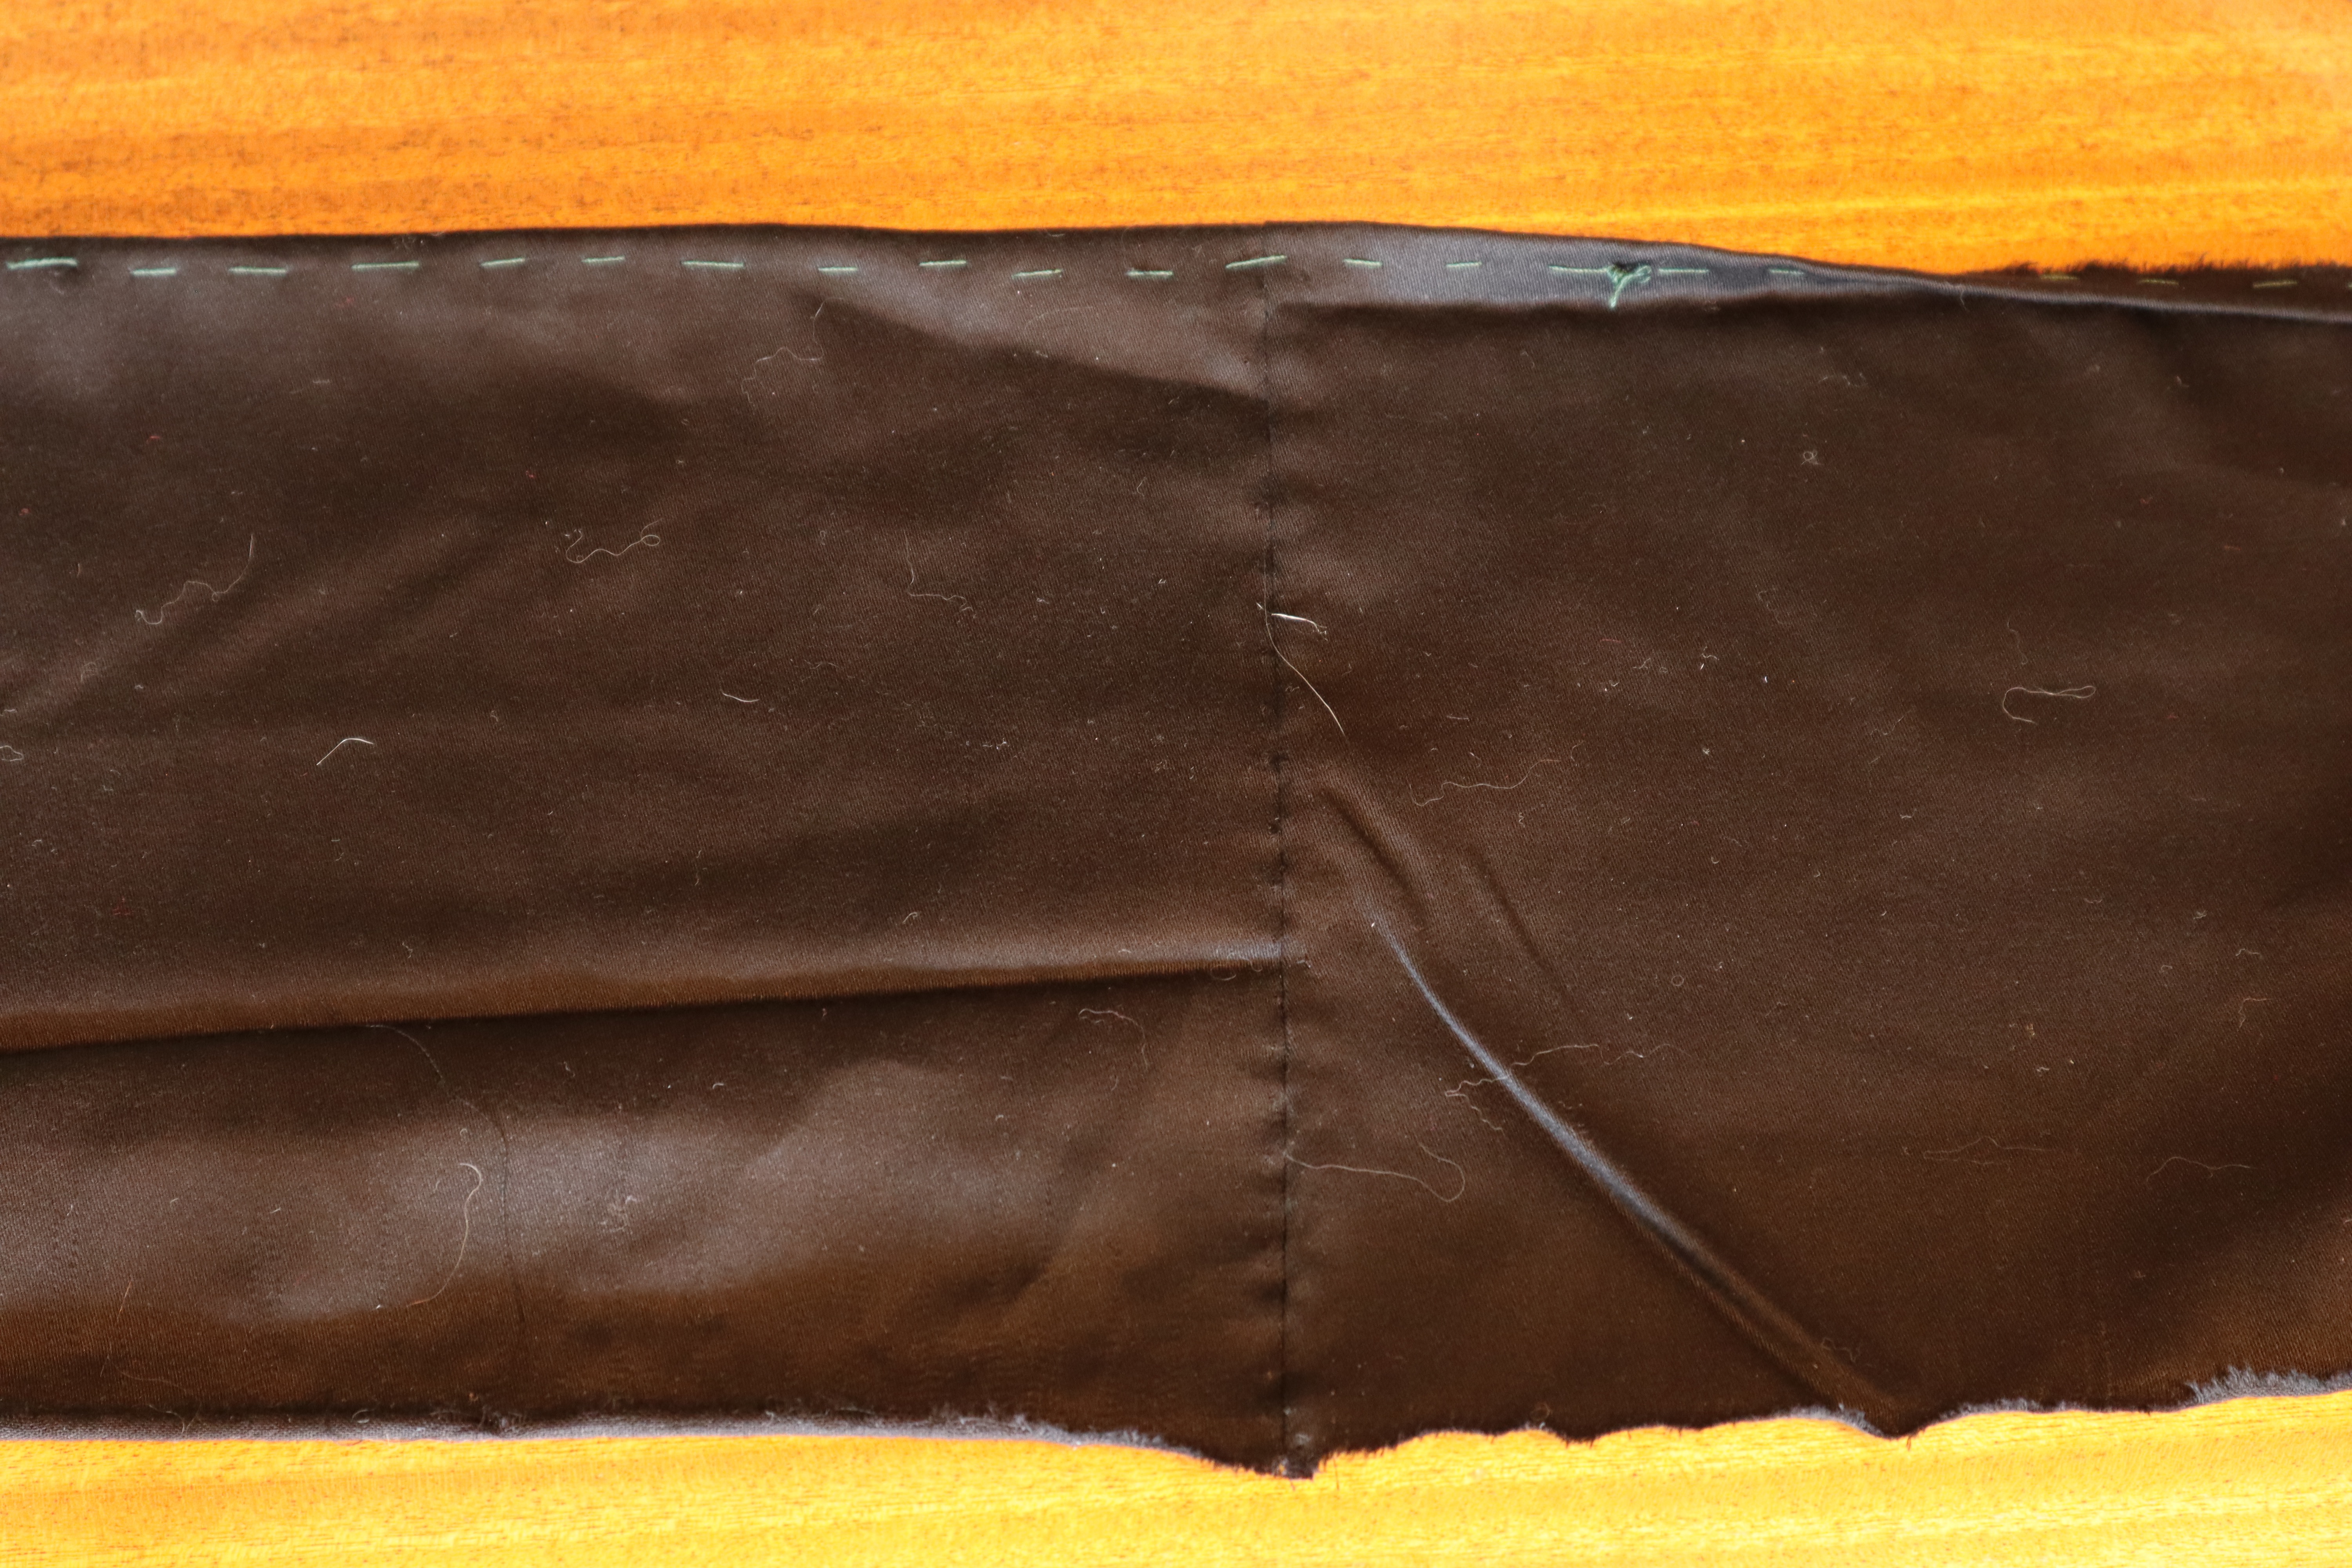
I had cut away the excess at the back of the neckline, but with all the layers of fabric in the pleats, there was too much material to fold and hem or bind the neckline.
The American Duchess Guide to 18th Century Dressmaking recommended folding the excess fabric to the inside and cover it with a piece of self fabric, and that’s what I did. It’s a little bulky, but I’m fairly happy with the result!

Now, my gown was nearly done, apart from one crucial element: sleeves… Can you tell I tend to put off the tricky bits? I put them off even a little bit longer, by stitching the shoulder straps in place first, using backstitches.

The American Duchess book has taught me a wonderful way of sewing sleeves, however, which I love and use whenever I can!
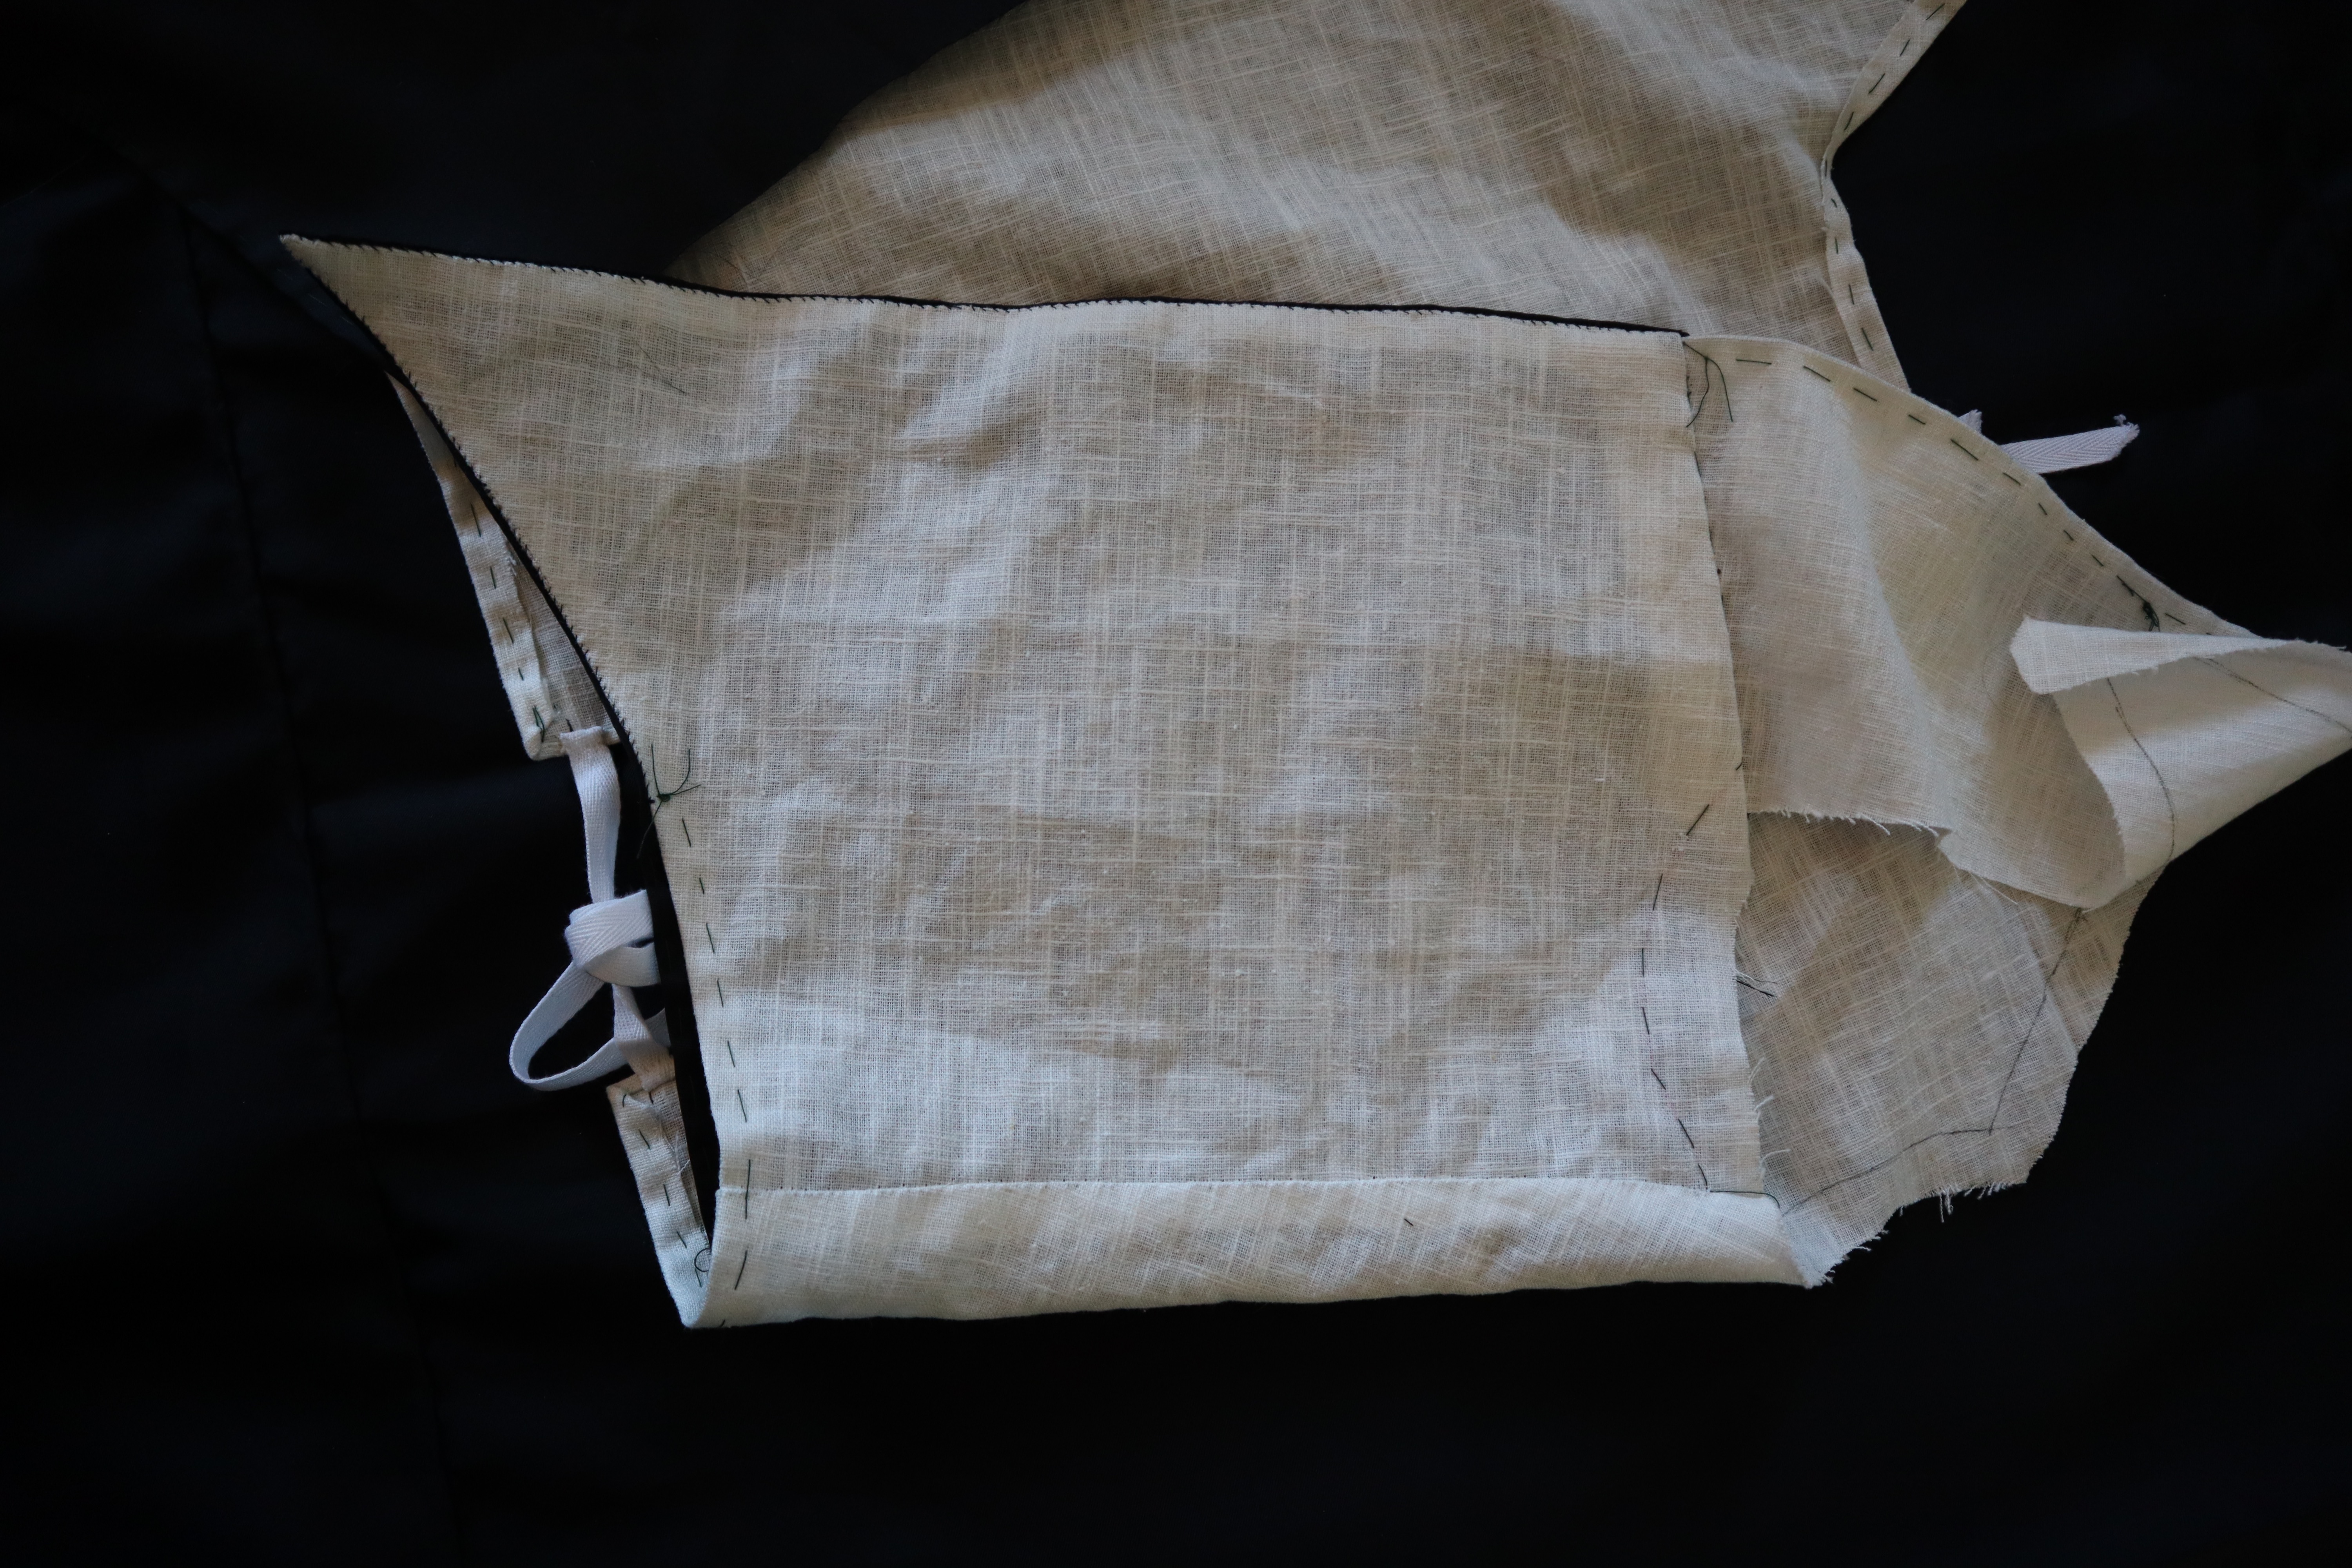
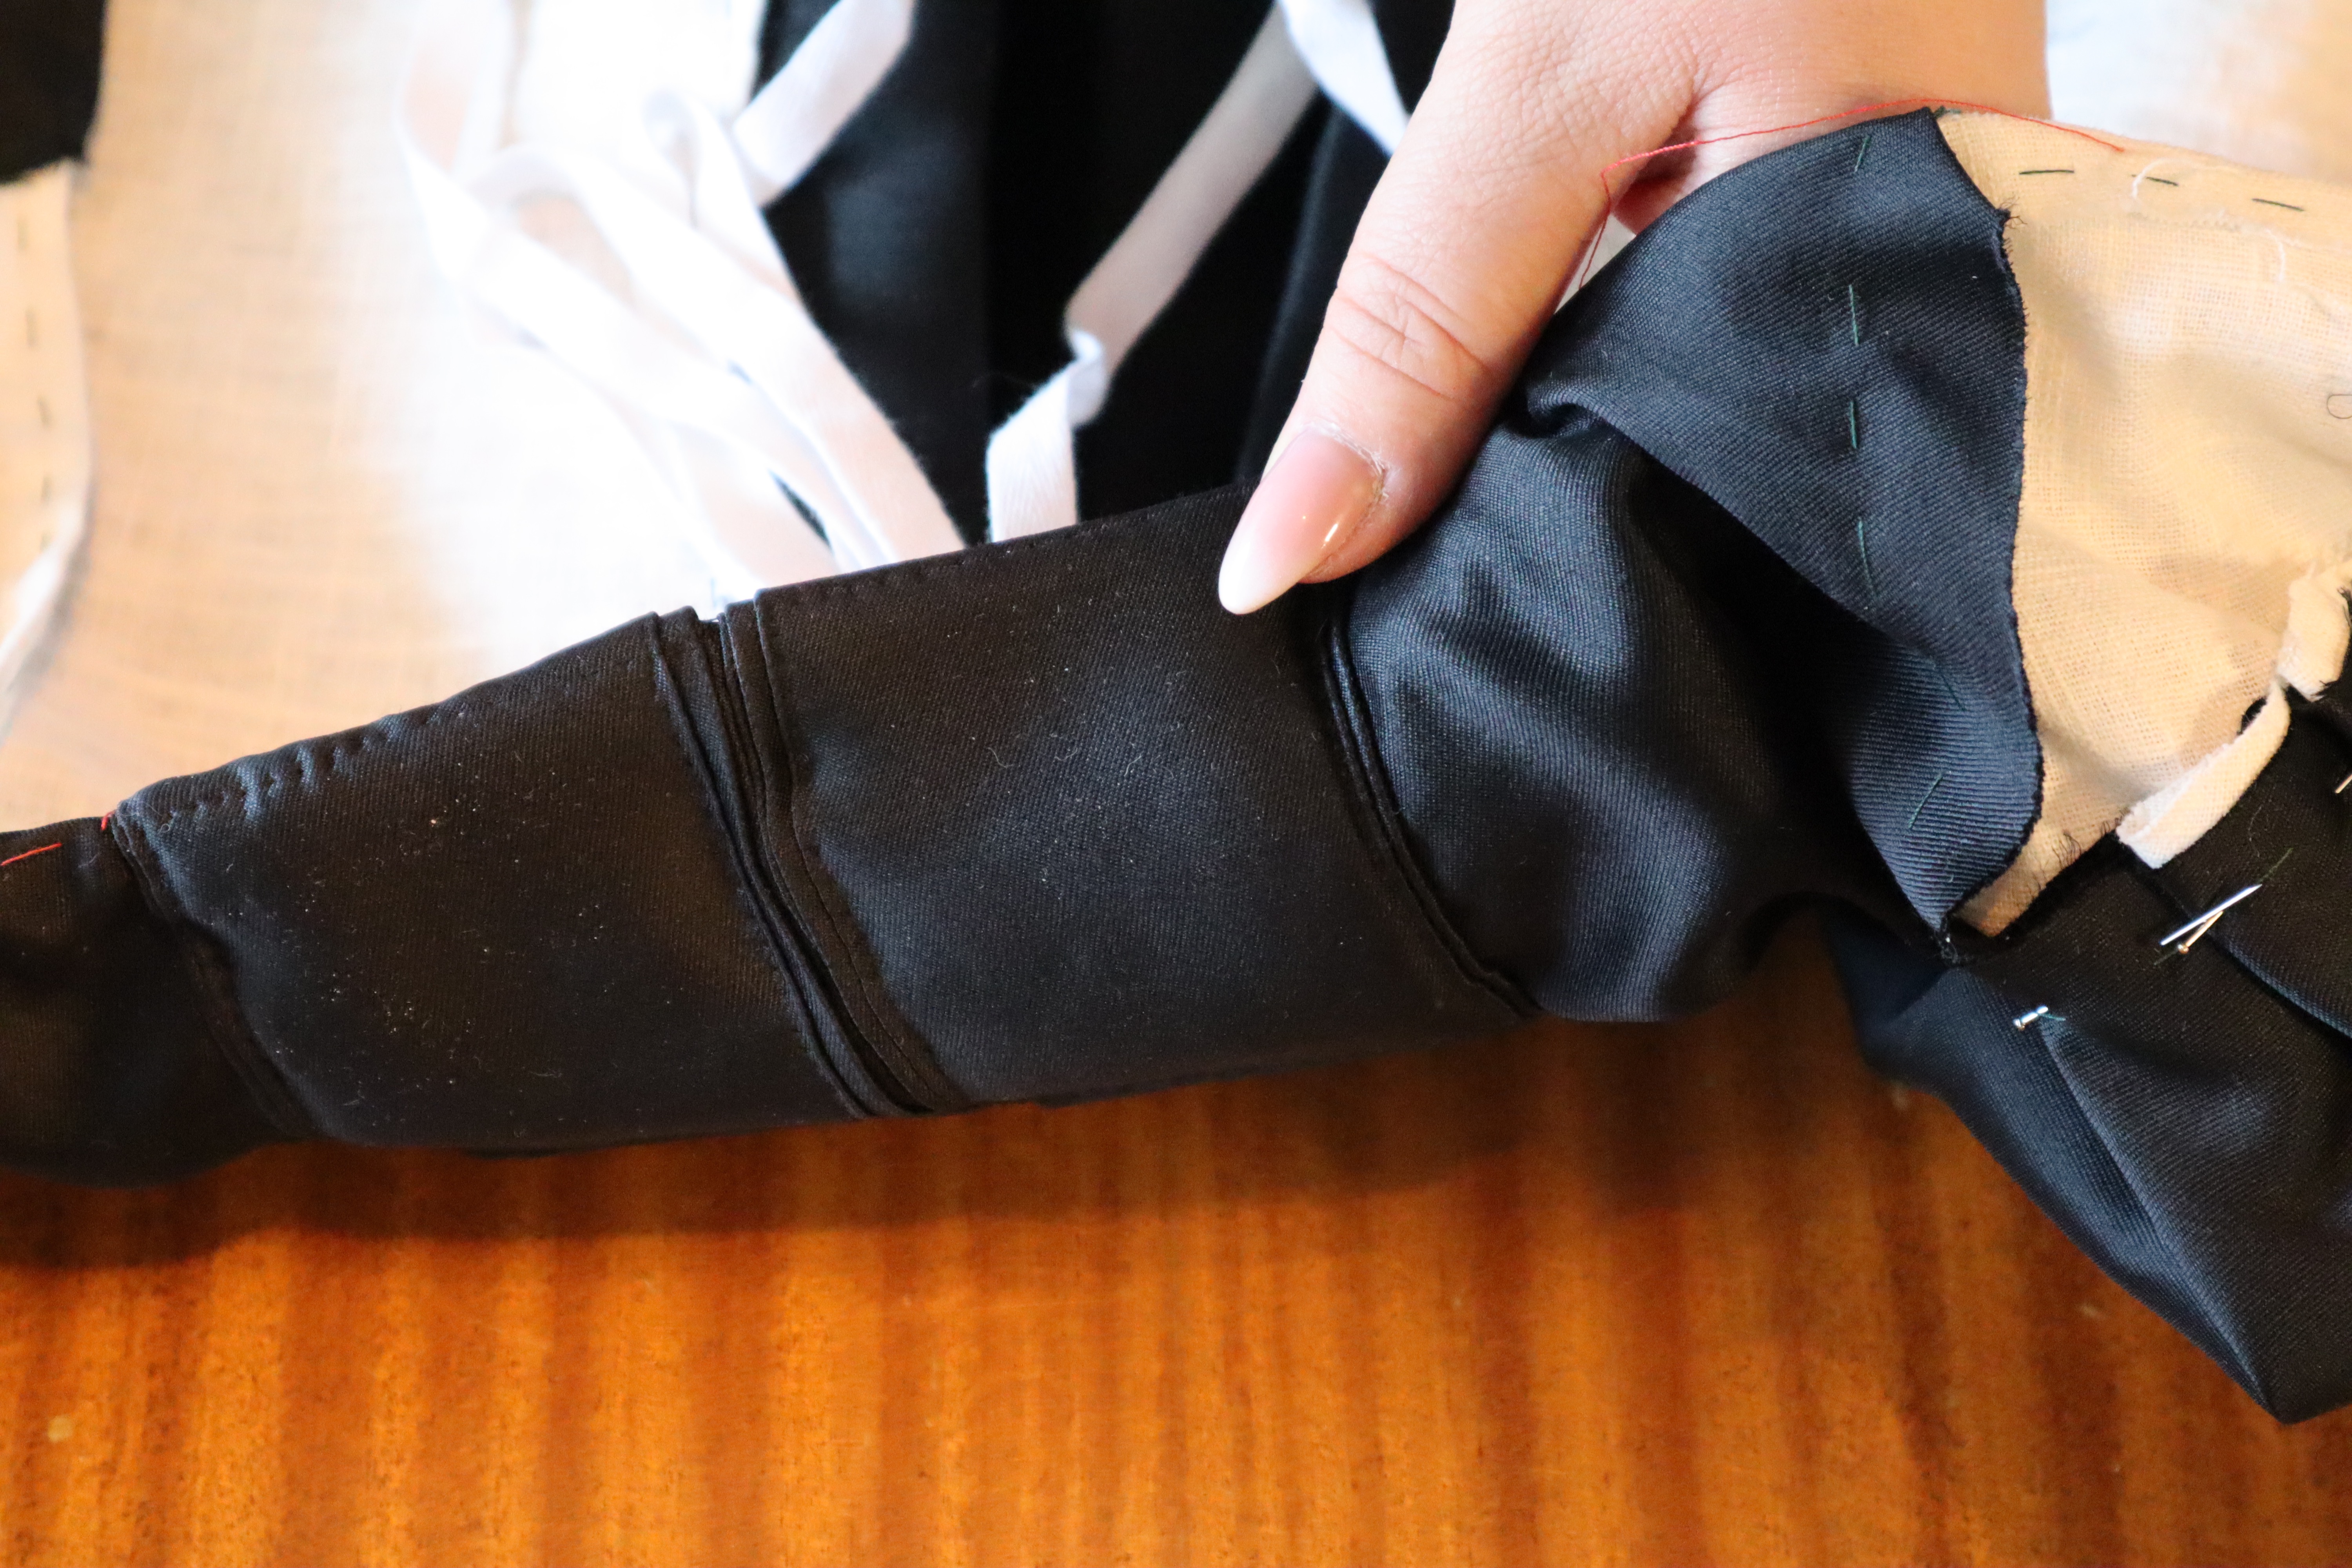
I start by folding the cuff seam allowance on the fashion fabric and lining in and basting it down. The. I lay the lining and the fashion fabric on top of each other, mirrored, and pin them together along the sleeve seam.

I then sew the sleeve seam, closing the sleeve and stitching lining and fashion fabric together in one go! Isn’t that brilliant?
Whip prick stitching the cuff closed, and the sleeves are ready to be trimmed and set in!

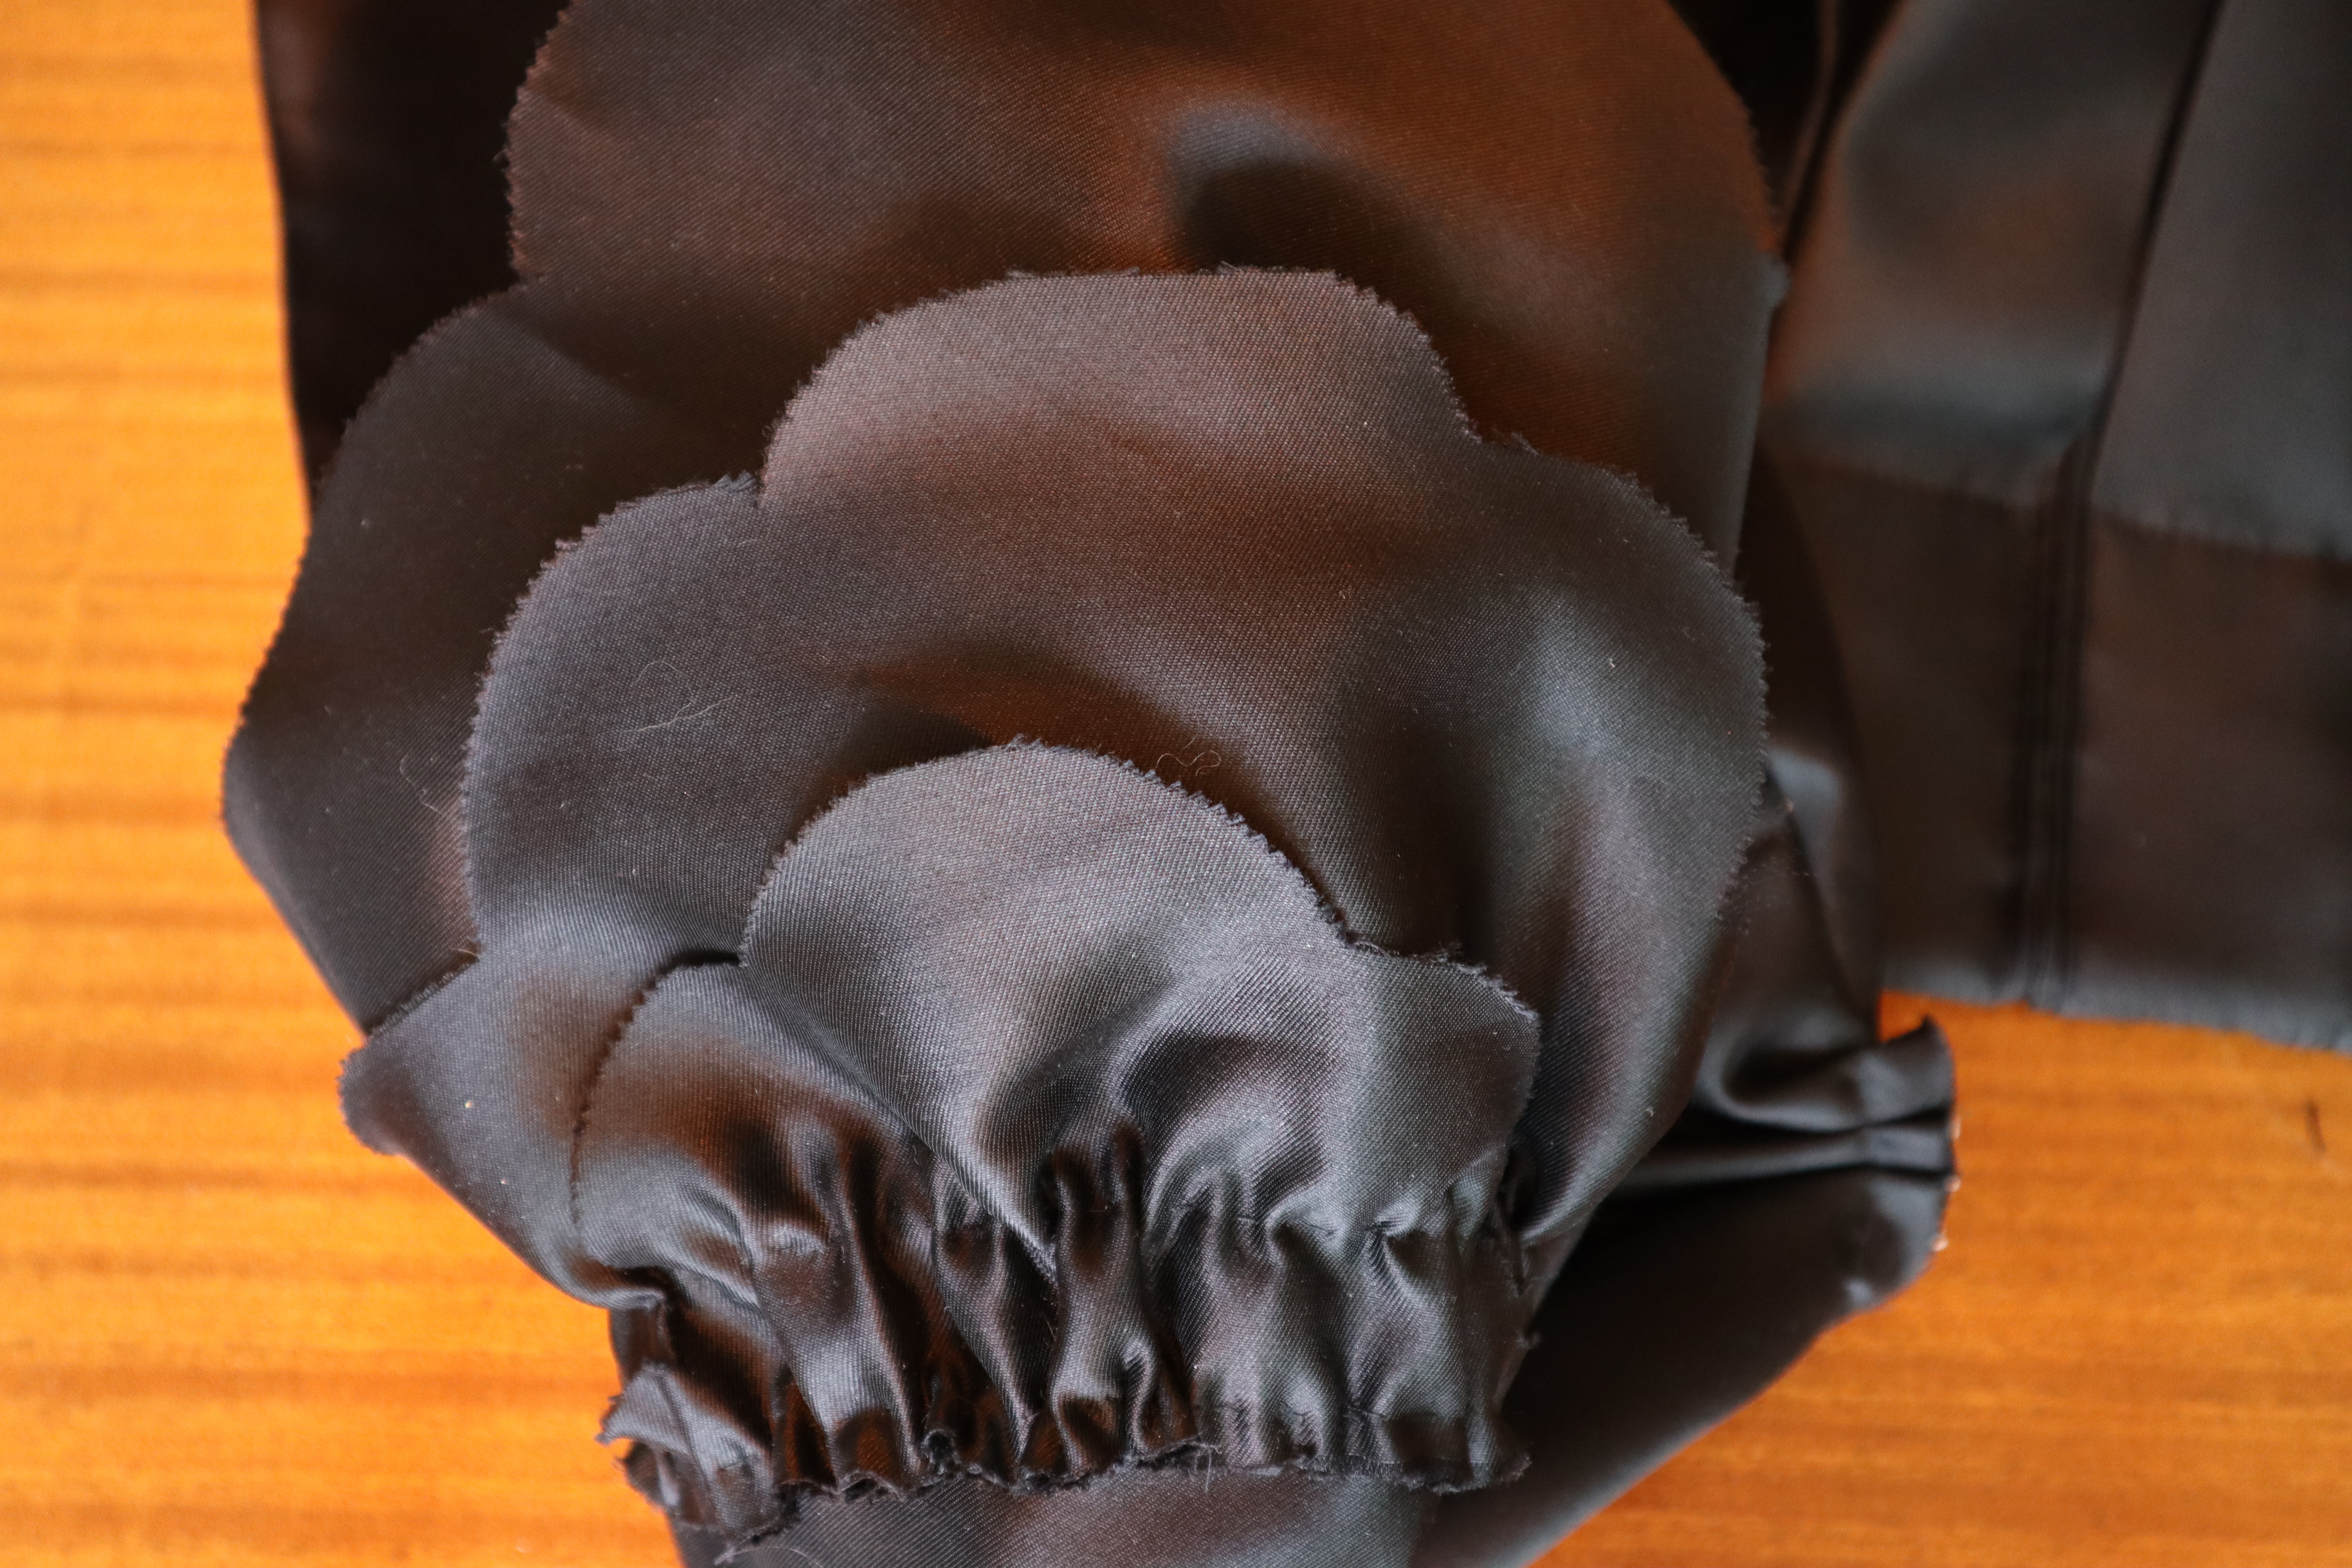
Sleeves on negligees often feature rather large ruffles of self fabric, and as I had a few pieces cut away from the back, I went ahead and made a pair of three-tiered sleeve ruffles (I believe the proper terminology is “engageantes”, but I don’t really speak french, so excuse my continued use of the less fancy “ruffles”), and made two rows of gathering stitches. I then gathered them to the sleeves.

My favourite way of setting 18th century sleeves, is to start by stitching the bottom half of the sleeve in place, right sides together, using backstitches. I leave the sleeve cap and the shoulder strap for now.

I pin the sleeve cap to the shoulder strap, pleating any excess fabric towards the back.
I then try it on, and see how the sleeve fits. In this case, the sleeve was a good size, but there was too much fabric in the sleeve cap. Easily fixed by pulling the sleeve cap further up onto the shoulder strap.

I also check to see that the ruffles are where I want them. When I’m happy with the sleeve, I pin it in place, and we’re ready to sew!
The sleeve is a part of the gown that might have to take a bit of stress, so it’s always good to use backstitches for the sleeves, as they’re a bit elastic and very sturdy. I stitched the sleeve cap to the shoulder strap, and cut away excess fabric.

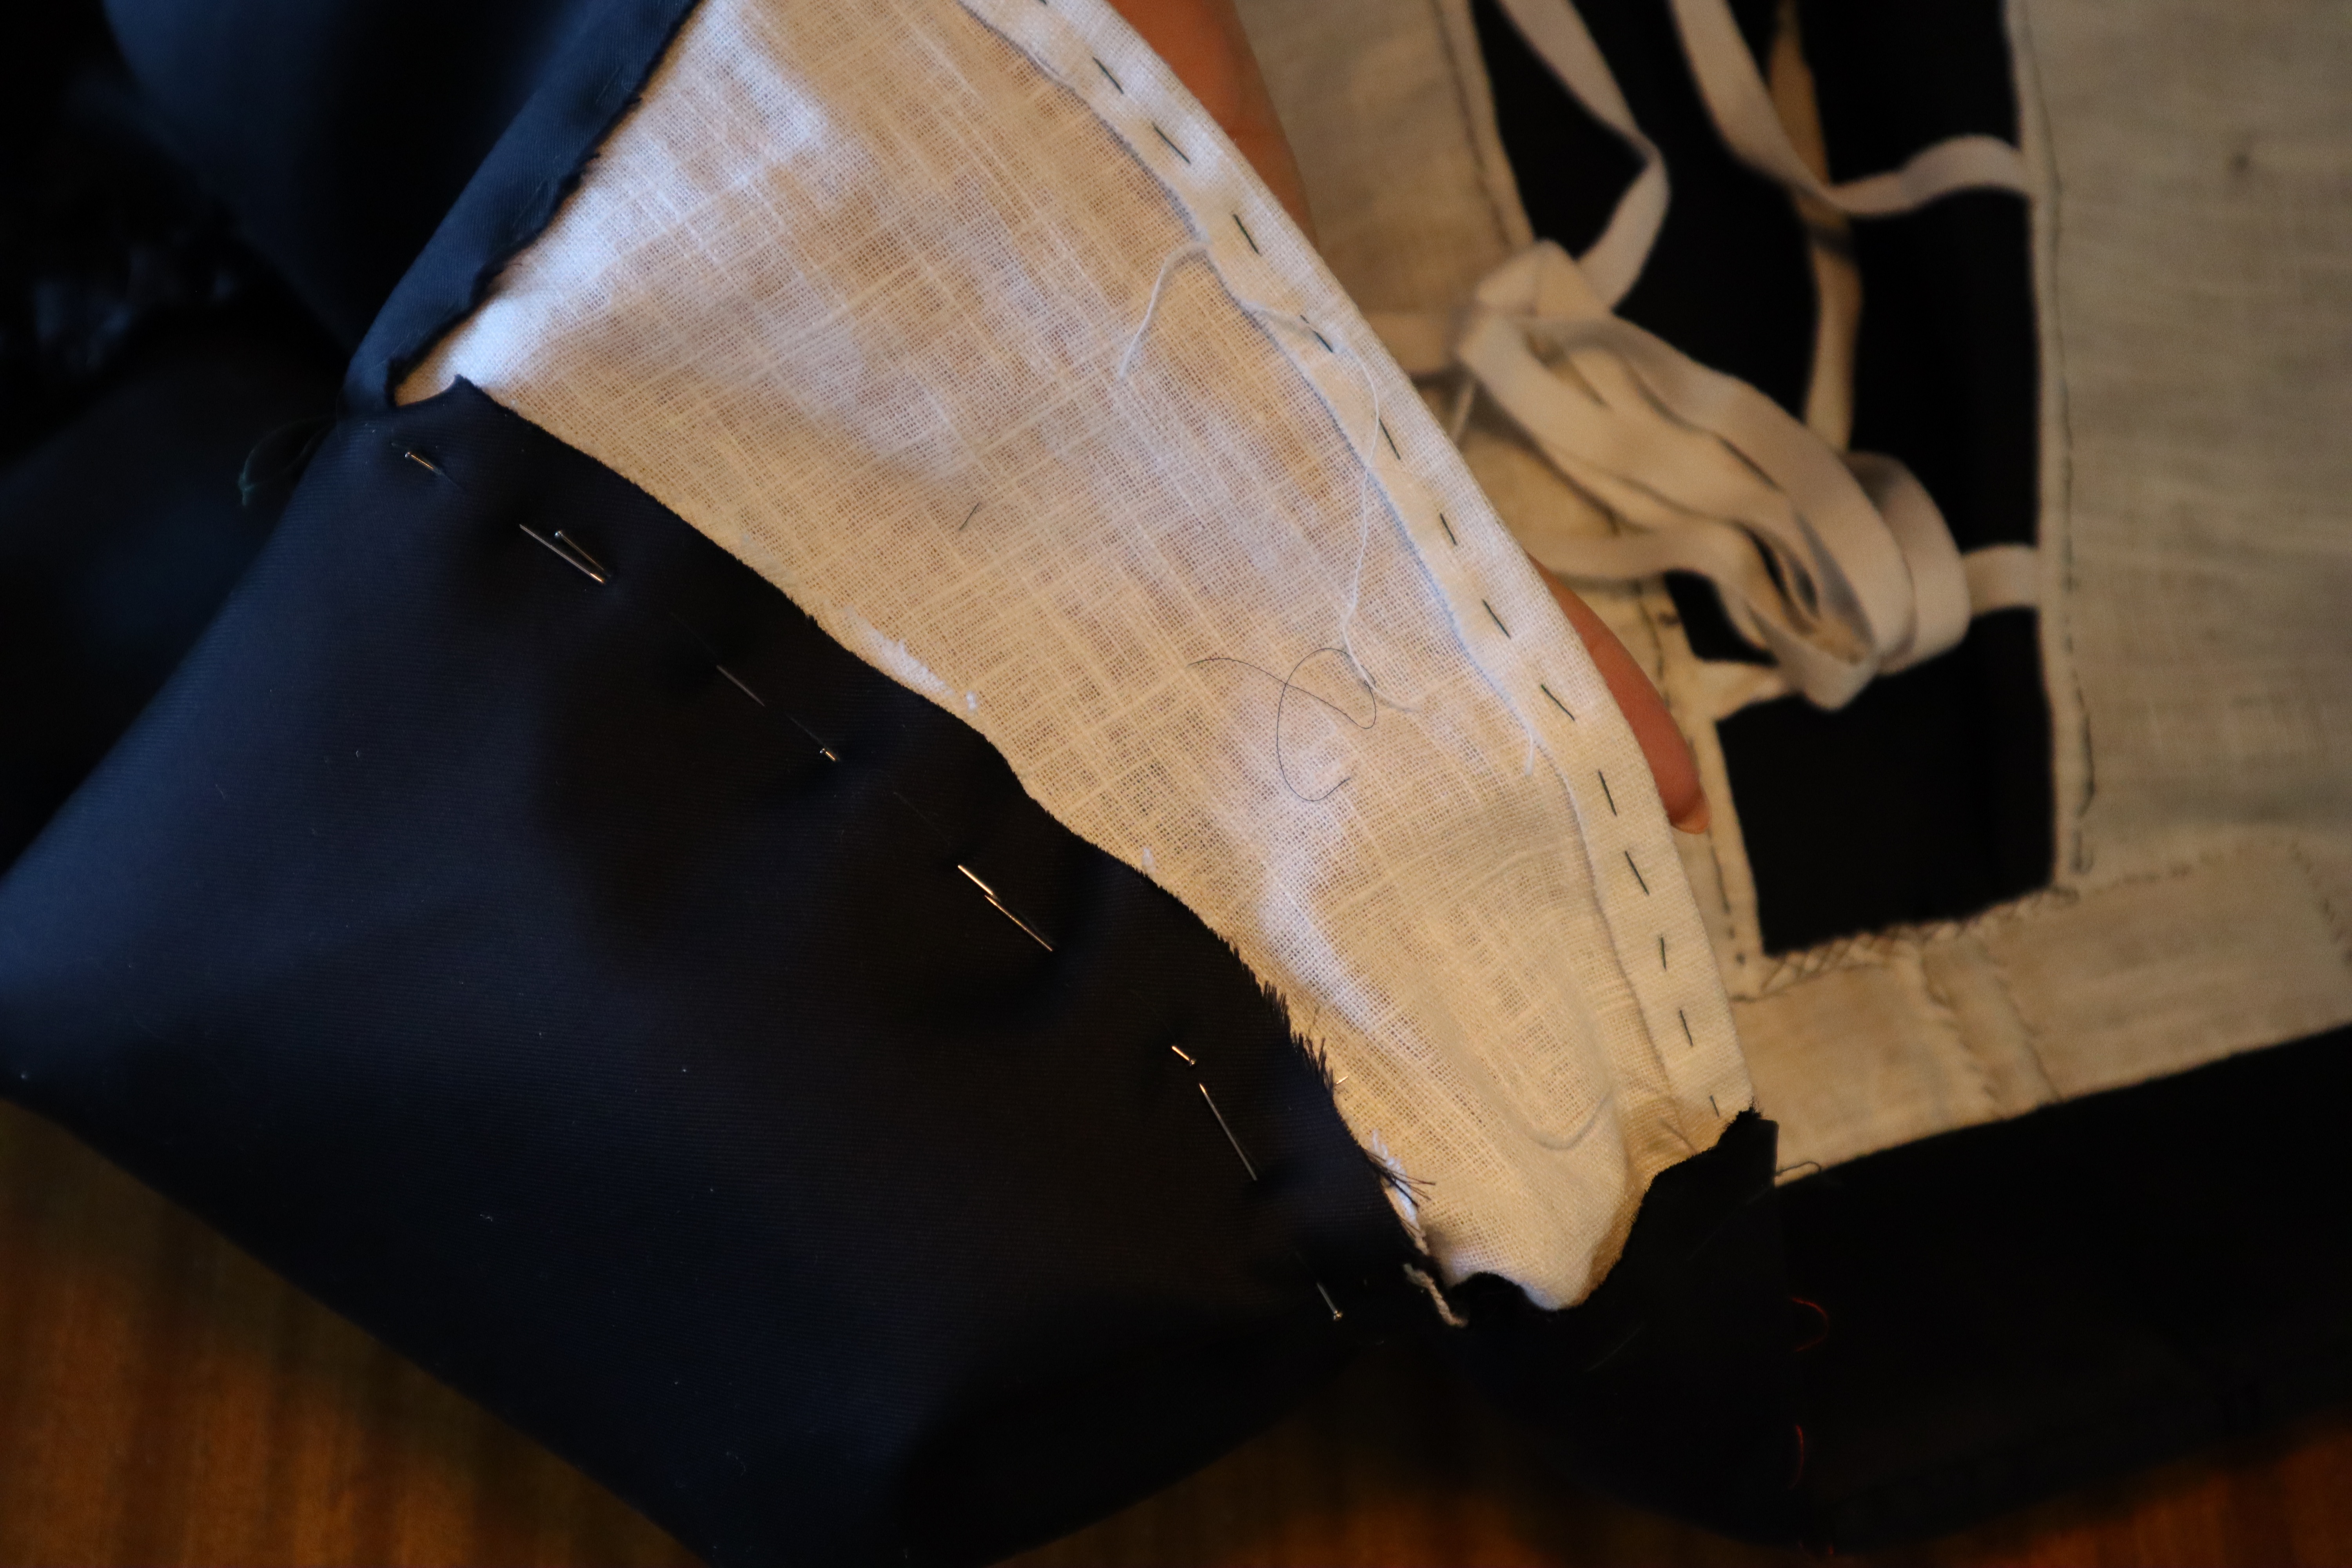
The gowns I’ve seen from the period are often not very pretty on the inside, and the seams are not always finished in a very neat way, but I wanted to reduce the bulk around the armscyes, so I cut away excess seam allowances and covered the raw edges with the bodice lining.


The sleeves are finished by covering the top seam with The fashion fabric shoulder strap. I pinned it to the lining, folded all raw edges in, and baste it in place.
I used the appliqué stitch on the front and back of the shoulder straps, a tiny prick stitch on the hem covering the sleeve cap, and whip prick stitches on the neckline edge.


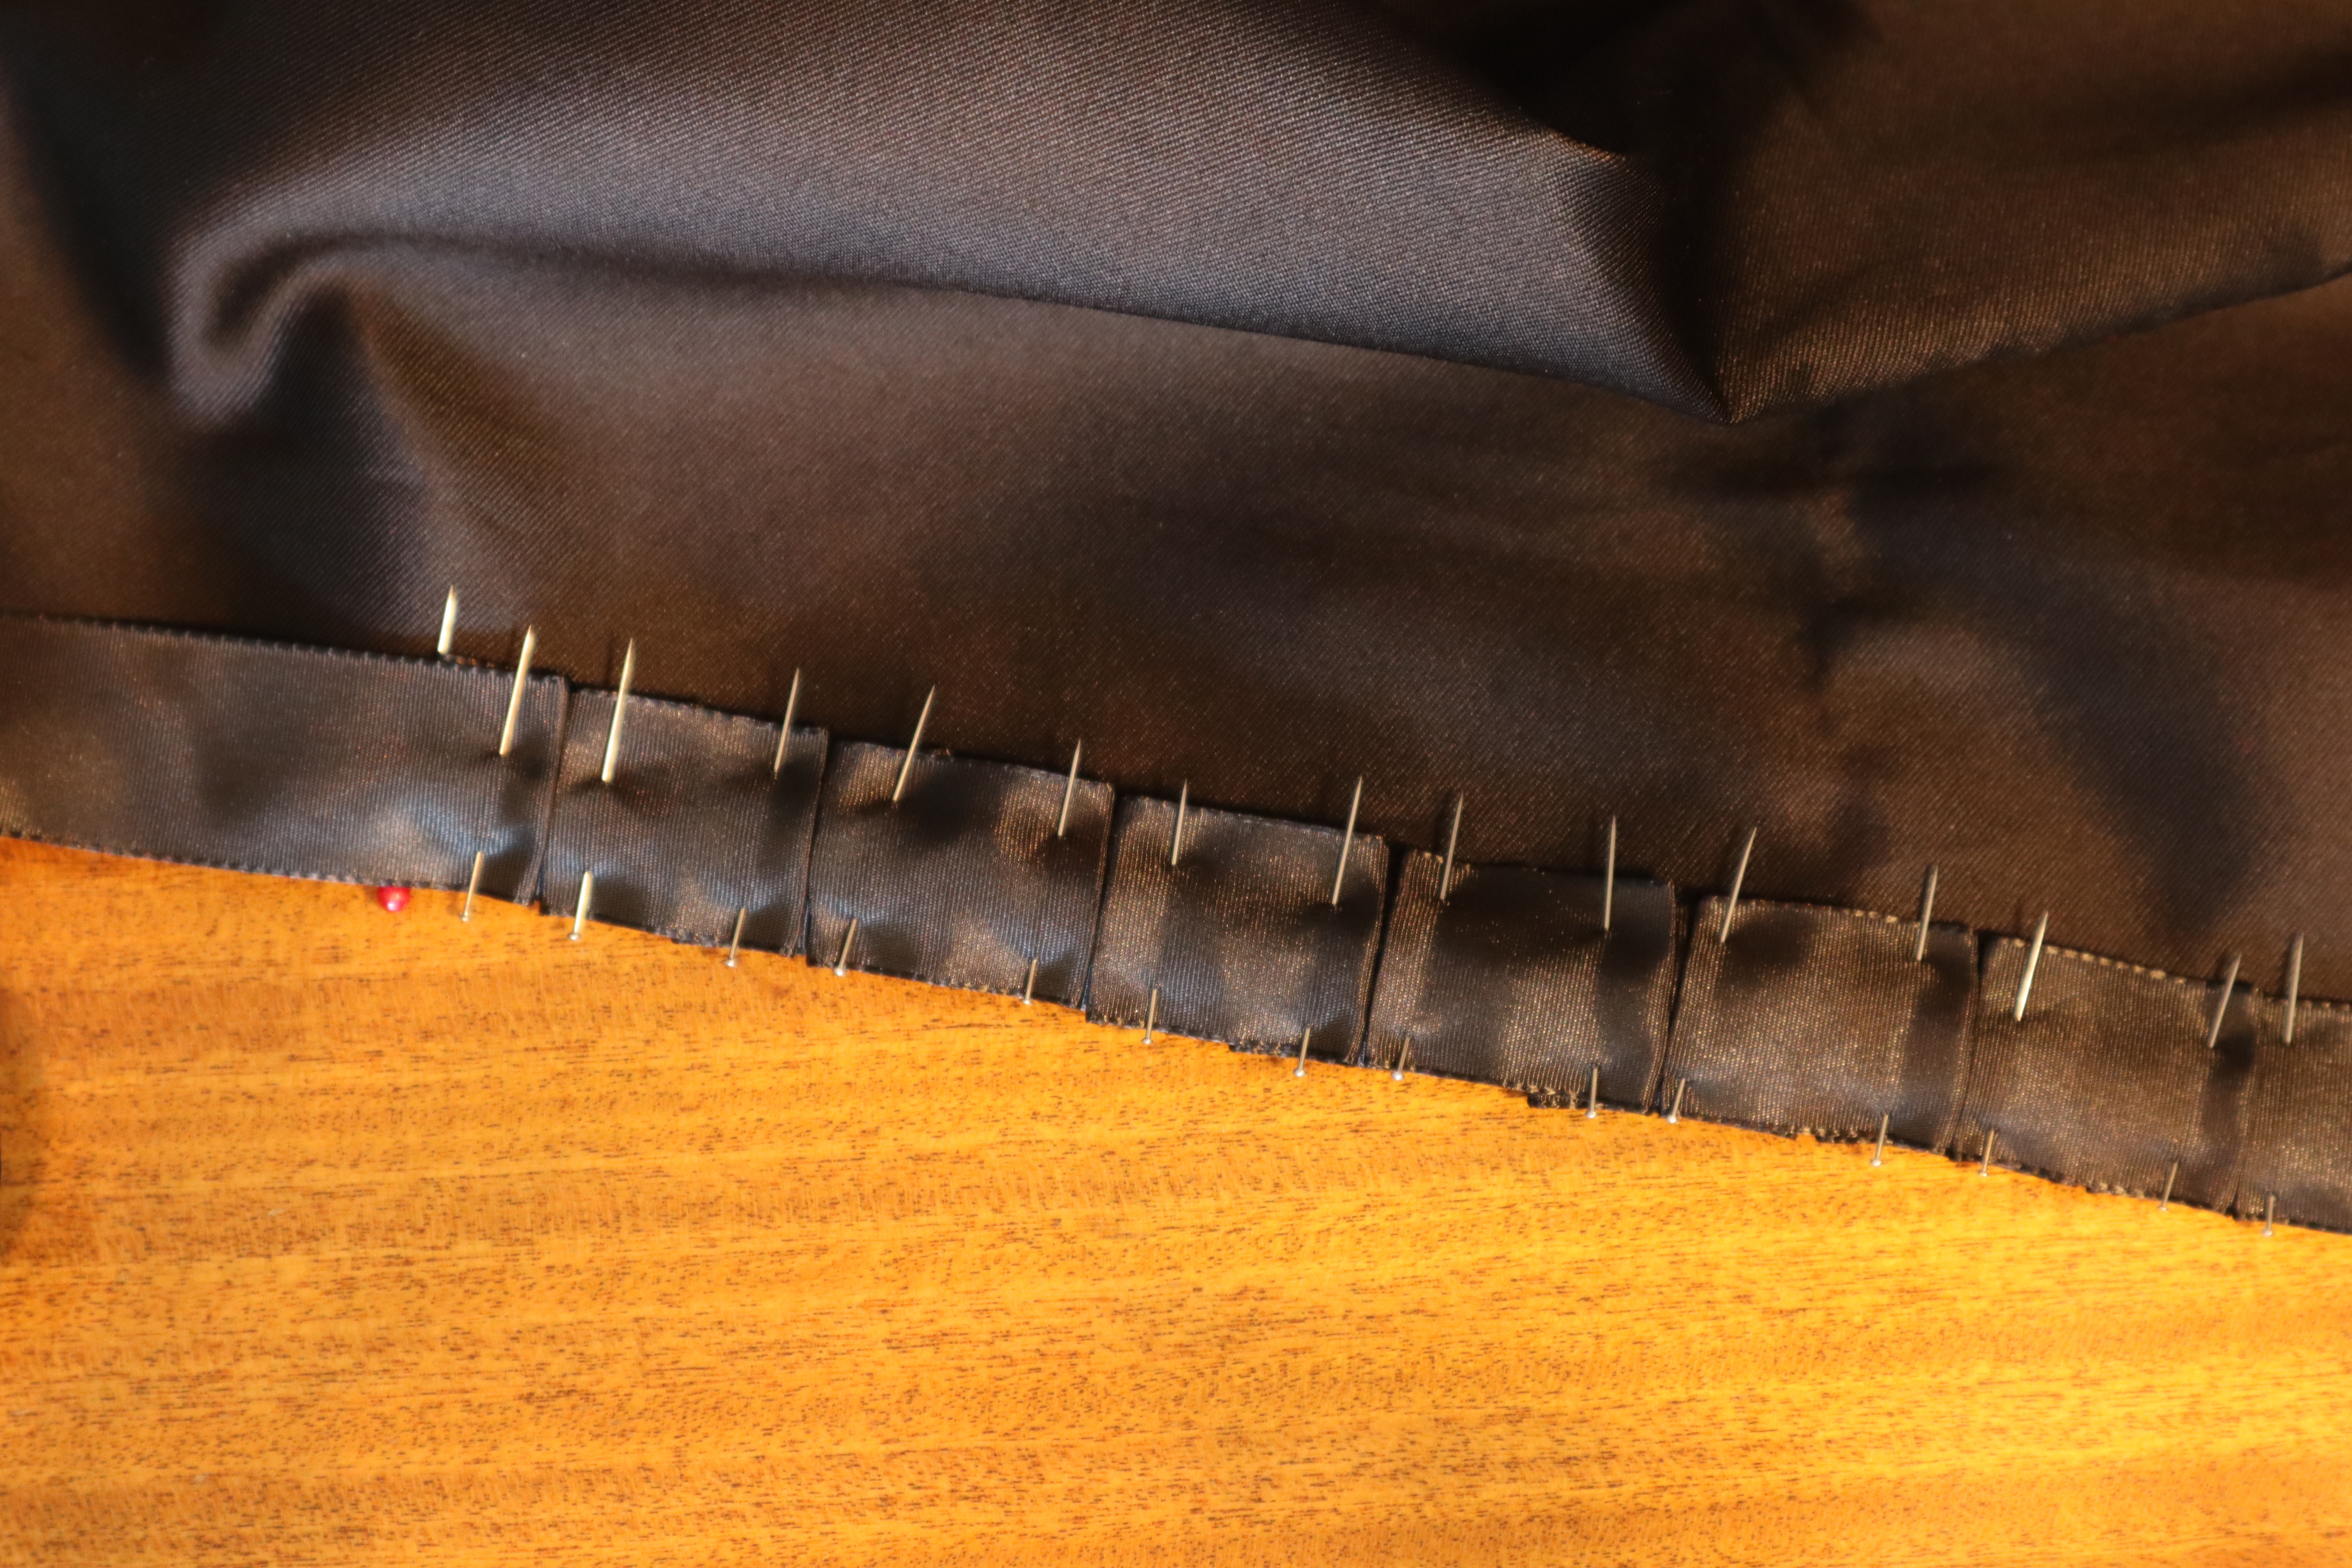
With the sleeves and shoulder straps done, the skirts needed hemming. I used the same black cotton sateen that I used for the back of the petticoat, and cut a long strip, 20 cm wide and as long as the hem of the gown. I evened out the gown hem, and used the sateen to face it (I’ll probably do a more in-depth post on how I hem skirts and petticoats later!).


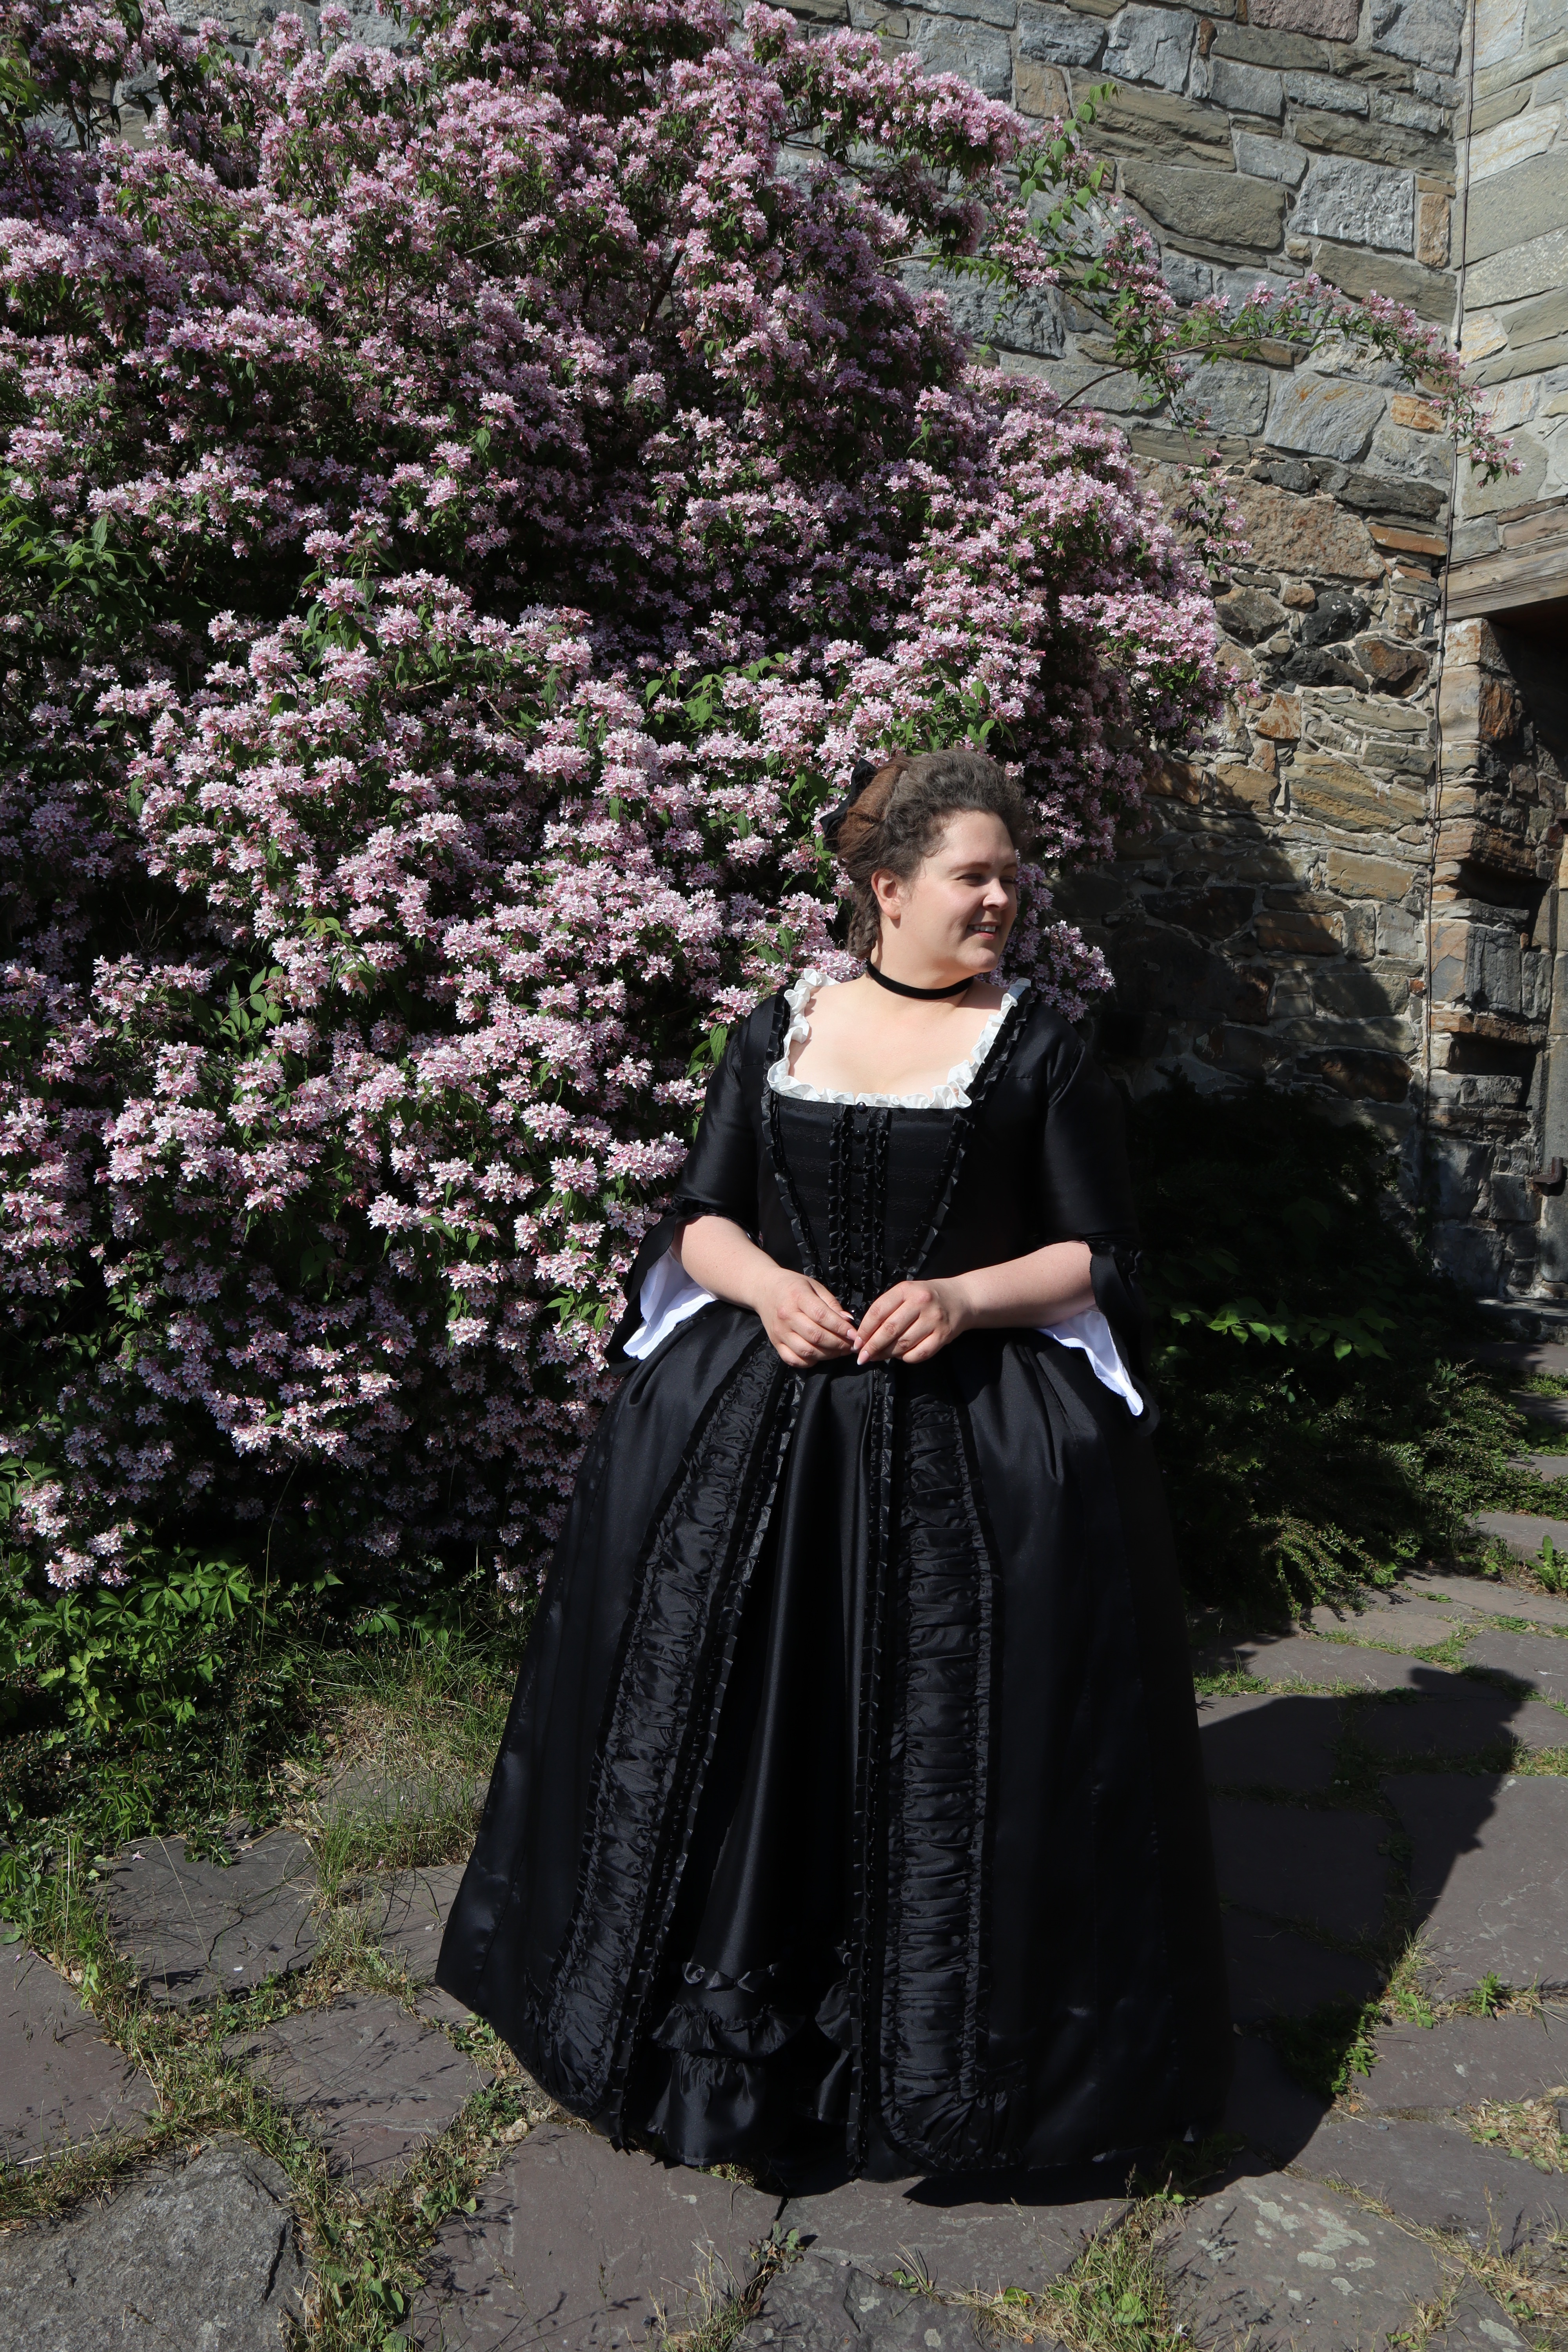
With that, the gown is structurally finished! But no negligée is complete without trim, of course. Lots and lots of it!
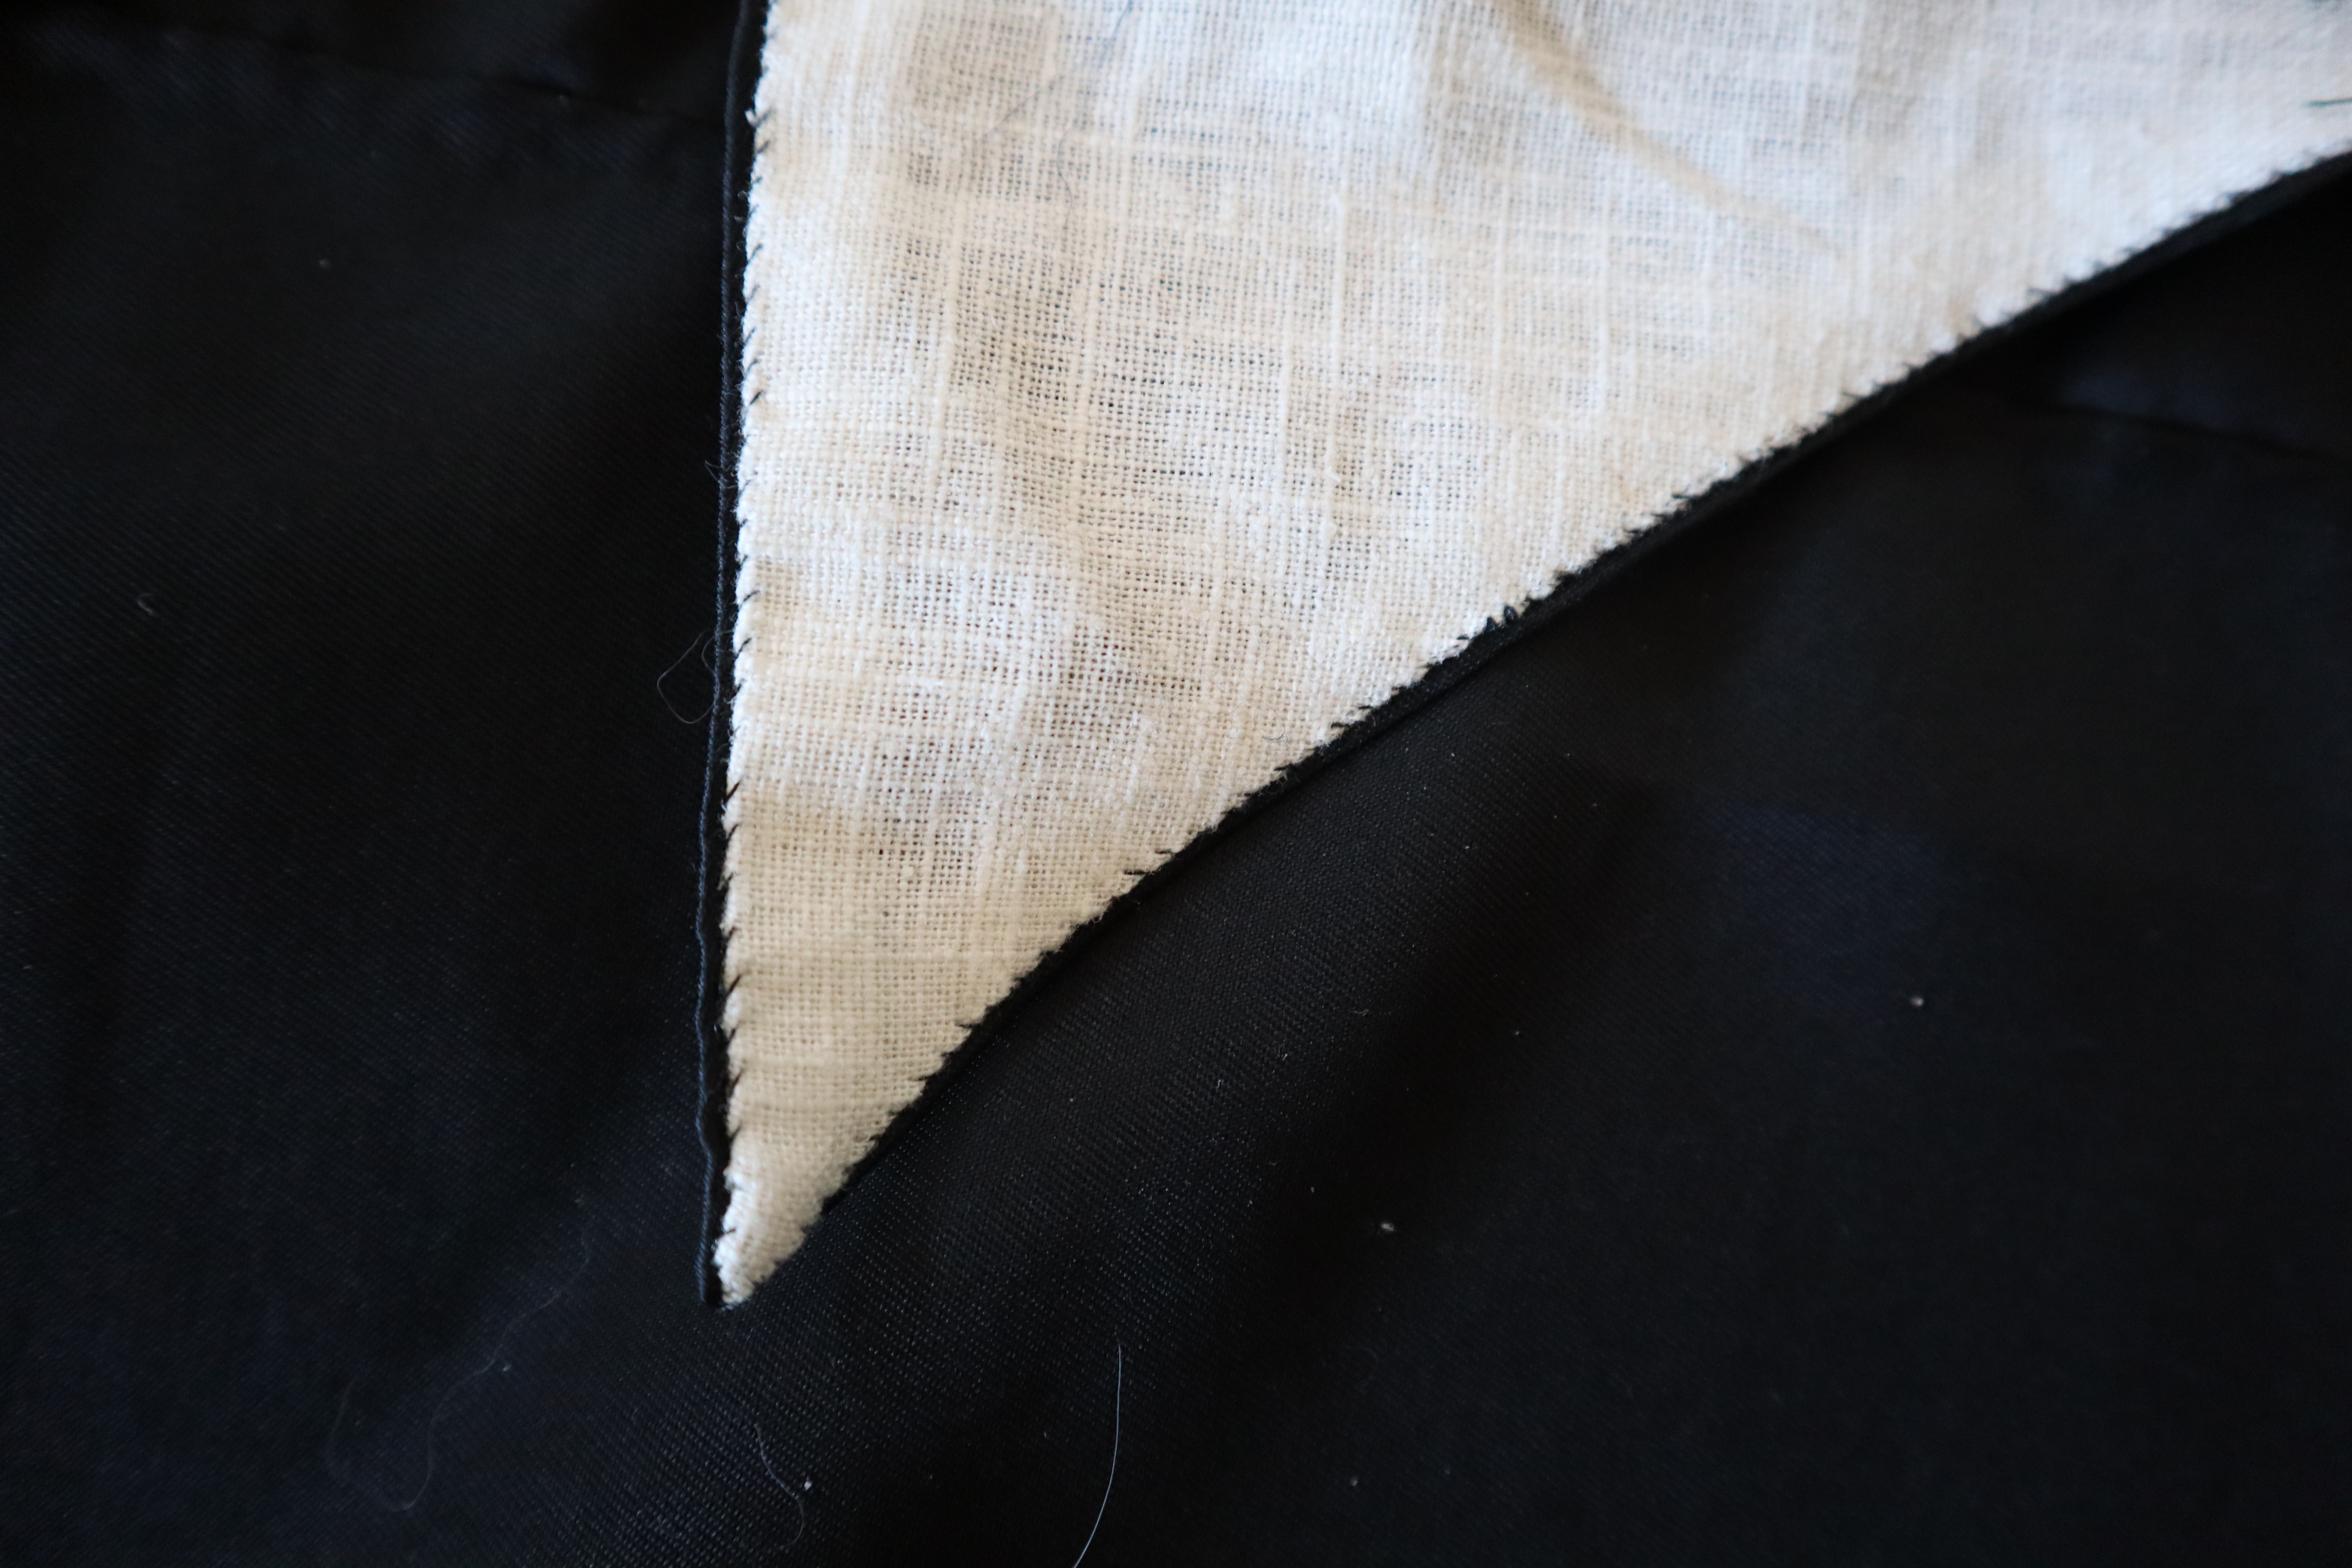
Most paid gowns seem to have been trimmed with self fabric, the same fabric as the gown itself is made of. You know, the fabric I have famously little of…
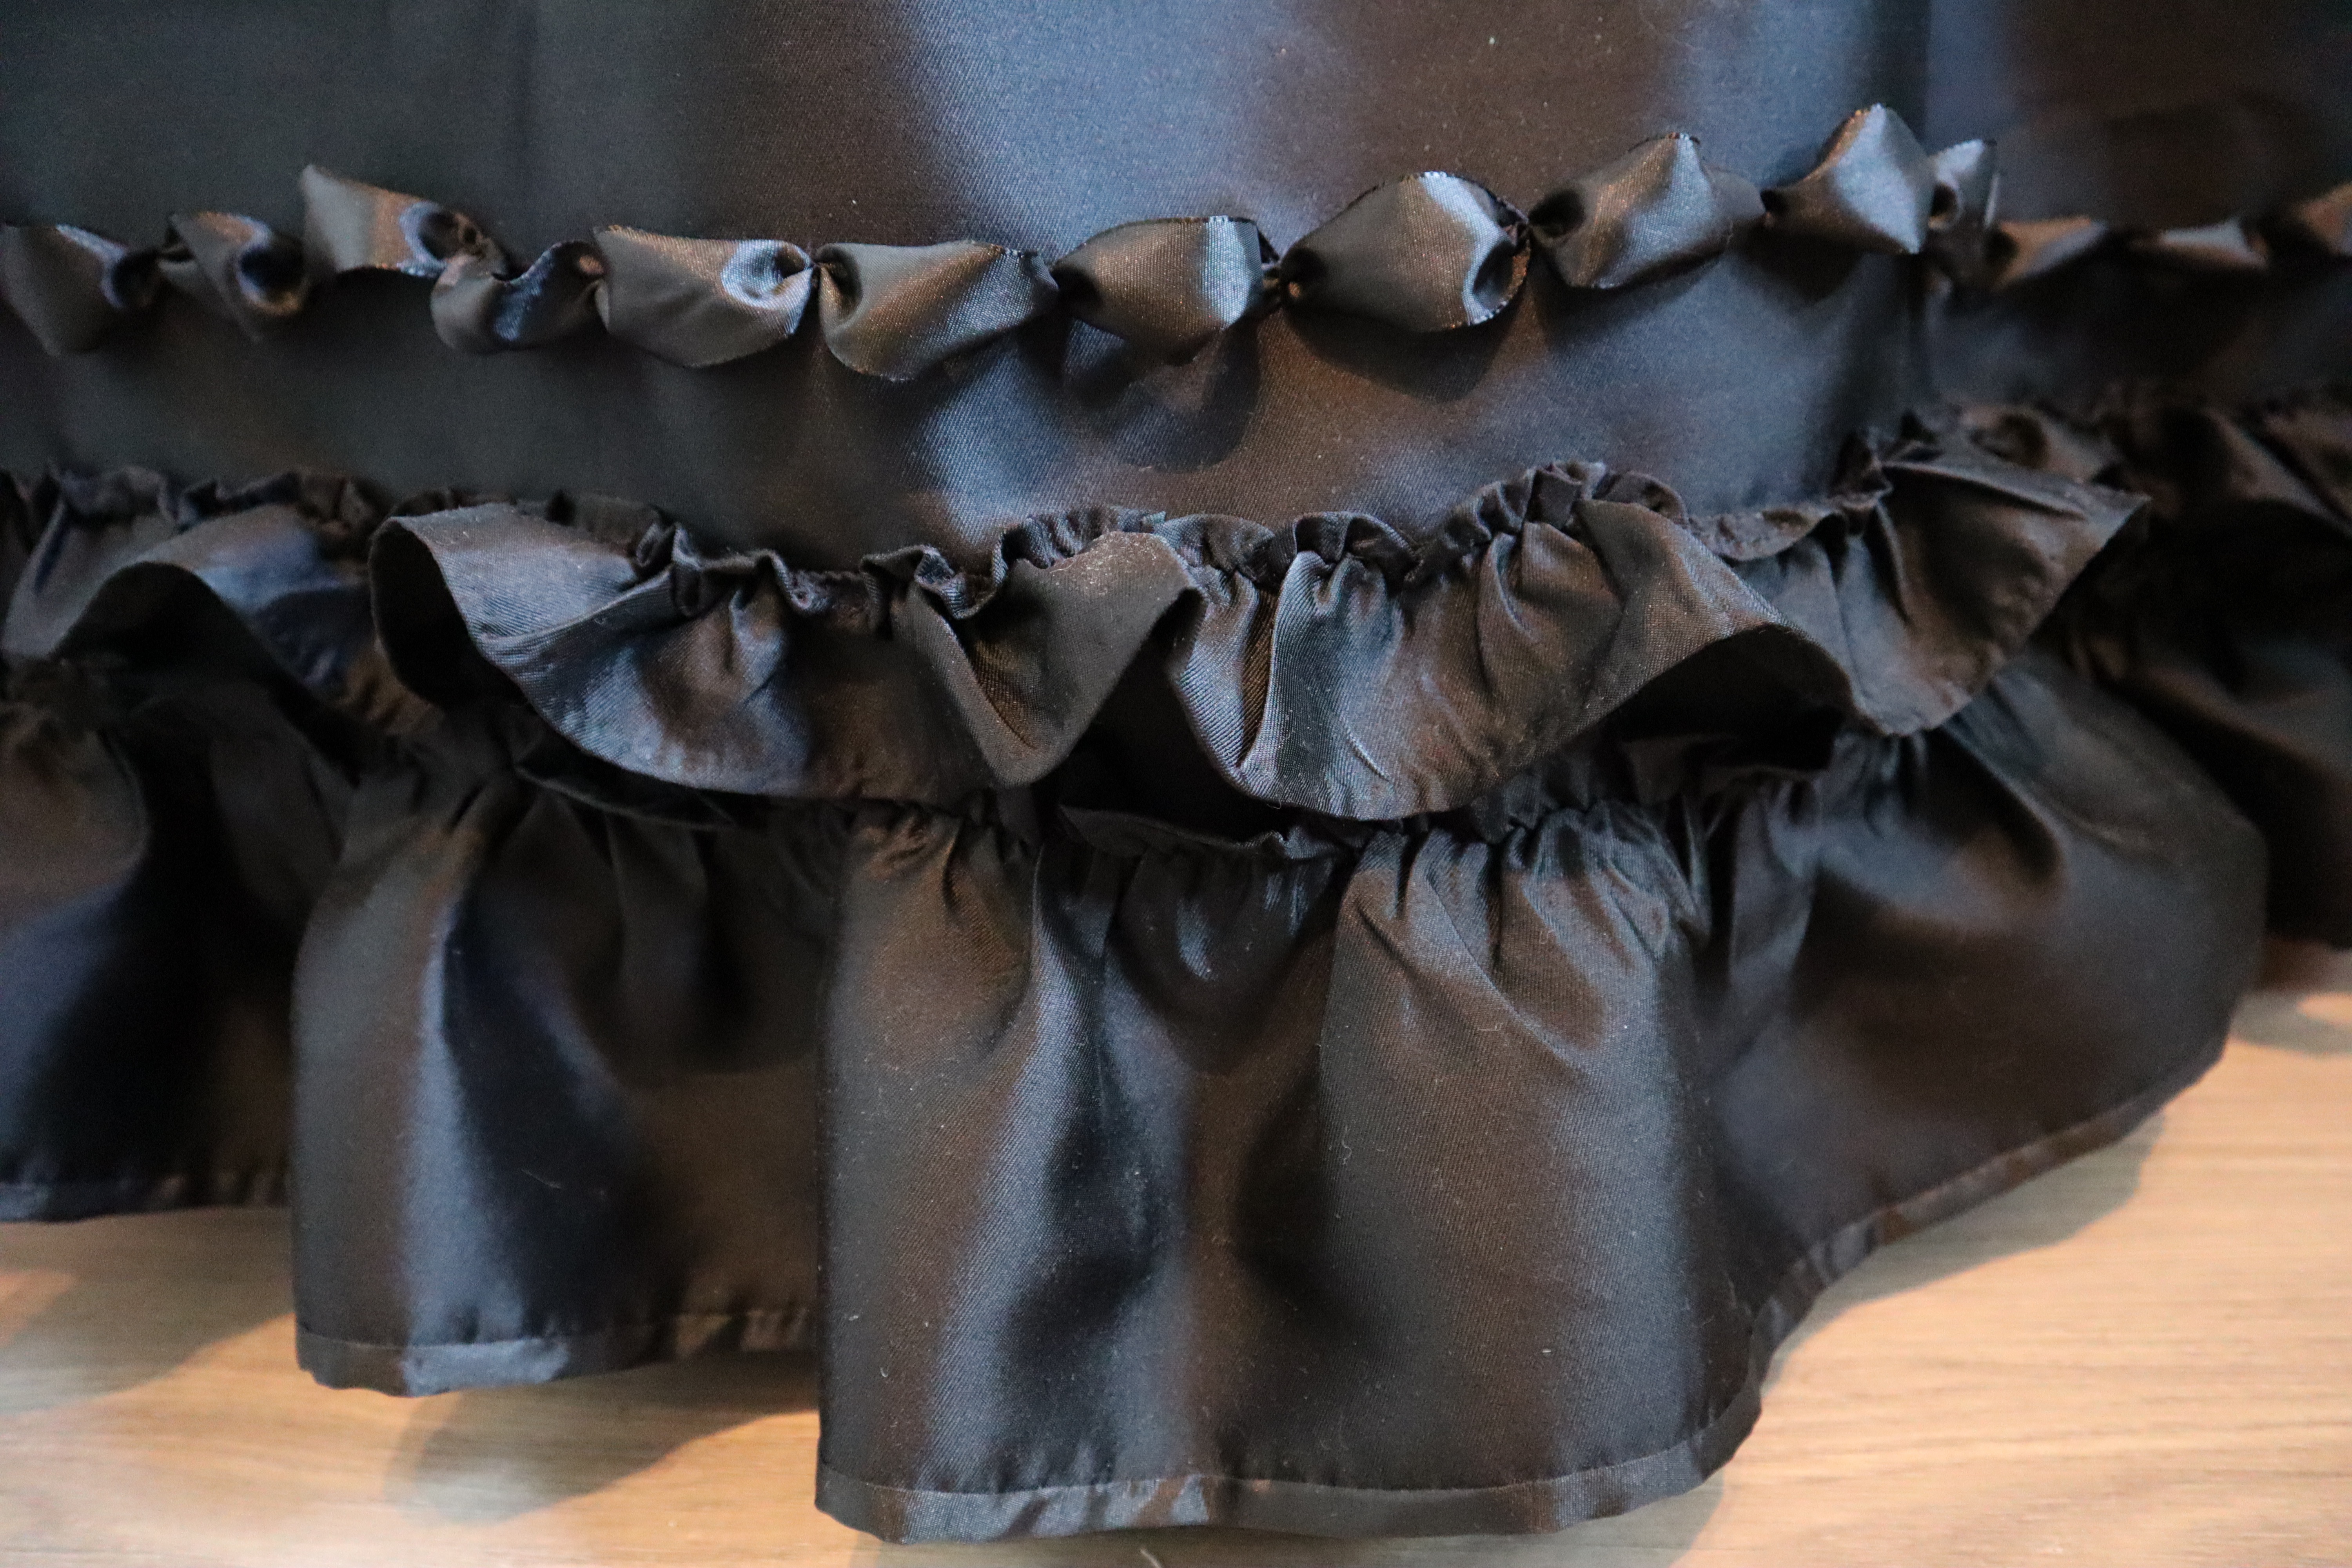
I had a strip of my bombazine fabric, which was just about long and wide enough to makes some rouched trim with. I cut it to narrow towards the top, as many gowns seam to have trim that is wider at the hem of the skirt and narrows towards the top. I don’t know why, but it has a very flattering optical effect, so that might be why… historical fashion is all about optical illusions!

I gathered the edges of the bombazine strips, and pressed them.

As I still had lots left of my black silk ribbon, and I’d already used it to trim both the petticoat and the stomacher, I decided to add some to the gown as well. I made the same pleated trim as I made for the stomacher, but this time all the way up the front skirt and bodice opening, around the neckline and down the other side of the opening.
I then stitched the rouched trim to the front skirts.
I had originally planned to leave the edges of the self-fabric trim free, and even cut them strips with pinking shears to keep them from fraying. However, that was not enough for my half wool, half silk fabric; it frayed like nobody’s business and left the front with lots of unsightly loose threads and frayed edges.
A quick rummage through my stash came up with some black velvet ribbon. Not a lot, but juuuuust enough to cover the frayed edges, and with a little piece left over to make myself a fetching choker.
I used the velvet ribbon to stitch down the rouched trim edges, and it left me with a result I was a lot happier with.
It also meant that the gown was done! There’s a beautiful and dramatic castle here in town, so I dragged my ever so patient photographer (my long suffering boyfriend) out for a photo shoot! Enjoy!


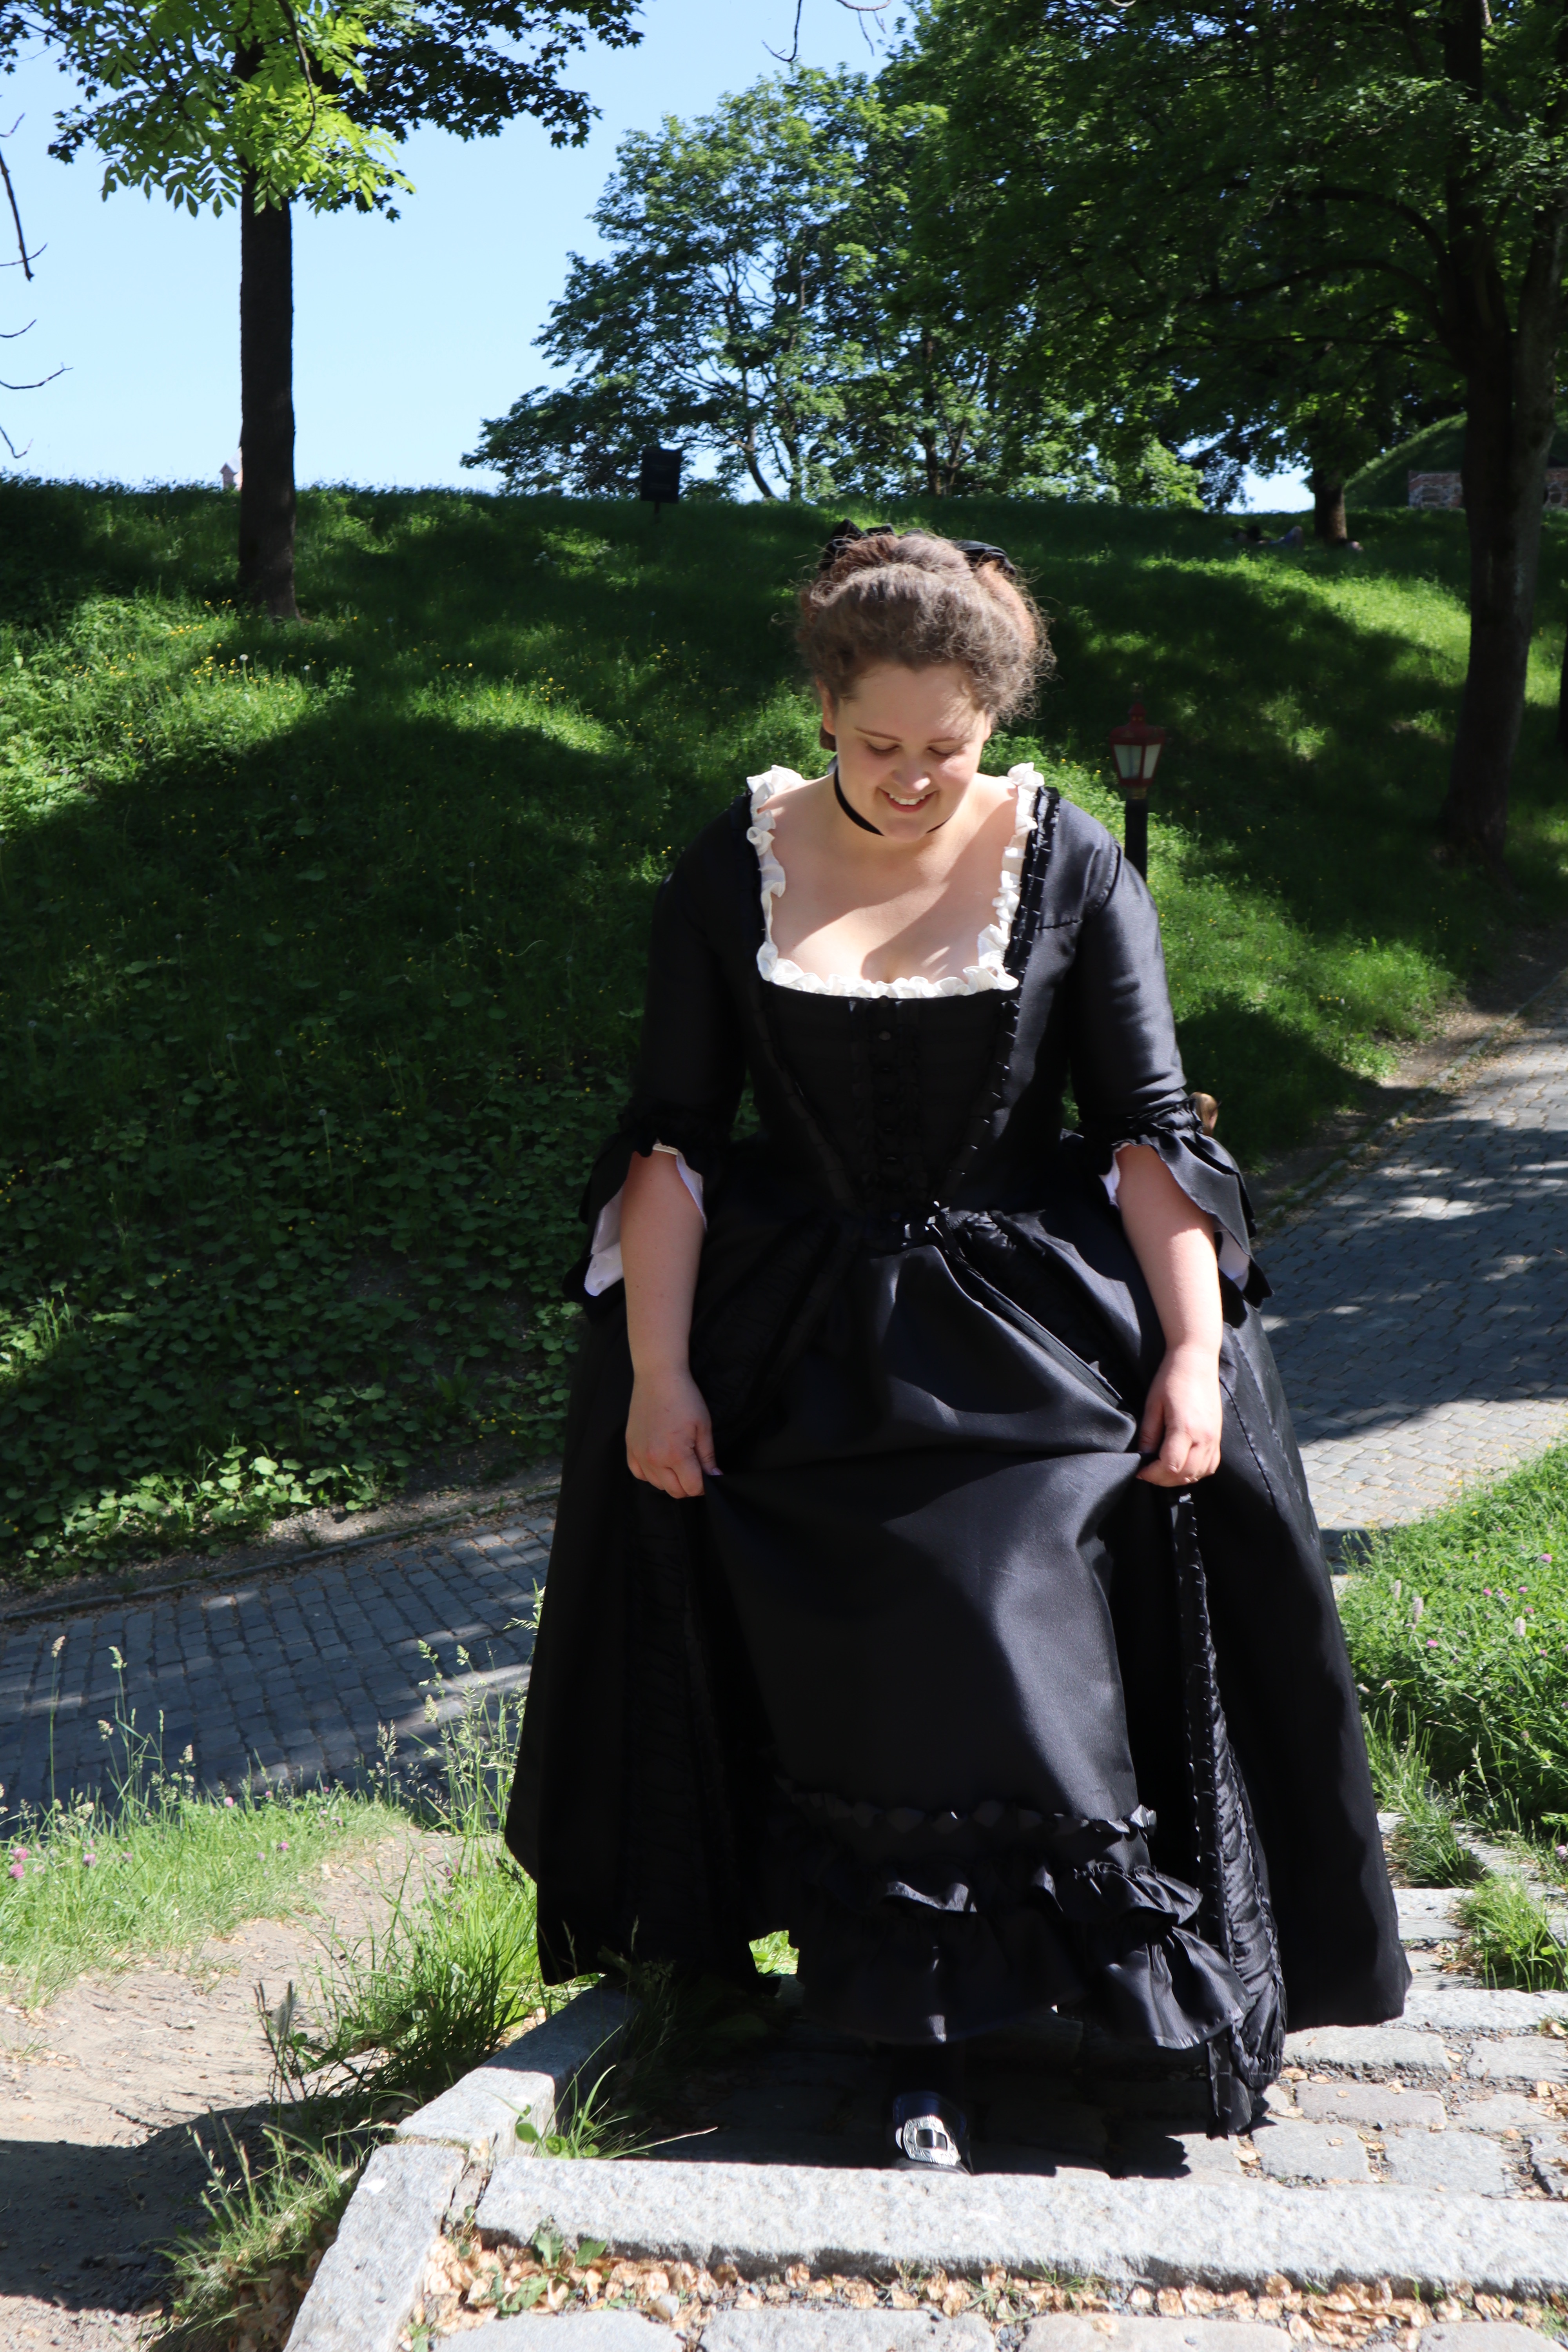
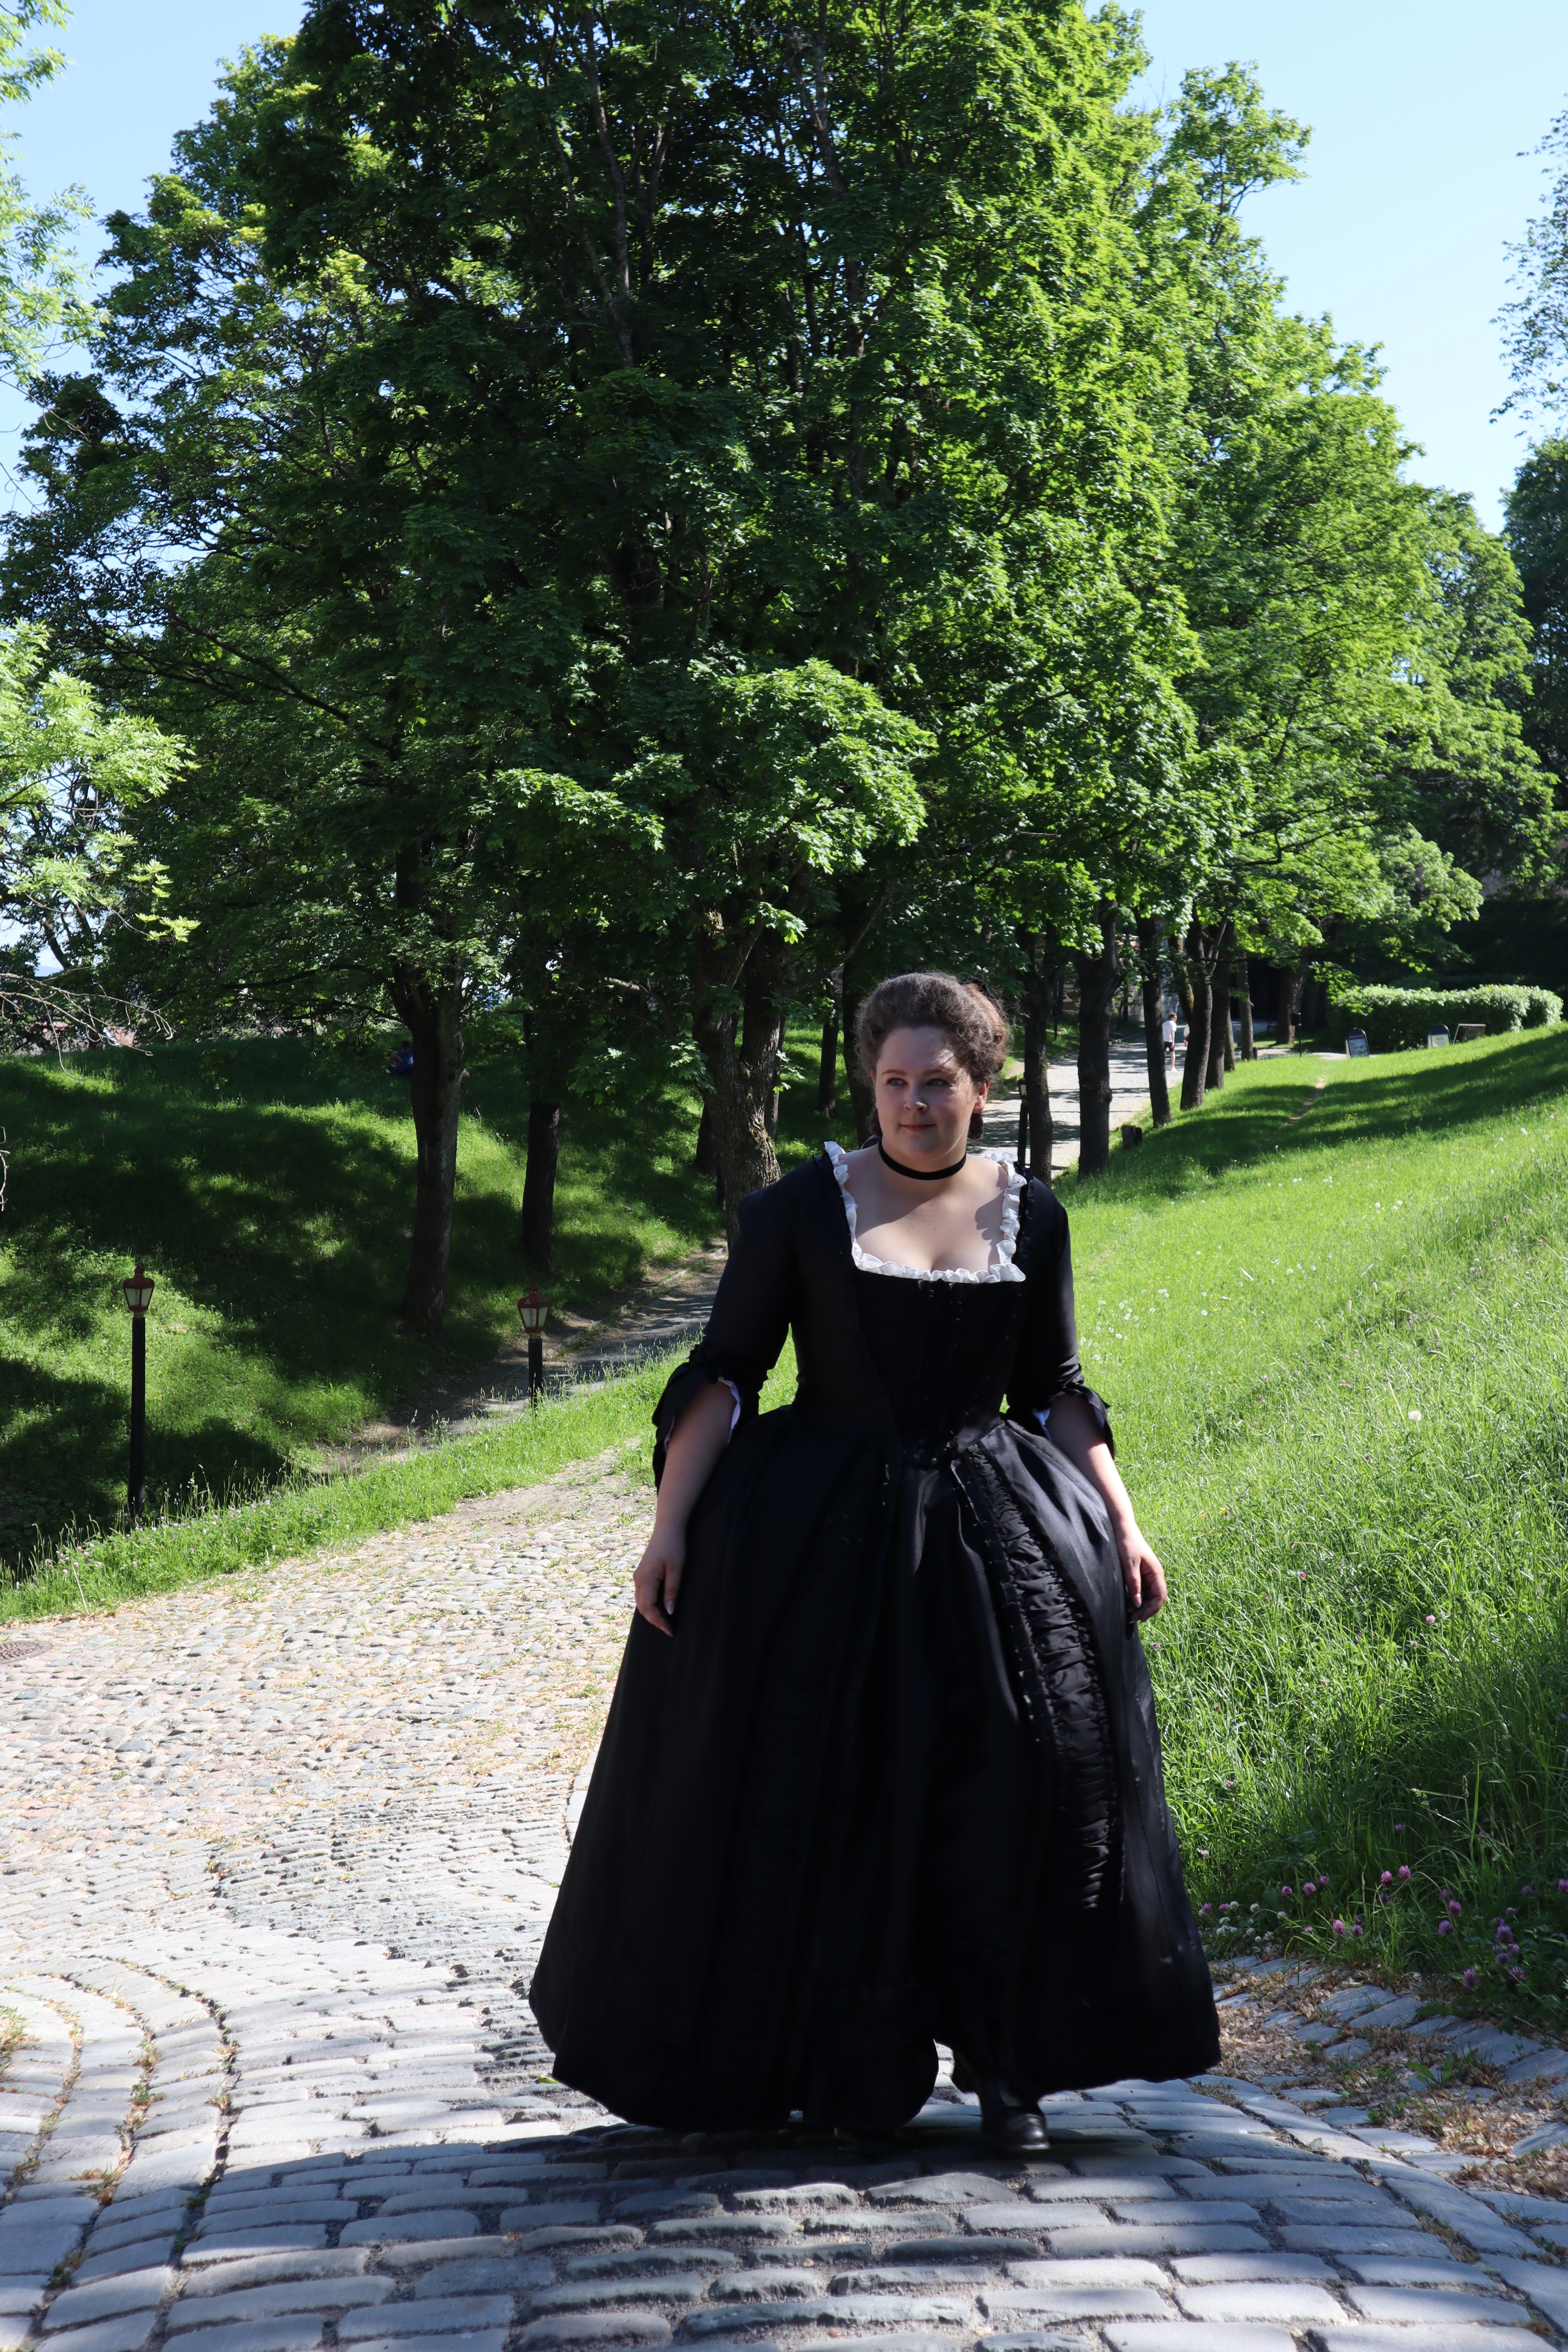


All in all, I’m really happy with this. I’m so proud of my own thriftiness and the way I’ve managed to eek out a gown with stomacher and petticoat from very little fabric. There are things I would have done differently in retrospect, because I’ve learned a lot in the process, but that is part of the point of why I’m making all of this – to learn and develop my skills, knowledge and understanding!
The boring statistics:
Time spent:
45 hours on the petticoat.
85 hours on the gown.
Money spent:
NOK 6480 on the stand-in bombazine fabric.
NOK 250 on black silk sewing thread.
Linen for lining and ribbons for trim are from my stash.

This is absolutely magnificent. And all those trims look wonderful.
Thank you so much!