
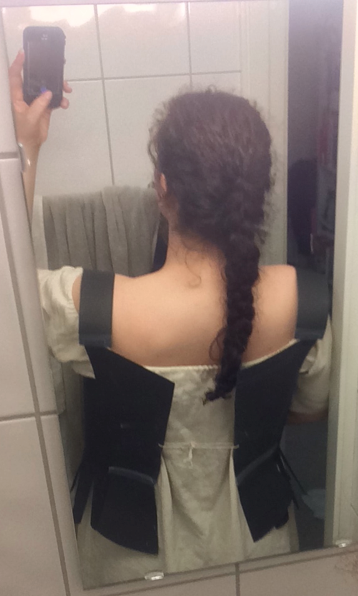
It took hundreds of hours and millions of stitches, but these are my hand sewn 18th century stays!
And here is how they were made:
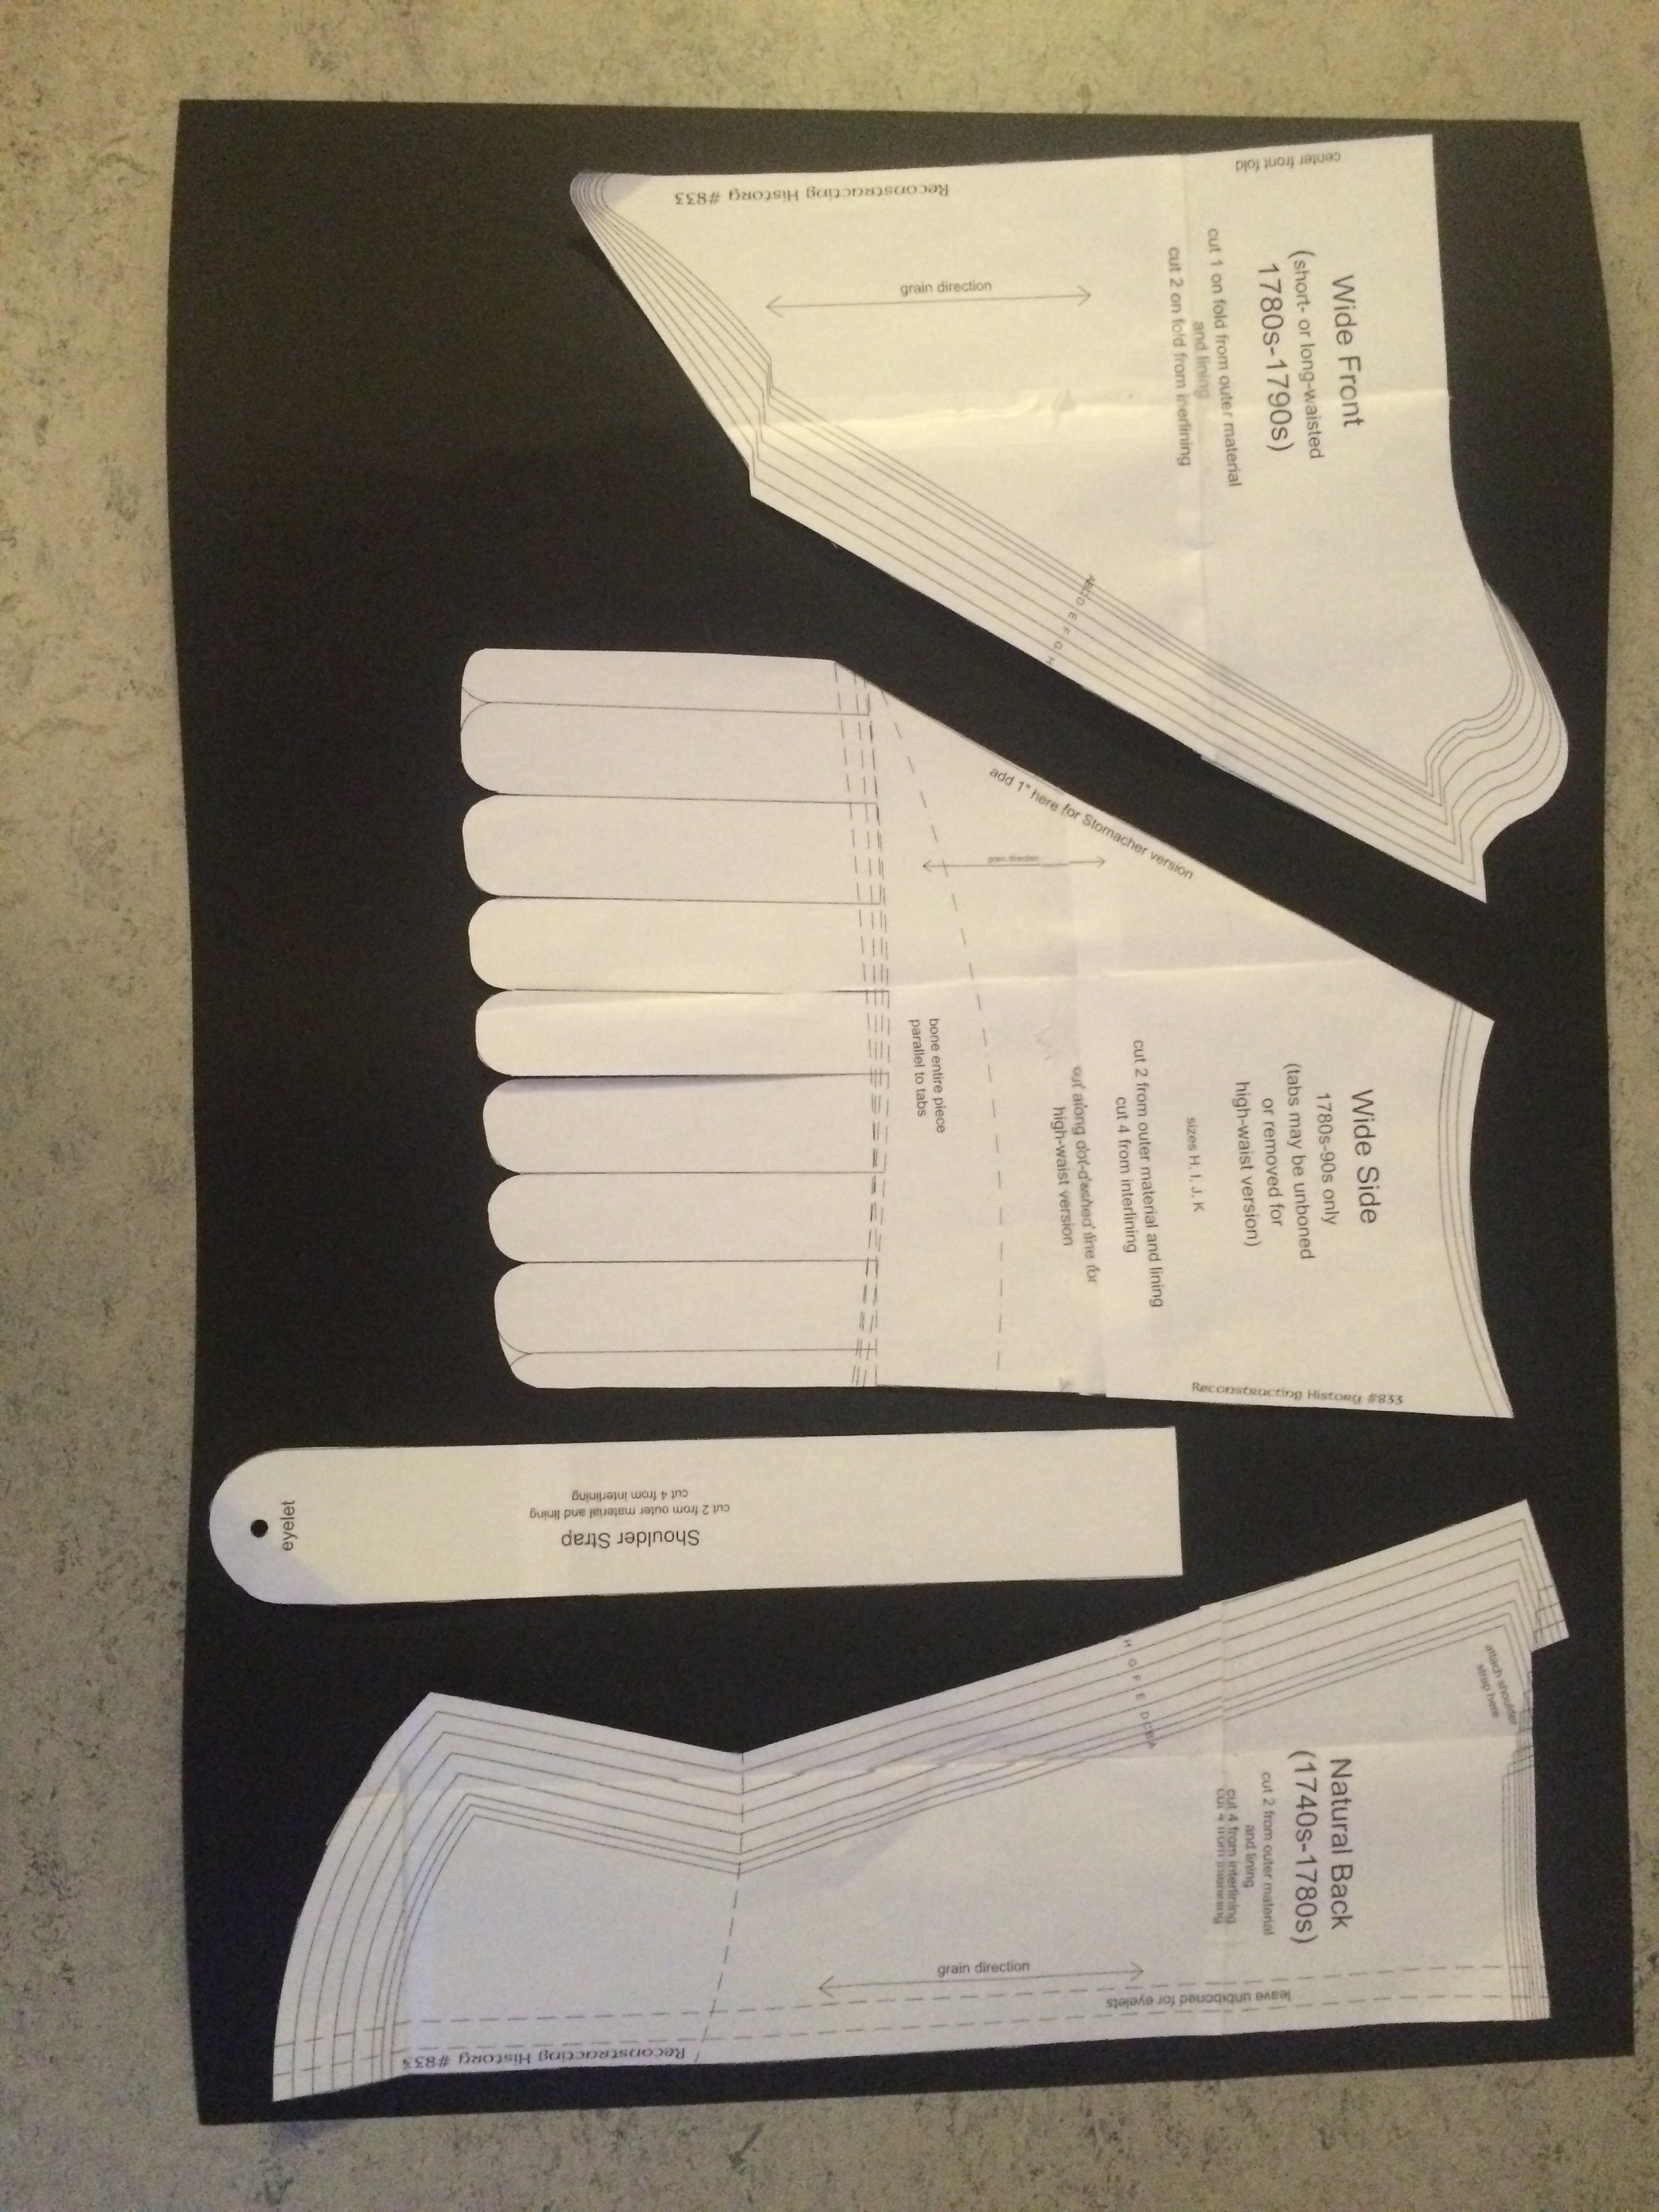
I used this pattern, and did the 1780s model, as it had the supportive “flaps” over the hips to help carry the weight of petticoats and dresses.
First, I made a mockup of thin cardboard.
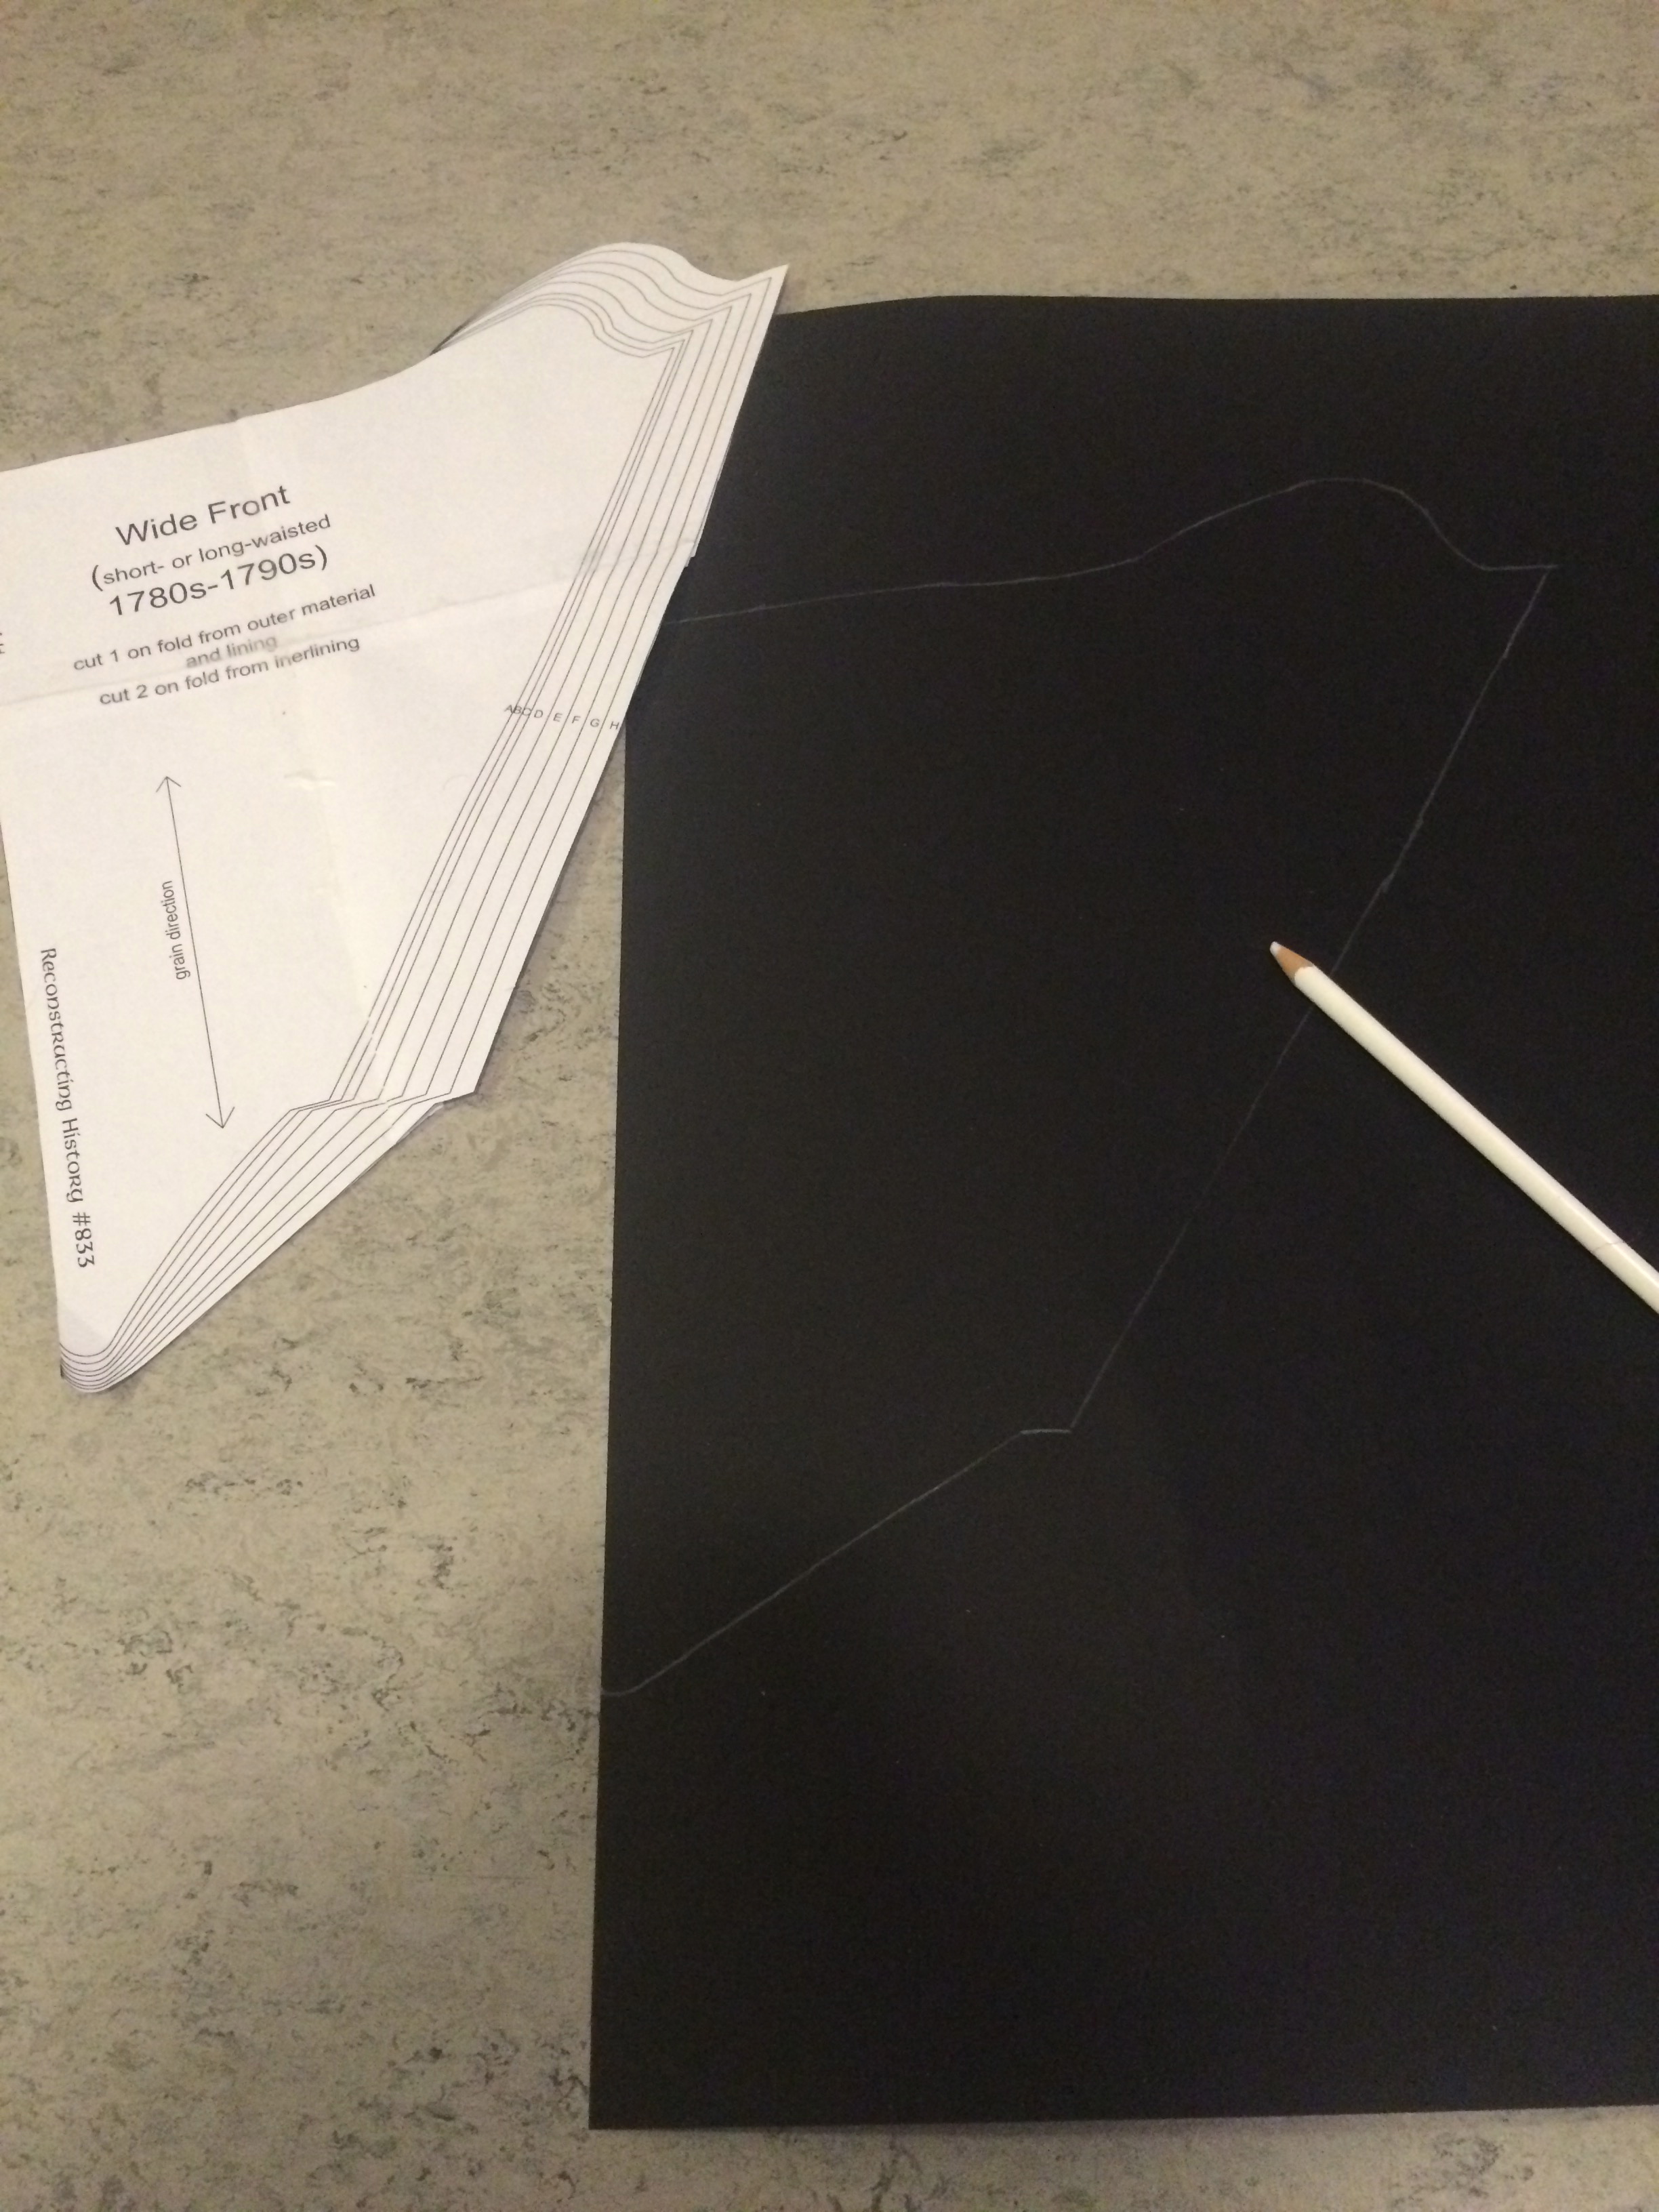
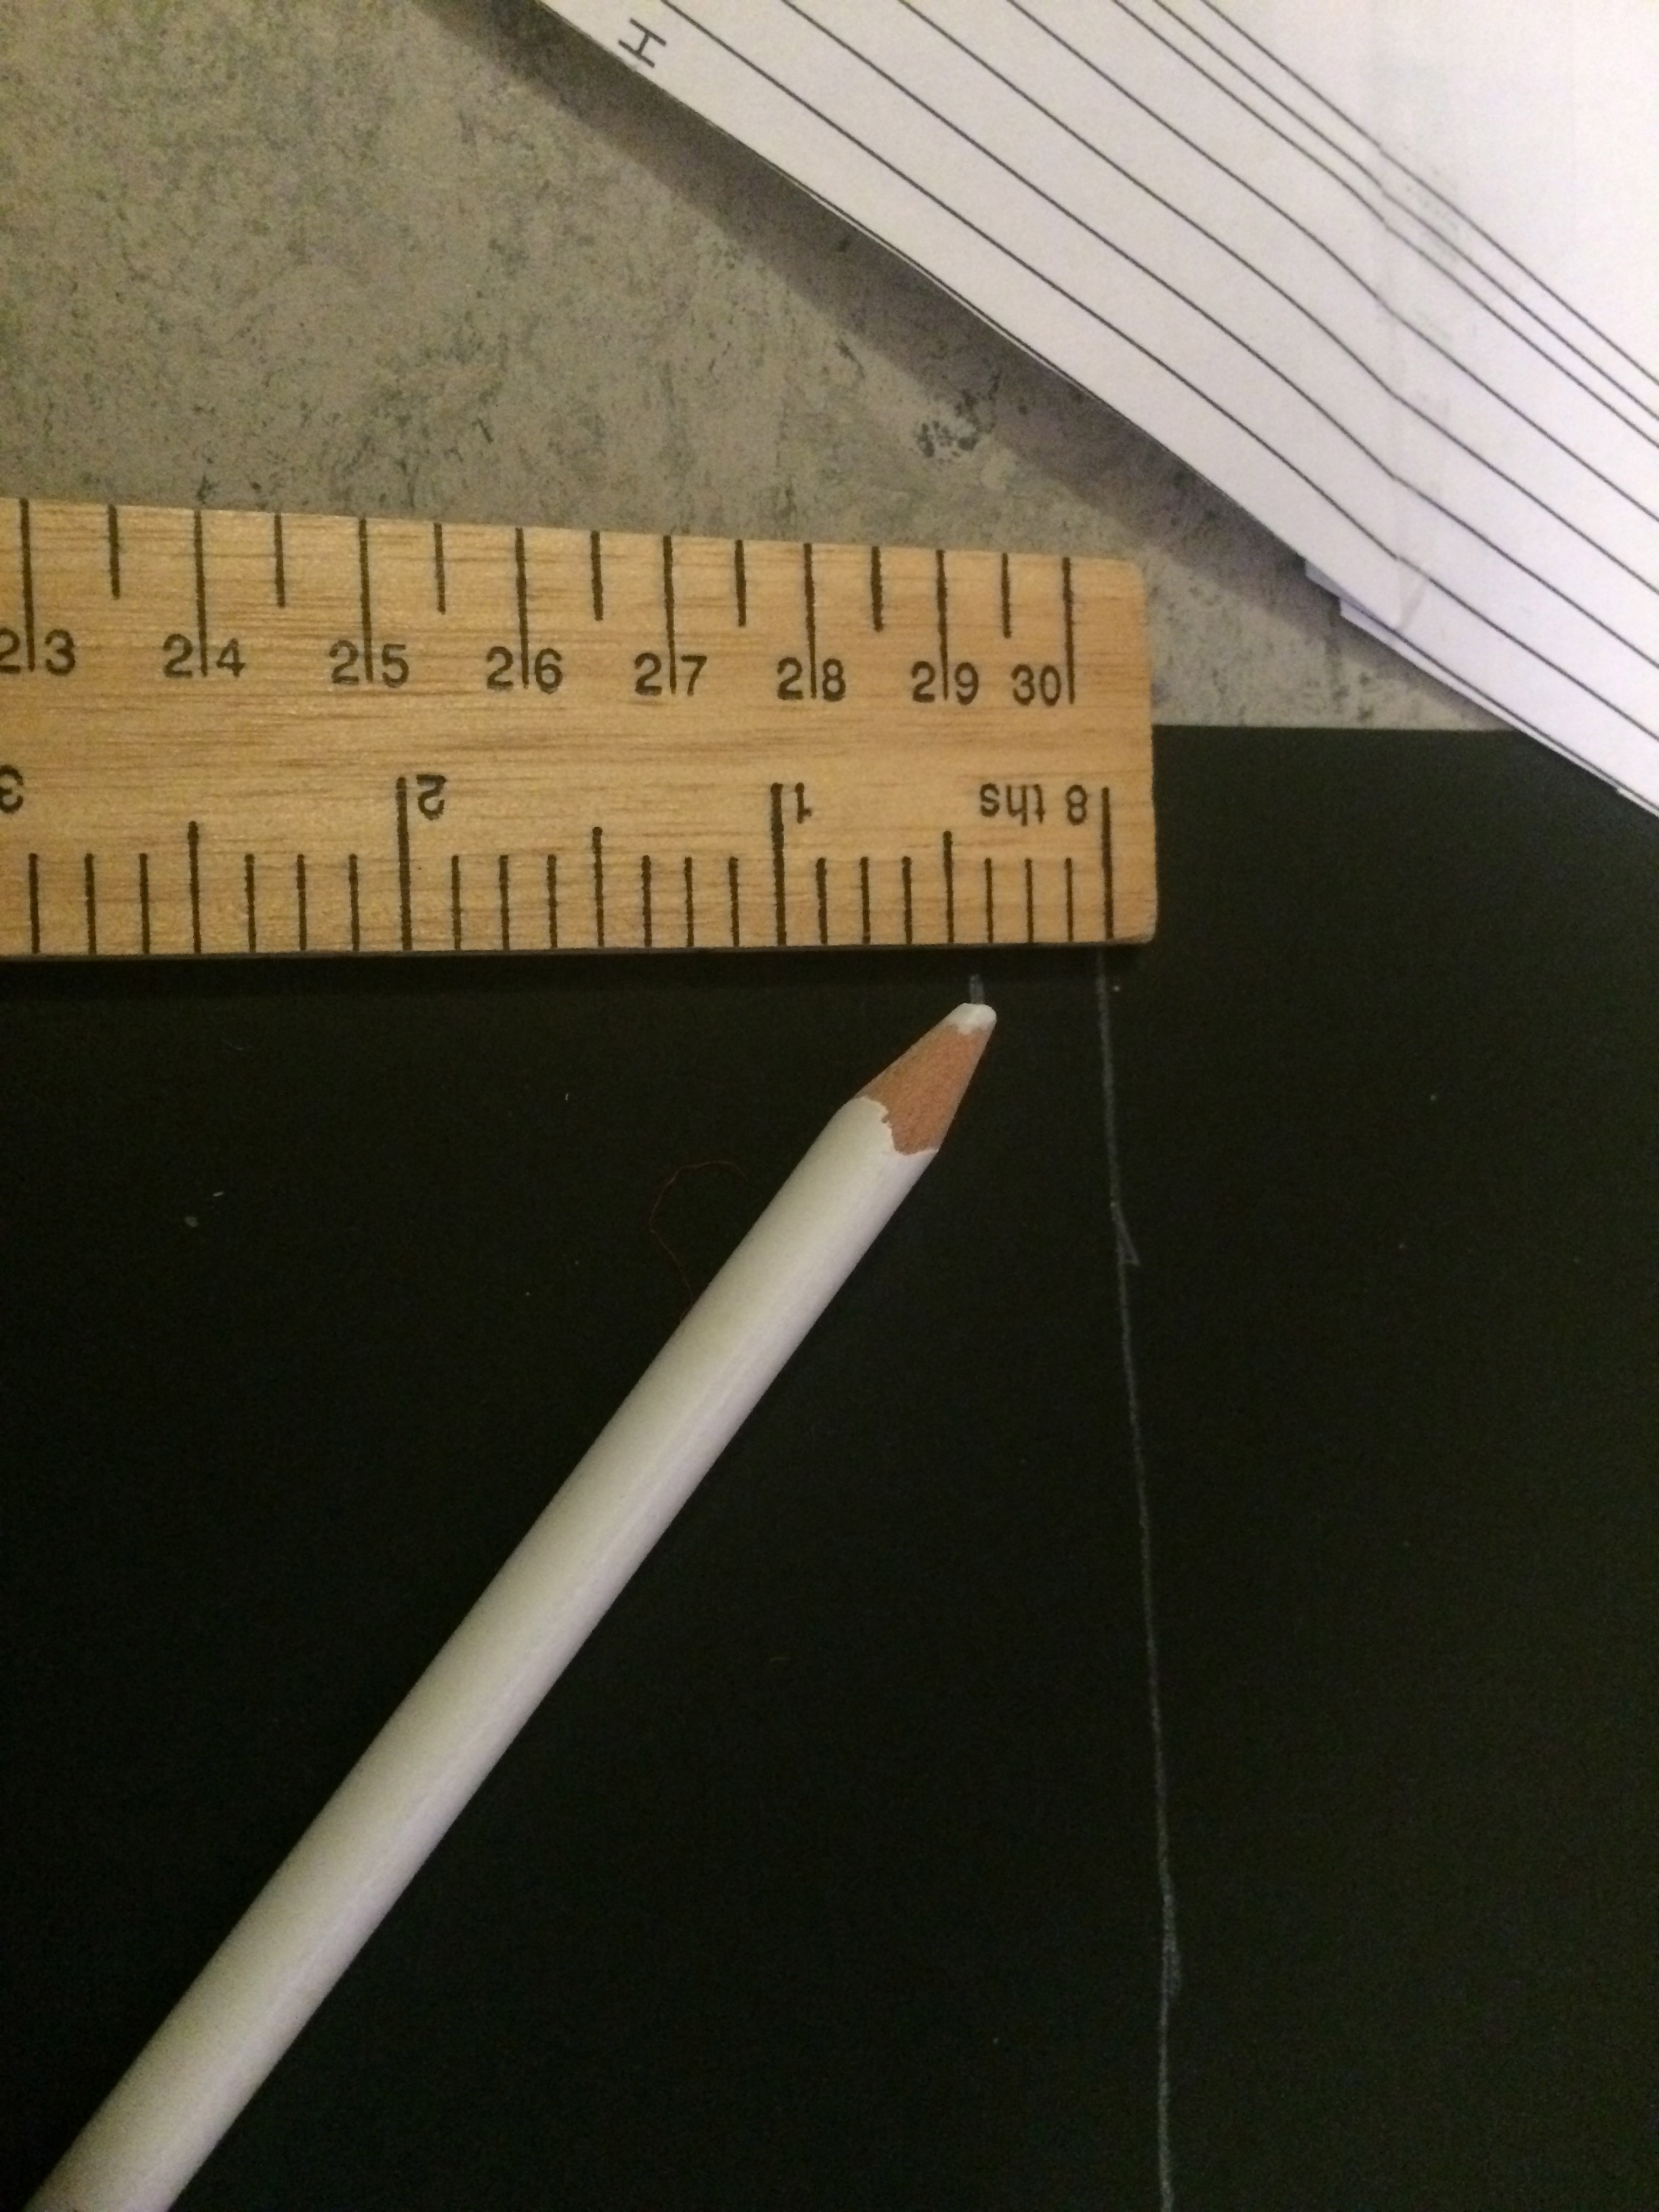
Marking the seam allowance, and placing all the pieces next to each other.


I cut them out…

… and taped the pieces together.

Finally, I made a couple of small holes in the back, and held the stays together with string.

I got a tip that cardboard was better than muslin or canvas for a mockup, as it behaves more like boned corset. However, the process was not alltogether unproblematic, as it was hard to keep the mockup together at the back. However, it granted me some idea of how the pattern fit.
Turned out, the pattern was a little too large, so I adjusted the side panel somewhat. The straps were too far out on my shoulders, so I moved them further in.
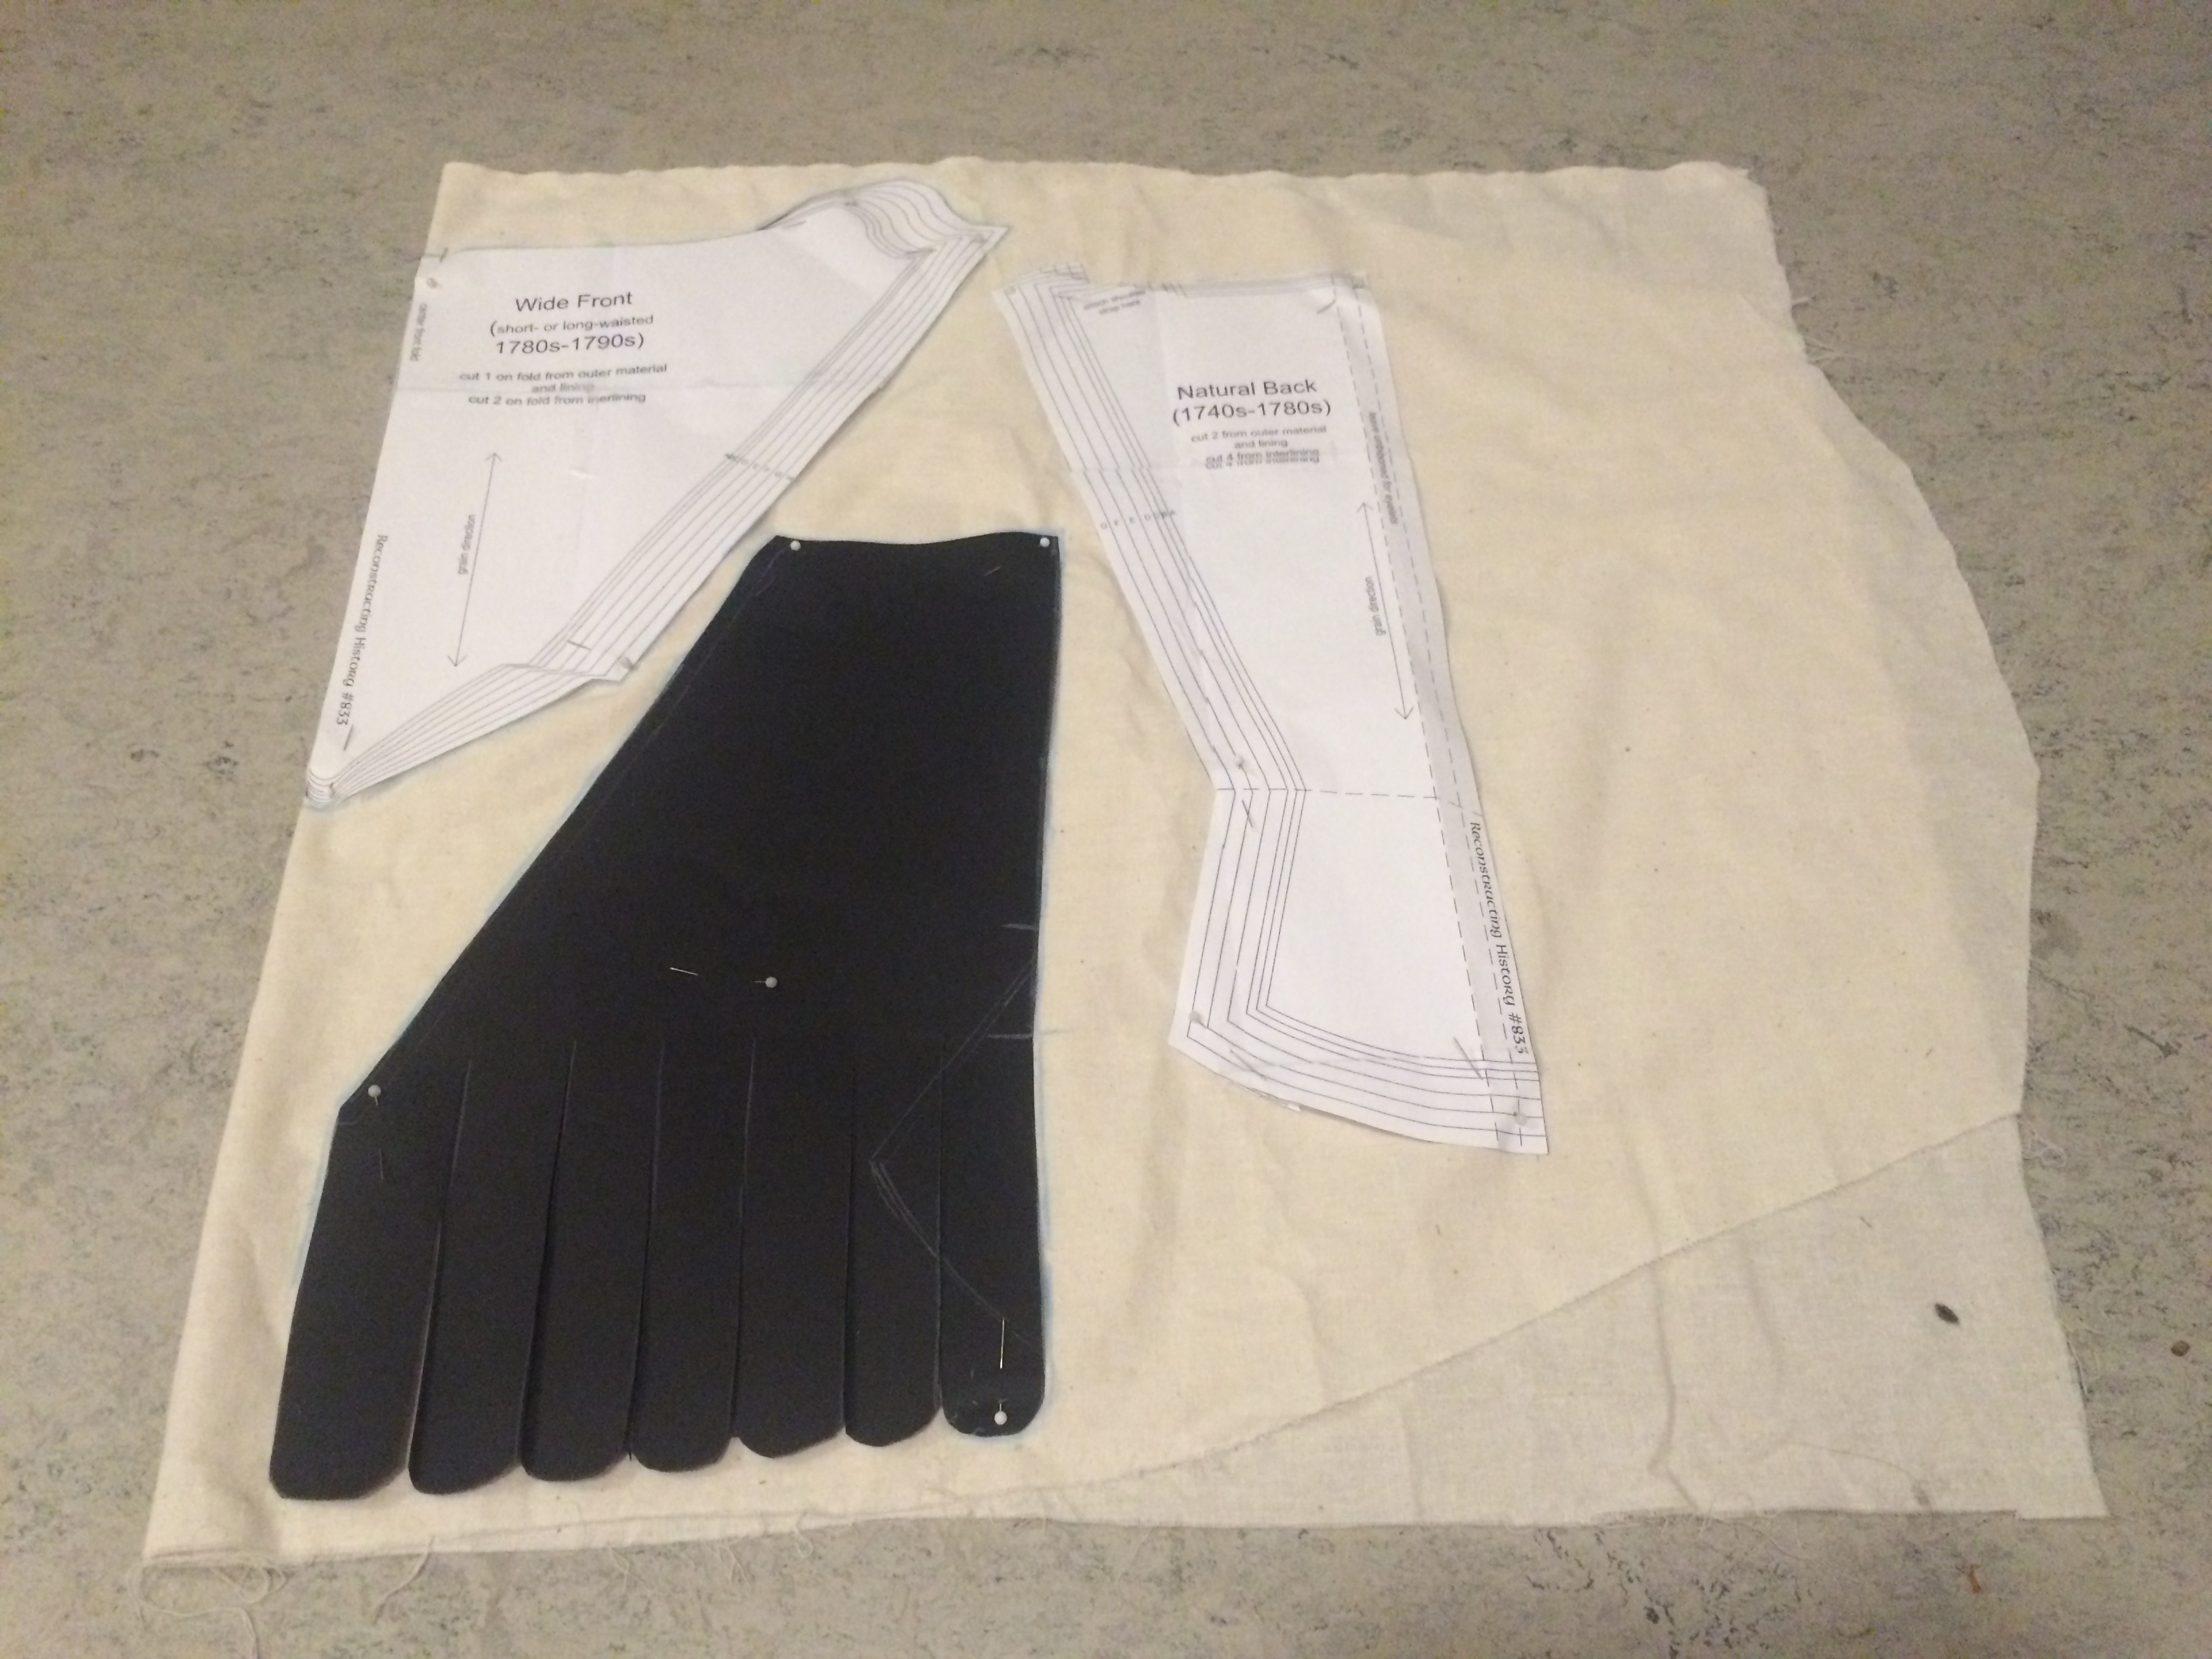
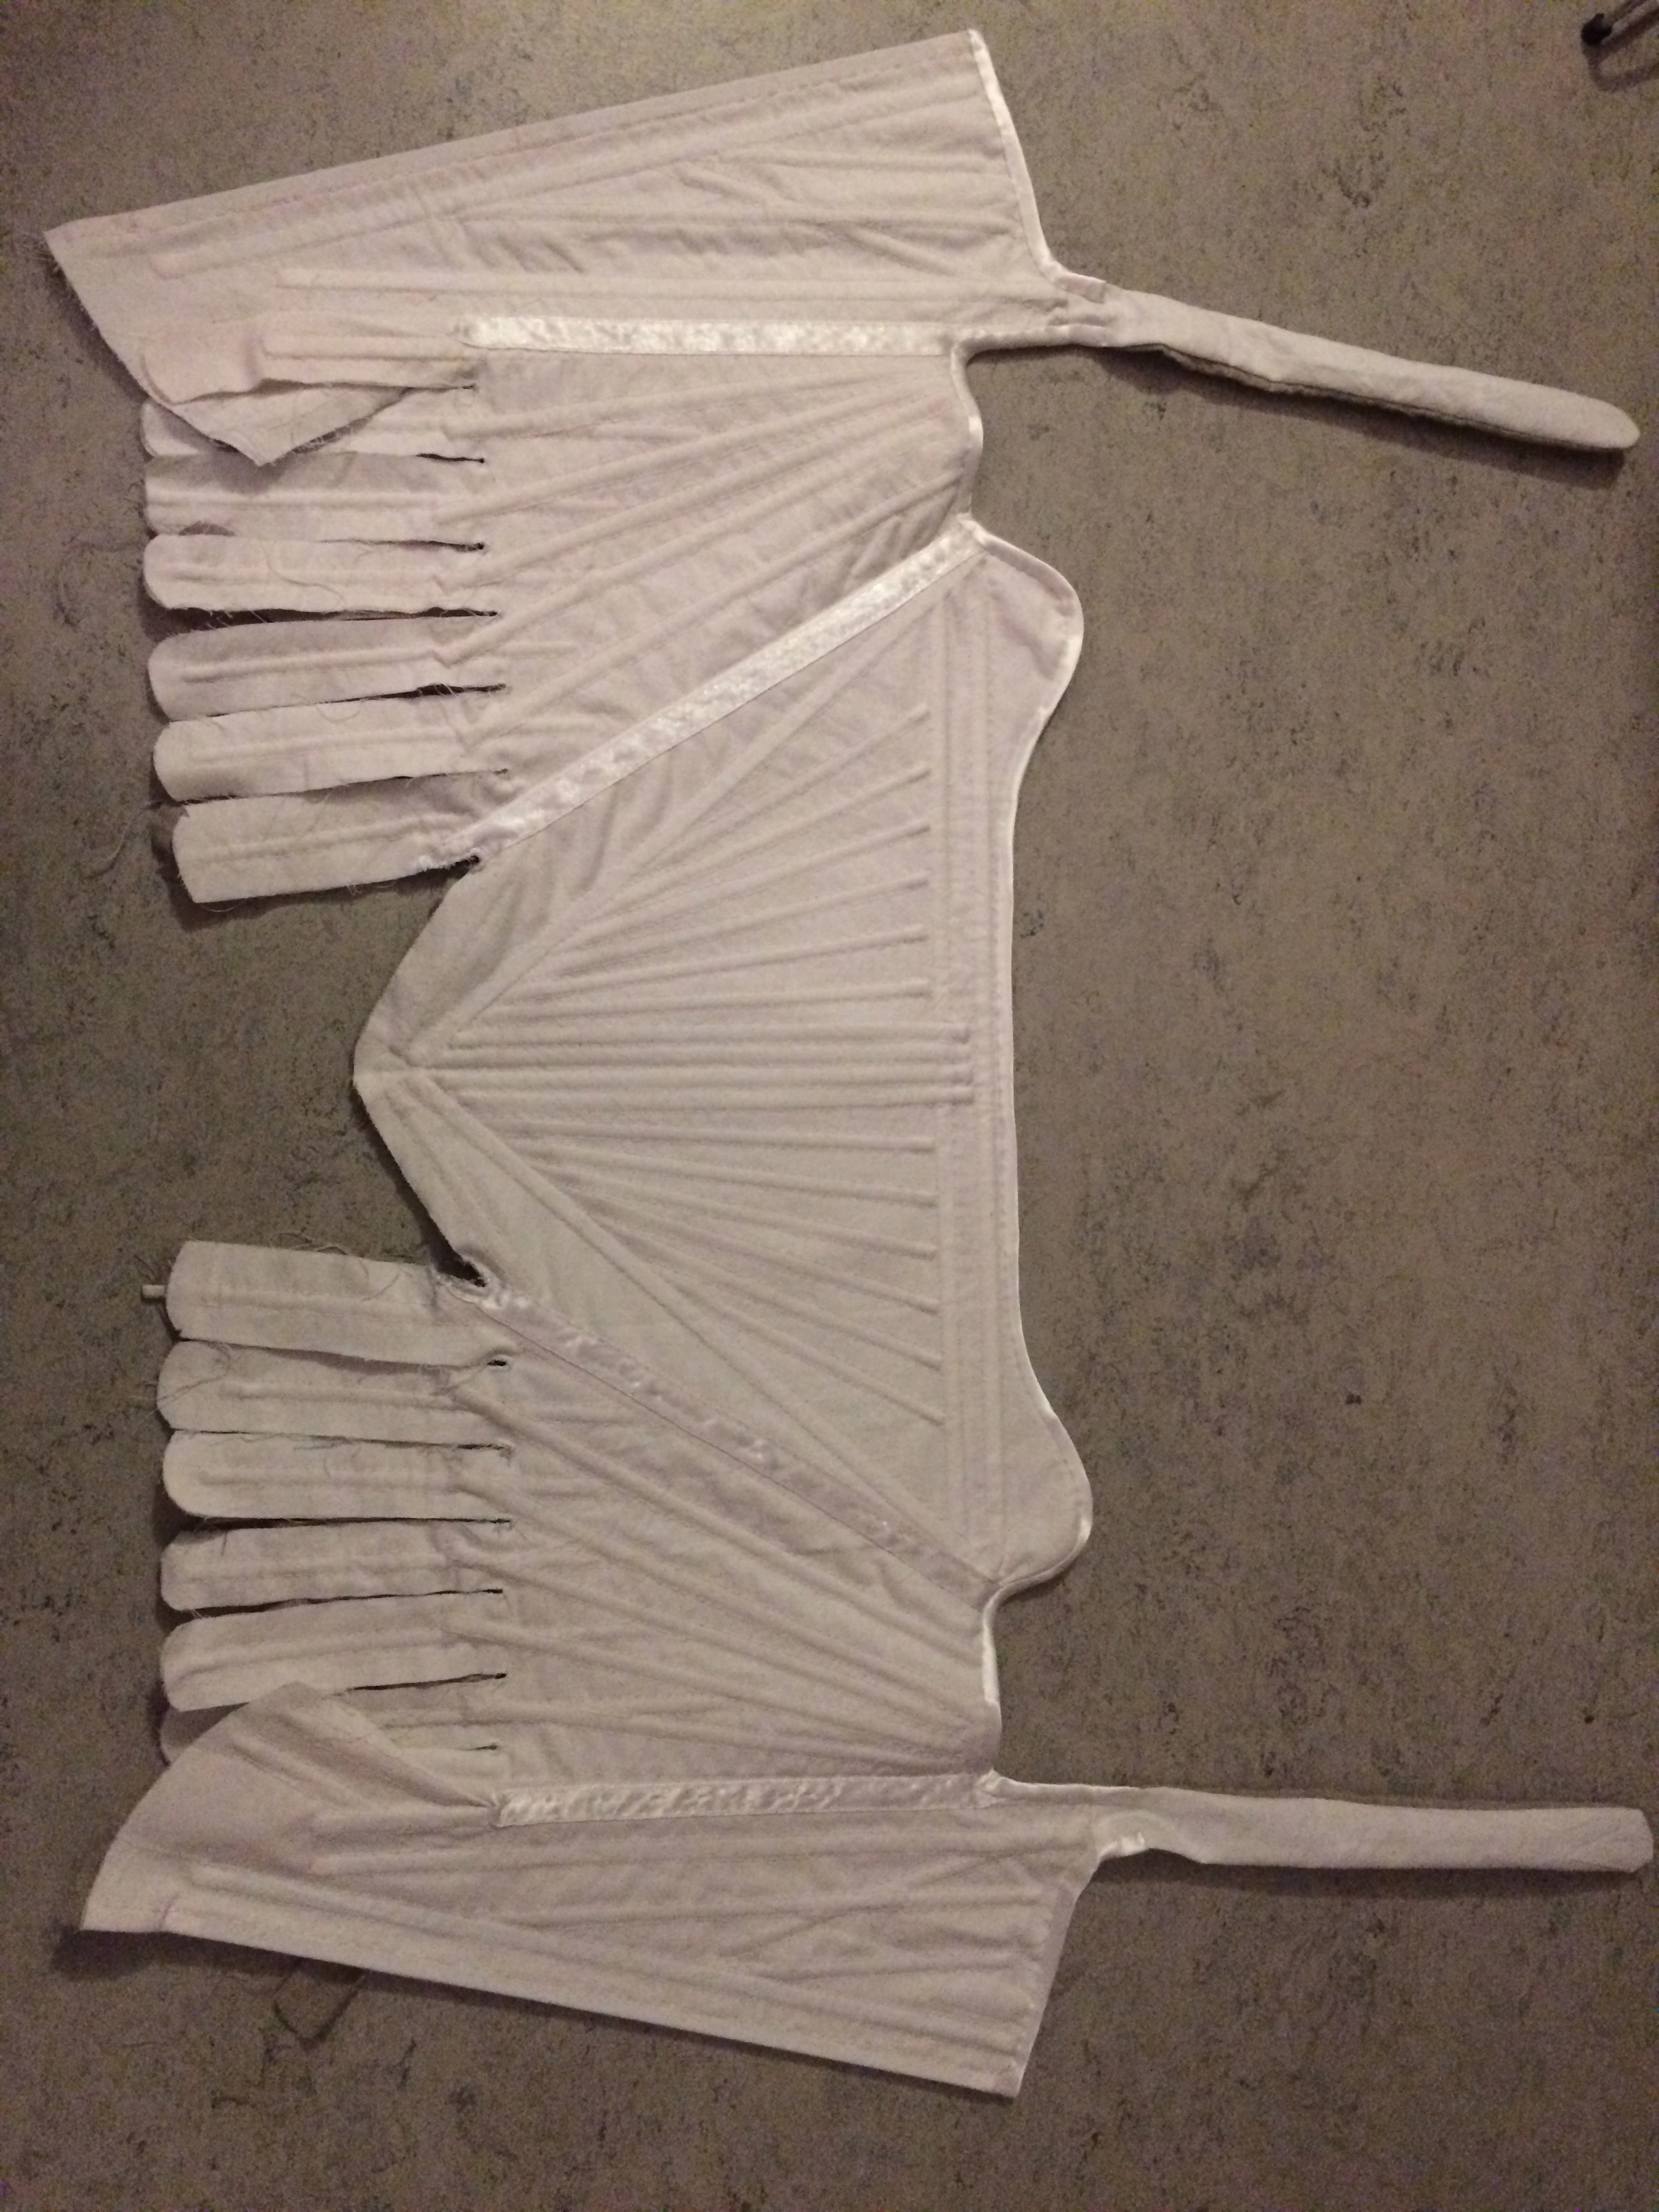
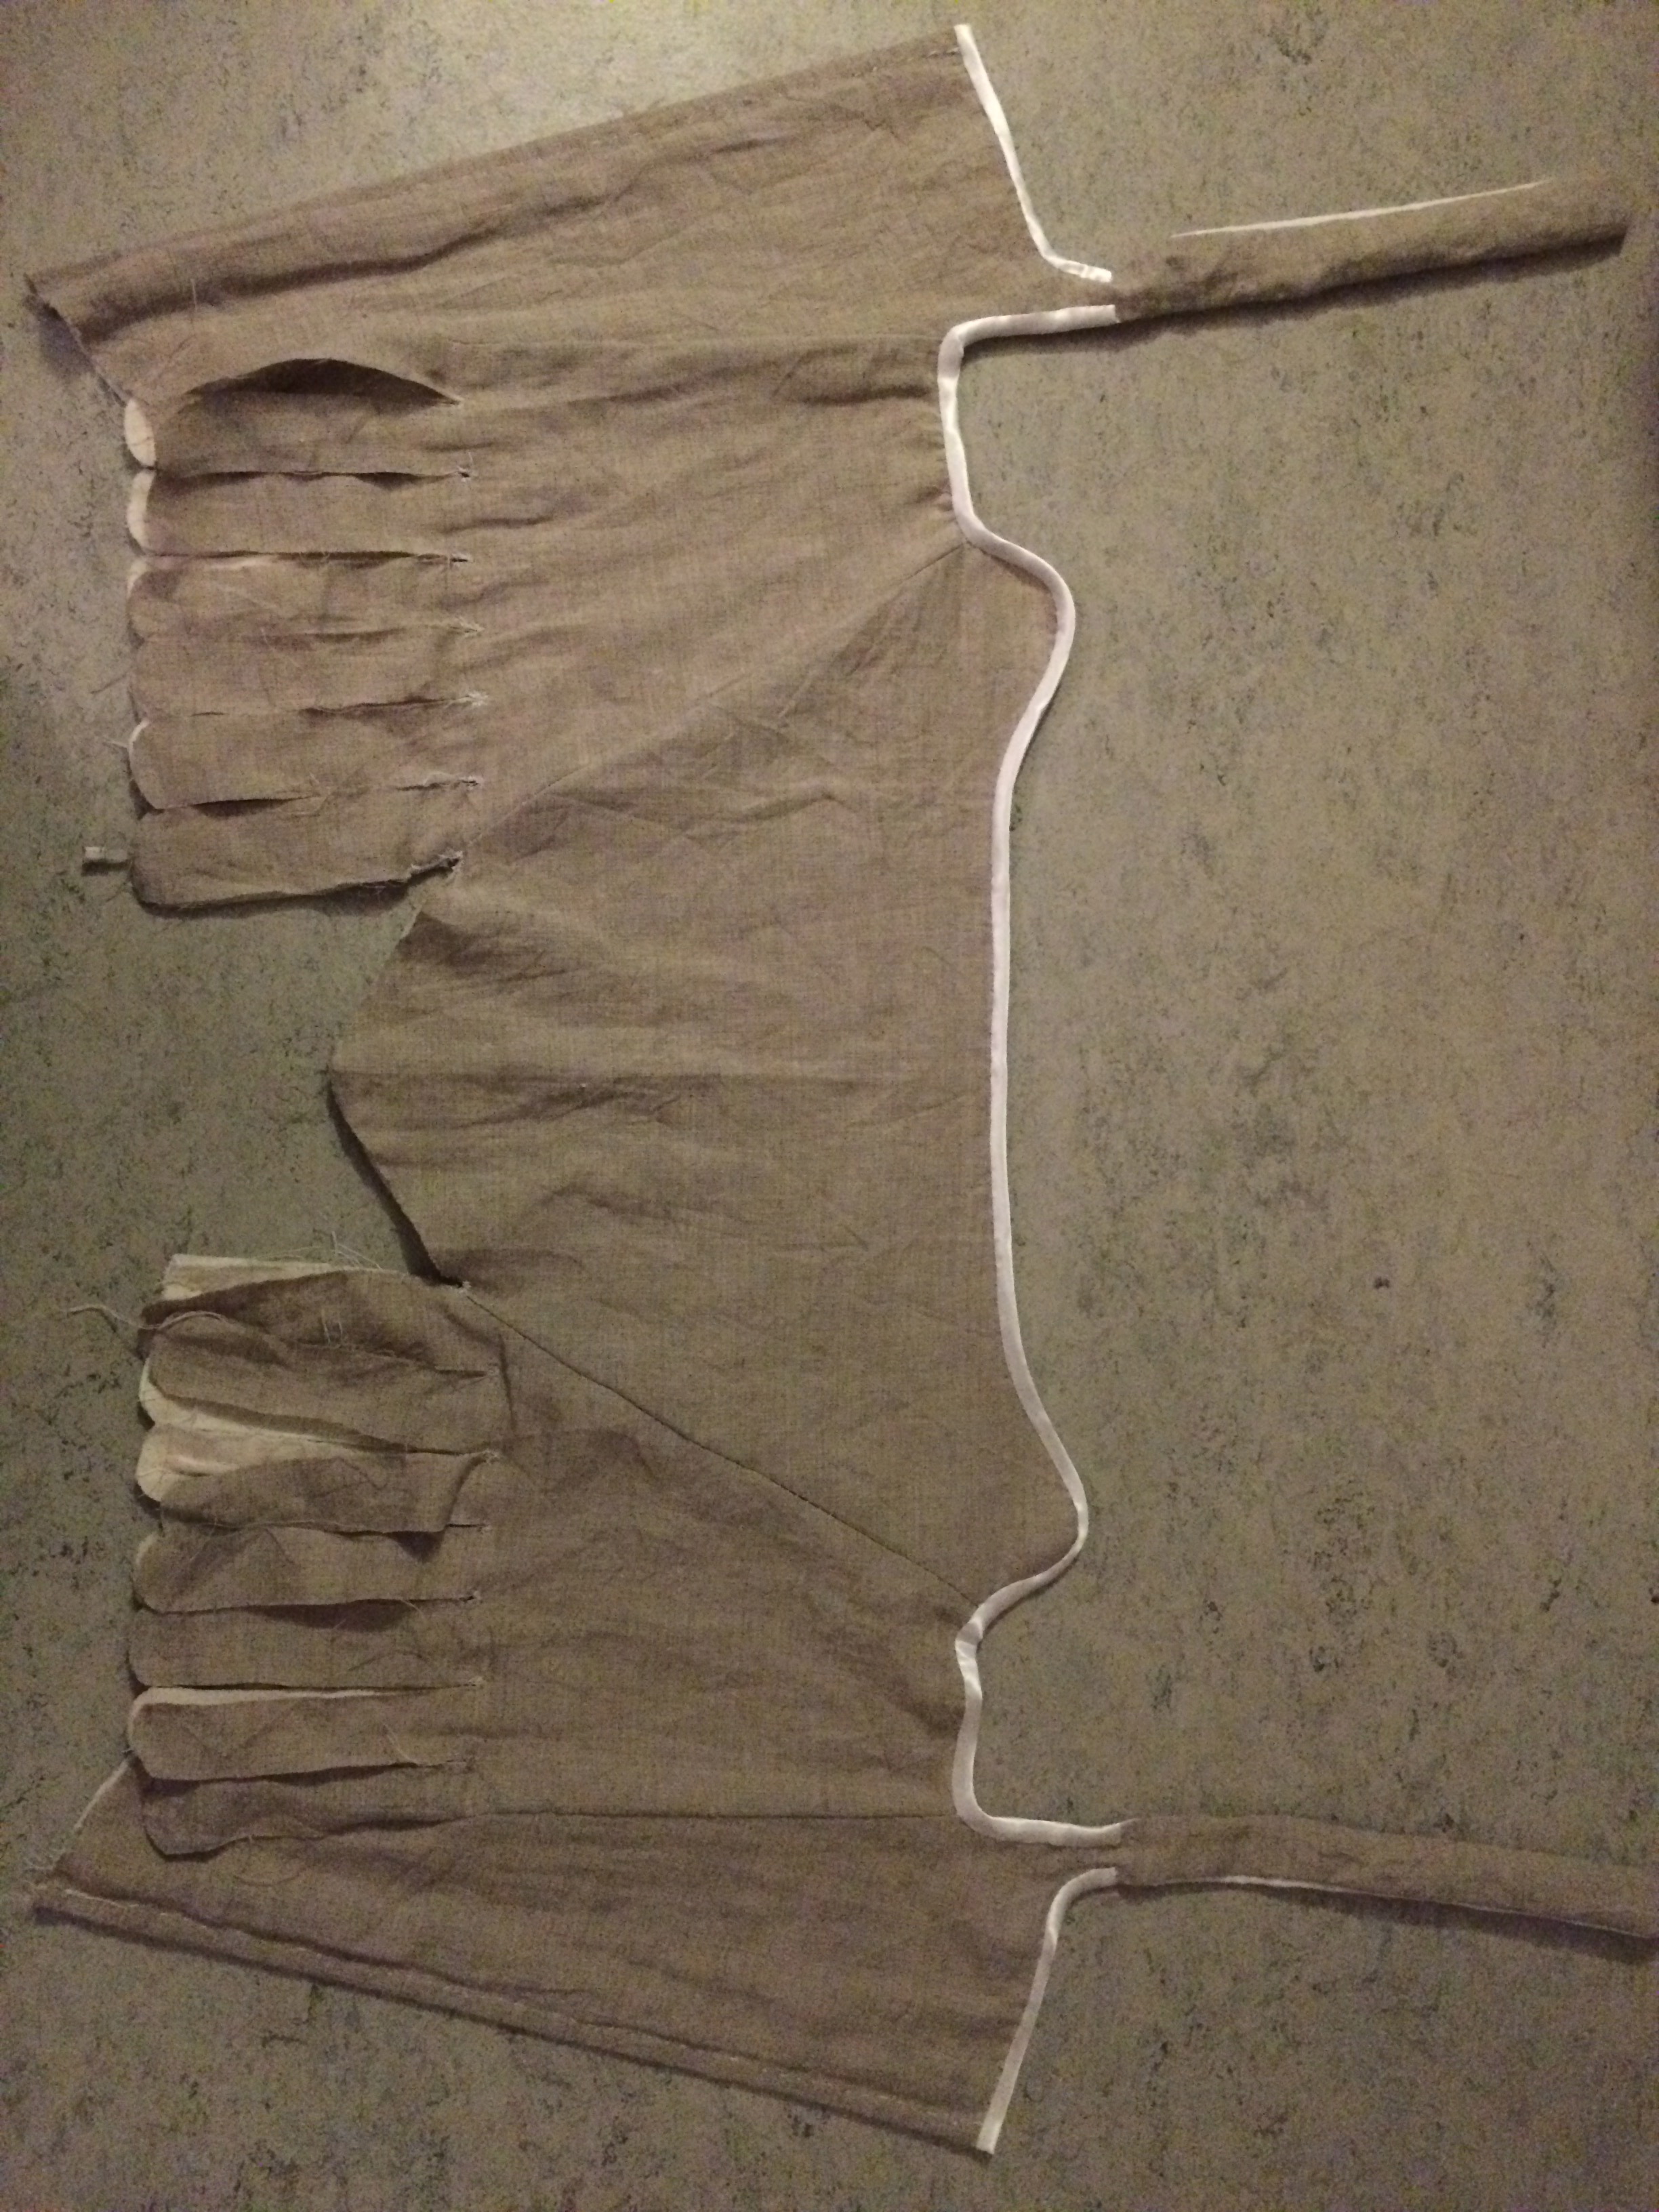
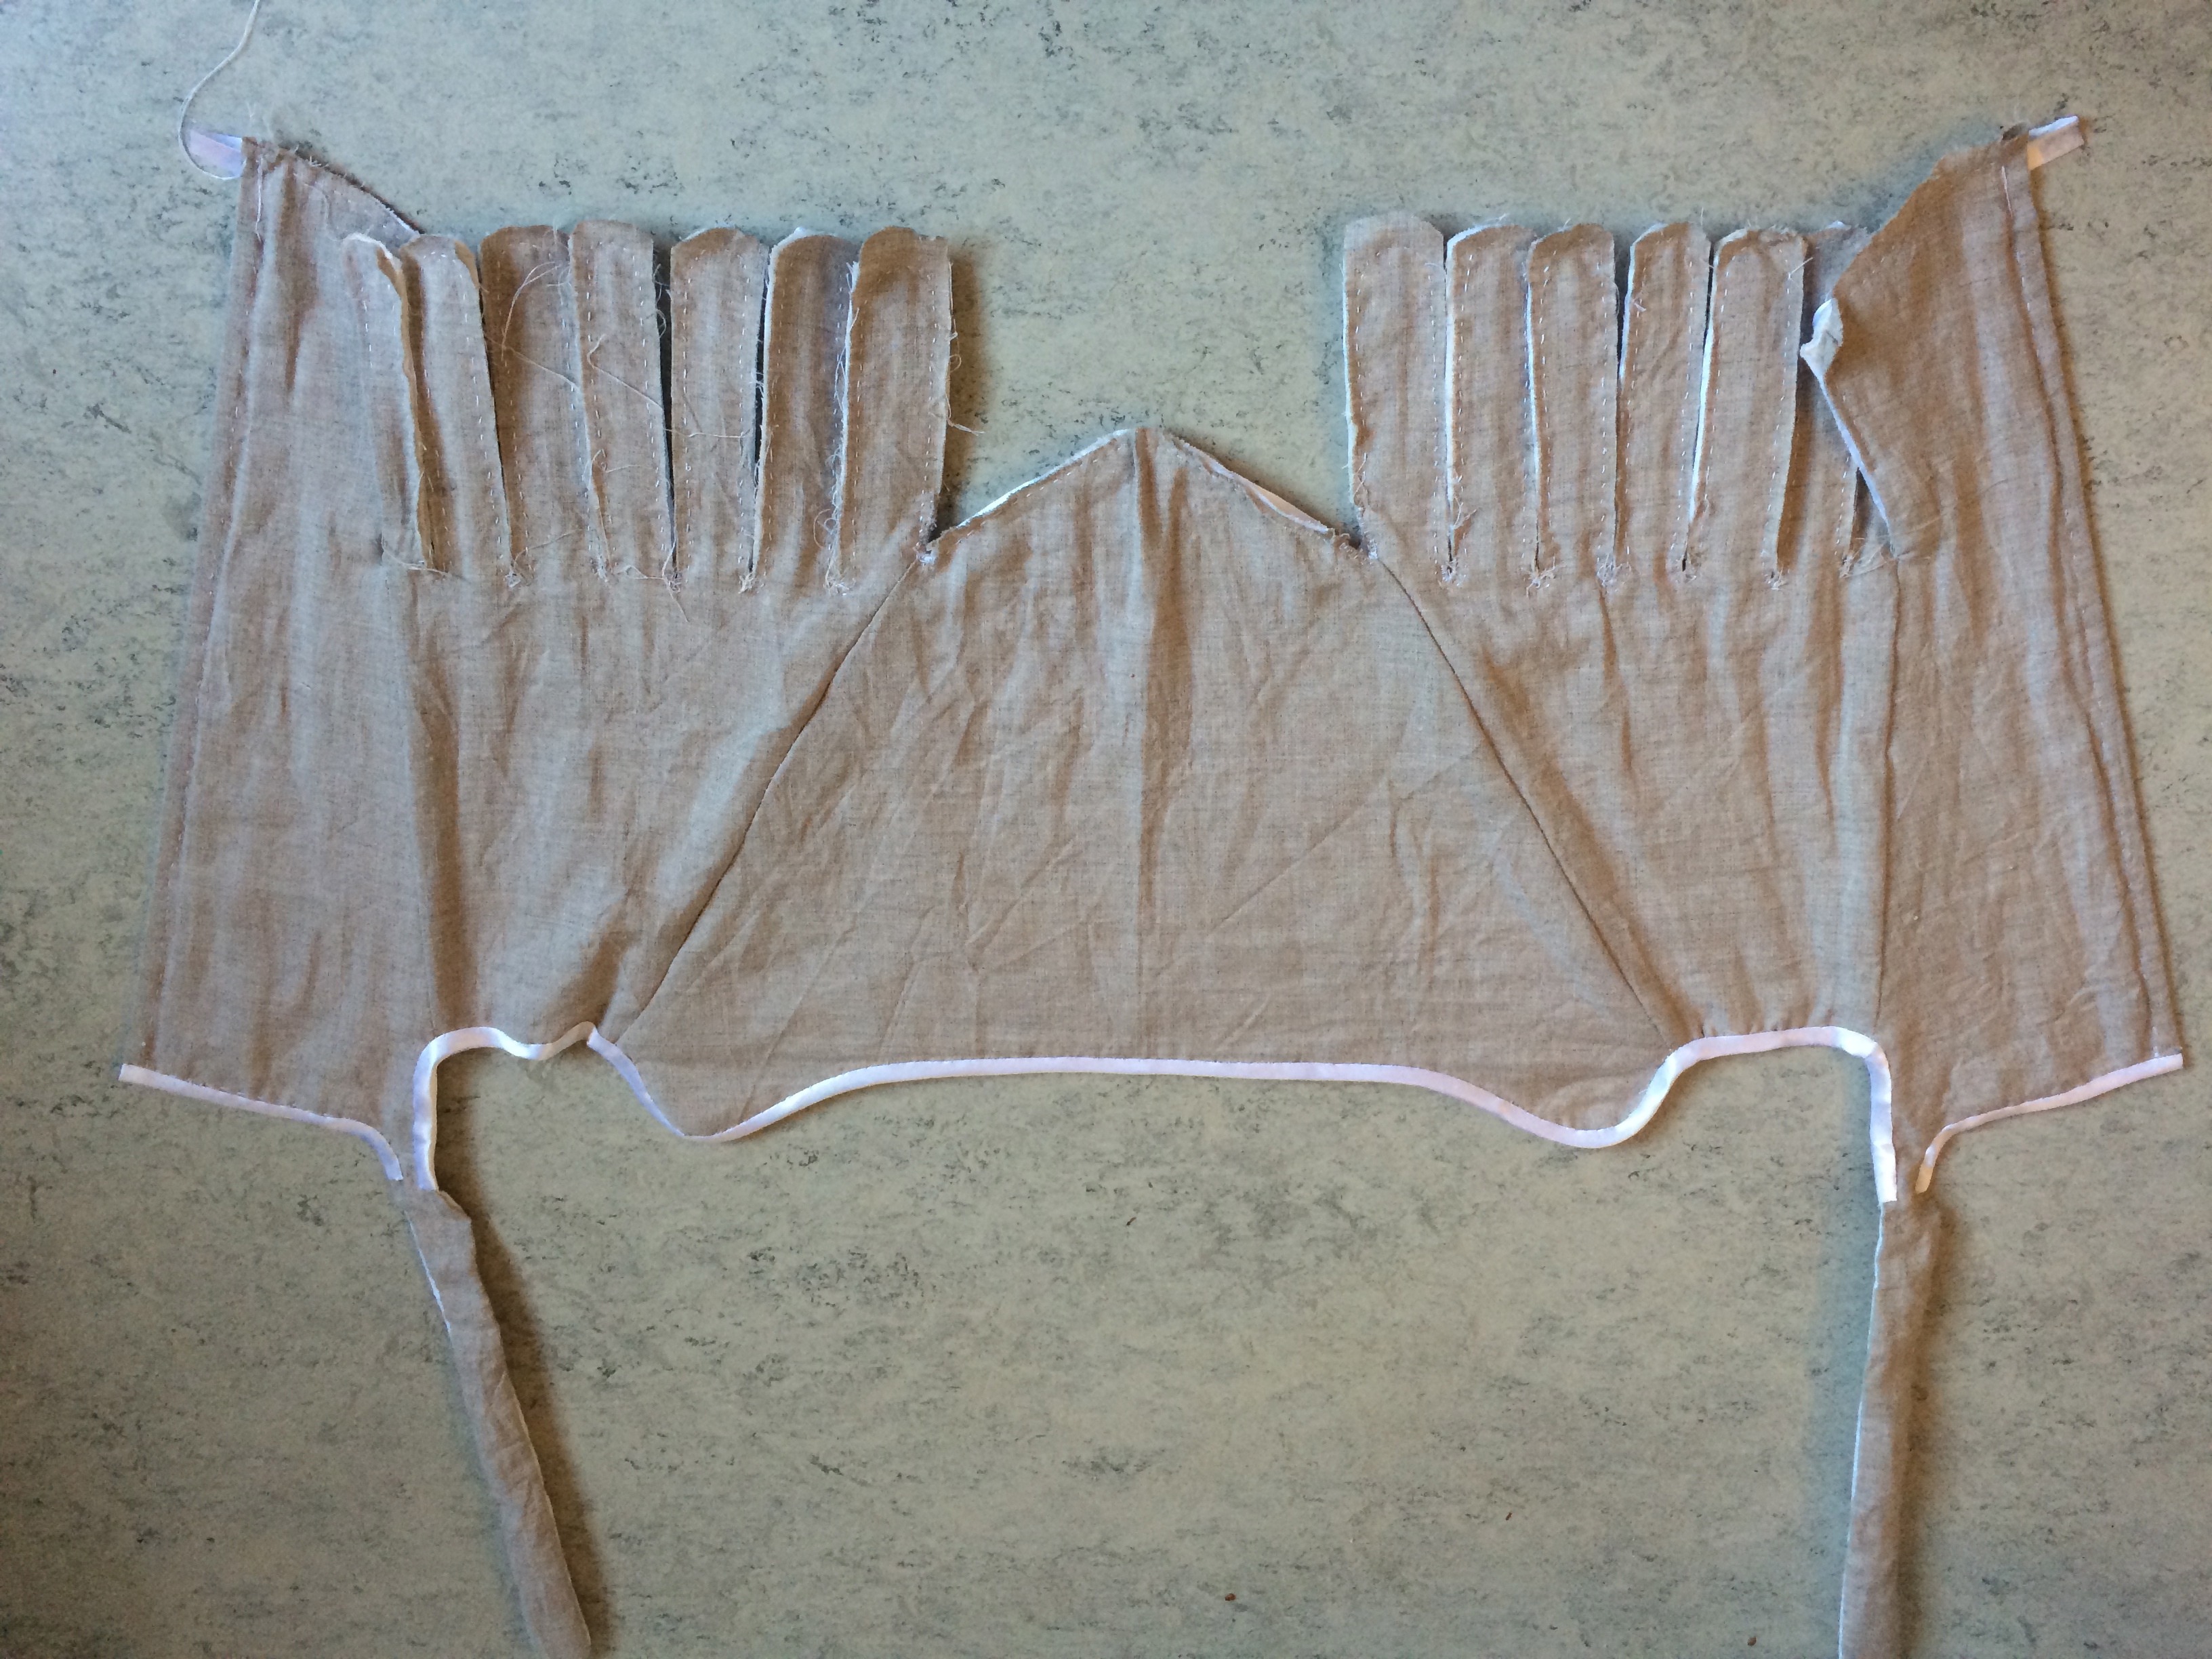
Cut from the fabric!
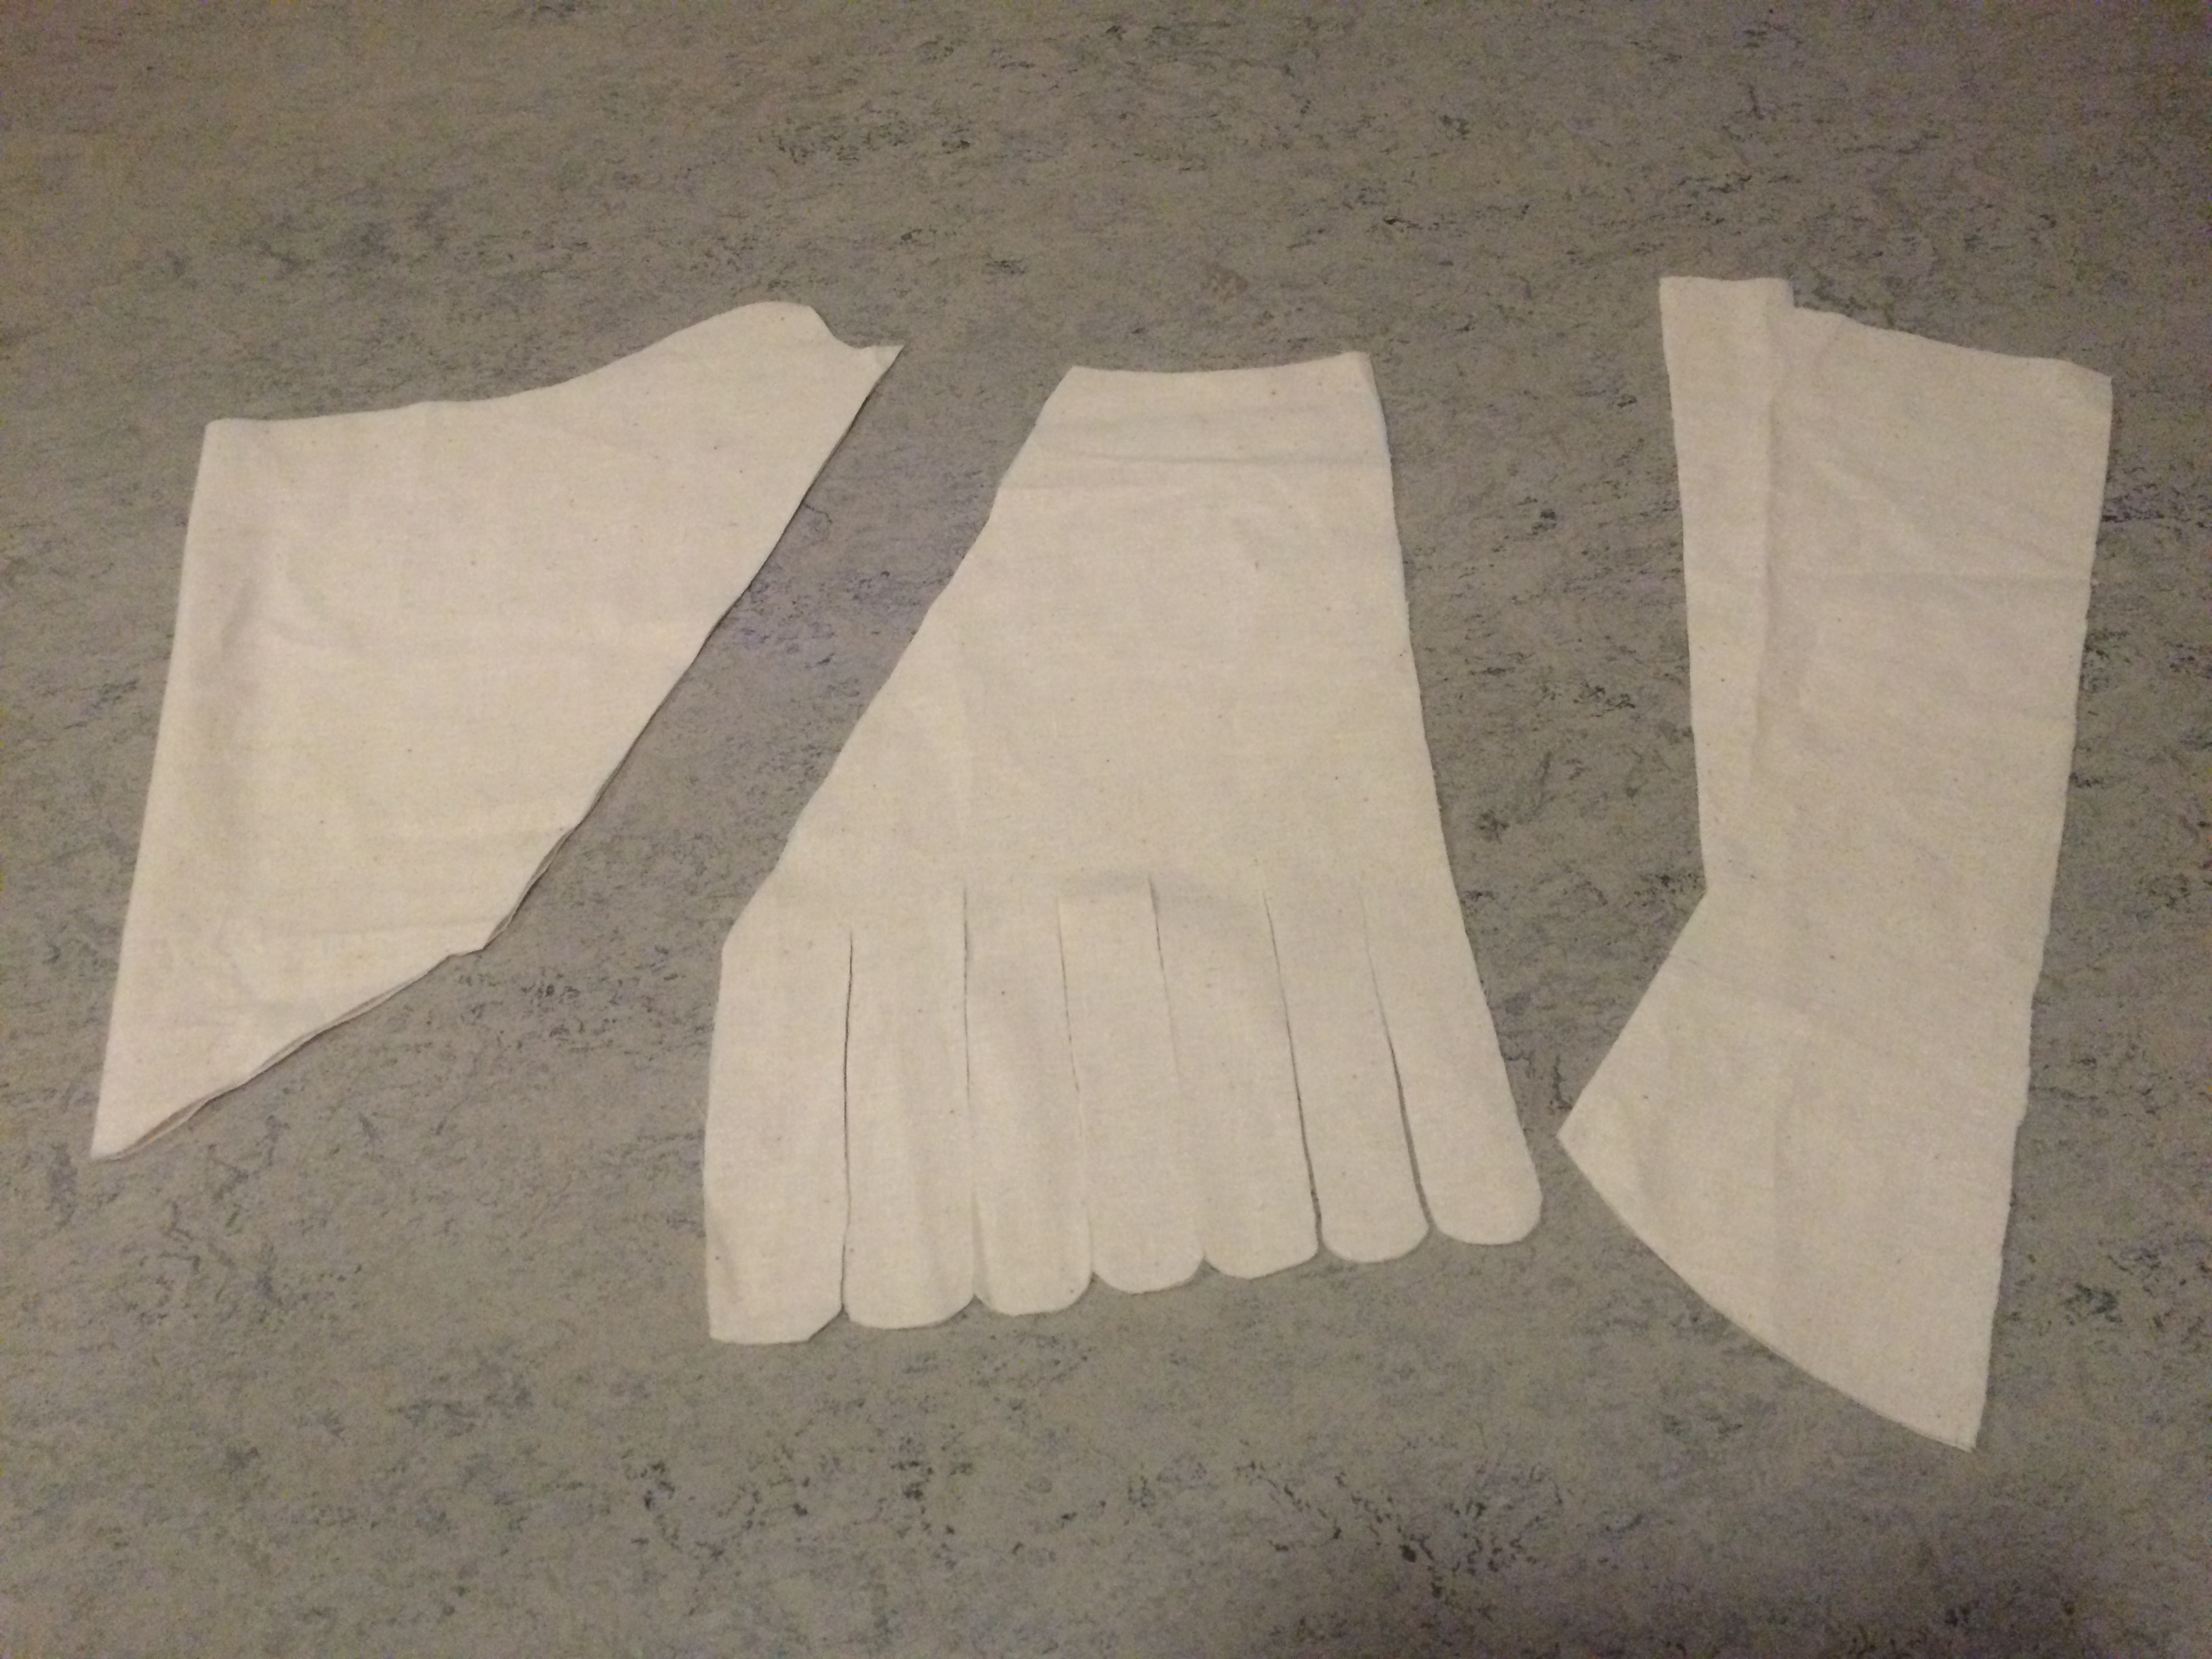
The stays consist of a front panel (cut on fold), two side panels and two back panels.

All my pieces! 19 bits in all! All the panels are made from three layers of fabric, the shoulder straps from two.
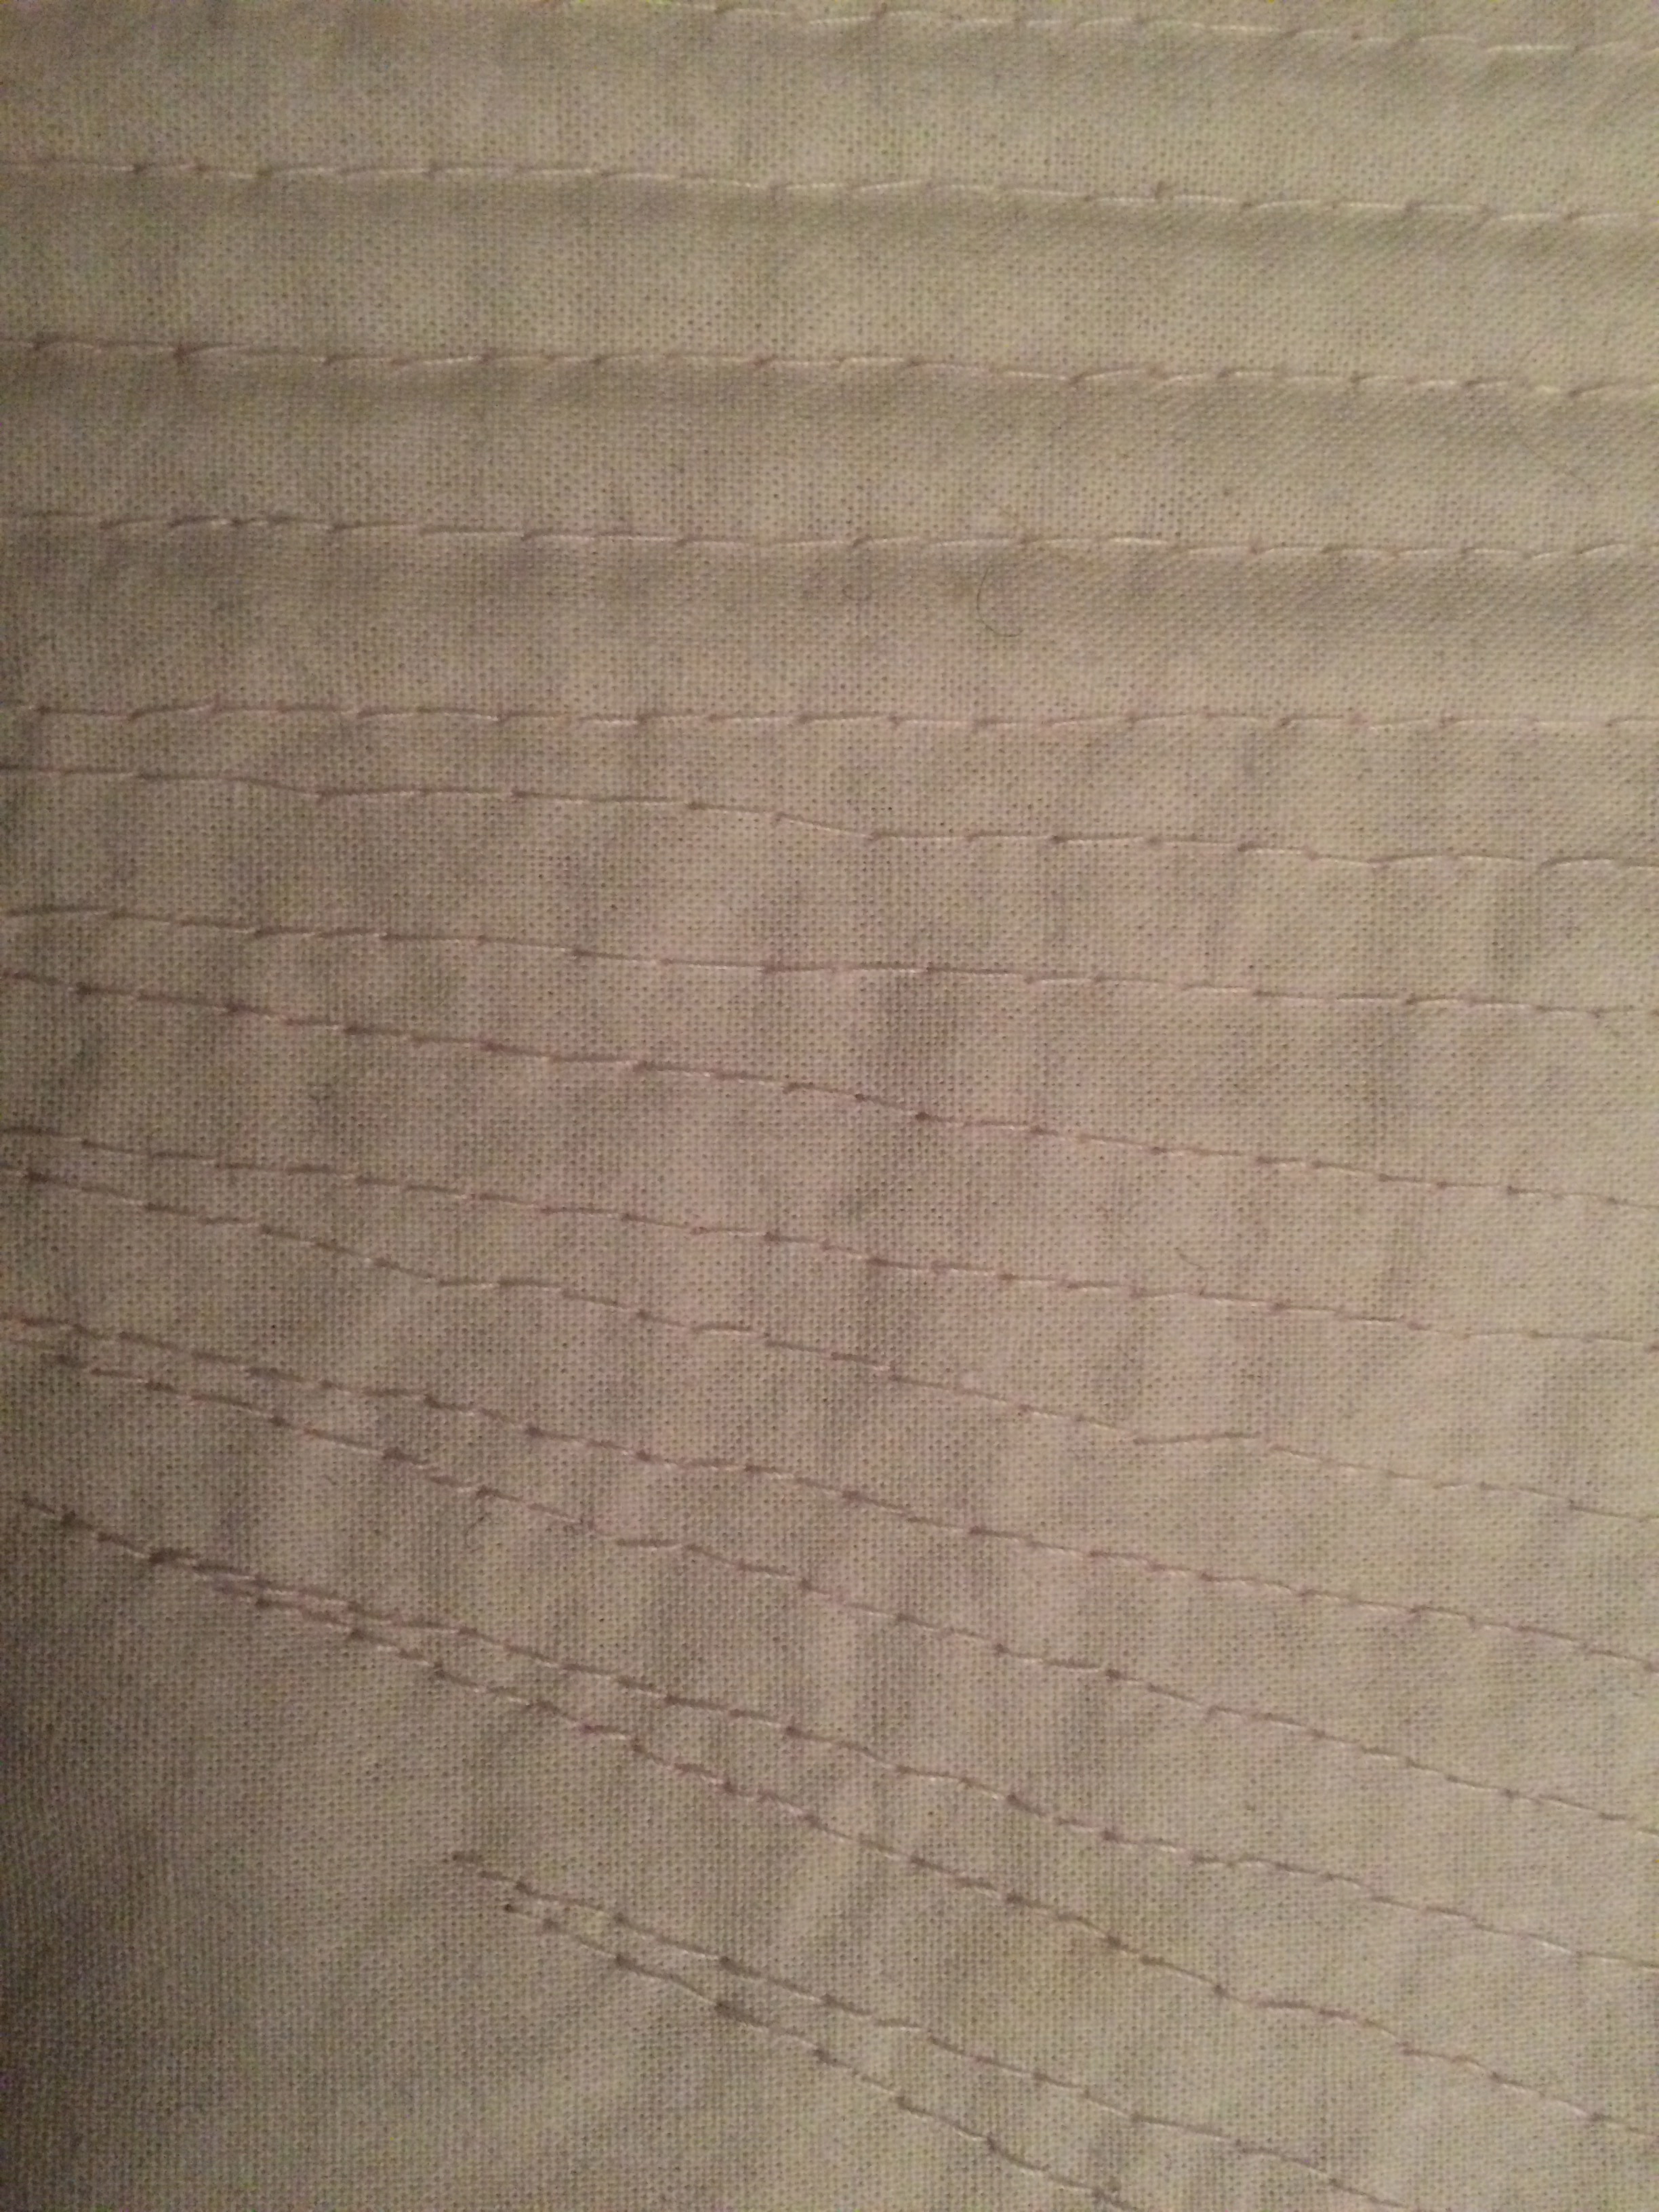
The most mammoth of the tasks on this project was the boning. First, I marked where I wanted my boning channels on the middle layer of fabric (the off-white coloured fabric on these pictures):
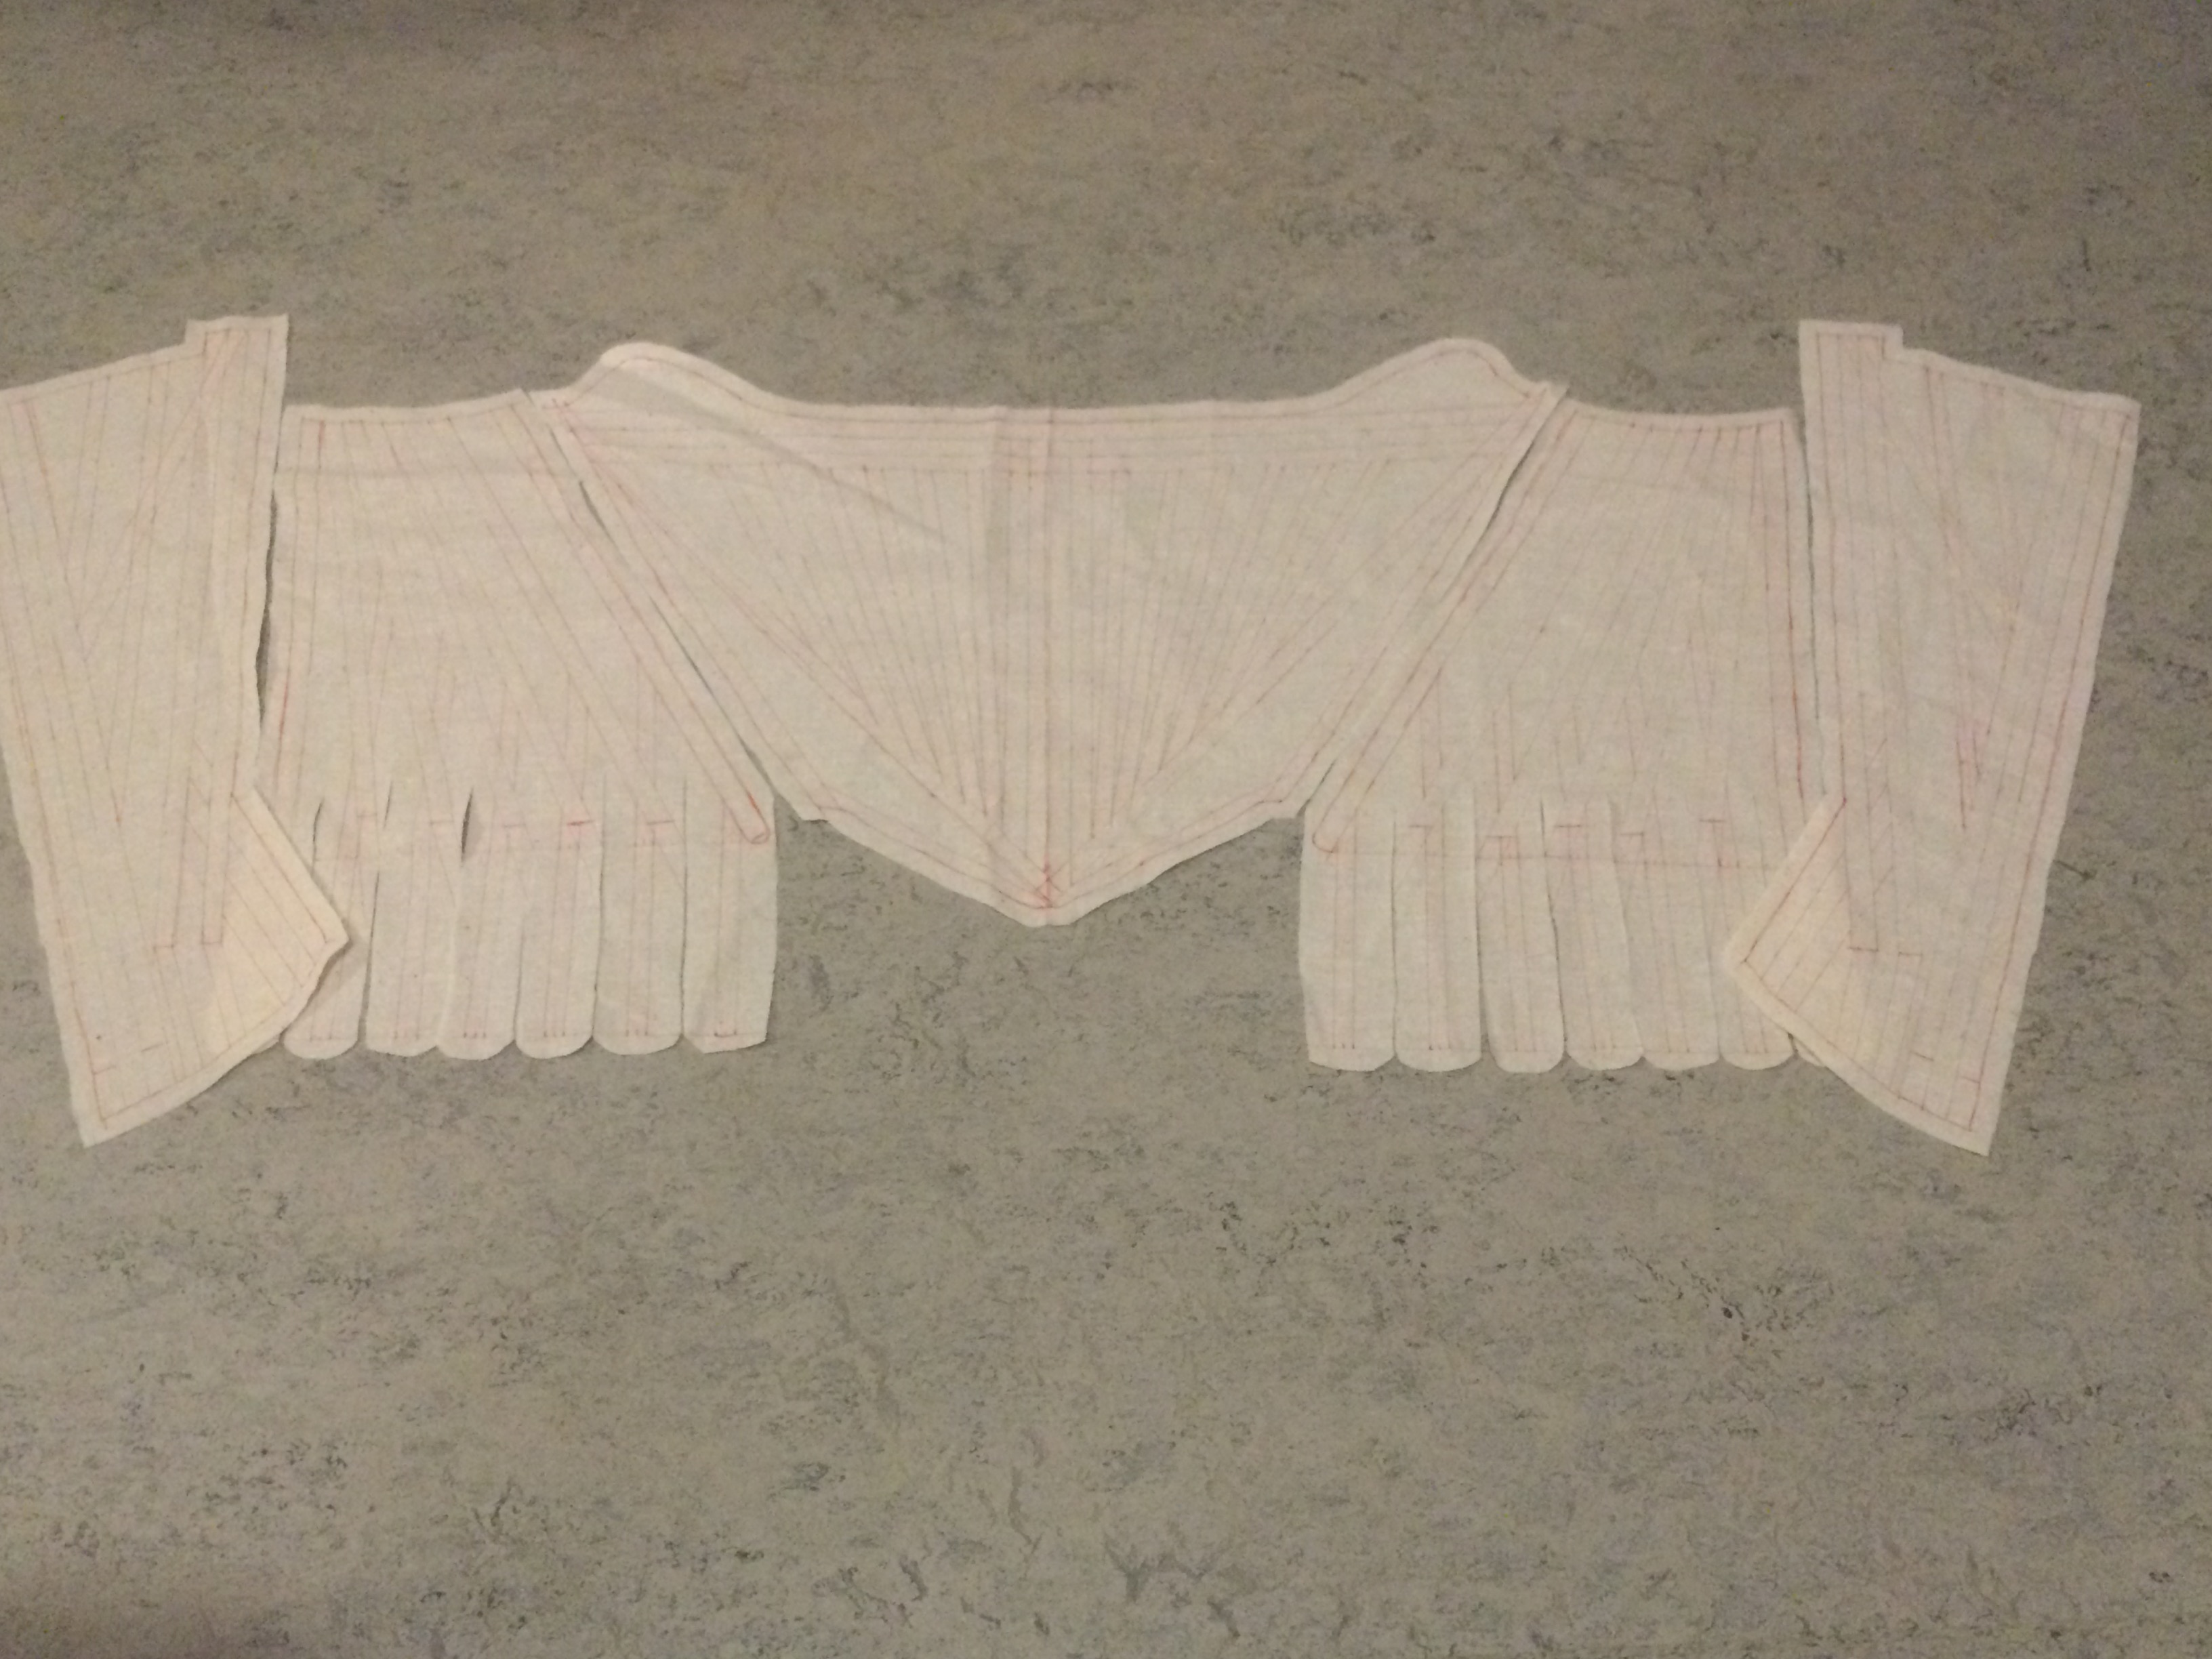
If you ever do this yourself, remember to make the channels a little wider than the boning… With these channels drawn, I could begin to measure the lengths of my boning!
I’m sure you’ve heard that people used “whale bone” in old corsets and stays. However, if you’ve envisioned some sort of rigid cage of whale skeleton parts, think again. It was not the bones, but the baleen plates that some whales have in their mouths to filter algae and krill. These have more in common with our nails than our femurs. The baleen is very flexible, and takes the shape of whoever wears it when exposed to the heat from their bodies. There are still 16th century garments stiffened with baleen that show the body shape of their owners, all these centuries later.
However, I like whales. I was too busy rejoicing that the numbers of Californian Blue Whales are rising (And they are! Oh happy days!) to go hunting for corset supplies in the big blue. I decided to go for a modern sort of boning, one I have tried with great success earlier: Plastic strips.

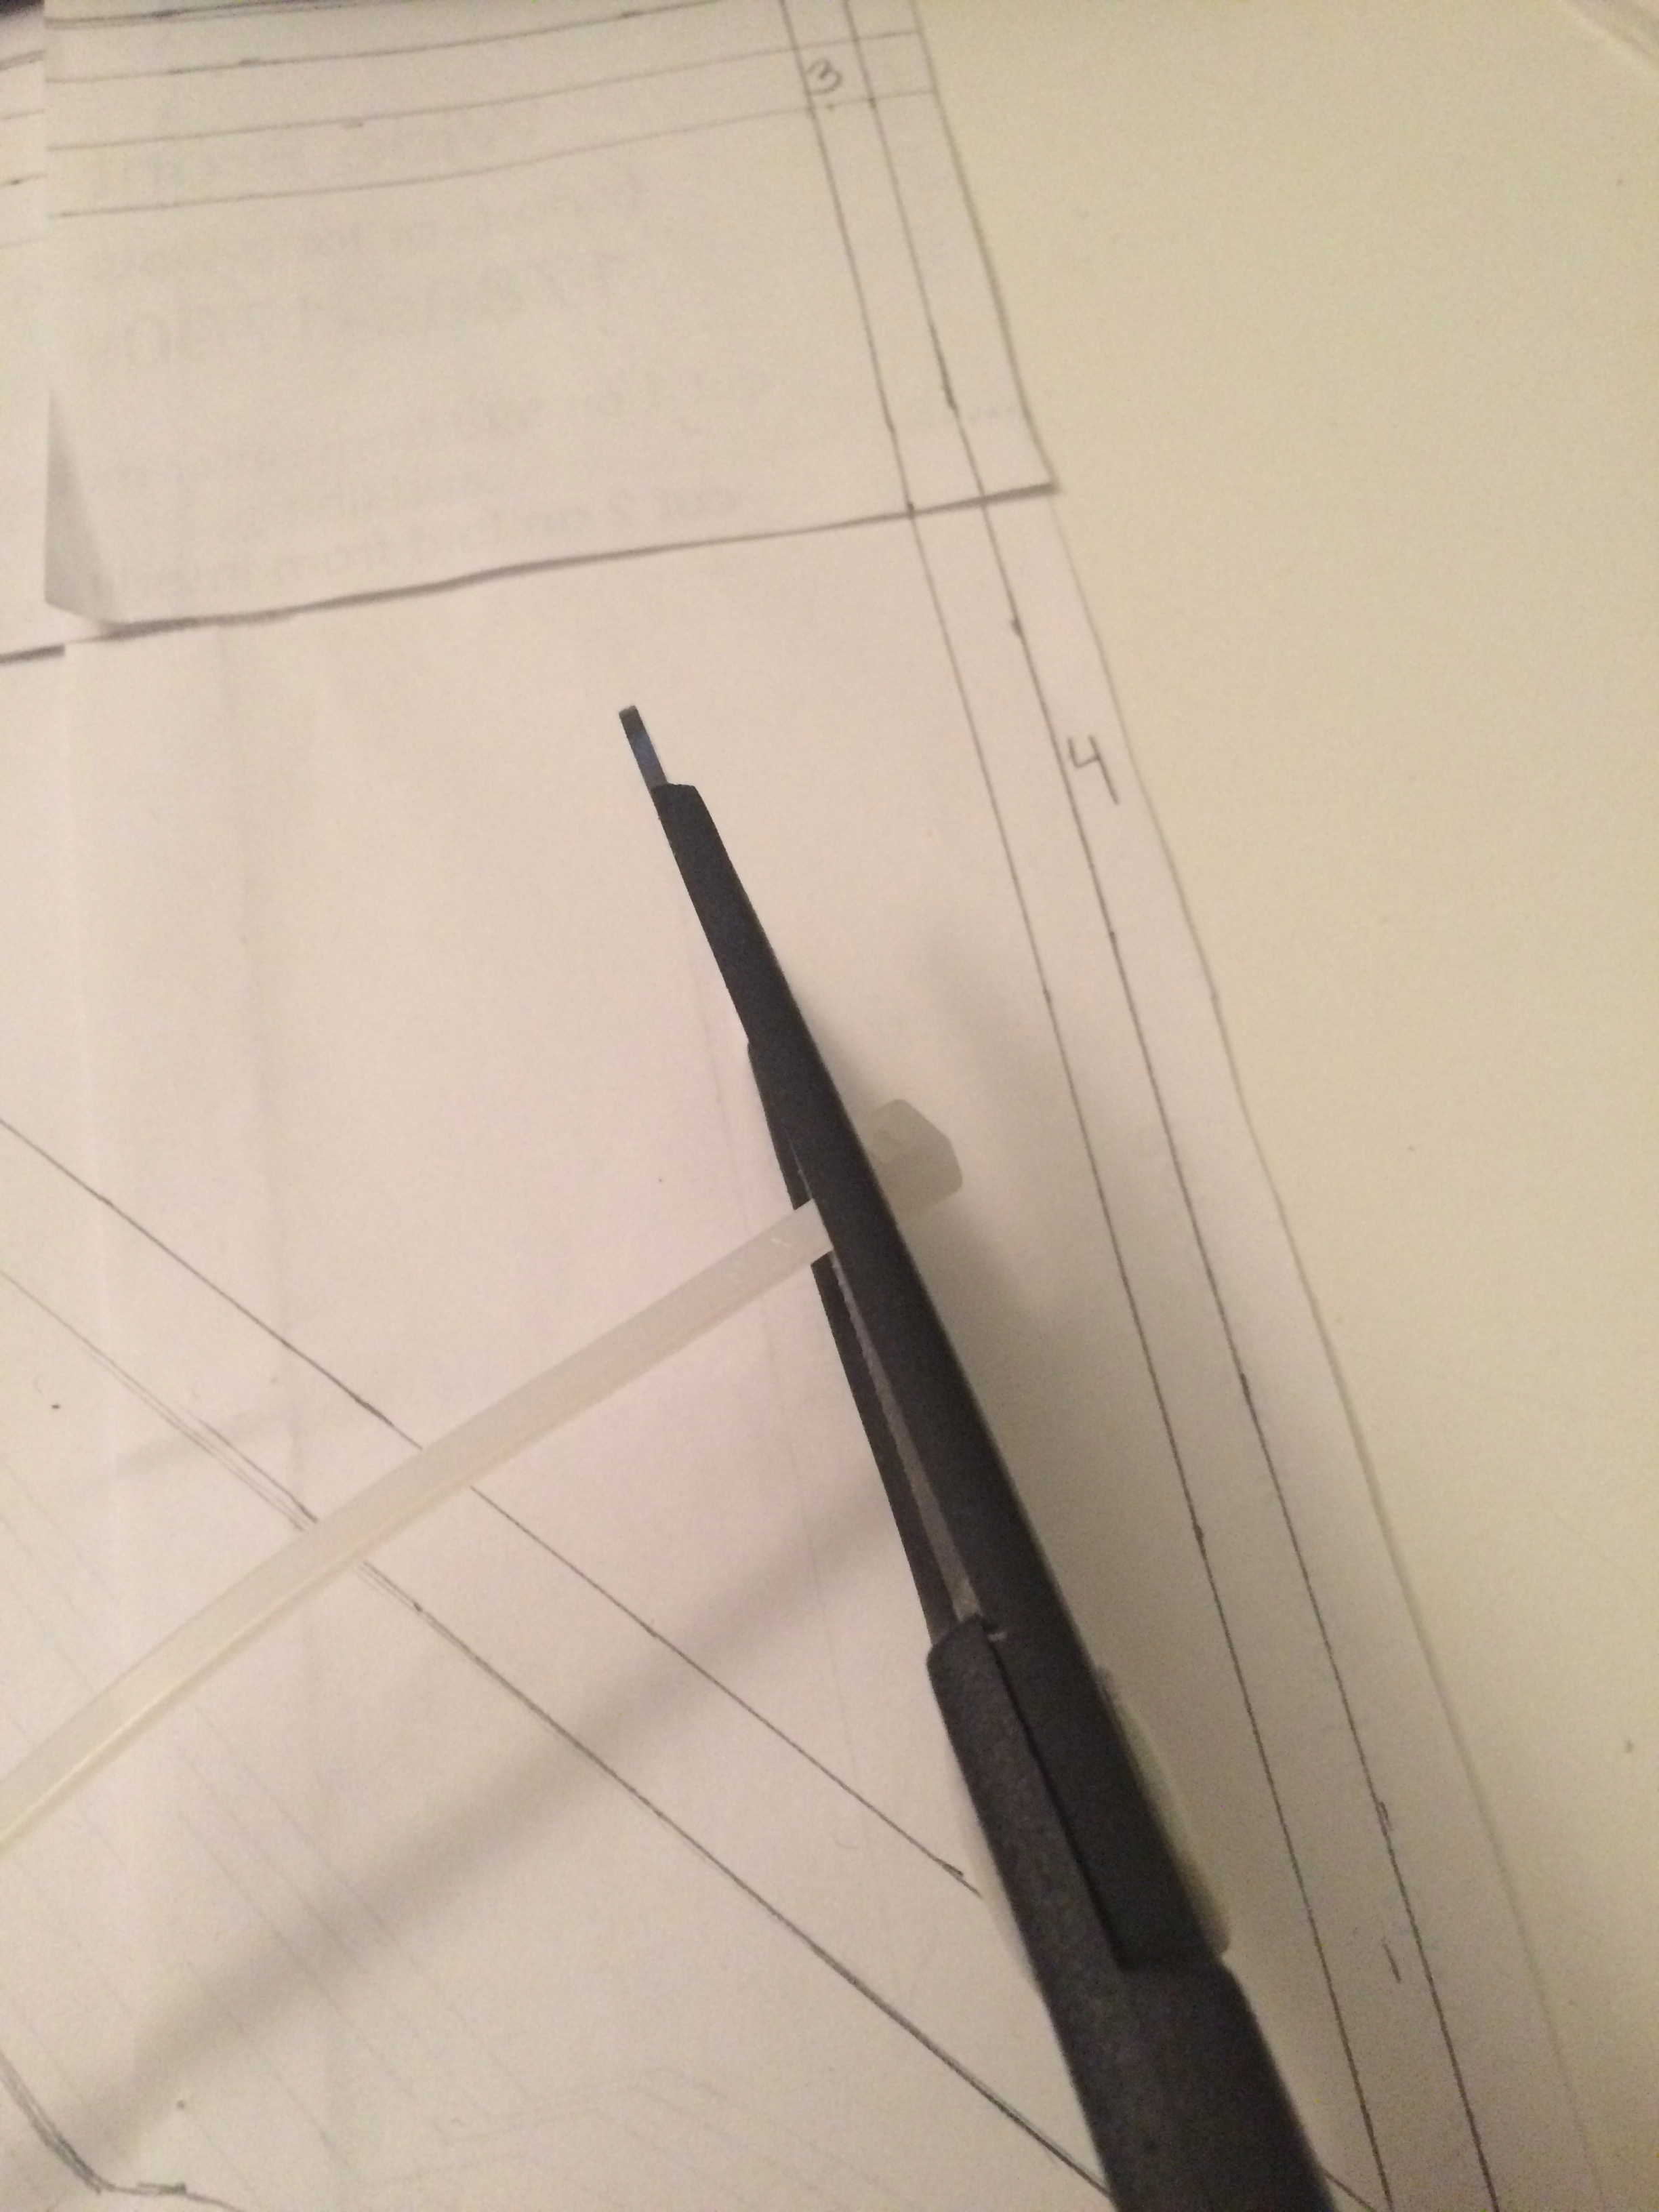
In places where there would be a lot of stress, I used some steel boning I had laying about. These come in finished lengths. However, I had to cut the strips myself. I put them down on the channel I was going to use them for, marked their length and cut them off.
Then, I removed their “heads” with large, strong scissors. I rounded off all sharp edges, and wrapped the cut sides in sports tape.
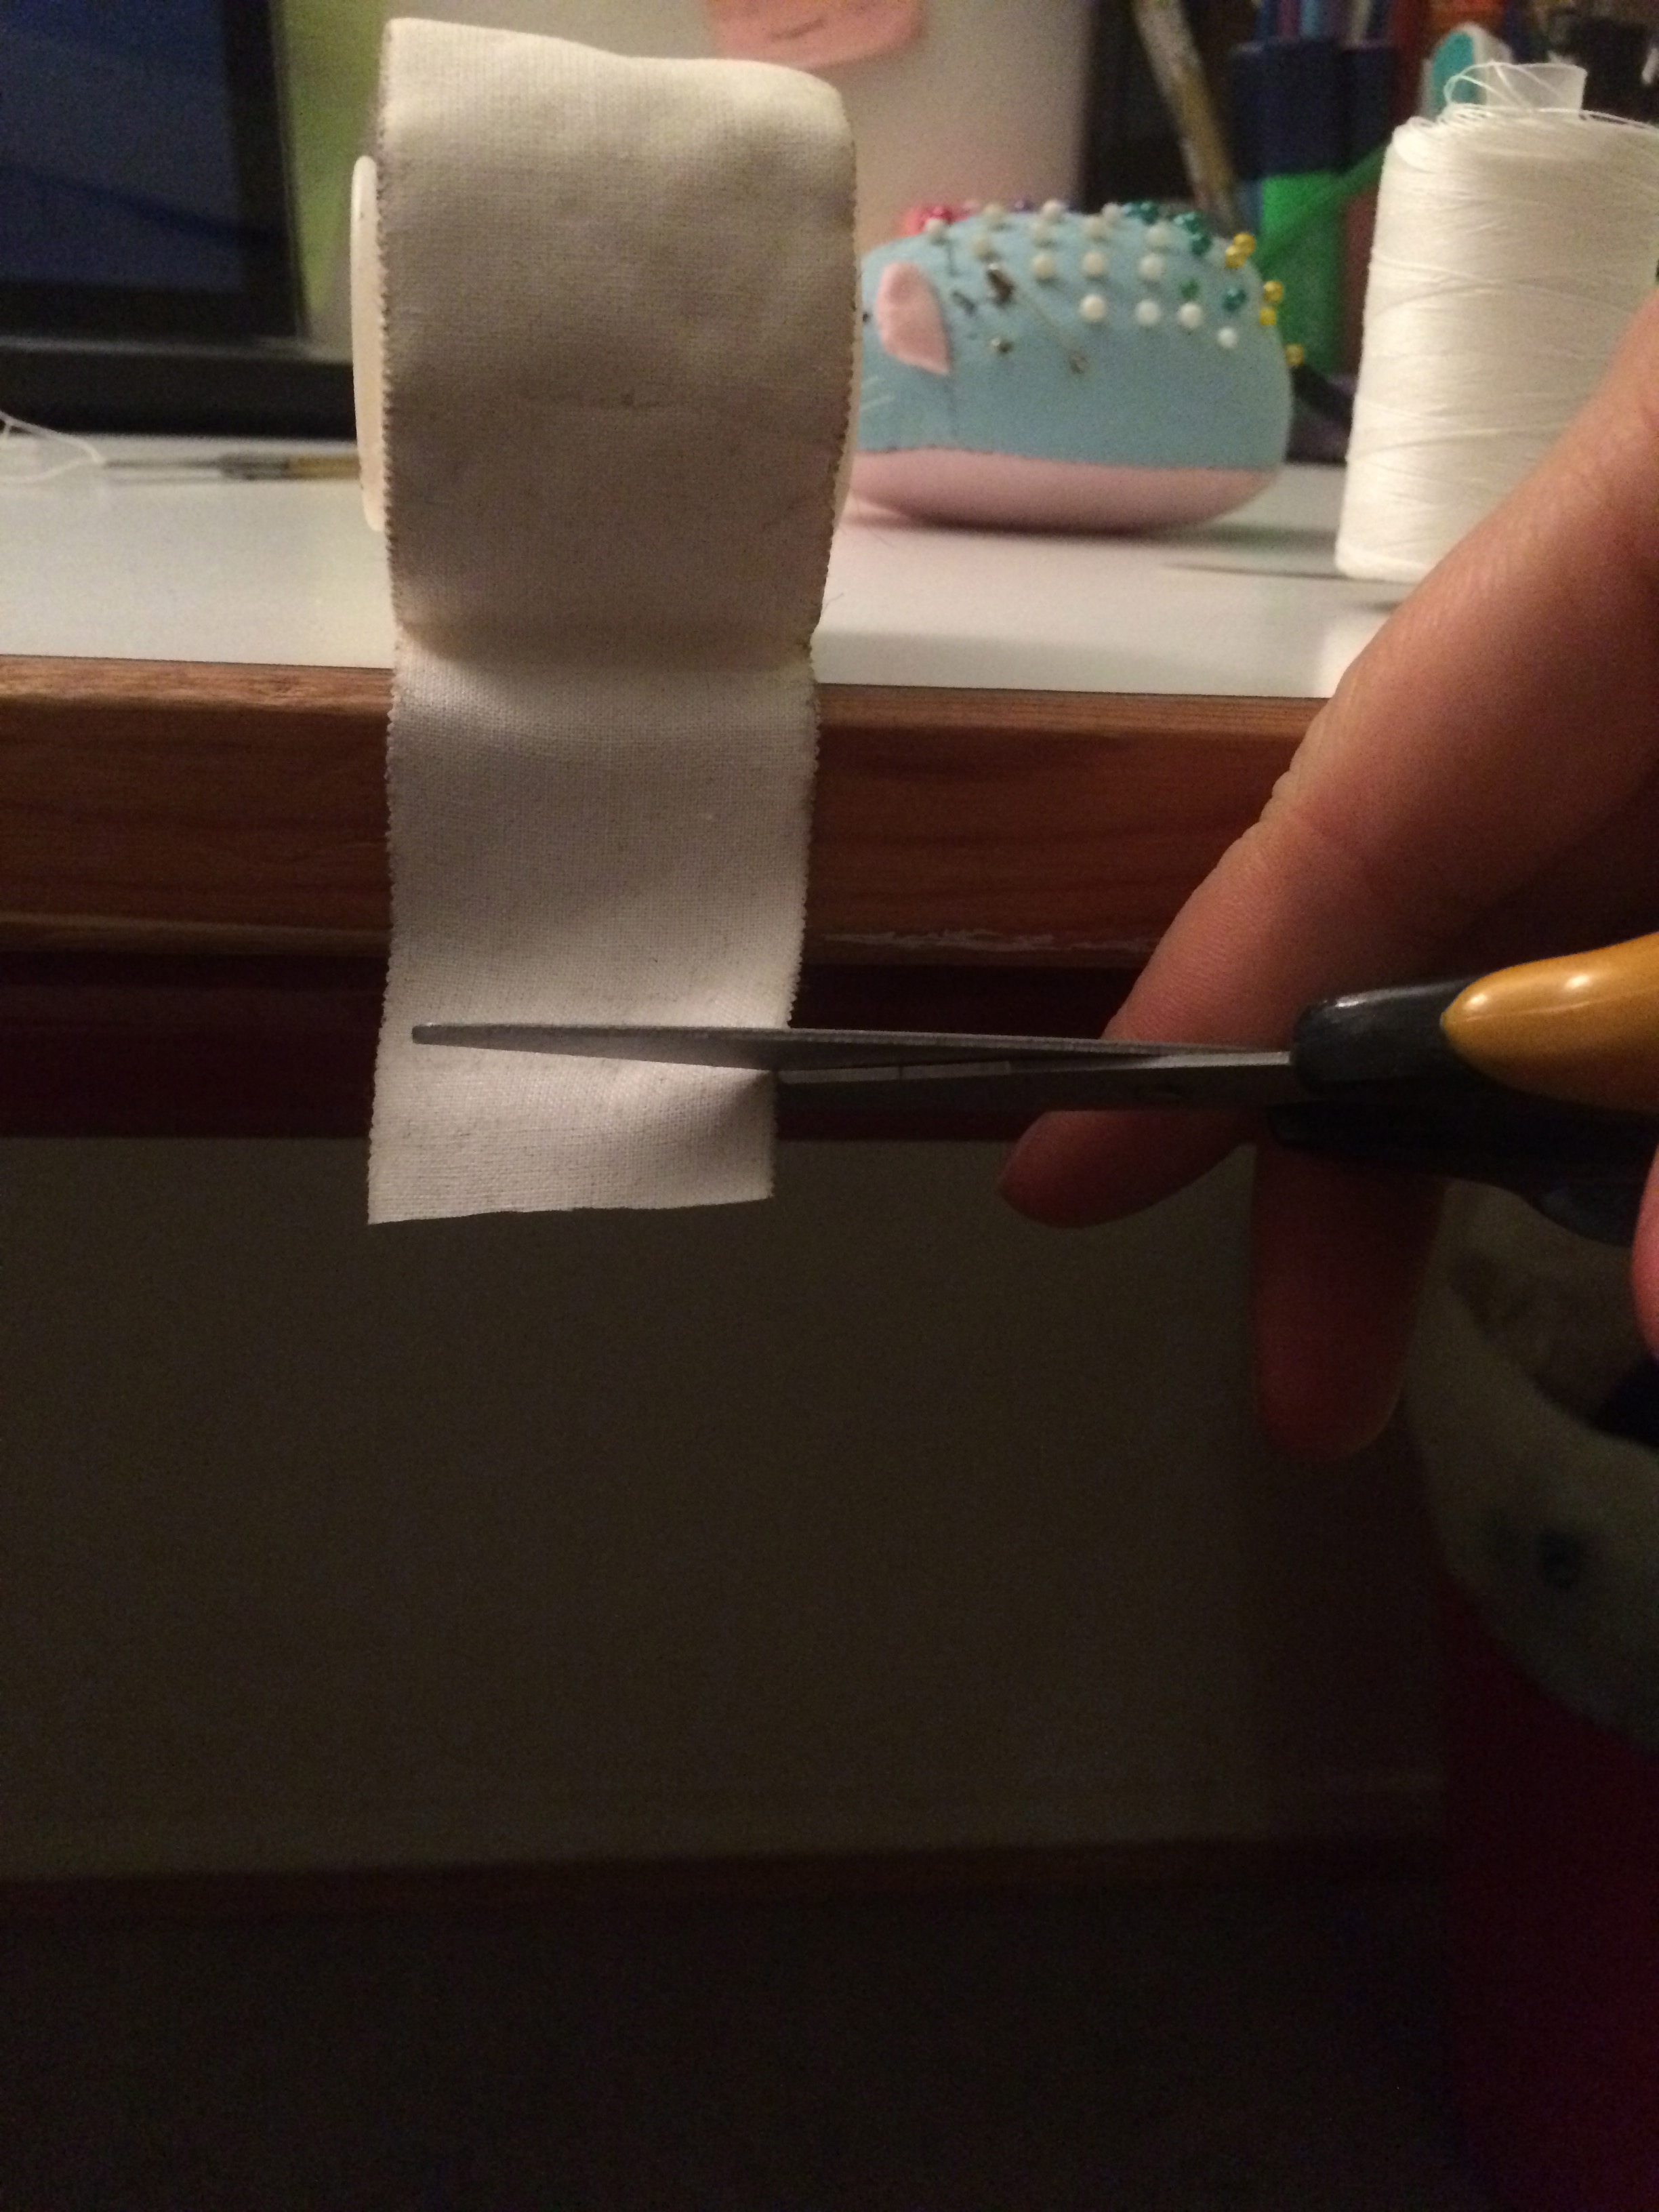

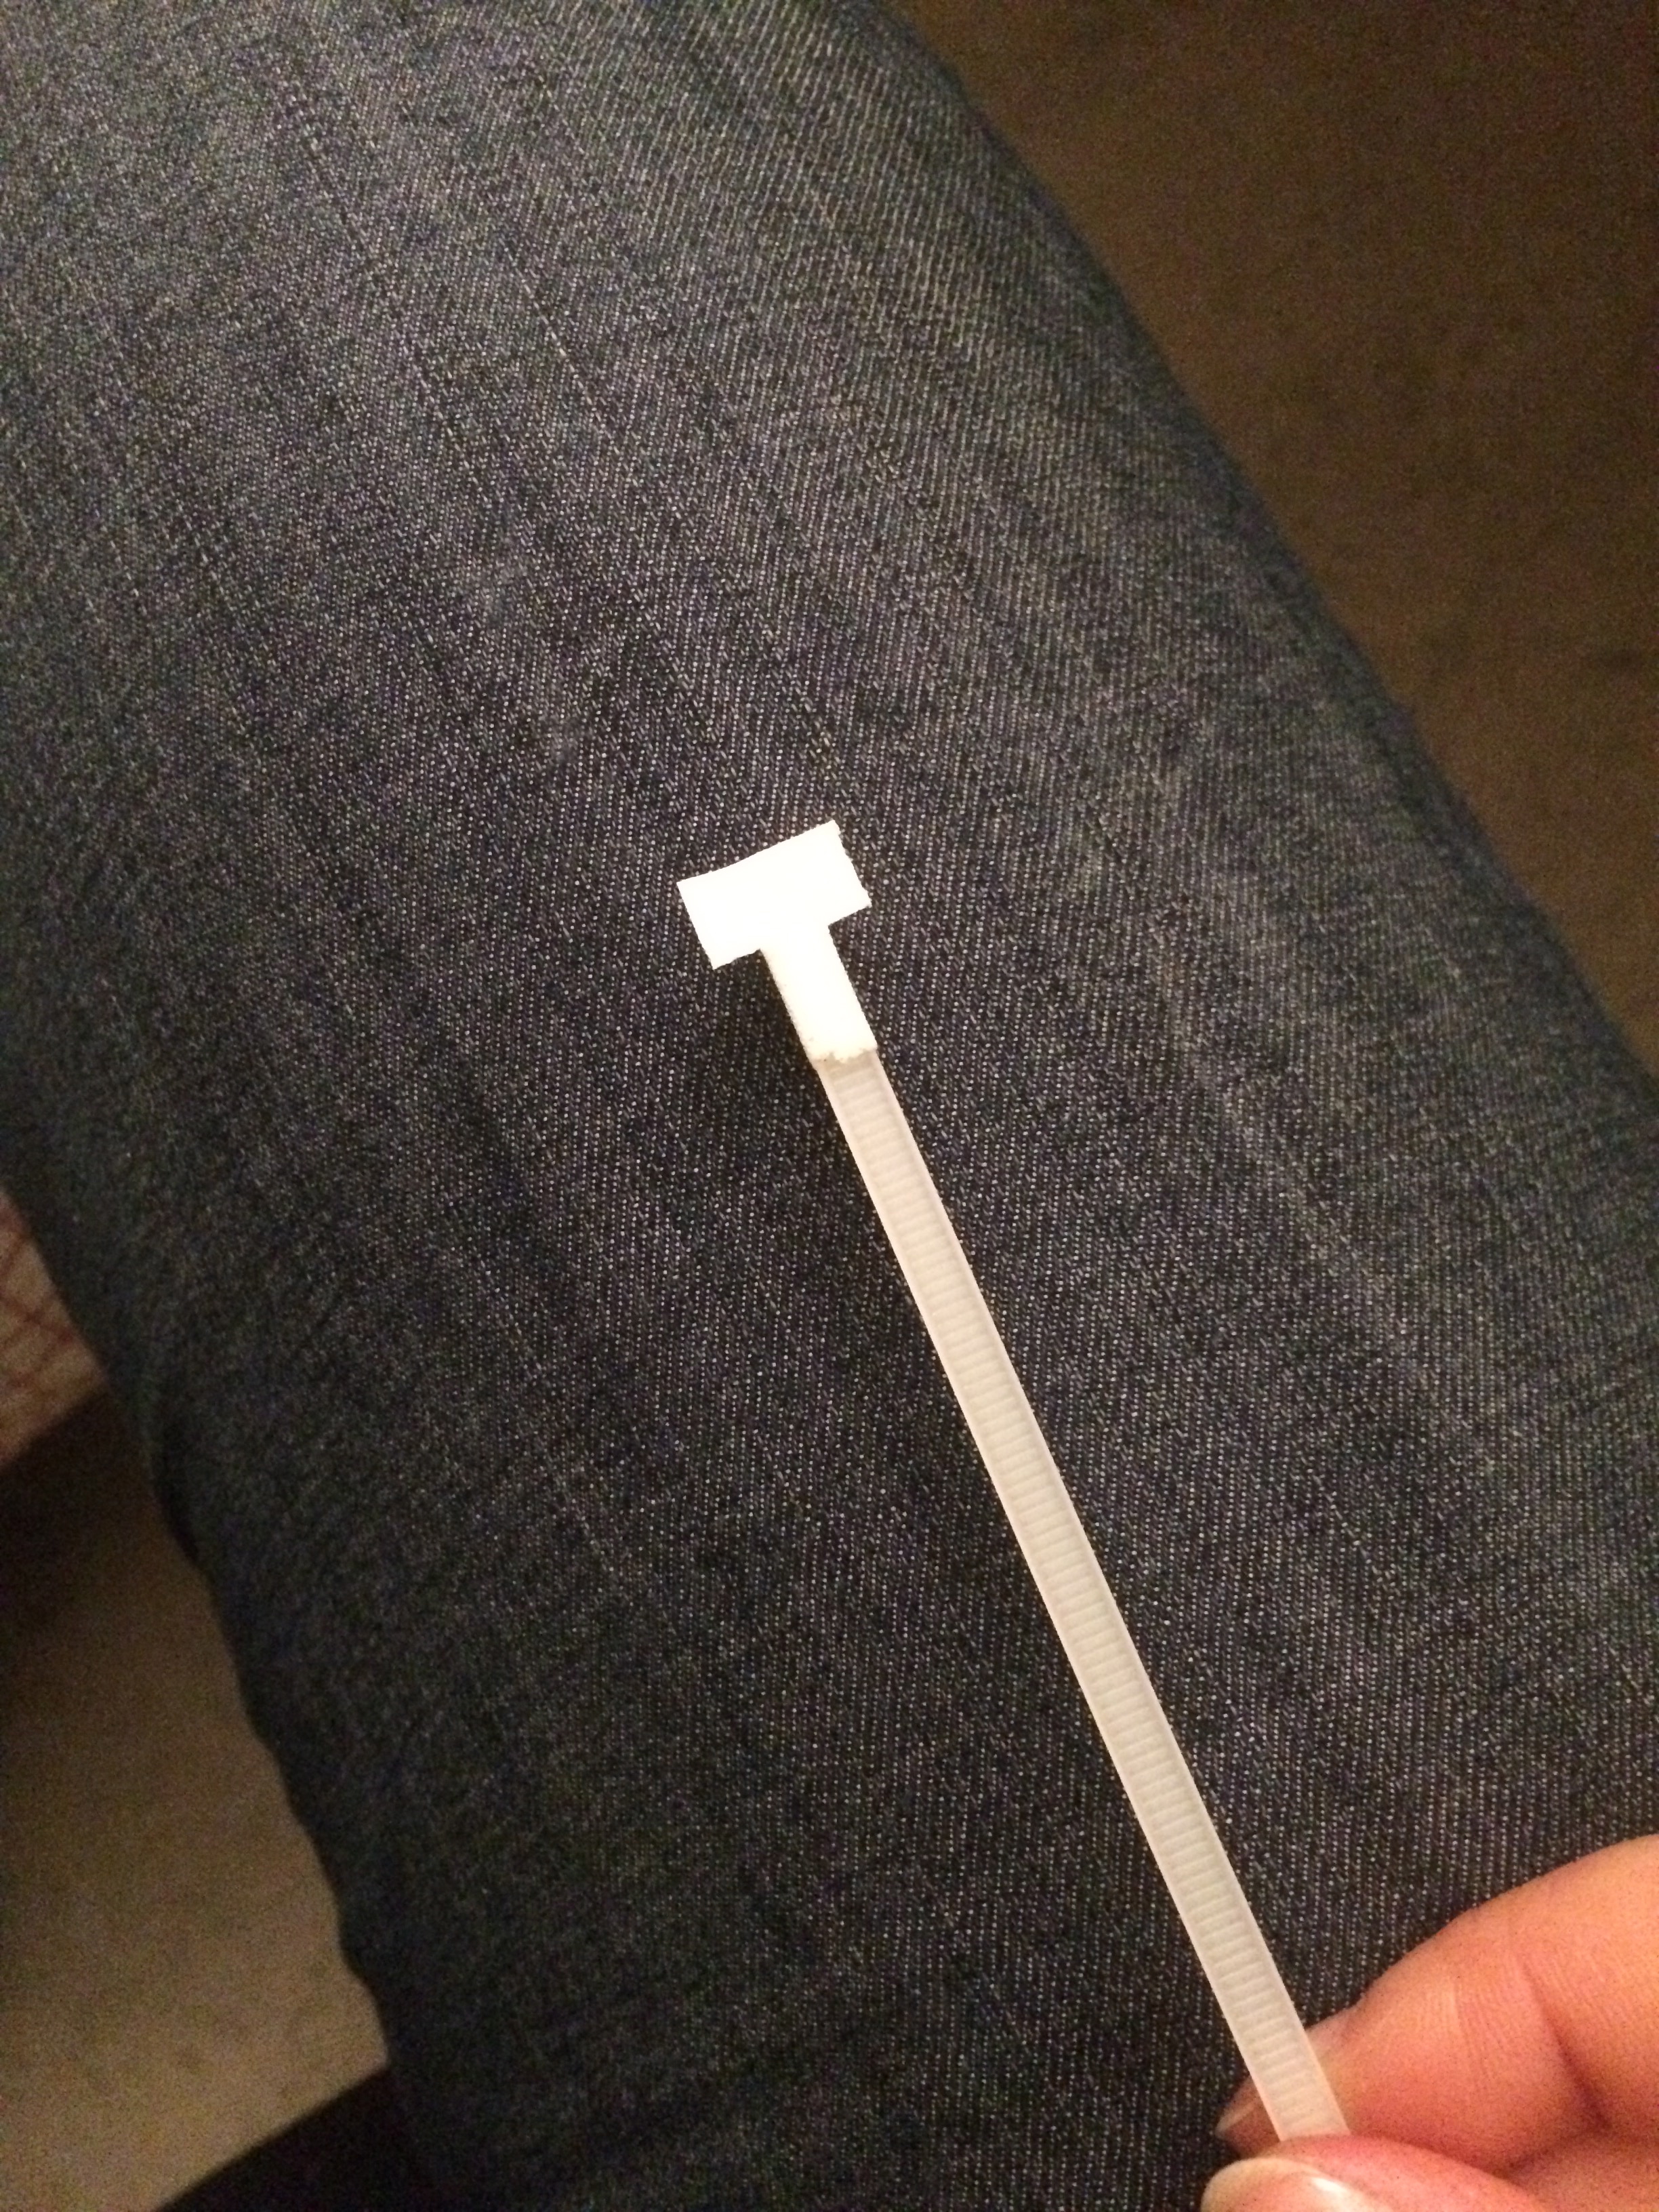

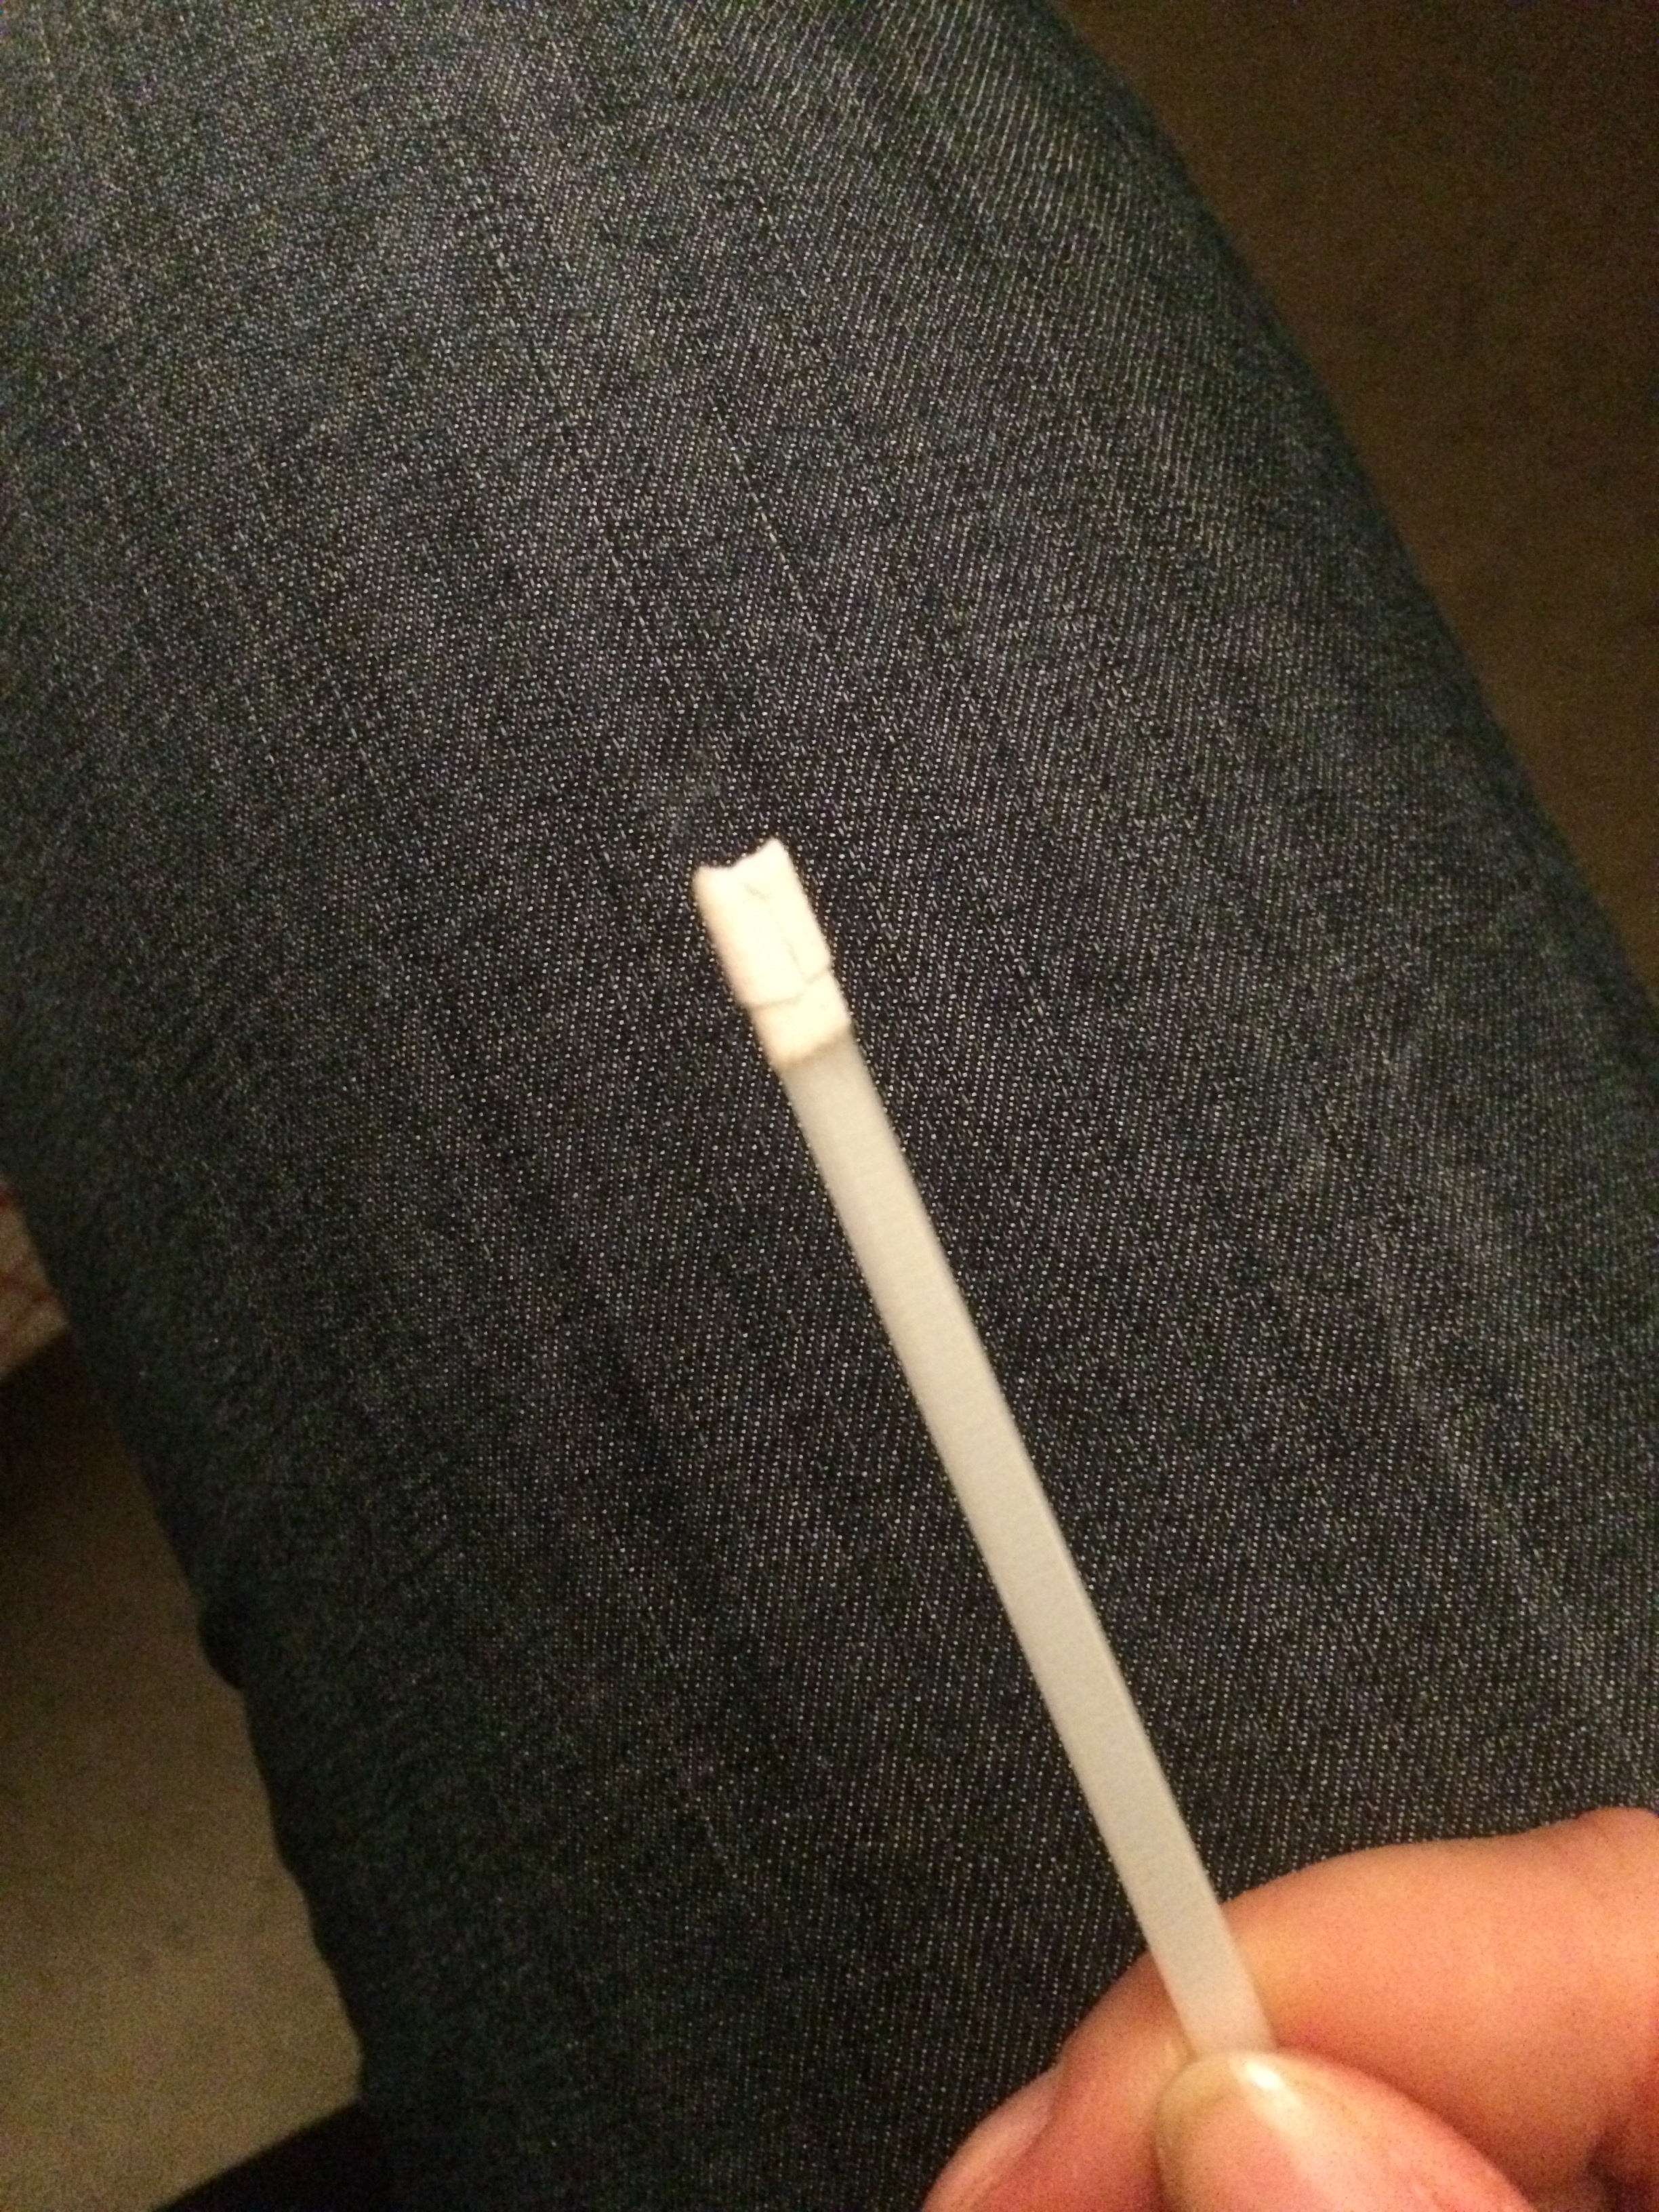

I did nothing to the already rounded side of the boning.
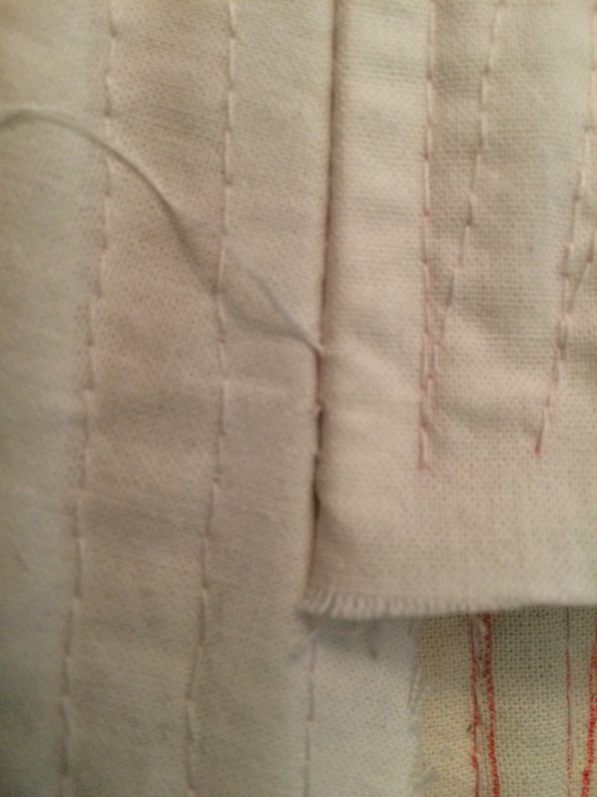
Then came the horrendous task of sewing the boning channels. I chose to do a running stitch from the inside, where I could follow the drawn on channels, and then to go back down the seamline and “fill in the stitch”. So, essentially, sewing each channel twice. However, I love the result.

Some bones had to be inserted early, otherwise I would have blocket their channels with other channels.

Almost done on the front panel!
I repeated this for the rest of the panels. There are approximately 60 channels, all in all, as the stays are not fully boned.
When all panels were boned, it was time to sew the panels to each other. Now, this has to be done properly, the last thing I want is for my corset to start ripping at the seams. I ended up with a sort of three-step insurance stitch.

First, I placed the panels, right sides together, and sewed them together with backstitches and double thread.

Then, I sewed all the seams once more, this time from the right side. I used small, almost invisible stitches.
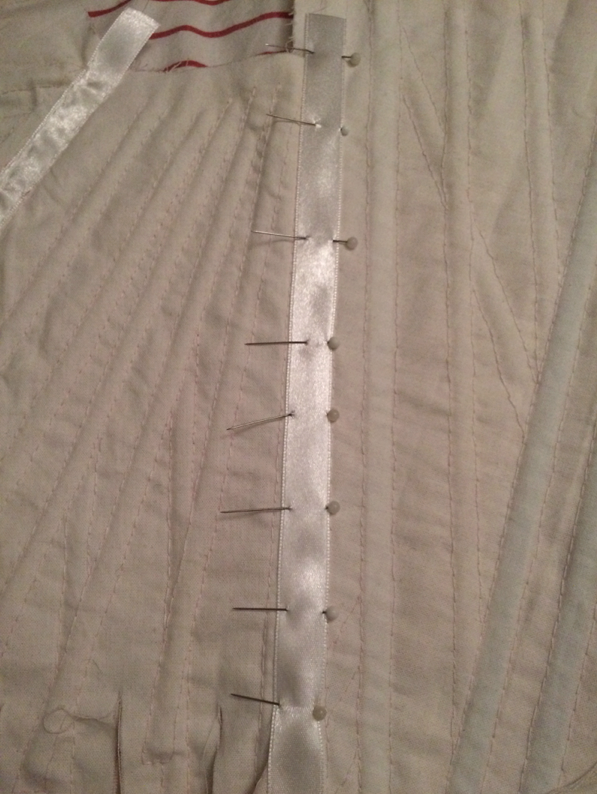
Finally, I pinned satin ribbons over each seam, and sewed them in place. They serve both as enforcement and decoration.
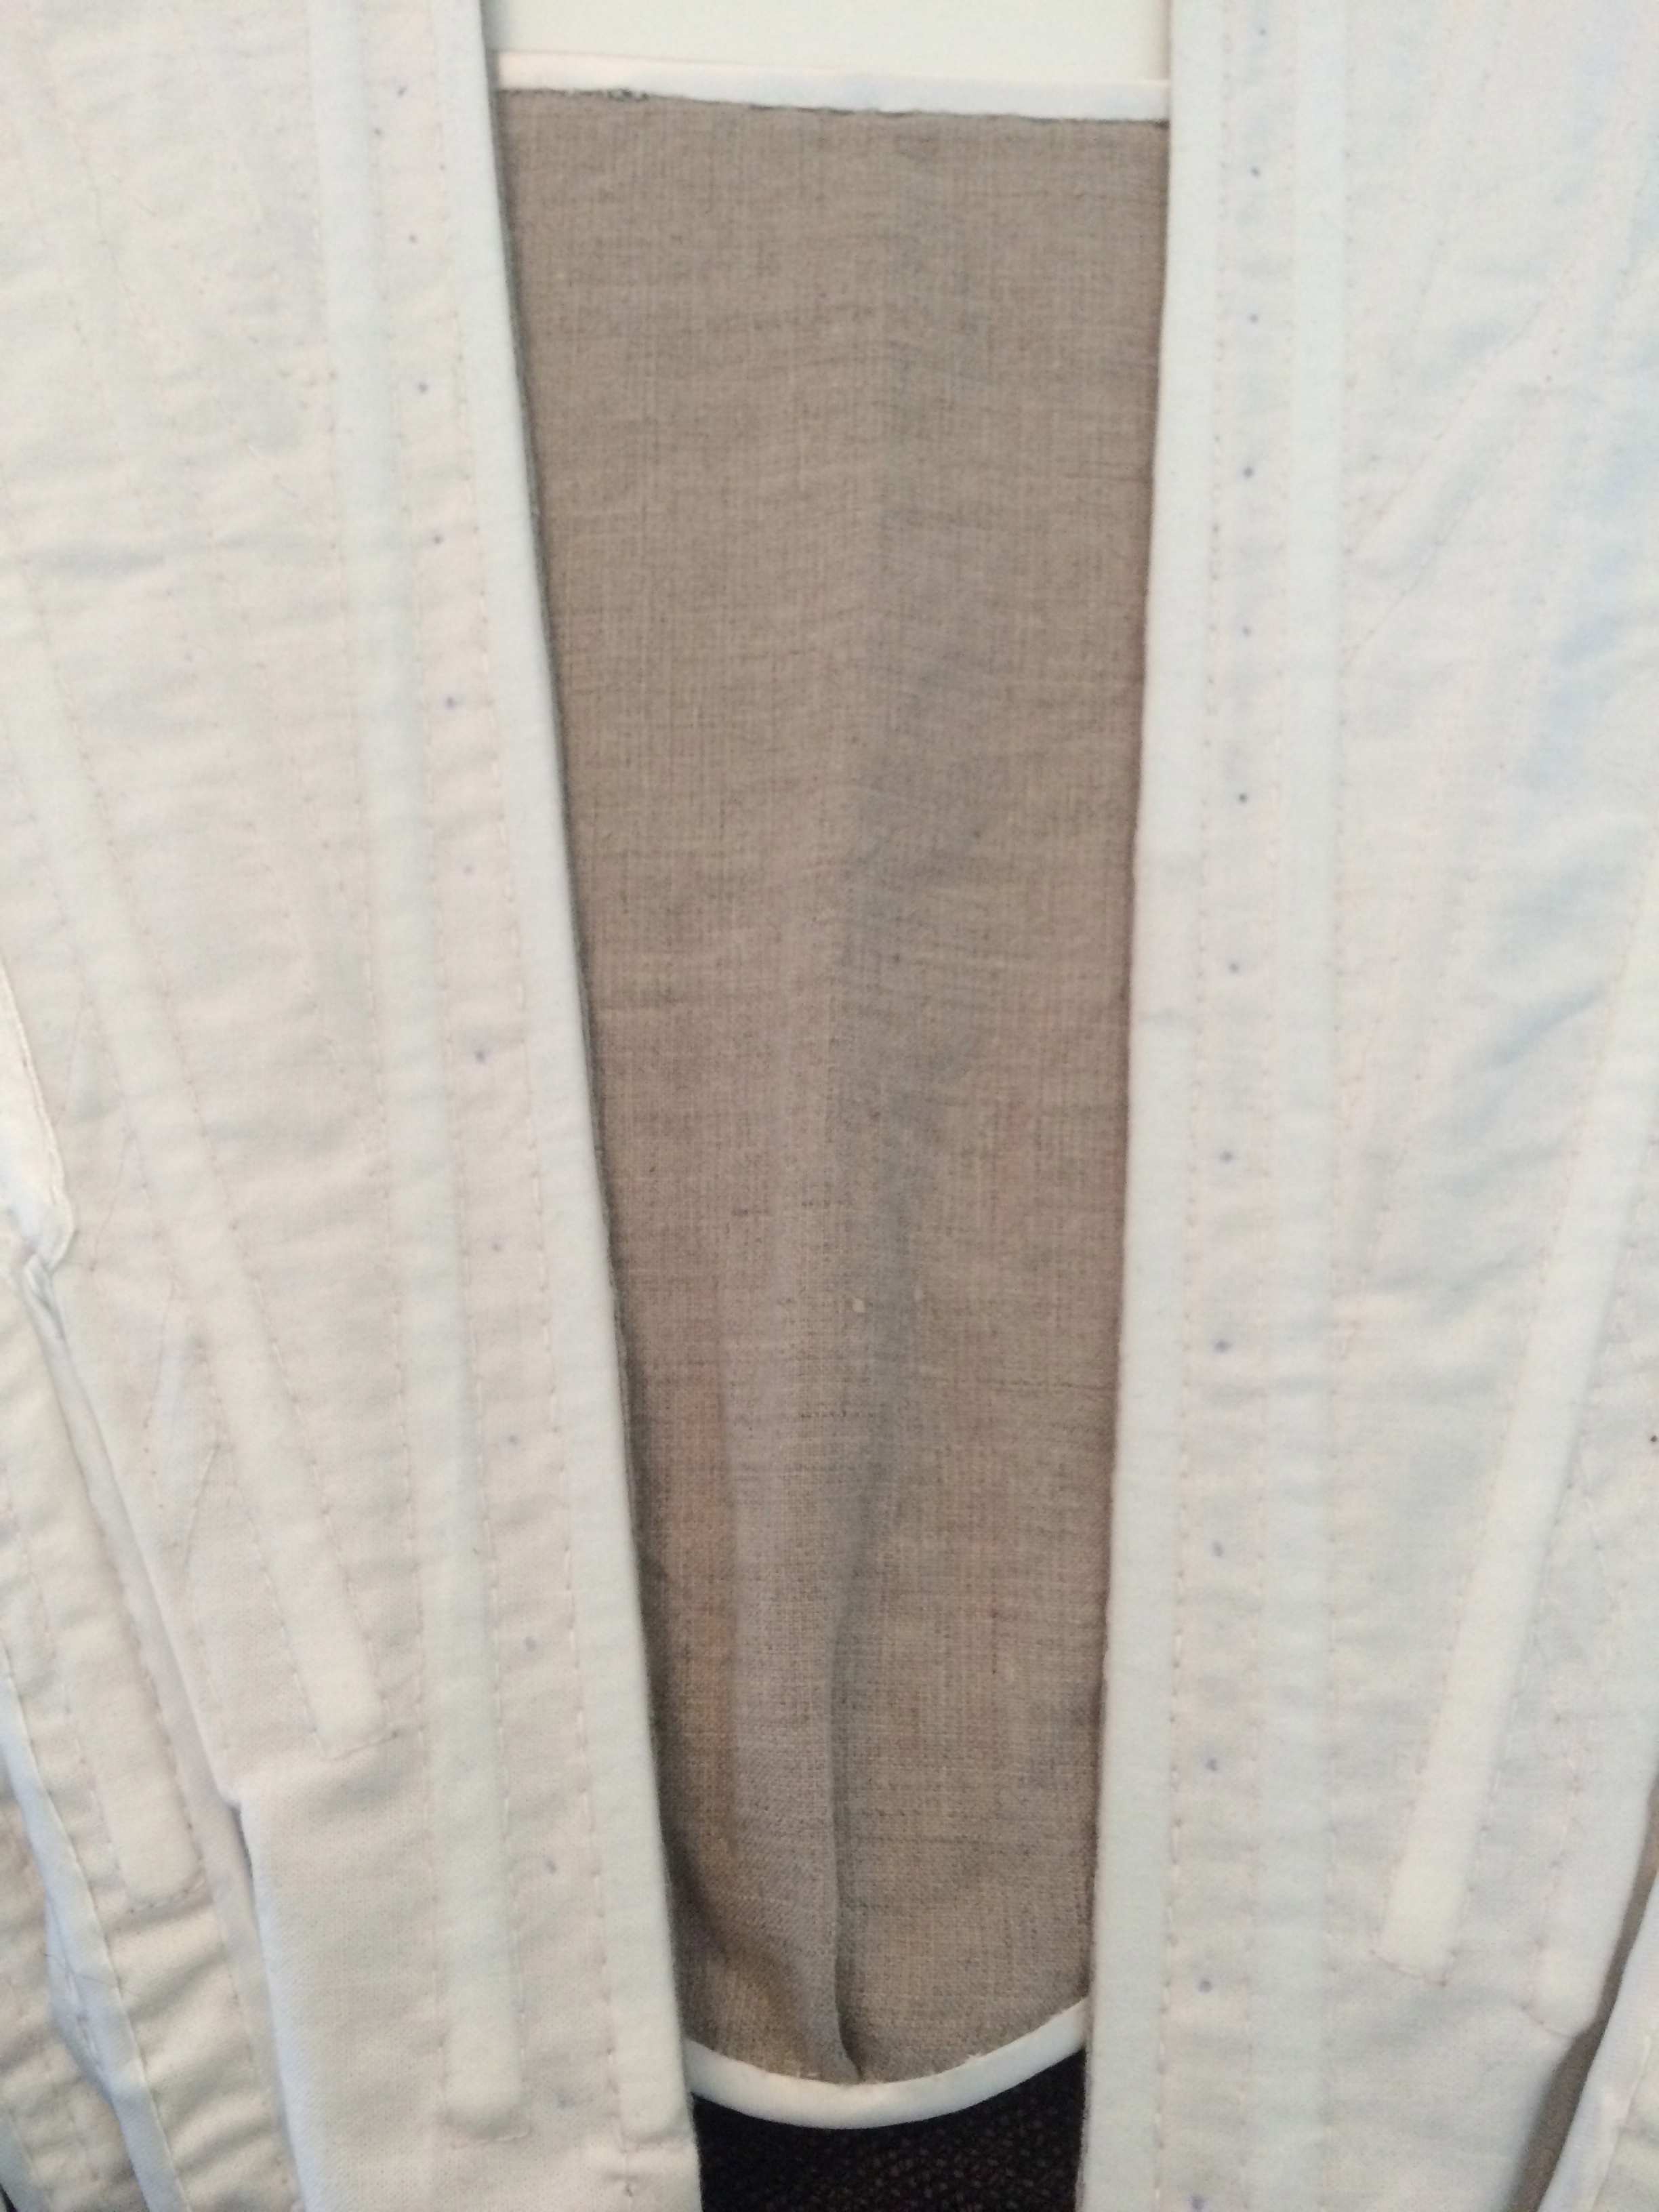
With all channels sewn and boned and all seams strenghtened, all that remained was the lining.

First, I placed the back panel lining on the back panel, right sides together, before sewing it on.
Her har jeg lagt foret mot bakpanelet, rette mot rette, og sydd det fast.
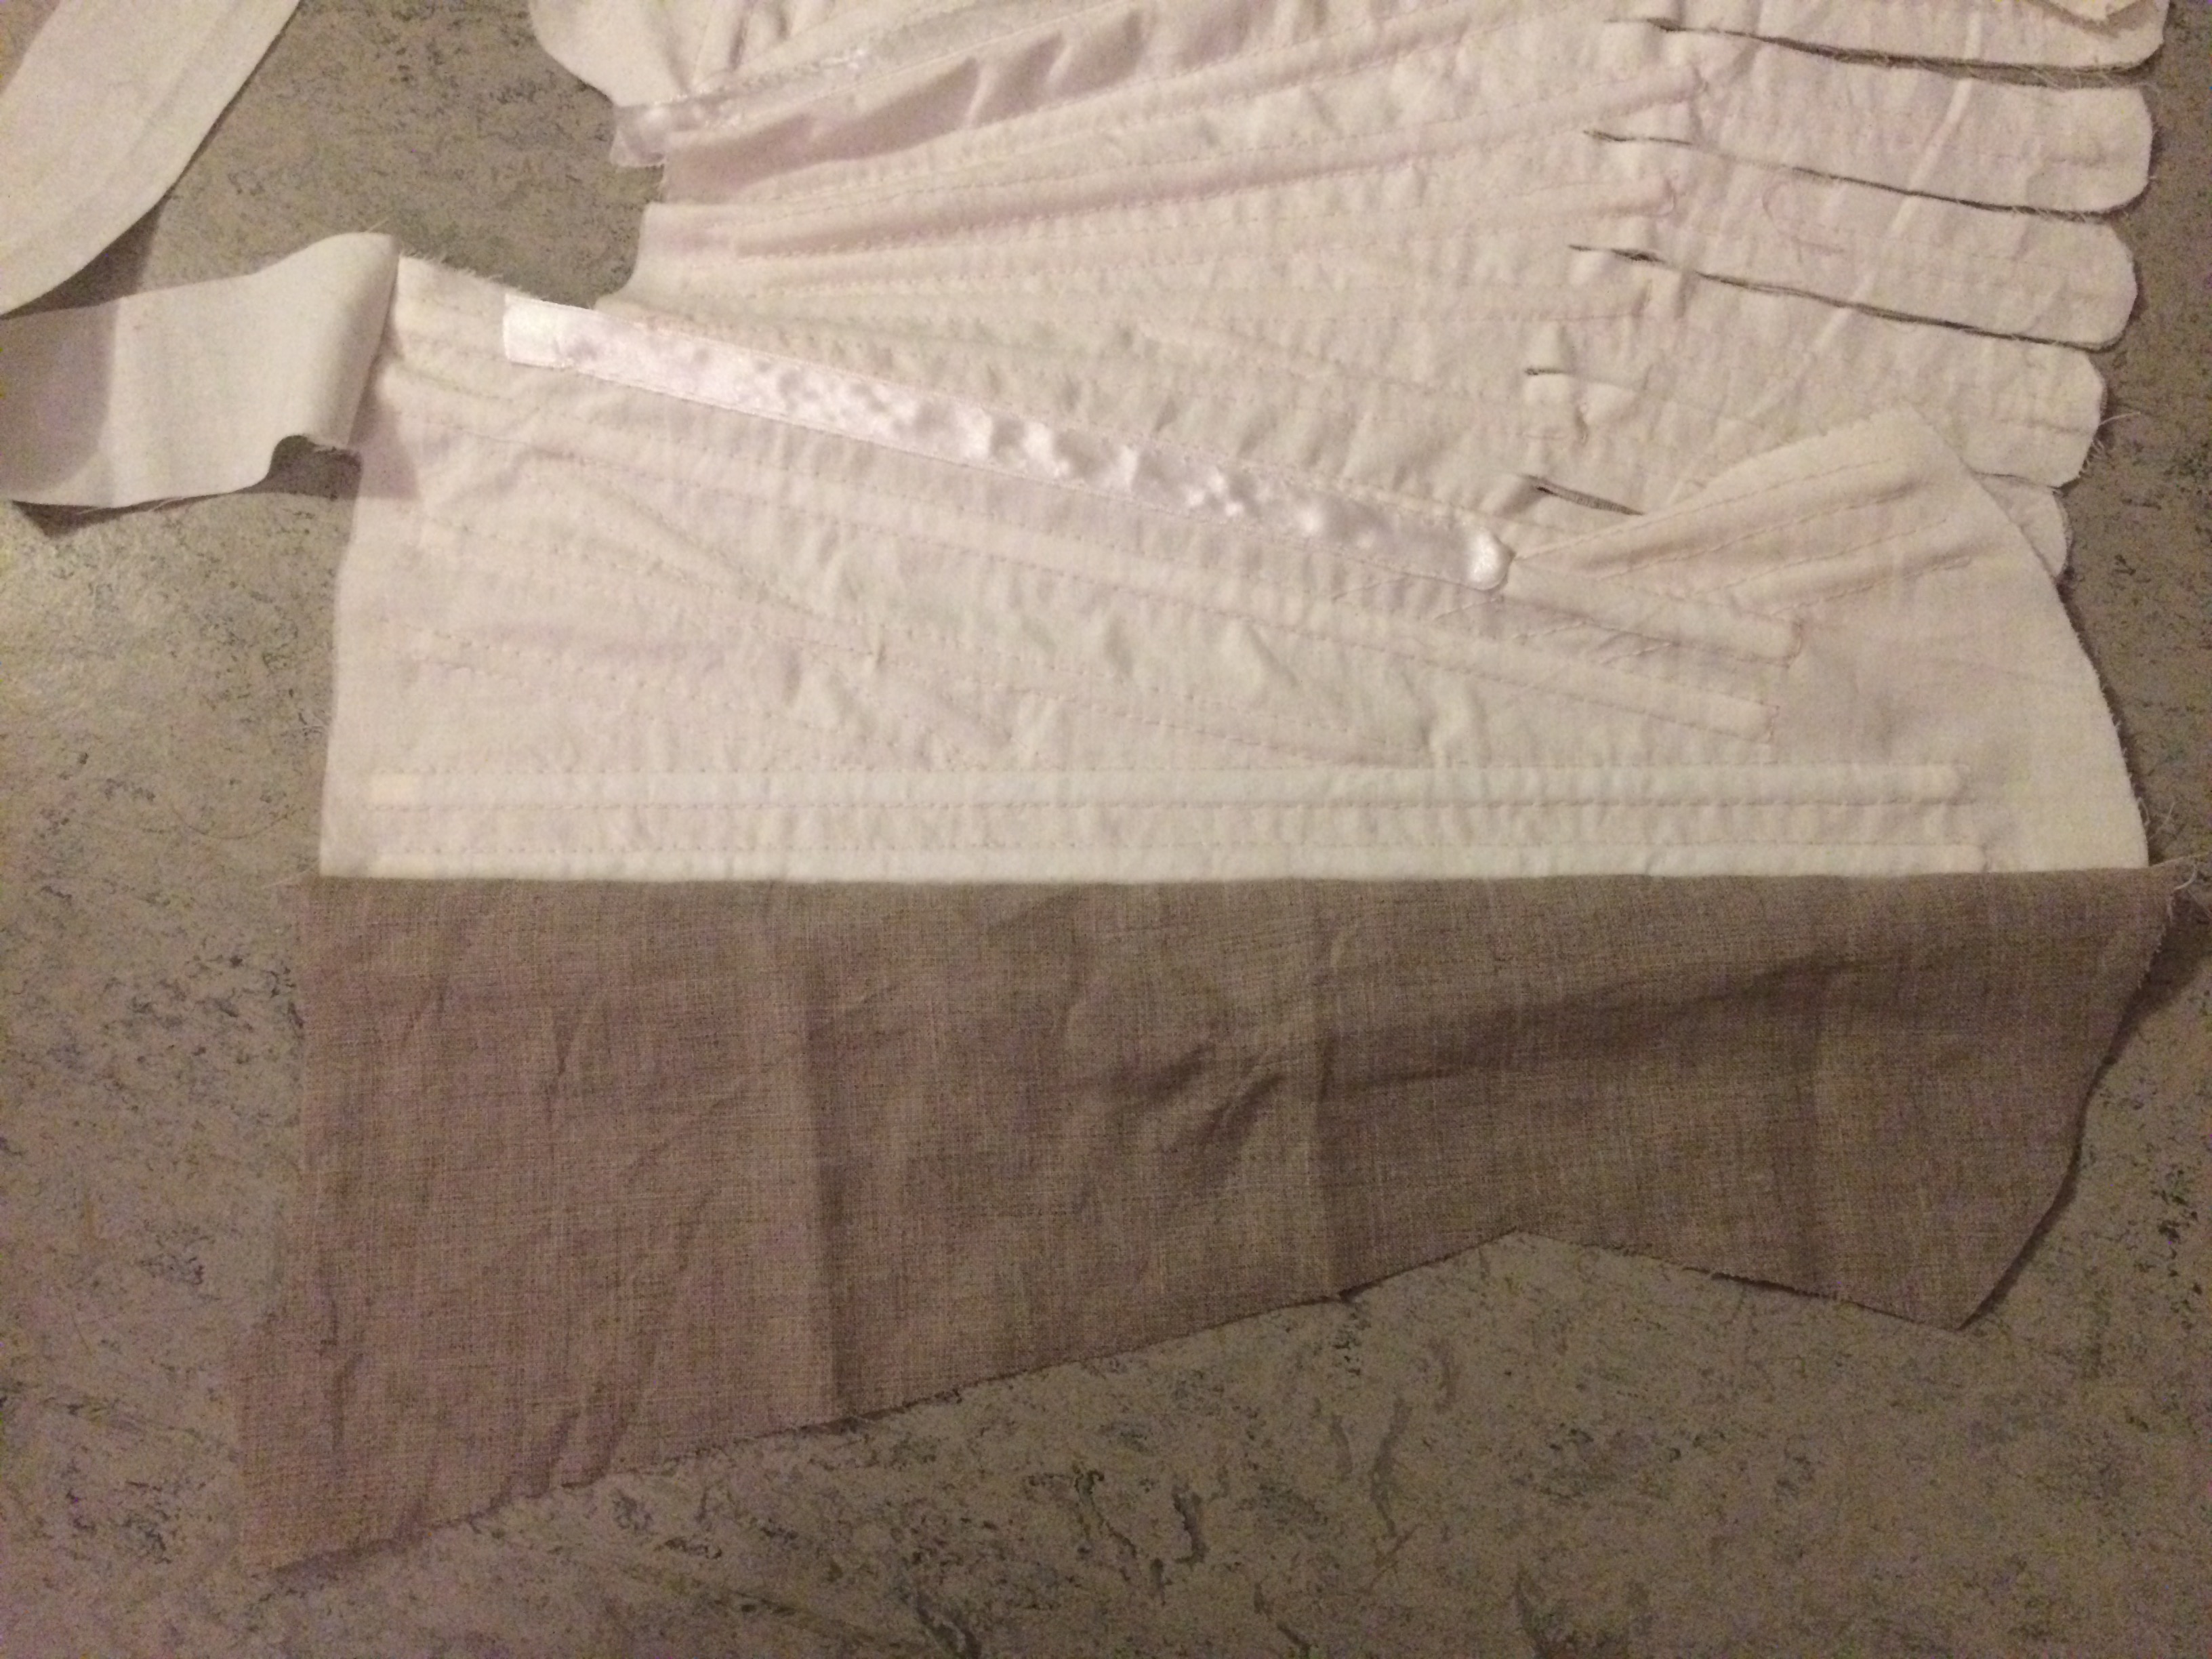
This is how it looks folded out.

Right sides down.

To support the part of the corset where the lacing is done, and to keep the lining in place, I stitched down along the back opening.
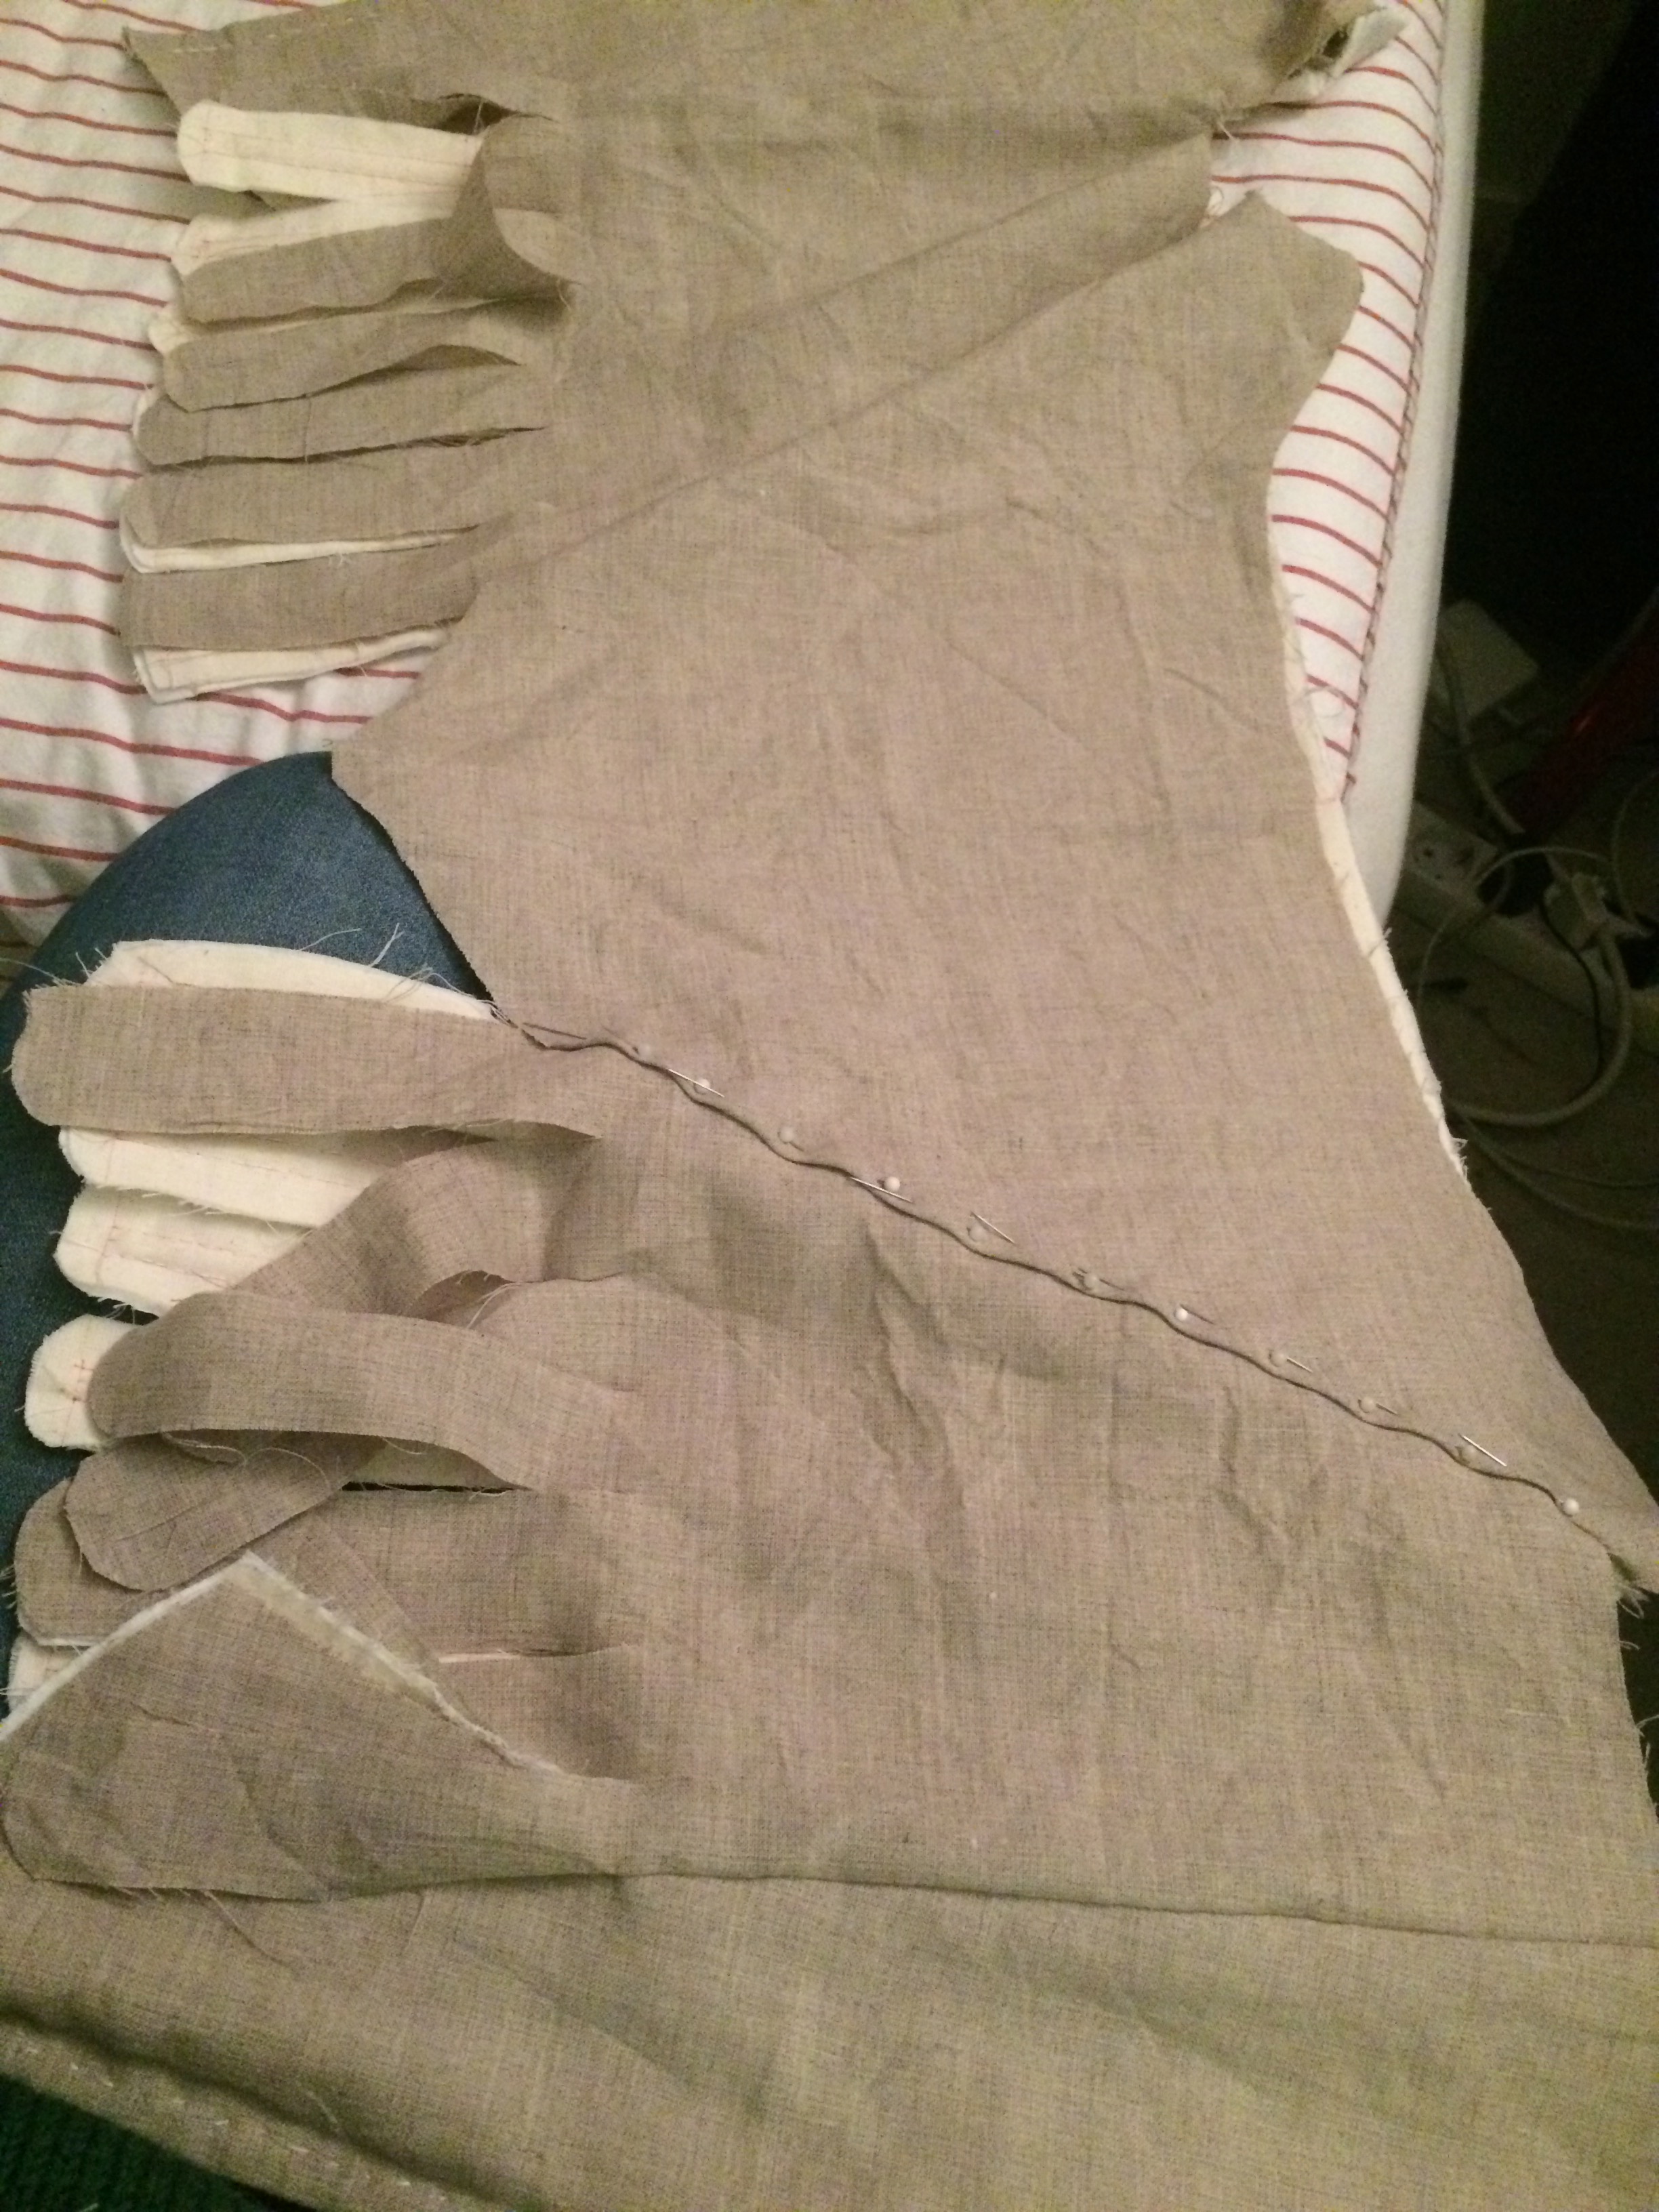
The lining pieces being stitched together. The lining should not be attached to the rest of the garment, other than around the edges. The front panel lining was topstitched onto the rest of the lining panels.
I stitched the lining to the shoulderstraps by laying them, right sides together, and stitching around the edges, before turning them and pressing them.

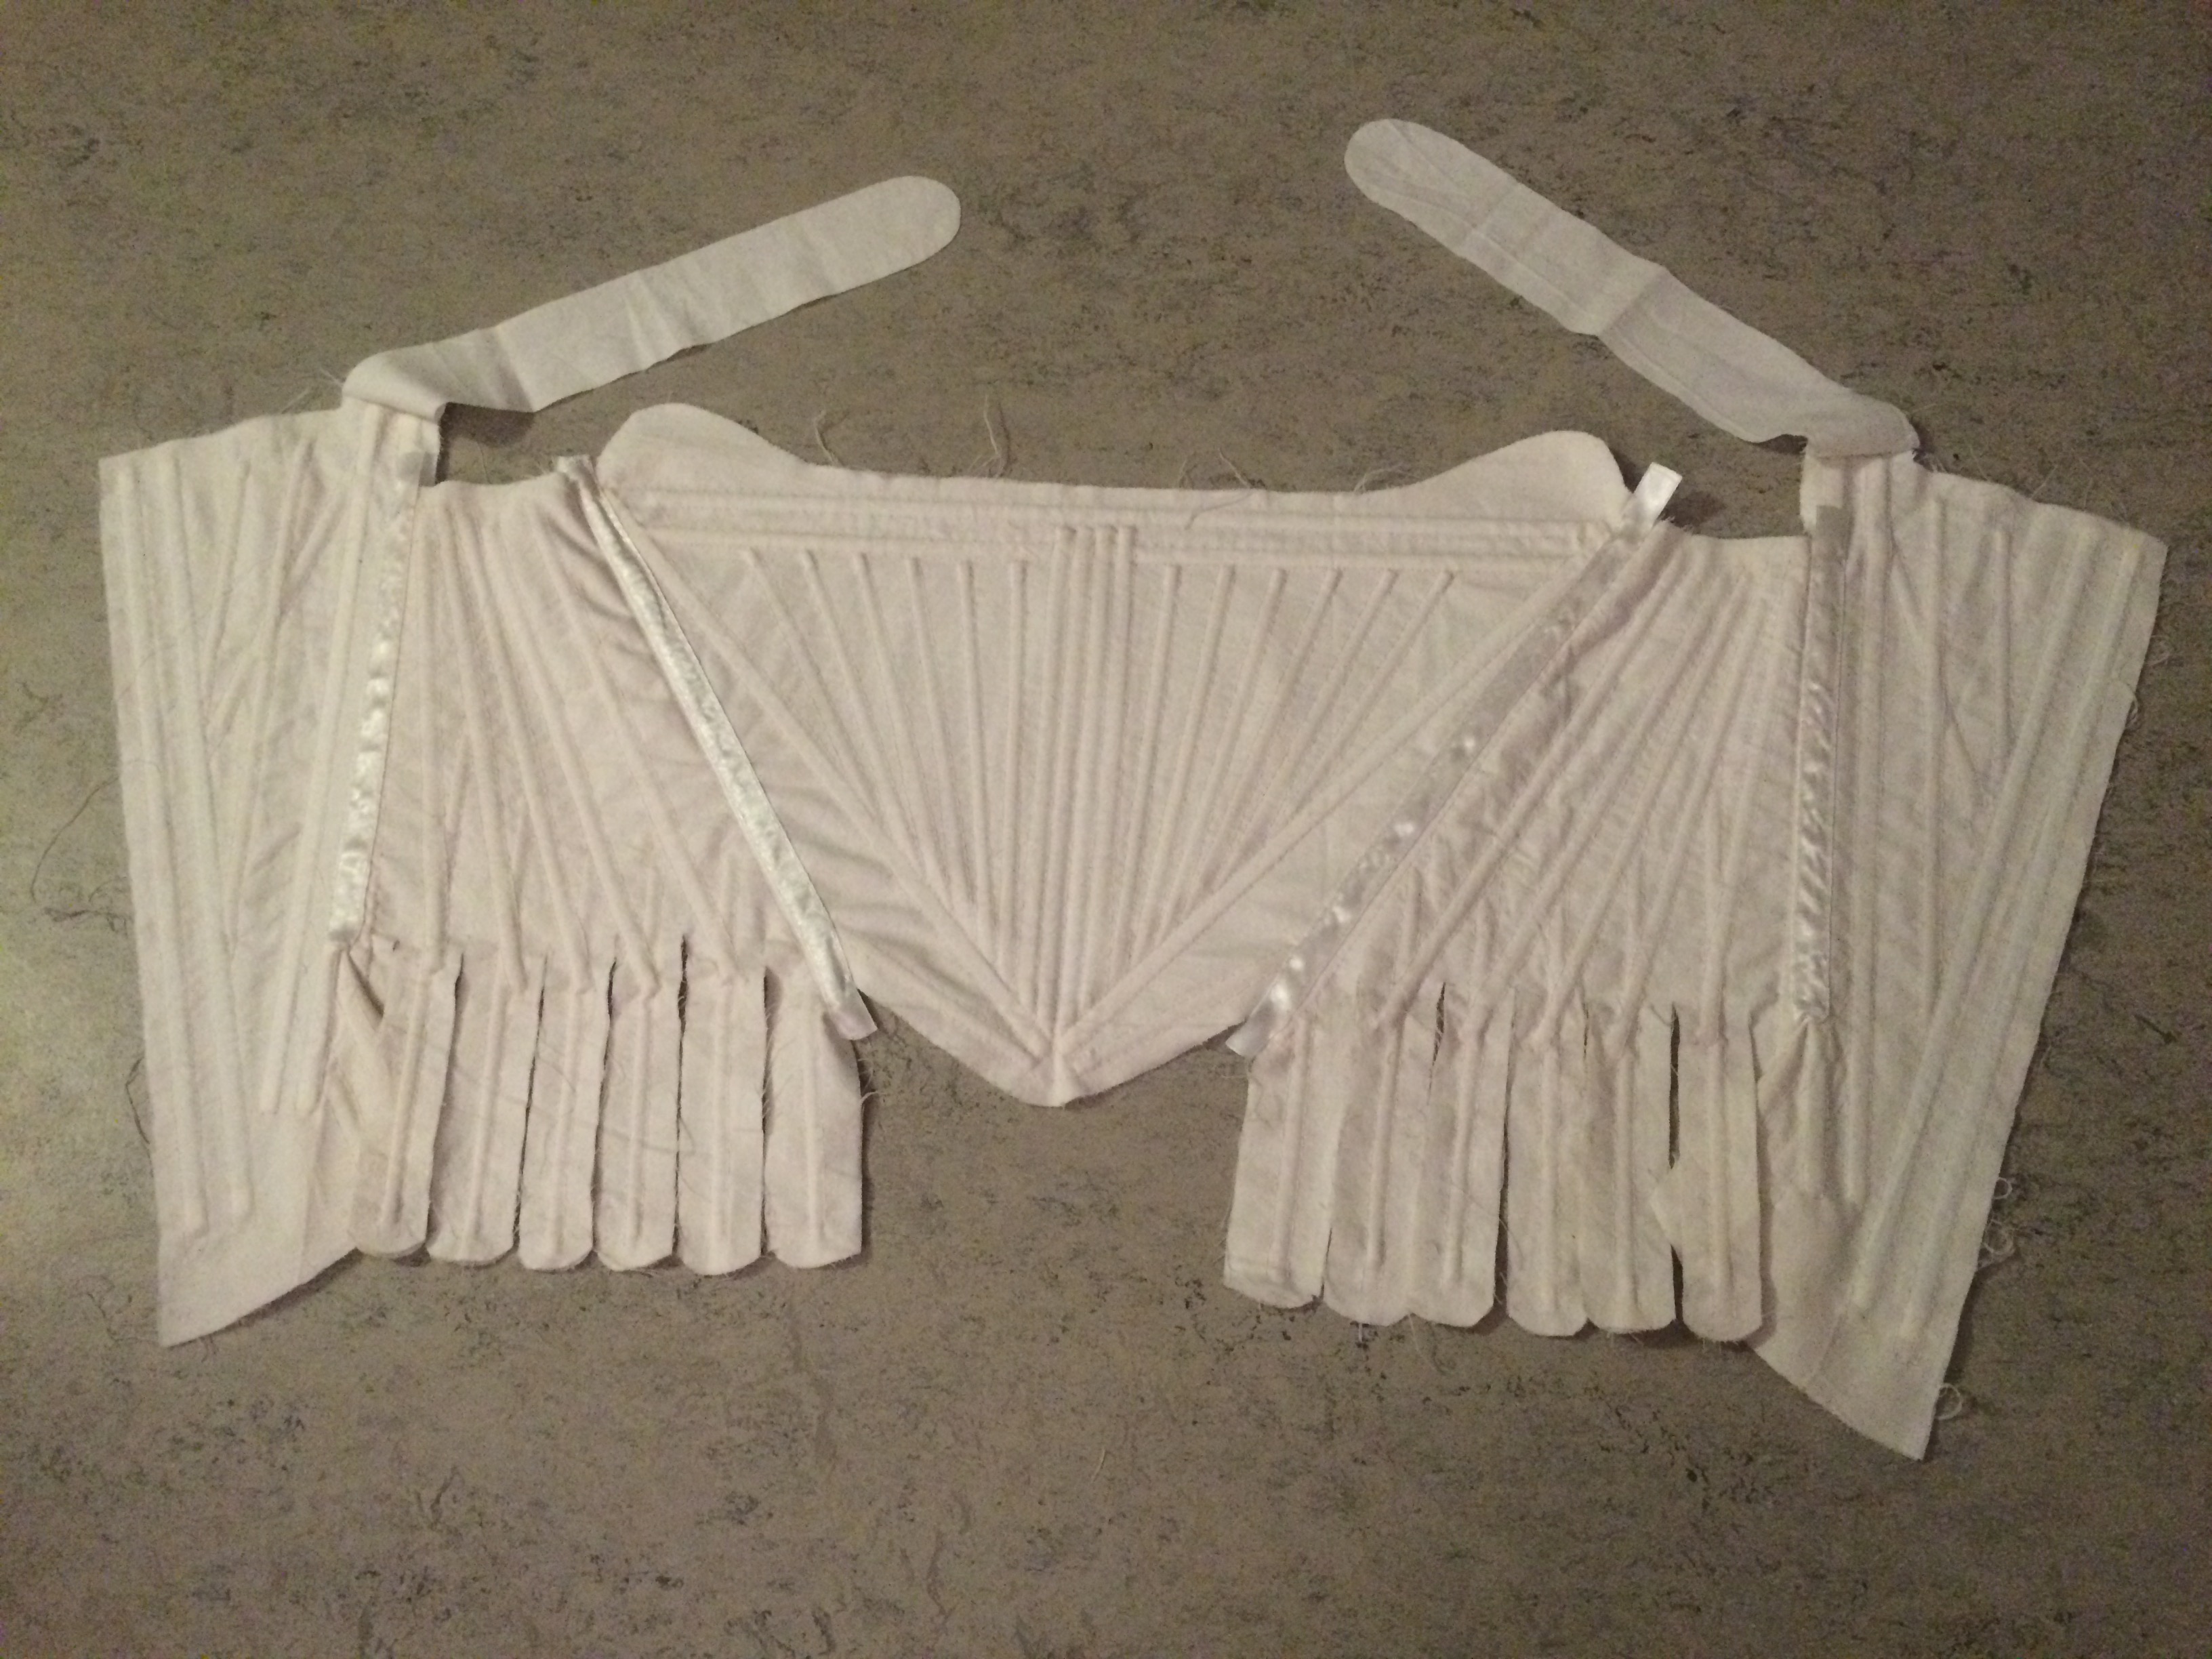
Finished lining!

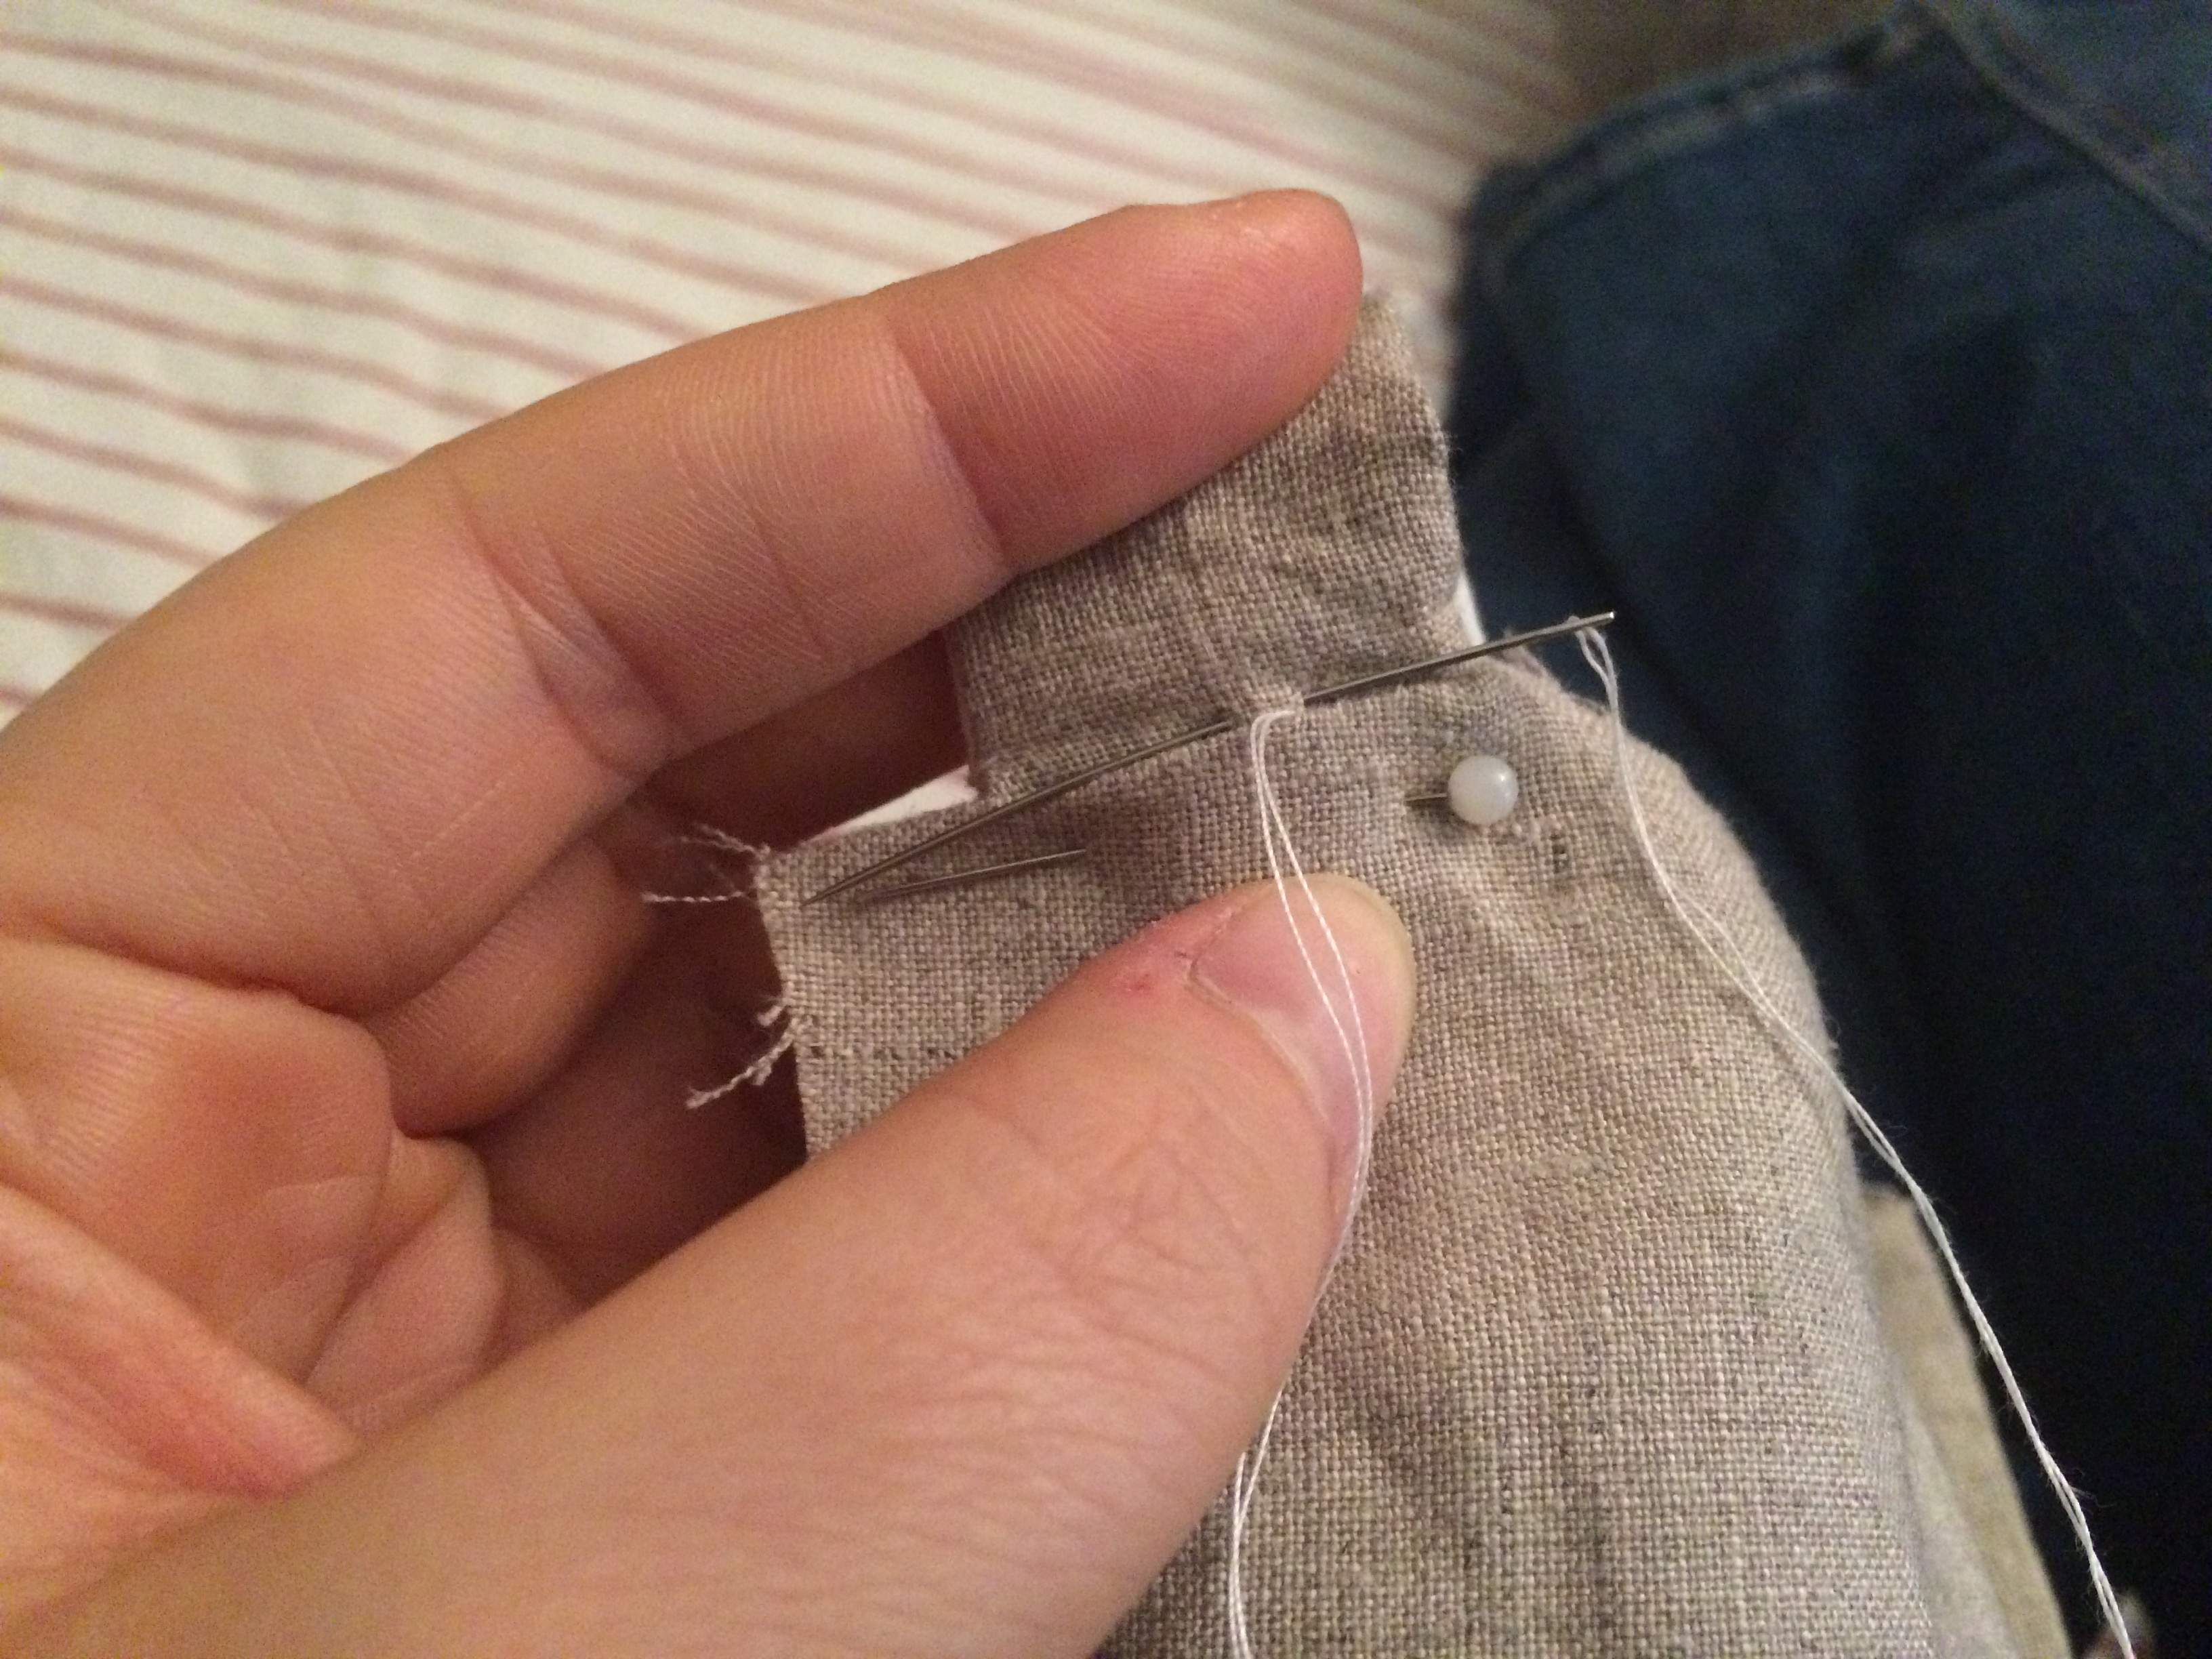
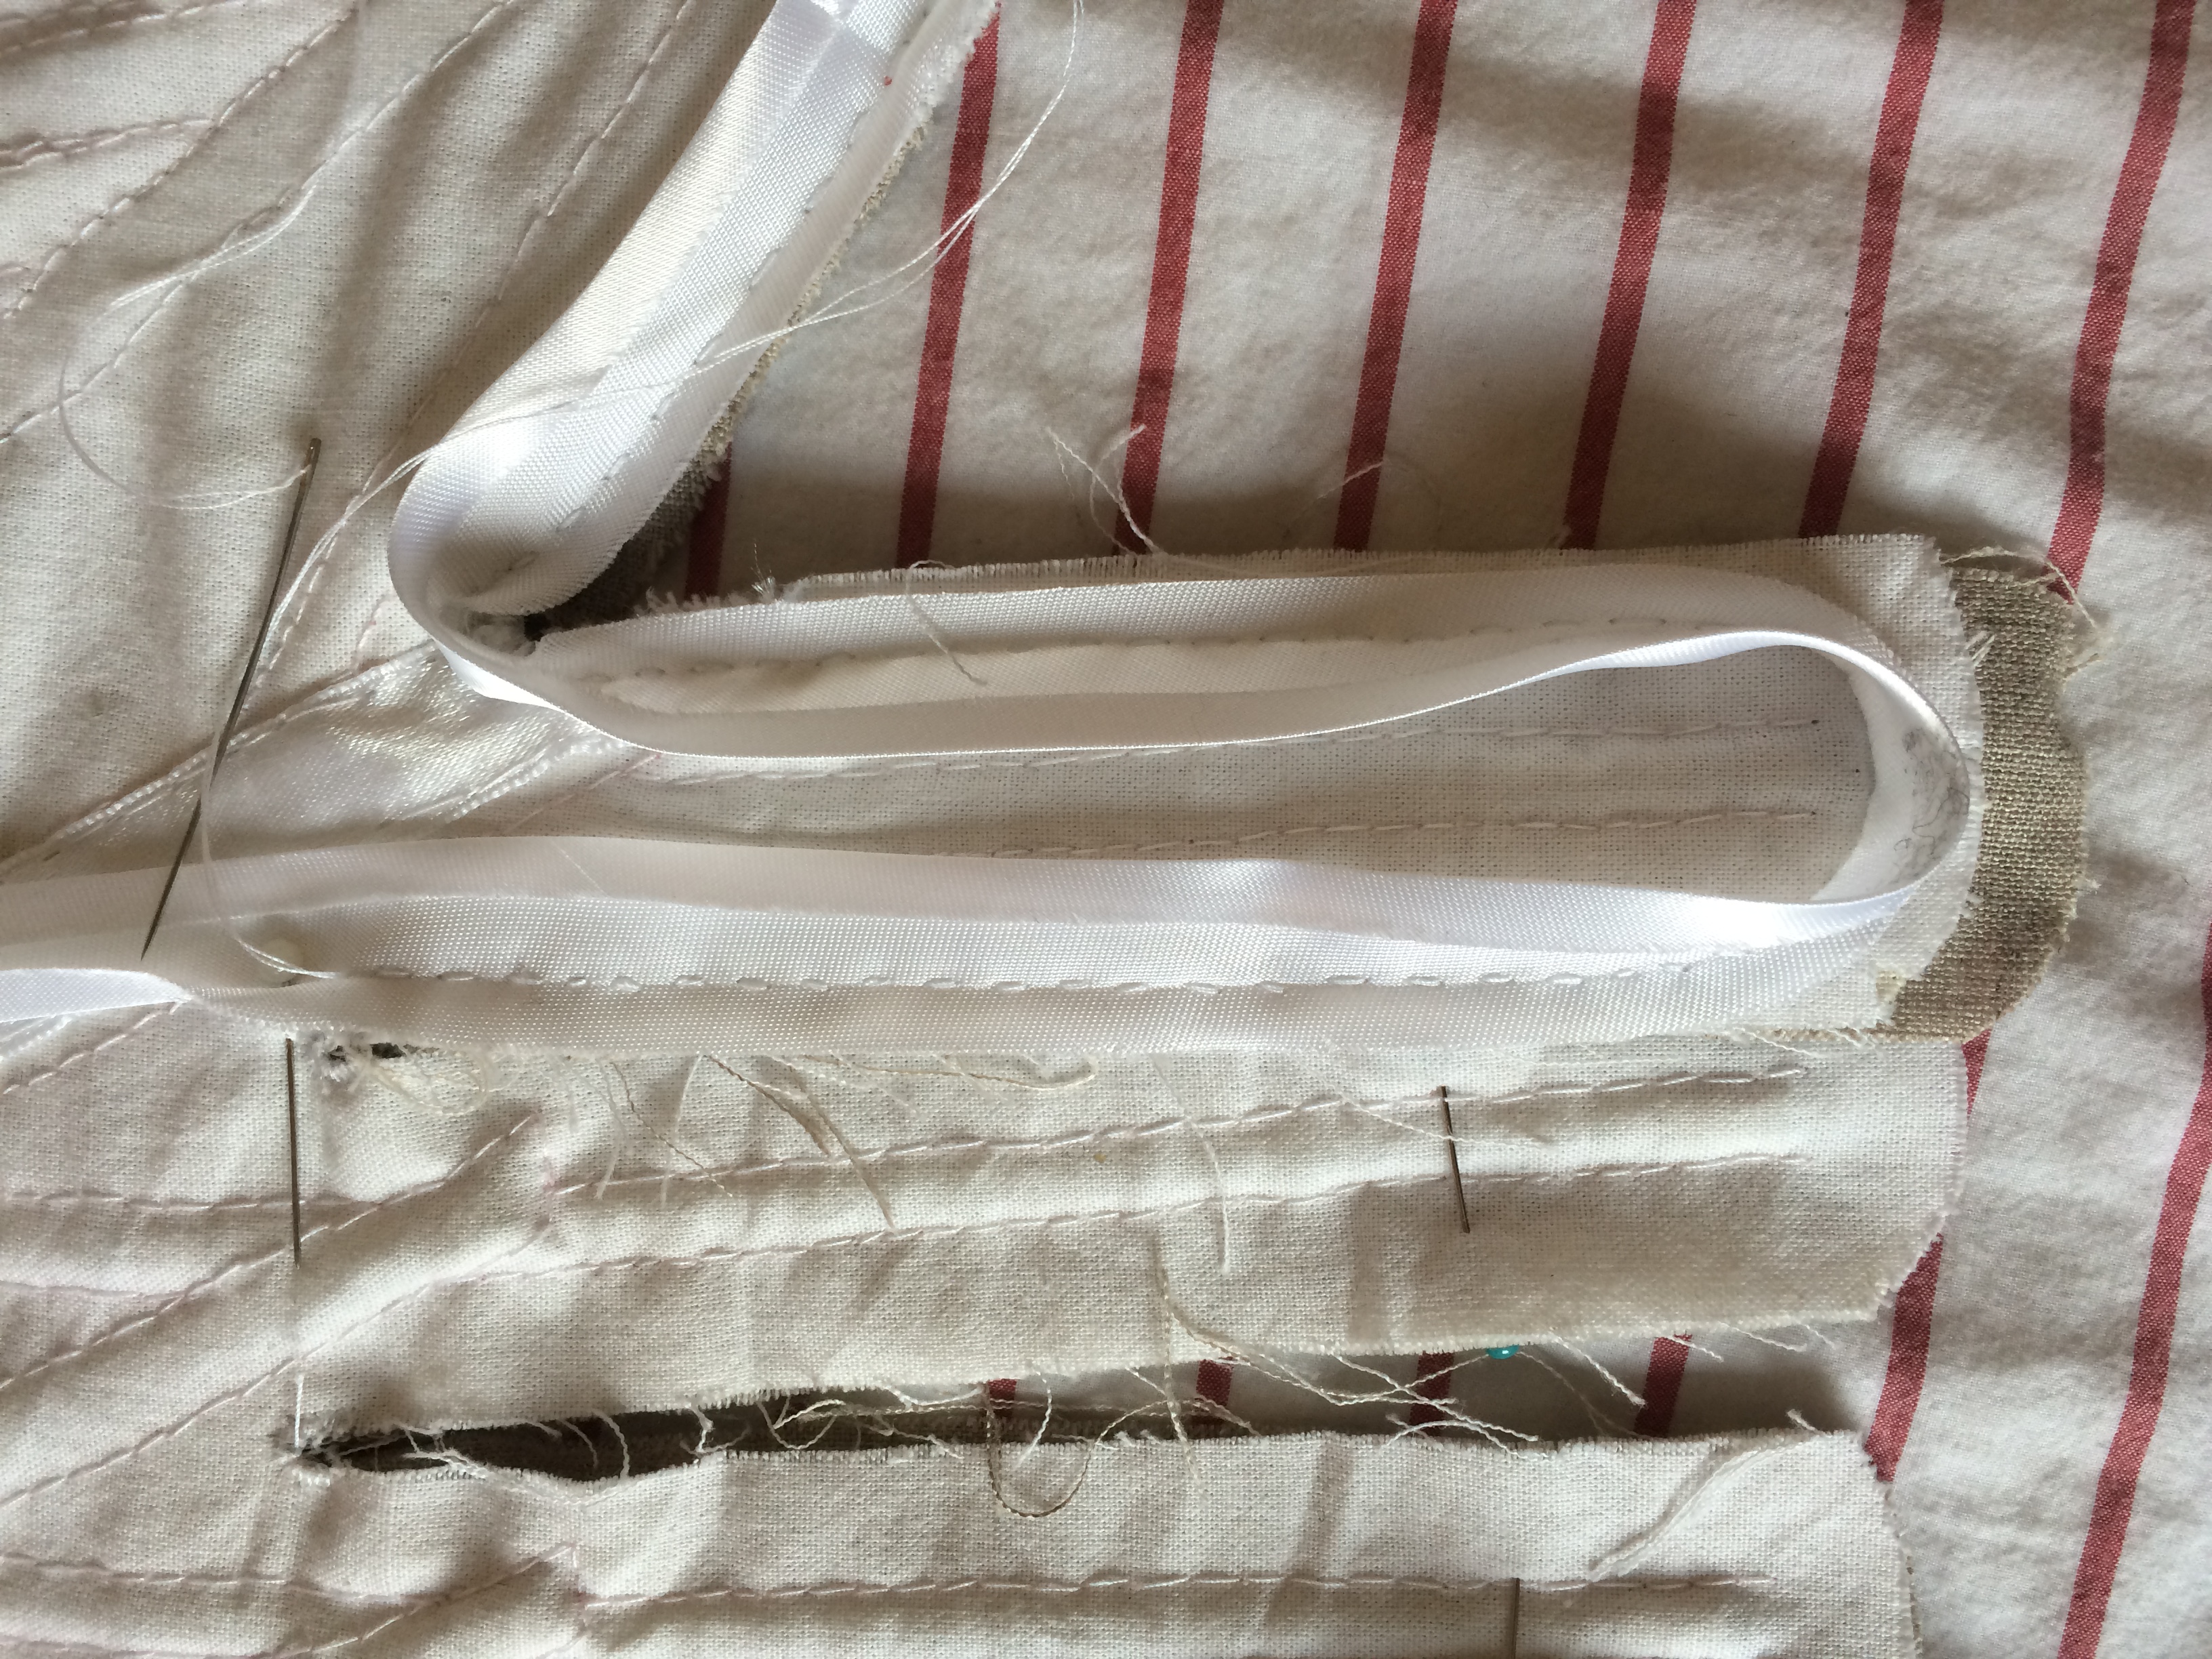
I’ve made 18th century stays before, and I learned that the tabs are real weaknesses. Therefore, I strengthened them with some tight buttonhole stitches to keep them from tearing and ripping.

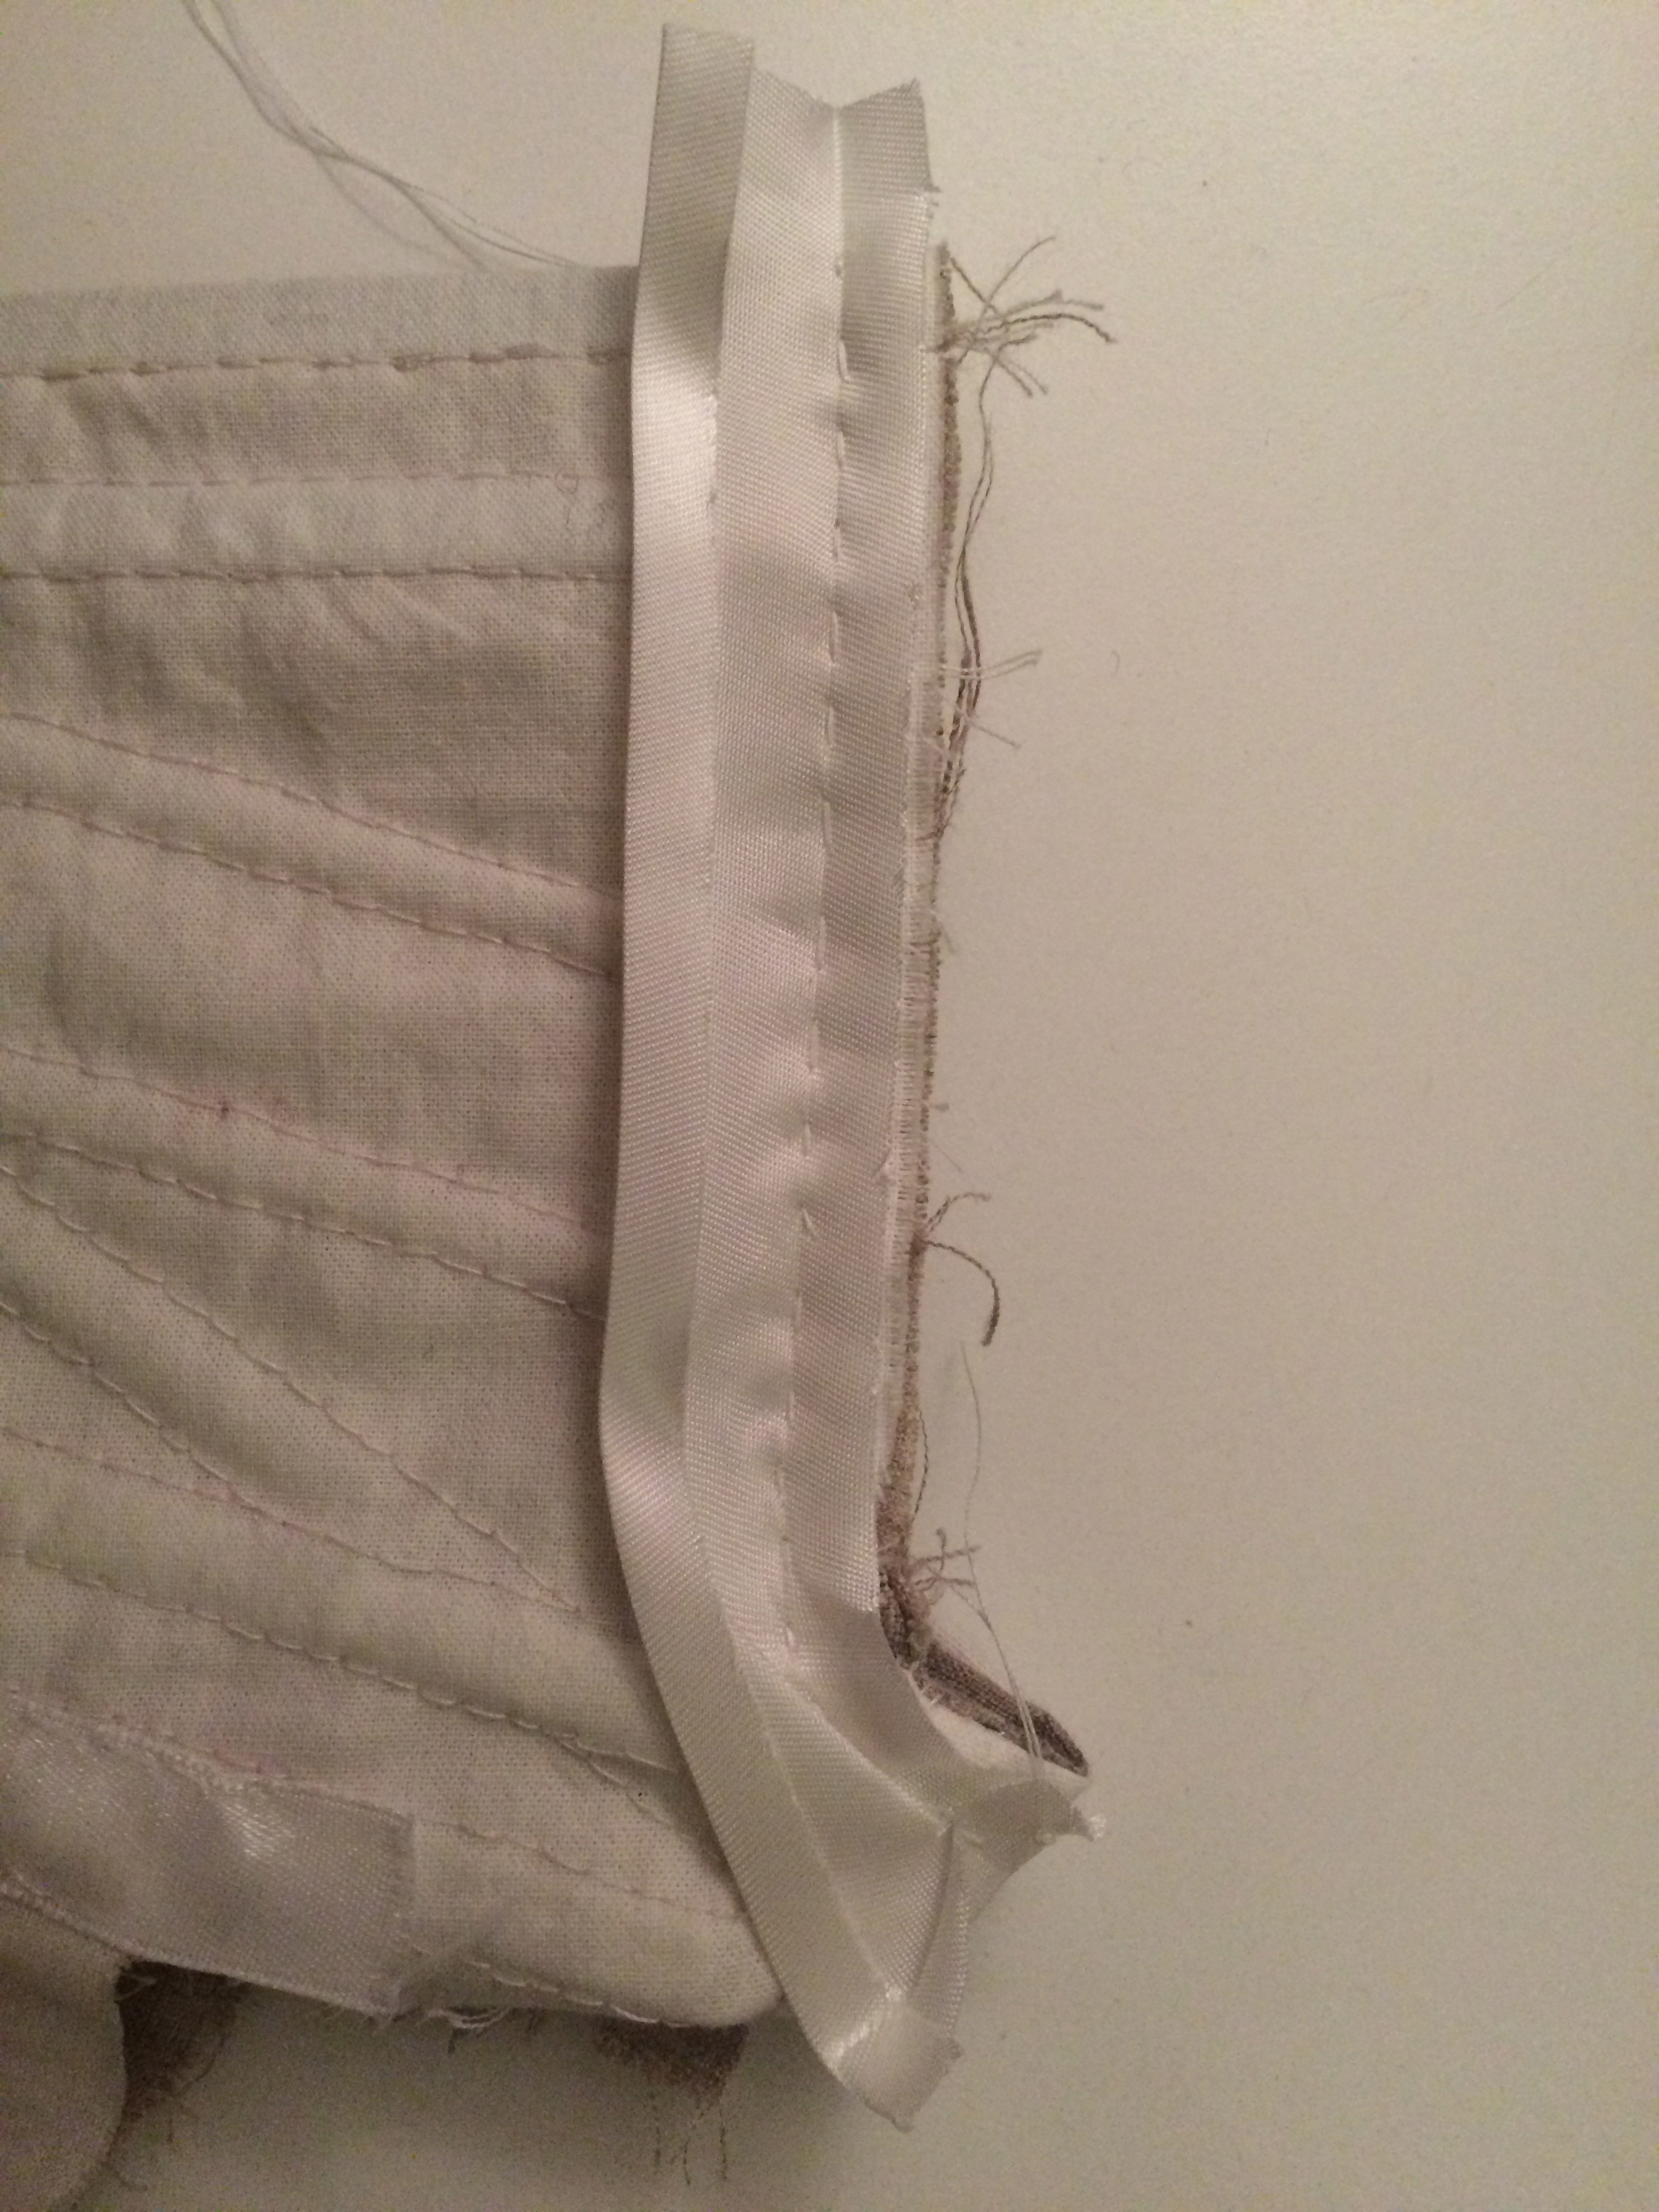
For the edges, I chose bias tape, starting at the top.
Have I ever said how much I love bias tape! So pretty! So sturdy! So easy to apply! You can make them yourself! You can buy them premade!
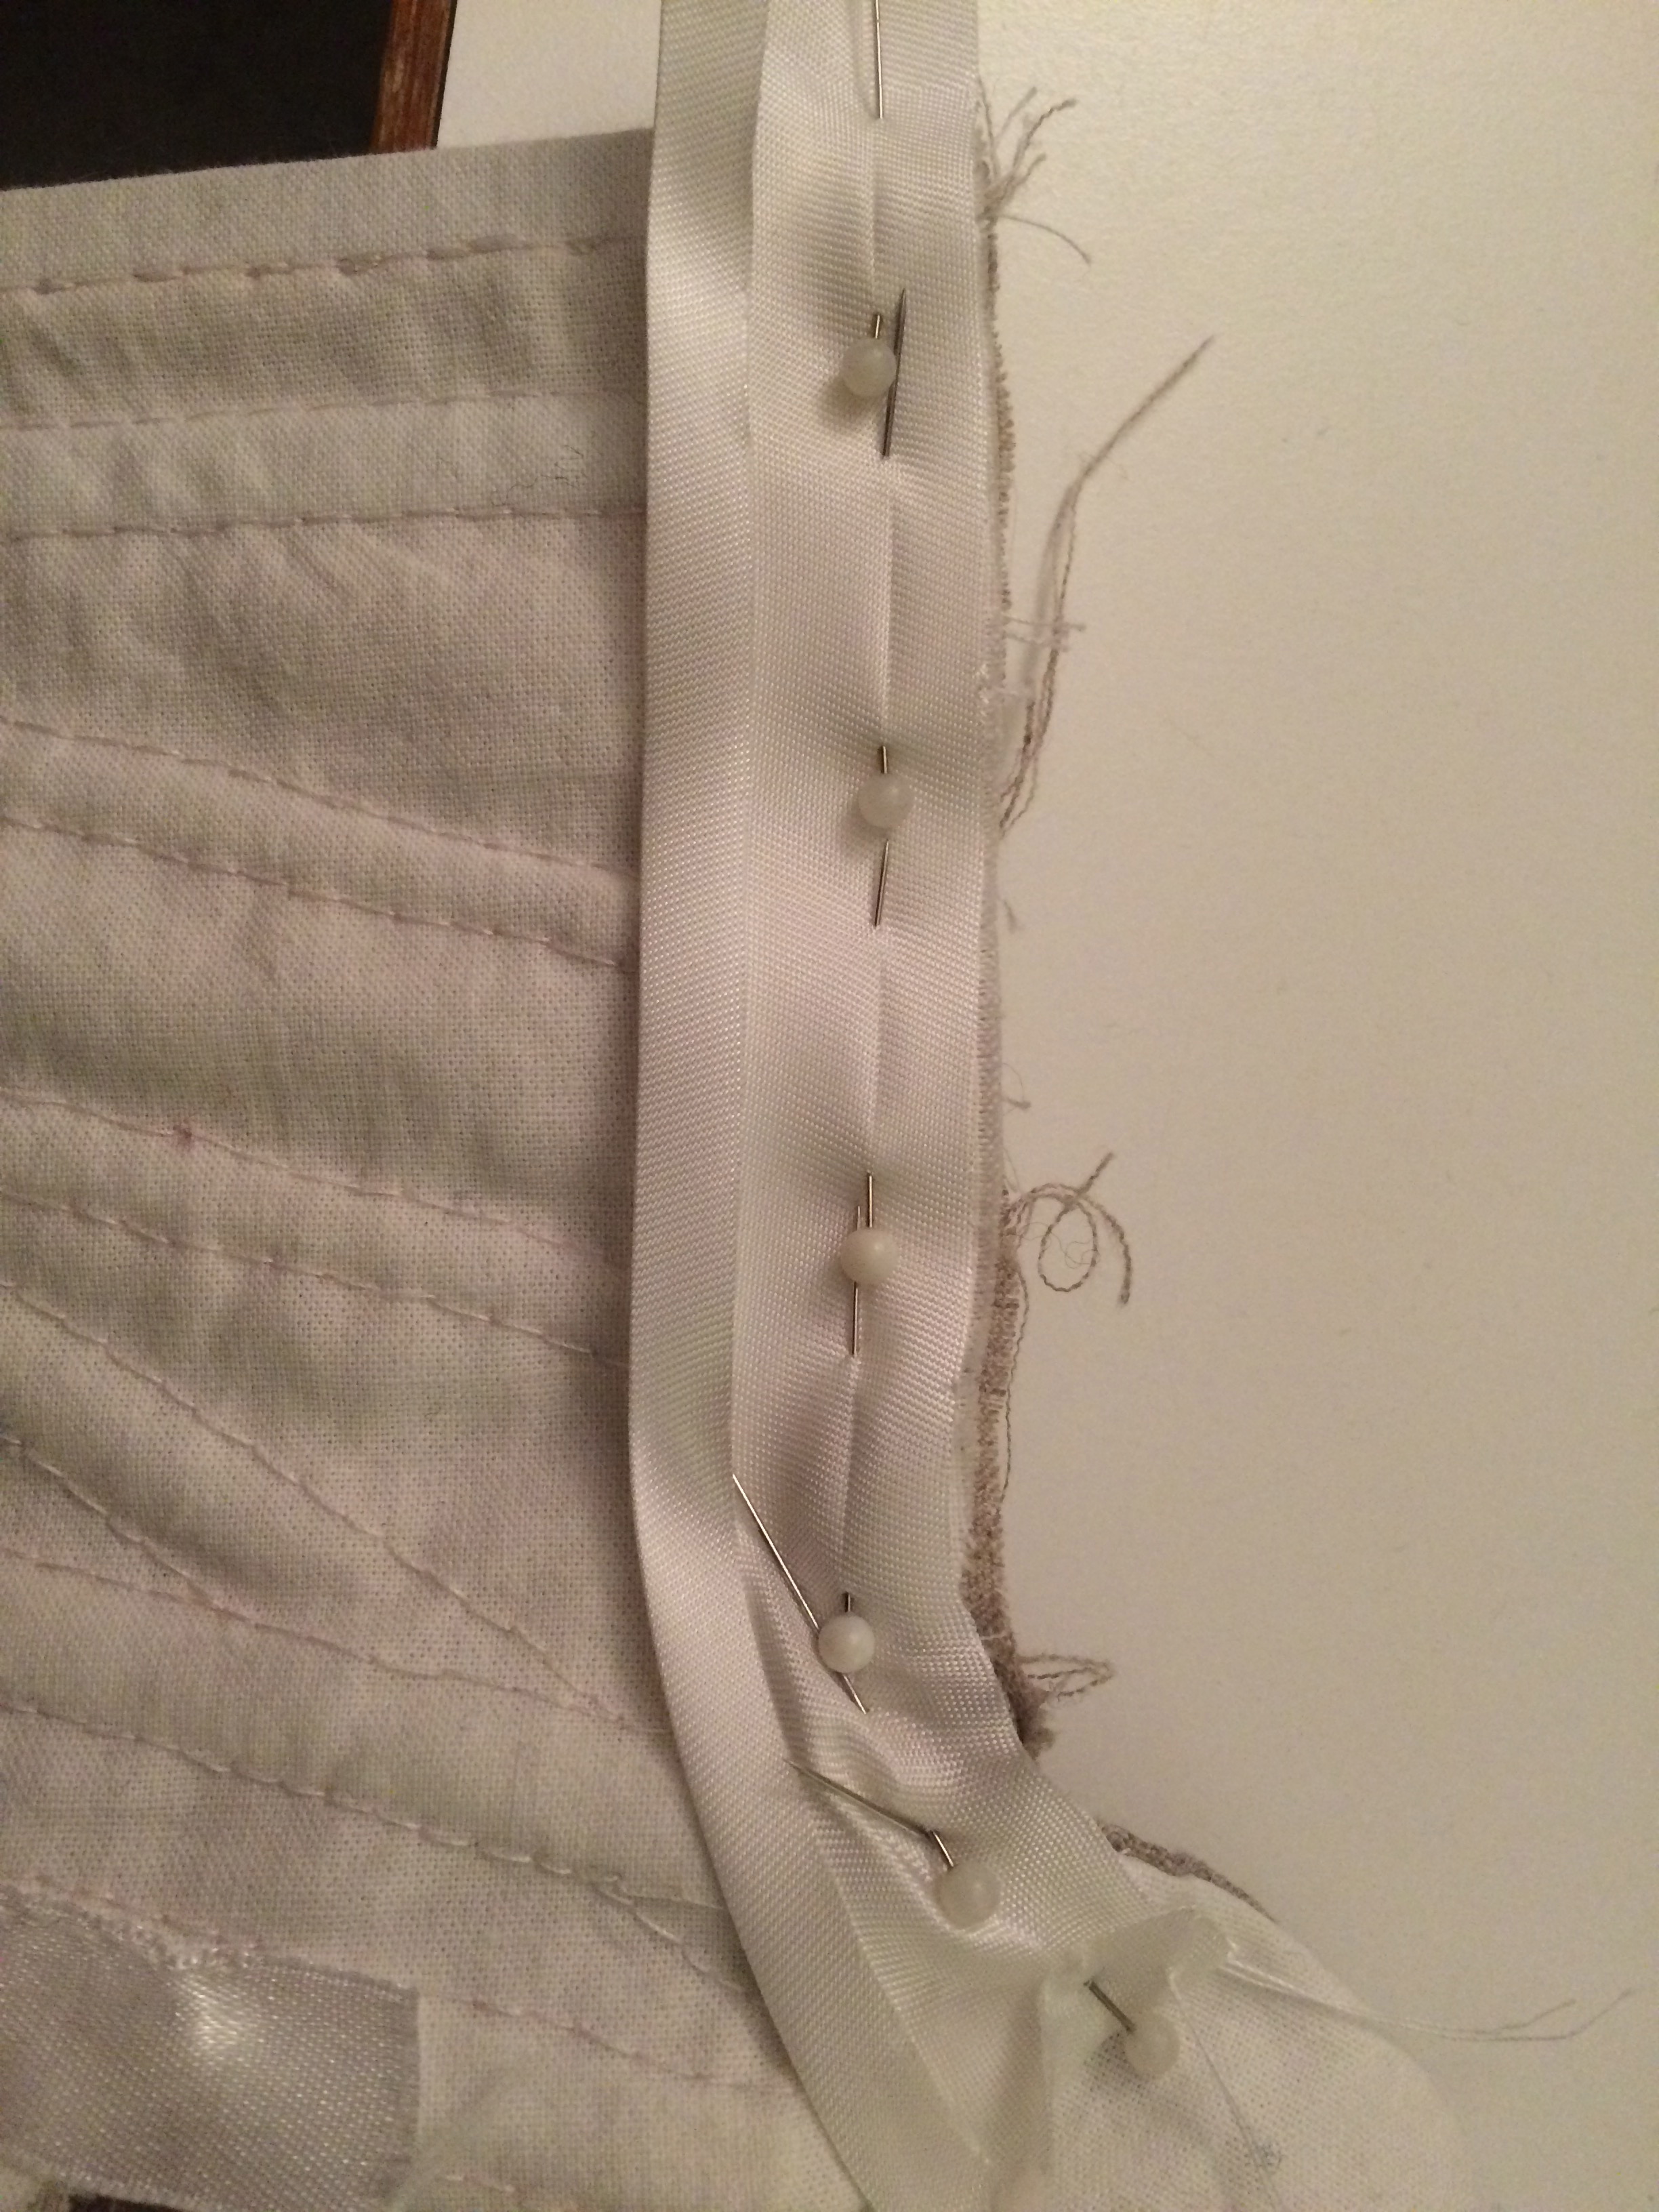
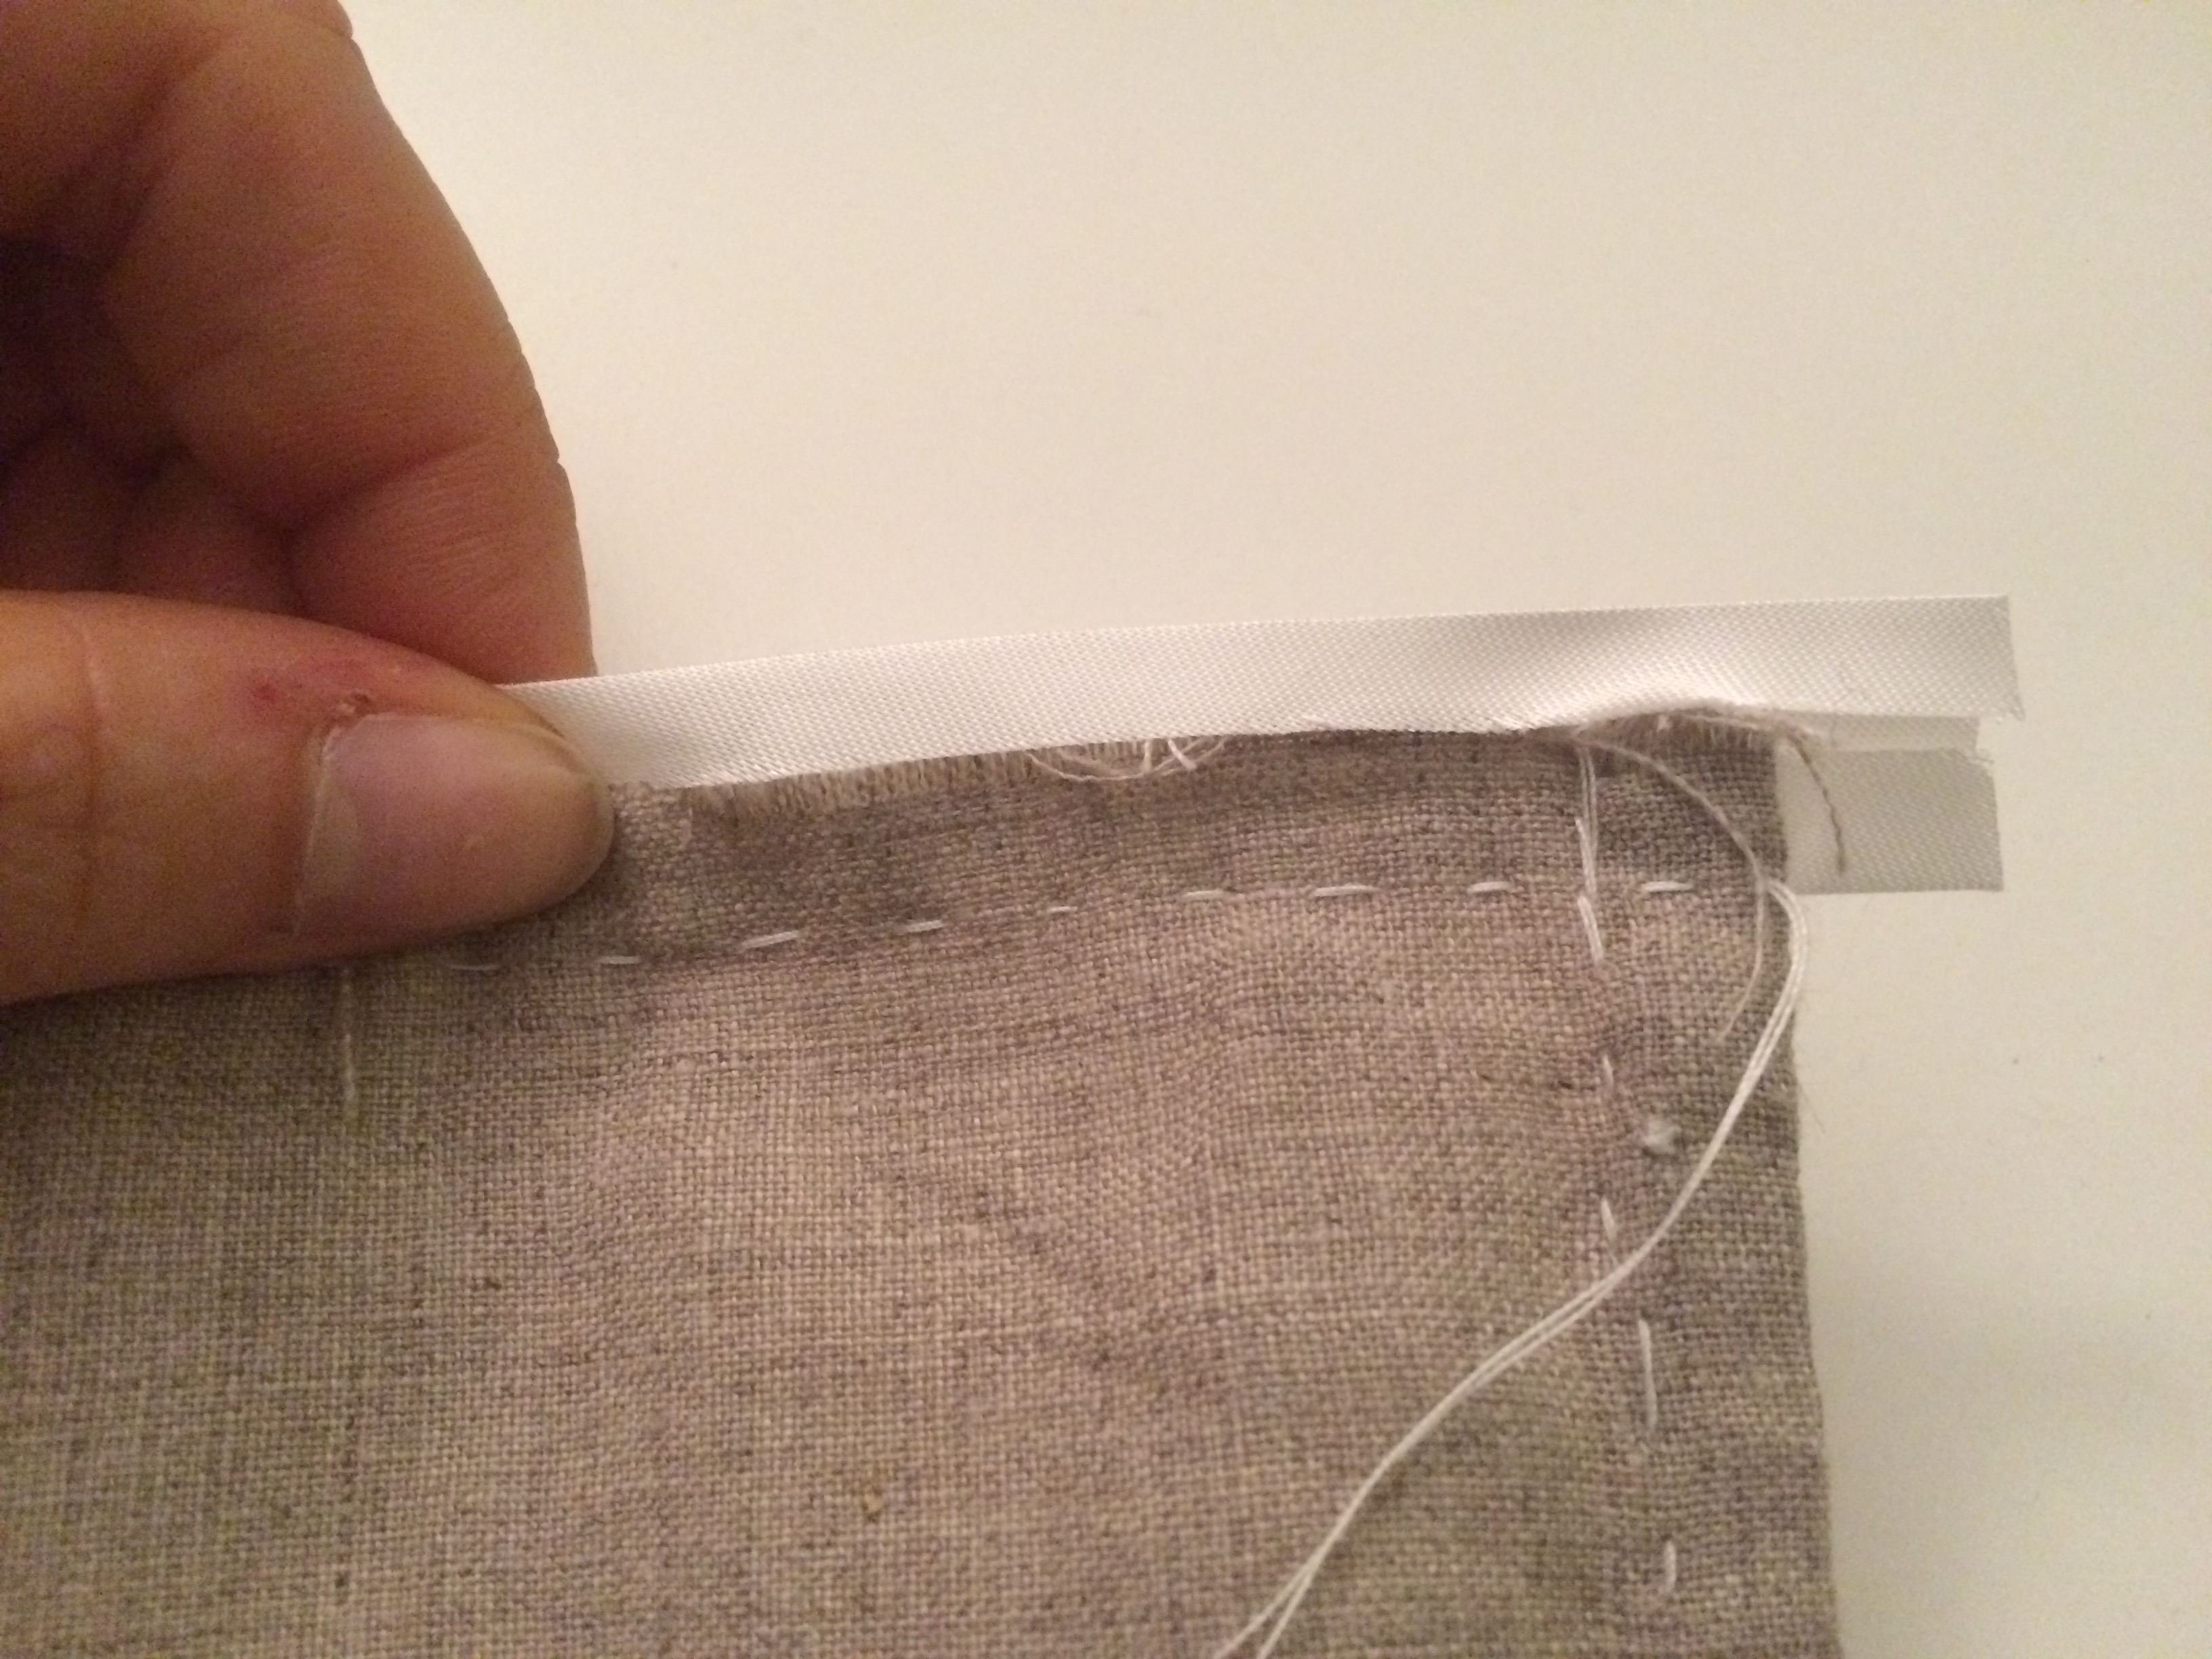
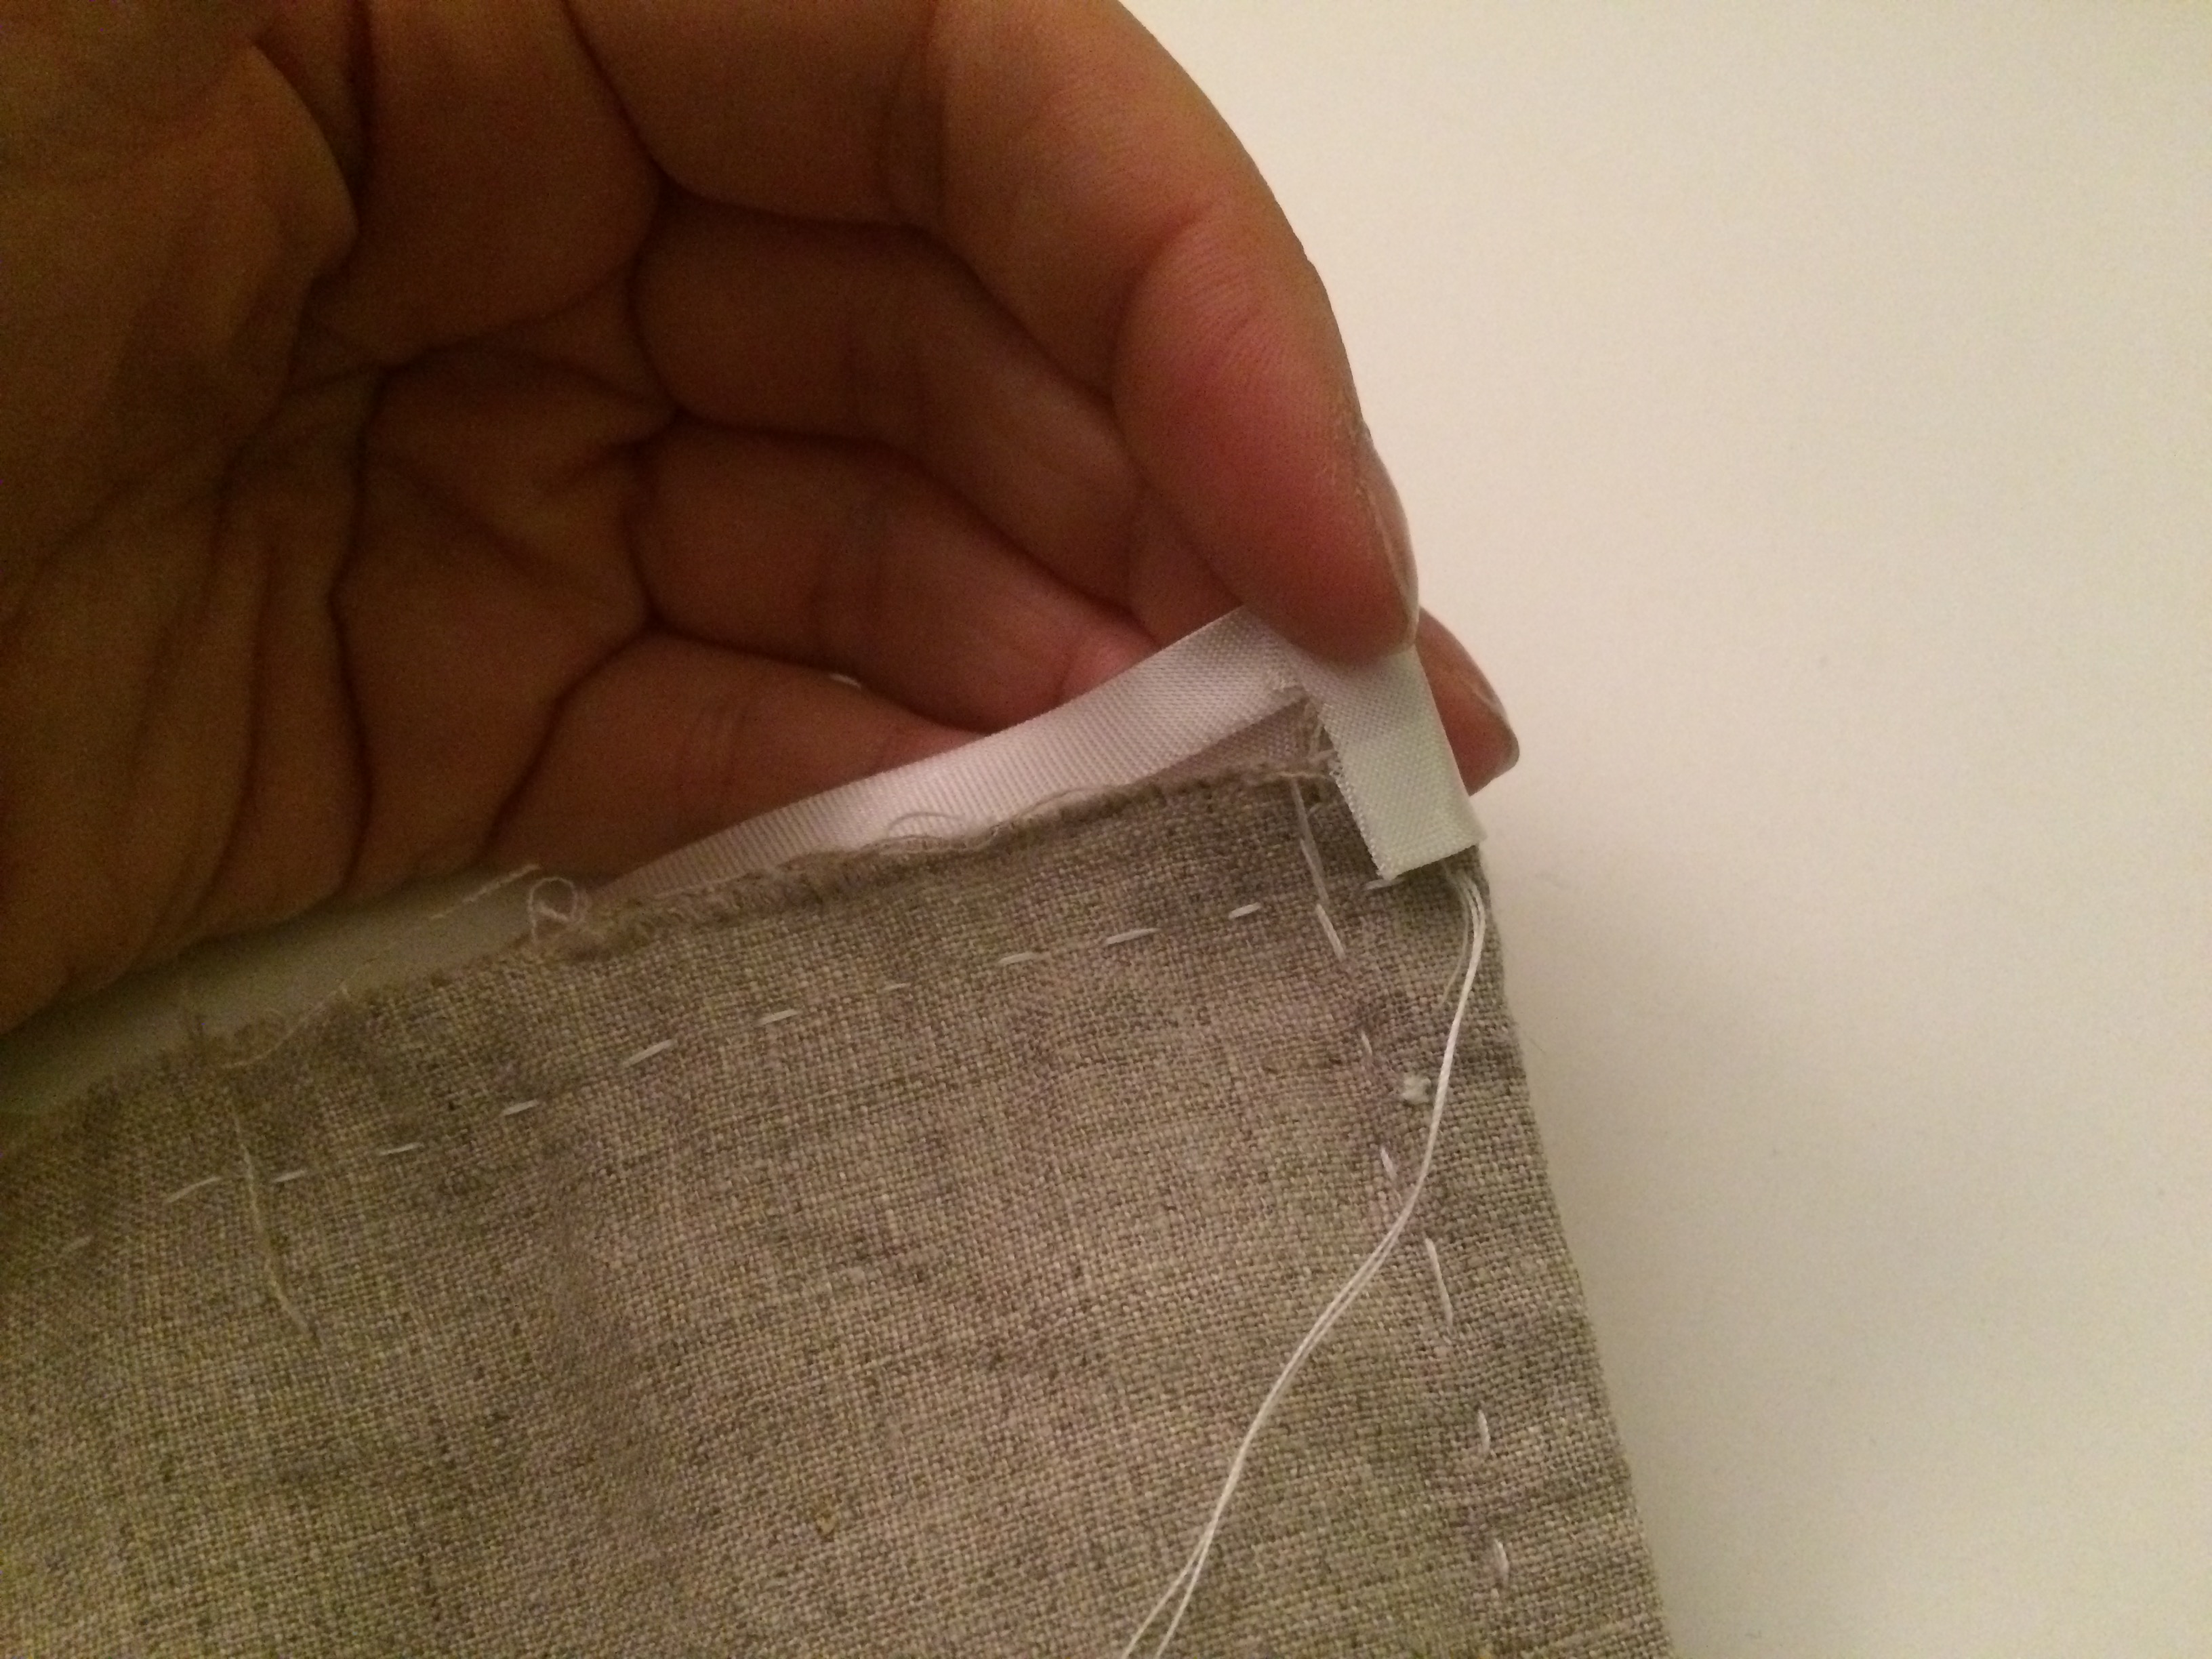
This is the method I prefer when I hand sew: First, you unfold one side of the bias tape, and pin it to the edge on the right side of your garment.
Stitch.
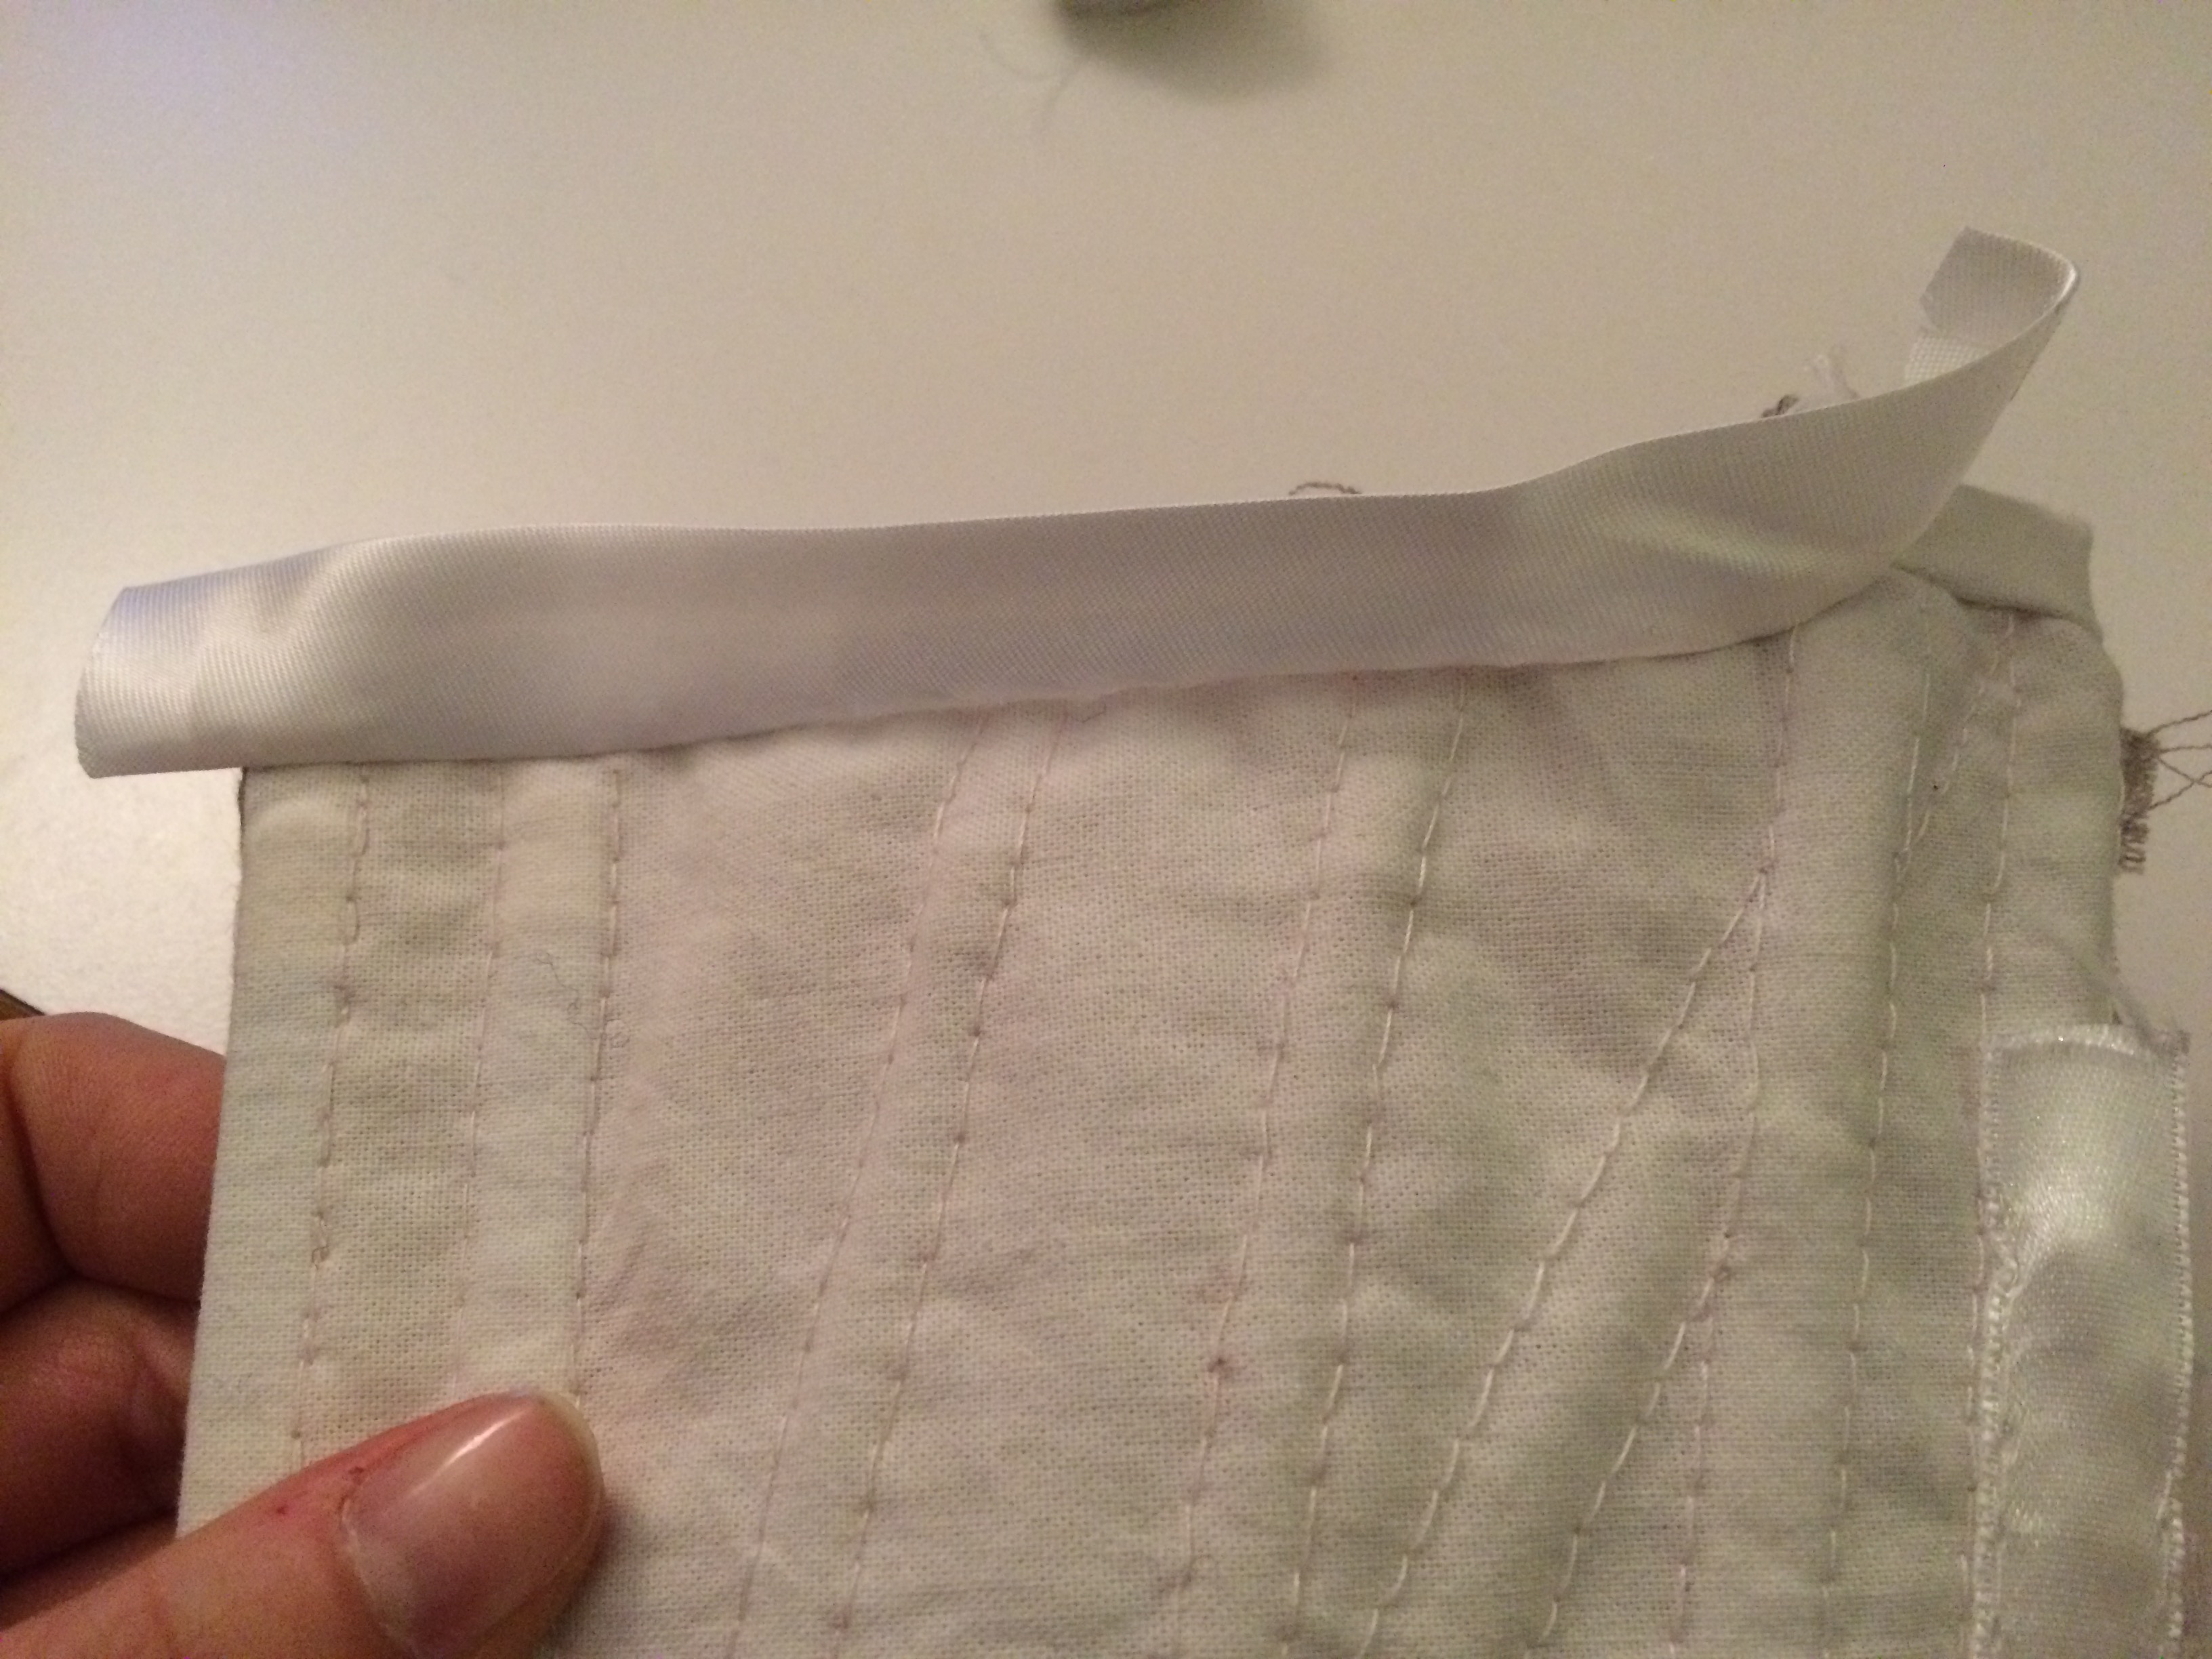
Fold the tape up. Because it’s cut on the bias, the tape will be a little elastic, and curve nicely along all non-straight edges.
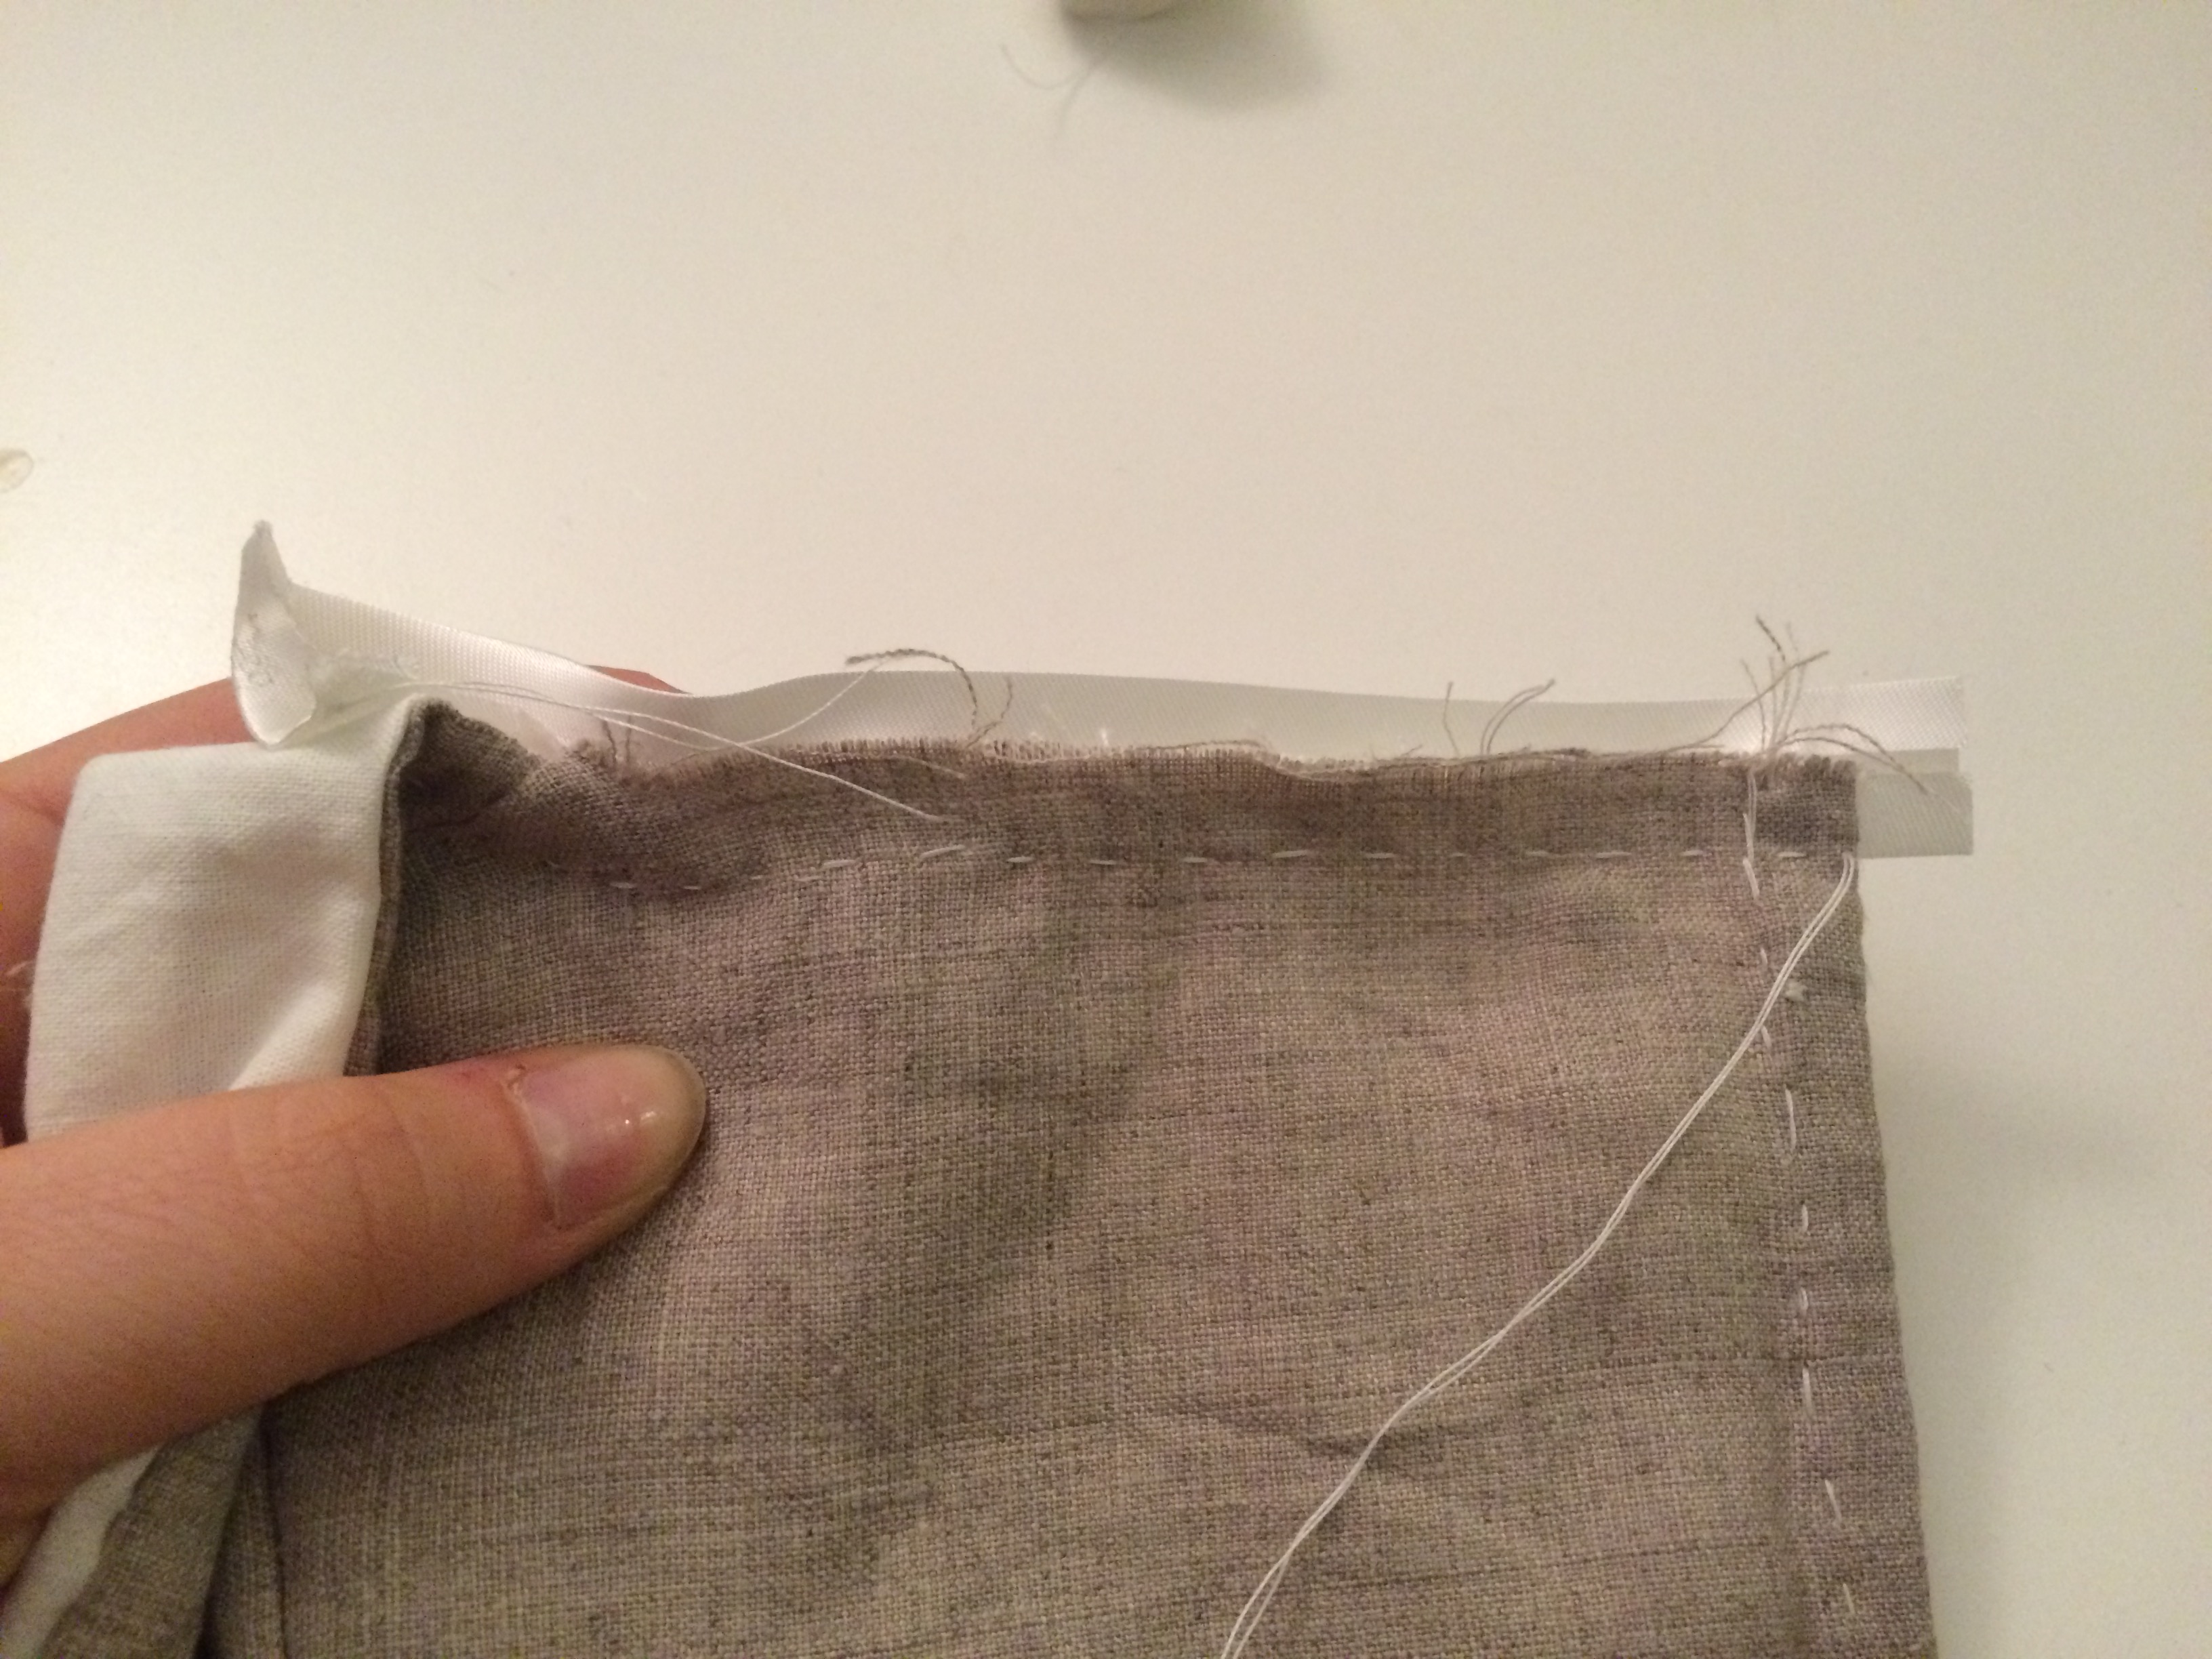
Cut down the seam allowance a little, and fold the bias tape over to the inside of the garment.
This way, you cover the raw edges and prevent fraying! If you have very thin fabric prone to fraying a lot, it might be an idea to overlock or overcast the raw edges first.
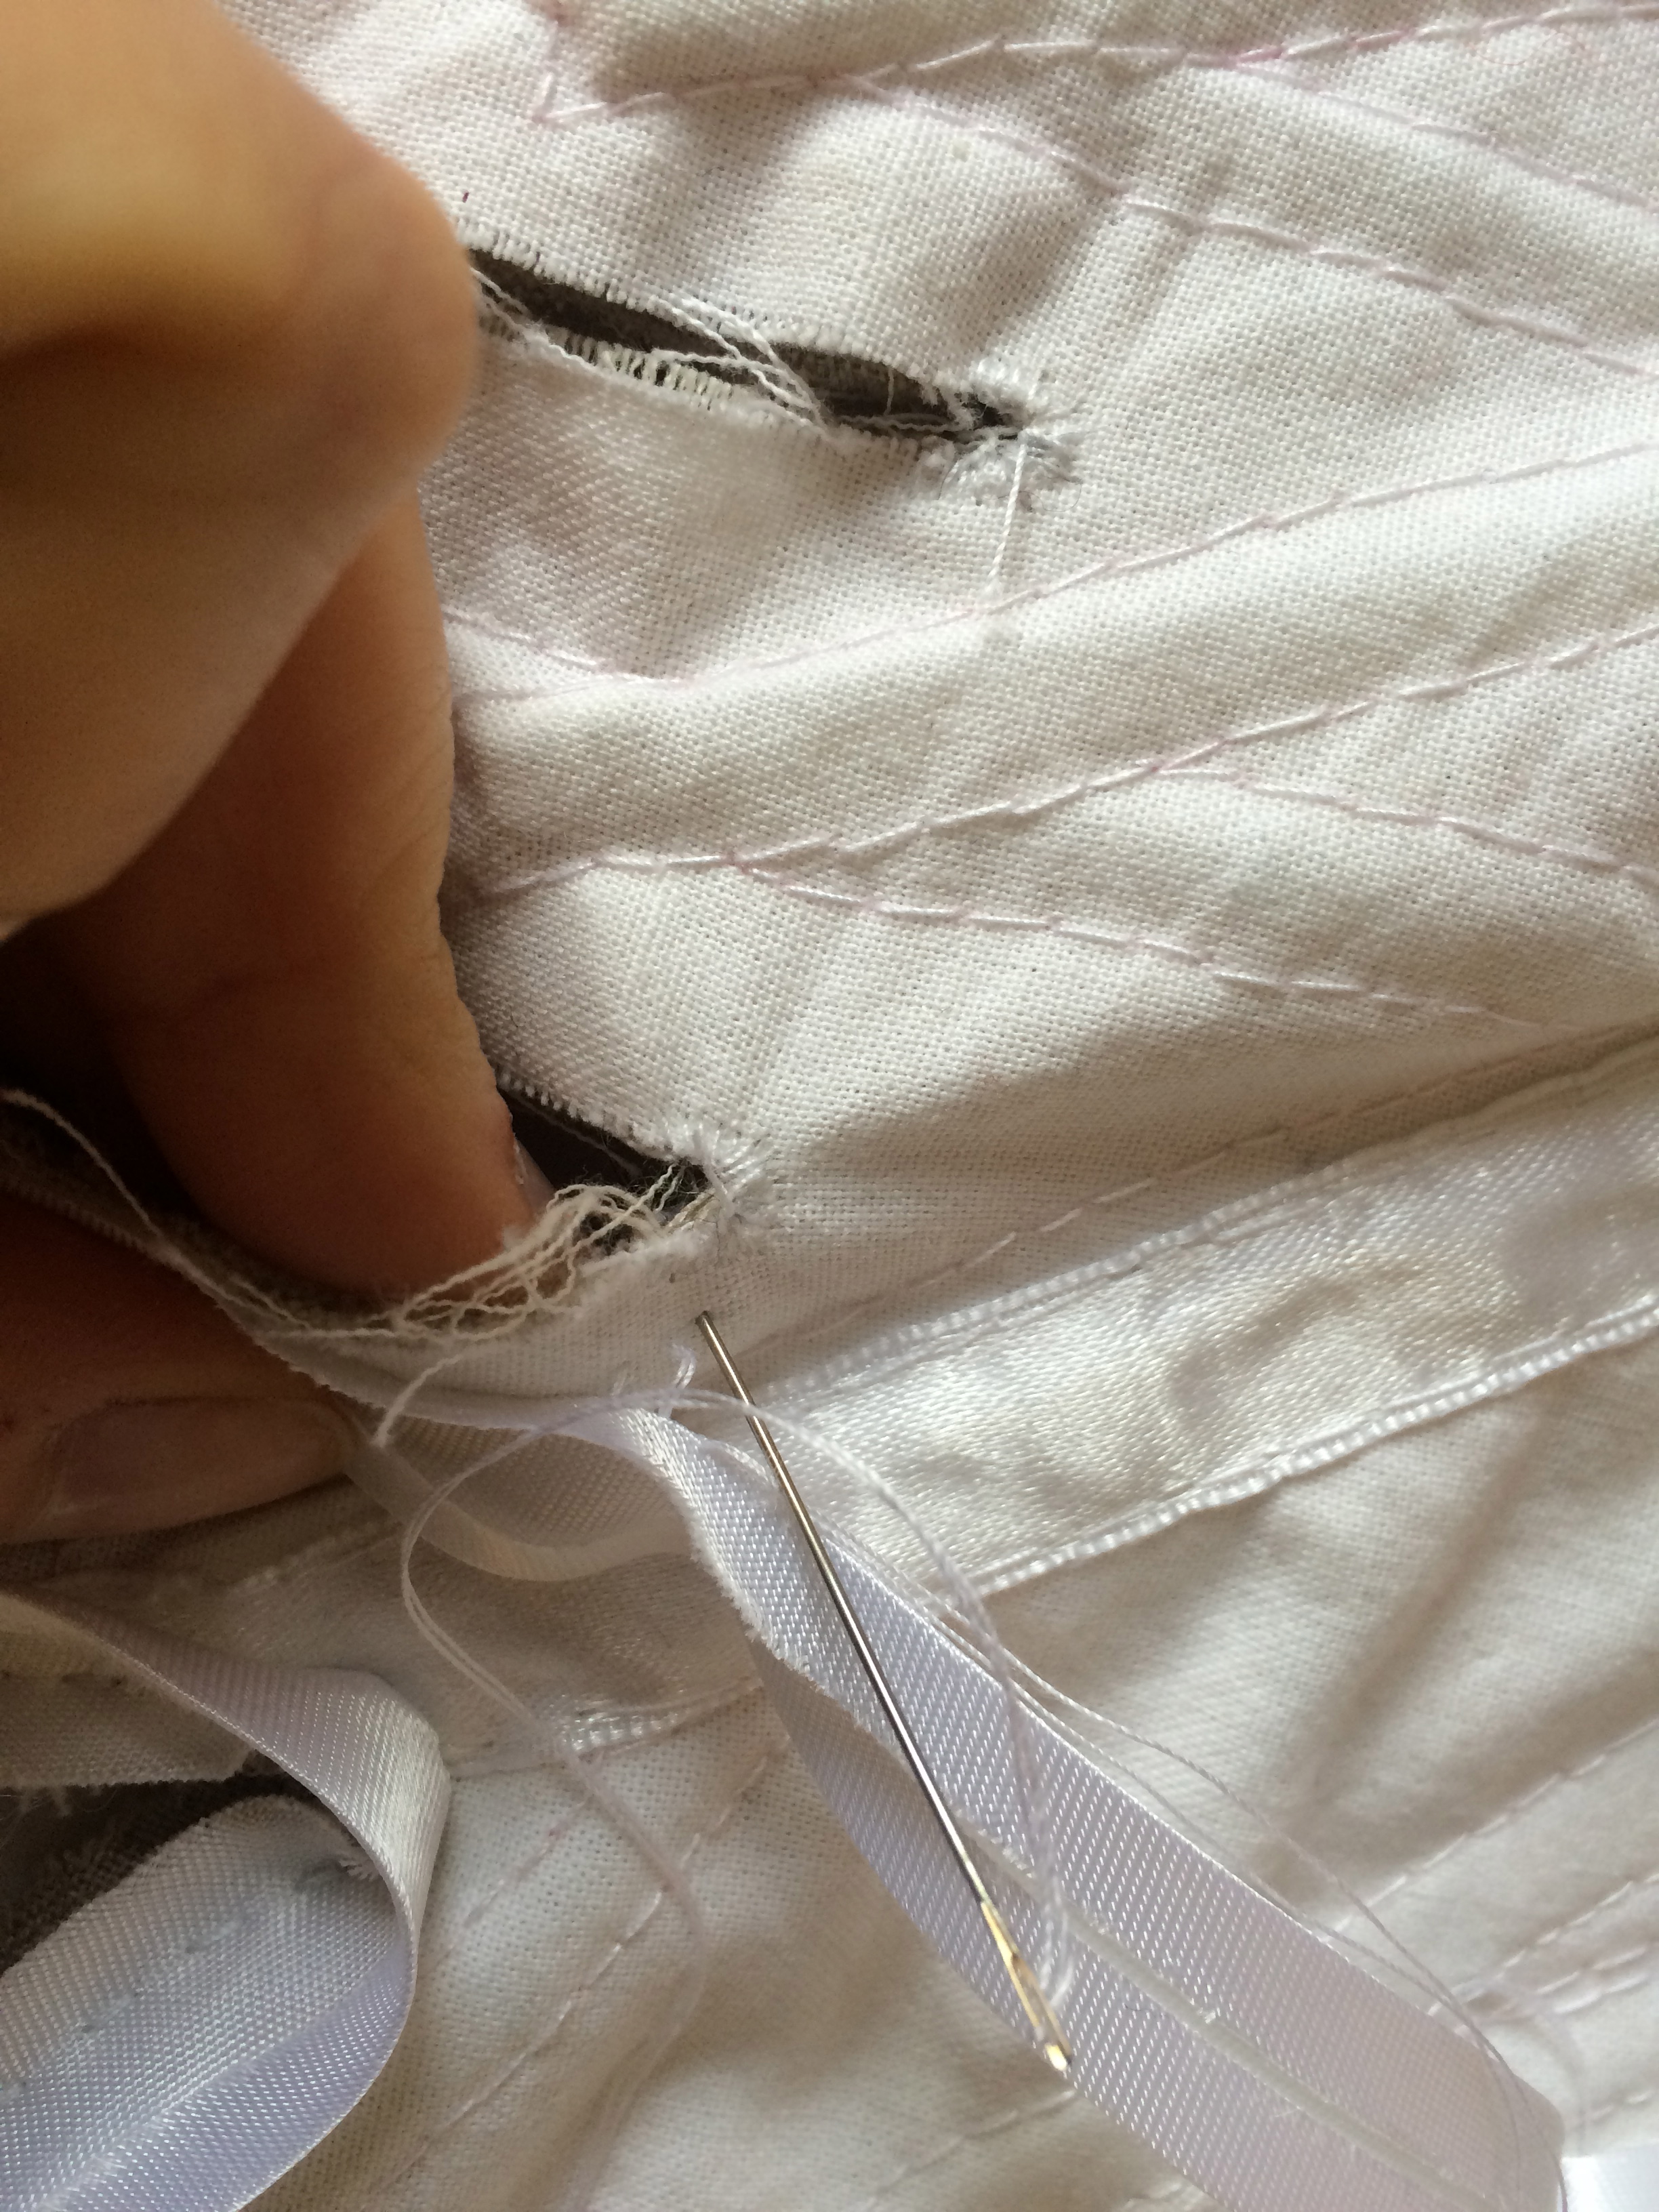
To get neat corners, I do this:
Fold the excess over to the backside…

… fold the tape in, over the excess…

… put the needle through the tip of the corner…
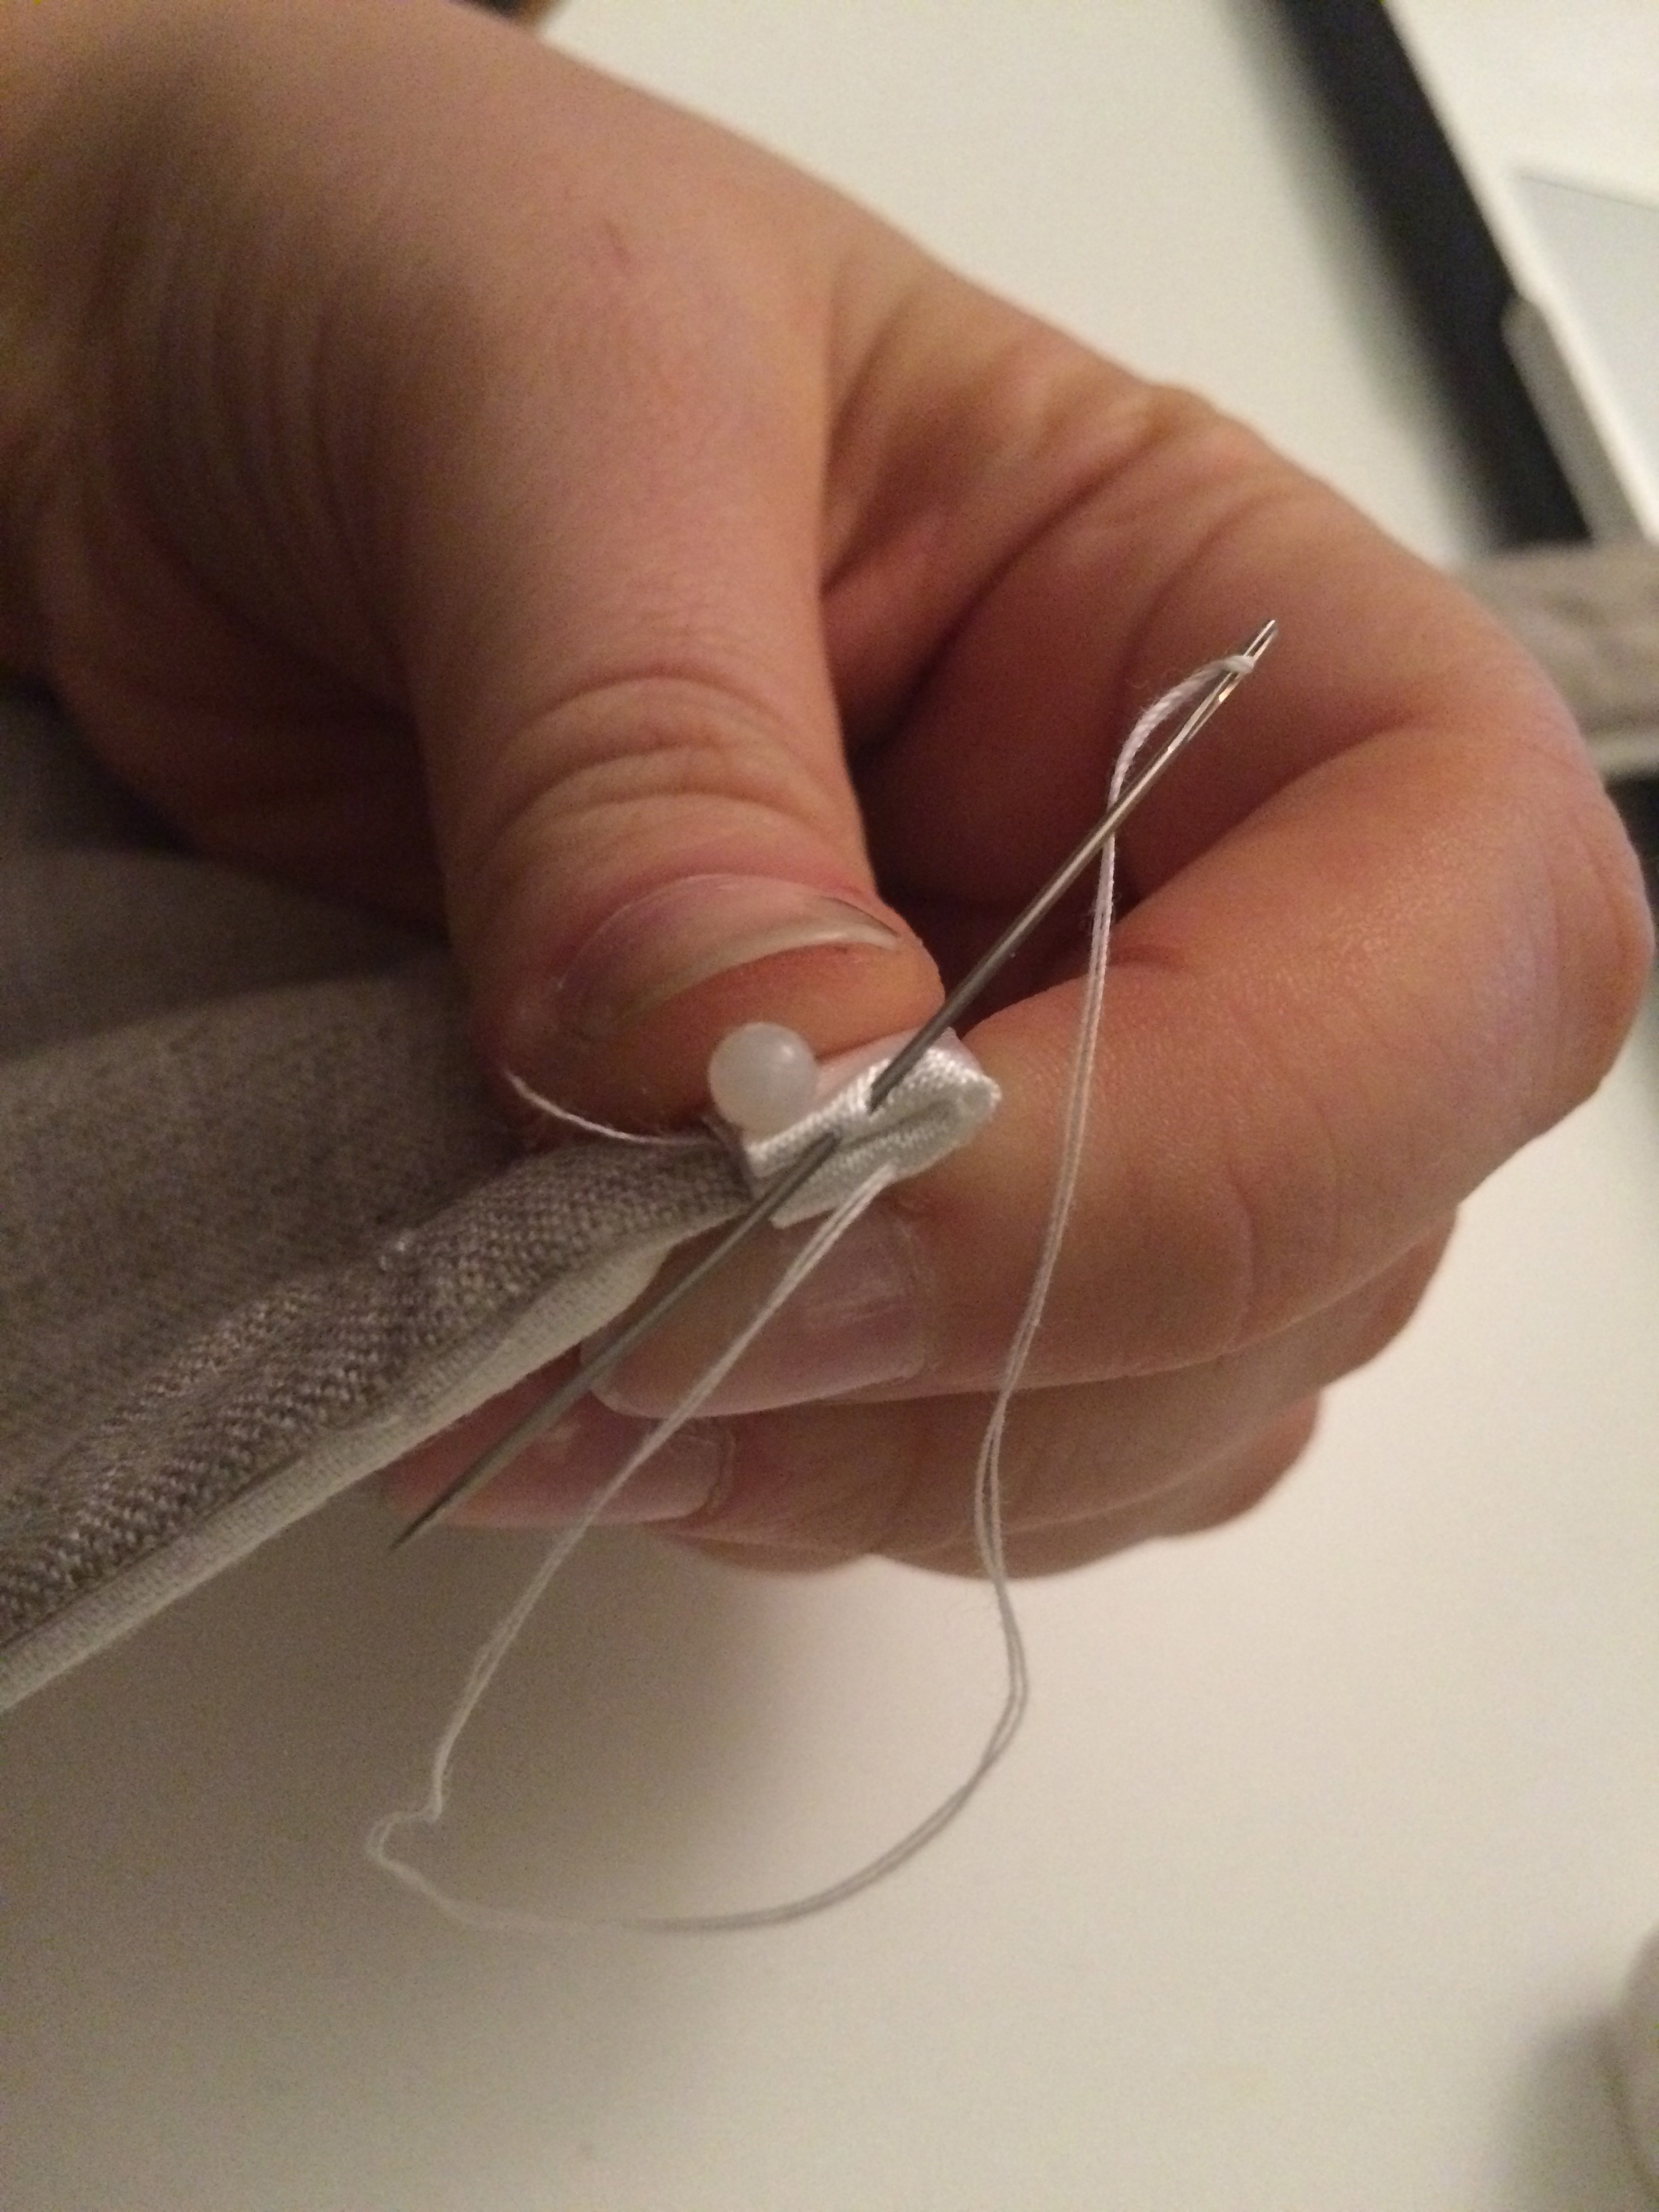
… and stitch the corner with small, invisible stitches!
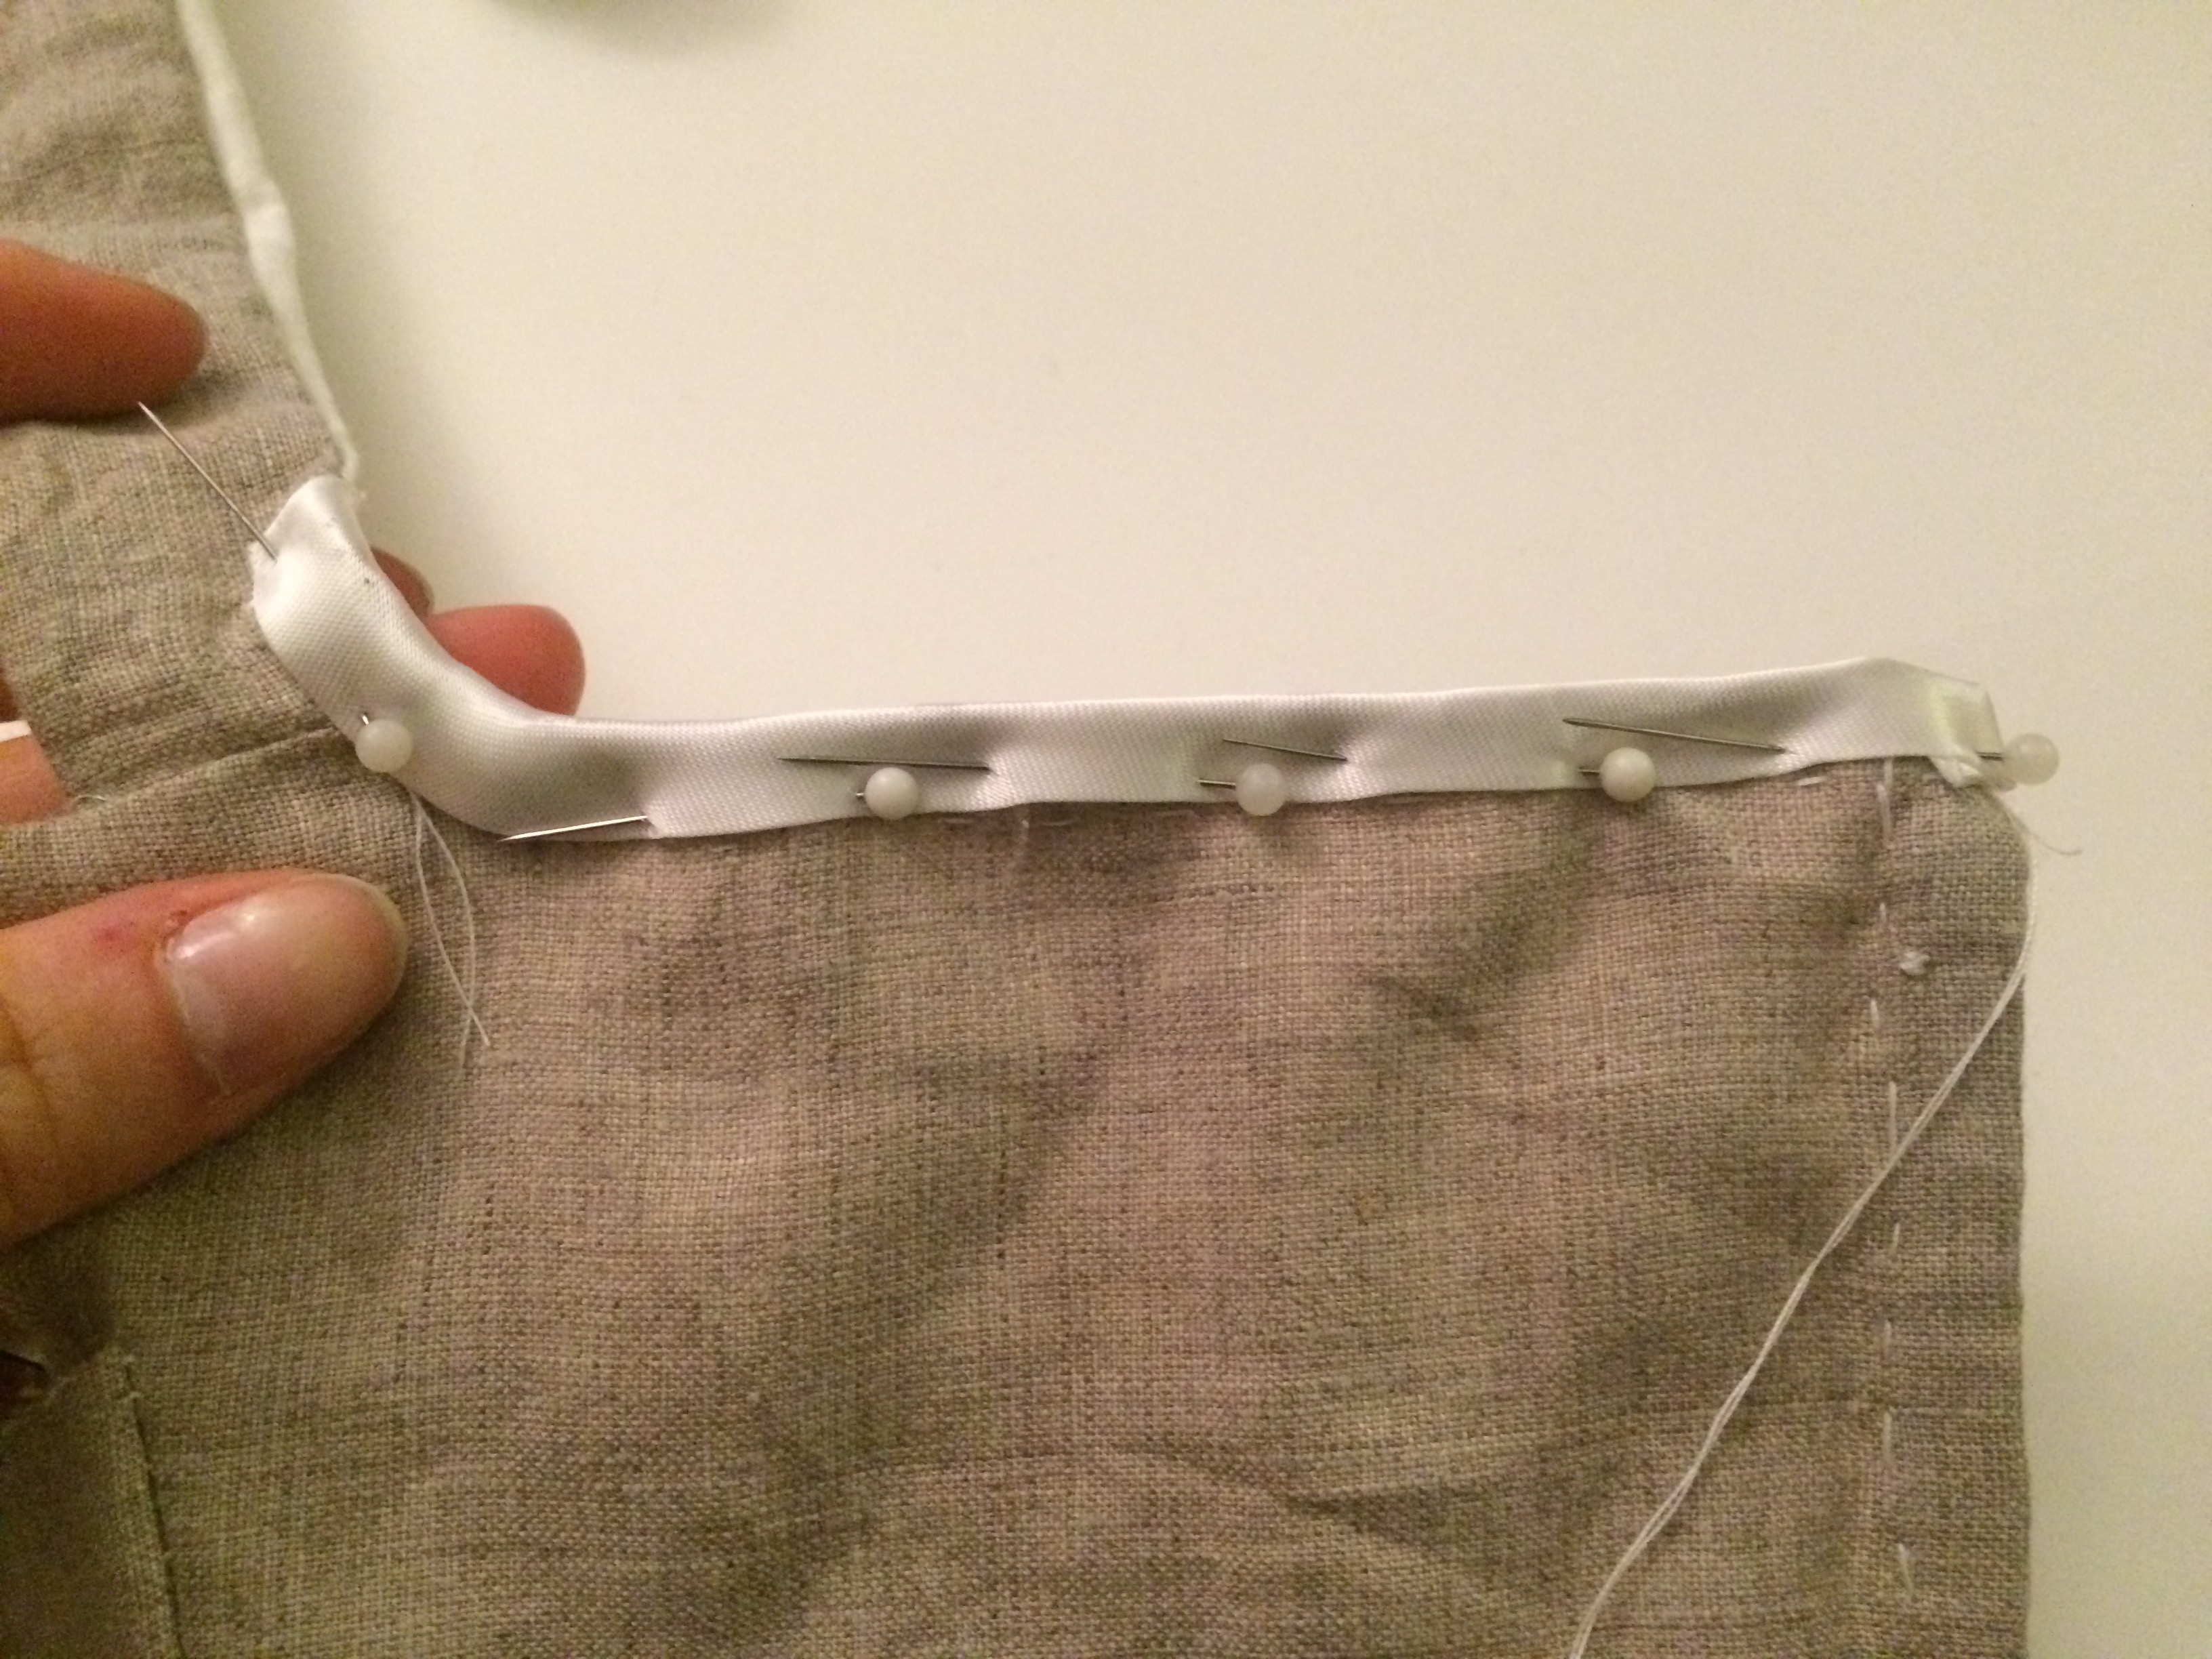
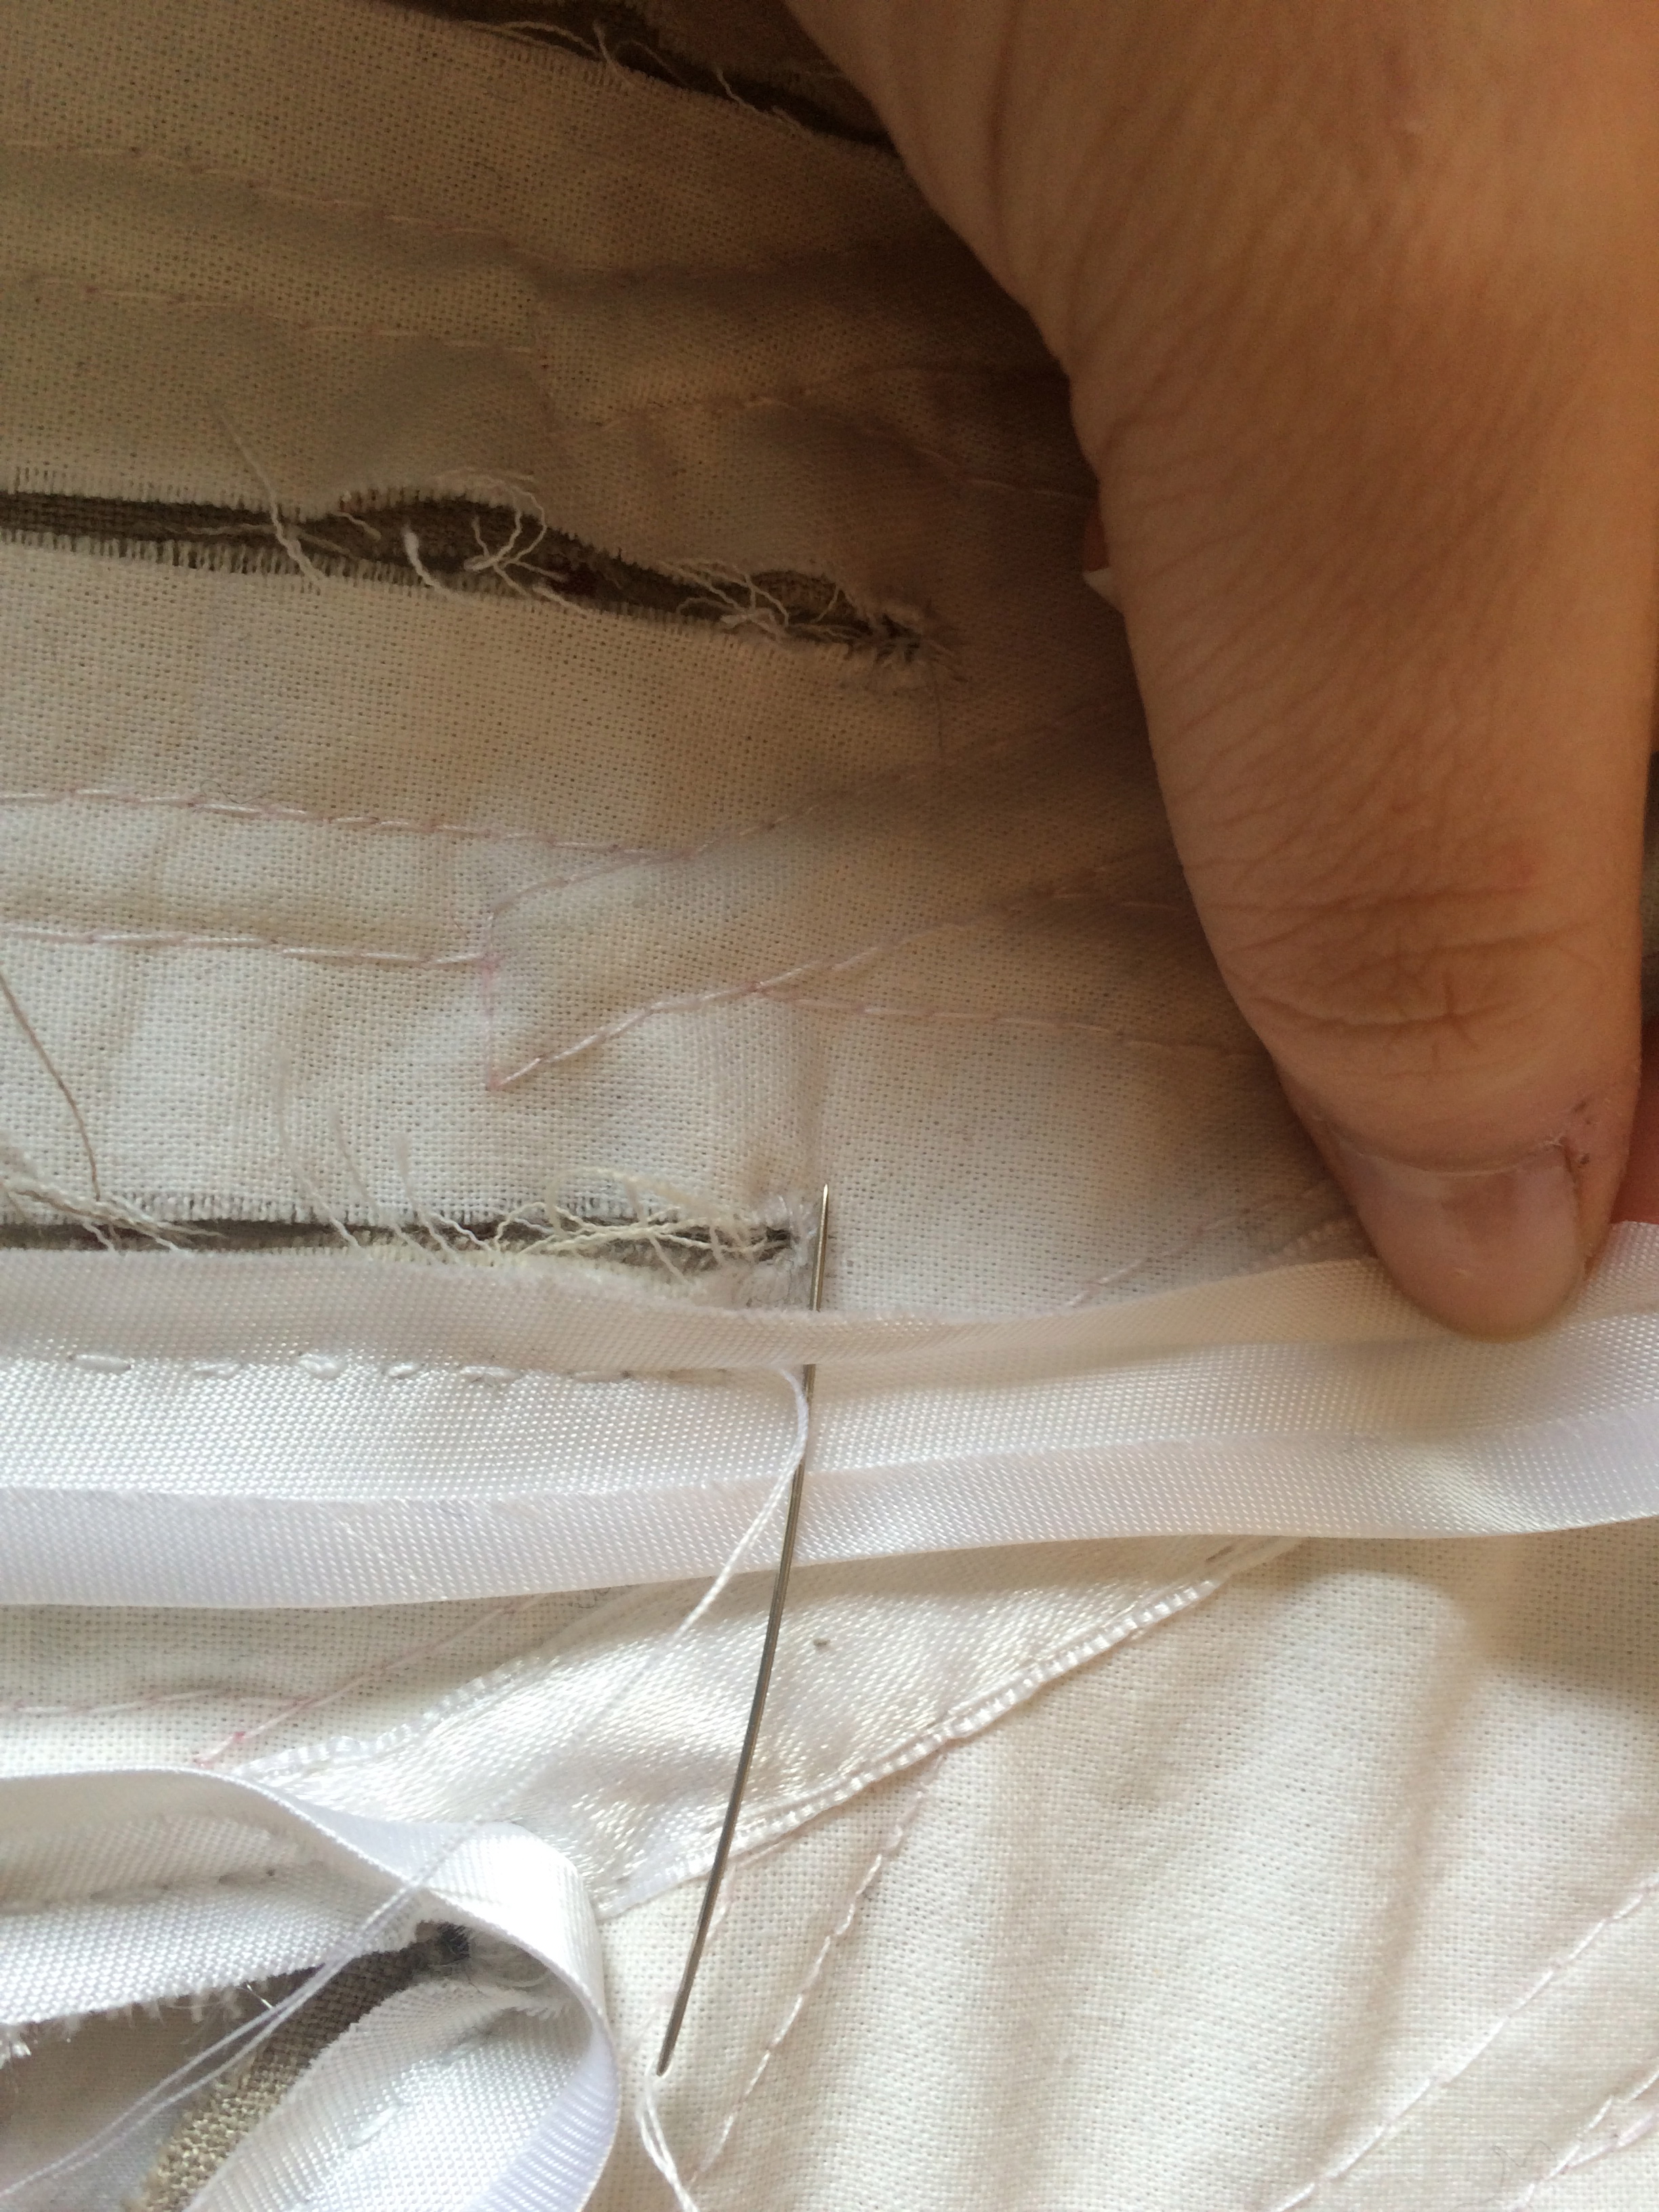
Pin the rest of the tape to the inside of the garment.
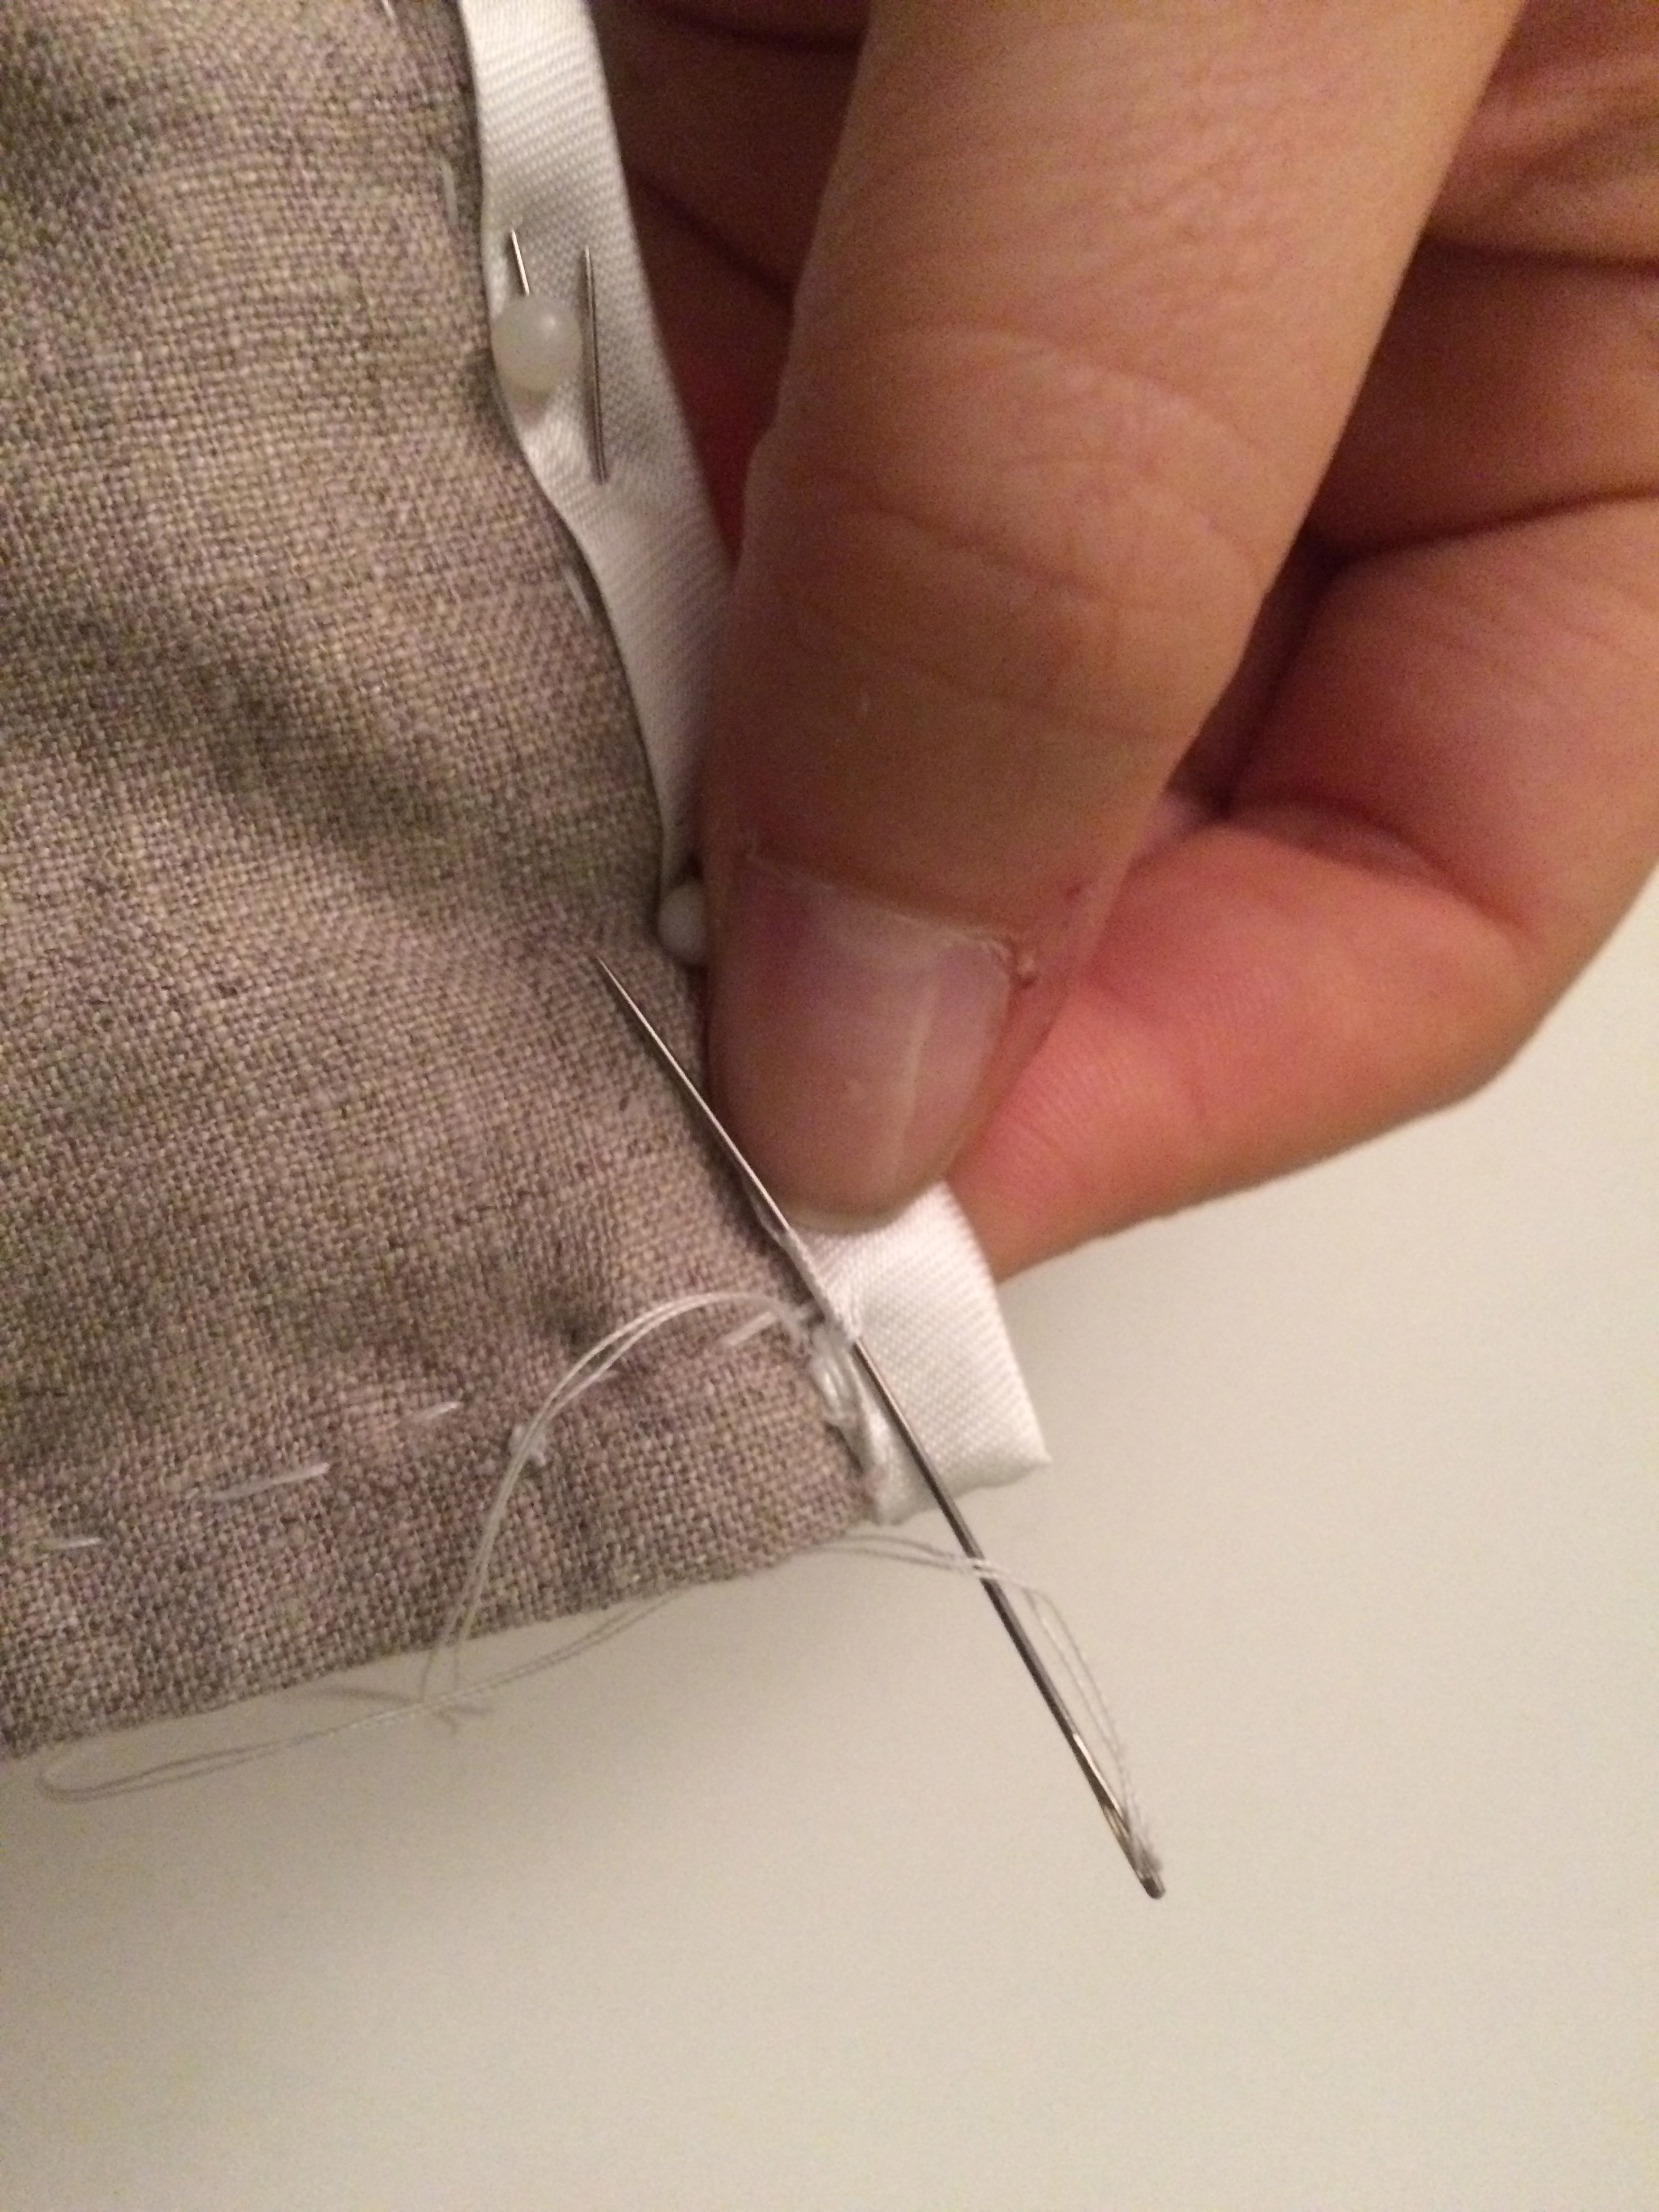
Use those same small, invisible stitches. Hold the bias tape taut, and alternate between stitches in the lining and the tape. When you tighten the thread, the stitches will all but disappear. This makes for a prettier finish, as well as diminishing the danger of the thread getting hooked onto something and ripped up.

One edge done!

The right side of the garment.
Needless to say, this does also take some time…
If the boning channels won the first prize for “things that took time on this project”, the stitching of bias tape around all the tabs won silver.

Same technique as above, except from the very corners:
1. Put the needle through the tape.
2. Put the needle through the fabric.

3. Put the needle back up through the fabric, a little way along.

4. Put the needle through the tape.

When you tighten, the tape will curve around the corner. Try not to get too eager and tighten so much you tear the thread…

Finished inside…
… but still a mess on the inside. Same procedure as before.

(Like sewing a rainbow!)

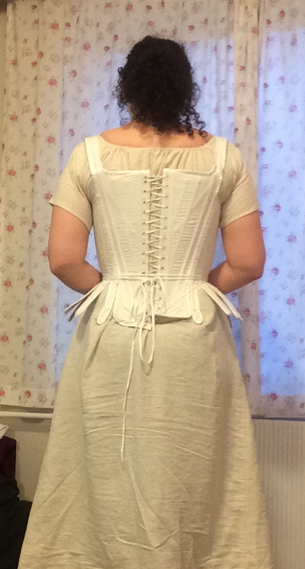
Finally, all that remained were the lacing holes up the back and to fasten the shoulder straps.
I marked where I wanted the holes with a pencil. The holes have to be placed diagonally from each other, to allow spiral lacing.

I tried using an awl to make the holes, but it wasn’t large enough, so I ended up cutting teensy-tiny holes with my scissors.


Buttonhole stitching on the lacing holes. I think they mostly would have just overcast the holes in the 18th century, but I doubt anyone will study the stitches on the back of my underwear in great detail…
And the stays are done!

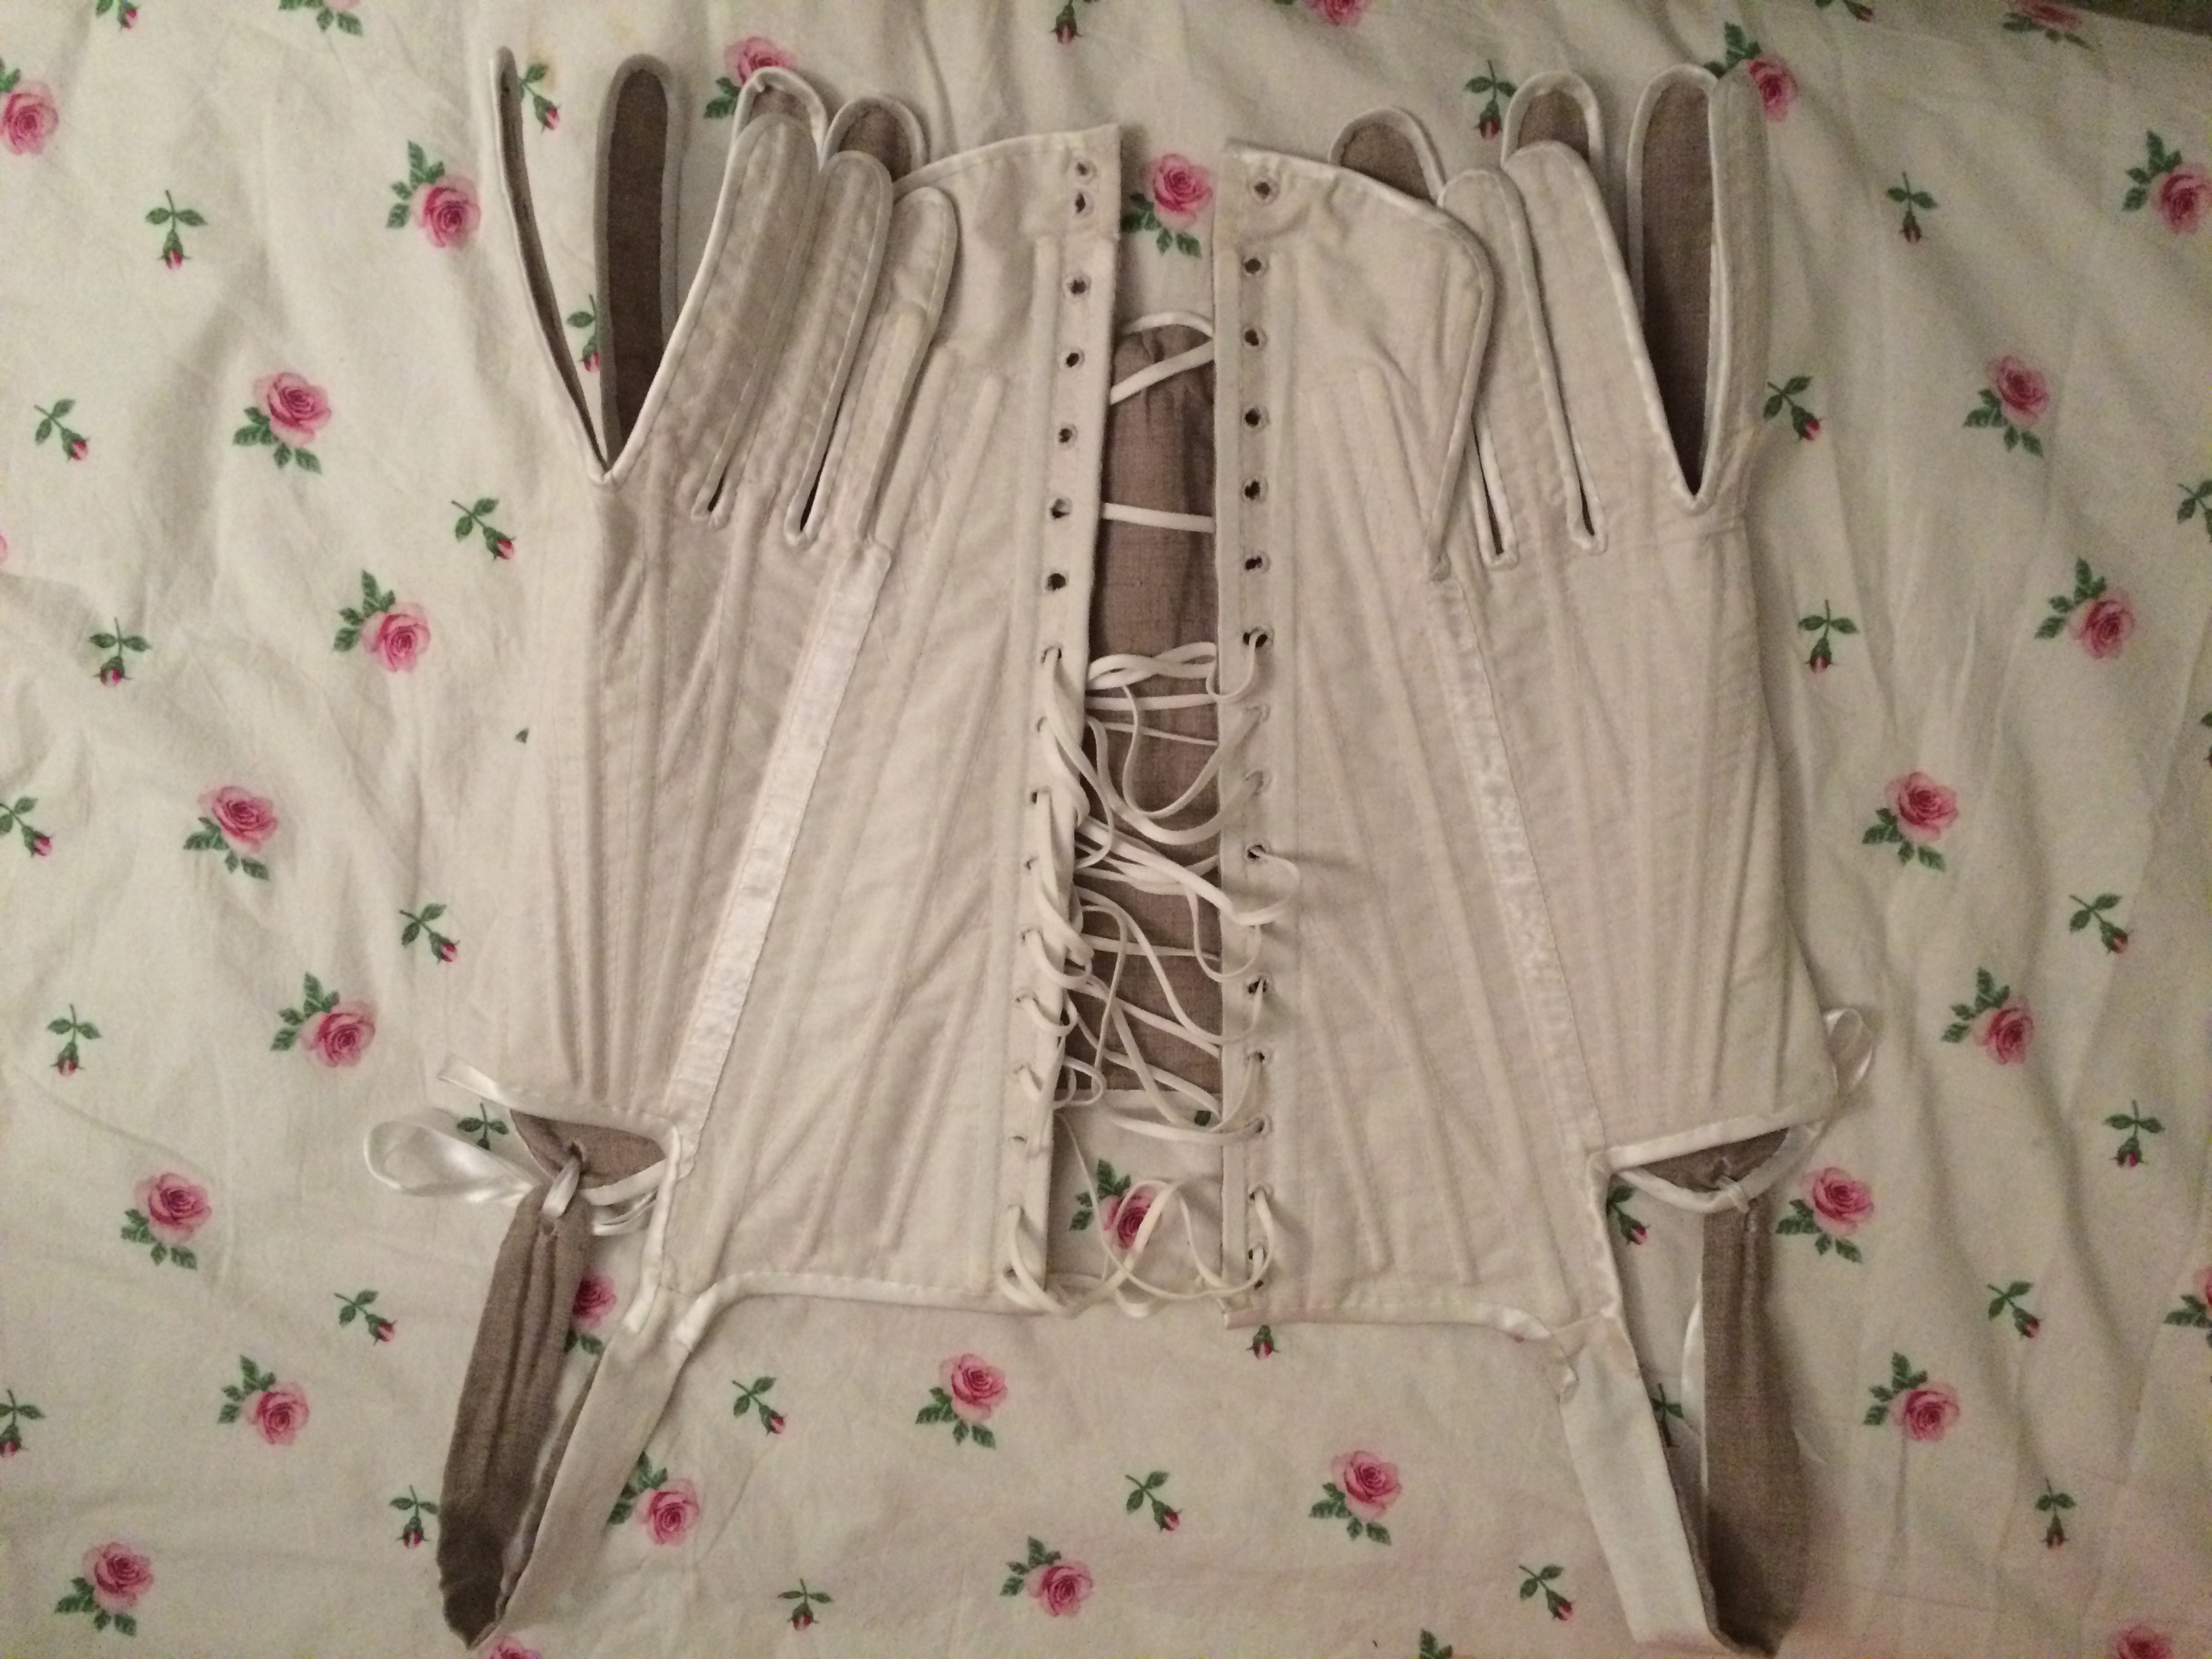
There has been blood and sweat, although not that many tears. And I am so pleased!
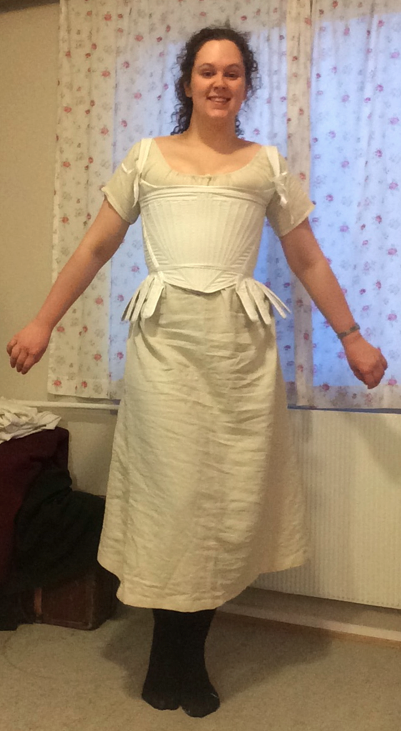
There is always room for improvement. The front panel could have been smaller, the shoulder straps further in. However, it is a very pretty and incredibly comfortable garment!
Jeg kunne nok laget fronten enda litt mindre, da hadde også skulderstroppene kommet enda lenger inn, men de skal sitte ved armene heller enn rett over brystene, så det er ikke feil. Og hva mer er; det er et utrolig behagelig plagg!

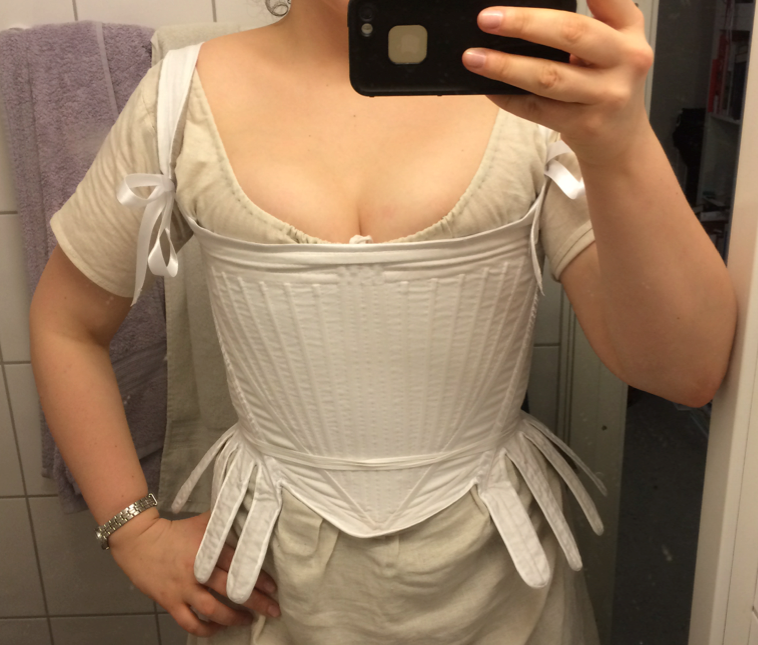
18th century stays are supposed to give you a smooth, conical shape, and lift your bosom. In that respect, I’d say these stays are a success!
Short summary:
- Fashion fabric: white cotton canvas.
- Interlining: uncoloured cotton canvas.
- Lining: uncoloured fine linen.
- Edging: white satin ribbon and bias tape.
- 100% hand sewn.

Kor flink du er 🙂