Don’t you just love 18th century mittens? They are so beautiful and cute! I’ve done a bit of filming in cold weather, and I really, really needed something to keep my hands and underarms warm. Good think Mrs. Ann Bamford’s inventory included 3 pairs of mittens!

These are the mittens that serve as my visual inspiration for this little project. I think these are made from linen, but I decided to make mine from wool. I thought I had lots of perfect little pieces left over from a white jacket I made last spring, but it turns out, the only cabbage left was too small to do anything with.
Good thing I’m a semi-professional fabric horder!
I found a big piece of a different white wool in my stash, more than enough for my mittens. After studying it (and cutting it), I’m now fairly sure it’s a knit fabric, which isn’t right for the period, but I’m not going to go out and buy new wool for this project, so it will have to do. I was hopeful it might make life easier for me, the novice glove-maker
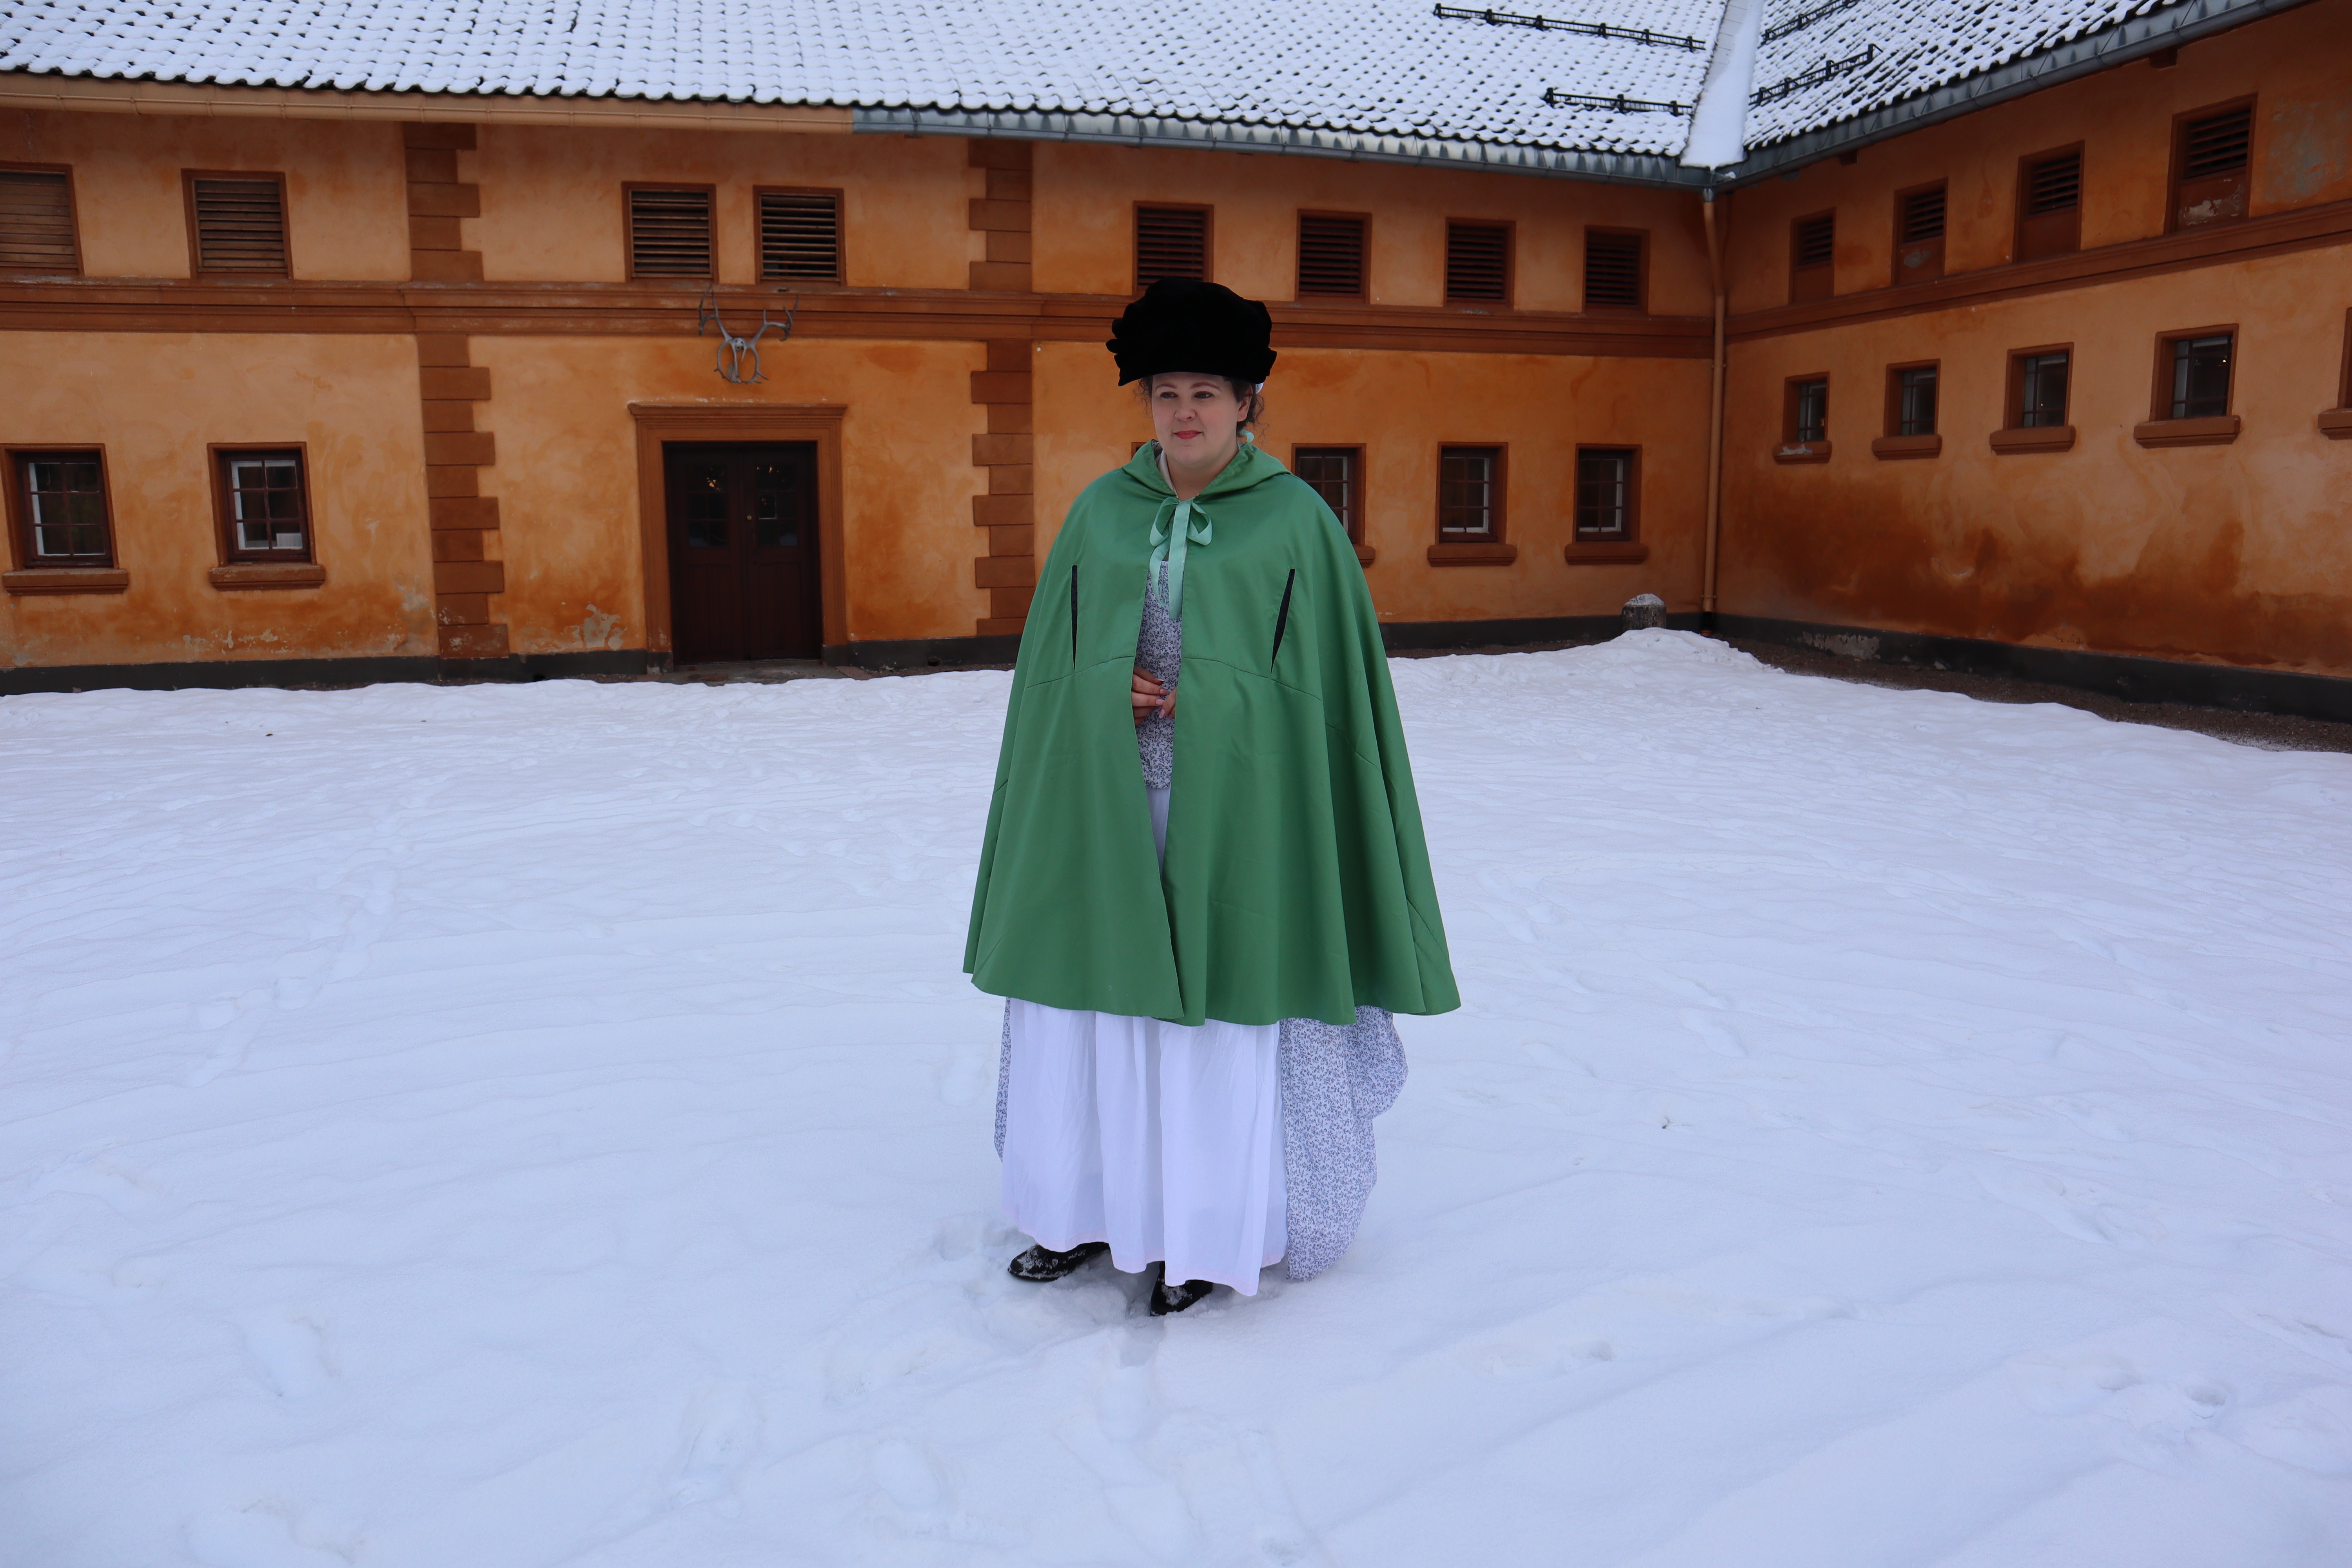
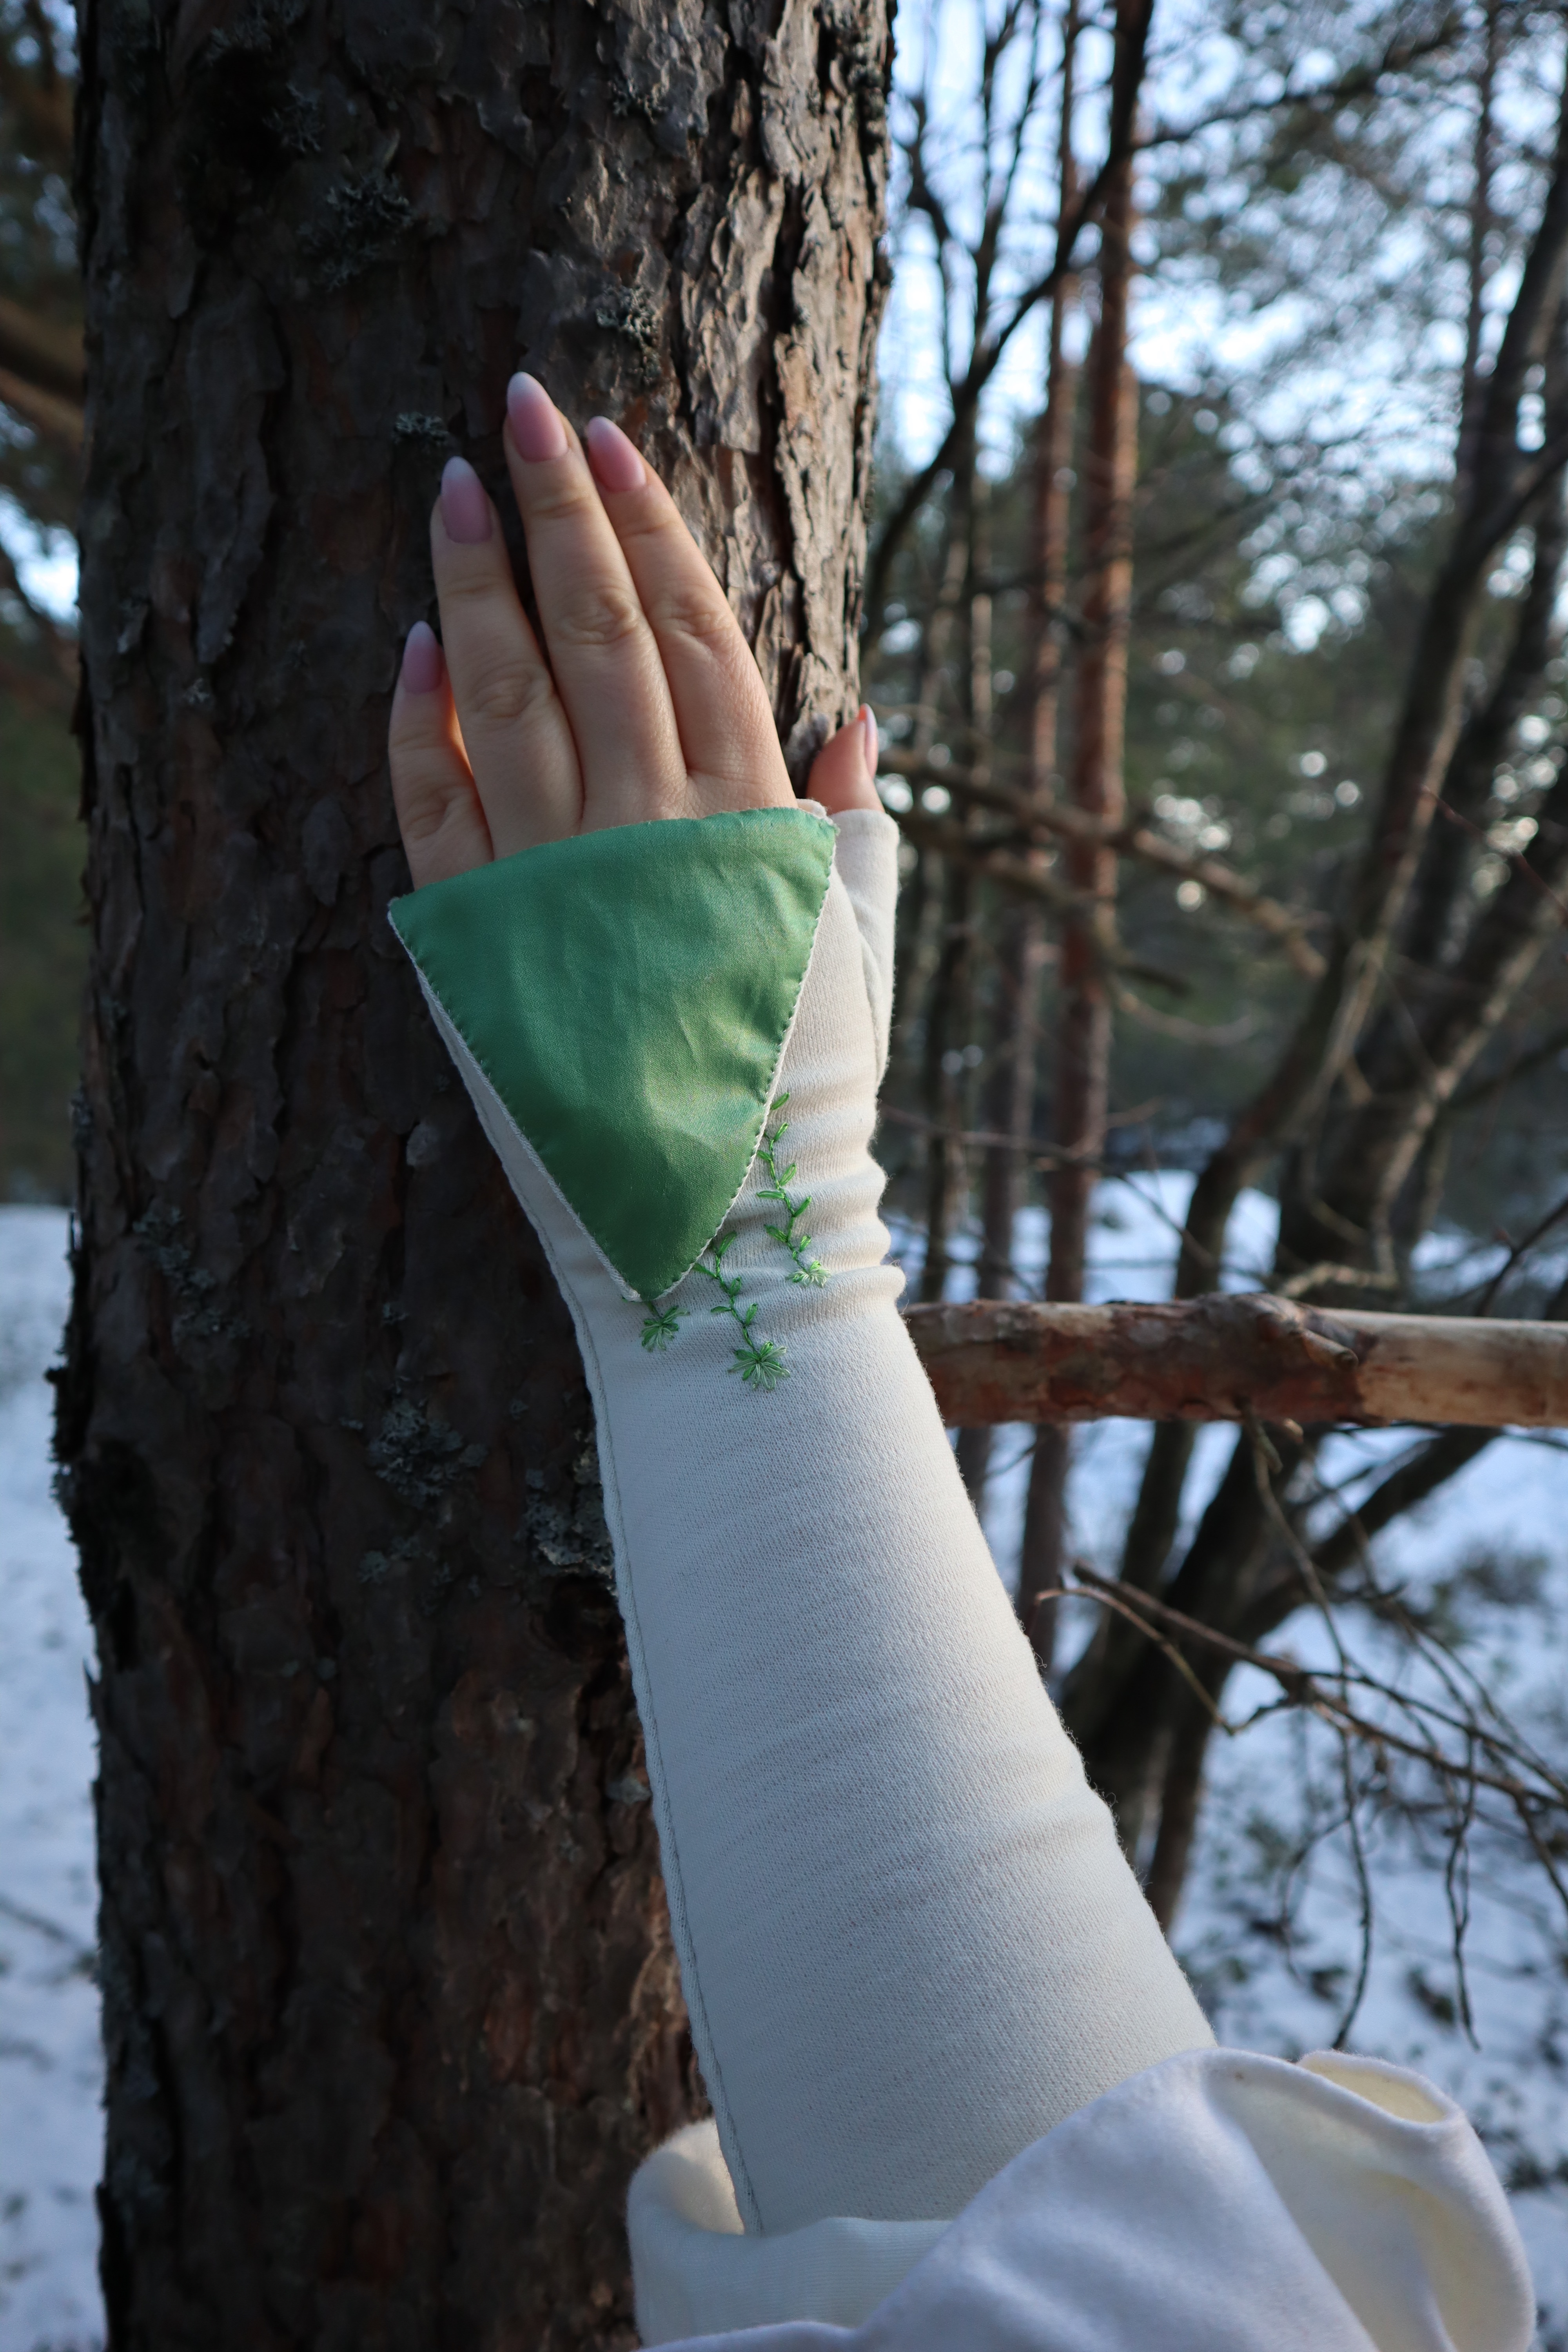
For the green tip linings, I wanted to use some green cotton satin, left over from this glorious cloak:
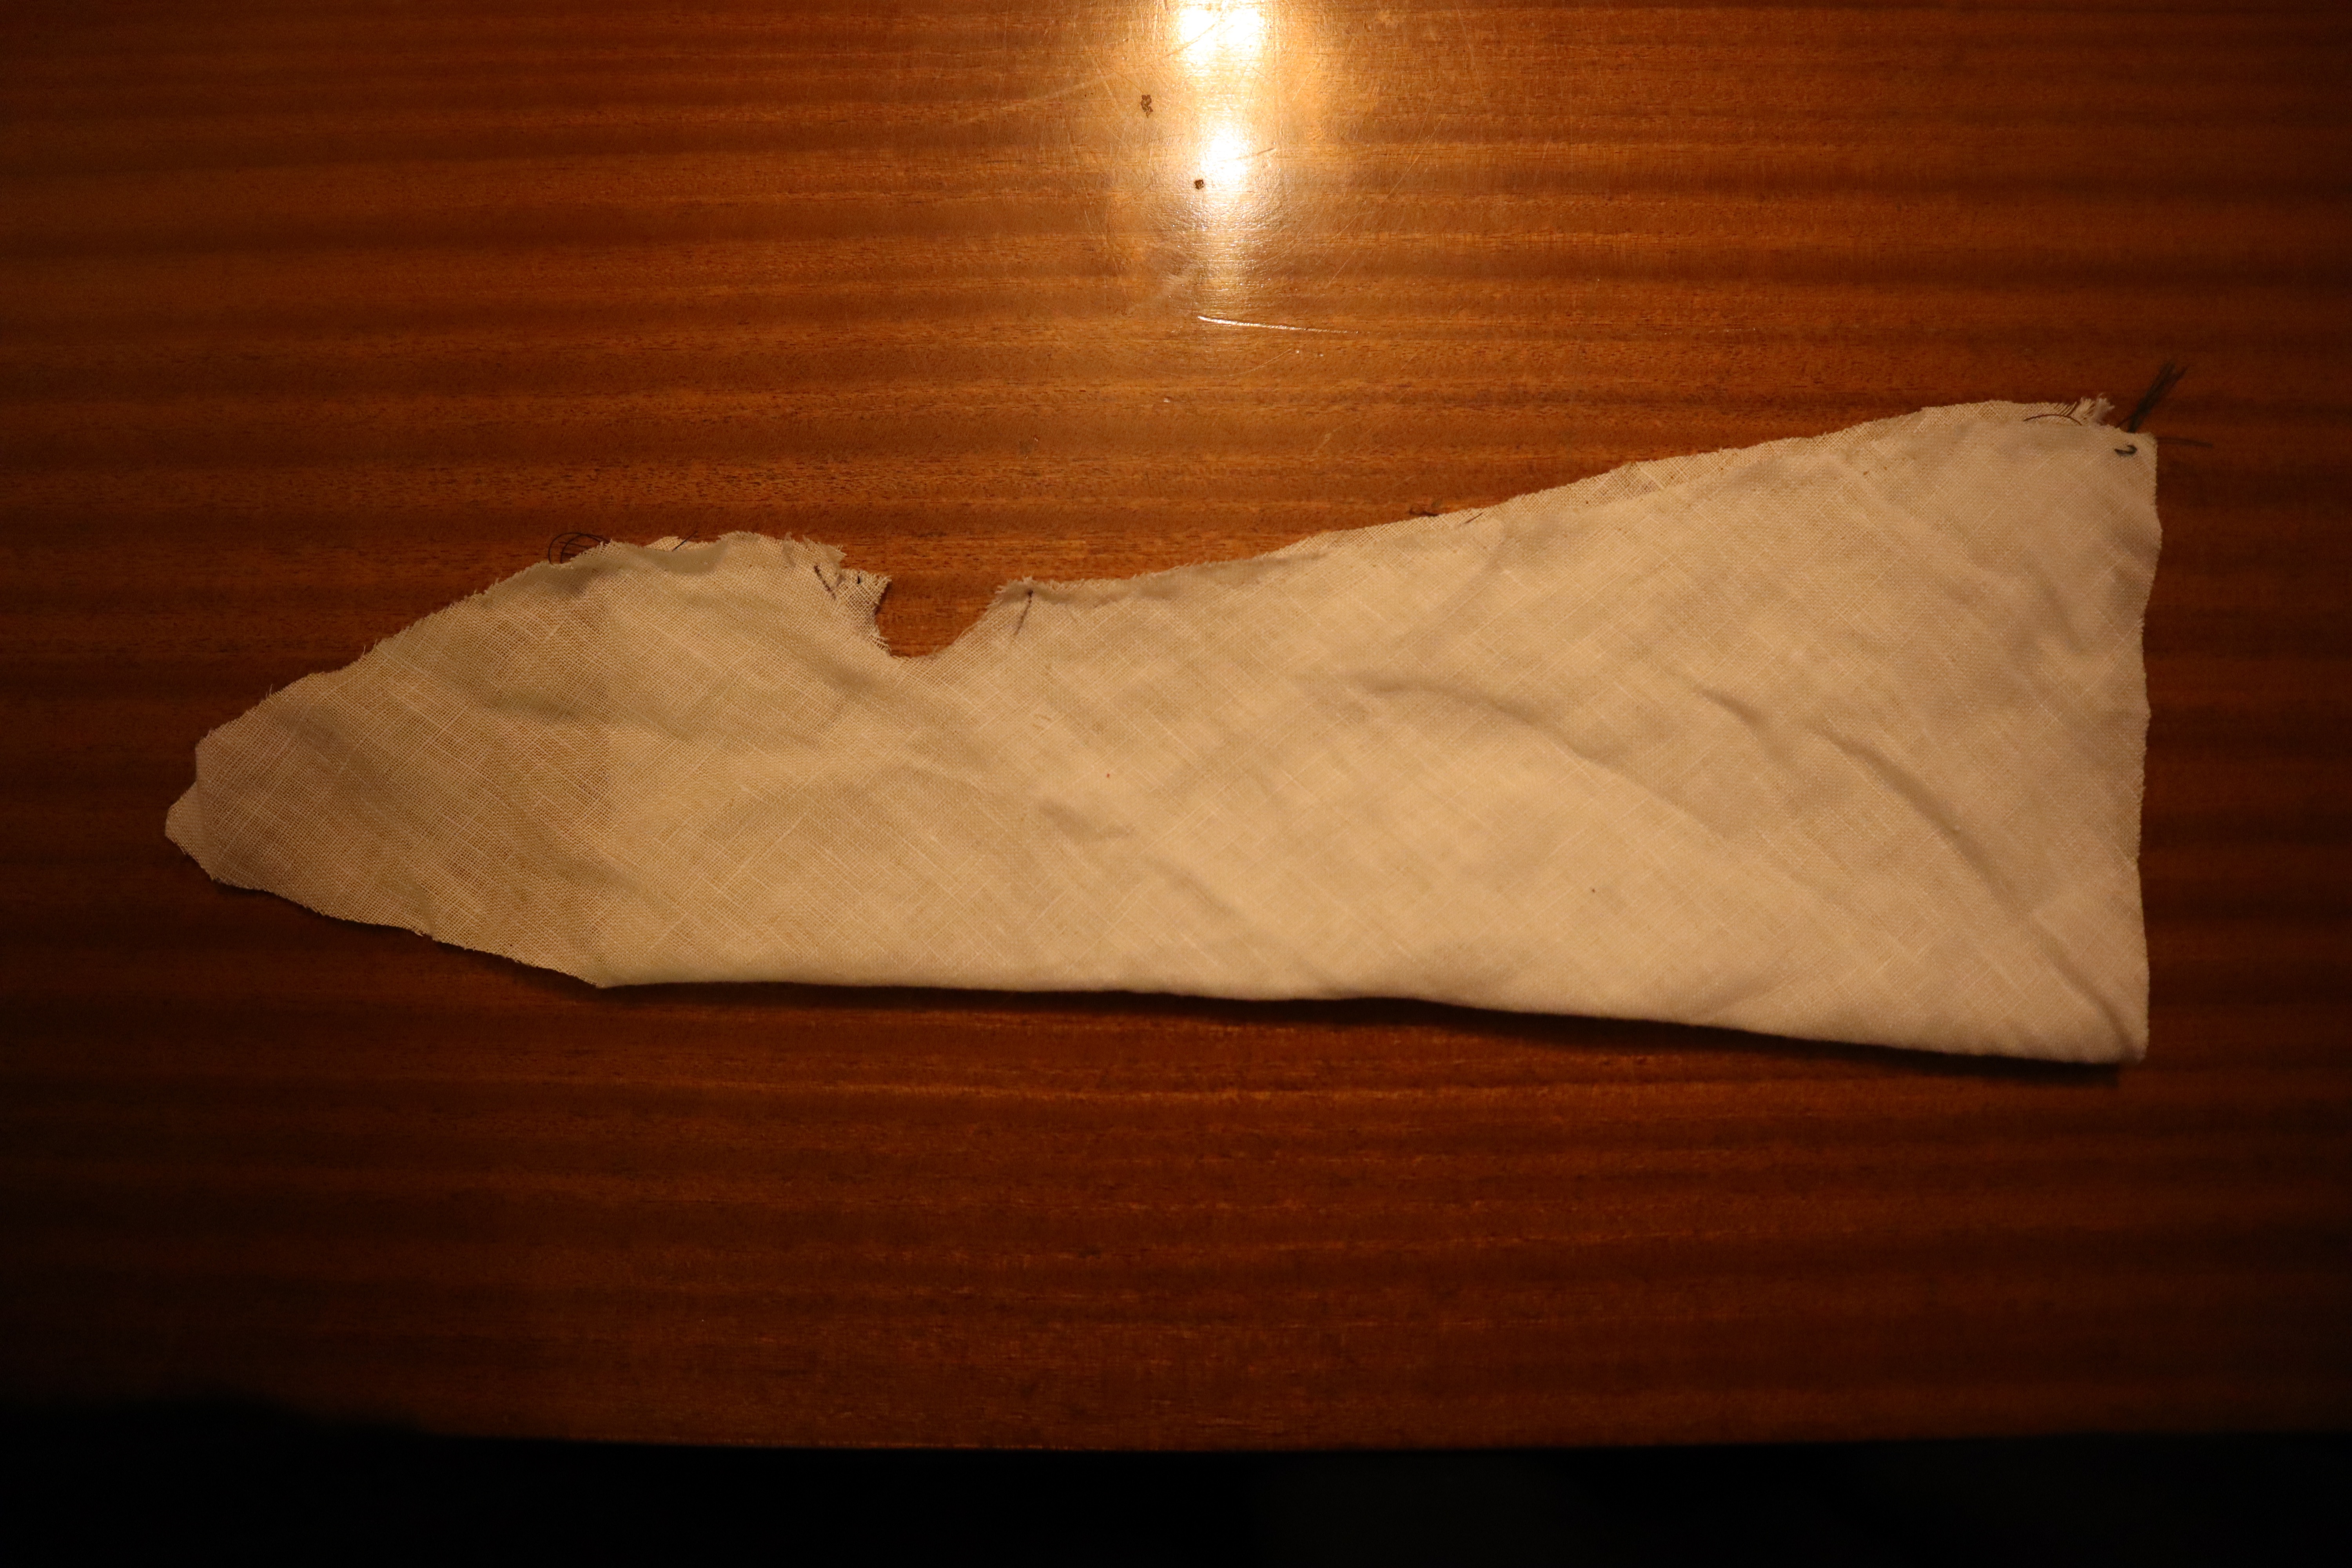
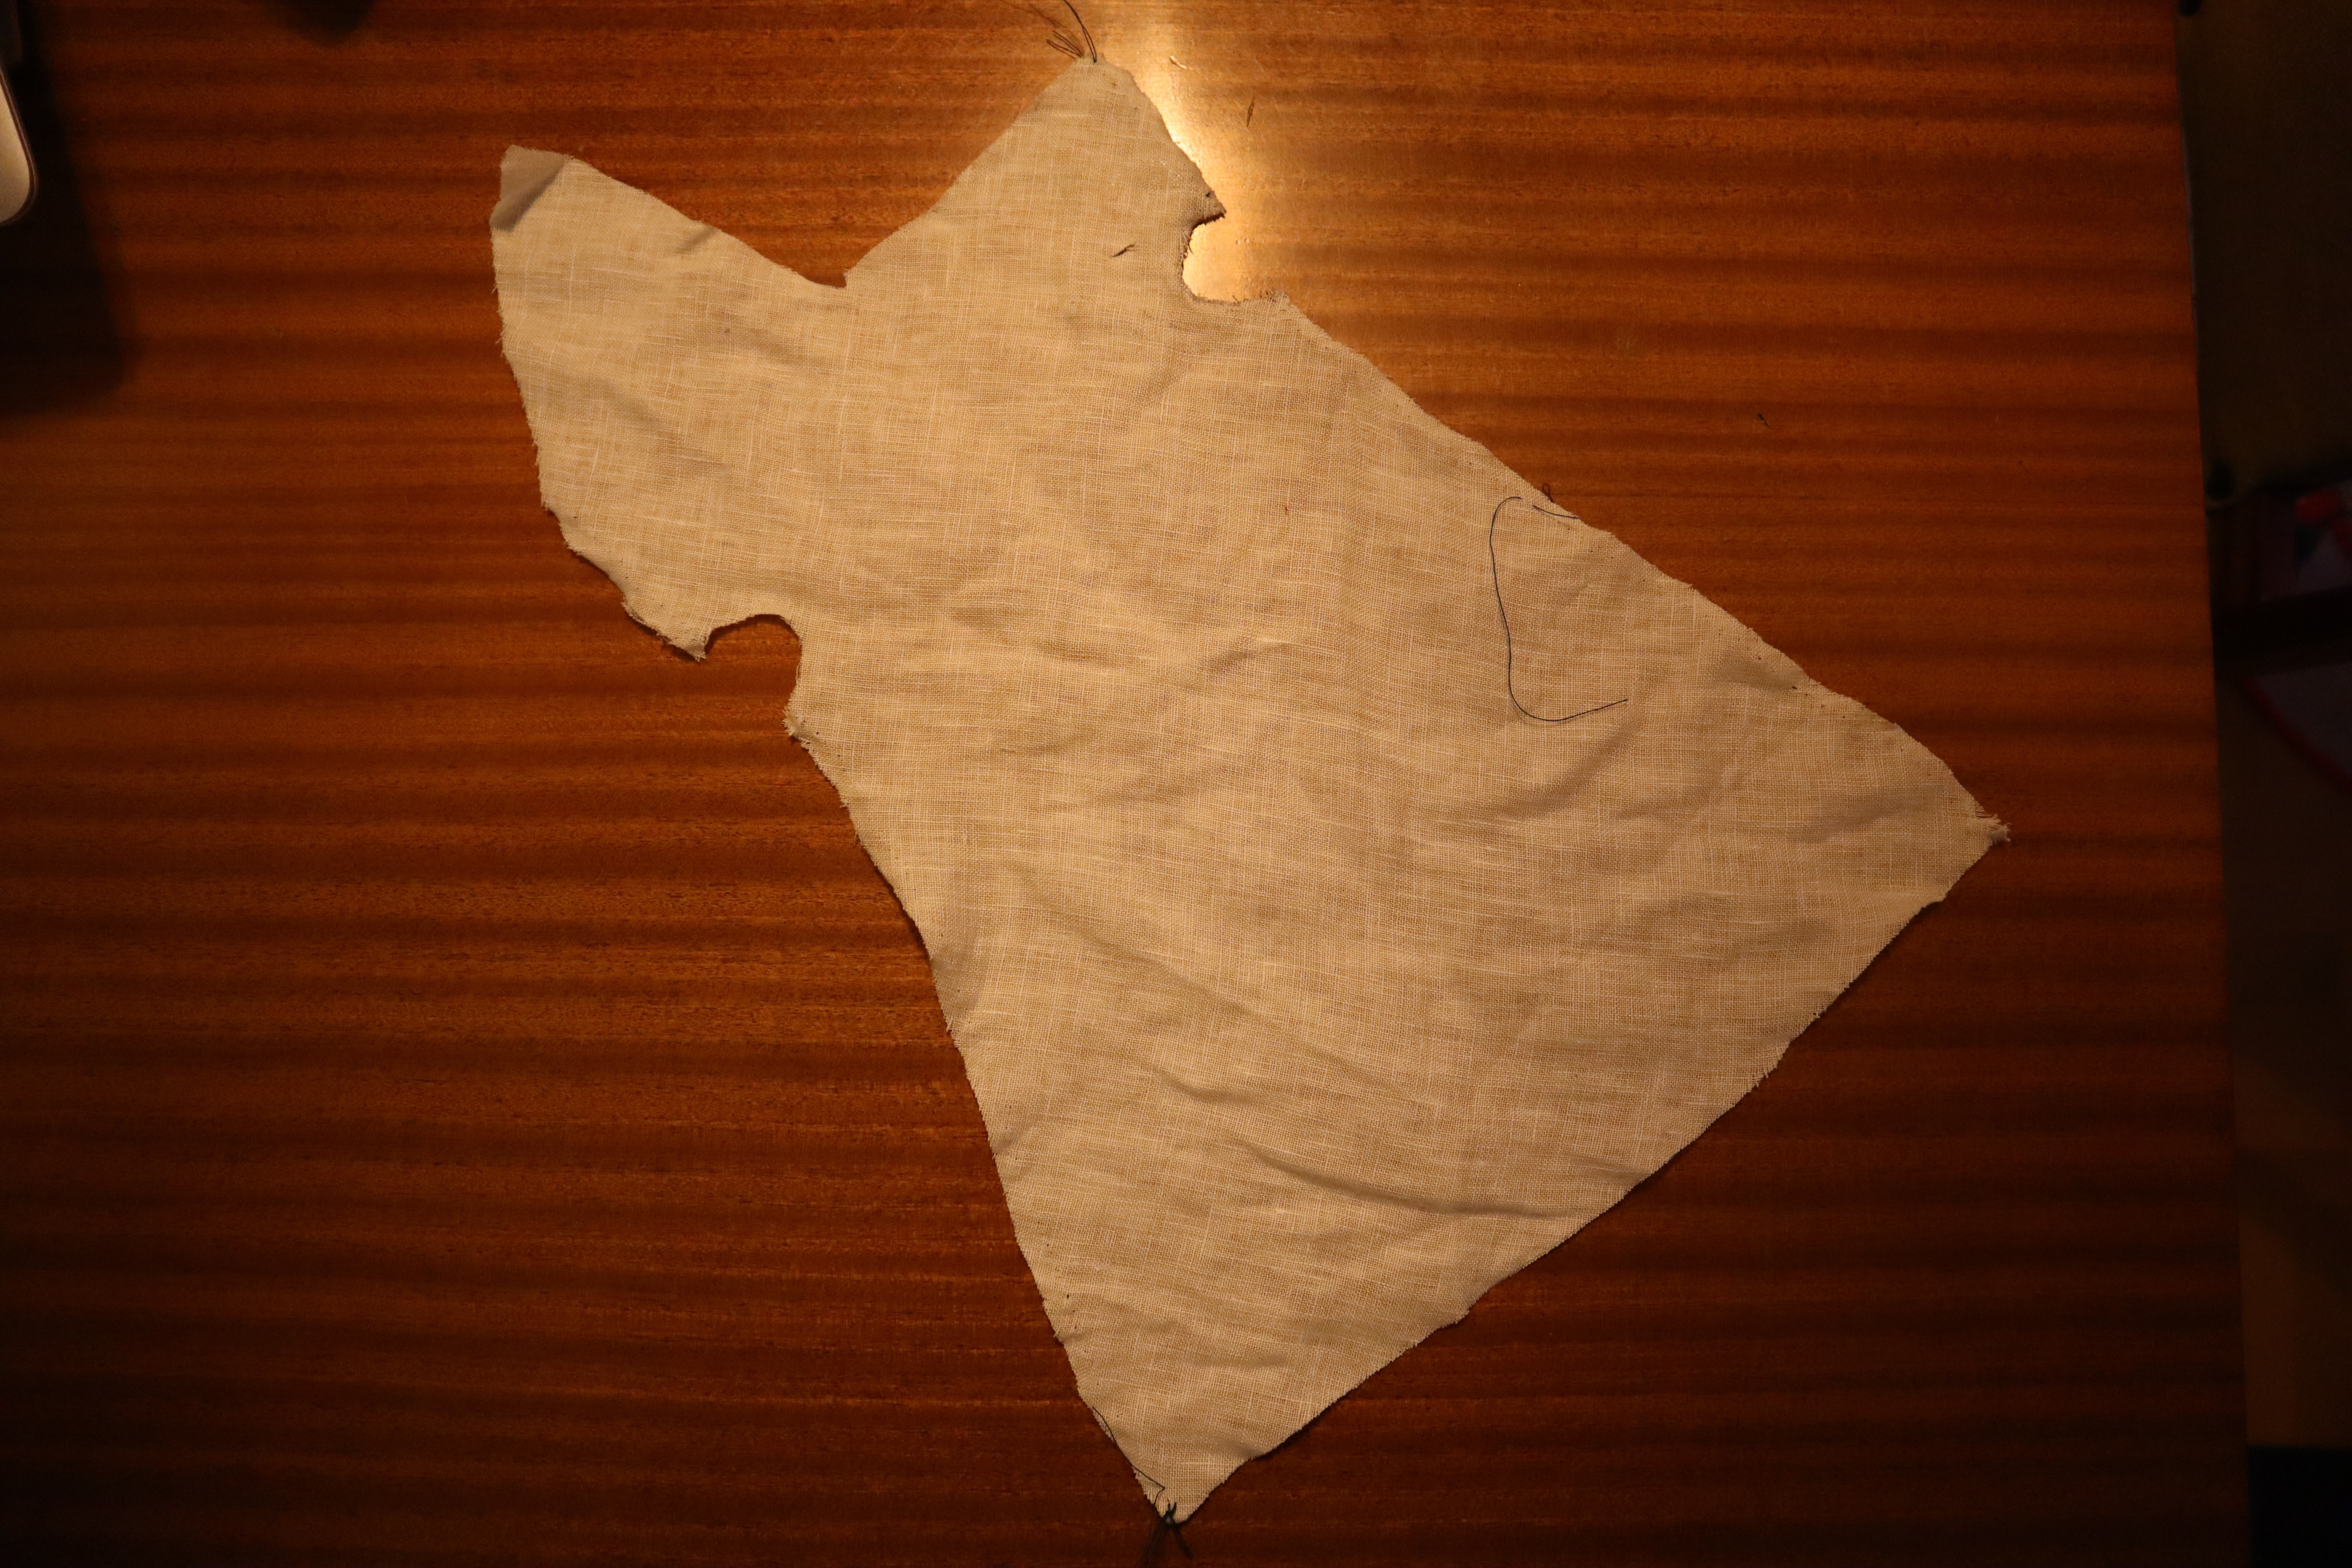
The American Duchess’ Guide to 18th Century Dressmaking includes a sort of pattern/recipe for making mittens. Following that one, I measured my arm around and from elbow to wrist to knuckles, drawing up a pattern that looked something like this:
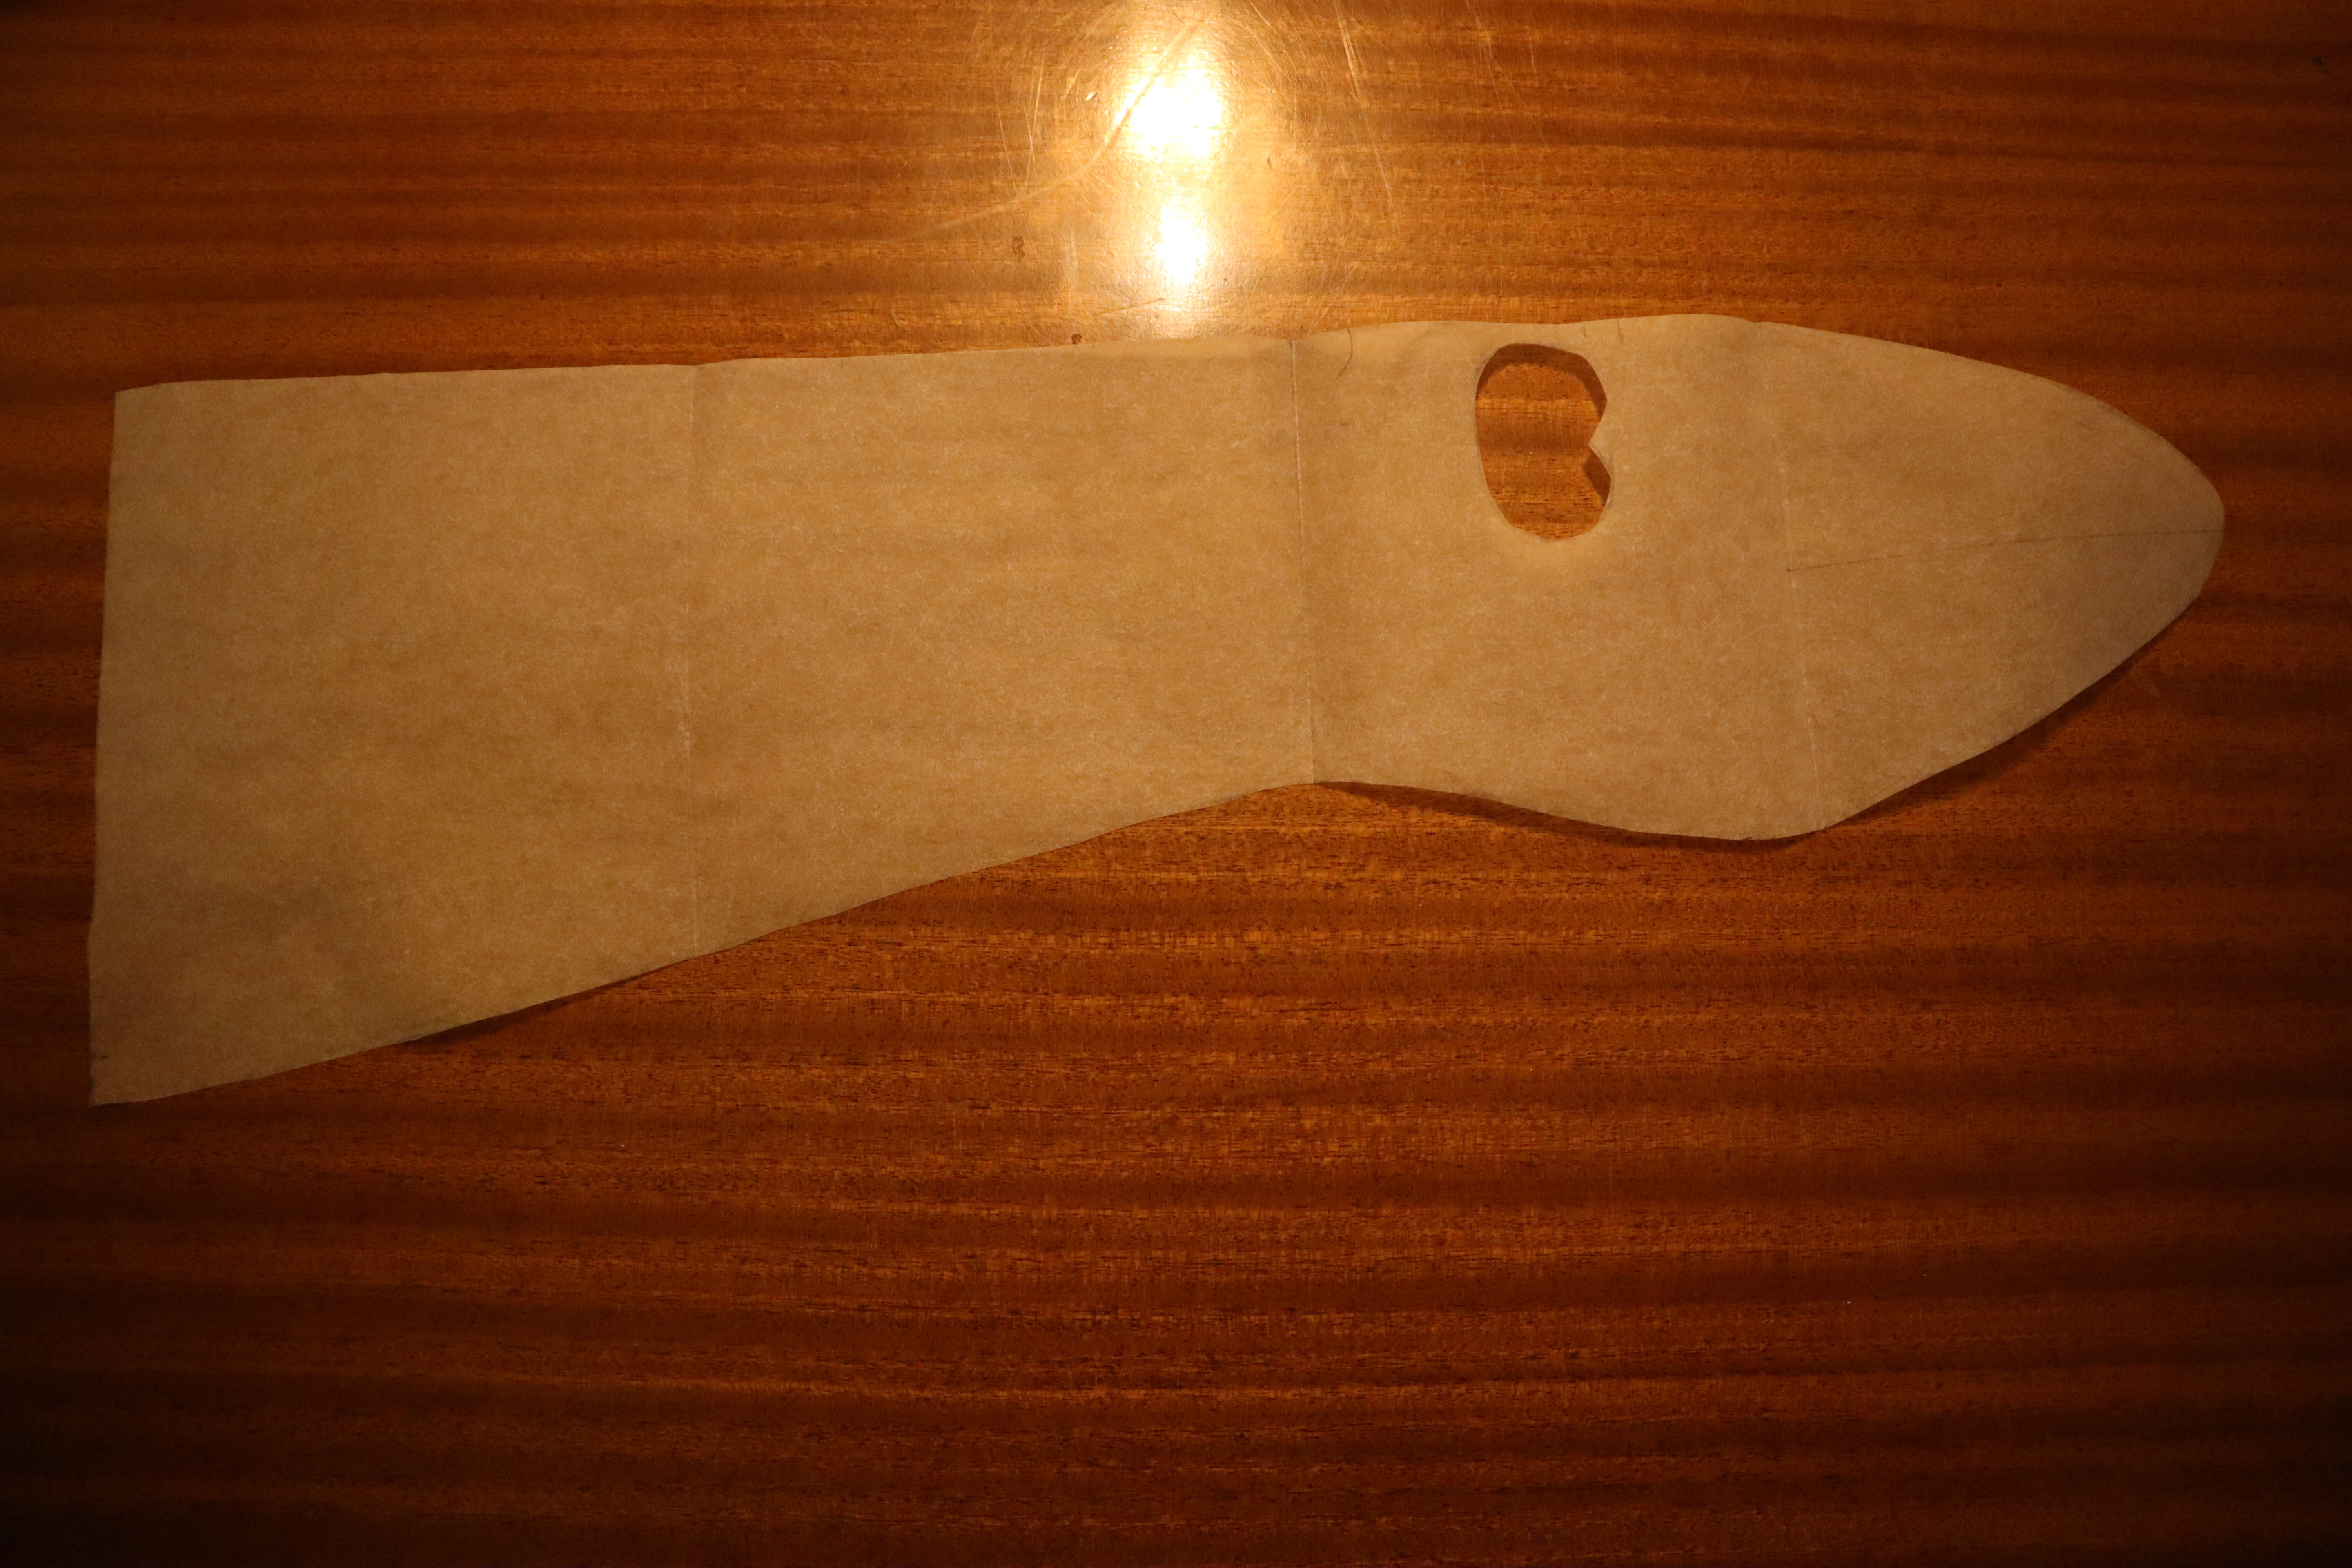
The book wants the thumb hole centered on the straight line on top, but after making a mockup and fiddling with it, I decided to move it to where you see it on the pattern. My thumb is not on the side of my hand, but rather inside it.
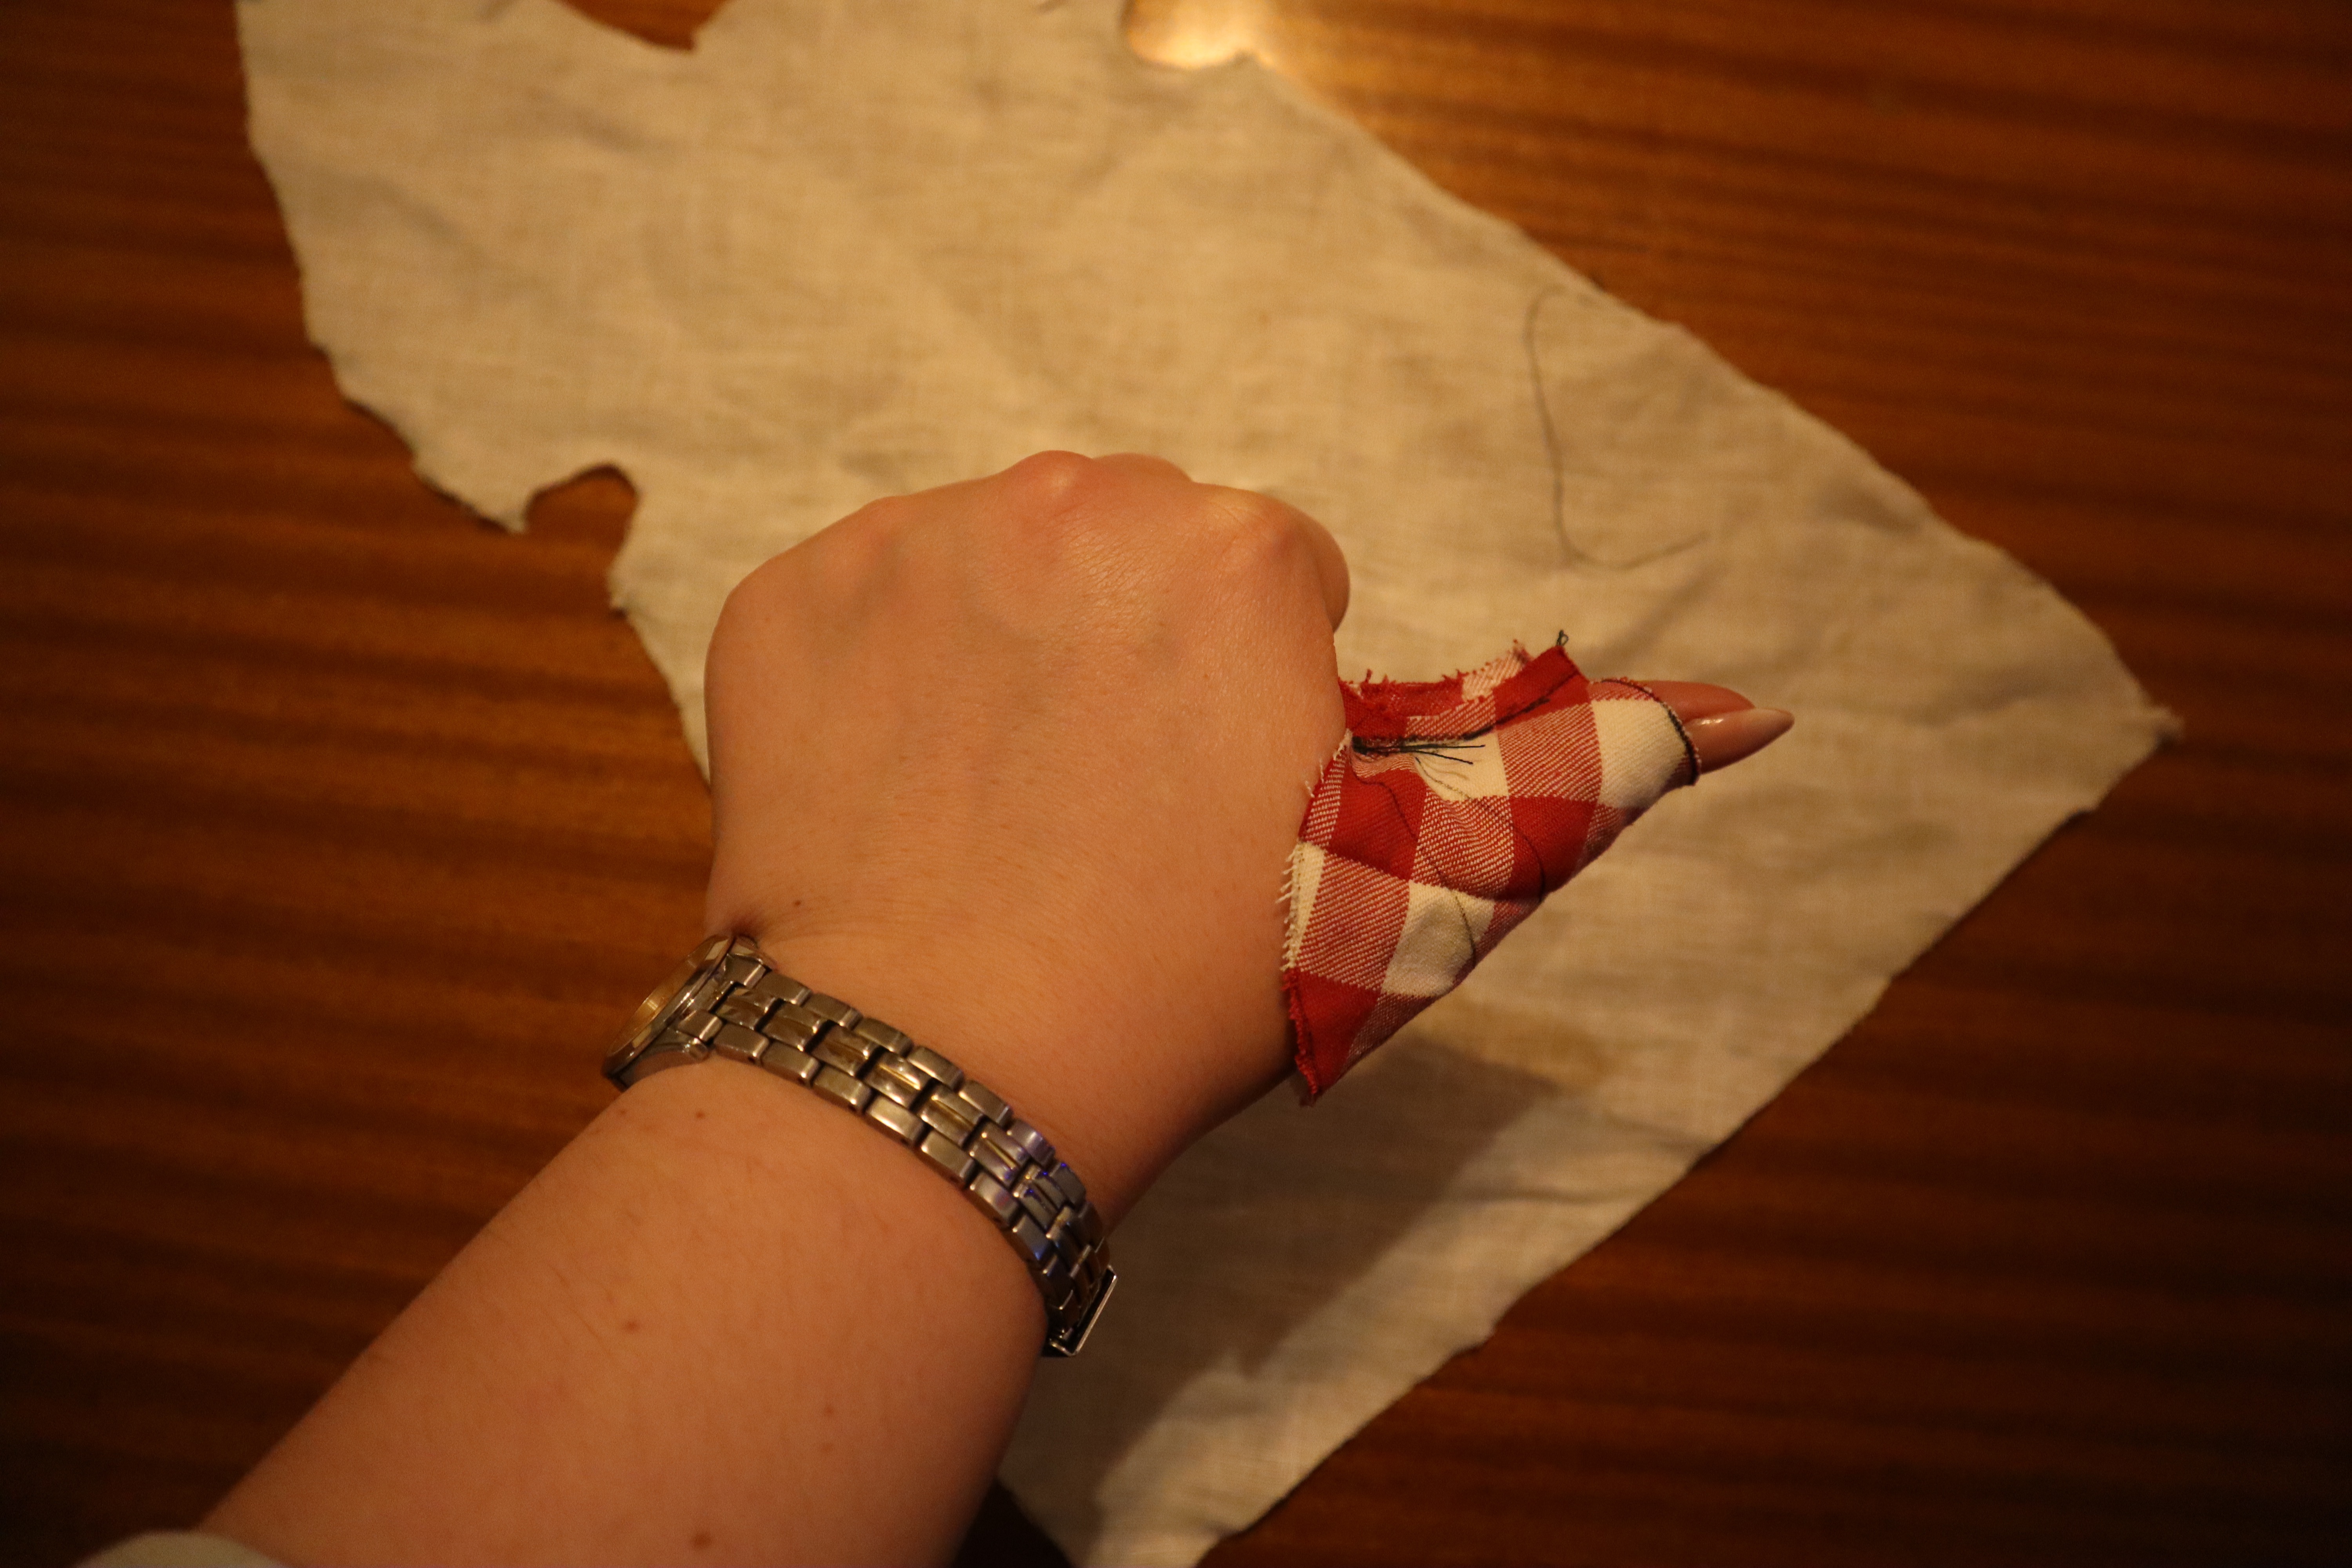
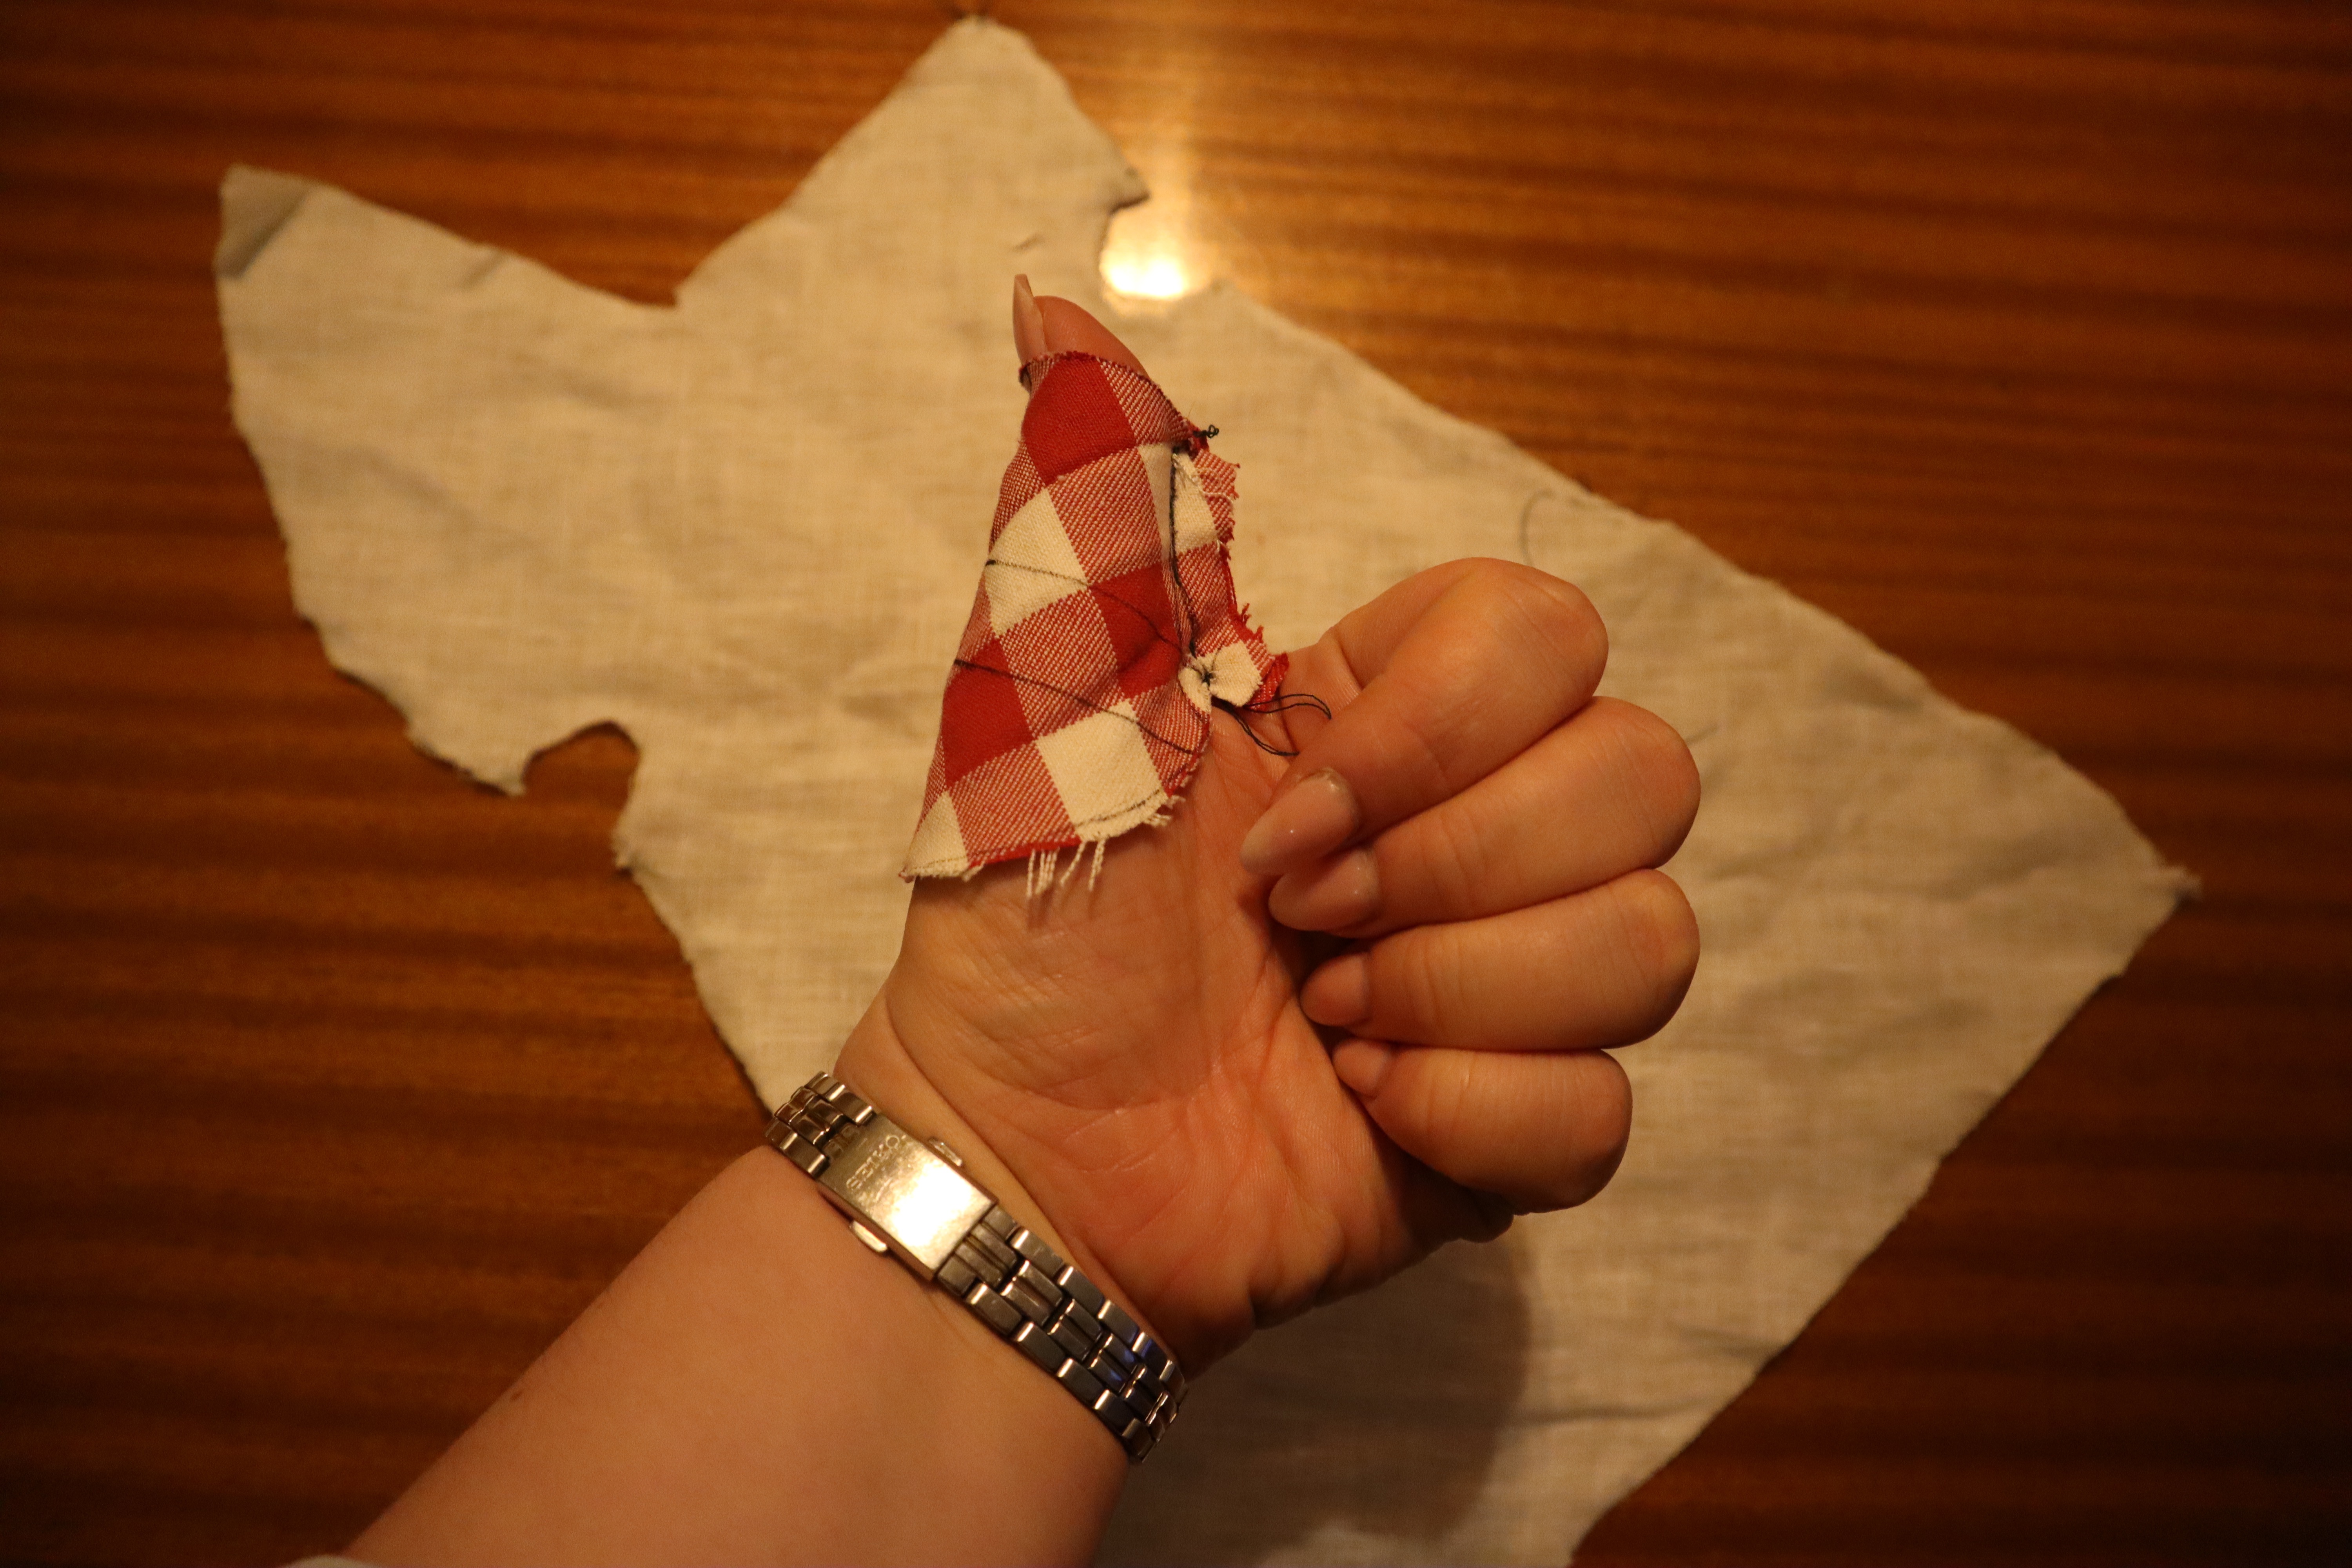
My mockup, with the thumb hole centered. I mean, it doesn’t help that I placed the thumb hole on the outside seam instead of on the inside fold, but still. It looked weird and askew and wonky.
The thumb piece was easier to drape than draft, even though I had to work on my own hand while doing it. After making a couple of attempts, I ended up with one that I was fairly happy with.
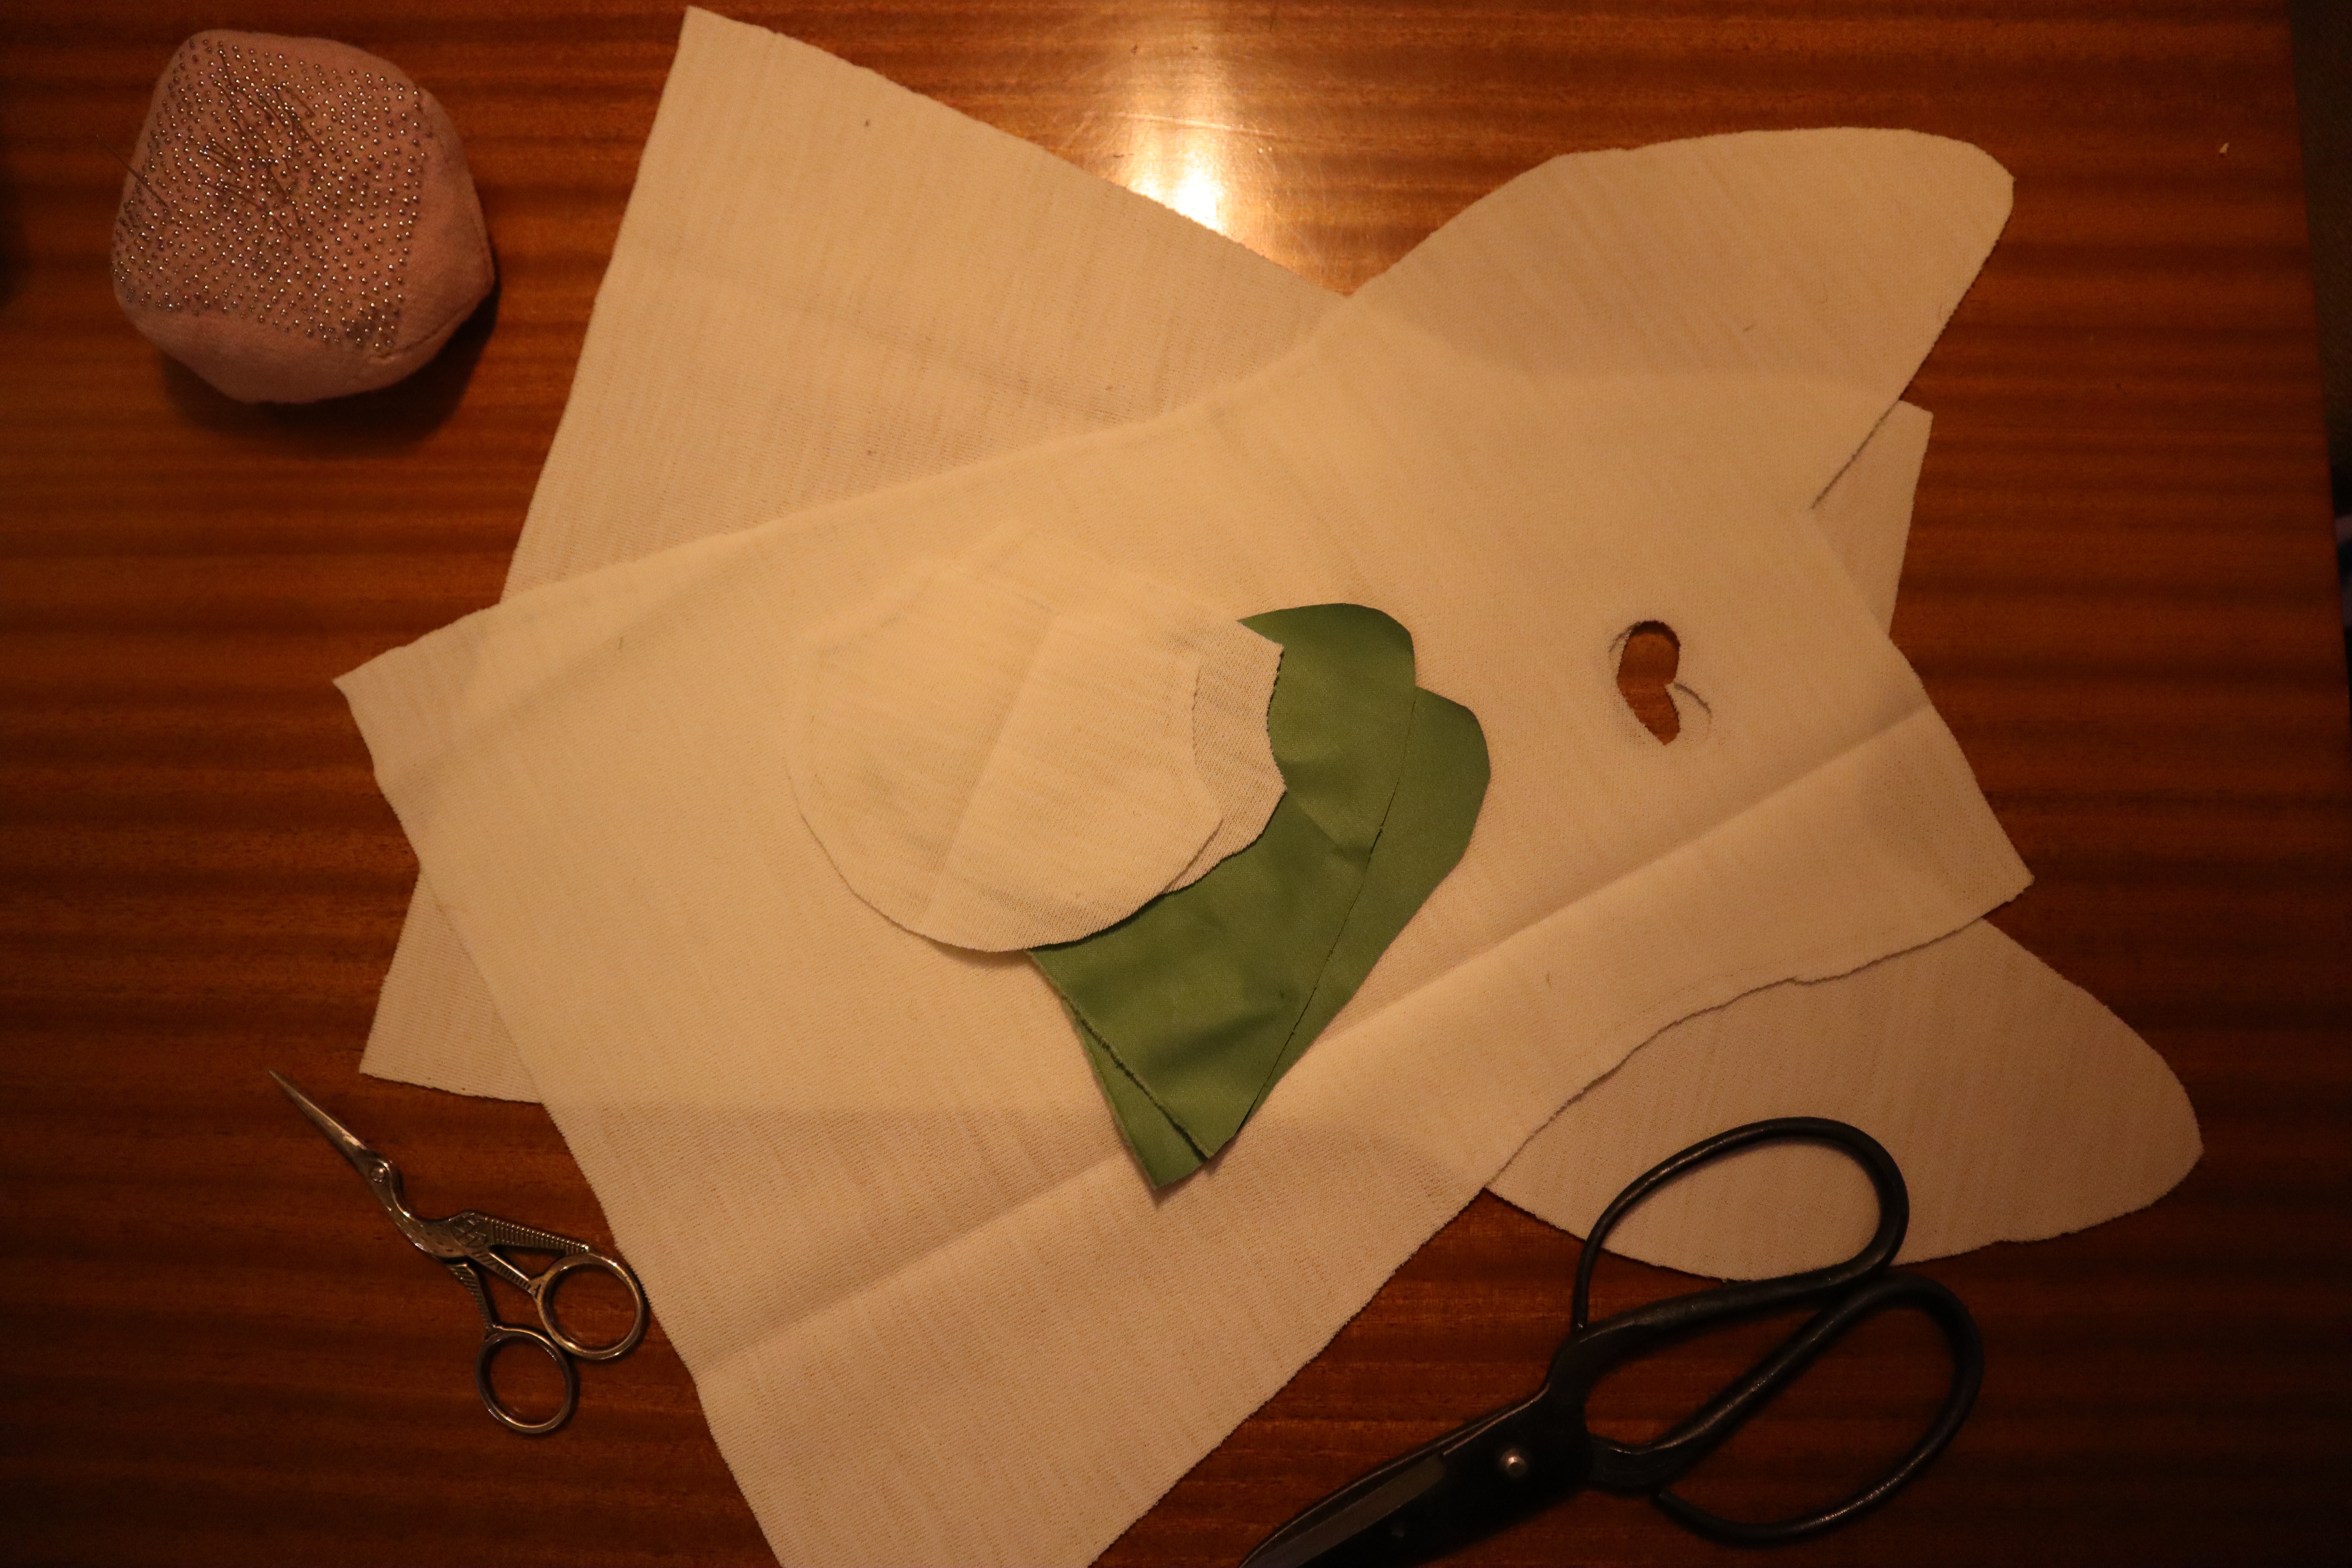
So with a pattern that worked for both mitten and thumb, I was ready to cut! Two mittens and two thumb pieces from wool, two tip linings from satin.
I am very obviously new to blogging, because I completely forgot to take stills of many of the steps, so as a poor substitute, I’ll try to explain what I did instead.
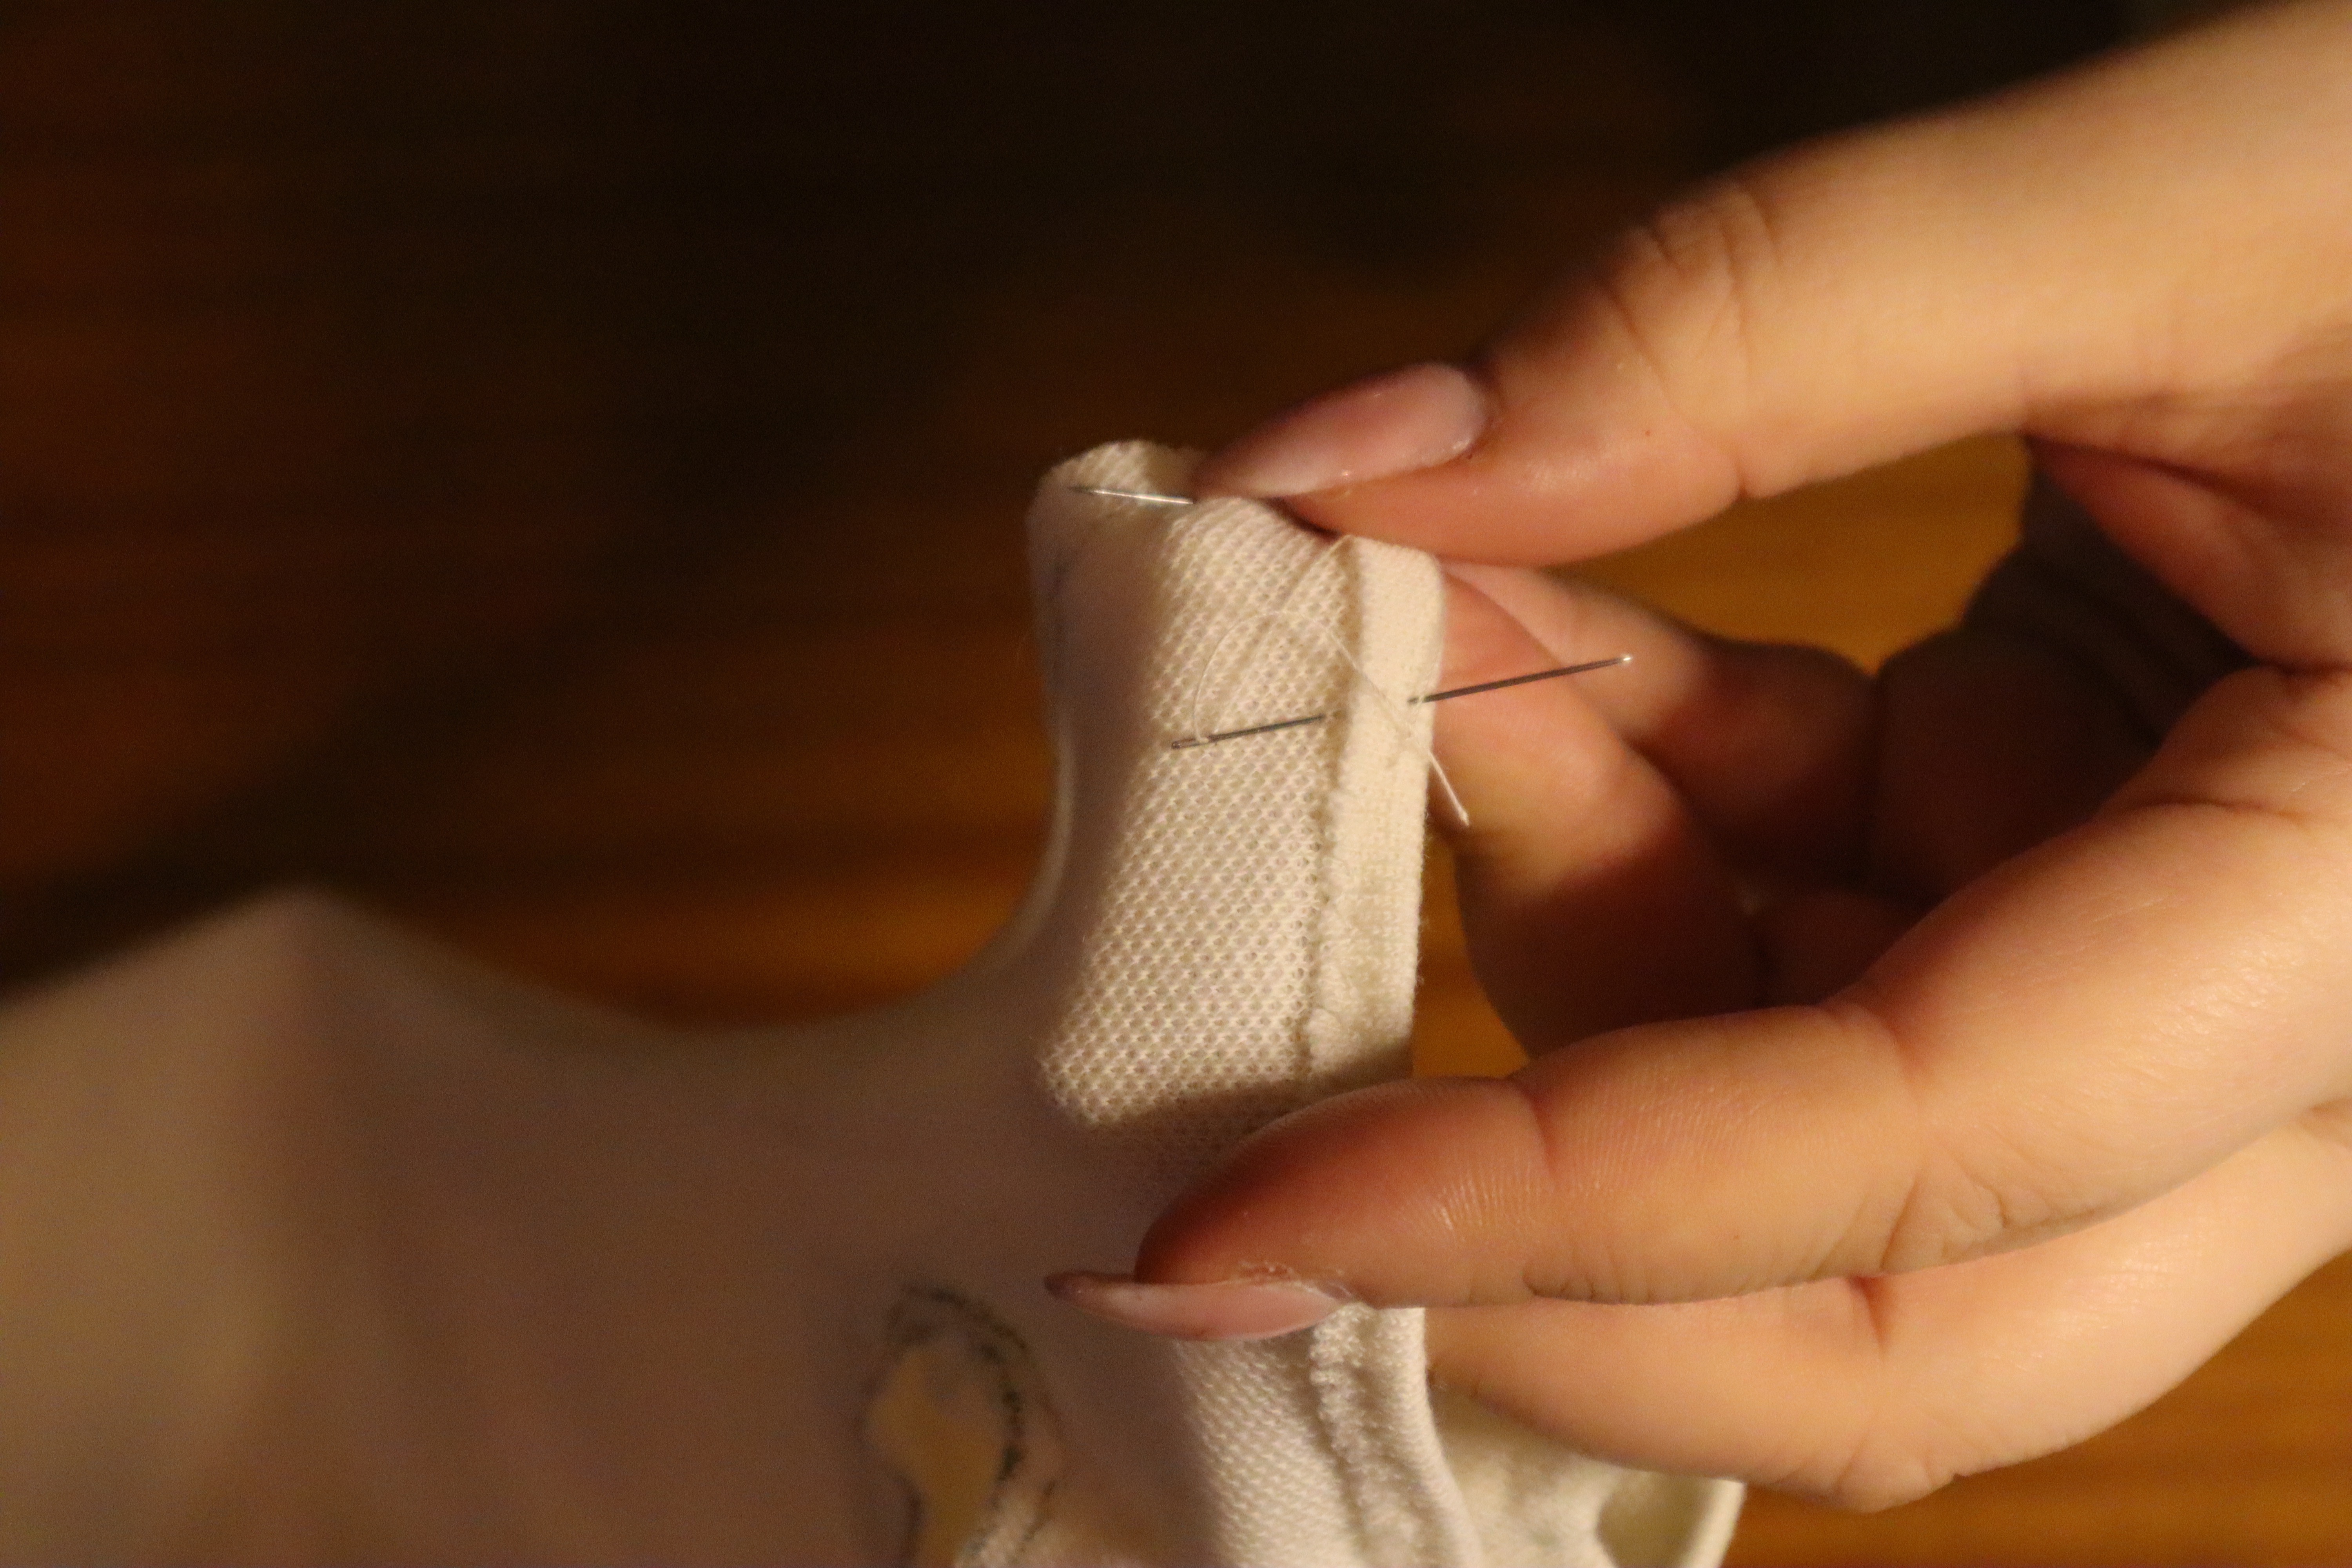
I folded the top edge of the thumb pieces in, and hemstitched in place. I then sewed the thumb pieces together into little cylinders, pressed the seam allowance to one side, and hem stitched down. I then folded the seam allowance in along the base of the thumb piece and basted in place.
I then put the mitten on, with my thumb through the hole. I placed the thumb piece on top of my thumb, and pinned it to the mitten. I then removed my hand from the mitten, and whip stitched the thumb to the mitten from the right side, using tiiiiiiiiiny whip stitches.
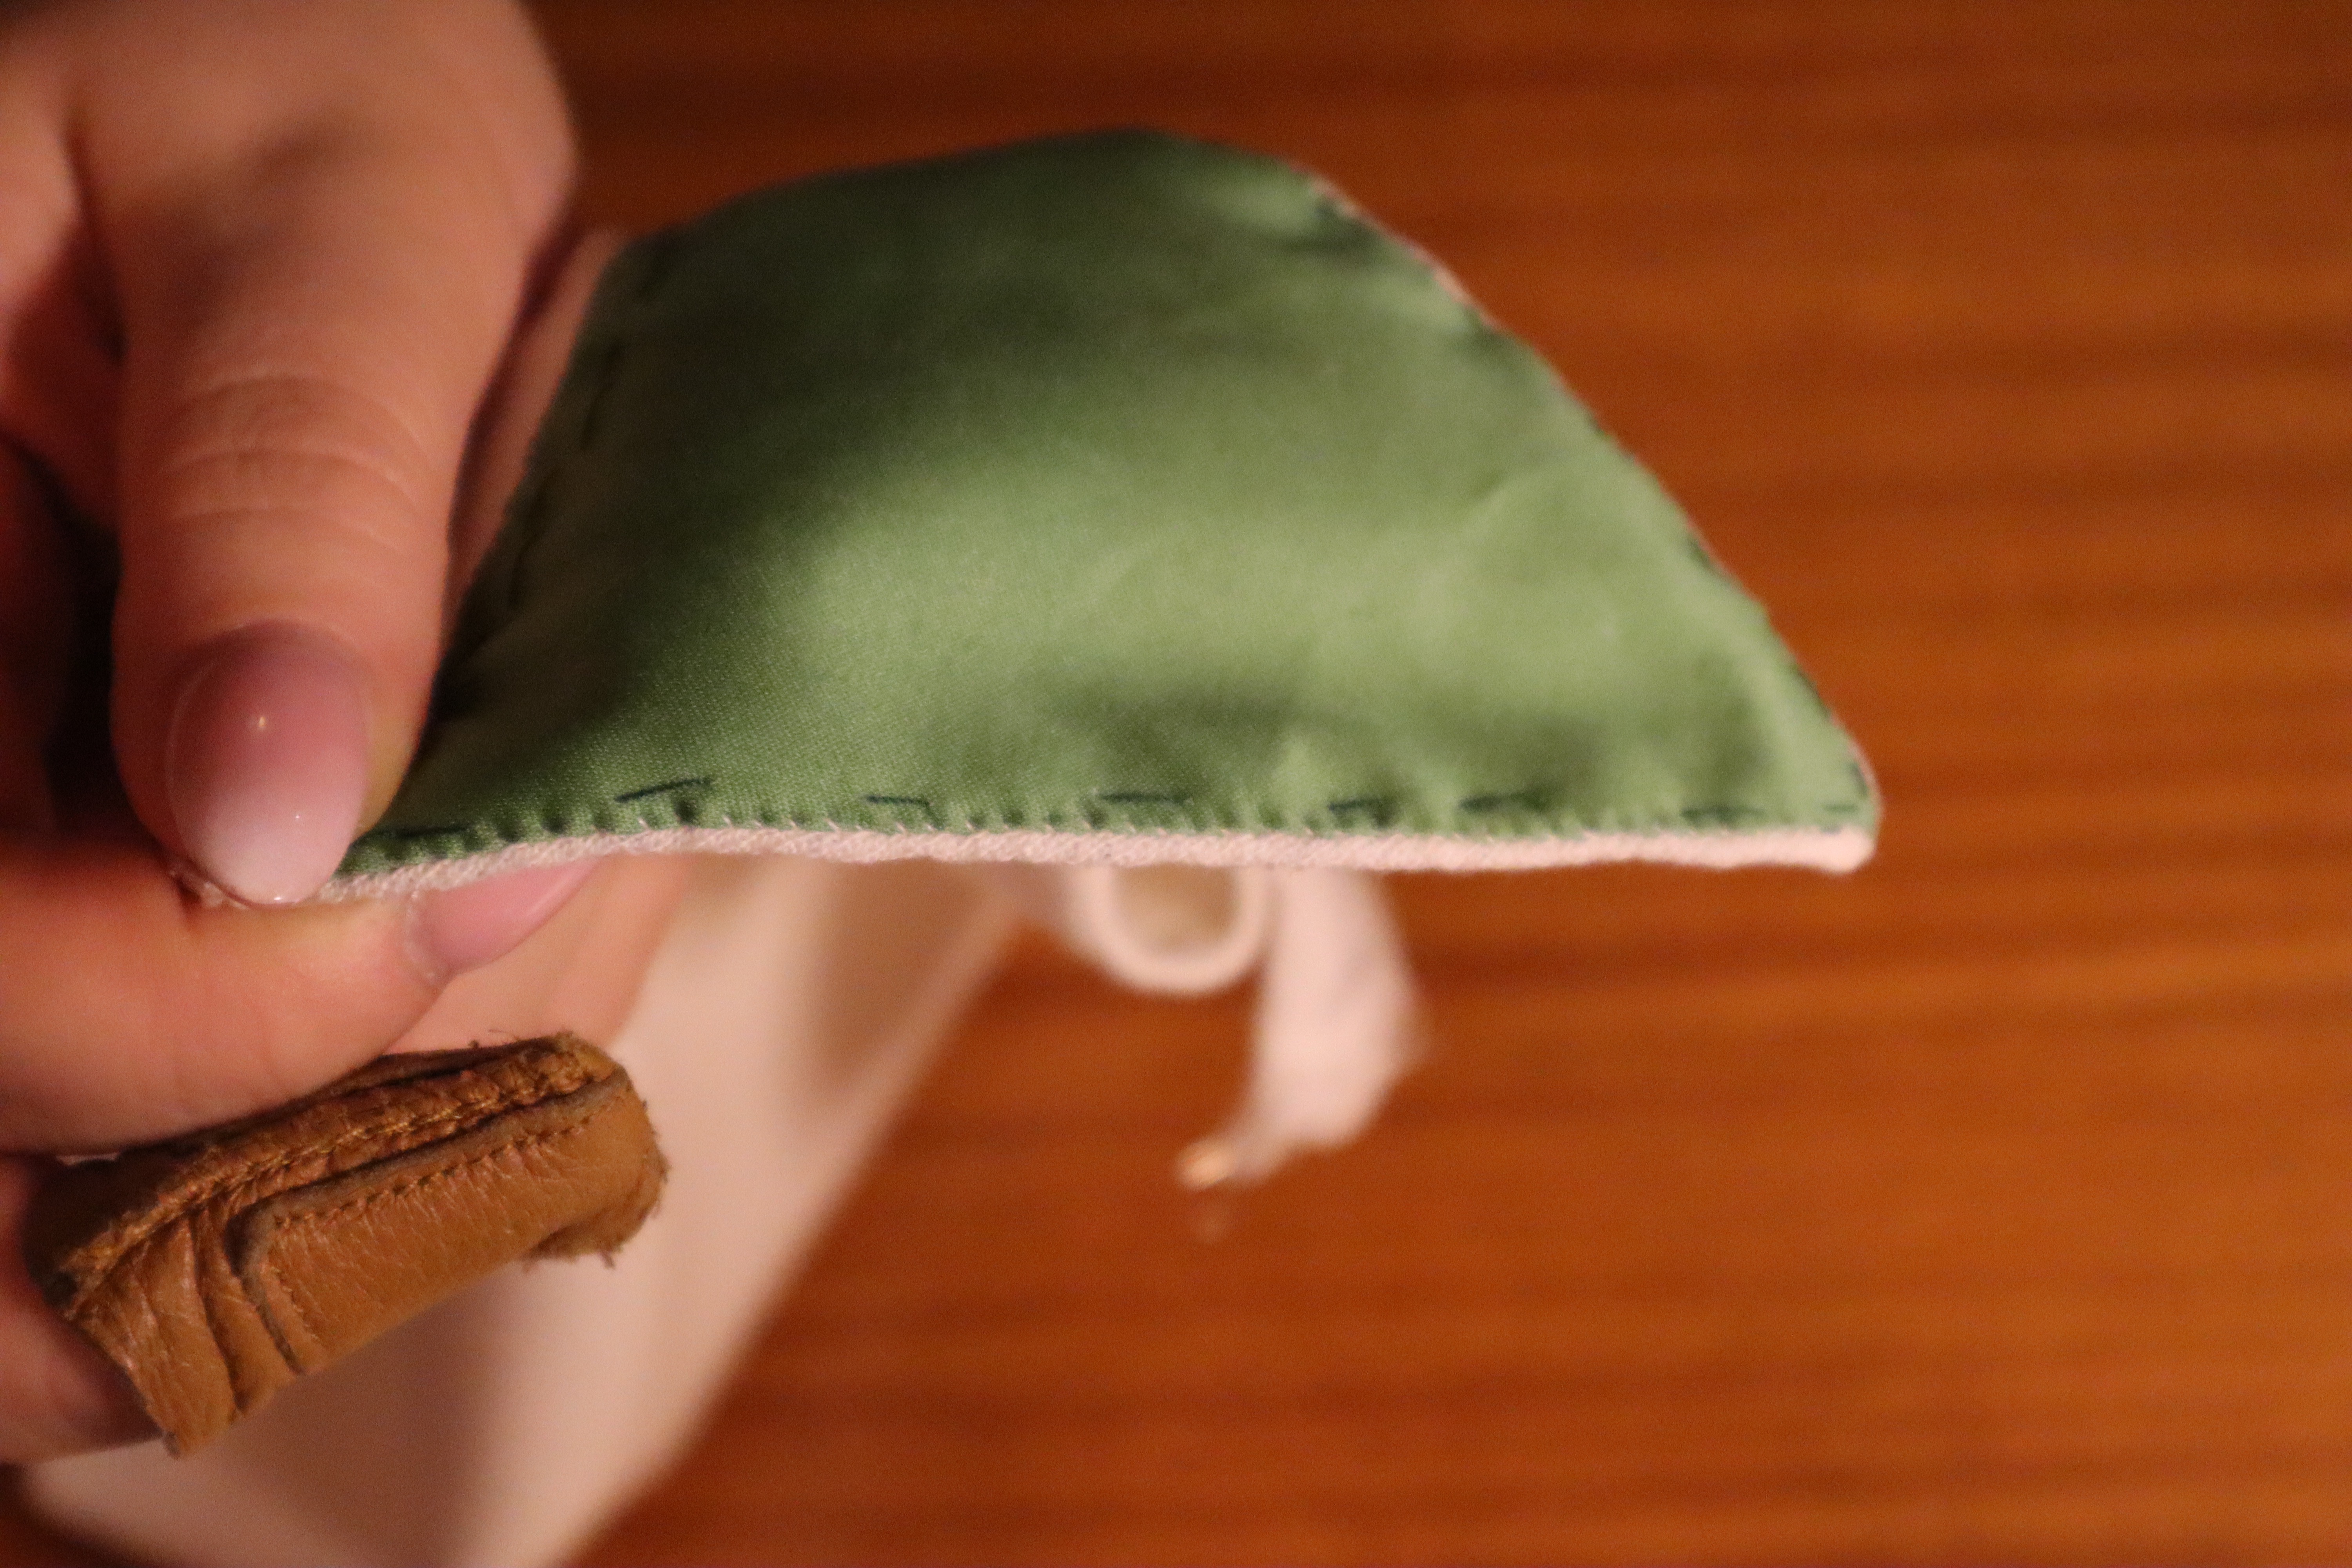
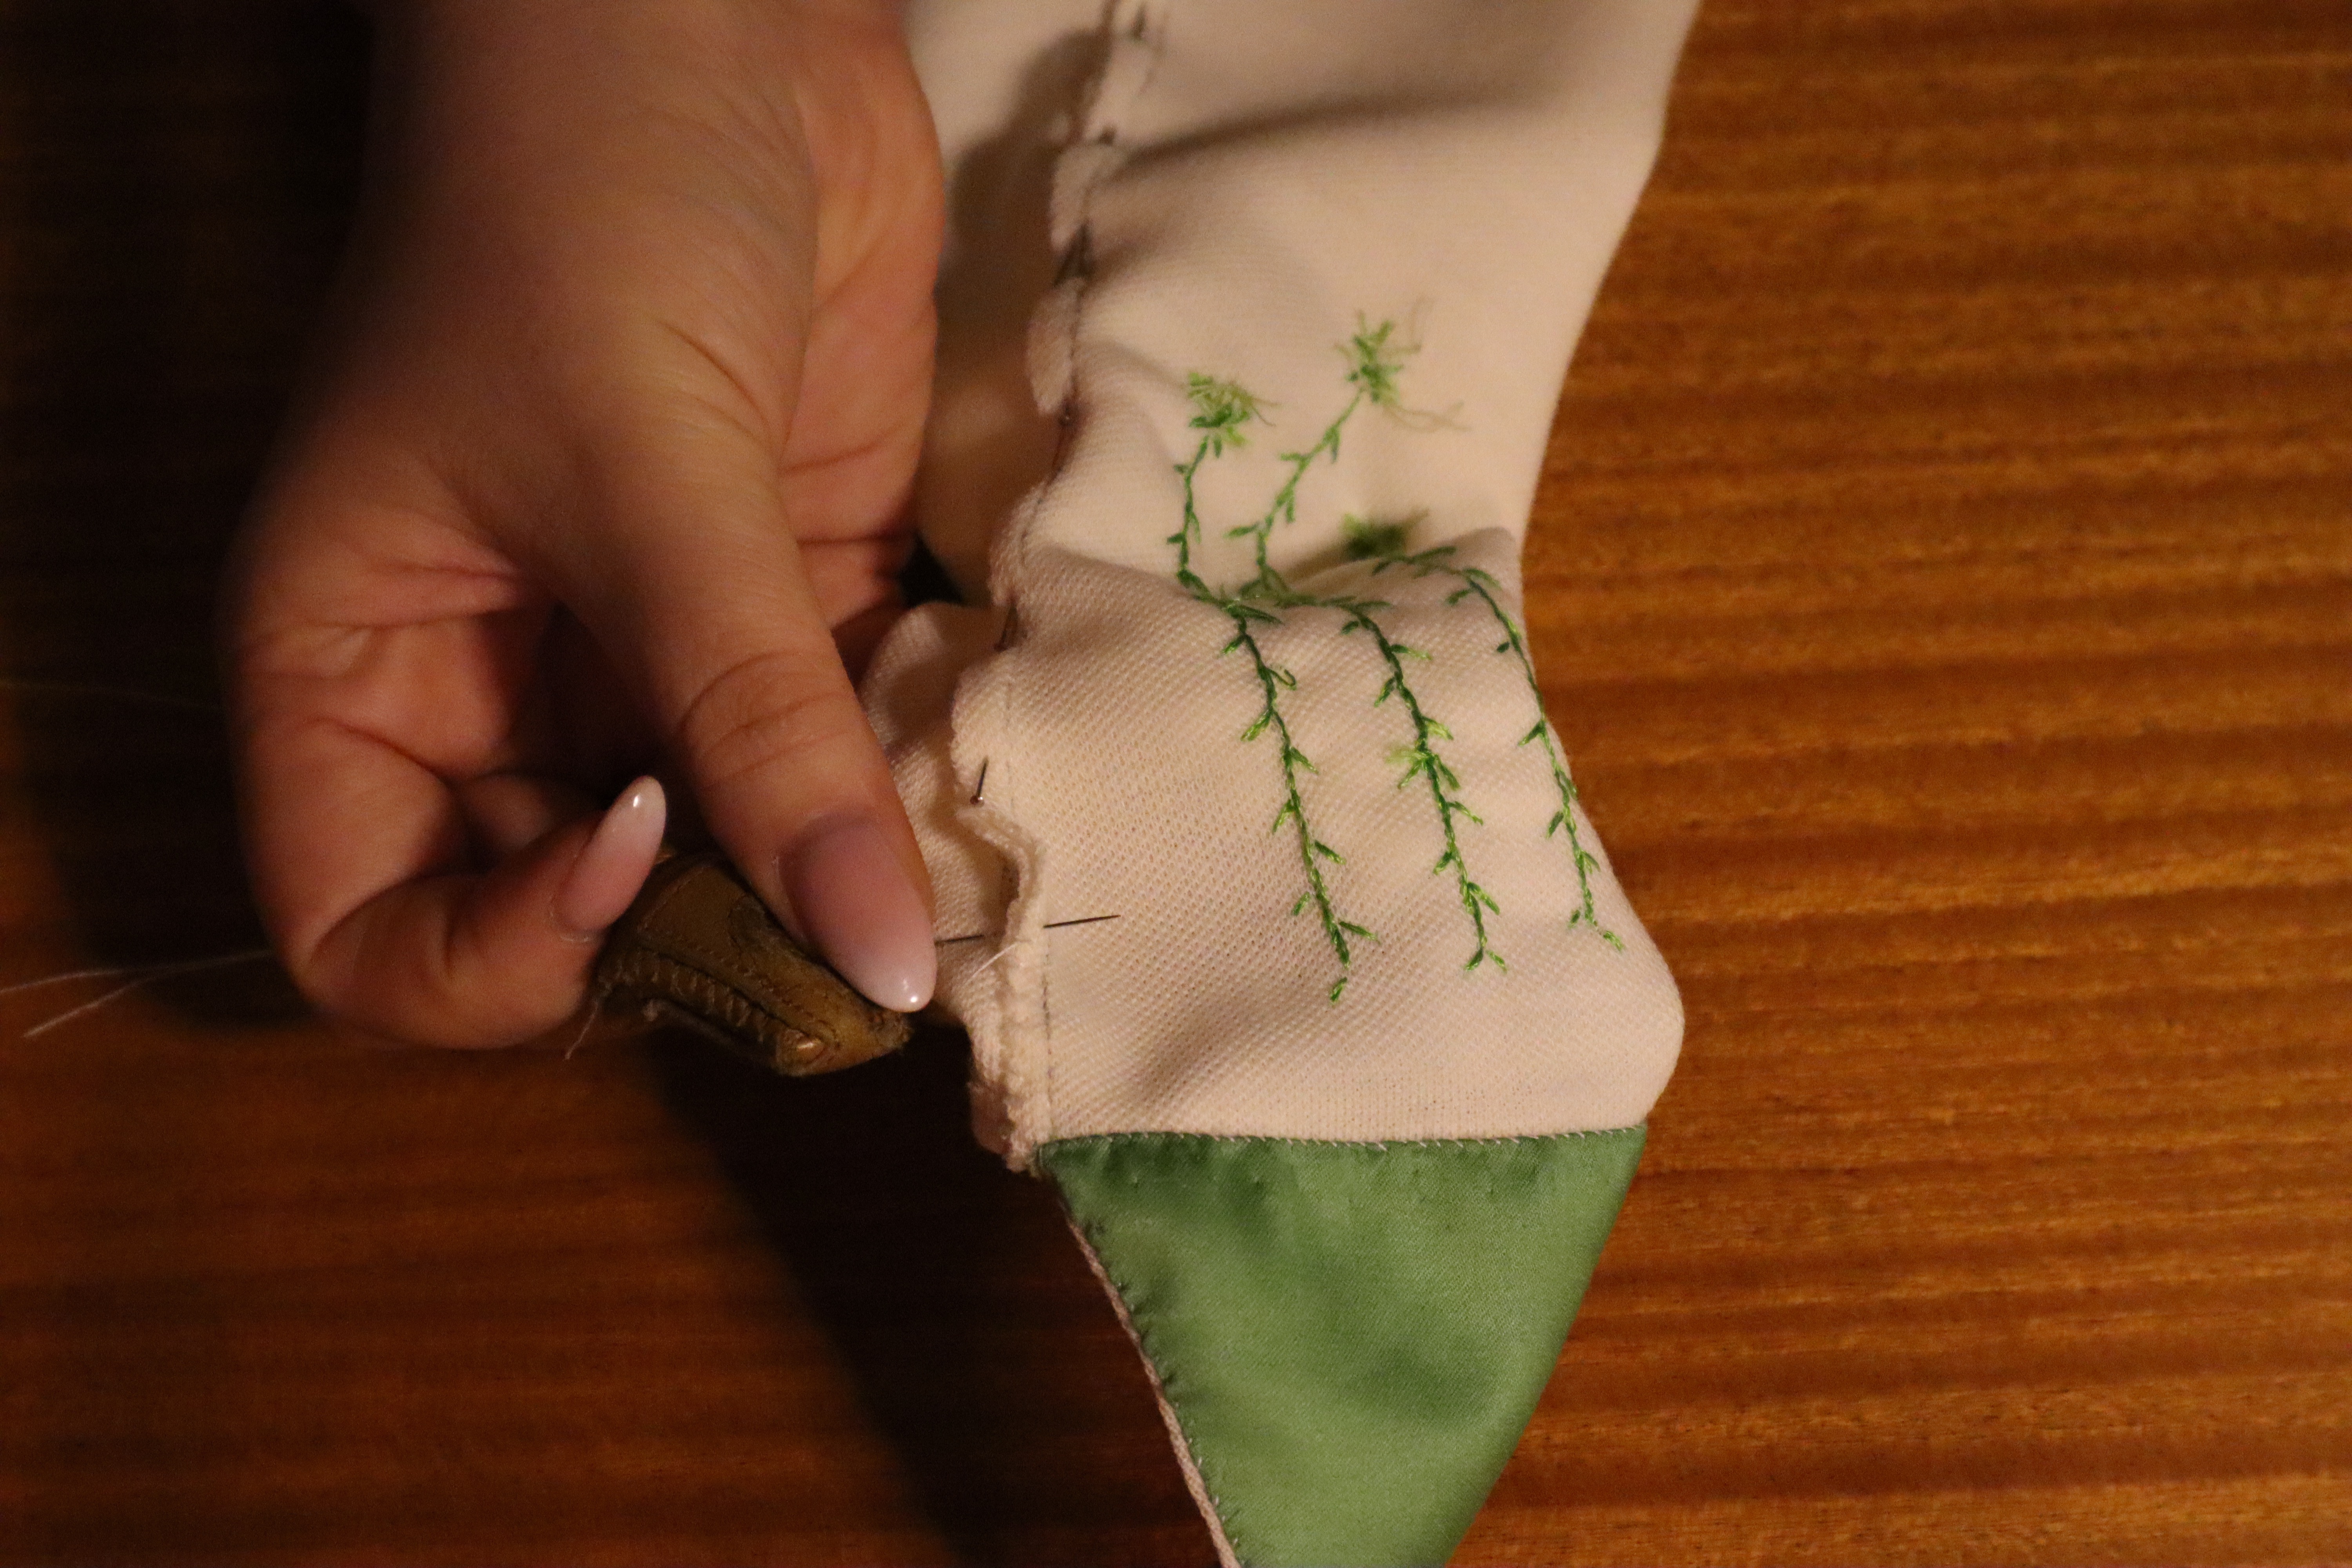
Then it was time for the tip linings. I folded the seam allowance of the wool inside and basted in place, and did the same with the bottom hem of the linings. After pinning the linings in place, I folded their seam allowances in (just a millimeter or so in from the edge of the wool, basted in place, and stitched around using whip stitches or a sort of combination of whip and prick stitches. To finish, I folded down the top of the mitten (the bit that goes in my hand), and hem stitched that down.

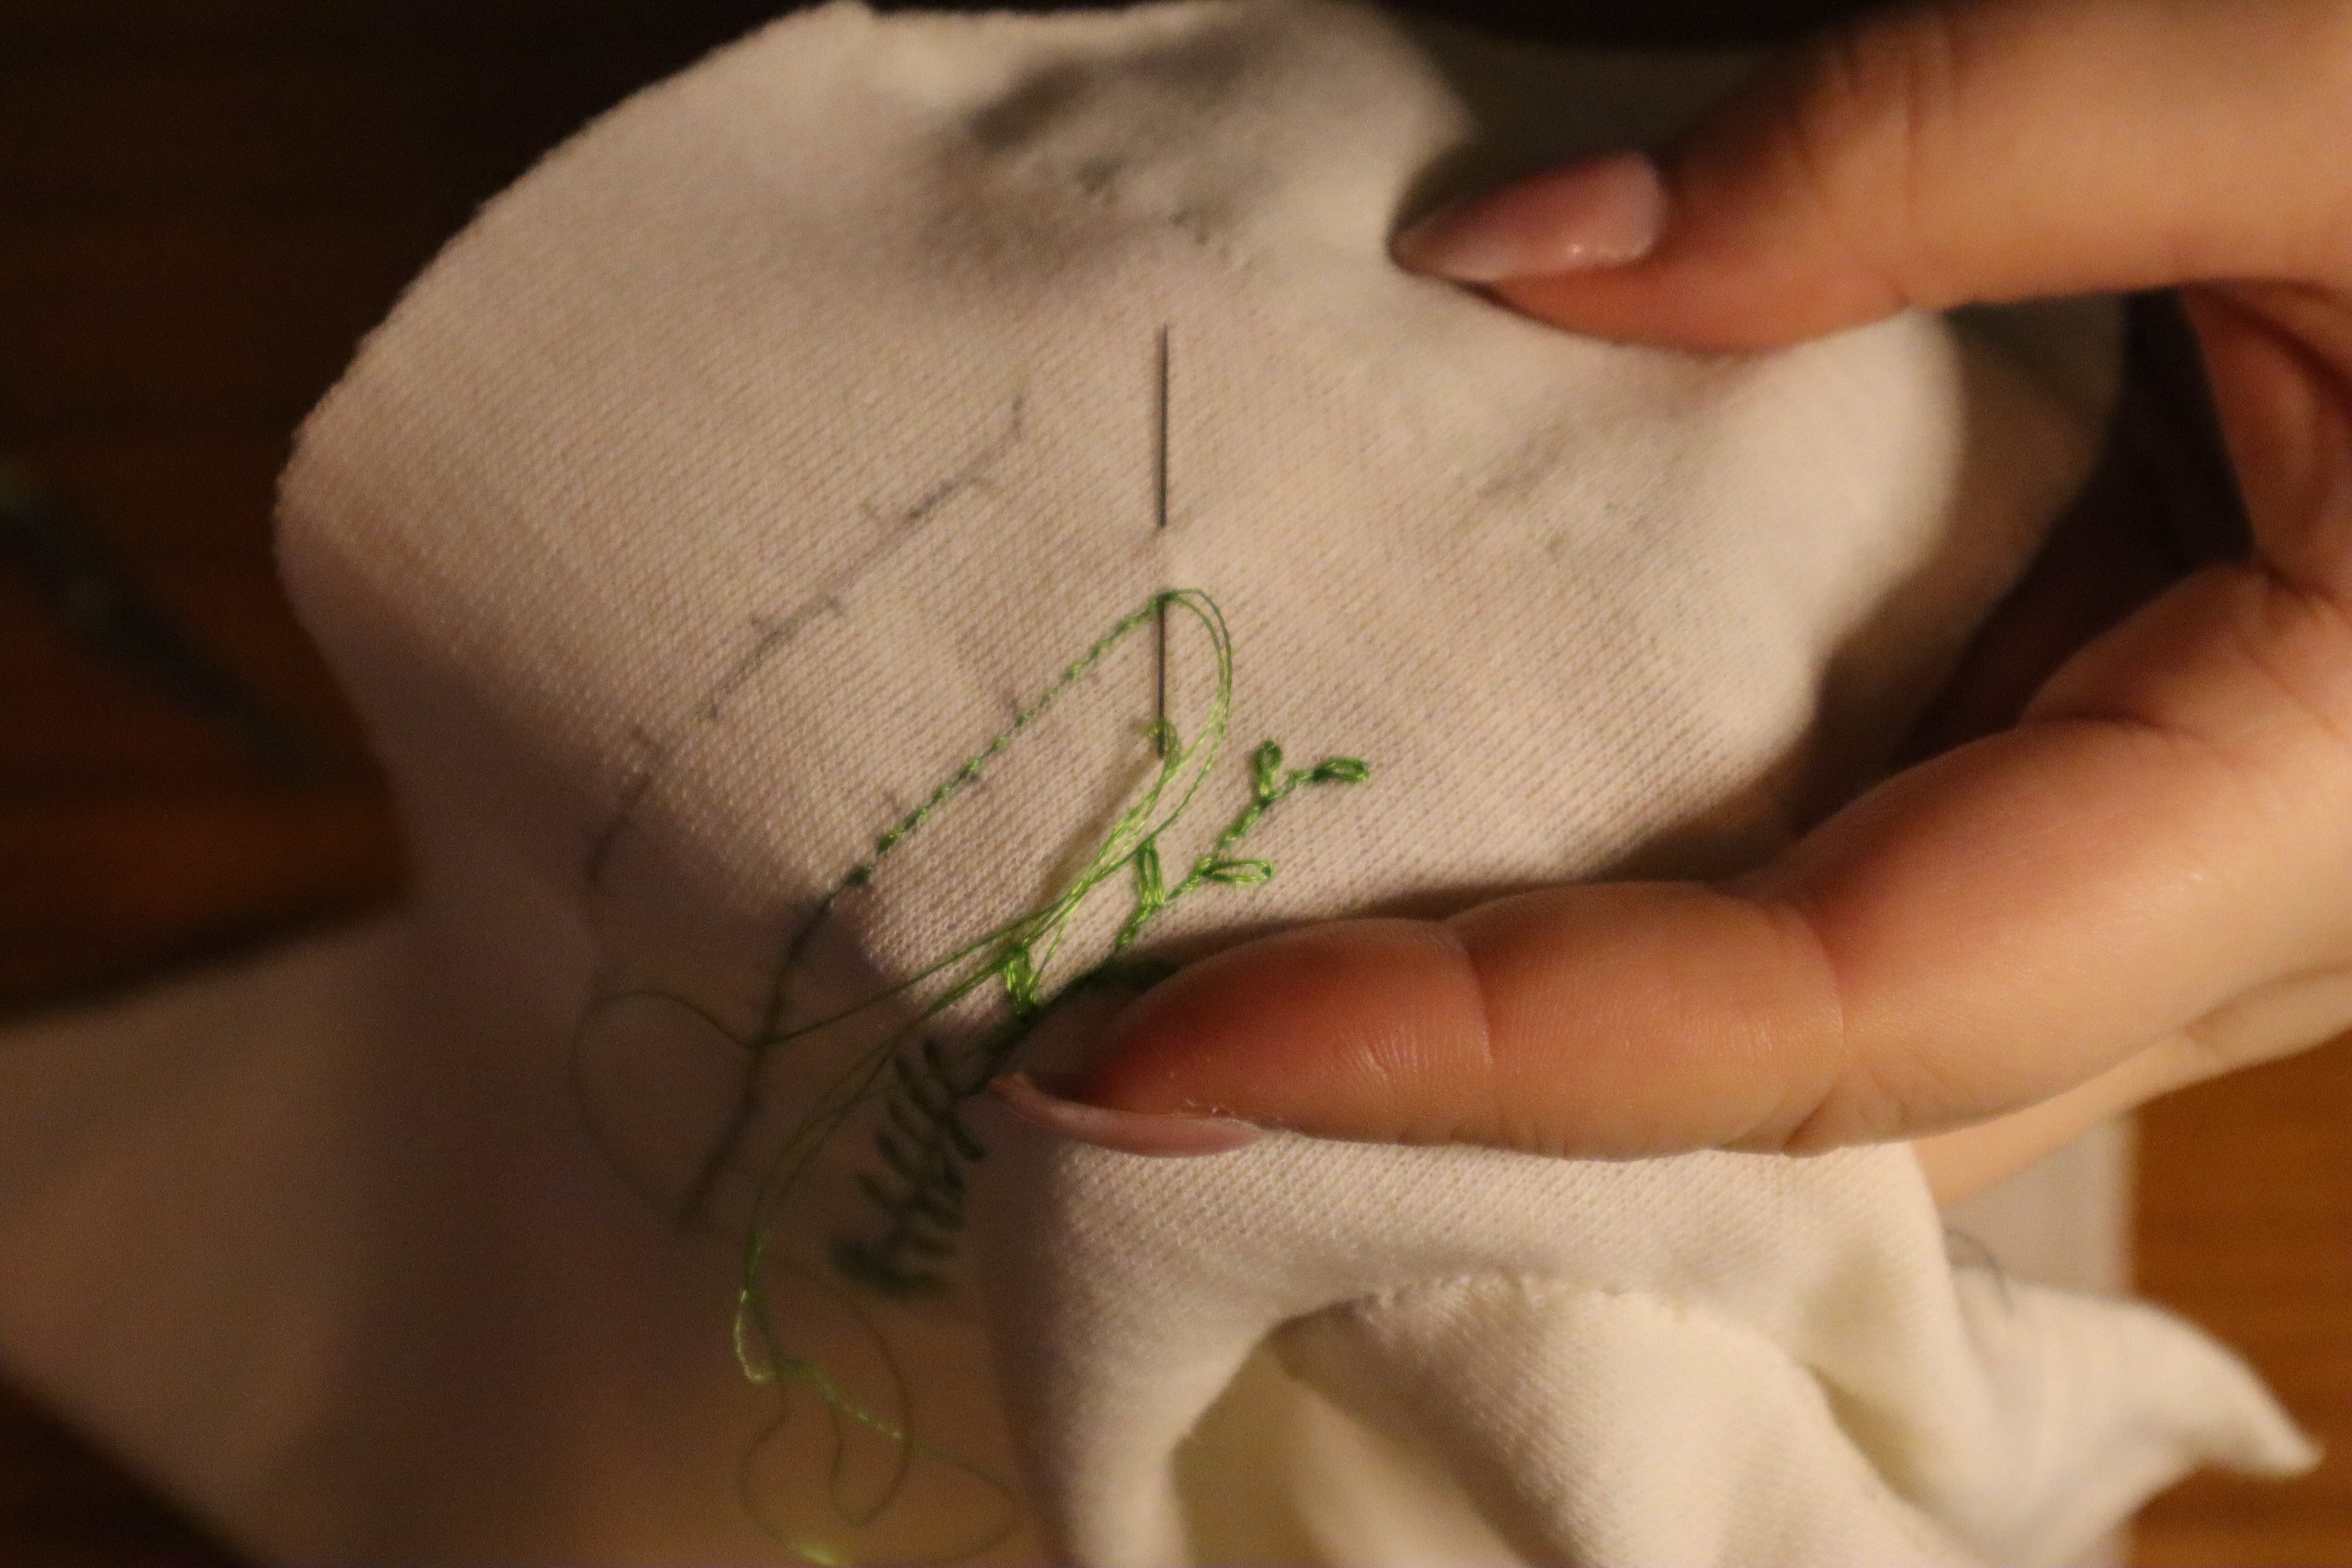
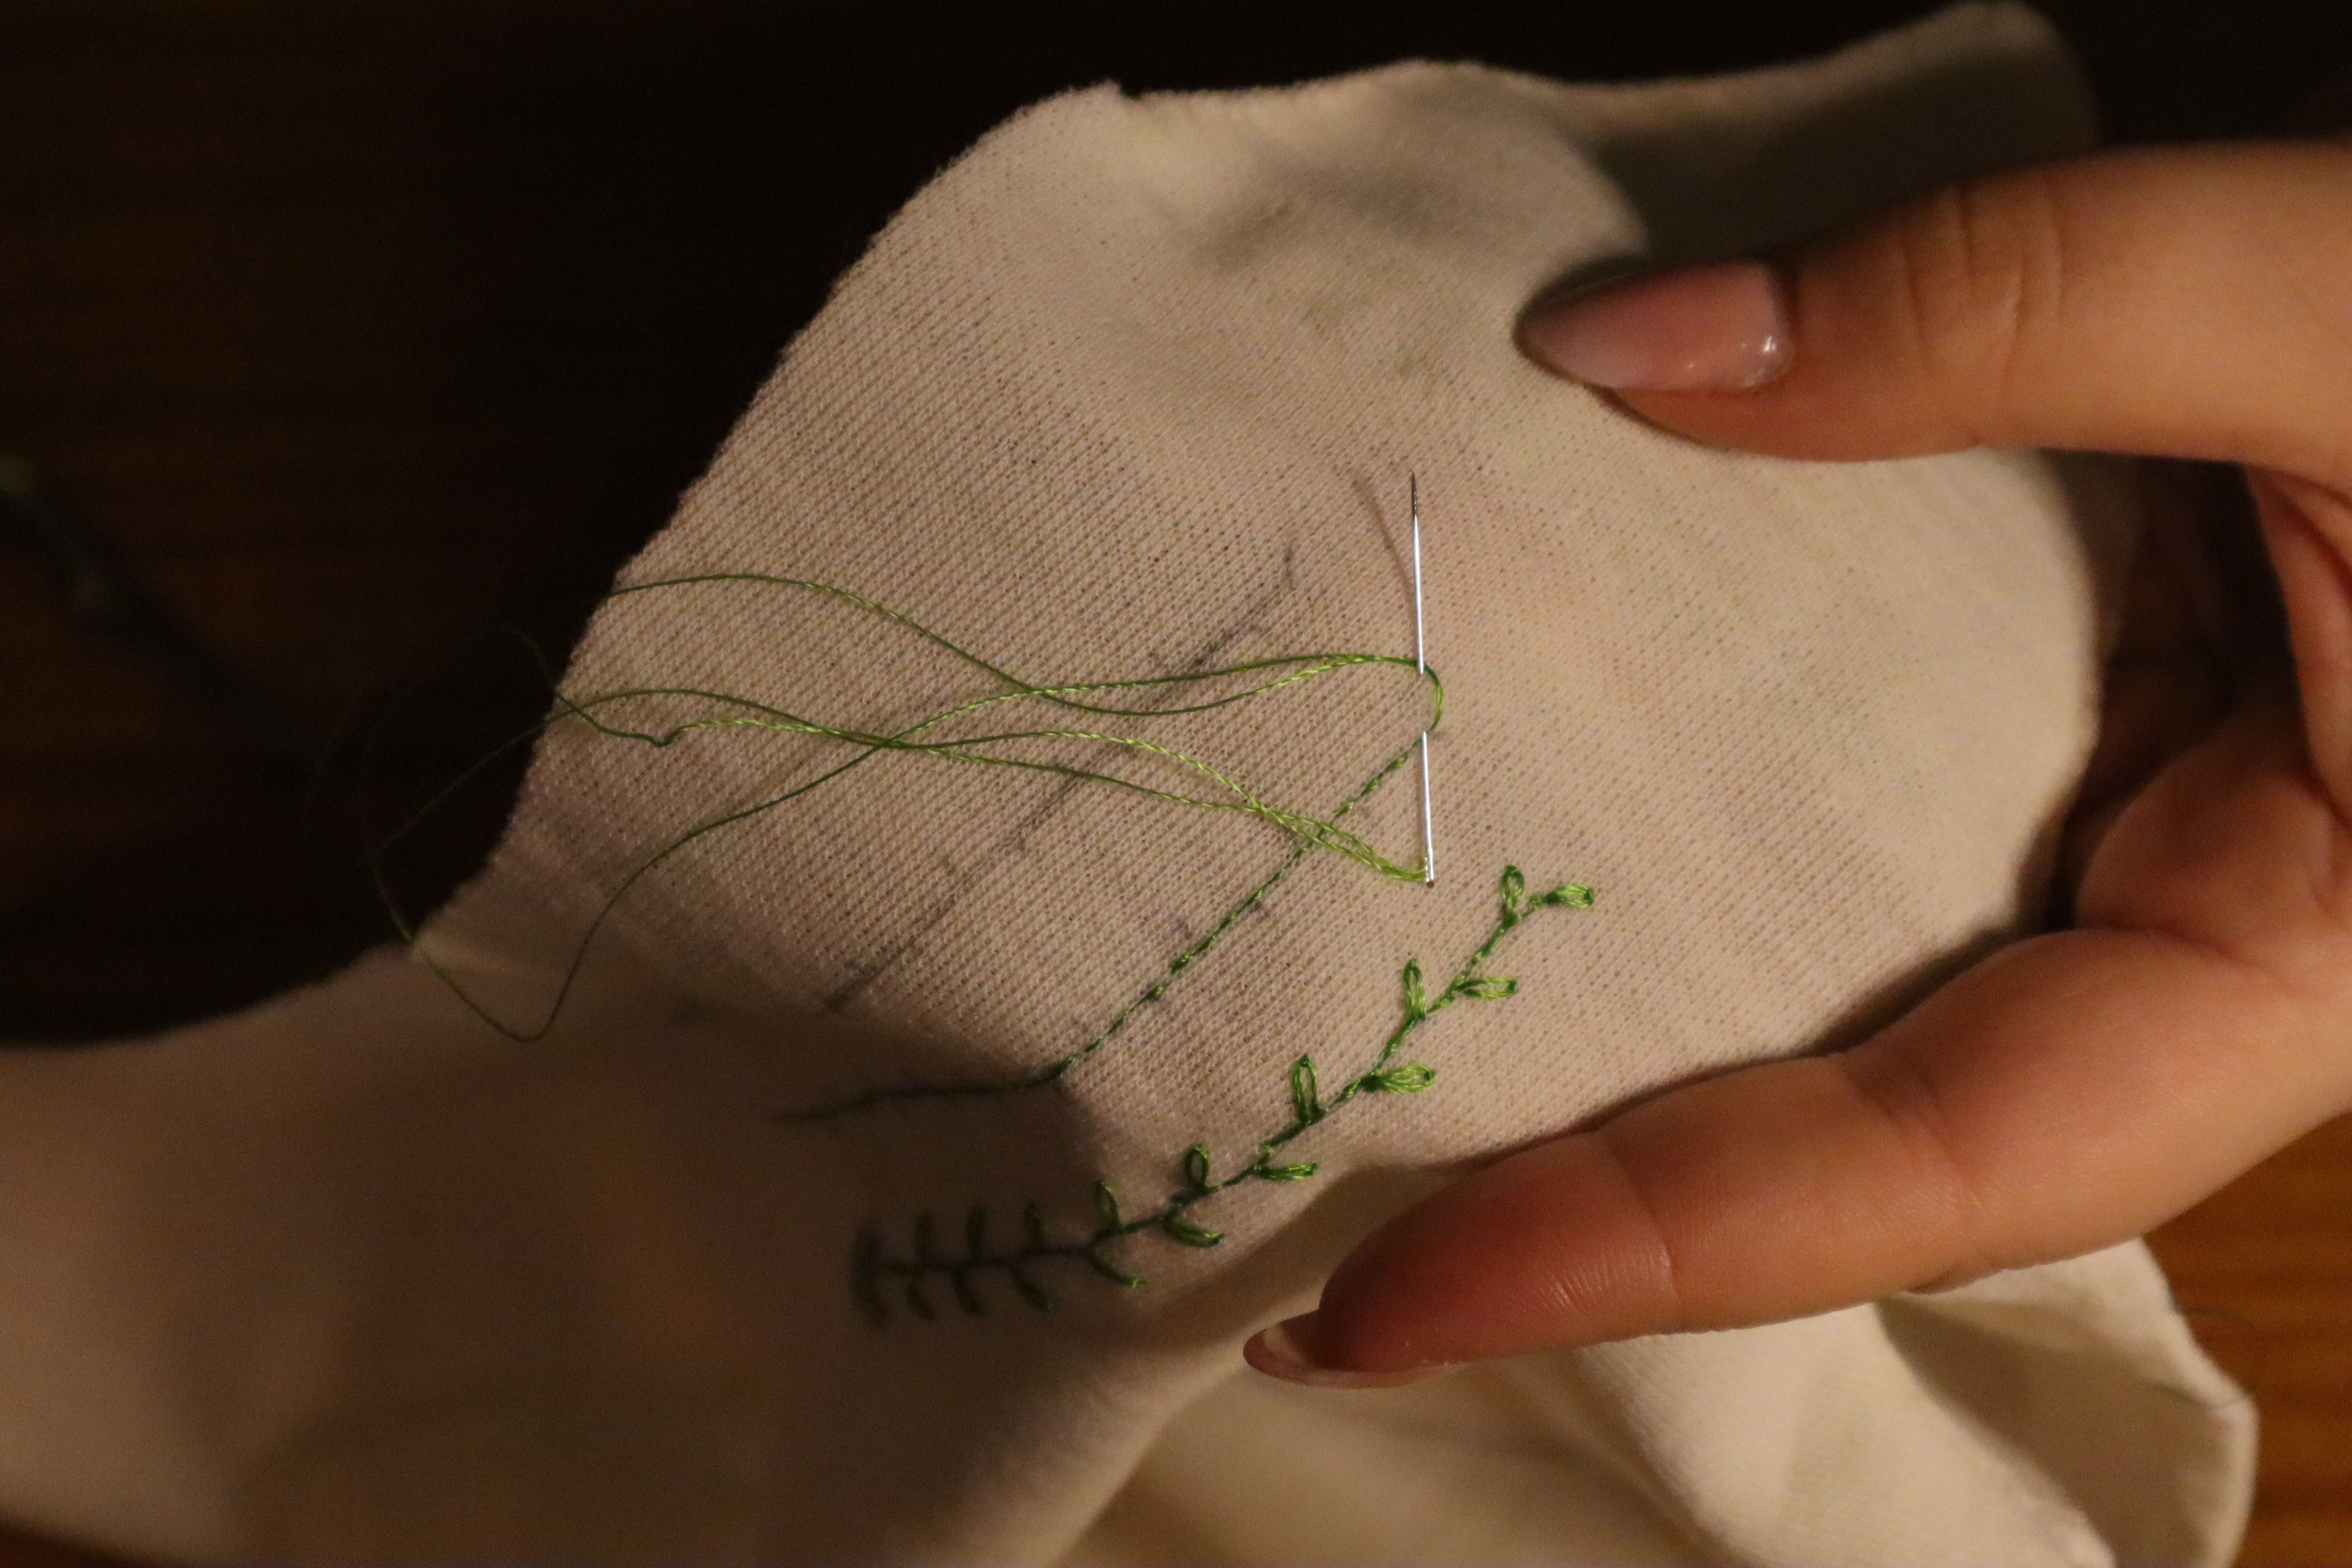
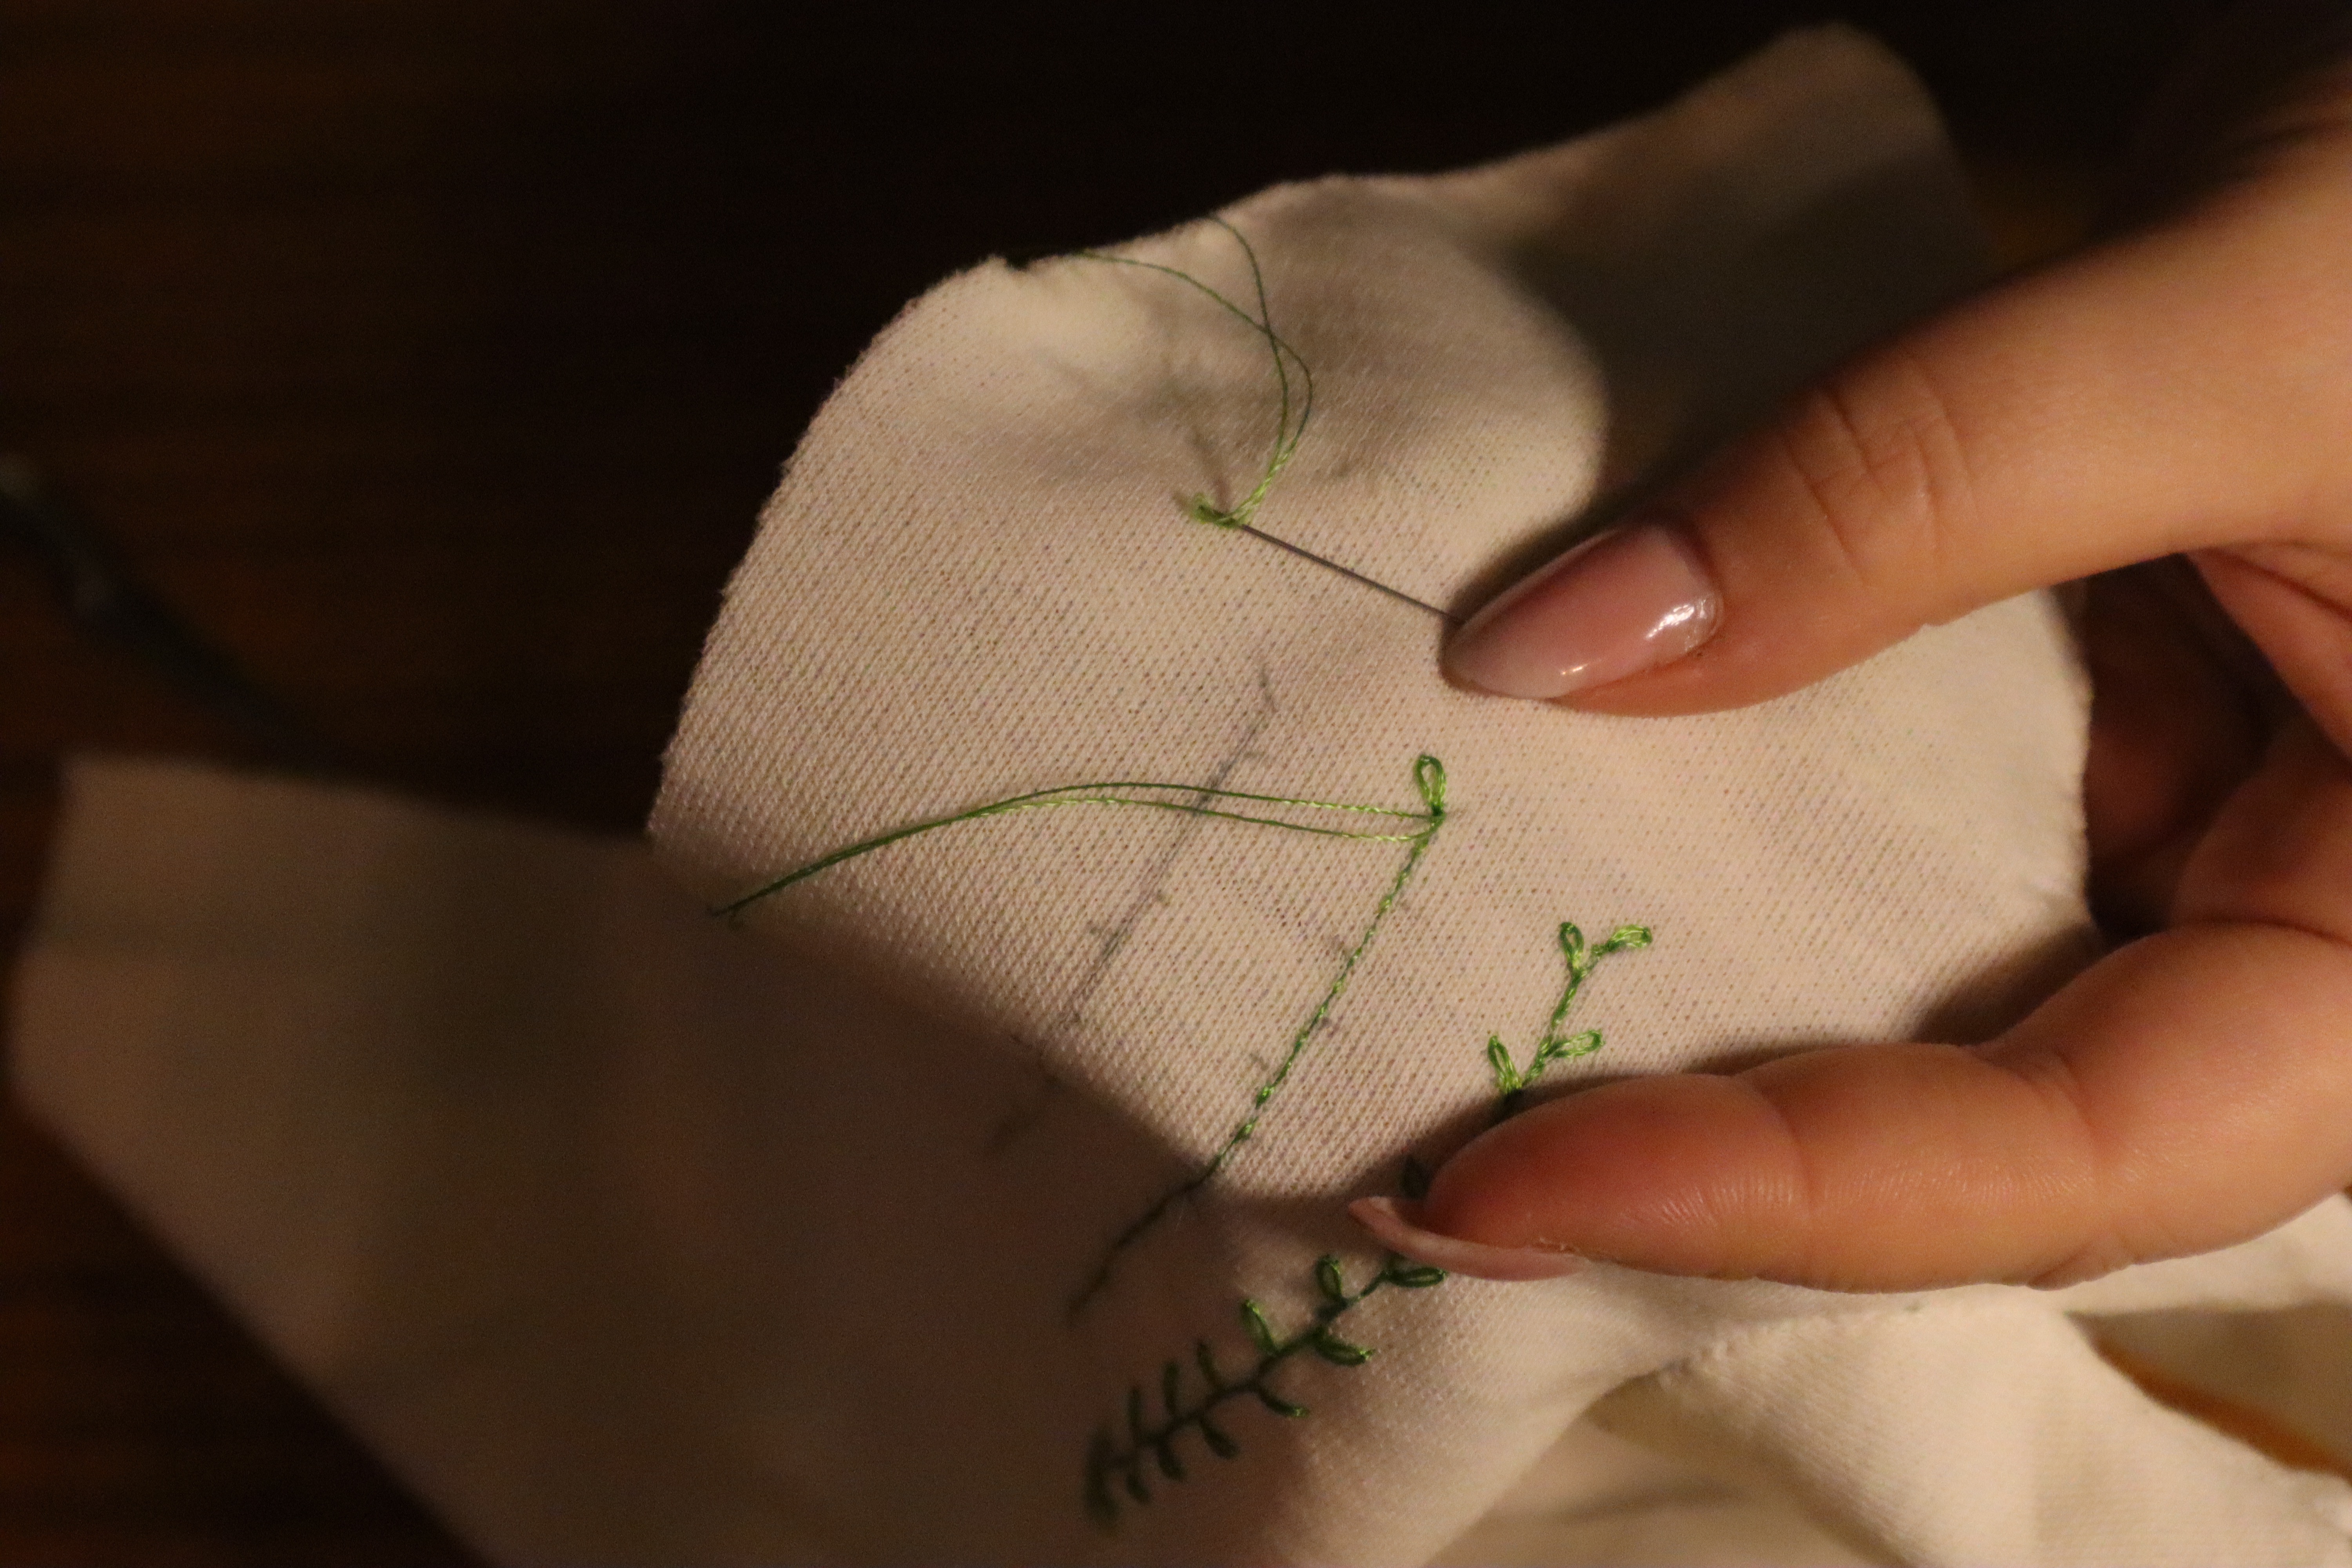
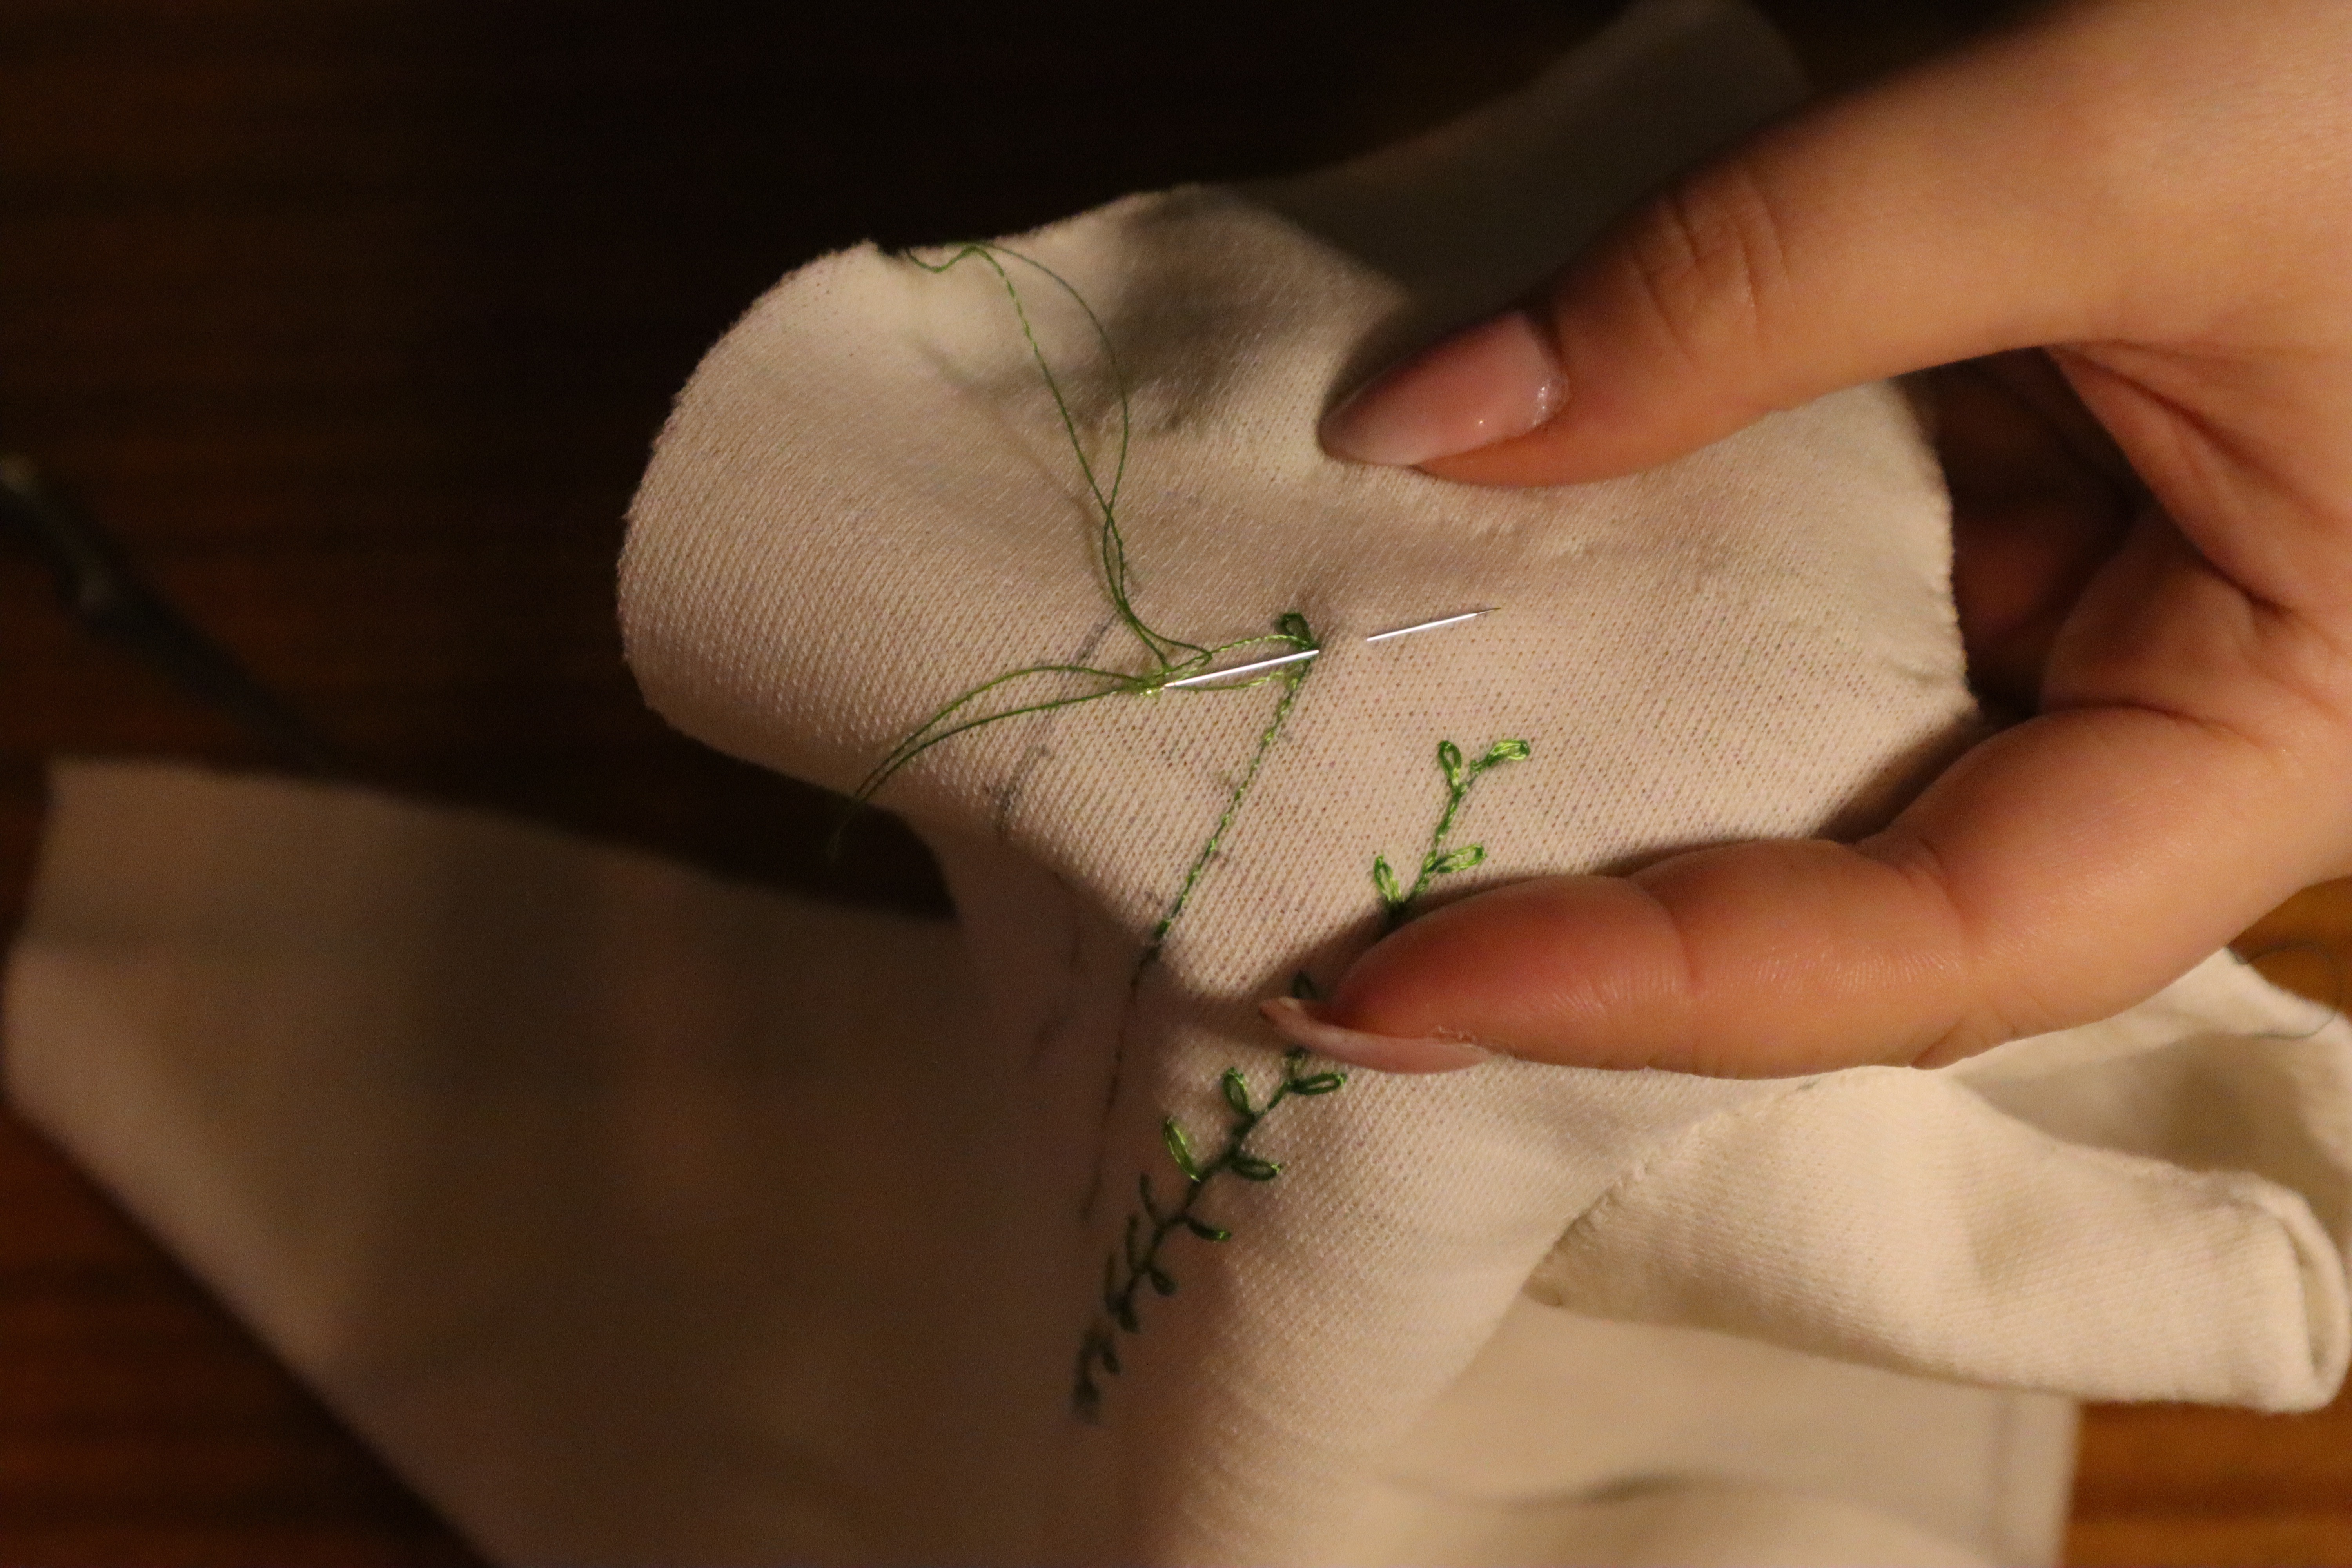
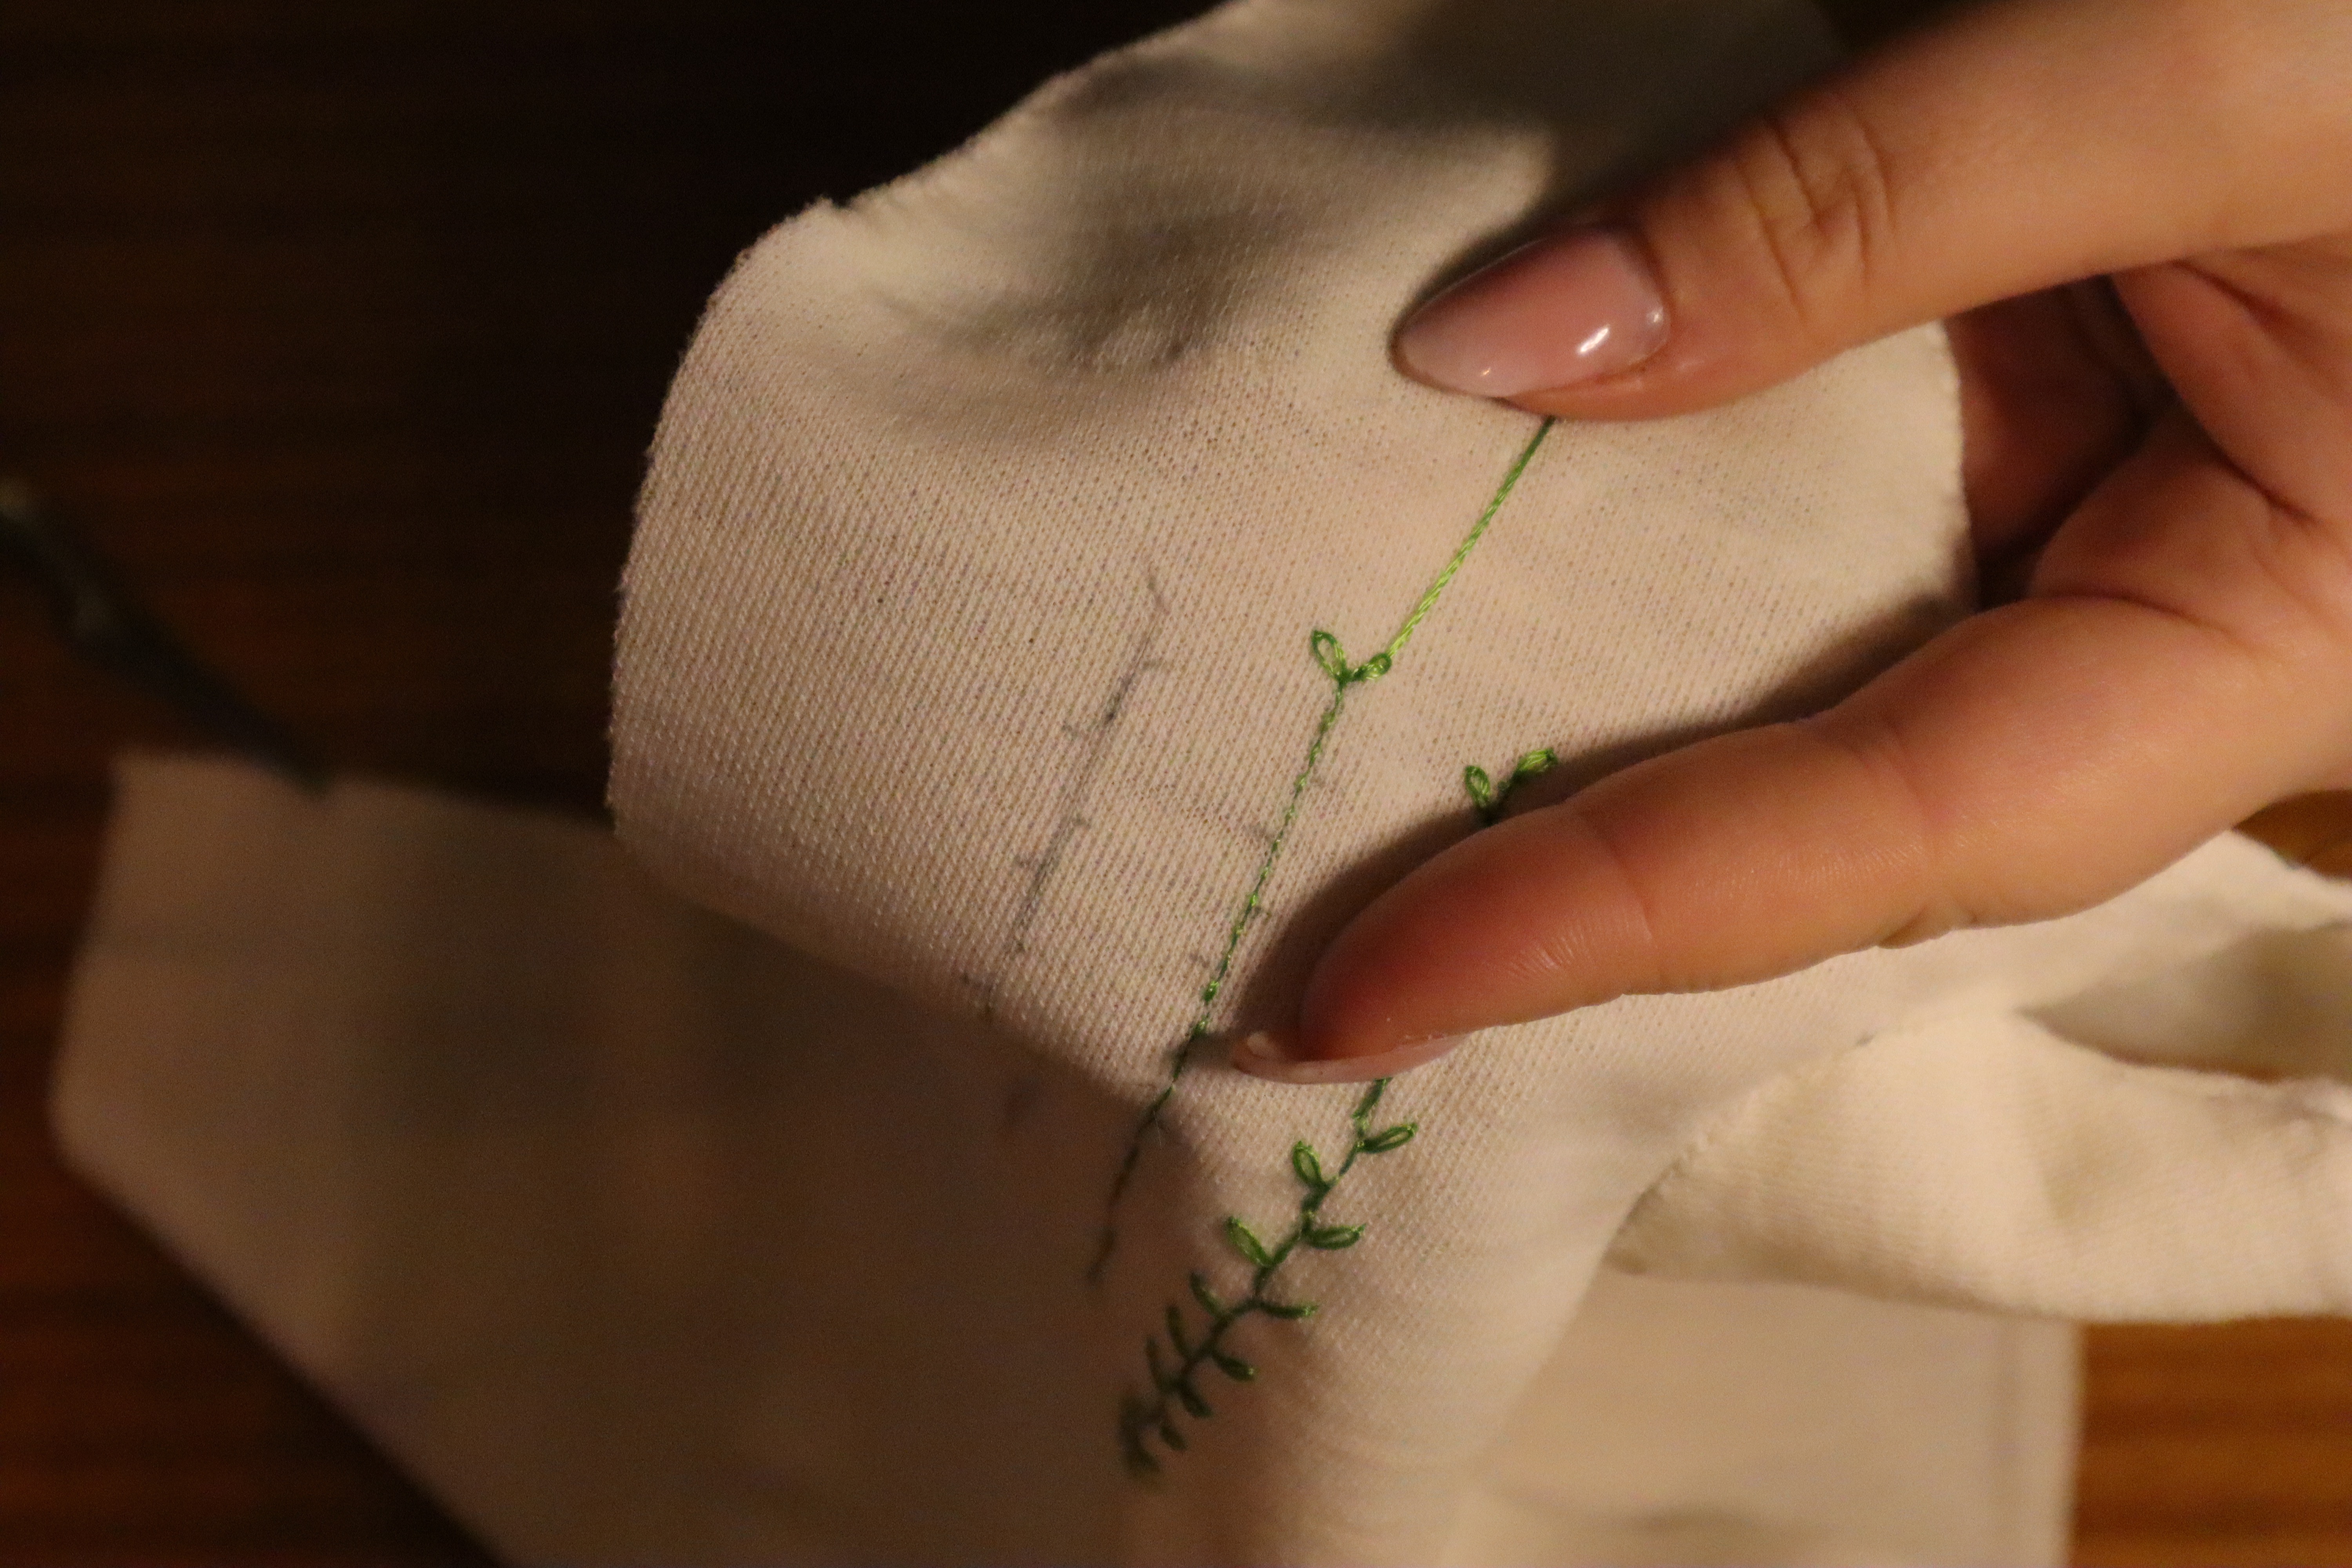
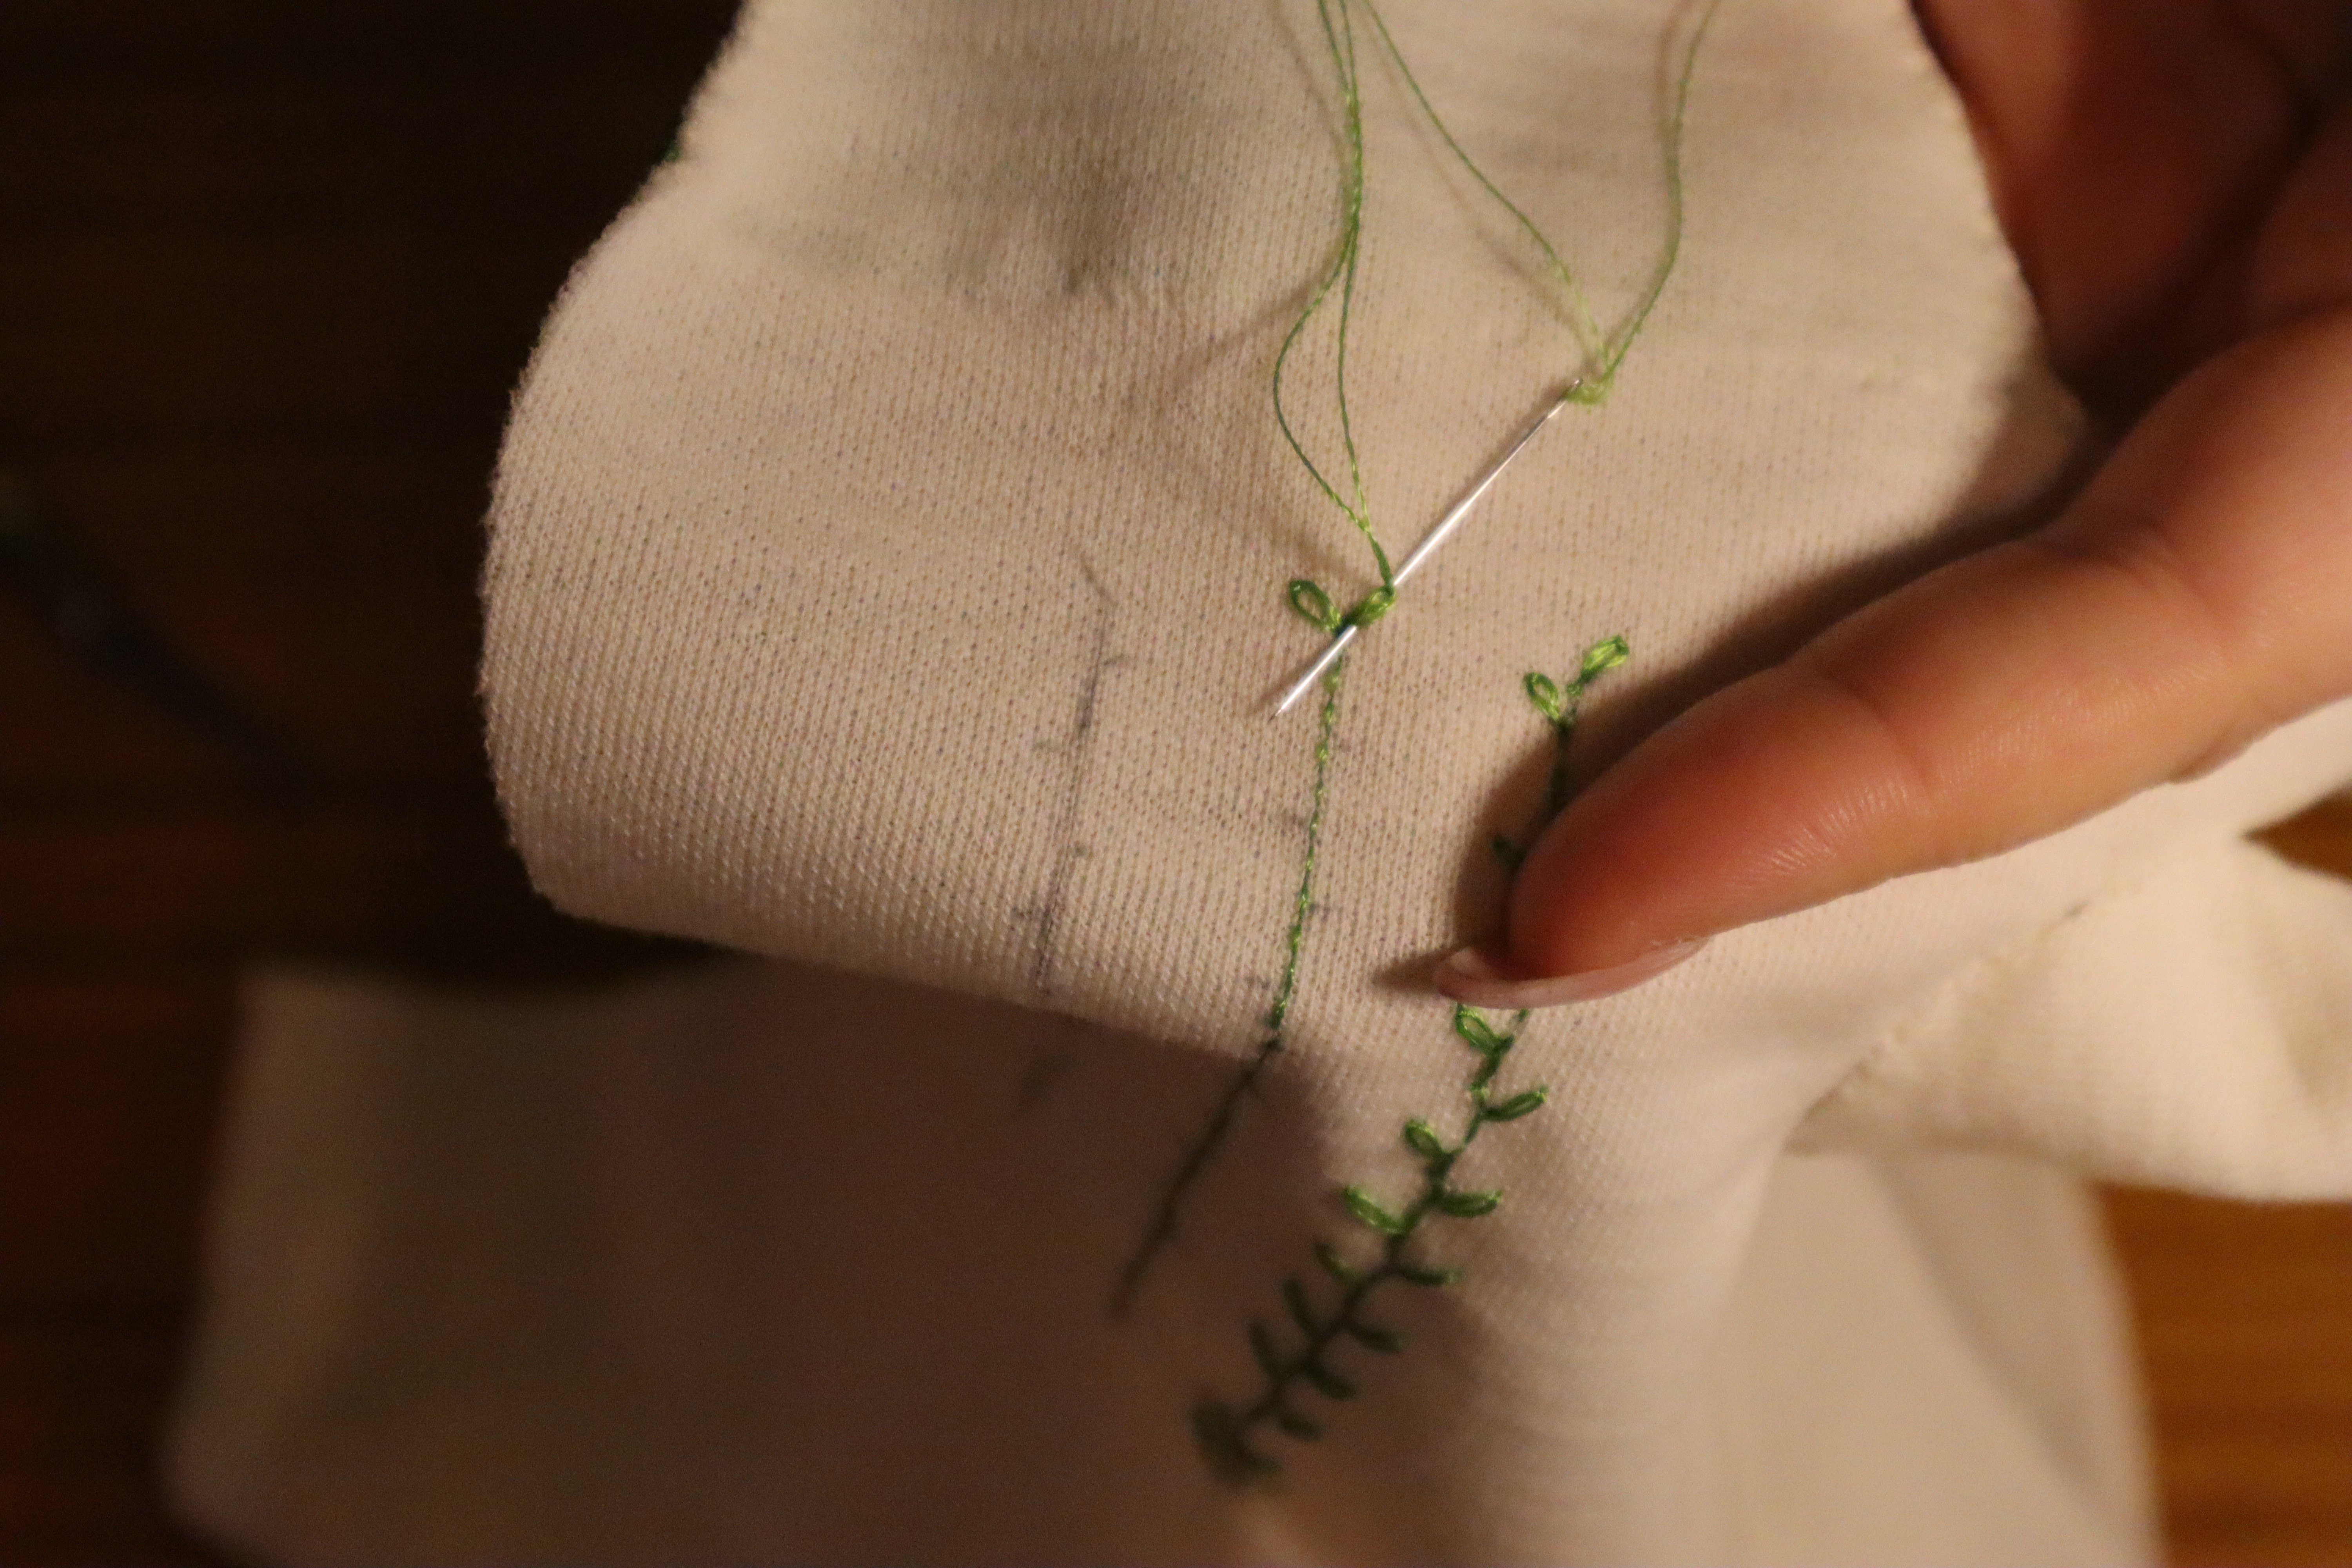
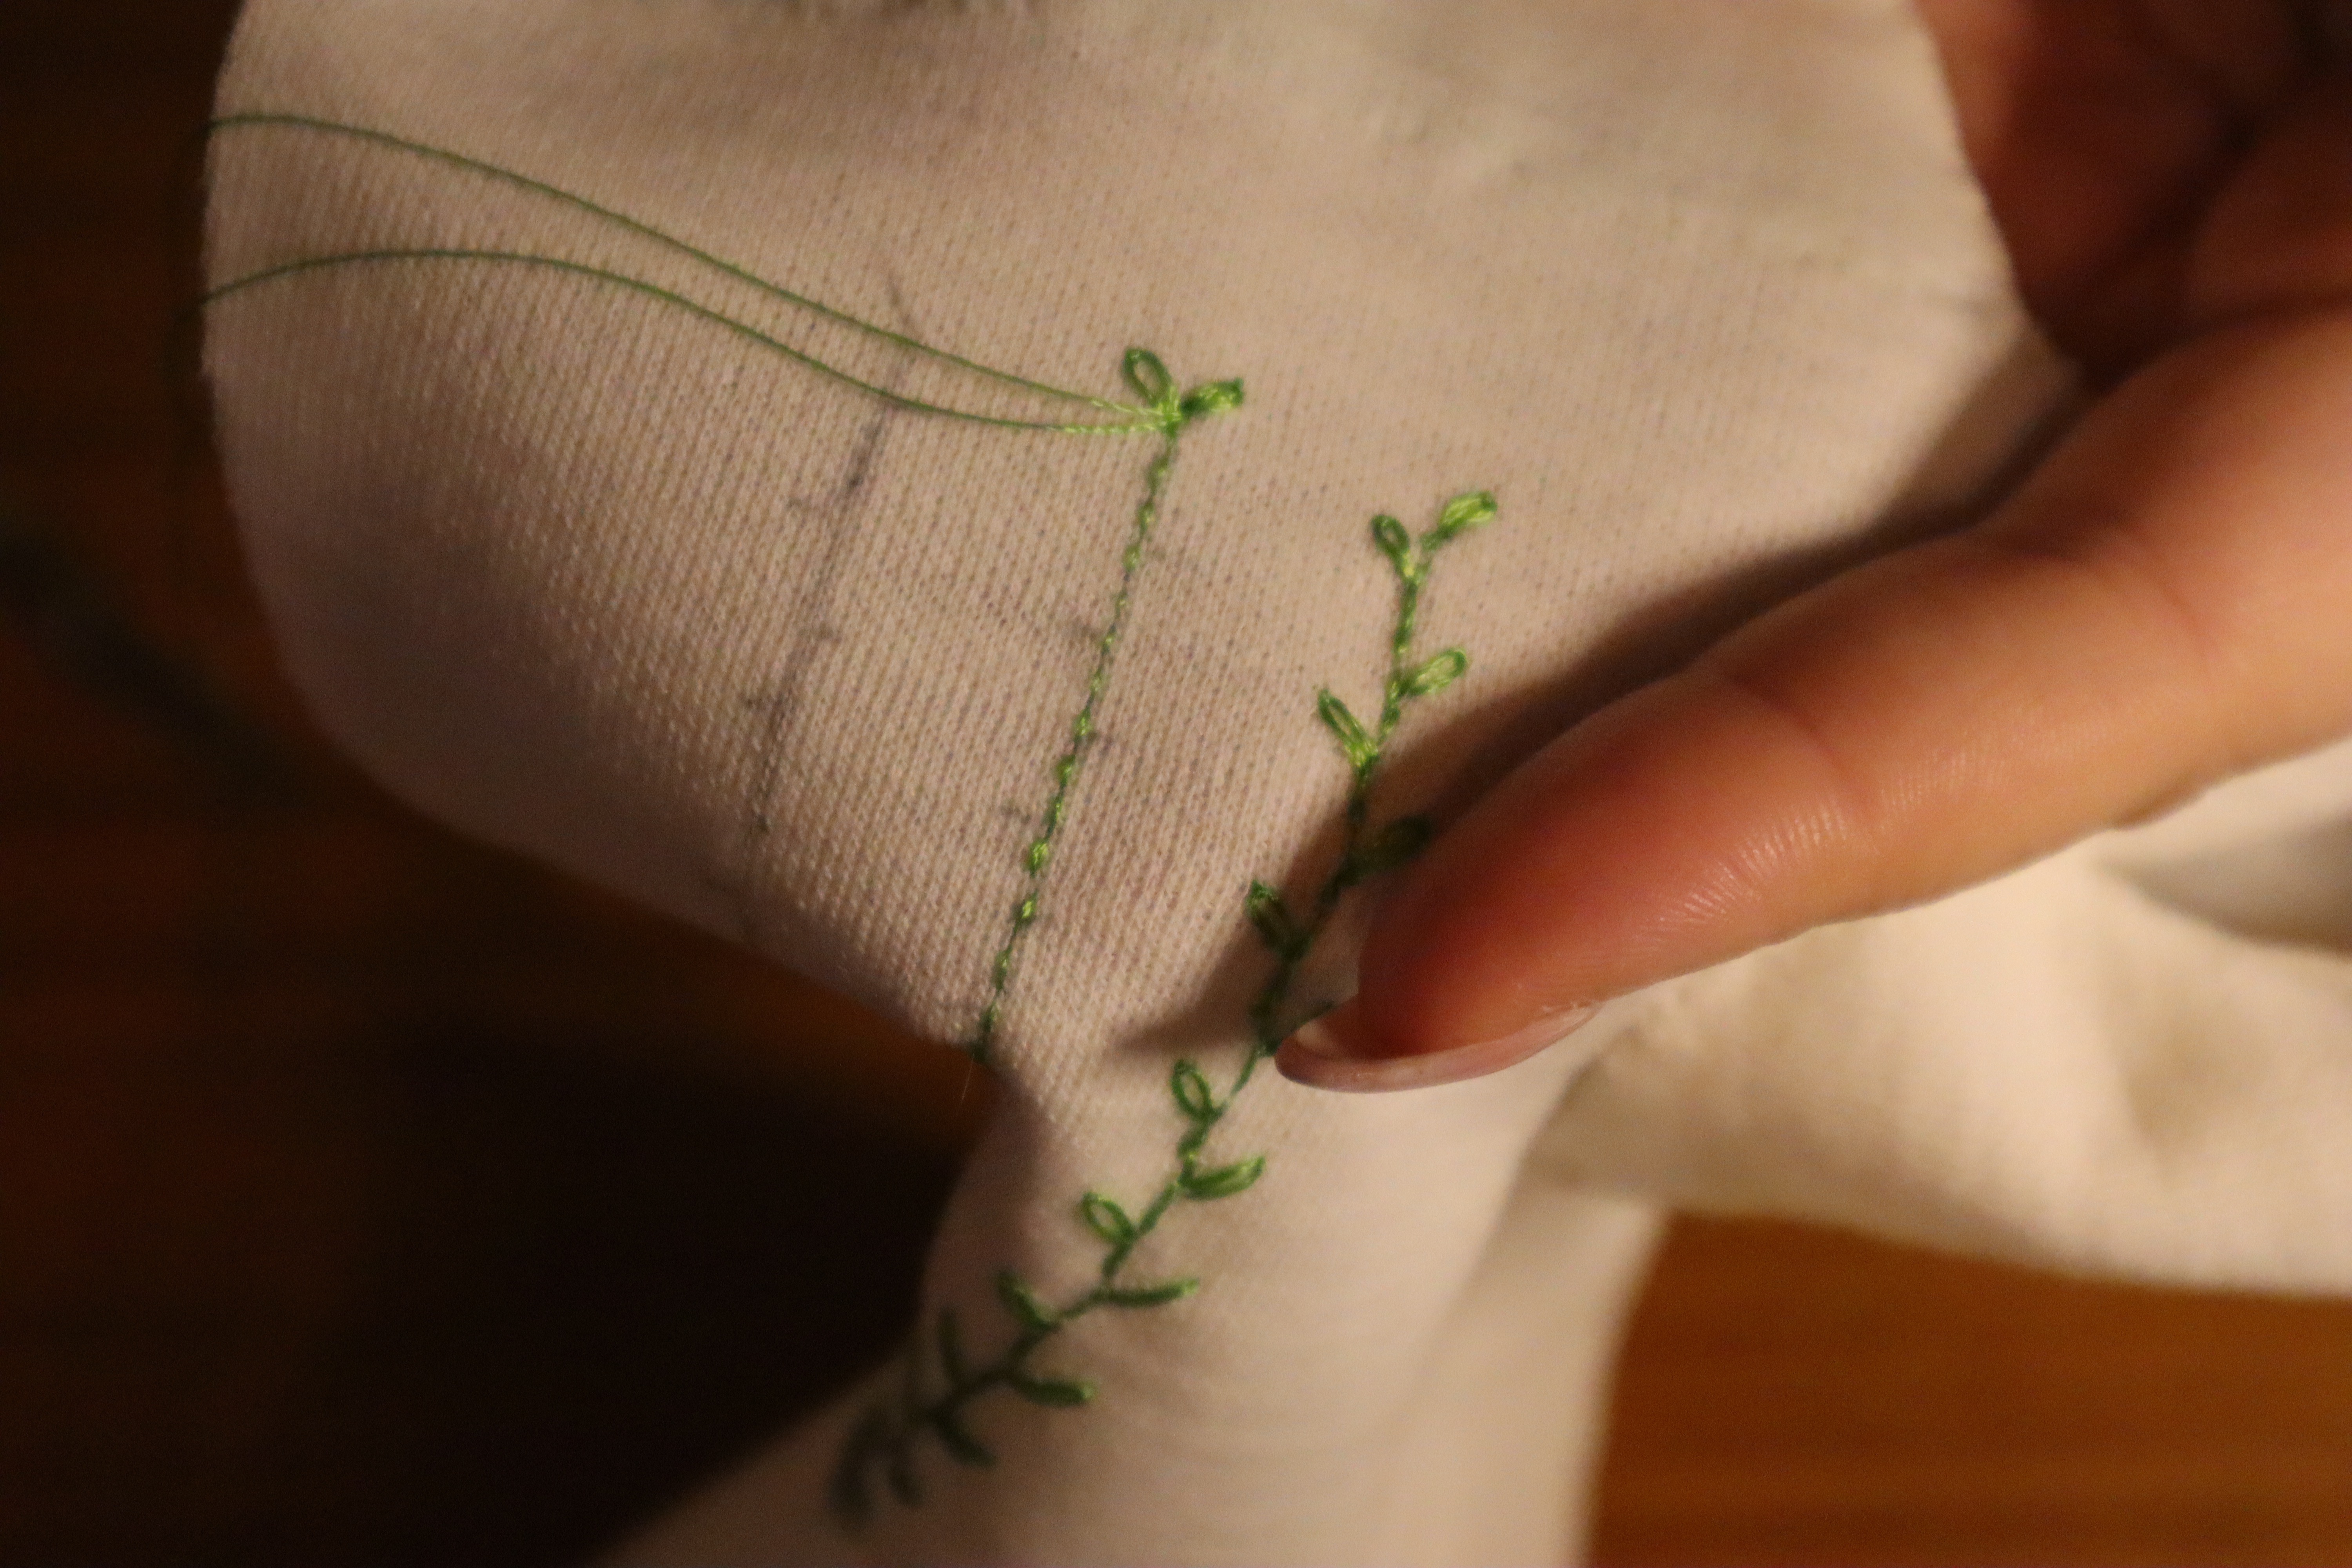
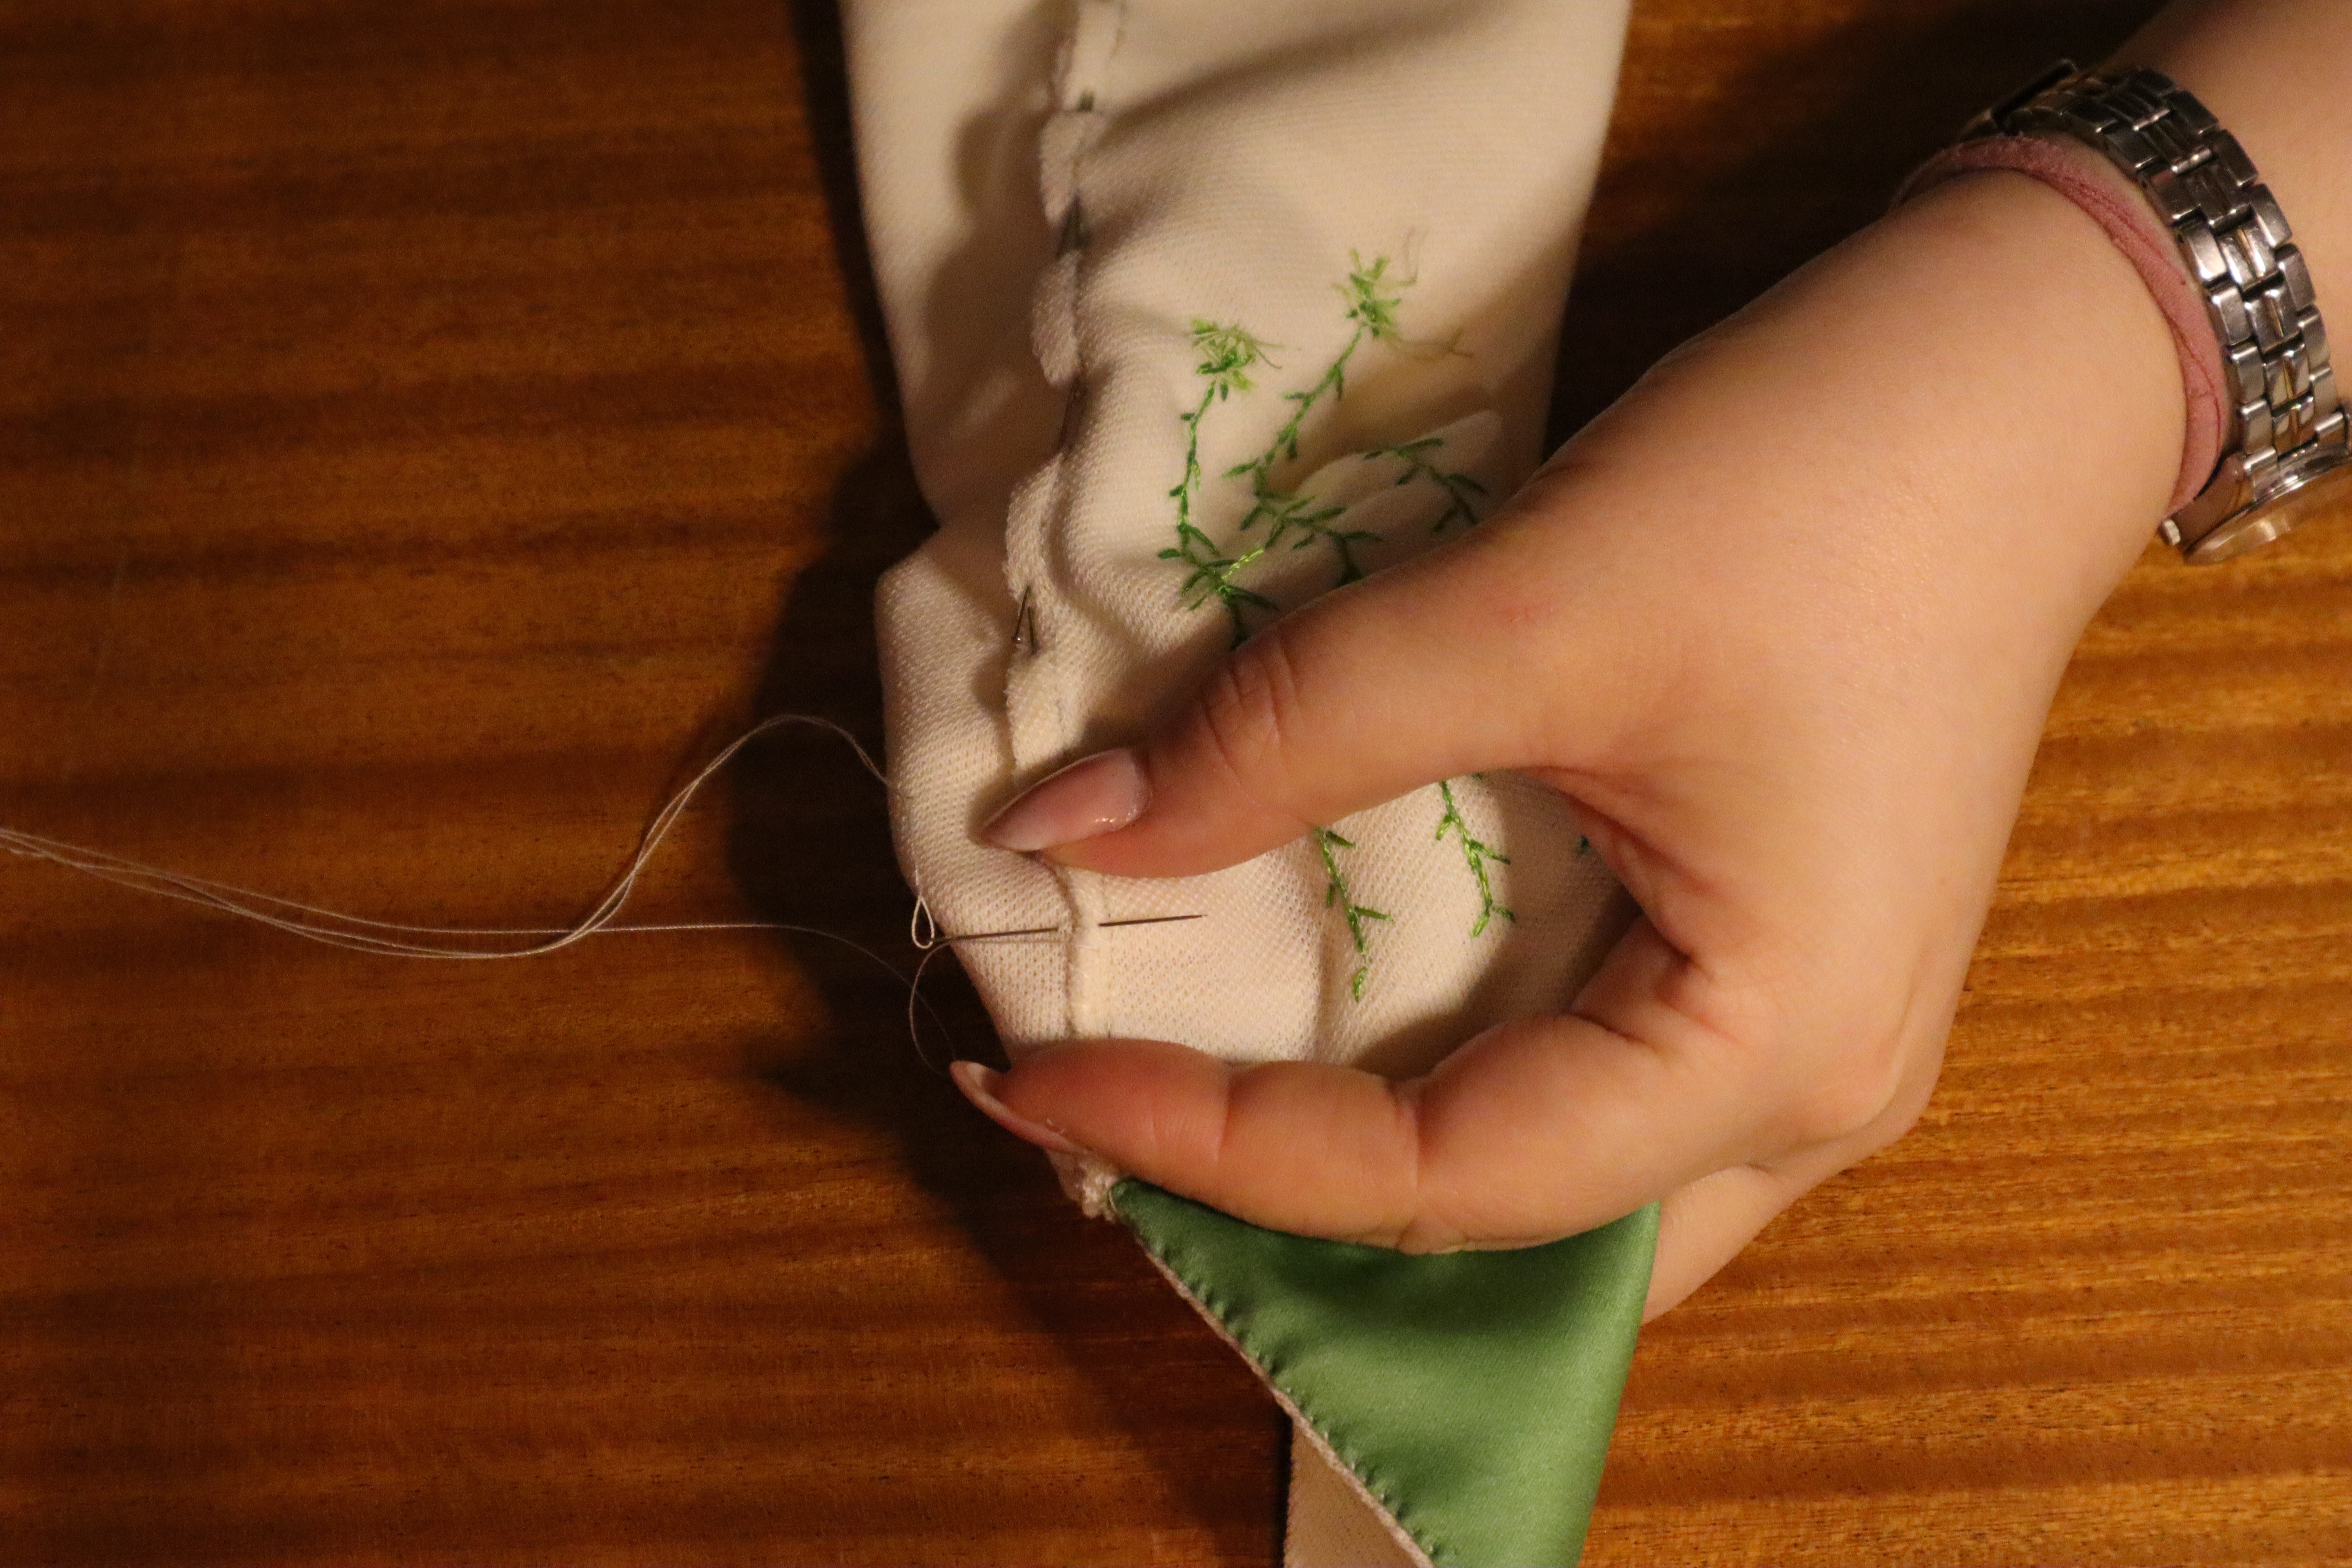
My inspirational pair are embroidered, three delicate strings of leaves in pale green. I decided I wanted to embroider mine too, and as they came together fairly quickly, and I had the time to do it. I drew the “pattern” on with a pencil, and used just plain backstitch, worked in a double thin, green silk thread, for the strings.

The leaves, I worked using a mille fleur stitch, which looks cute and impressive, but is fairly easy and quick to do.


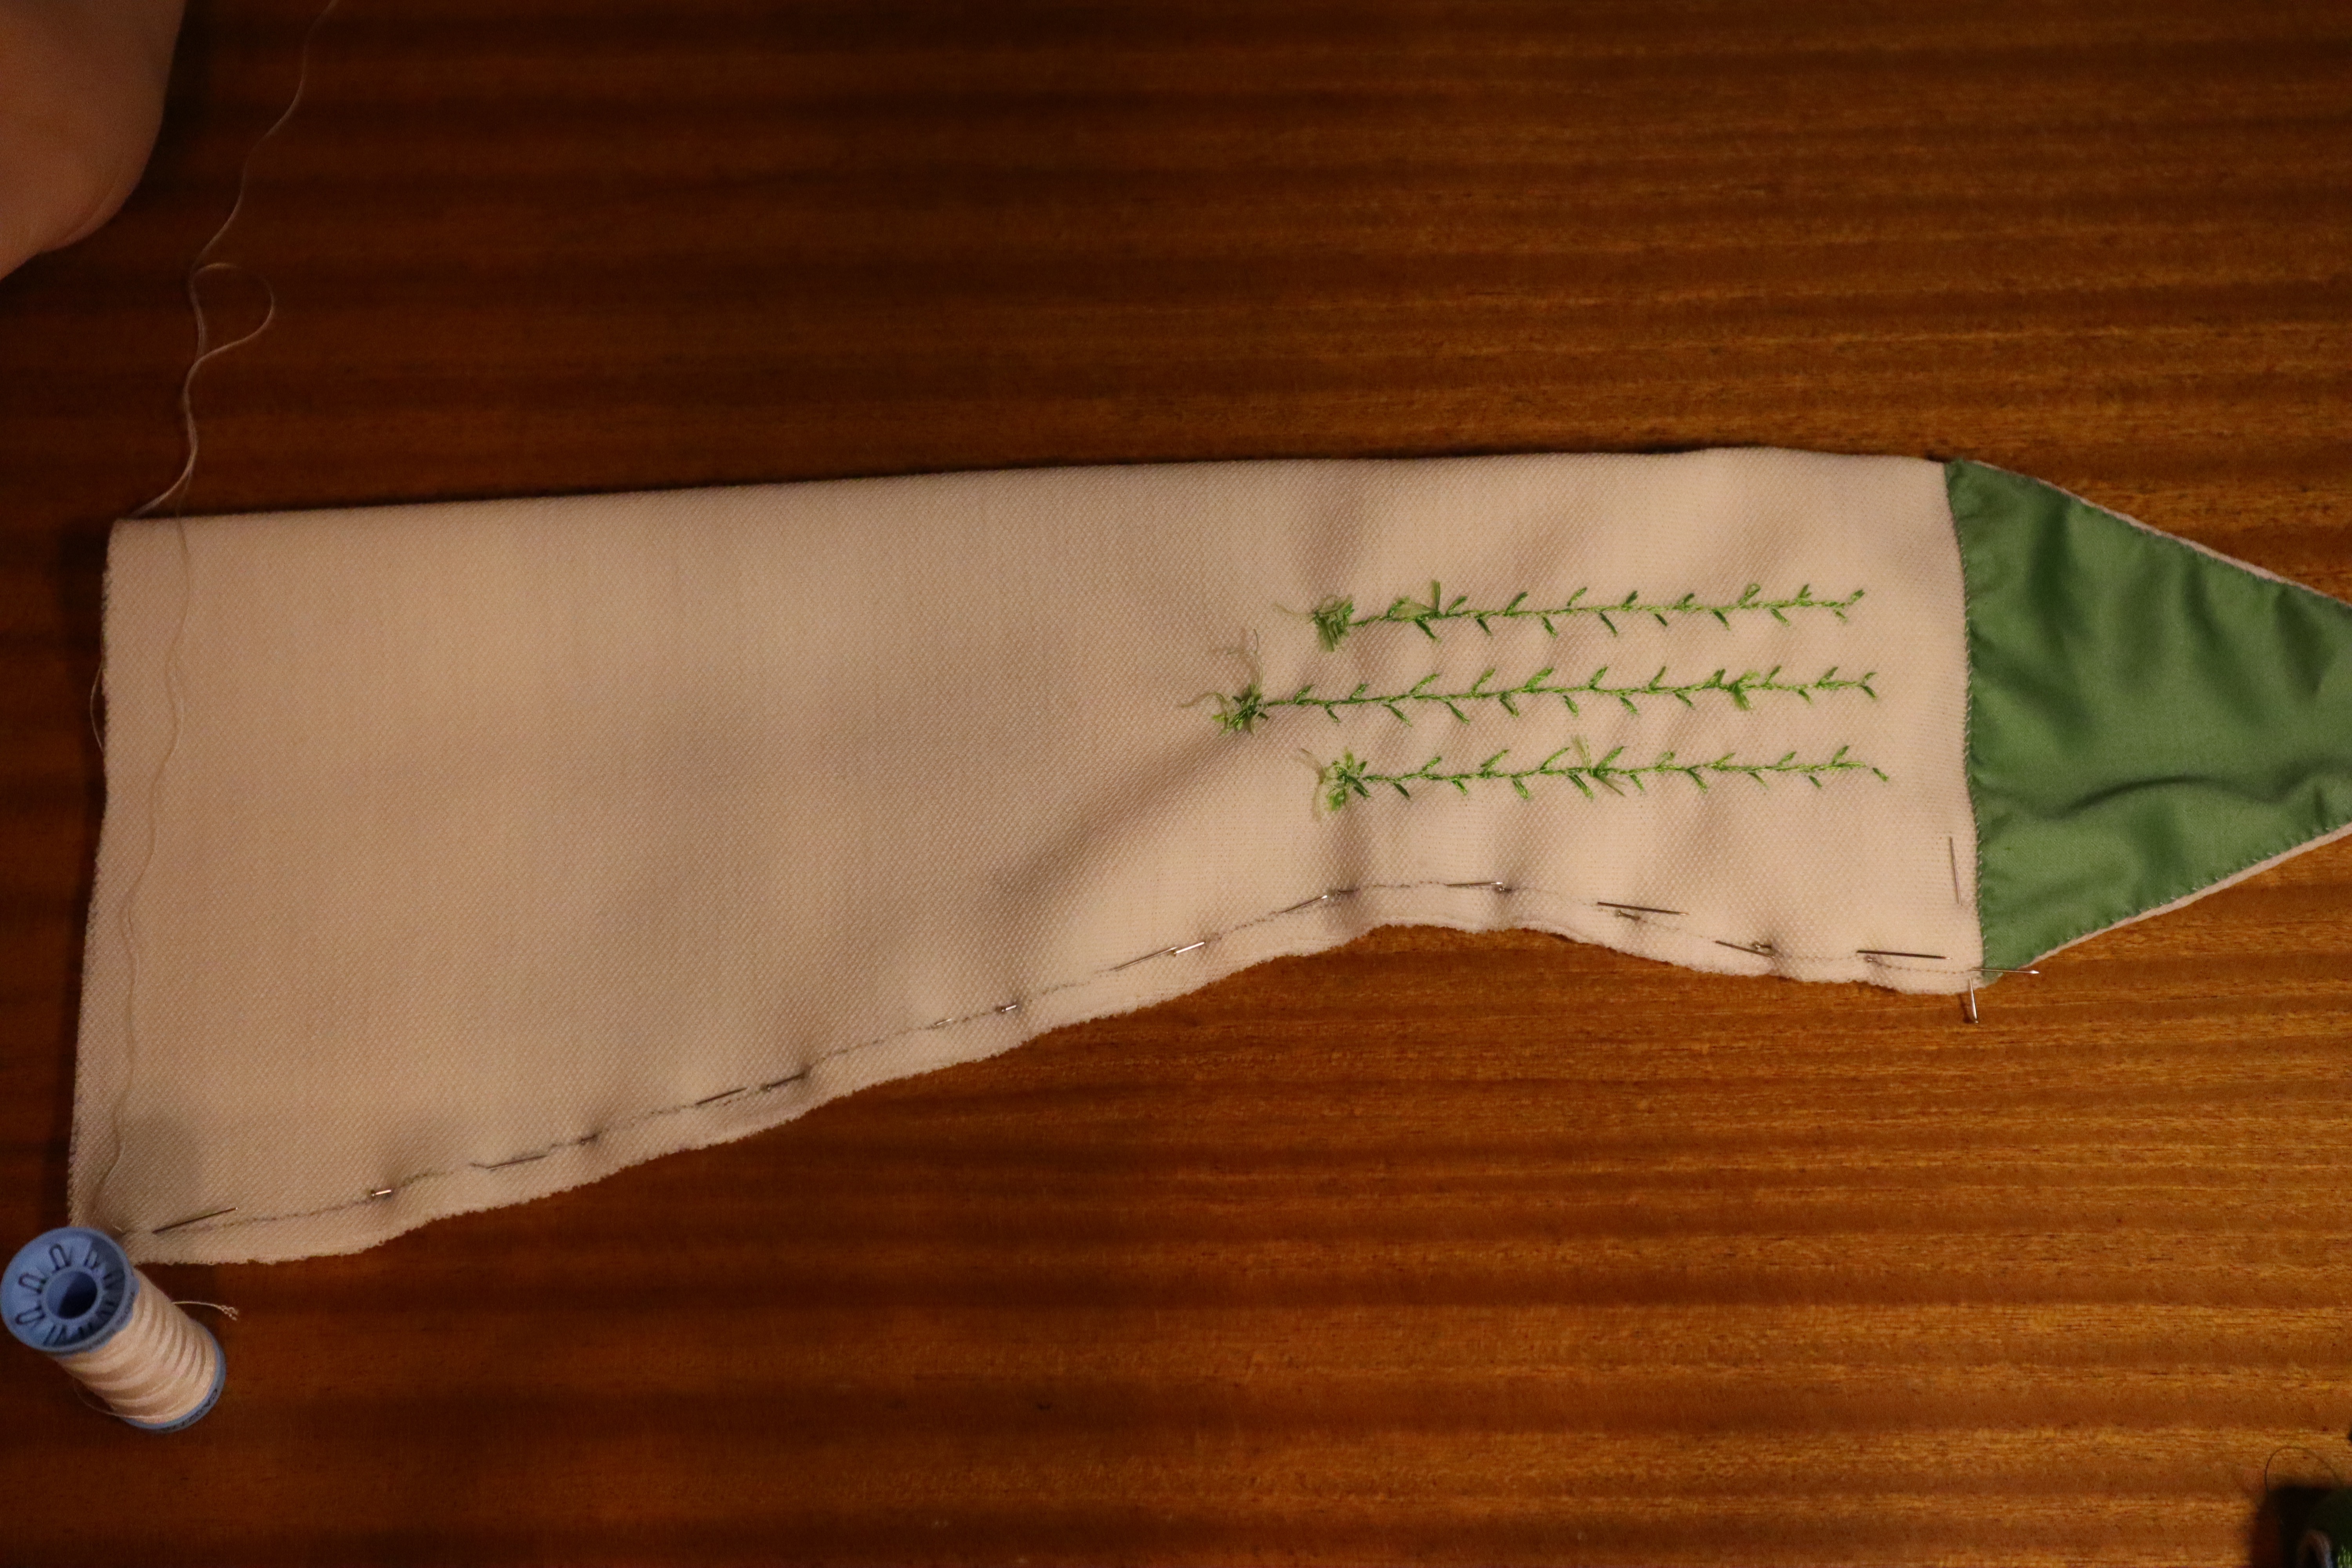
I was happy I decided to make the embroidery before I sewed the mittens together, although the sewing was fairly simple and quick to do. I used a backstitch, to give the mittens some added elasticity, and pressed the seam allowance to one side, hem stitching it down, as with the thumb. The idea of think, bulky, uncomfortable seams inside the mittens was not nice.

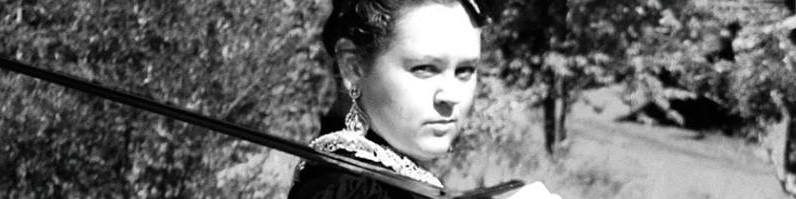
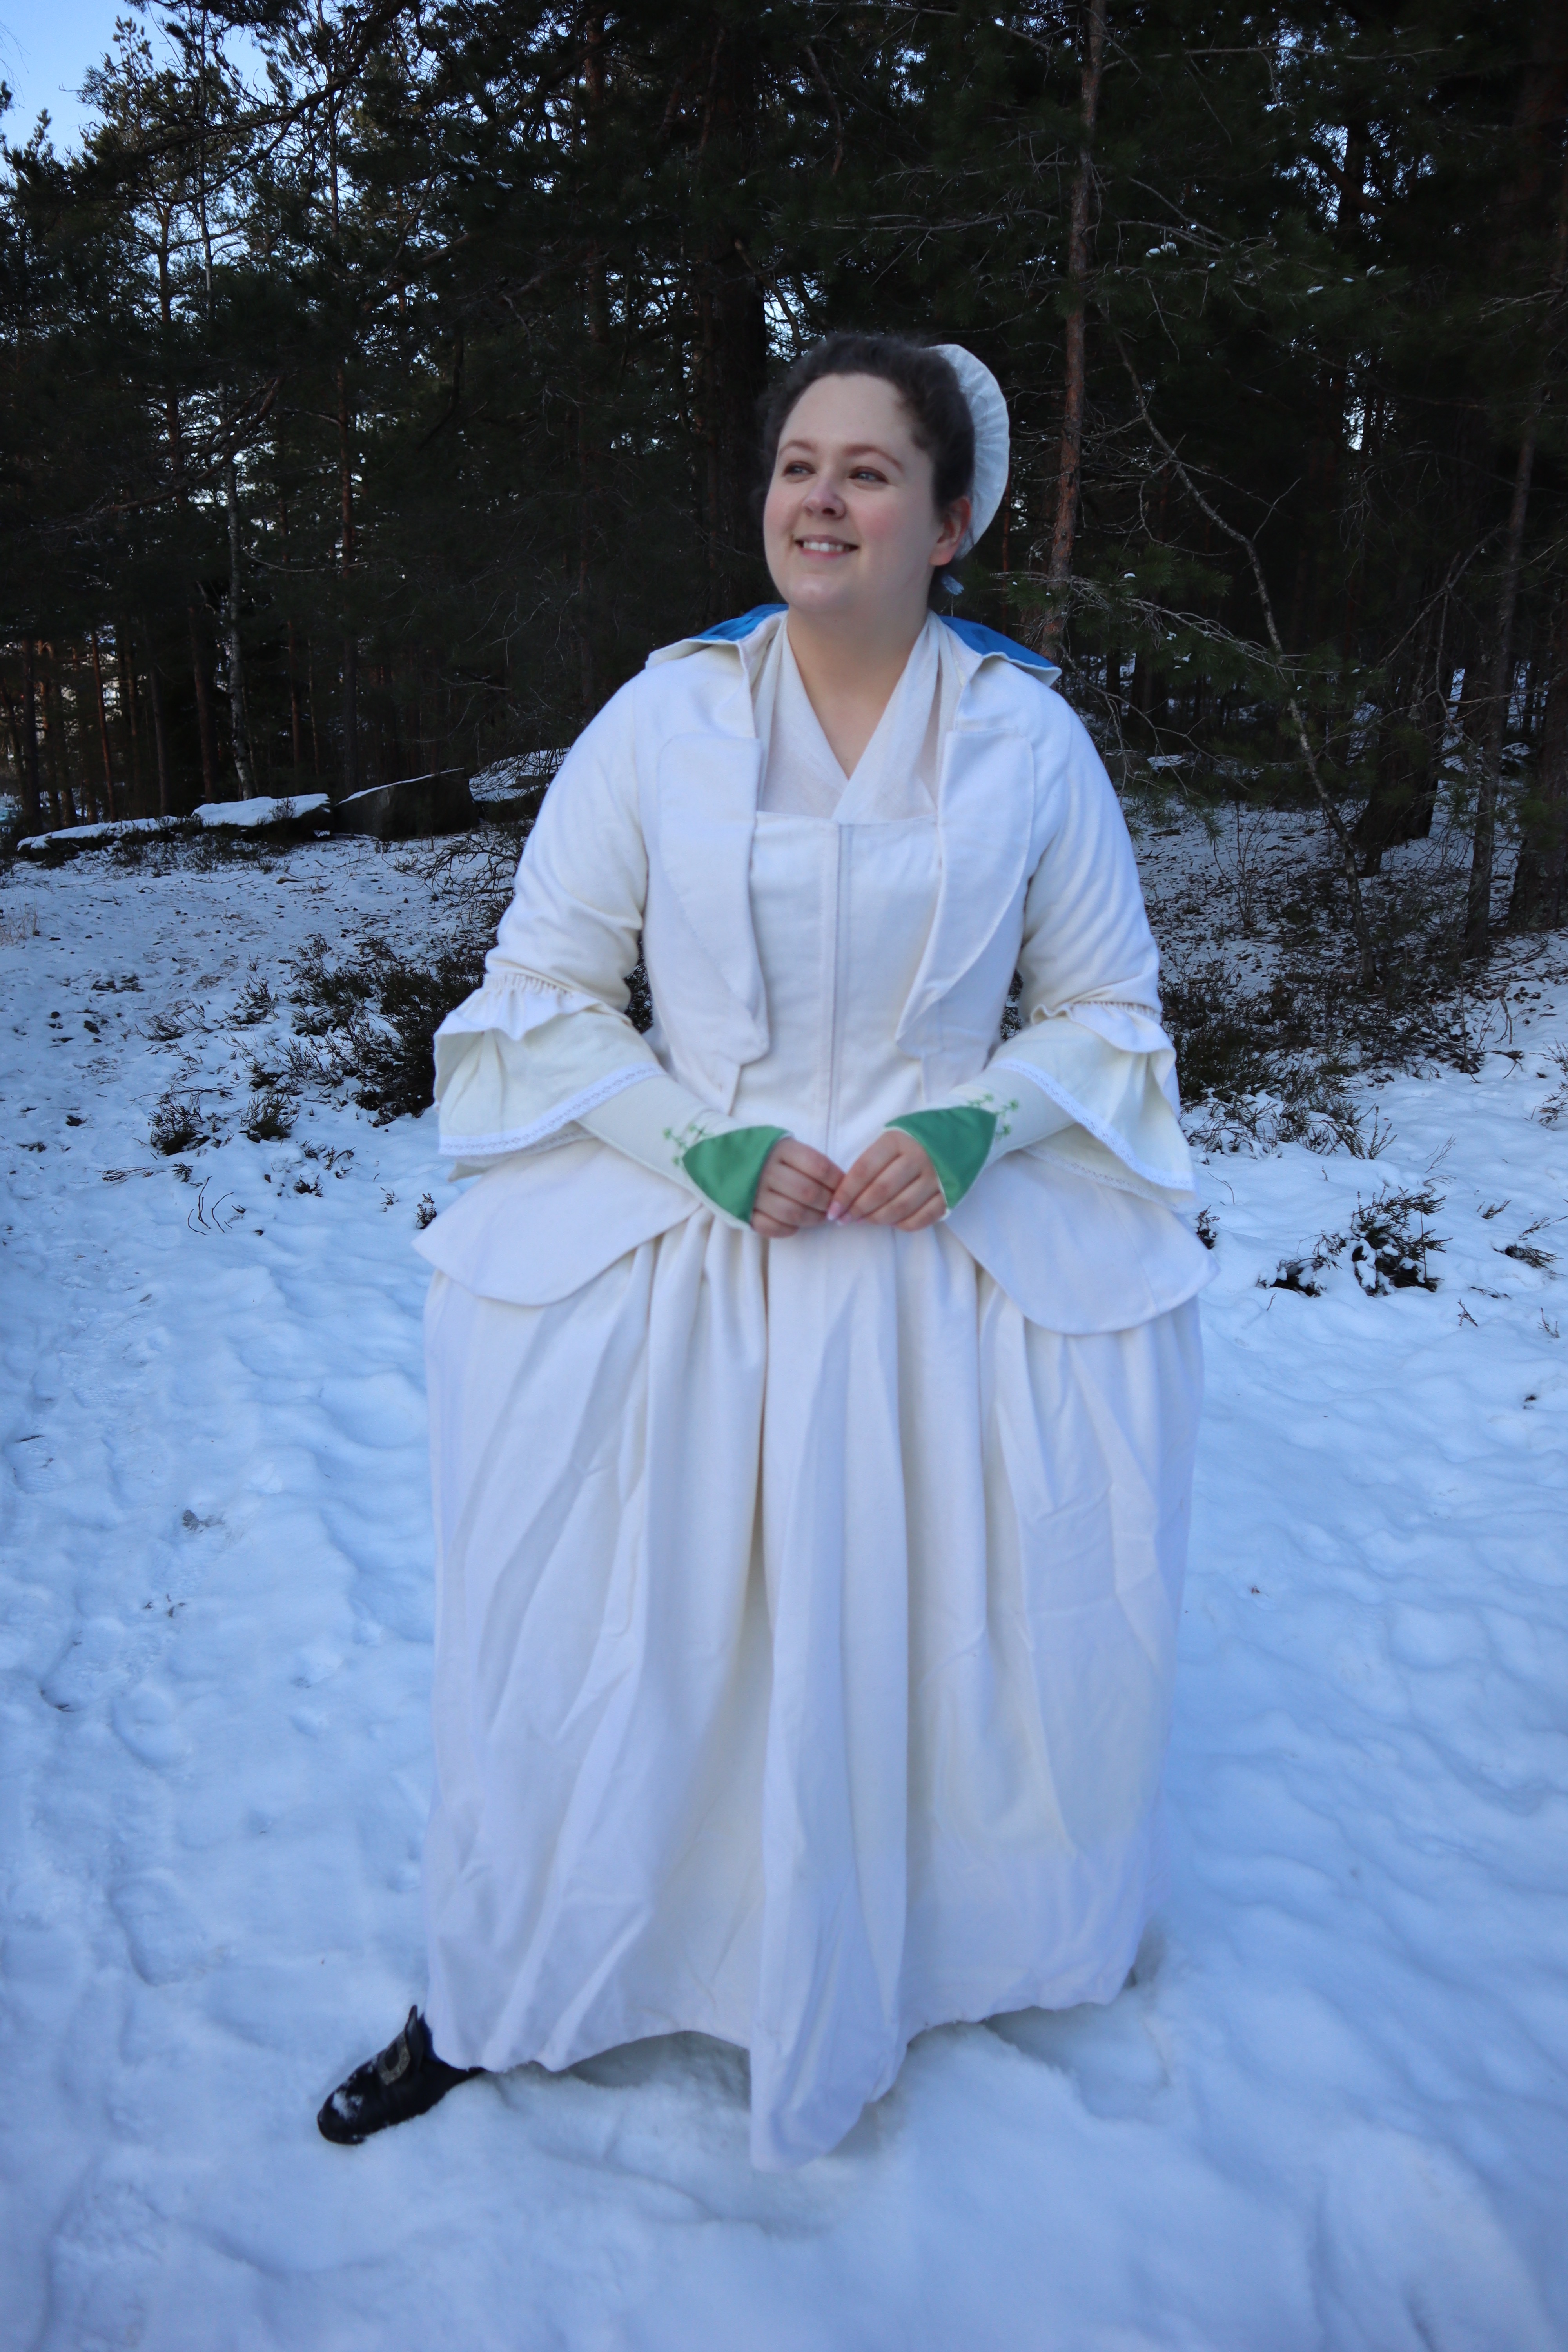
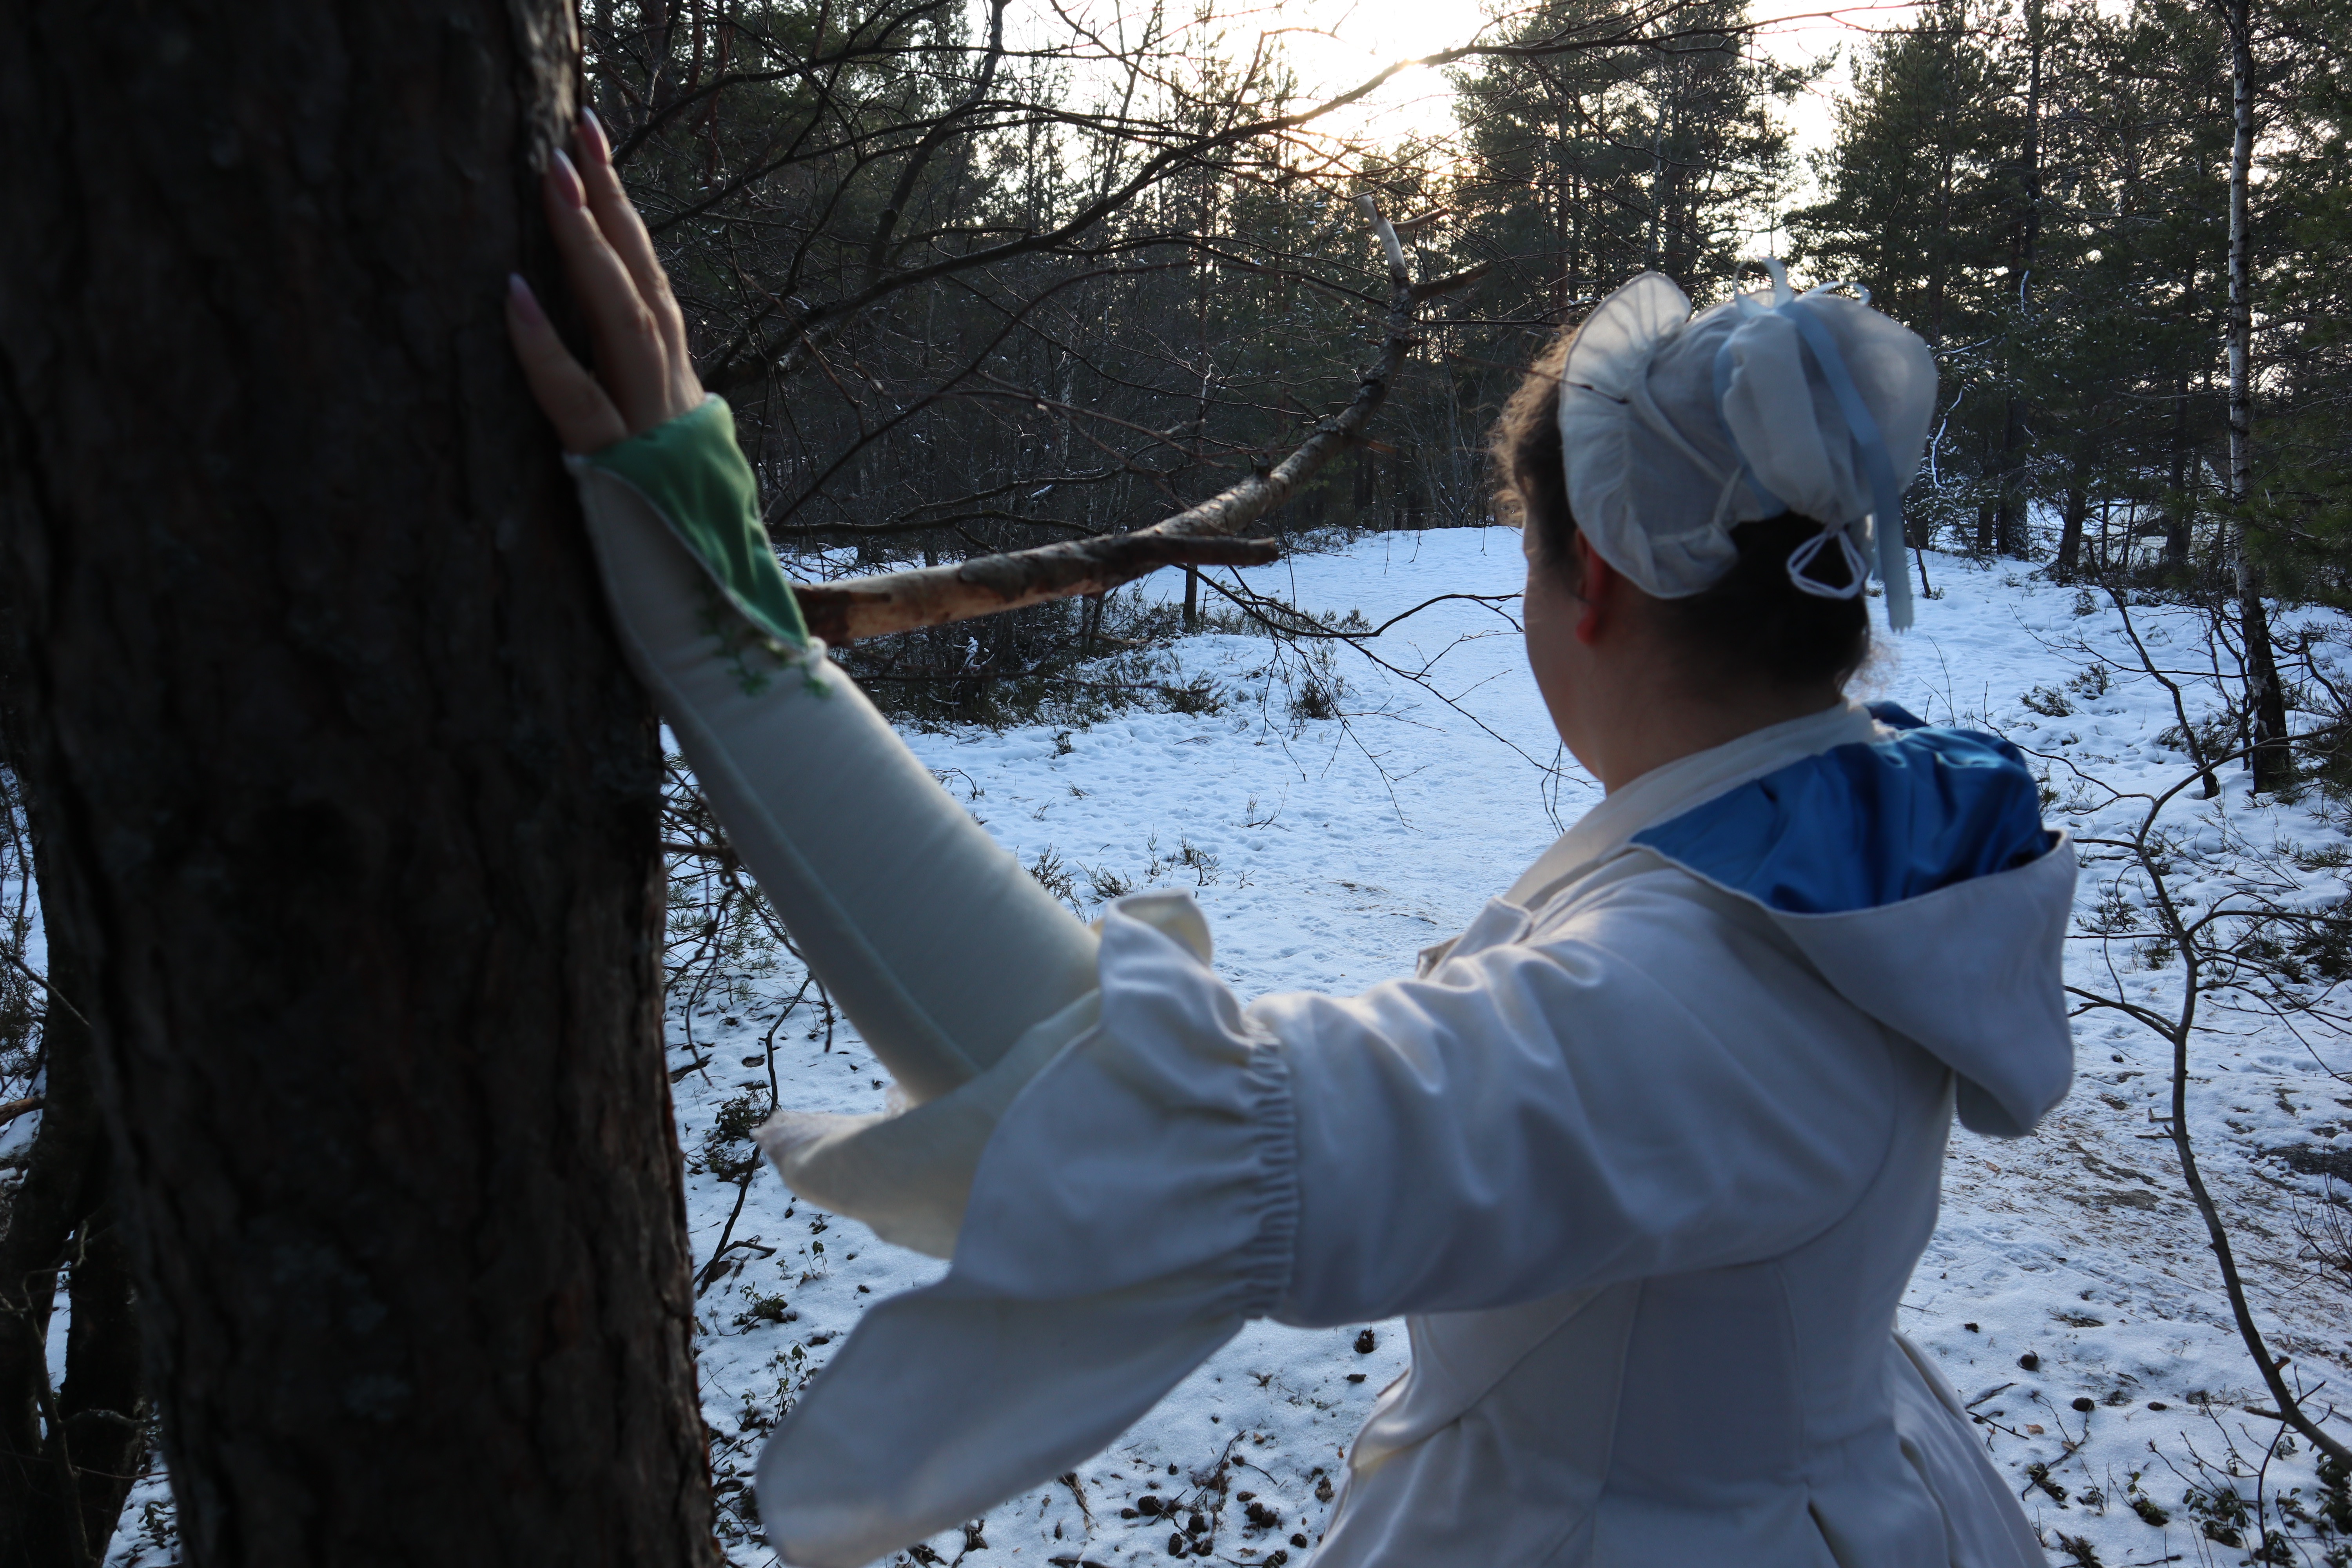
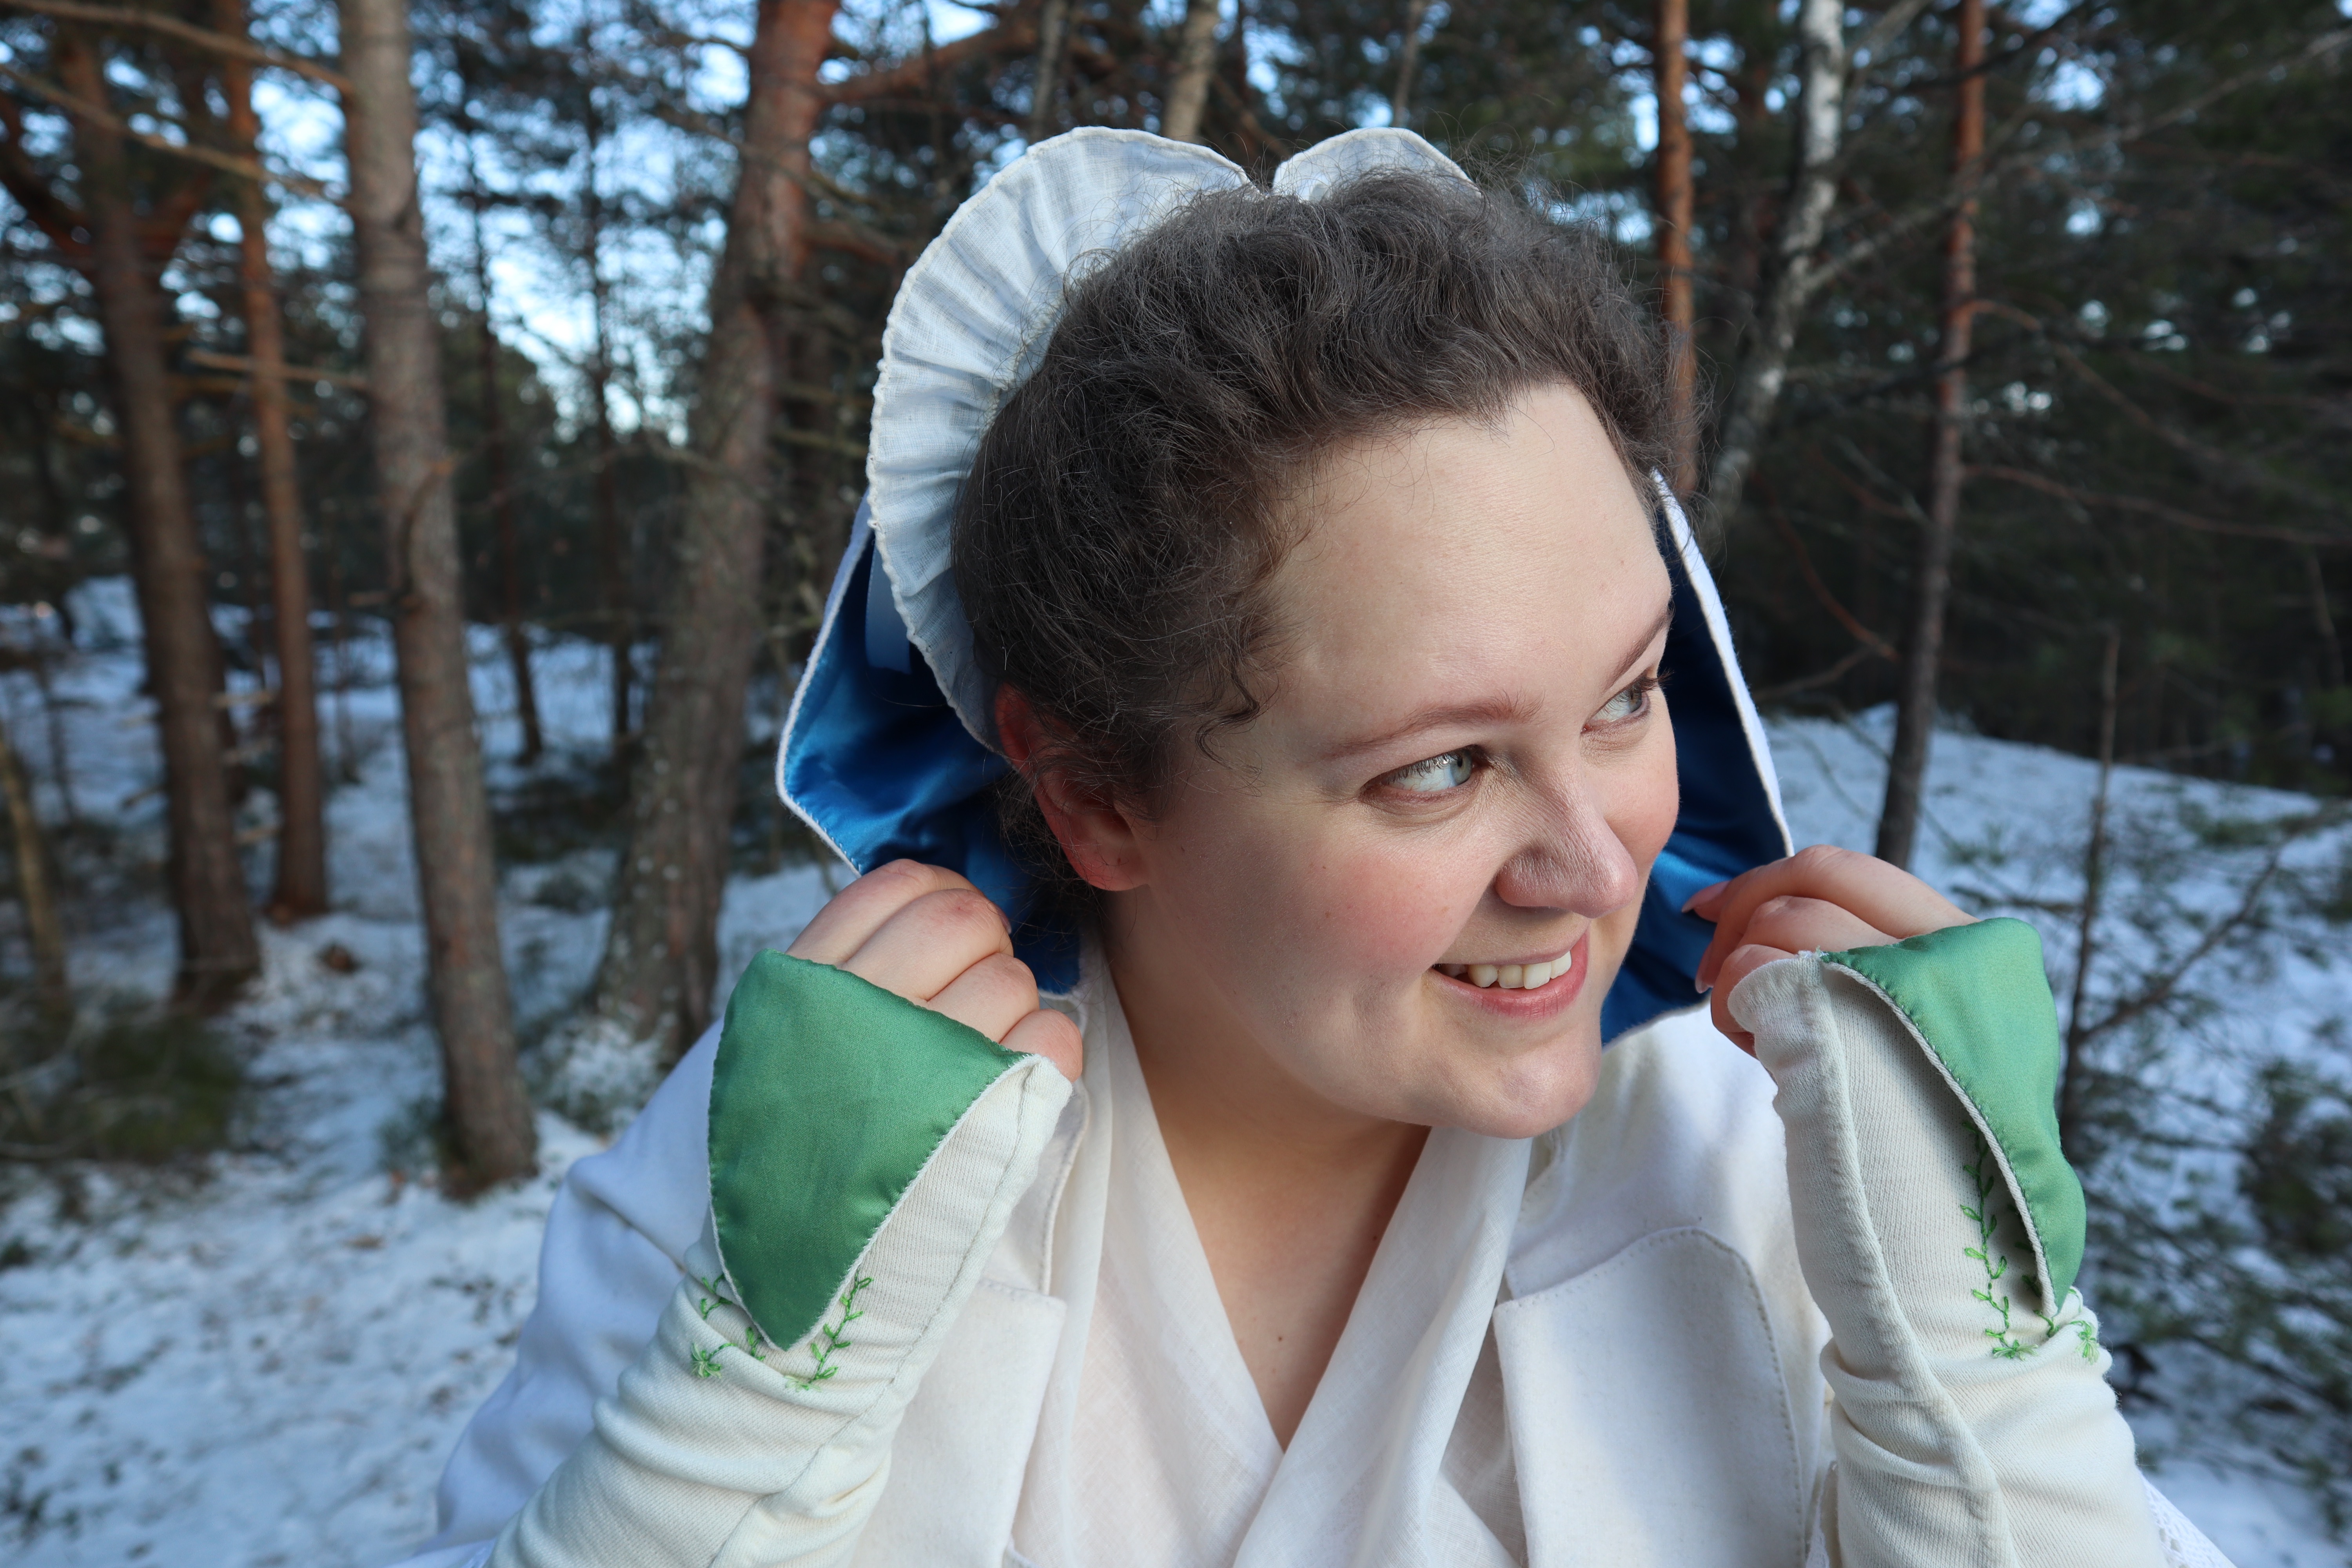
And with the mitts done, it was time to take them for a bit of a test ride in my friendly, but chilly, neighborhood forest!

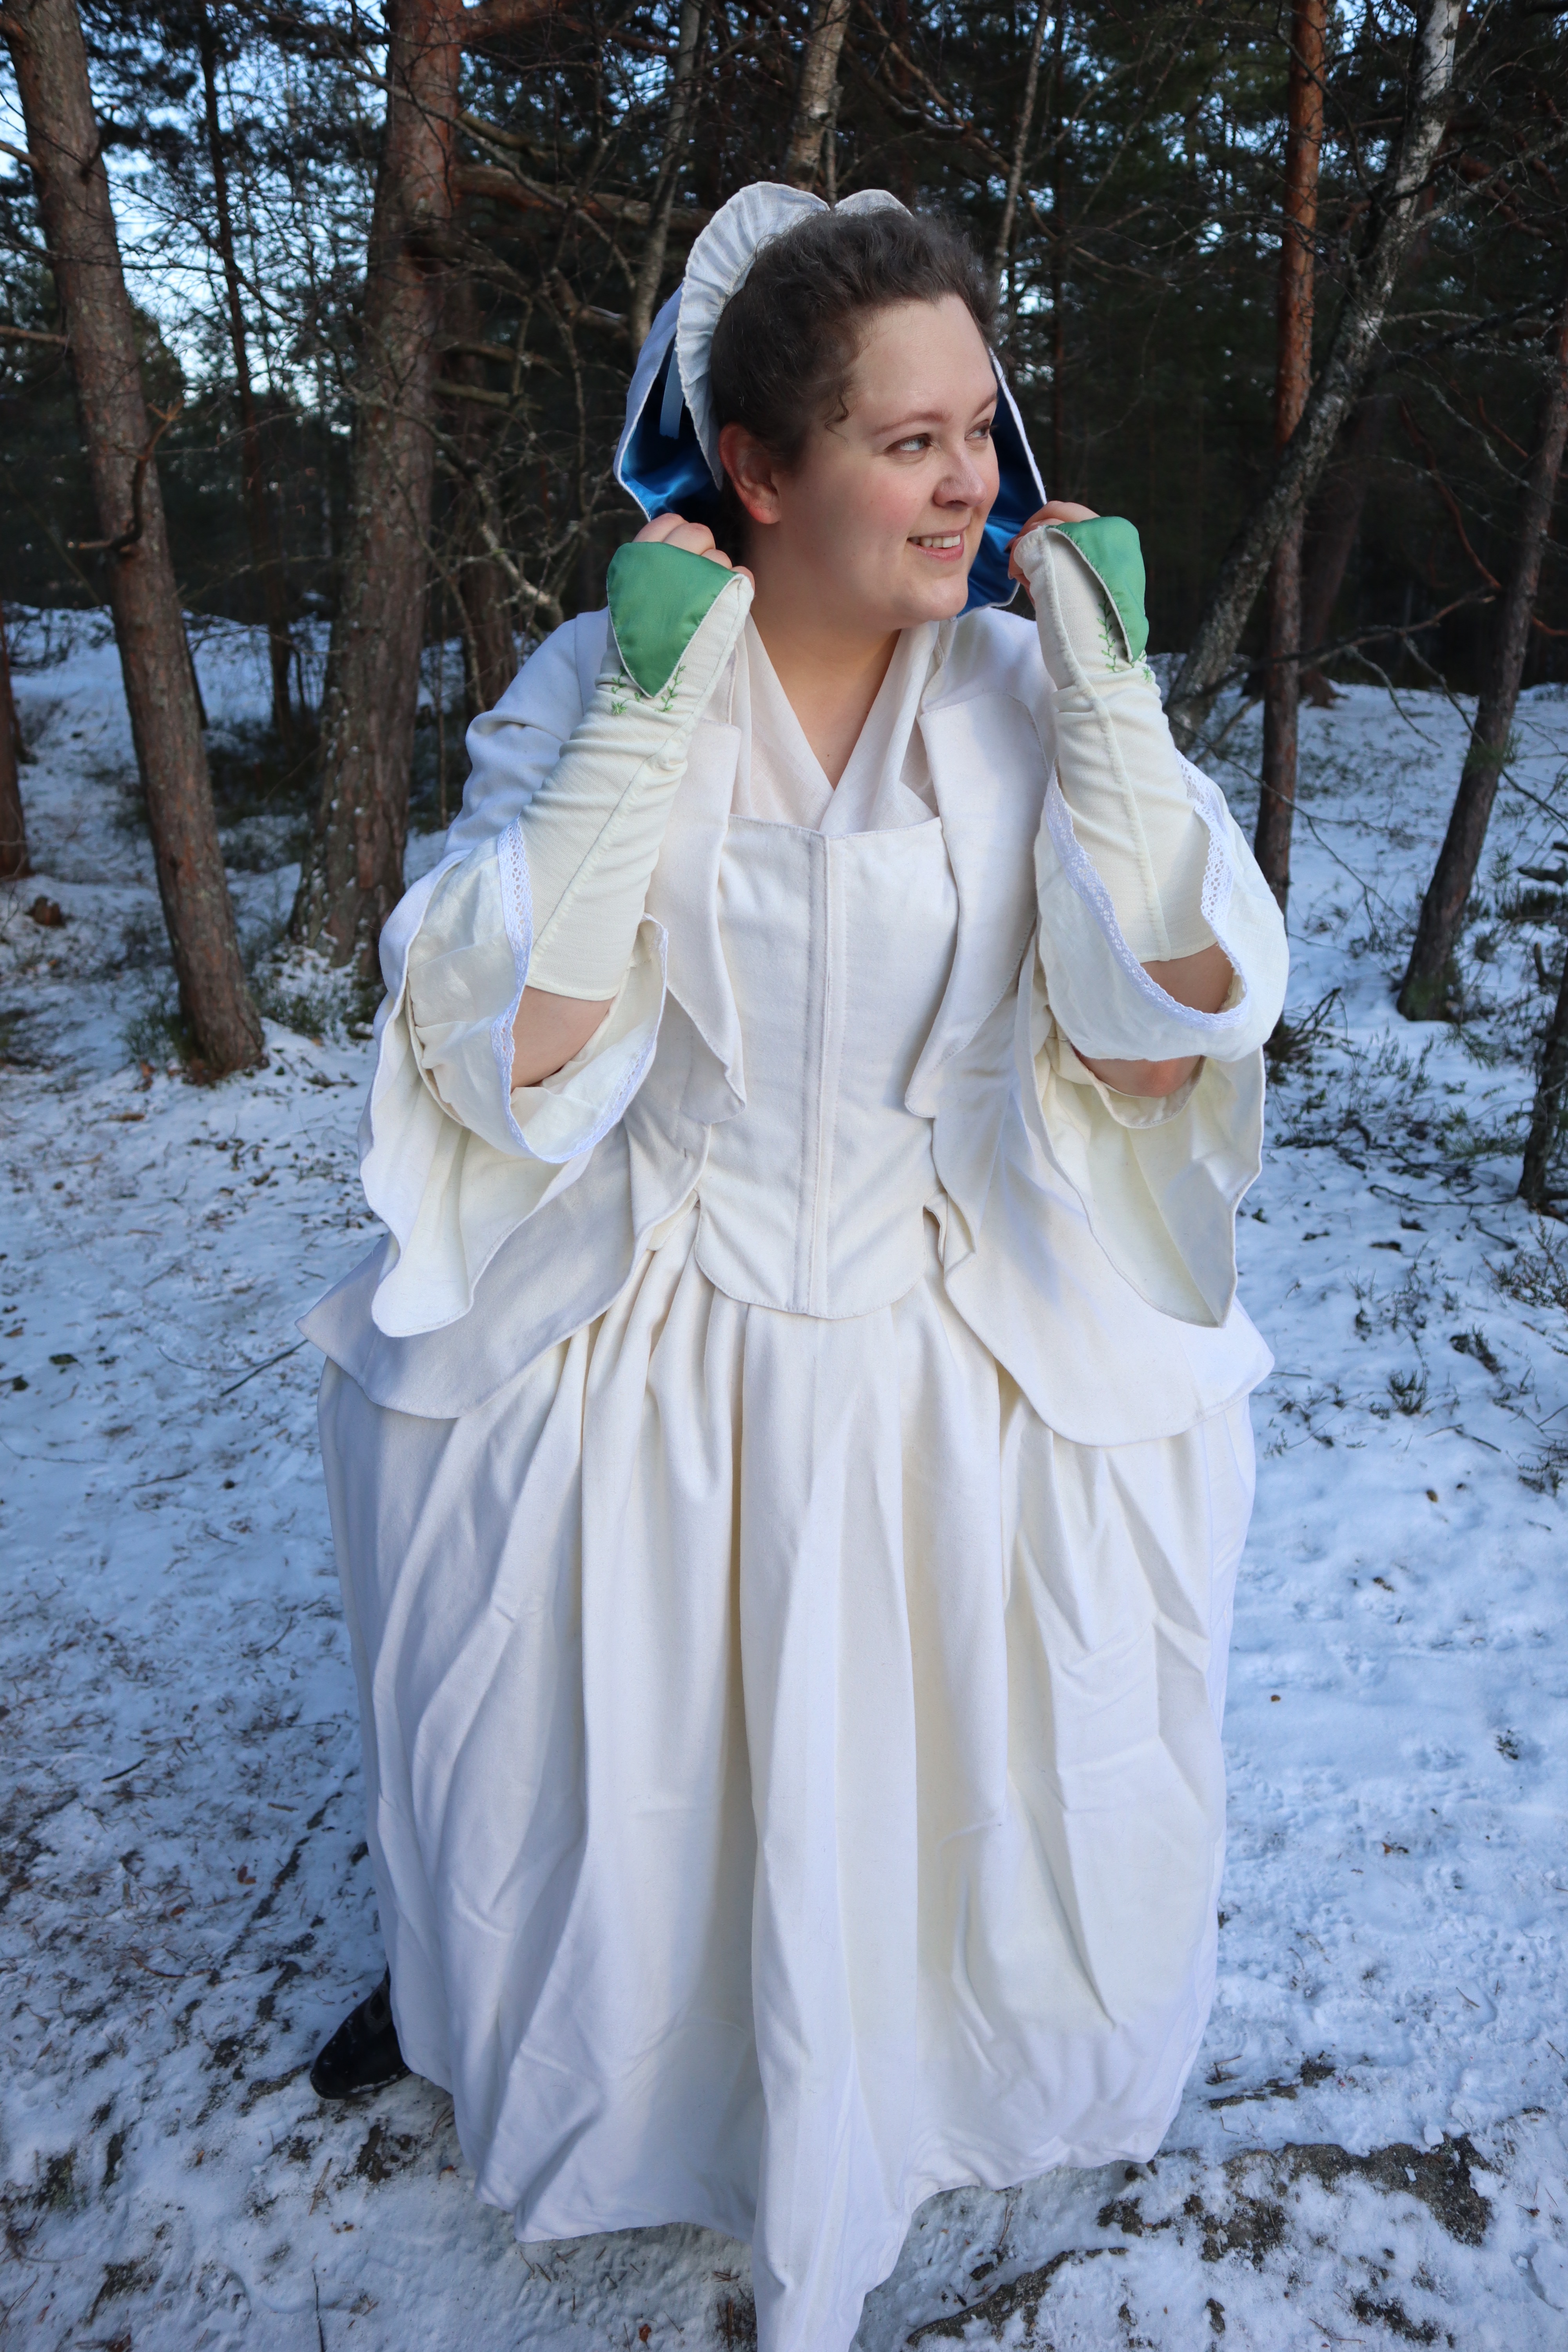

I have always loved 18th century mittens but always get the tips of my fingers cold, even with regular gloves. Did you find them great for warmth or were you still cold because of the exposed fingers?
It was a really cold day, so my fingers grew cold after a while, but they were very comfy!