
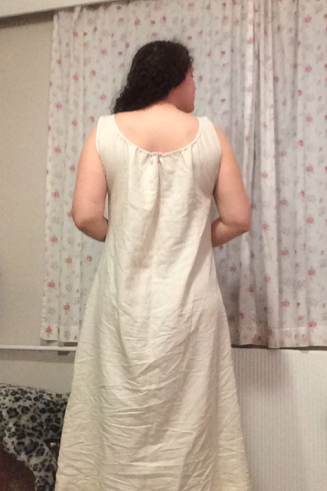
Chemise number two! Done exactly the same way as the first one, only without sleeves, and it works really well. Need ironing, other than that it’s done!
Here follows a small tutorial on how to do side-gores on skirts and dresses. This is by no means the only way to do this, but it’s my preferred way. It works, and it’s relatively easy to make pretty.
A gore, in this context, is a fabric triangle, sewn into the side of a garment to give it more width at the bottom without adding bulk at the top. I’ll show gores sewn into an opening here.
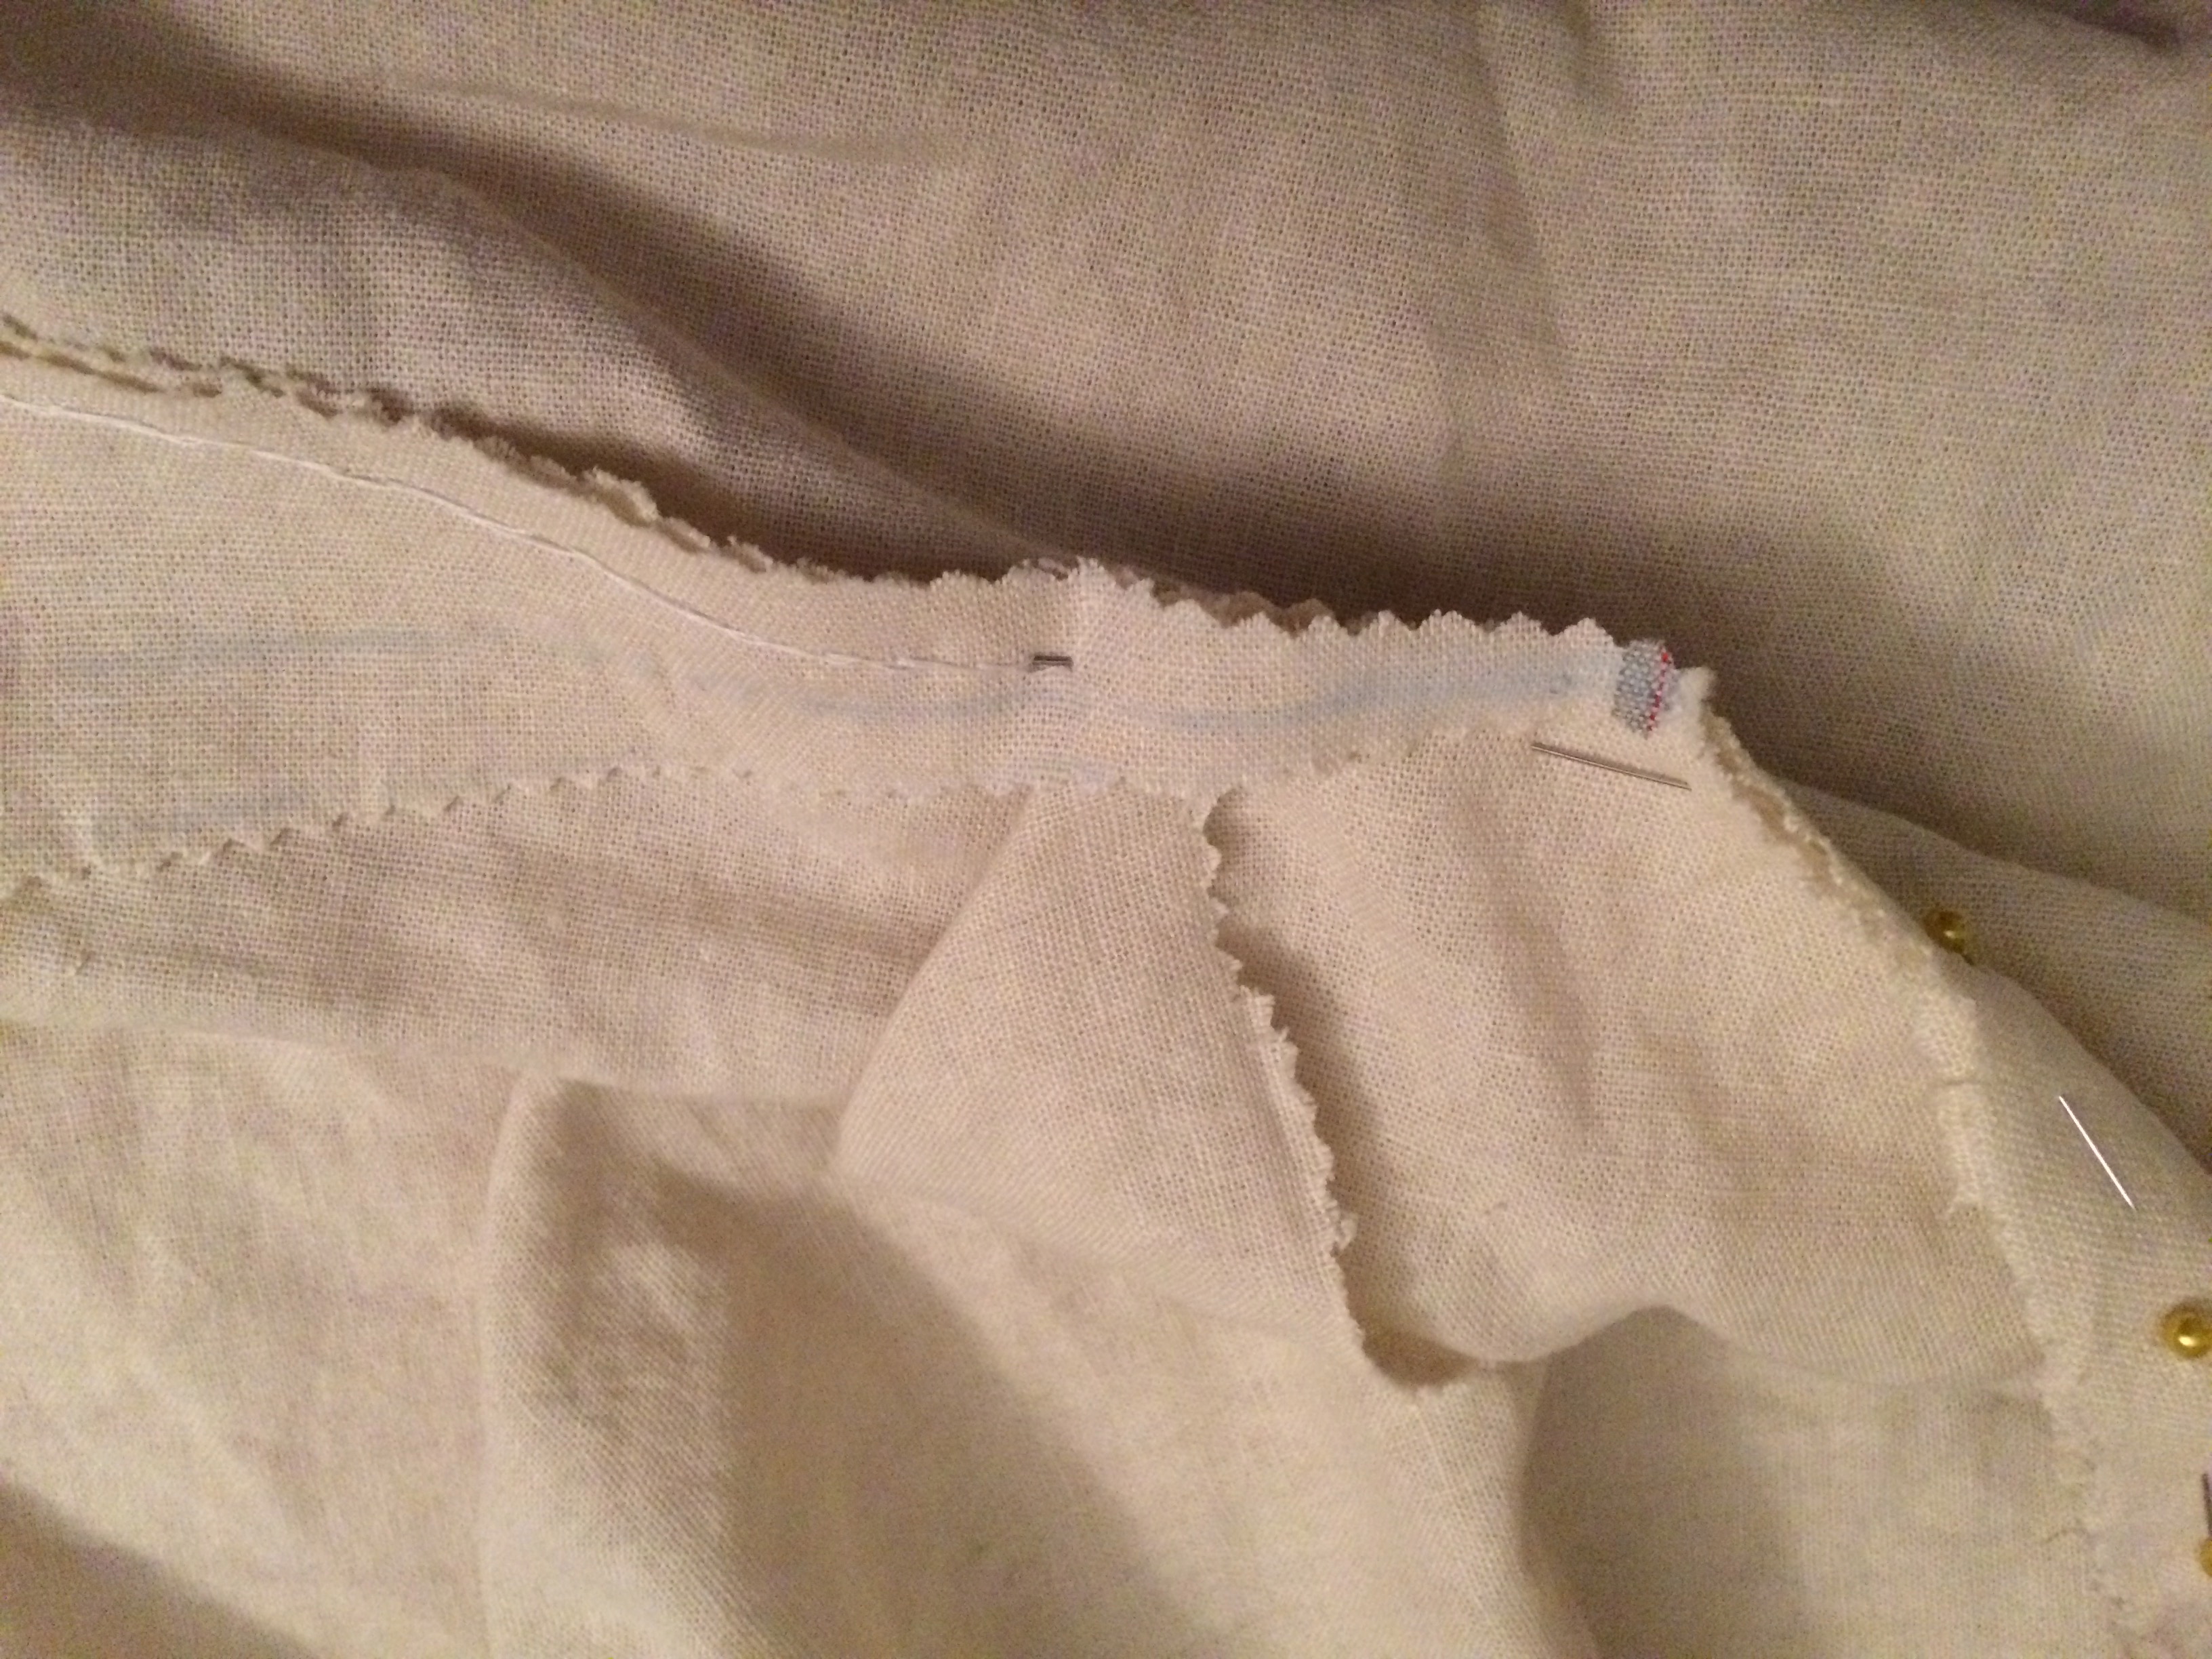
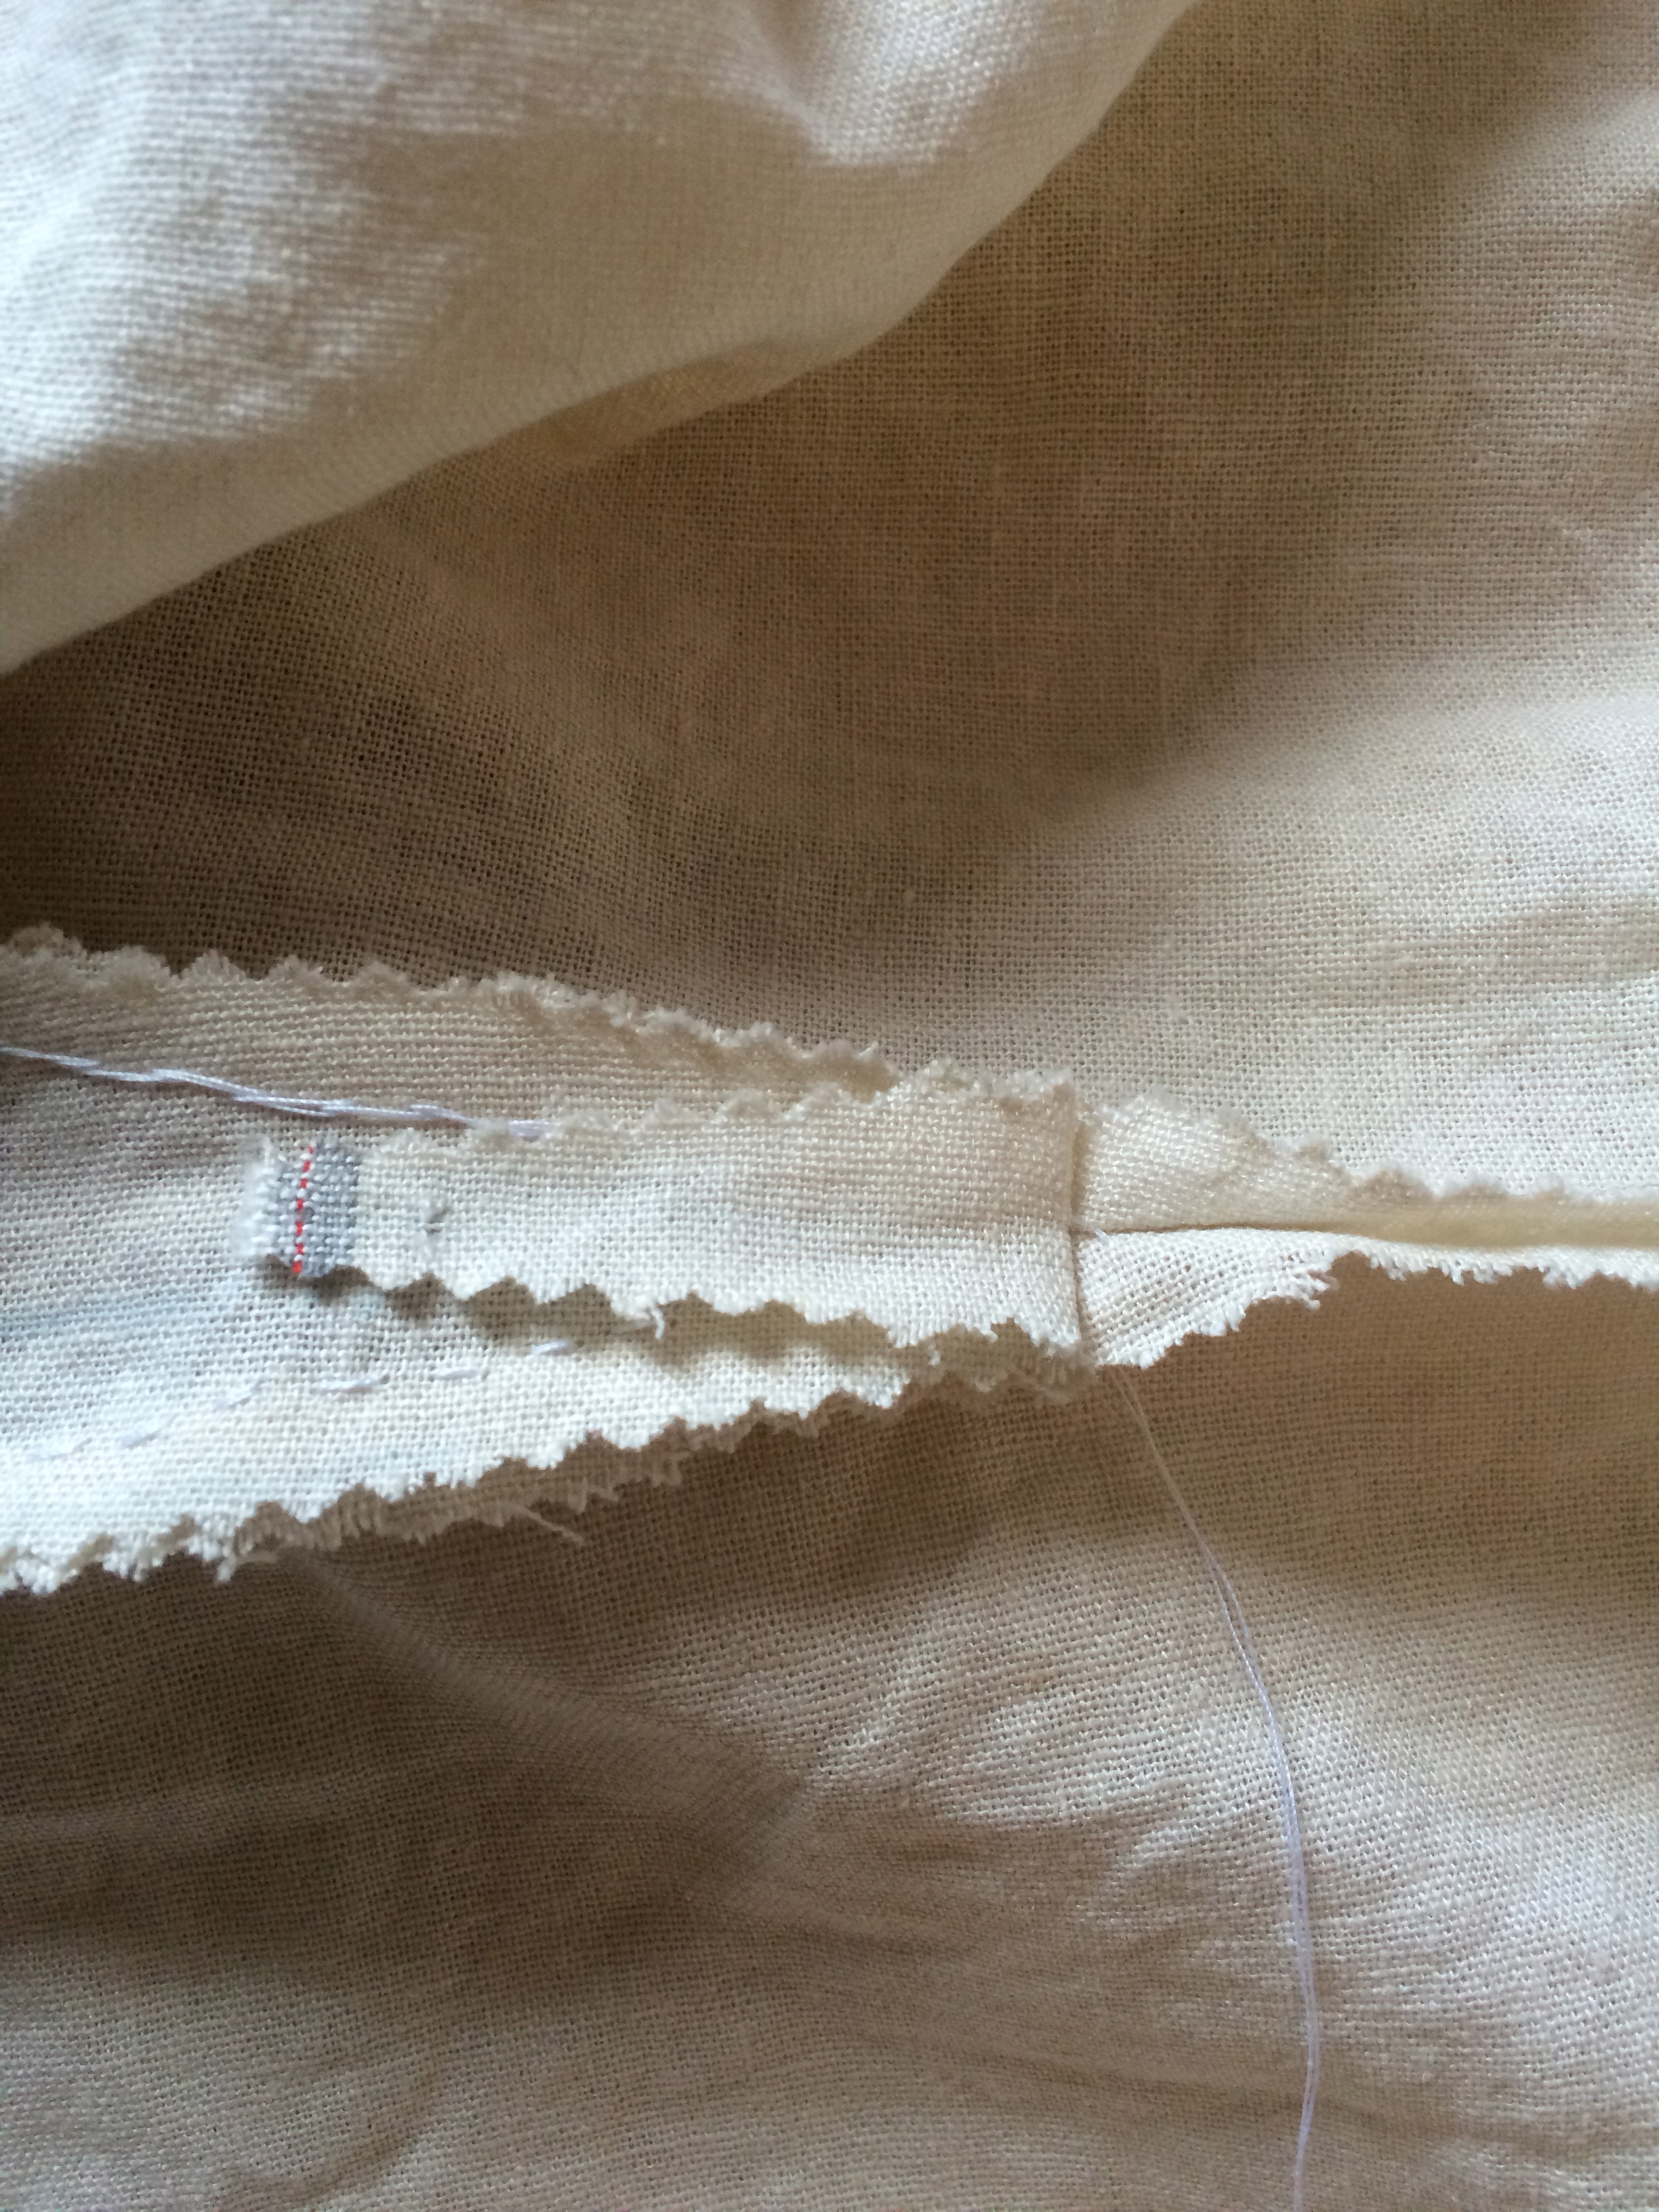
1. Make sure the fabric doesn’t unravel. Here, I’ve used pinking shears.
2.
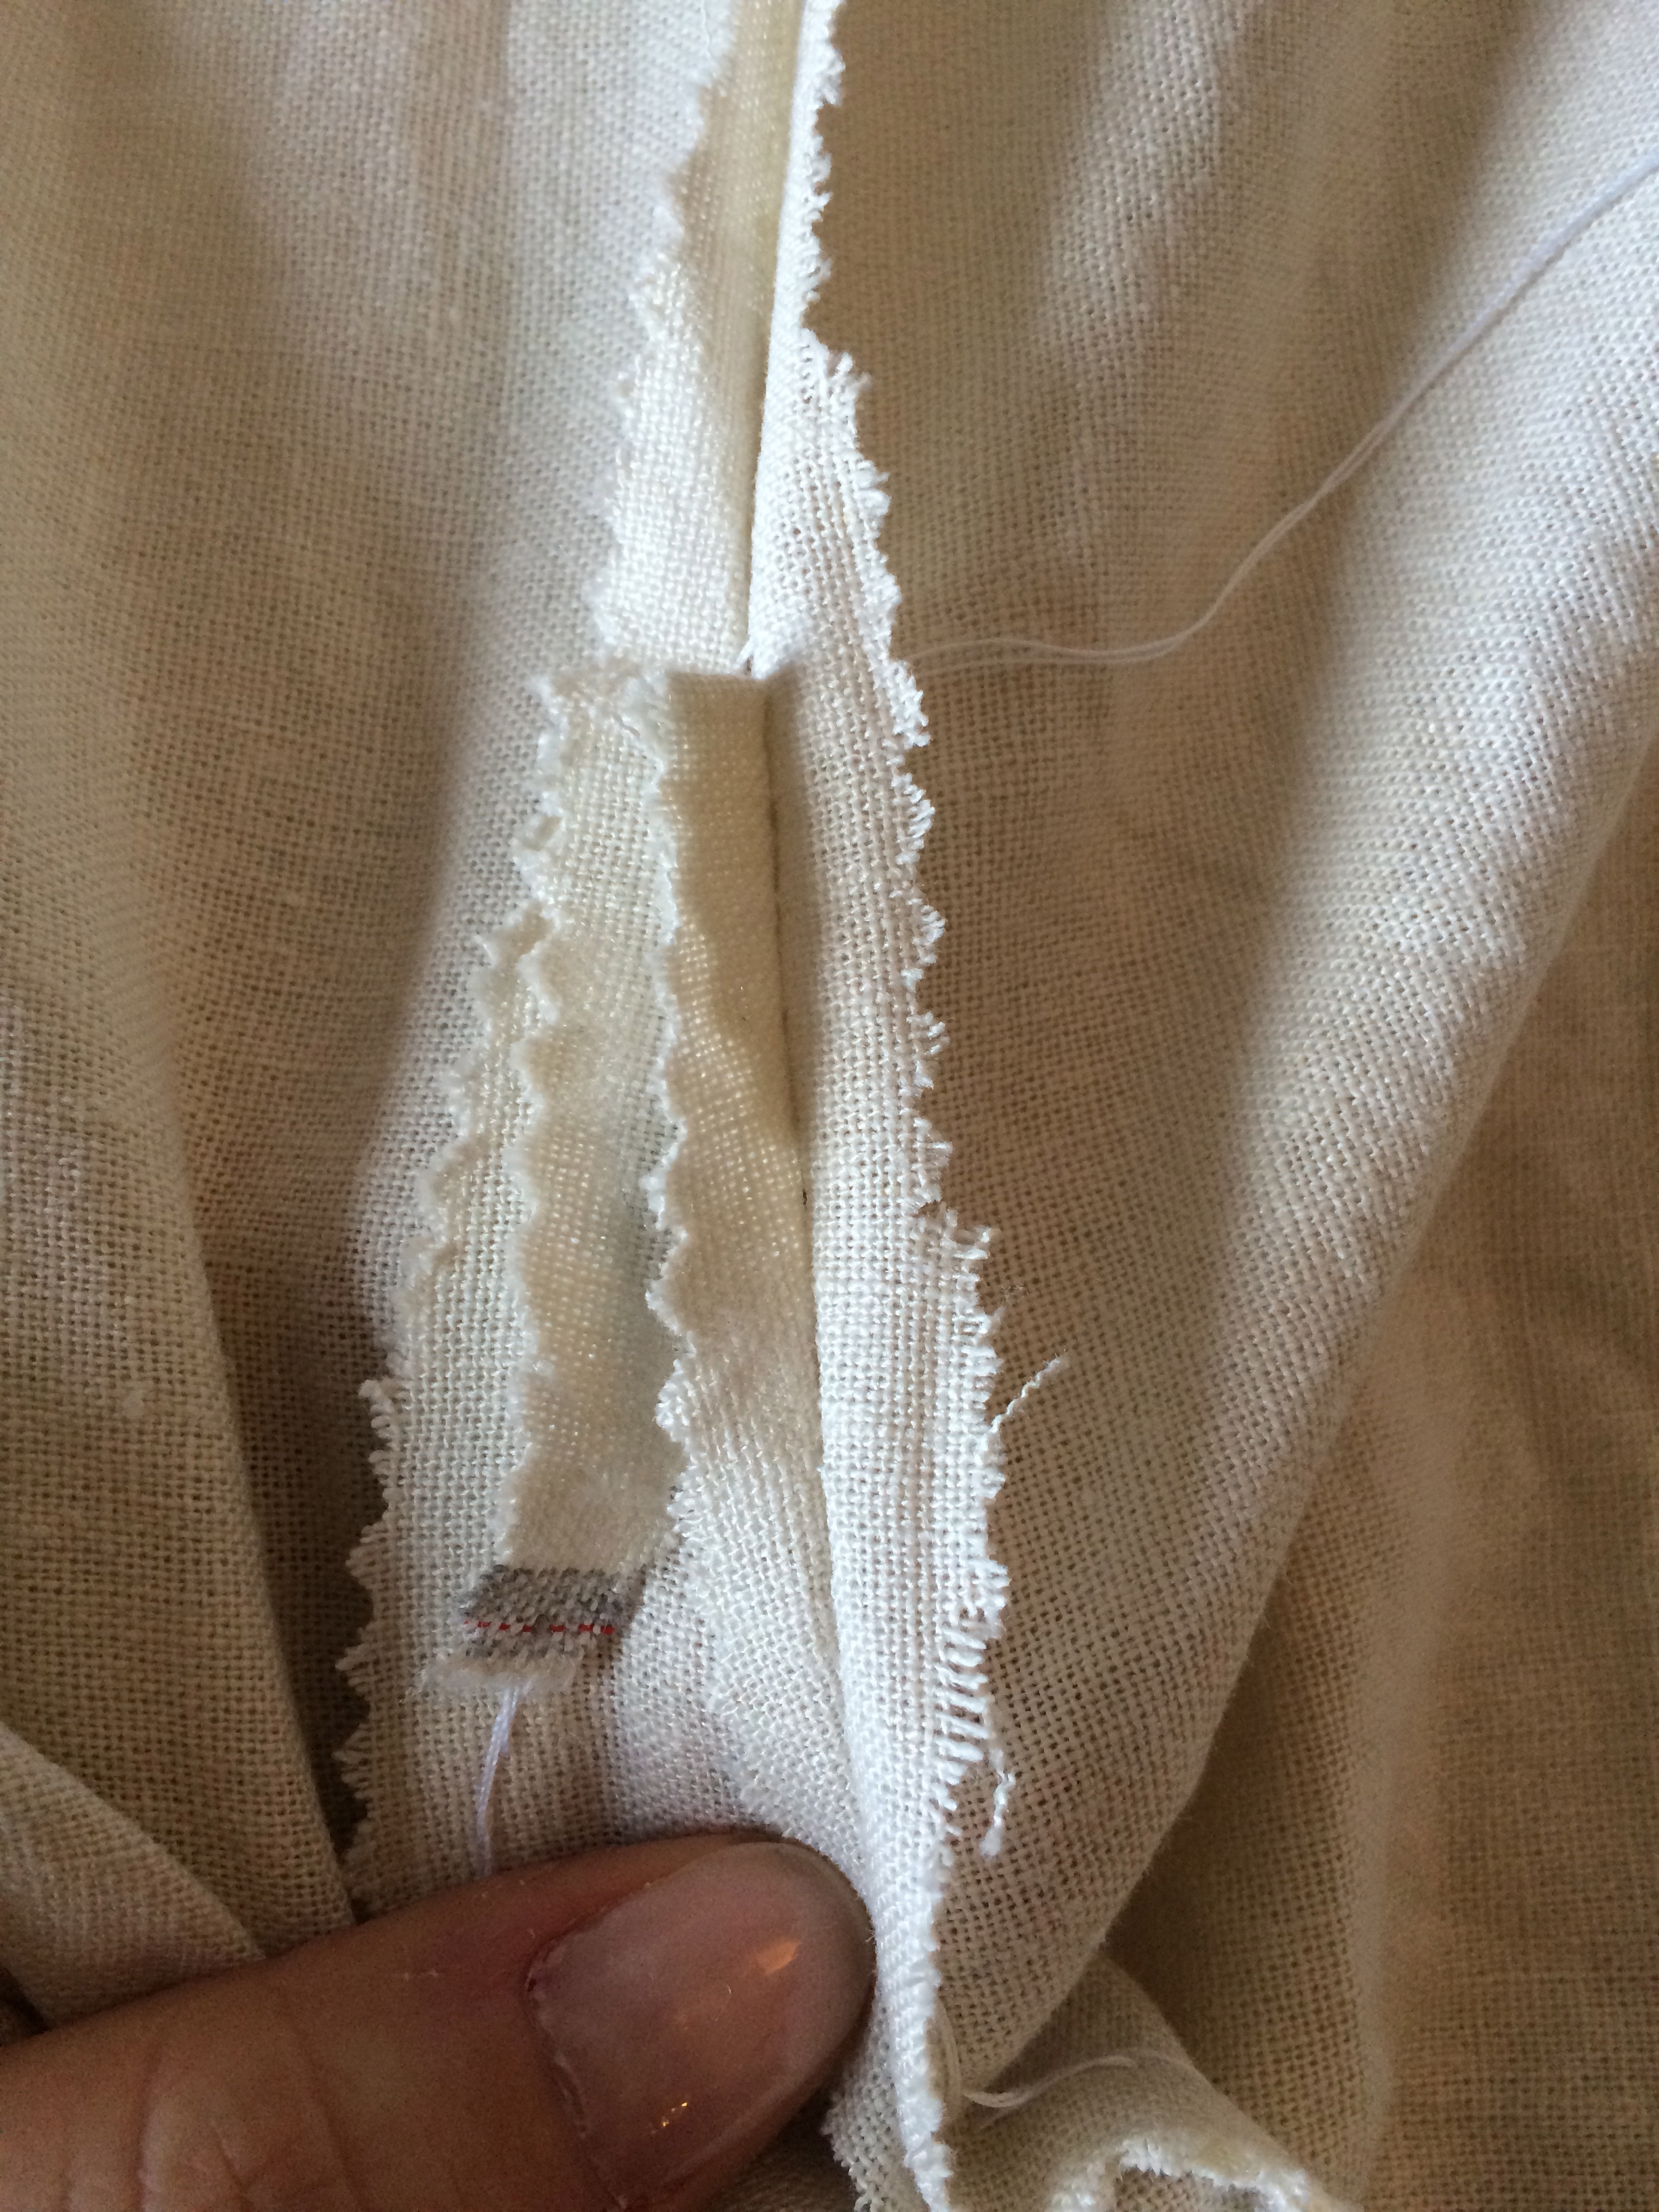
Lay one of the long sides of the gore along one side of the seam, right sides together, the point where you want the least width. Make sure the lower side of the gore is aligned with the edge of the garment, and pin in place.
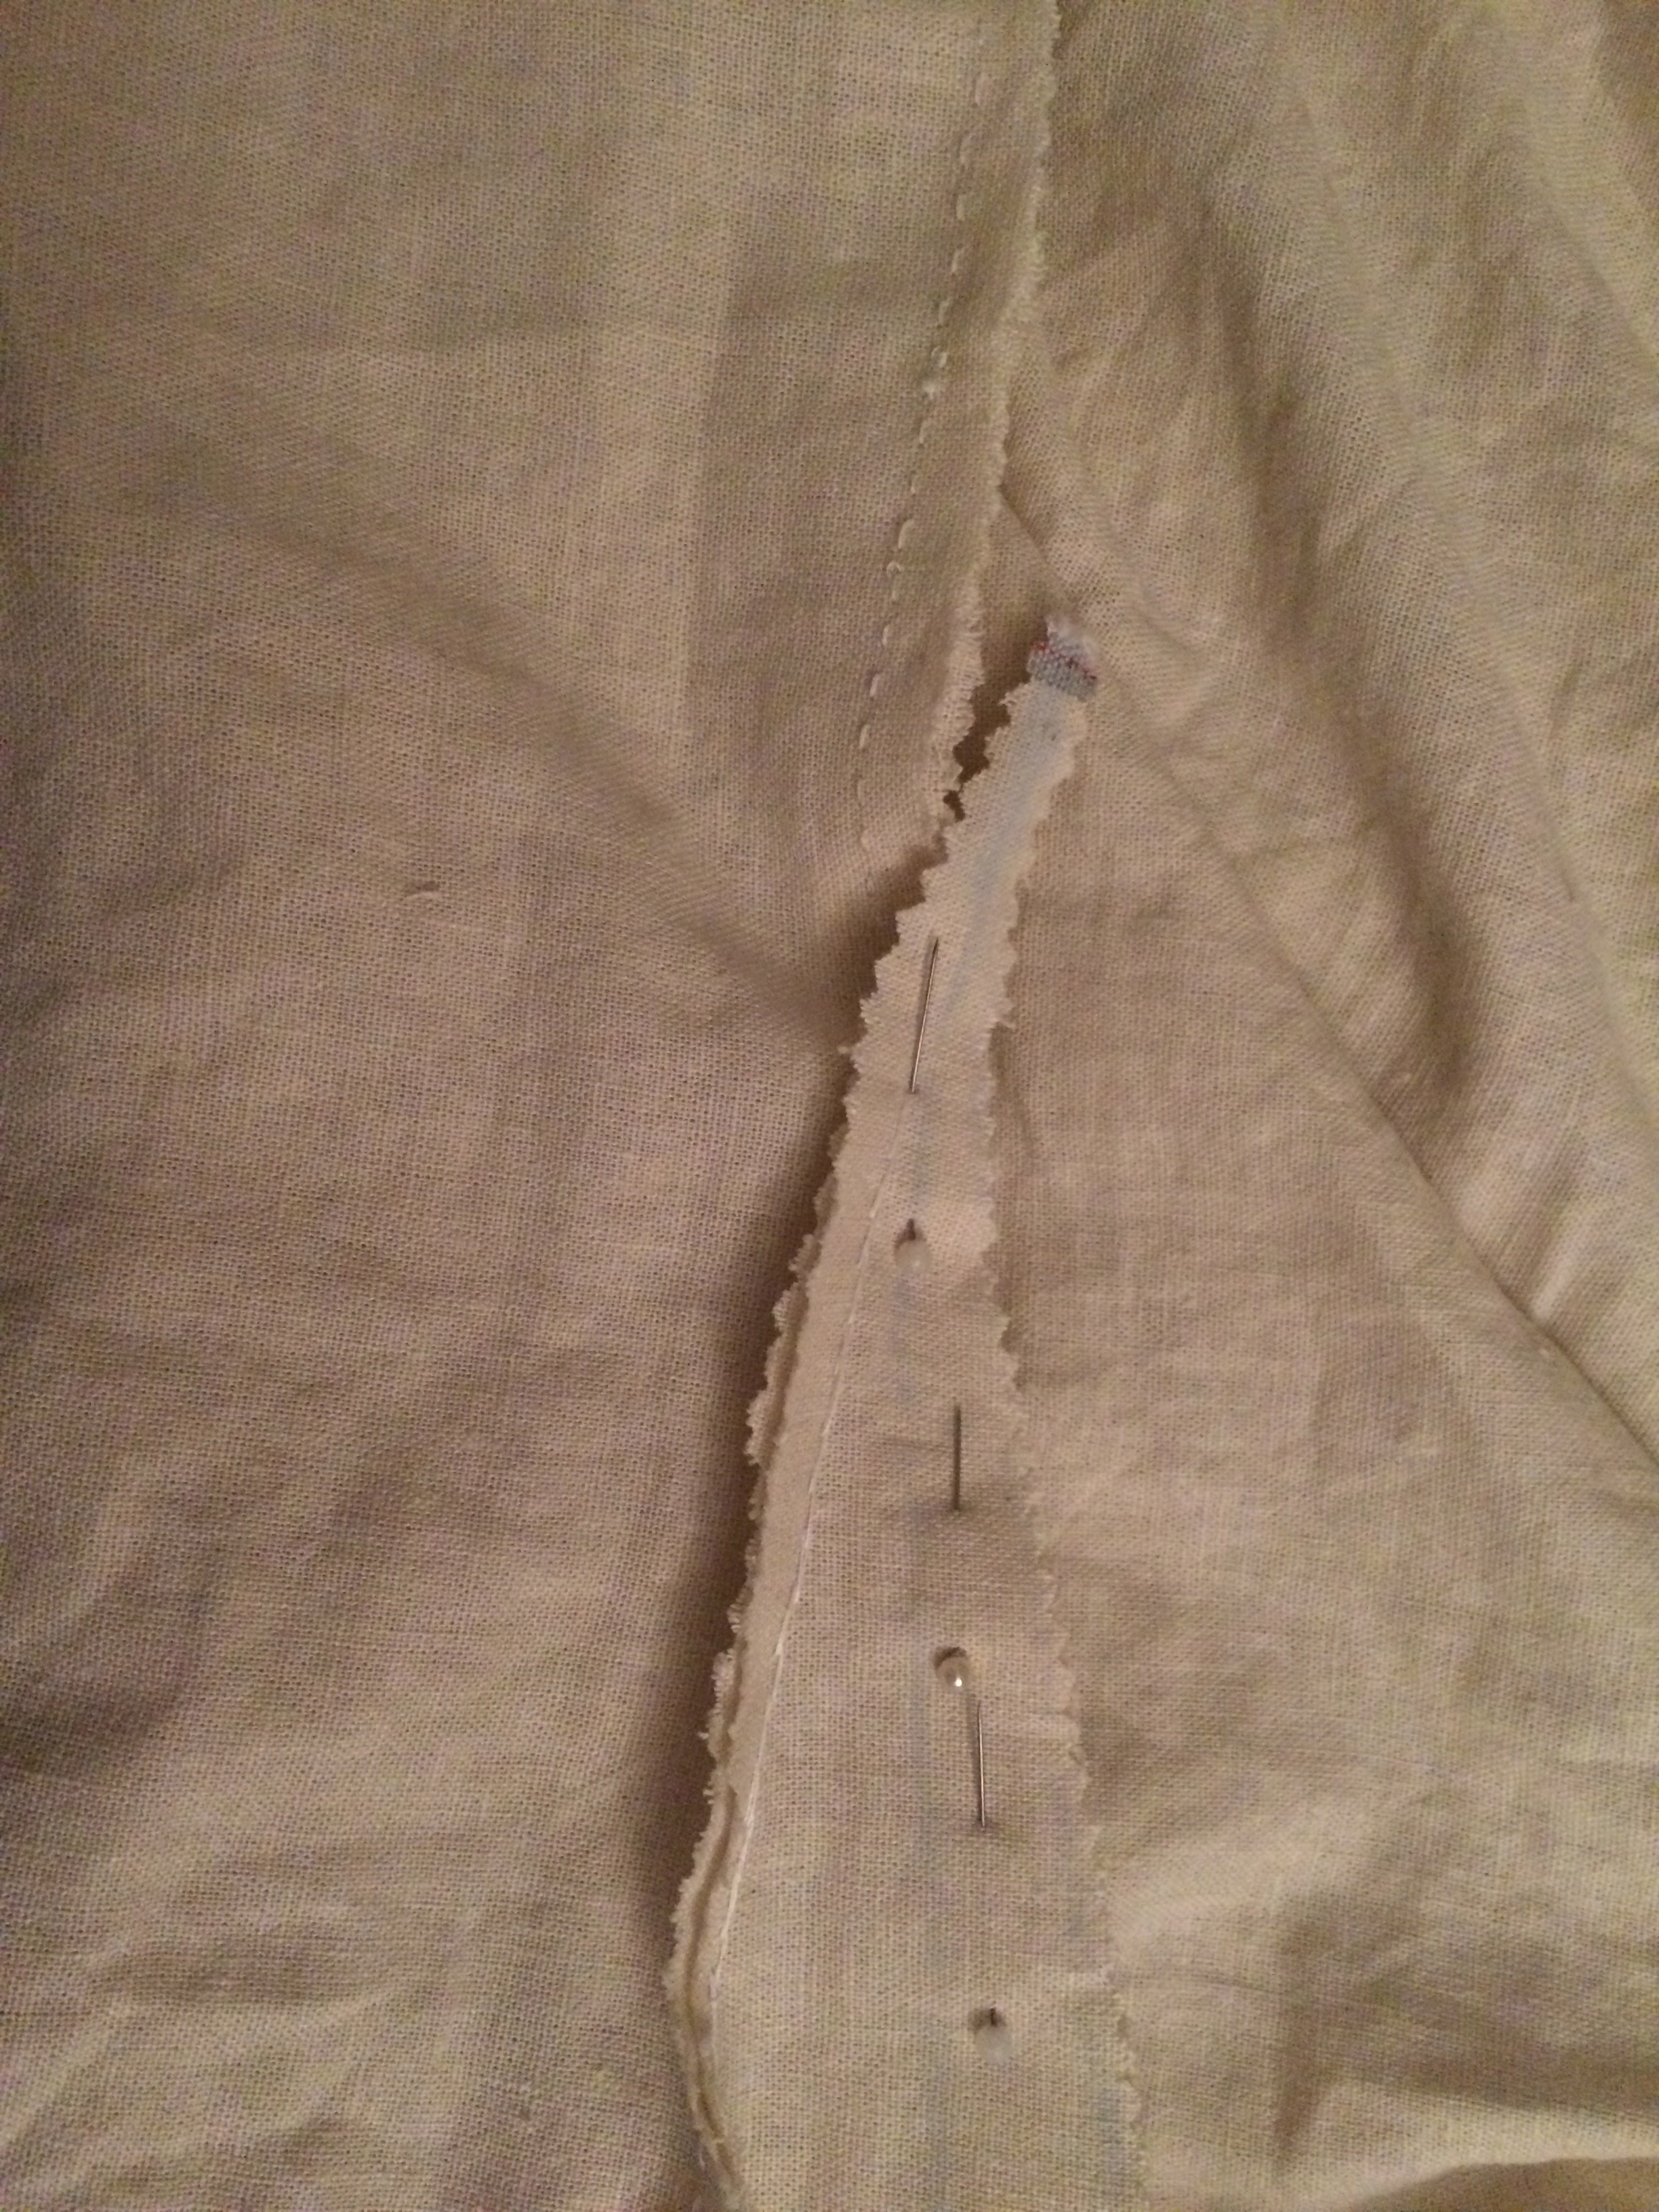
3.
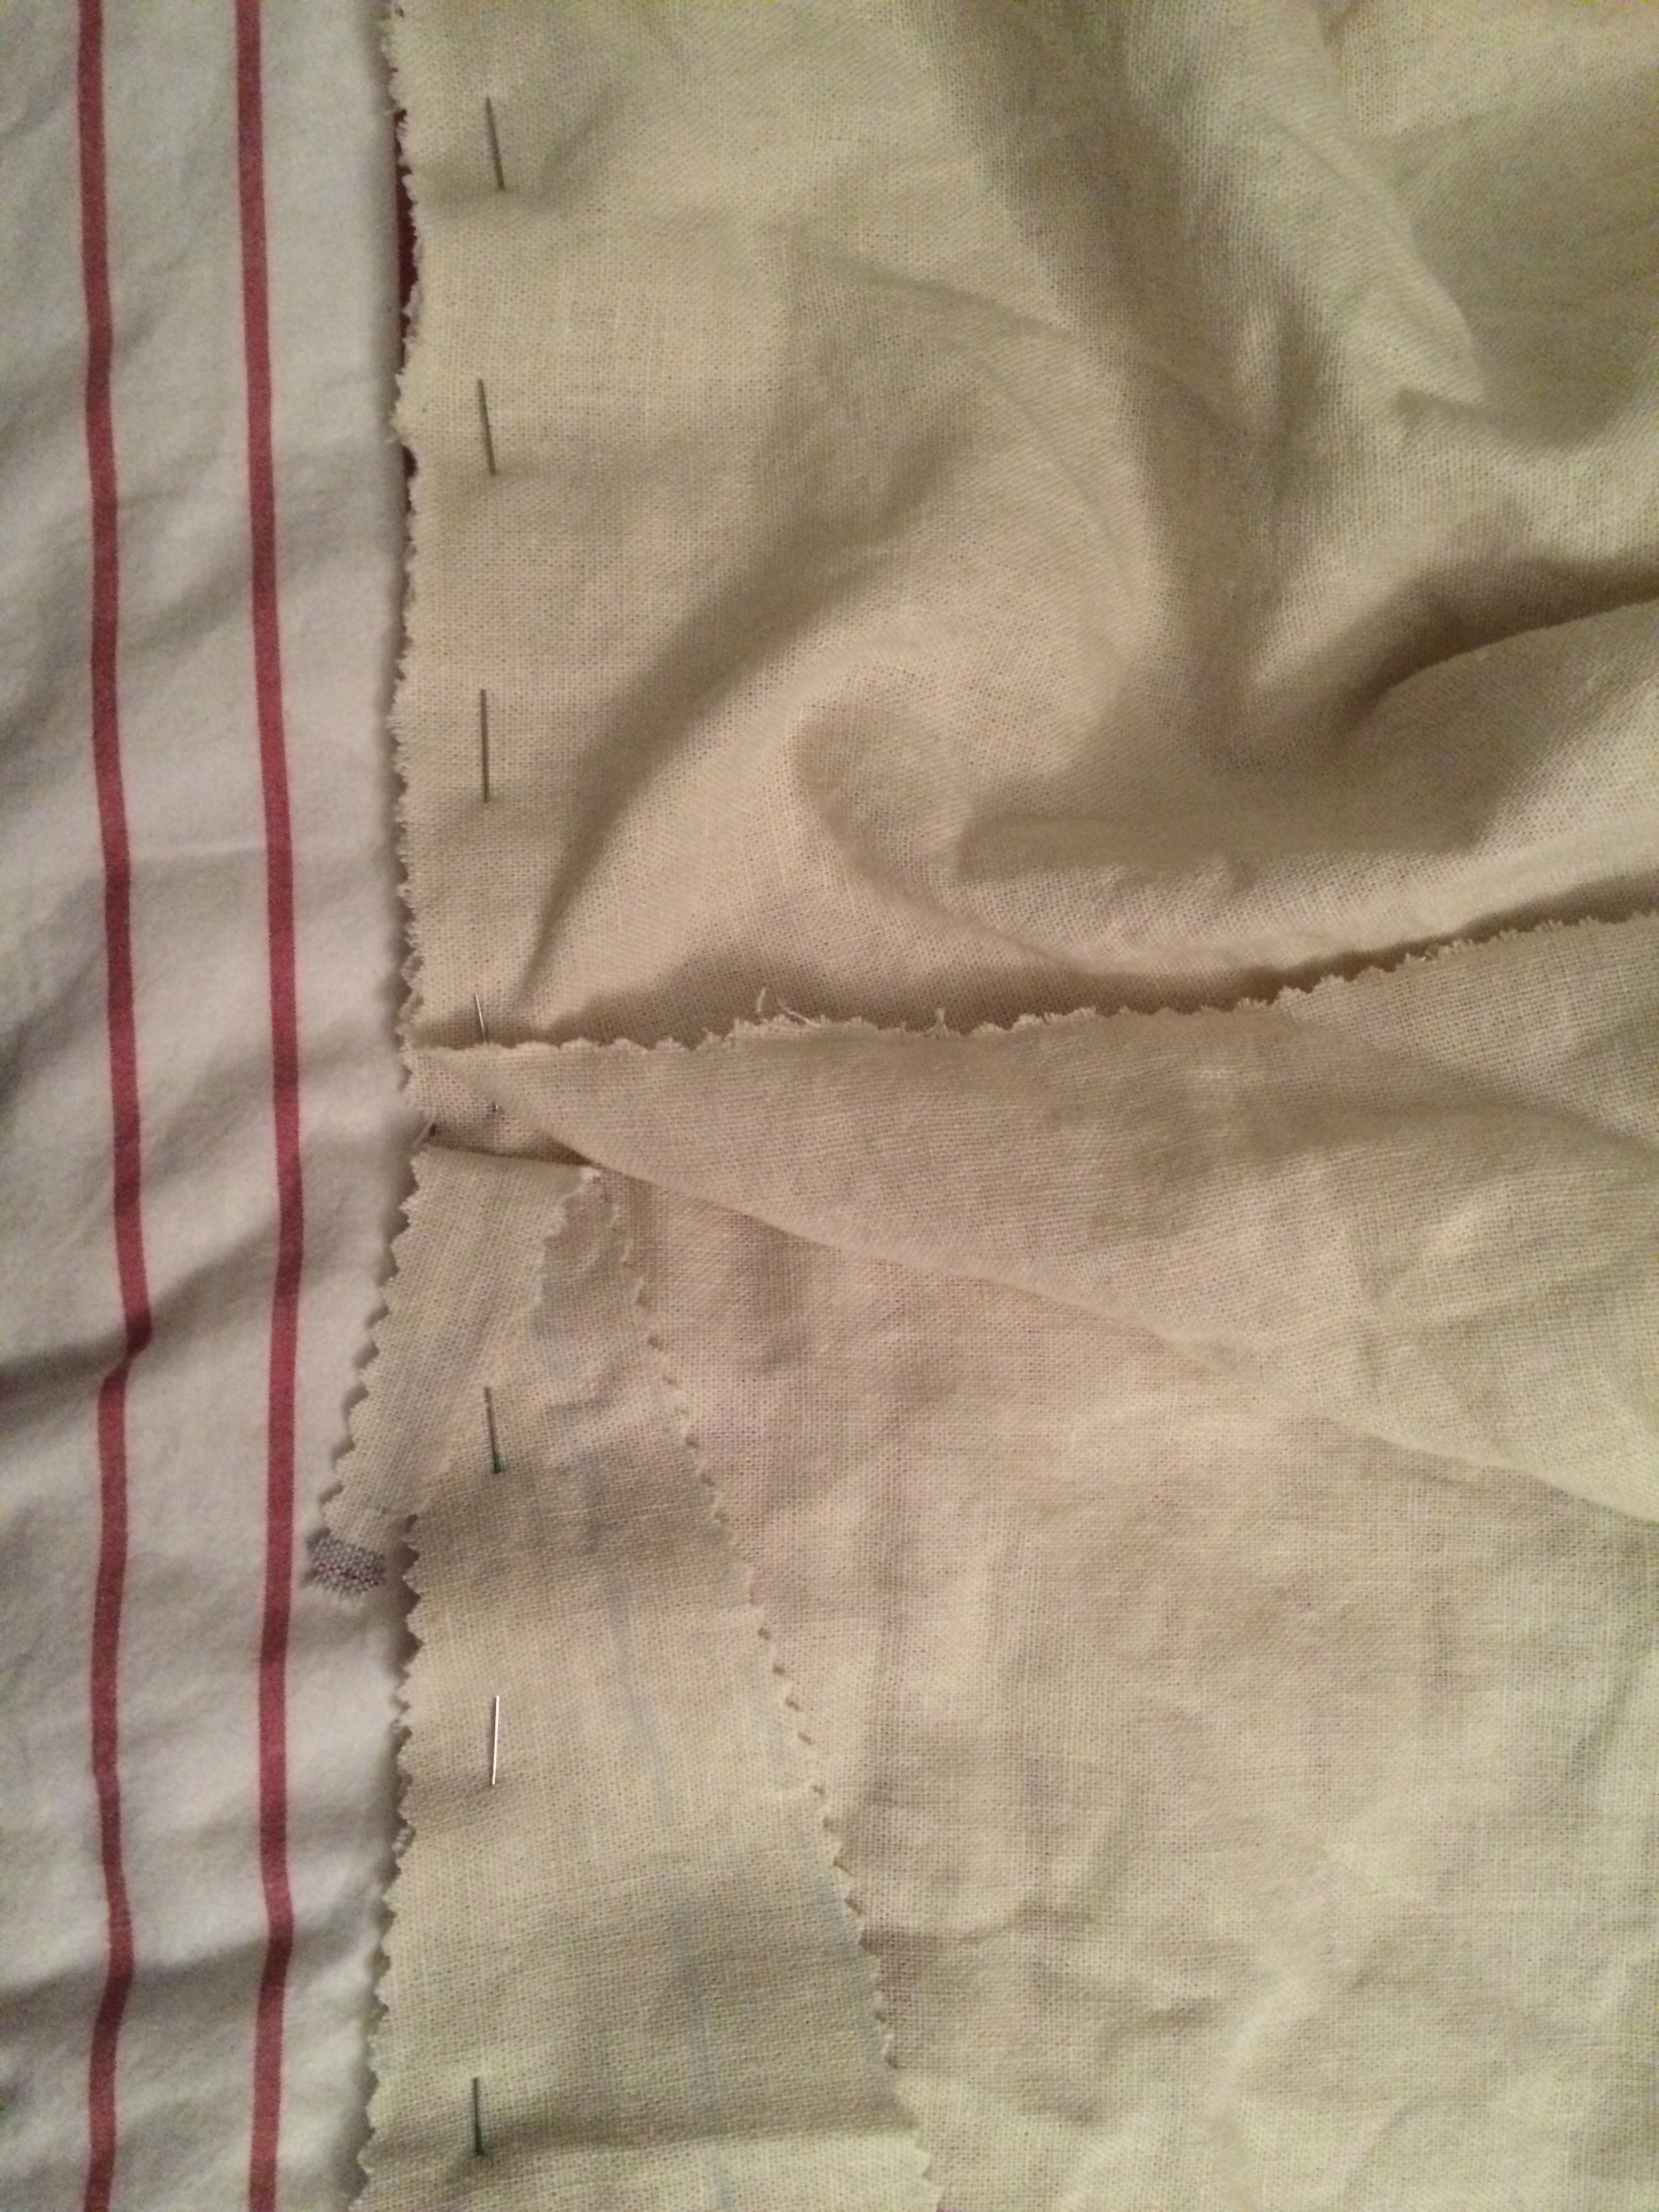
Stop when the width of the point equals 2 x your chosen seam allowance. Keep pinning the seam above the gore in place, right sides together.
4.
Stitch the gore to the sides. I prefer to start at the broad side and sew towards the point. Stop where you stopped pinning.
5.

Fold the point of the gore down and out of the way, and sew together the sides over the point. Do not sew the point down yet!
6.
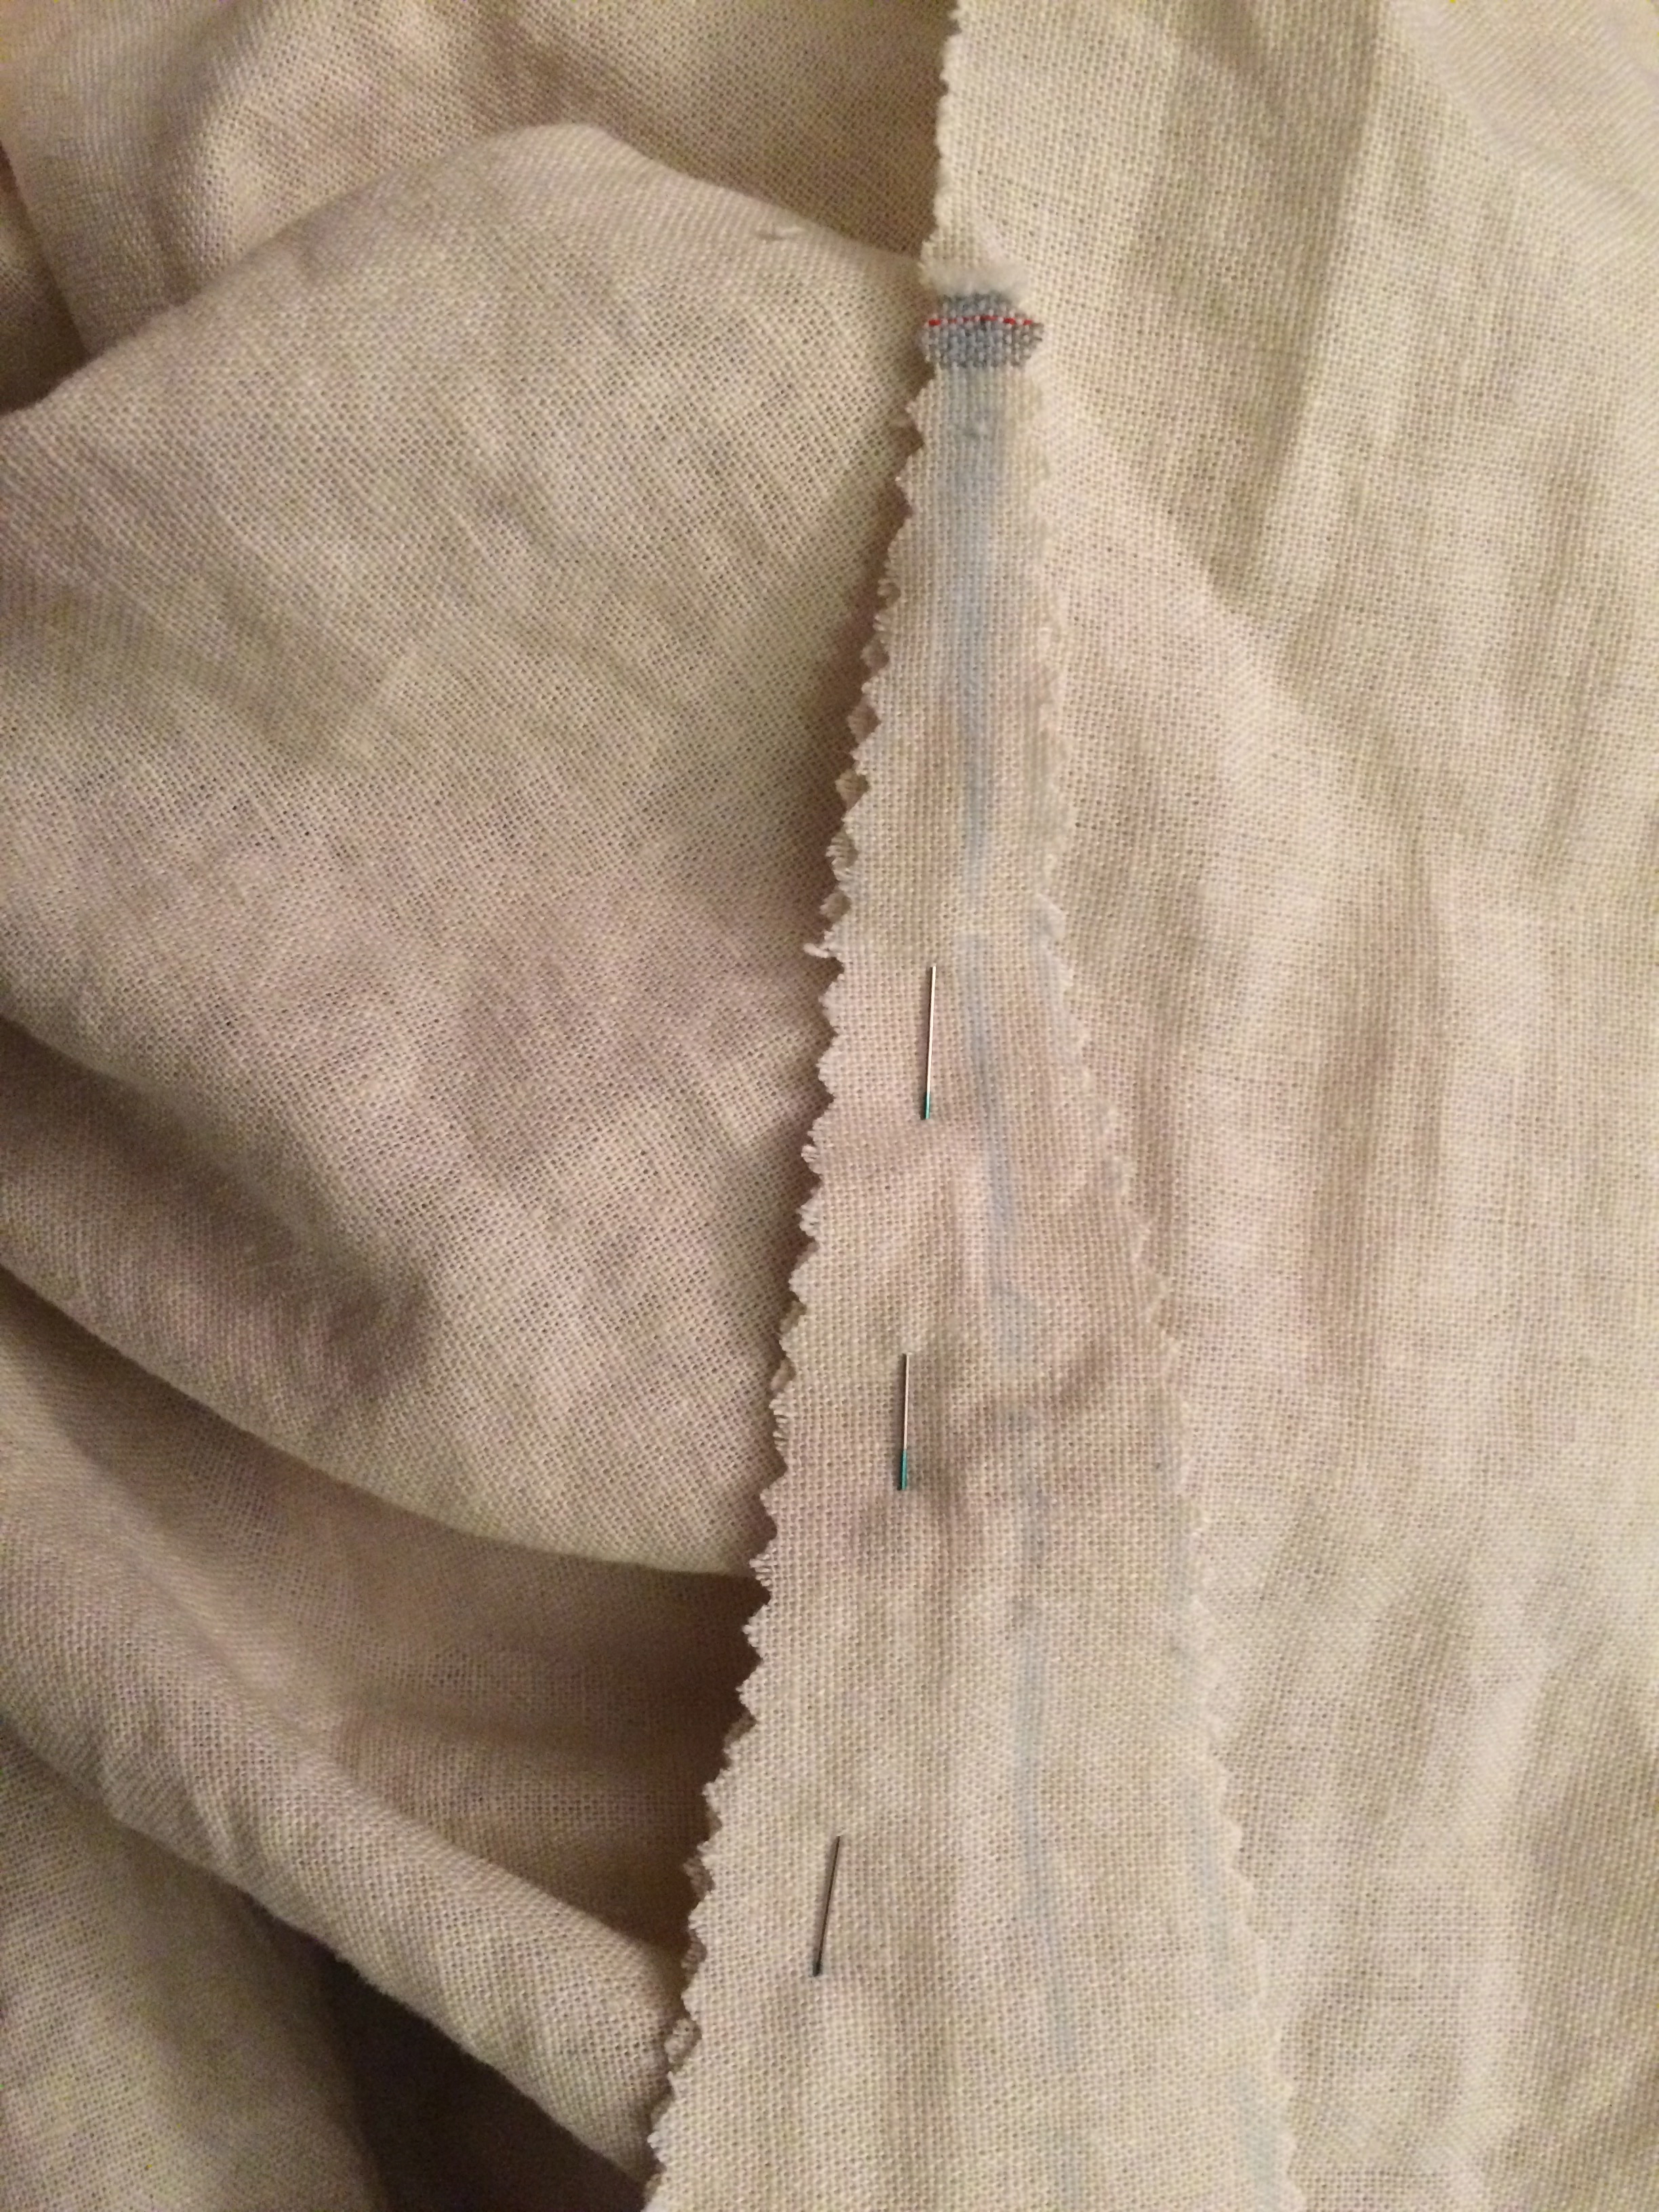
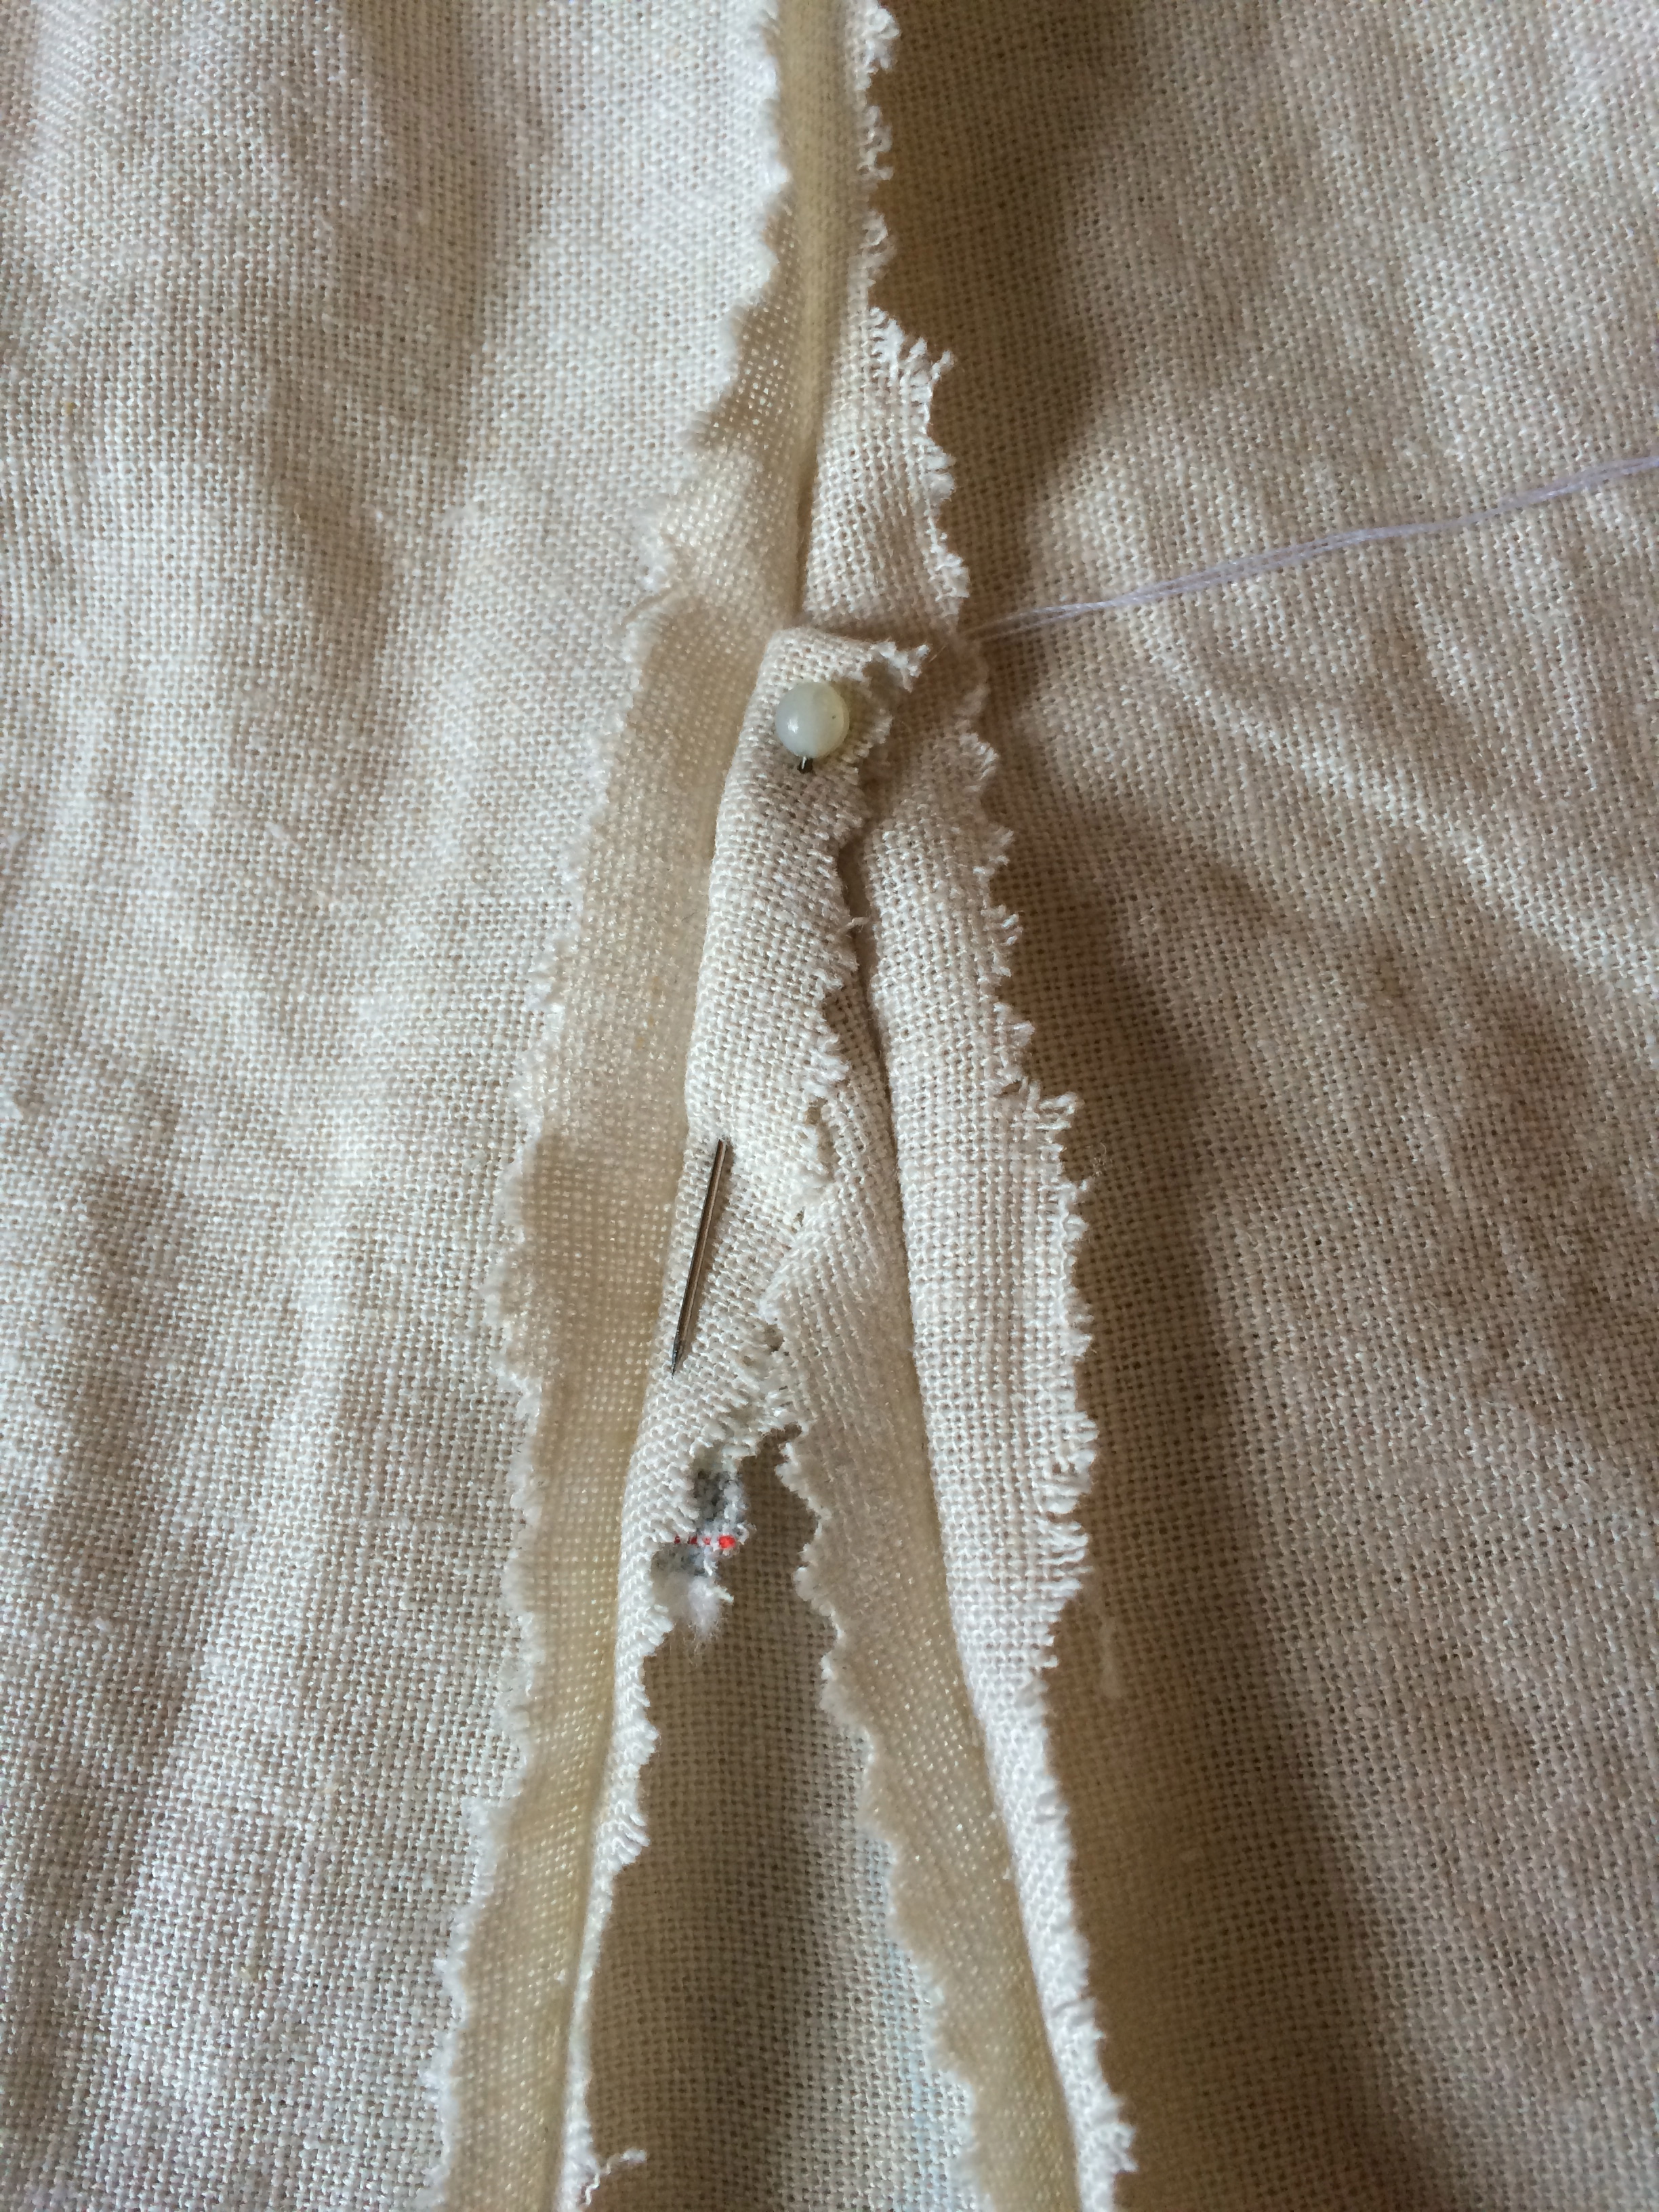
Lay the other long side of the gore along the other side of the garment, right sides together. Pin from the point to the wide end of the gore.
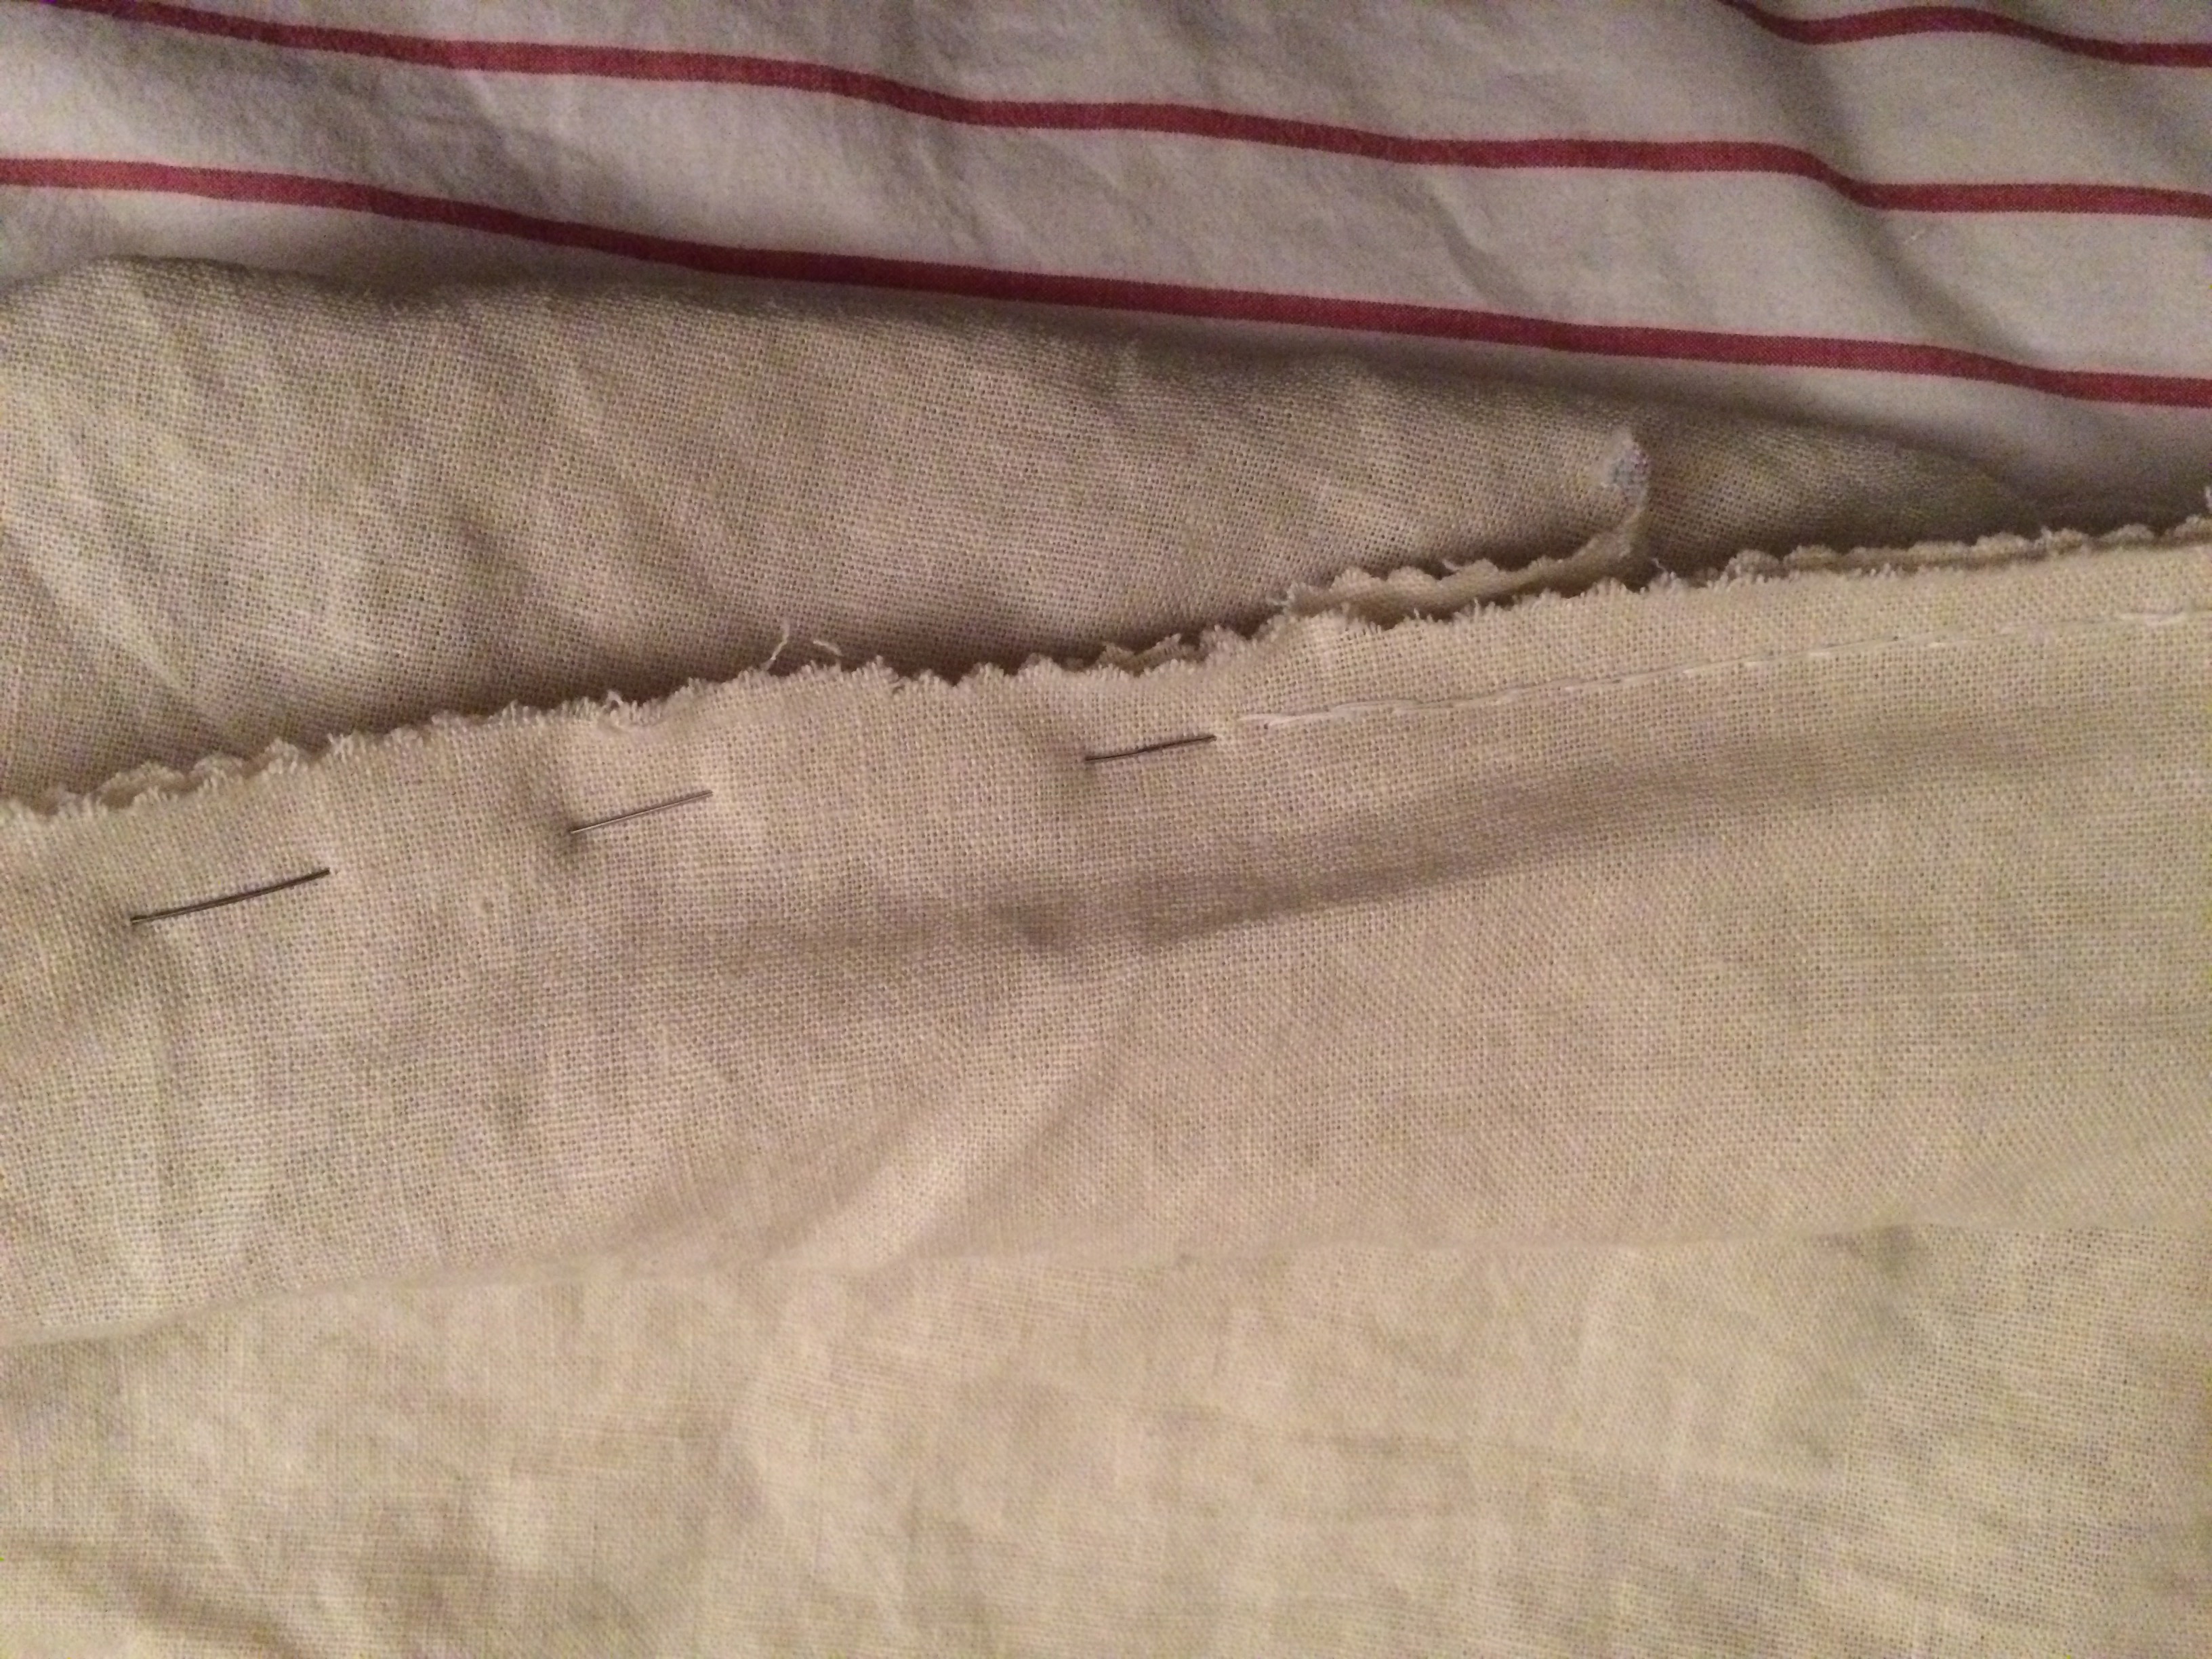
Here, you see how the first pin starts where the seam ends. The seam is the one holding together the sides of the garment above the gore.
7.
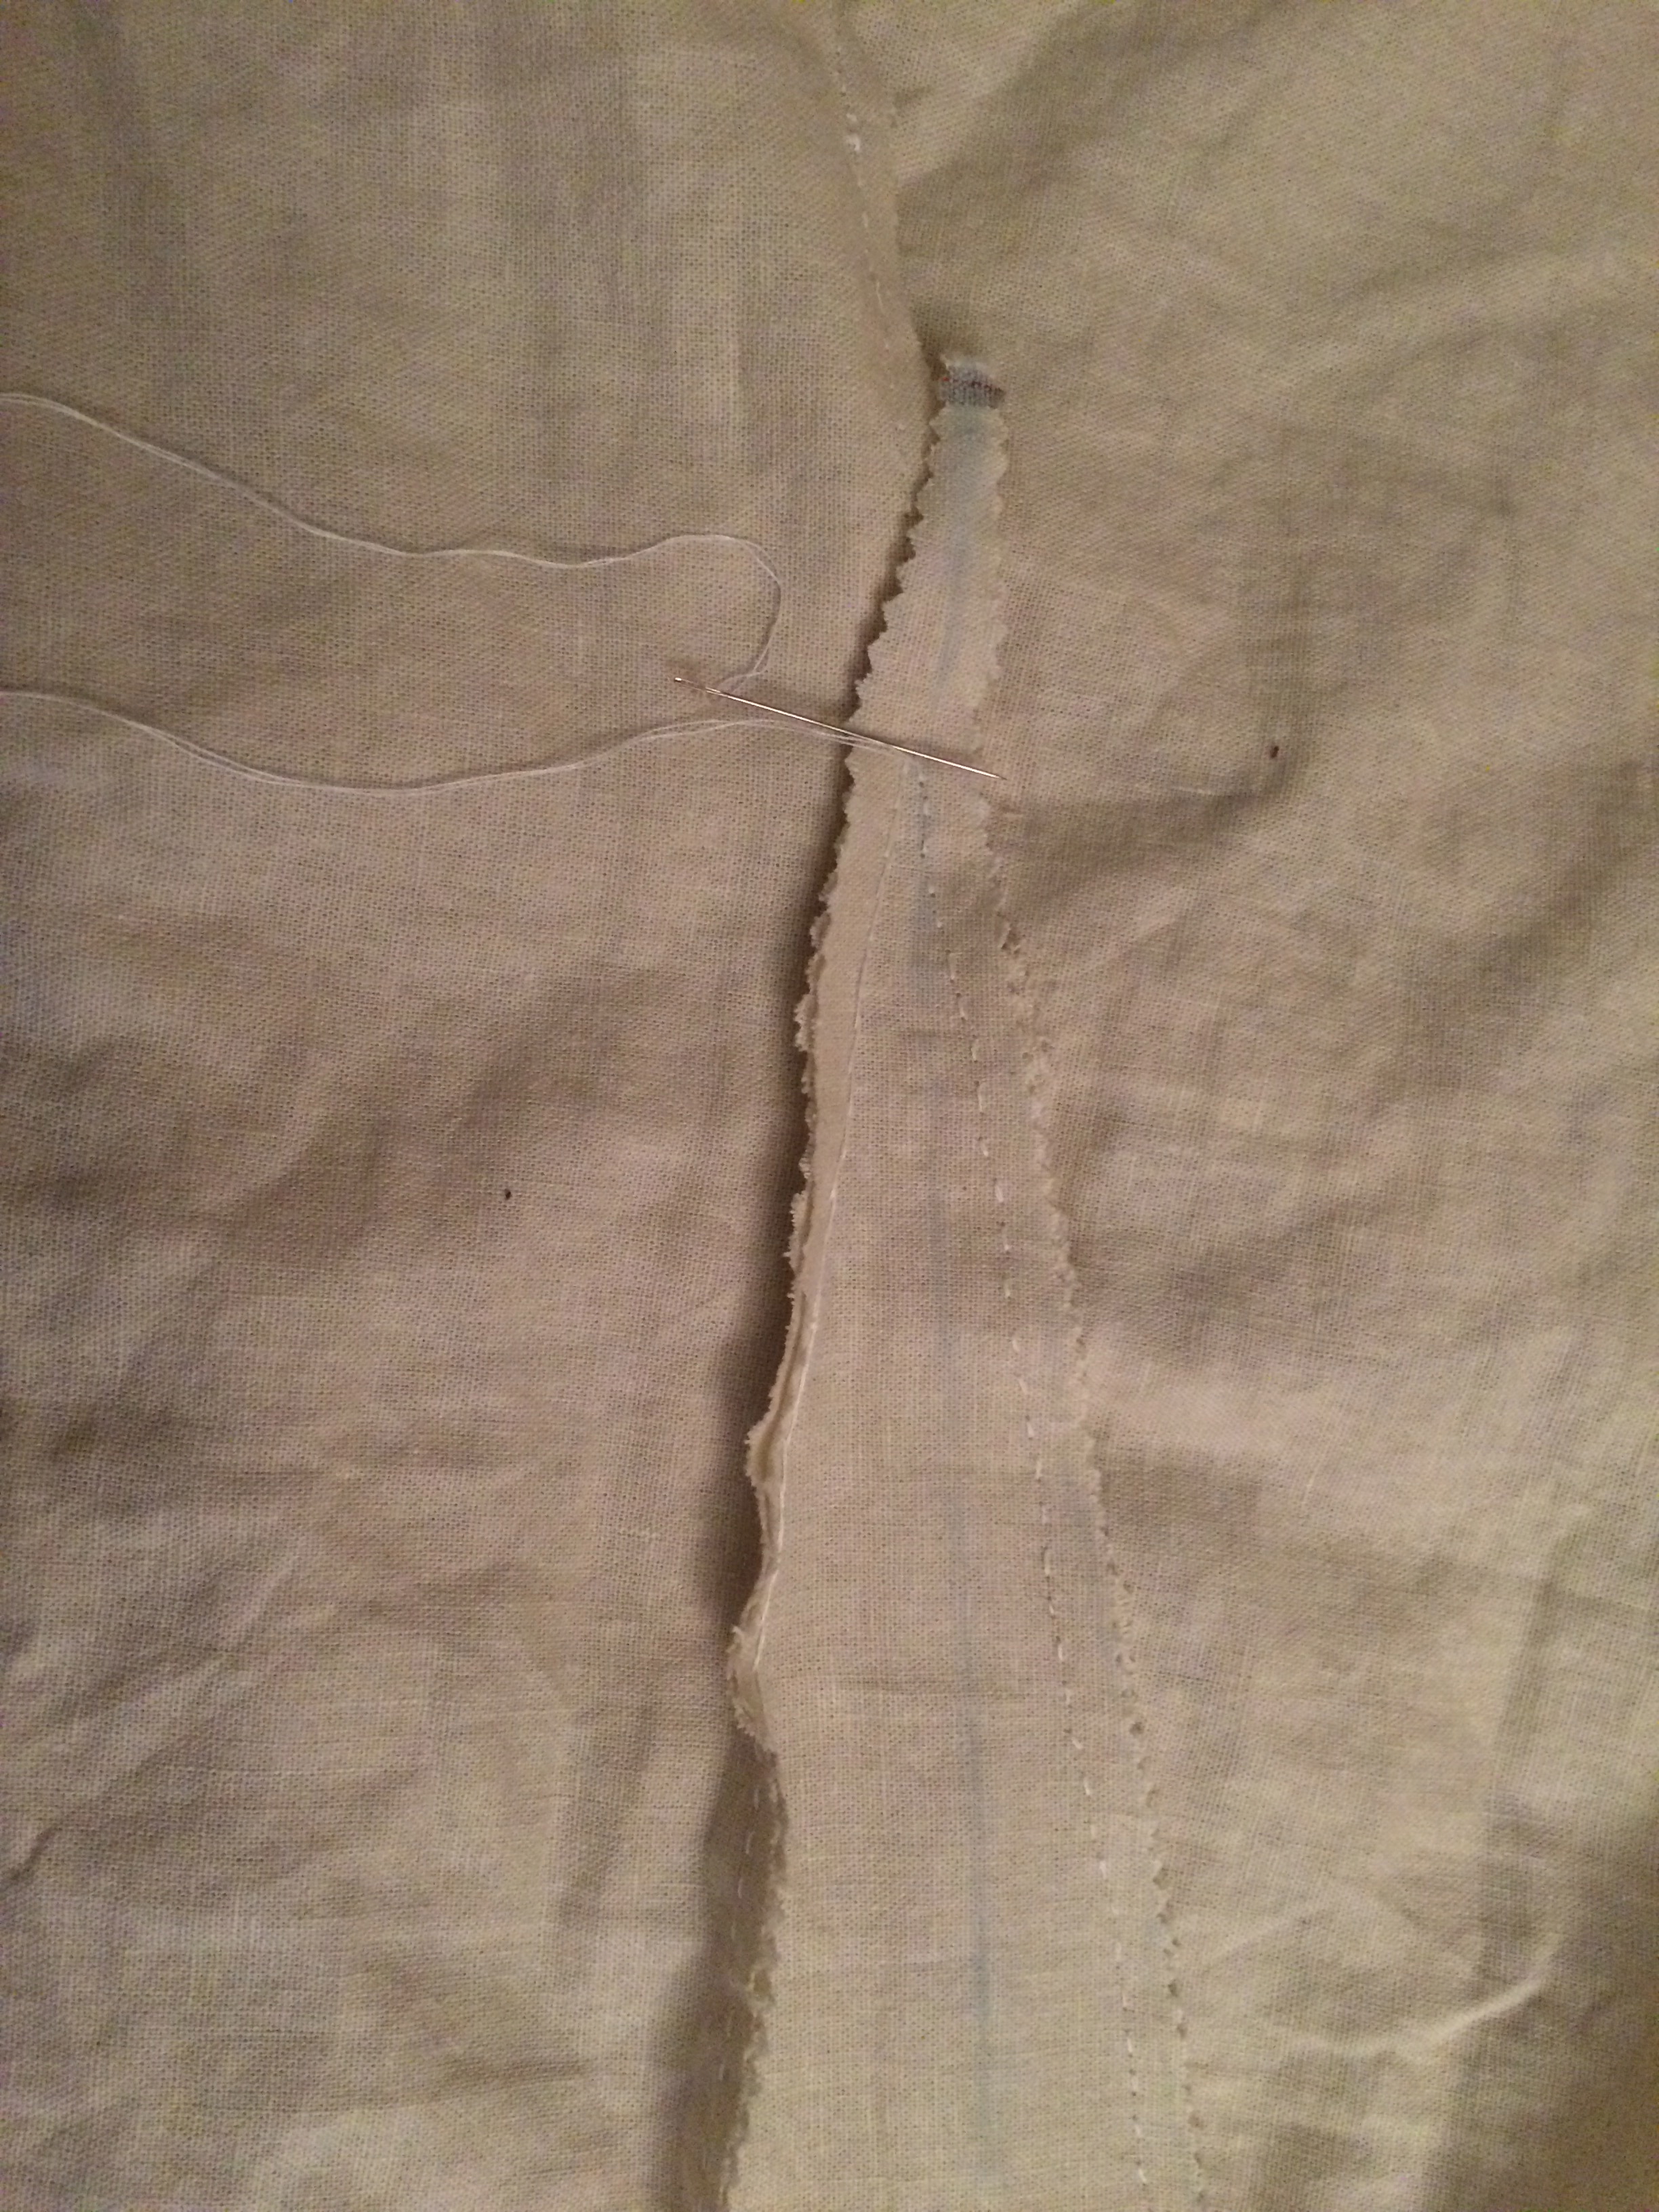
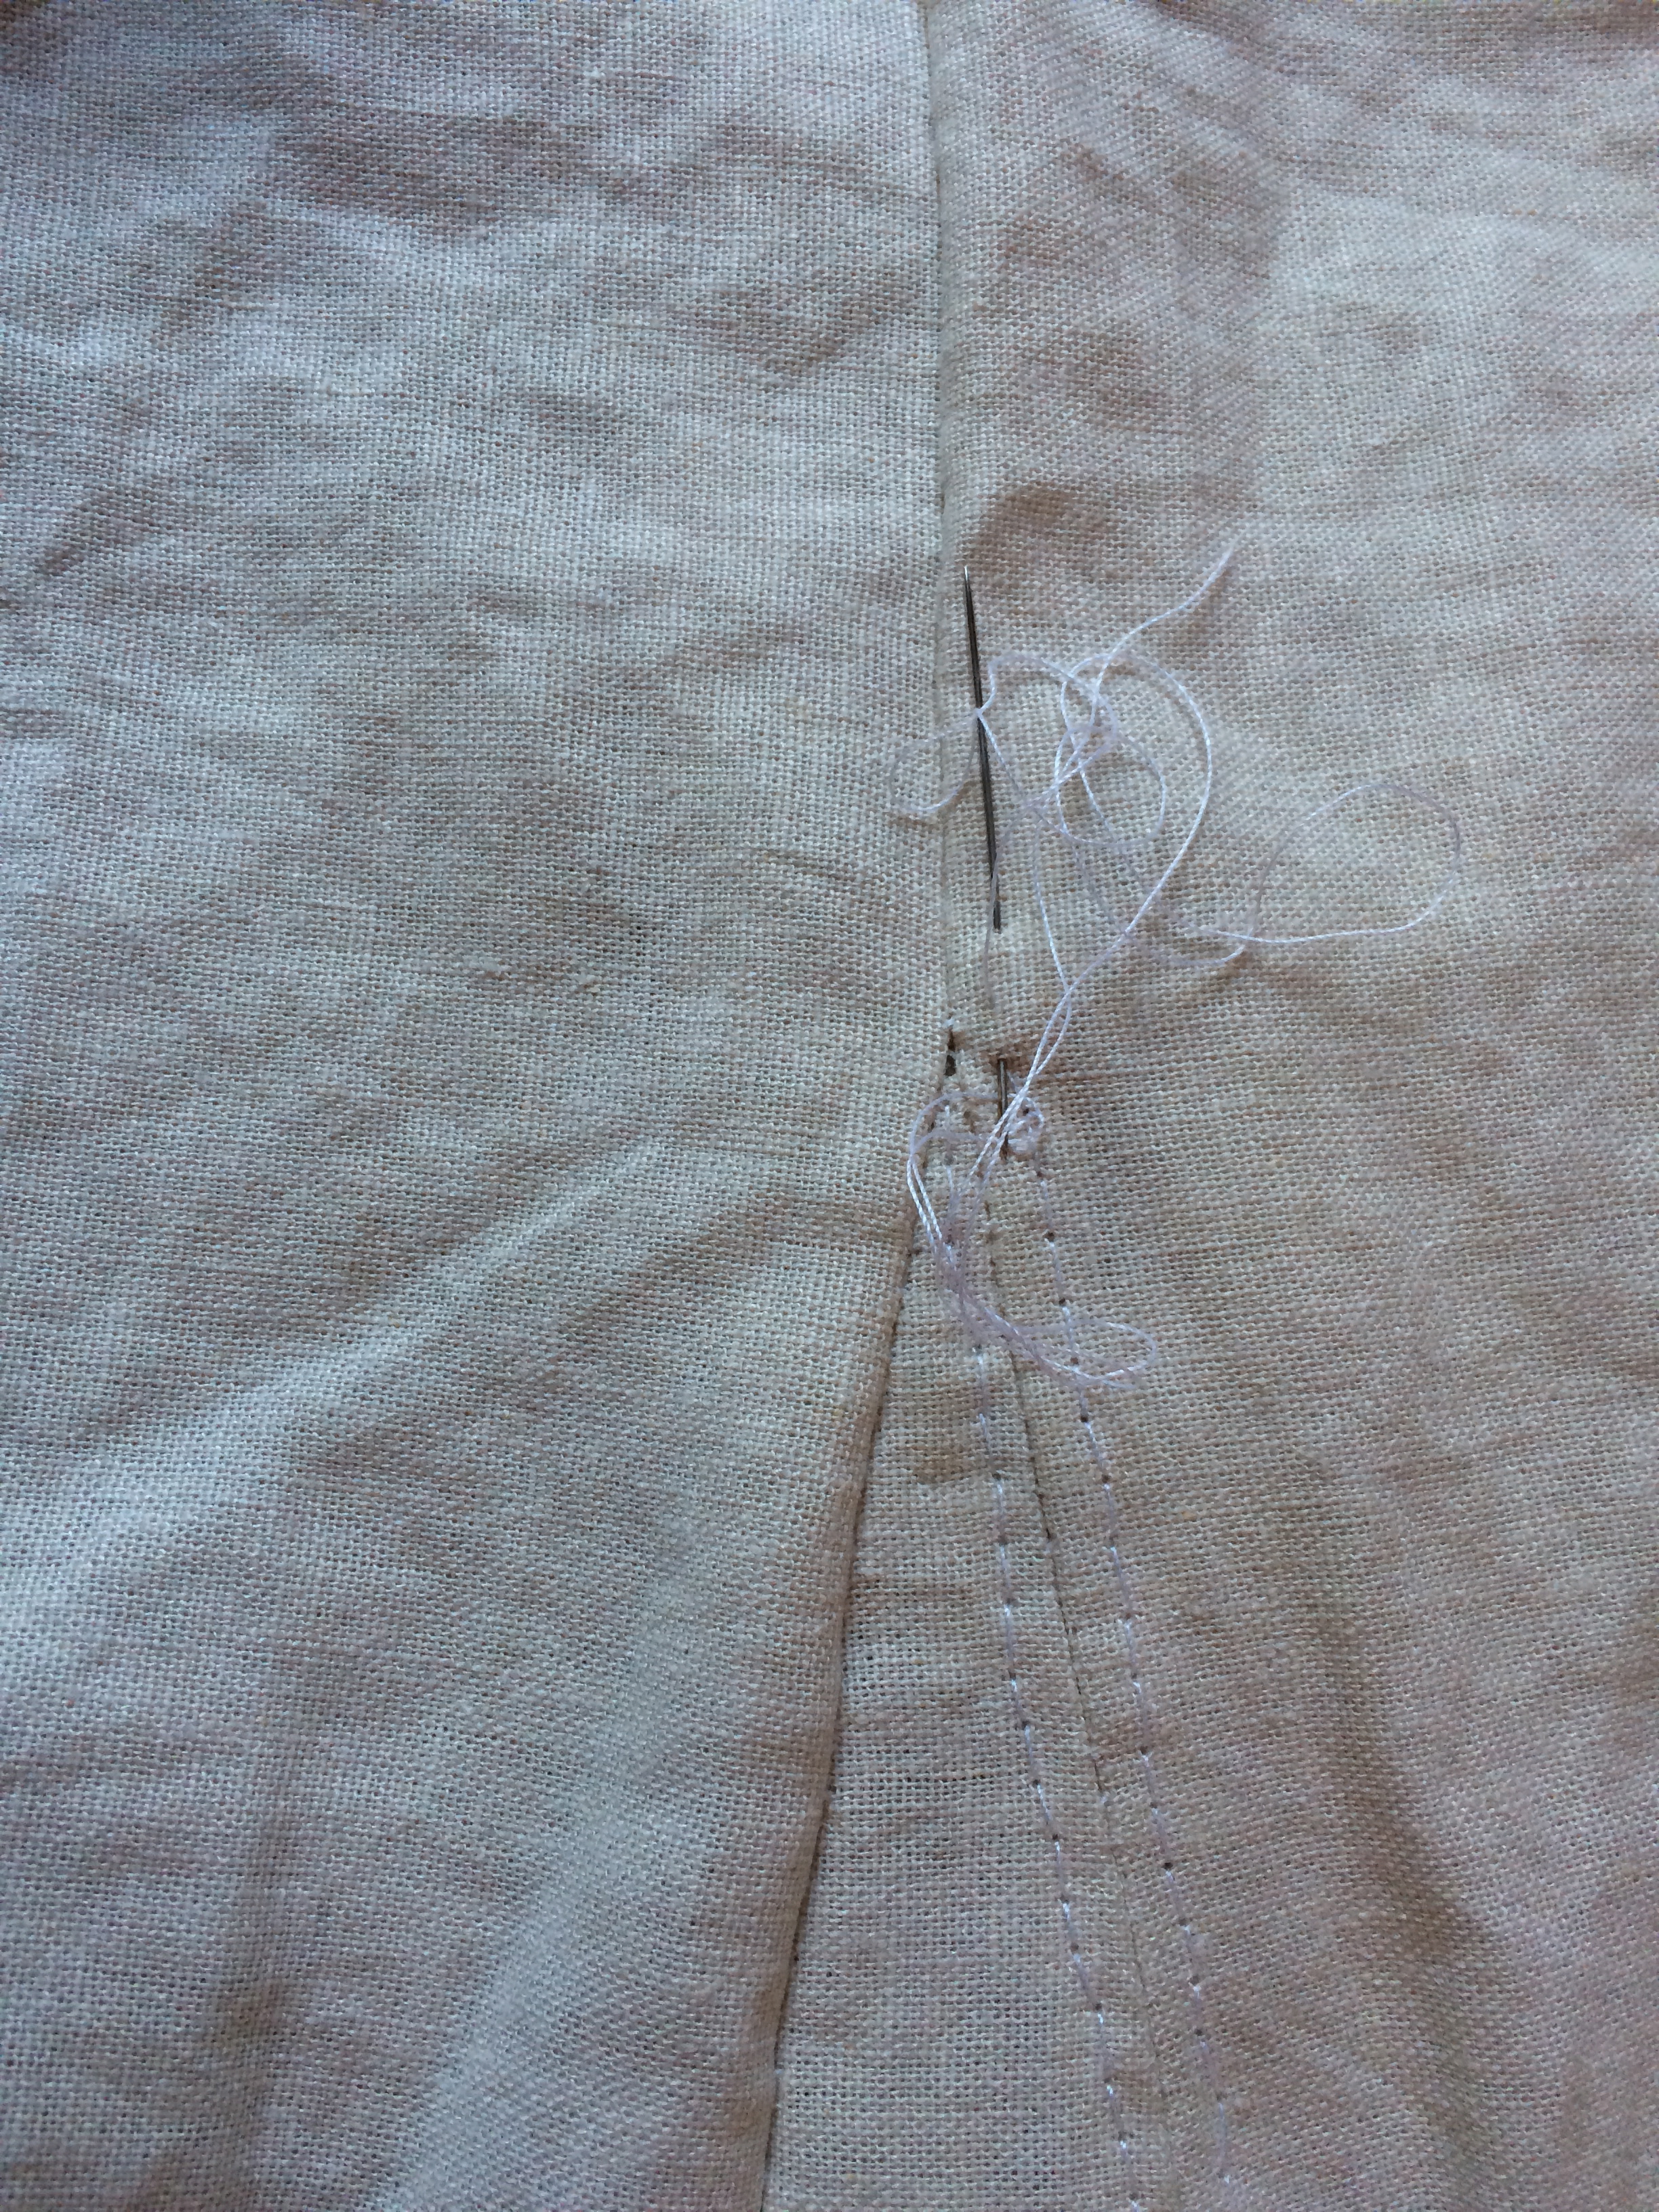
Stitch in place. You see here how the seam starts where the other seam ended, at the point of the gore.
8.
Keep the point of the gore folded down towards the rest of the gore.
9.
Fold the seam allowance back onto the gore and over the point. This makes sure the seams don’t chafe, and makes the point of the gore lay flat.
10.
Repeat on the other side, keep in place with pins. This ensures the point stays flat and in place, and diminishes the risk of unravelling.
11.
Stitch the seam allowances down inside the gore point. If you want to, you can sew the entire seam allowance down, as I did.

This is how it looks like on the inside. I usually start with the seam allowance that is on top, to keep the bottom one in place. Repeat on the other side.
12.
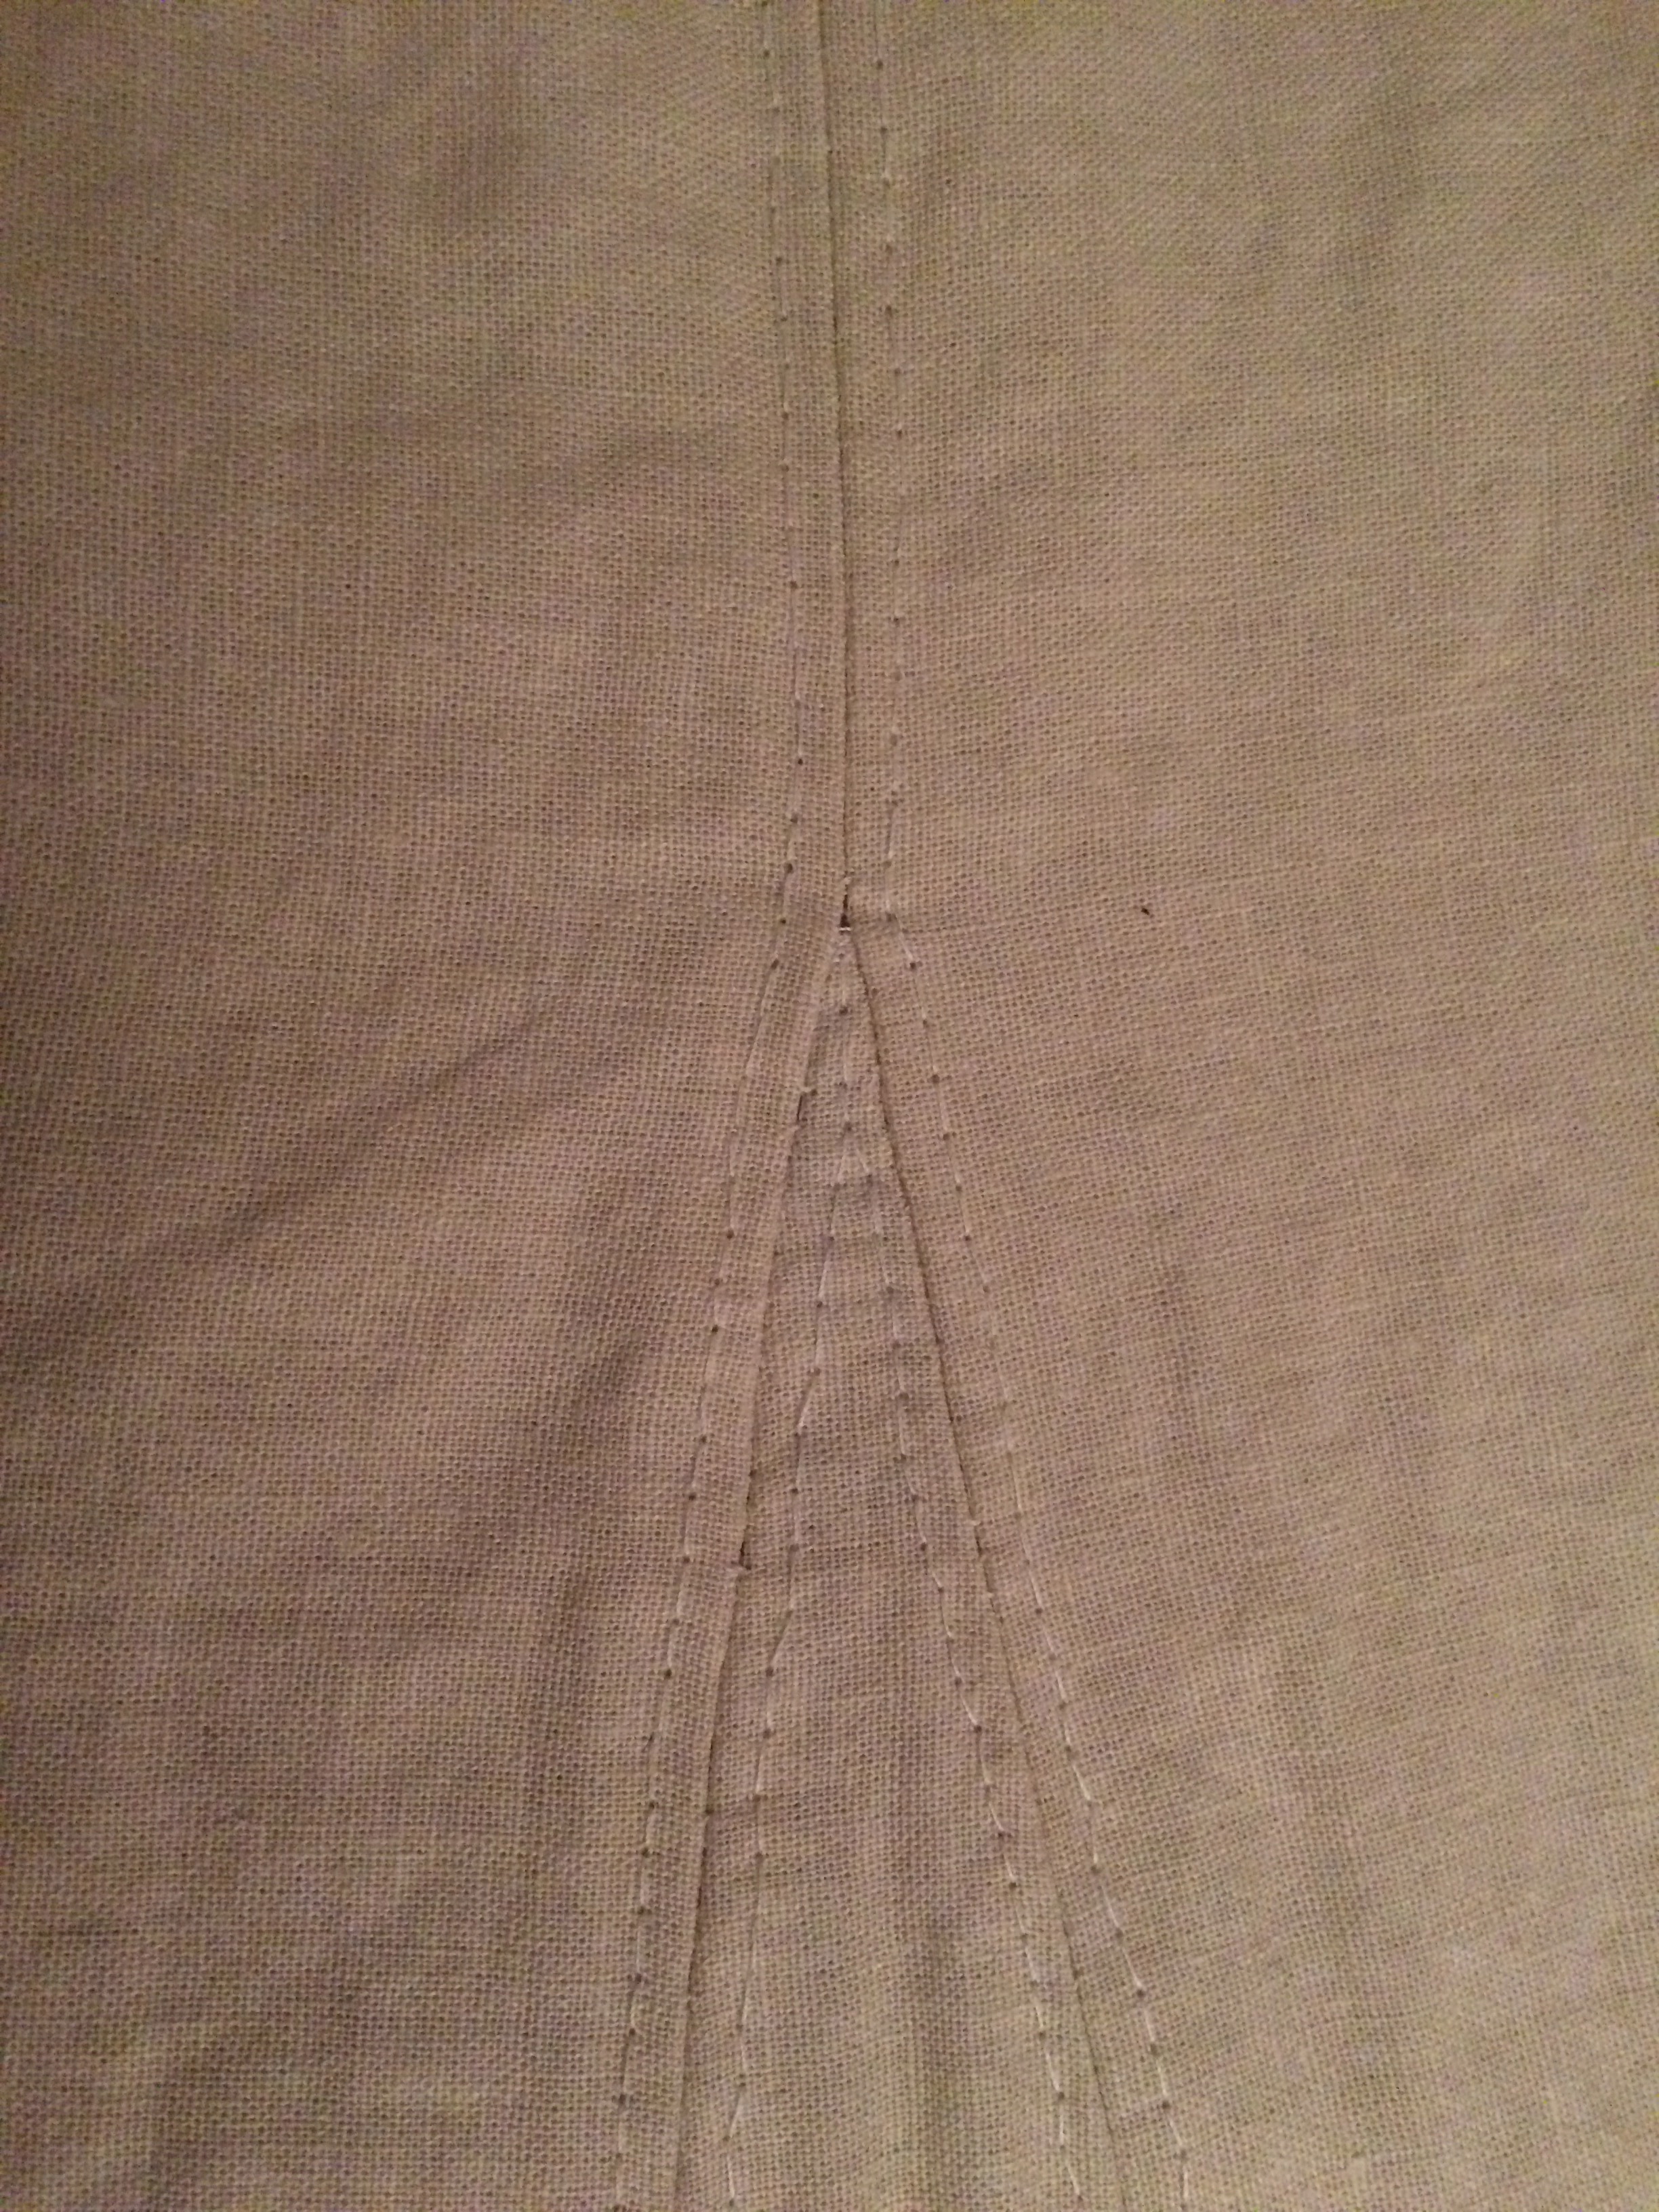
Done! This is your gore!

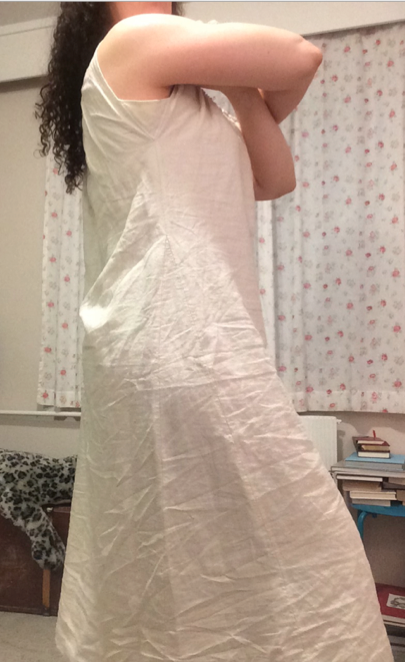
You can just about make out where the gores go on my very wrinkly chemise. You can also see my small triangle gores under the armholes. I made them the same way I did on the first chemise, however, instead of fastening them to a sleeve, I folded them over and fastened them to the inside.
Good luck with your gores!

Når eg les dette, og kom godt og vel til slutten, gjekk det opp for meg at du er nok ein av dei få på nettet som har “underkjole” som kategori på bloggen. Iallefall håpar eg at du er ein av få. Kven veit med nettet.
Kanskje greit at det ikke er så mange av oss…