So, once upon a time, I gave myself a challenge – to make a dress out of stripey fabric, and make the stripes match. I’ve heard that’s difficult. Apparently, rumours were true. However, I’m pretty pleased with the result! I’ll try to recap how I went about making the bodice for my 18th century gown.
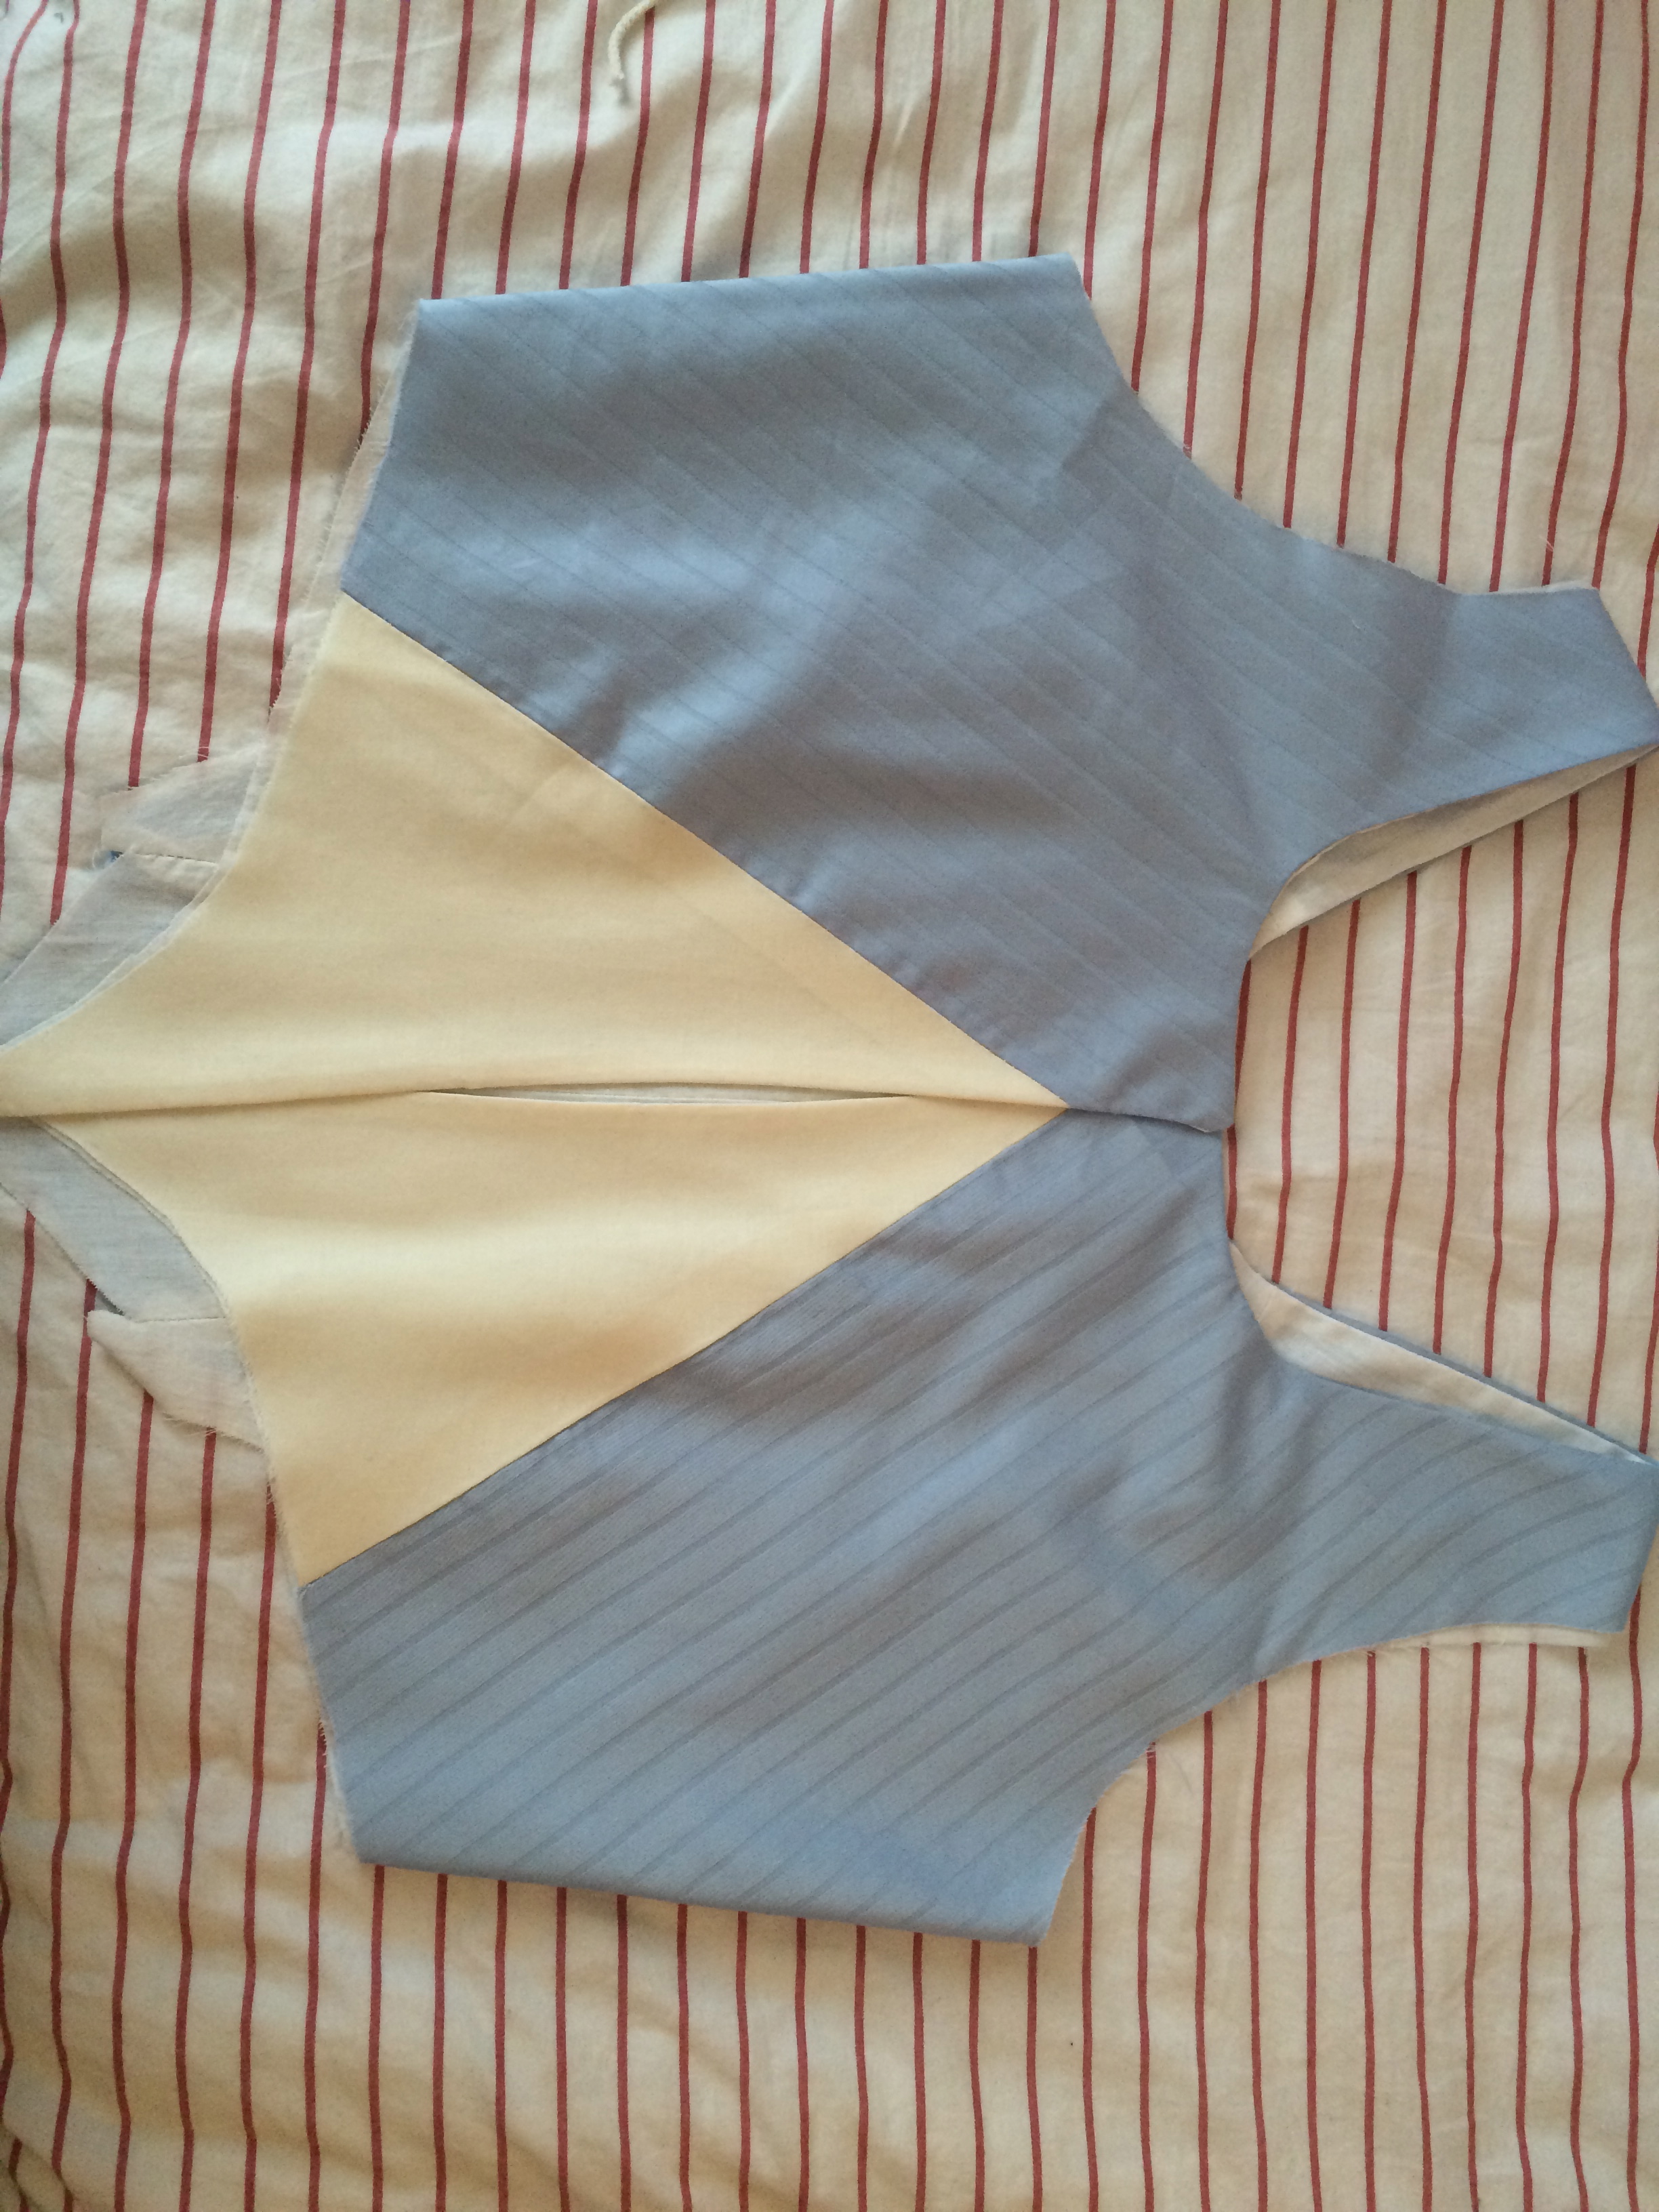
First of all, I had to mark on the pattern where I wanted the cutaway front to go. I wanted to make the illusion of a separate stomacher-bit, like you can find in many period paintings, including the inspiration for this dress. I wanted the stripes to go parallel to the cutaway sides, and to meet in the back, creating a v-shape.
When all was drawn and cut (took a while, and I had to do it twice, because I momentarily forgot the concept of seam allowances the first time around), i started with the back, attempting to create said v-shapes.
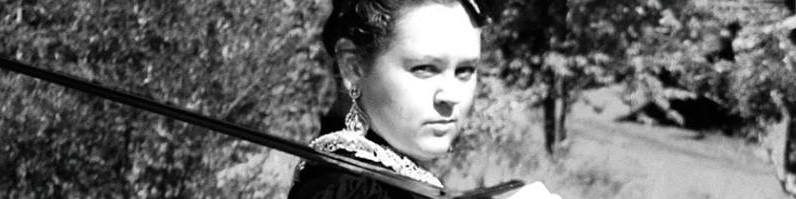
It took time. Lots of time. And pins. It usually does.

Oh yes, and this was all hand sewn, because my sewing machine broke and I couldn’t afford to fix it or buy a new one. So sewing took time too…
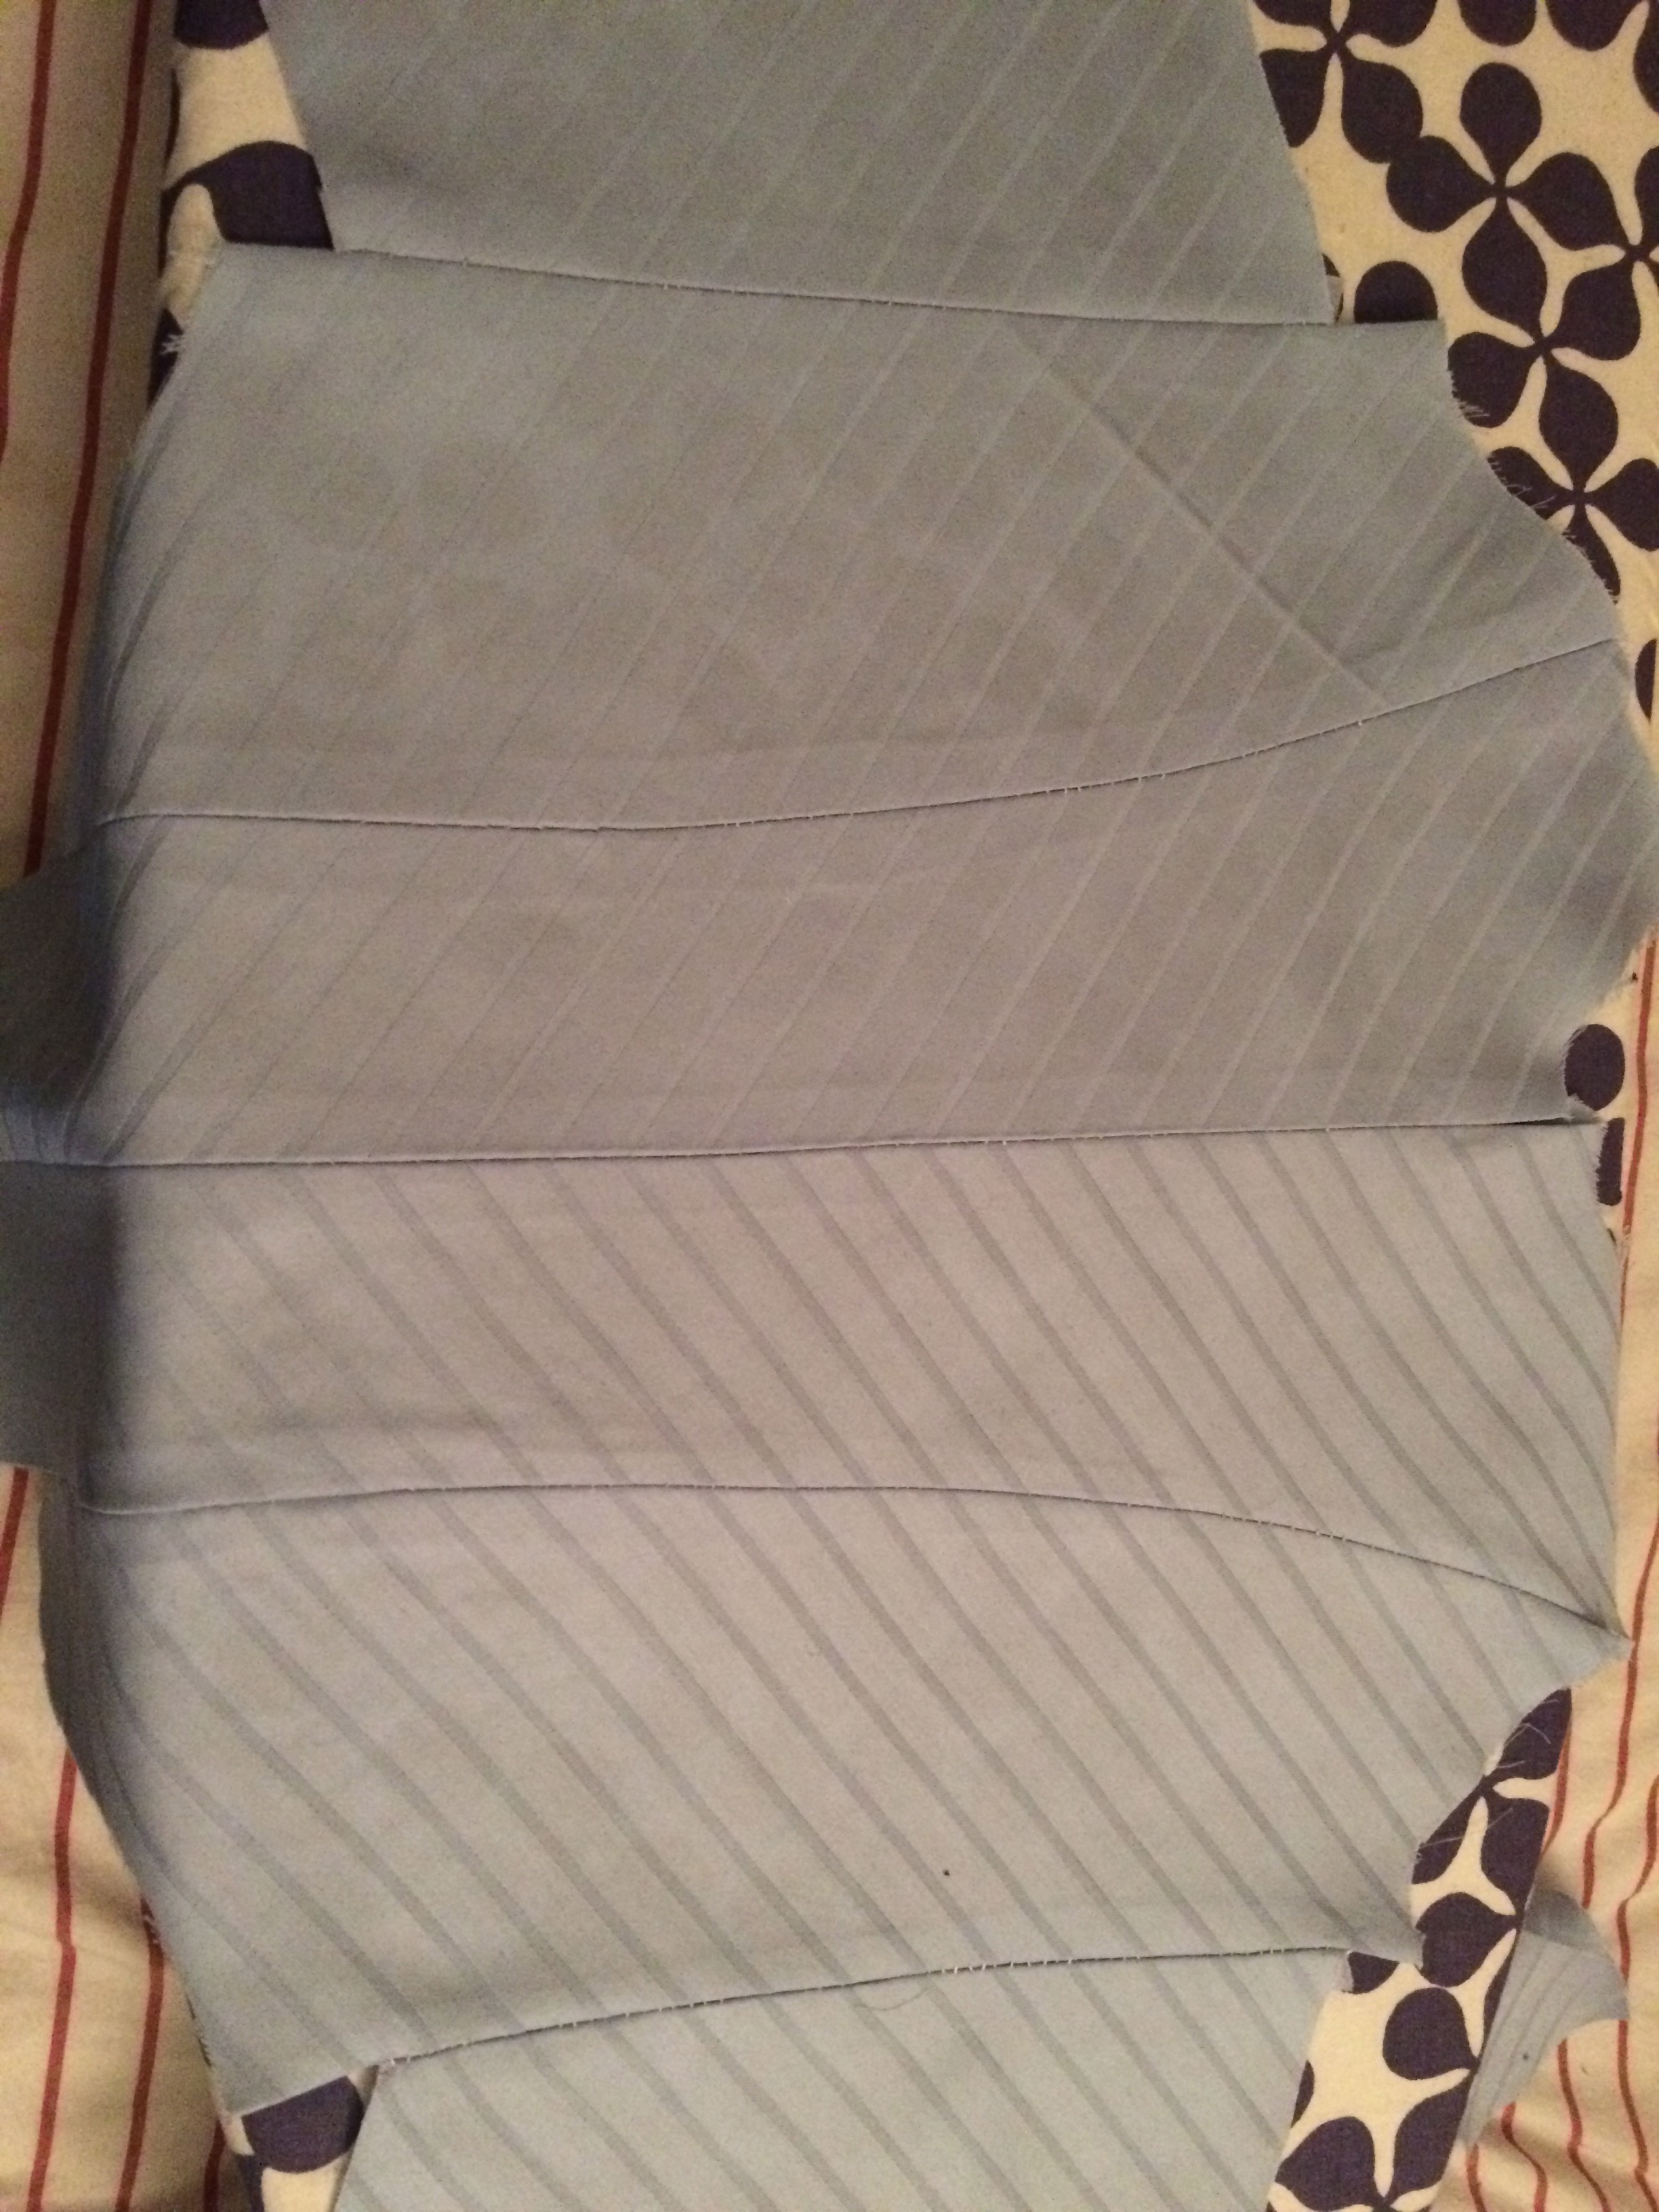
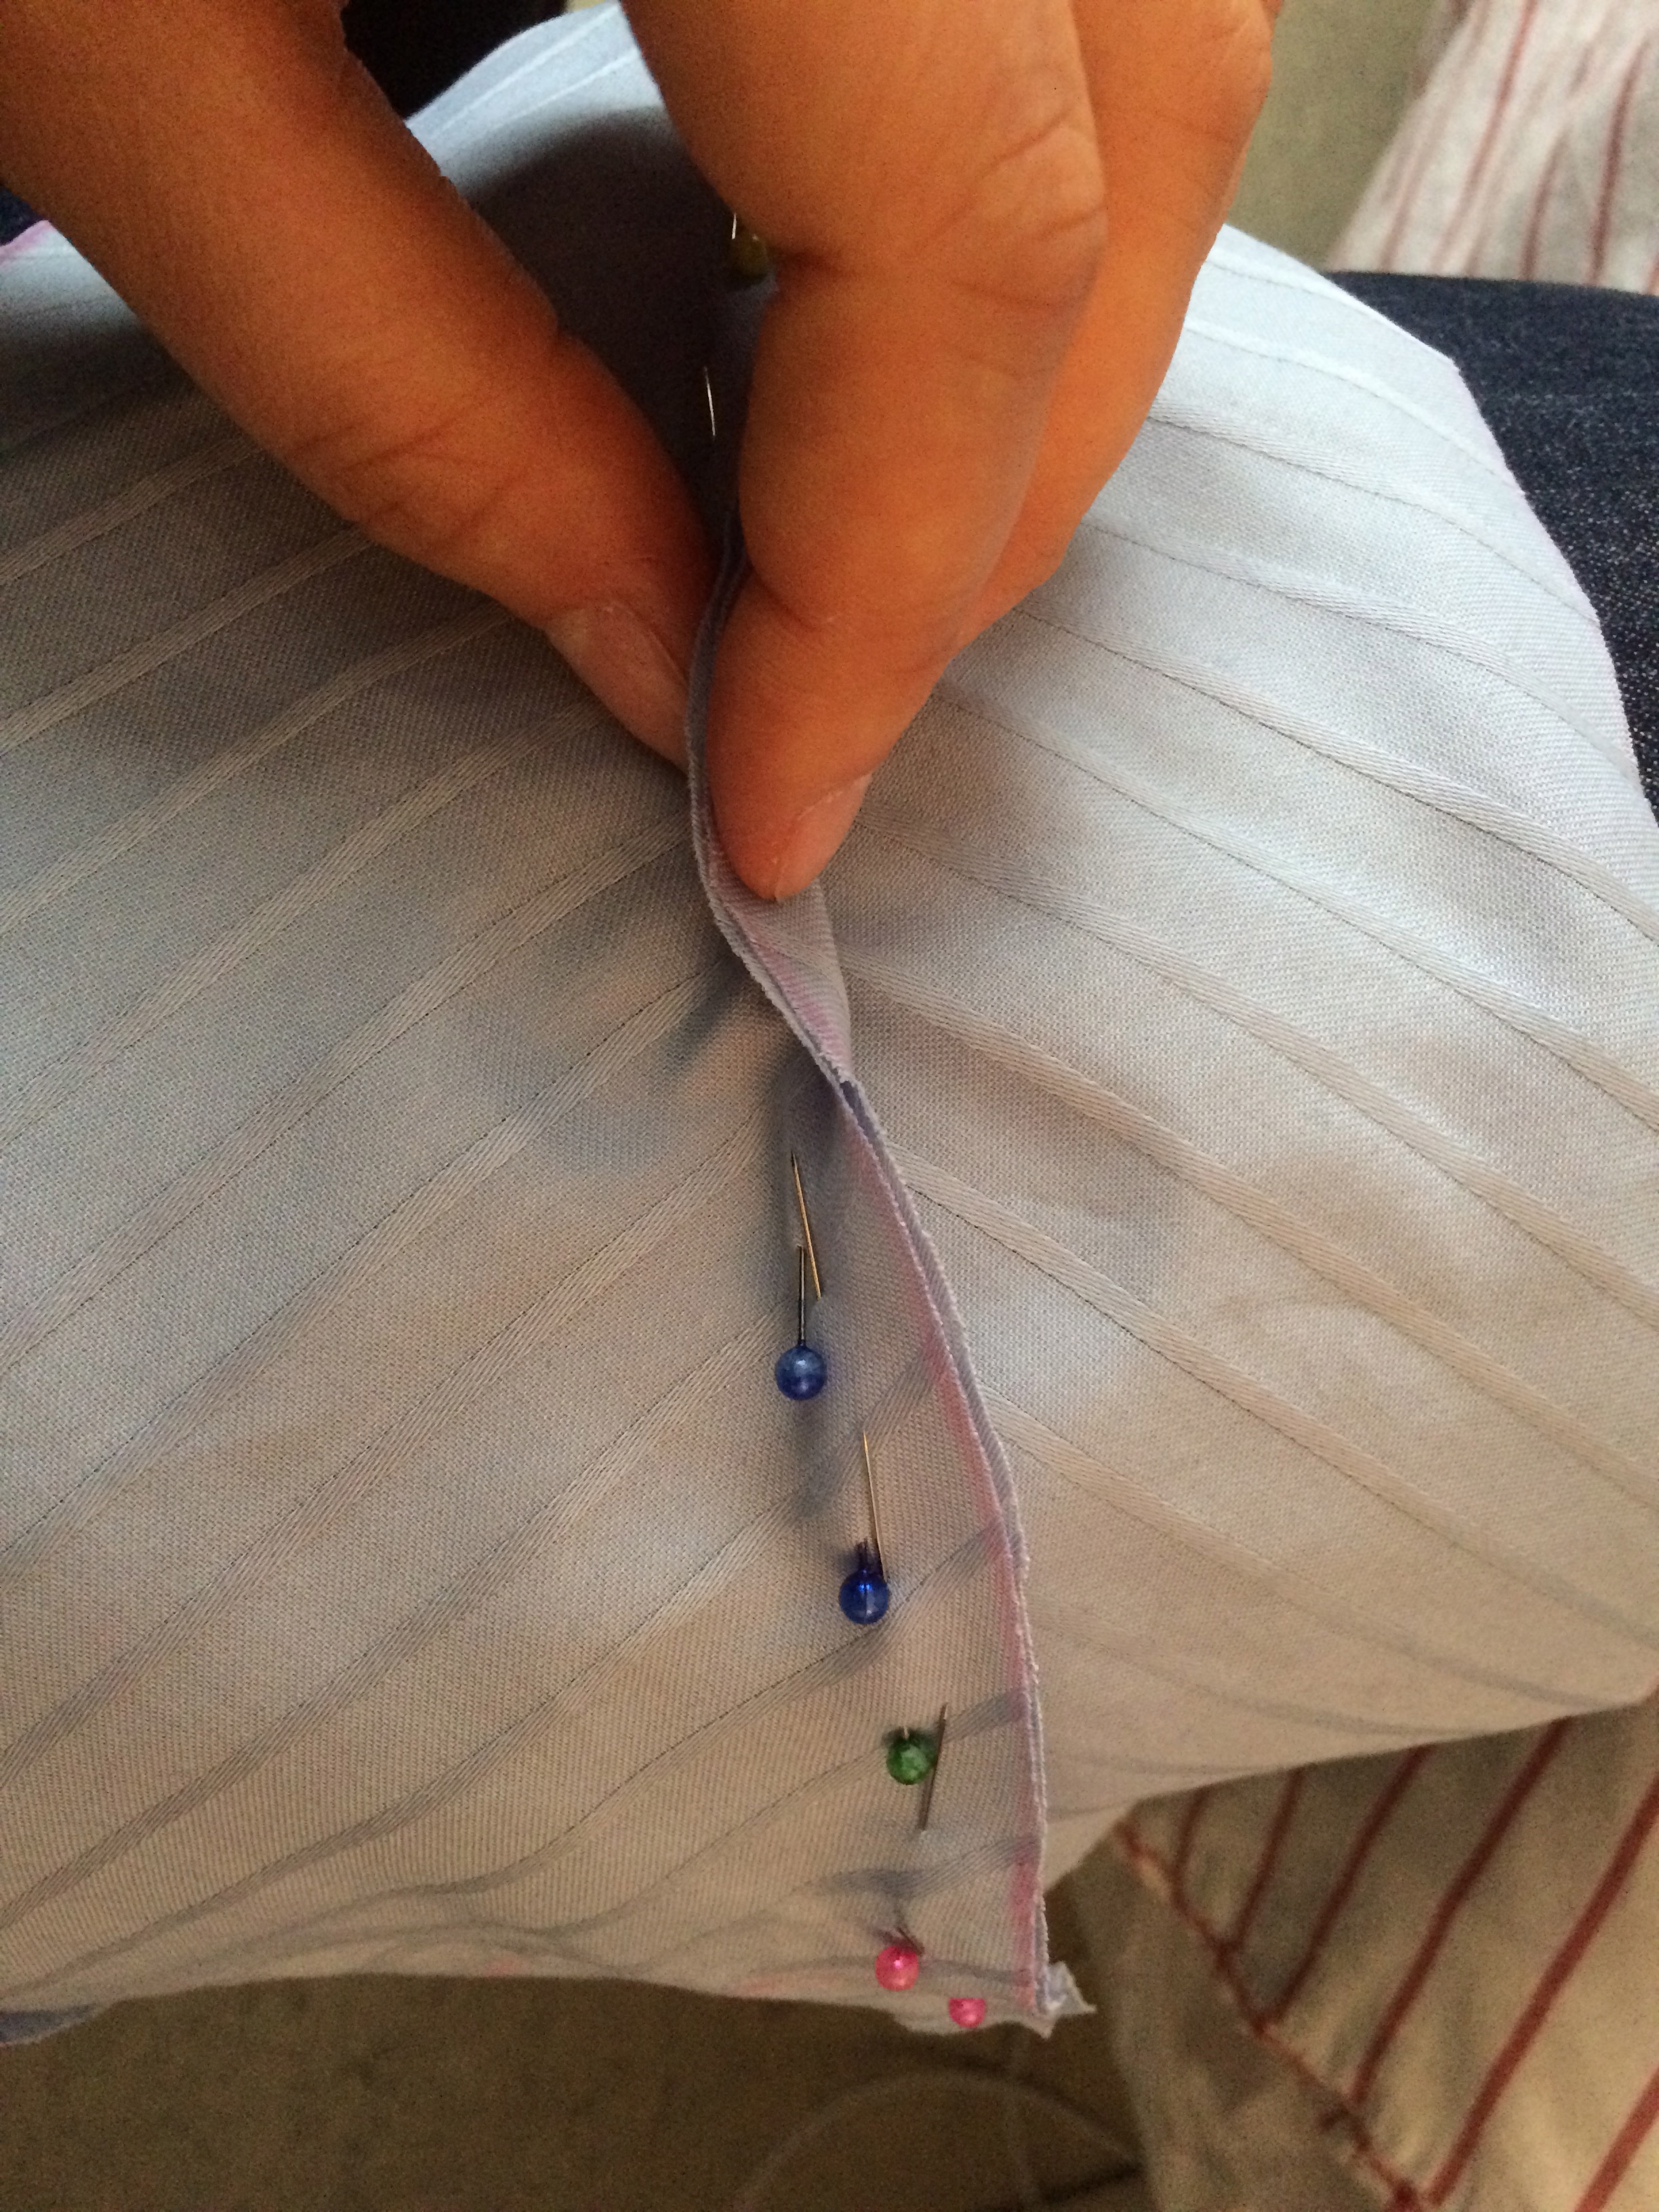
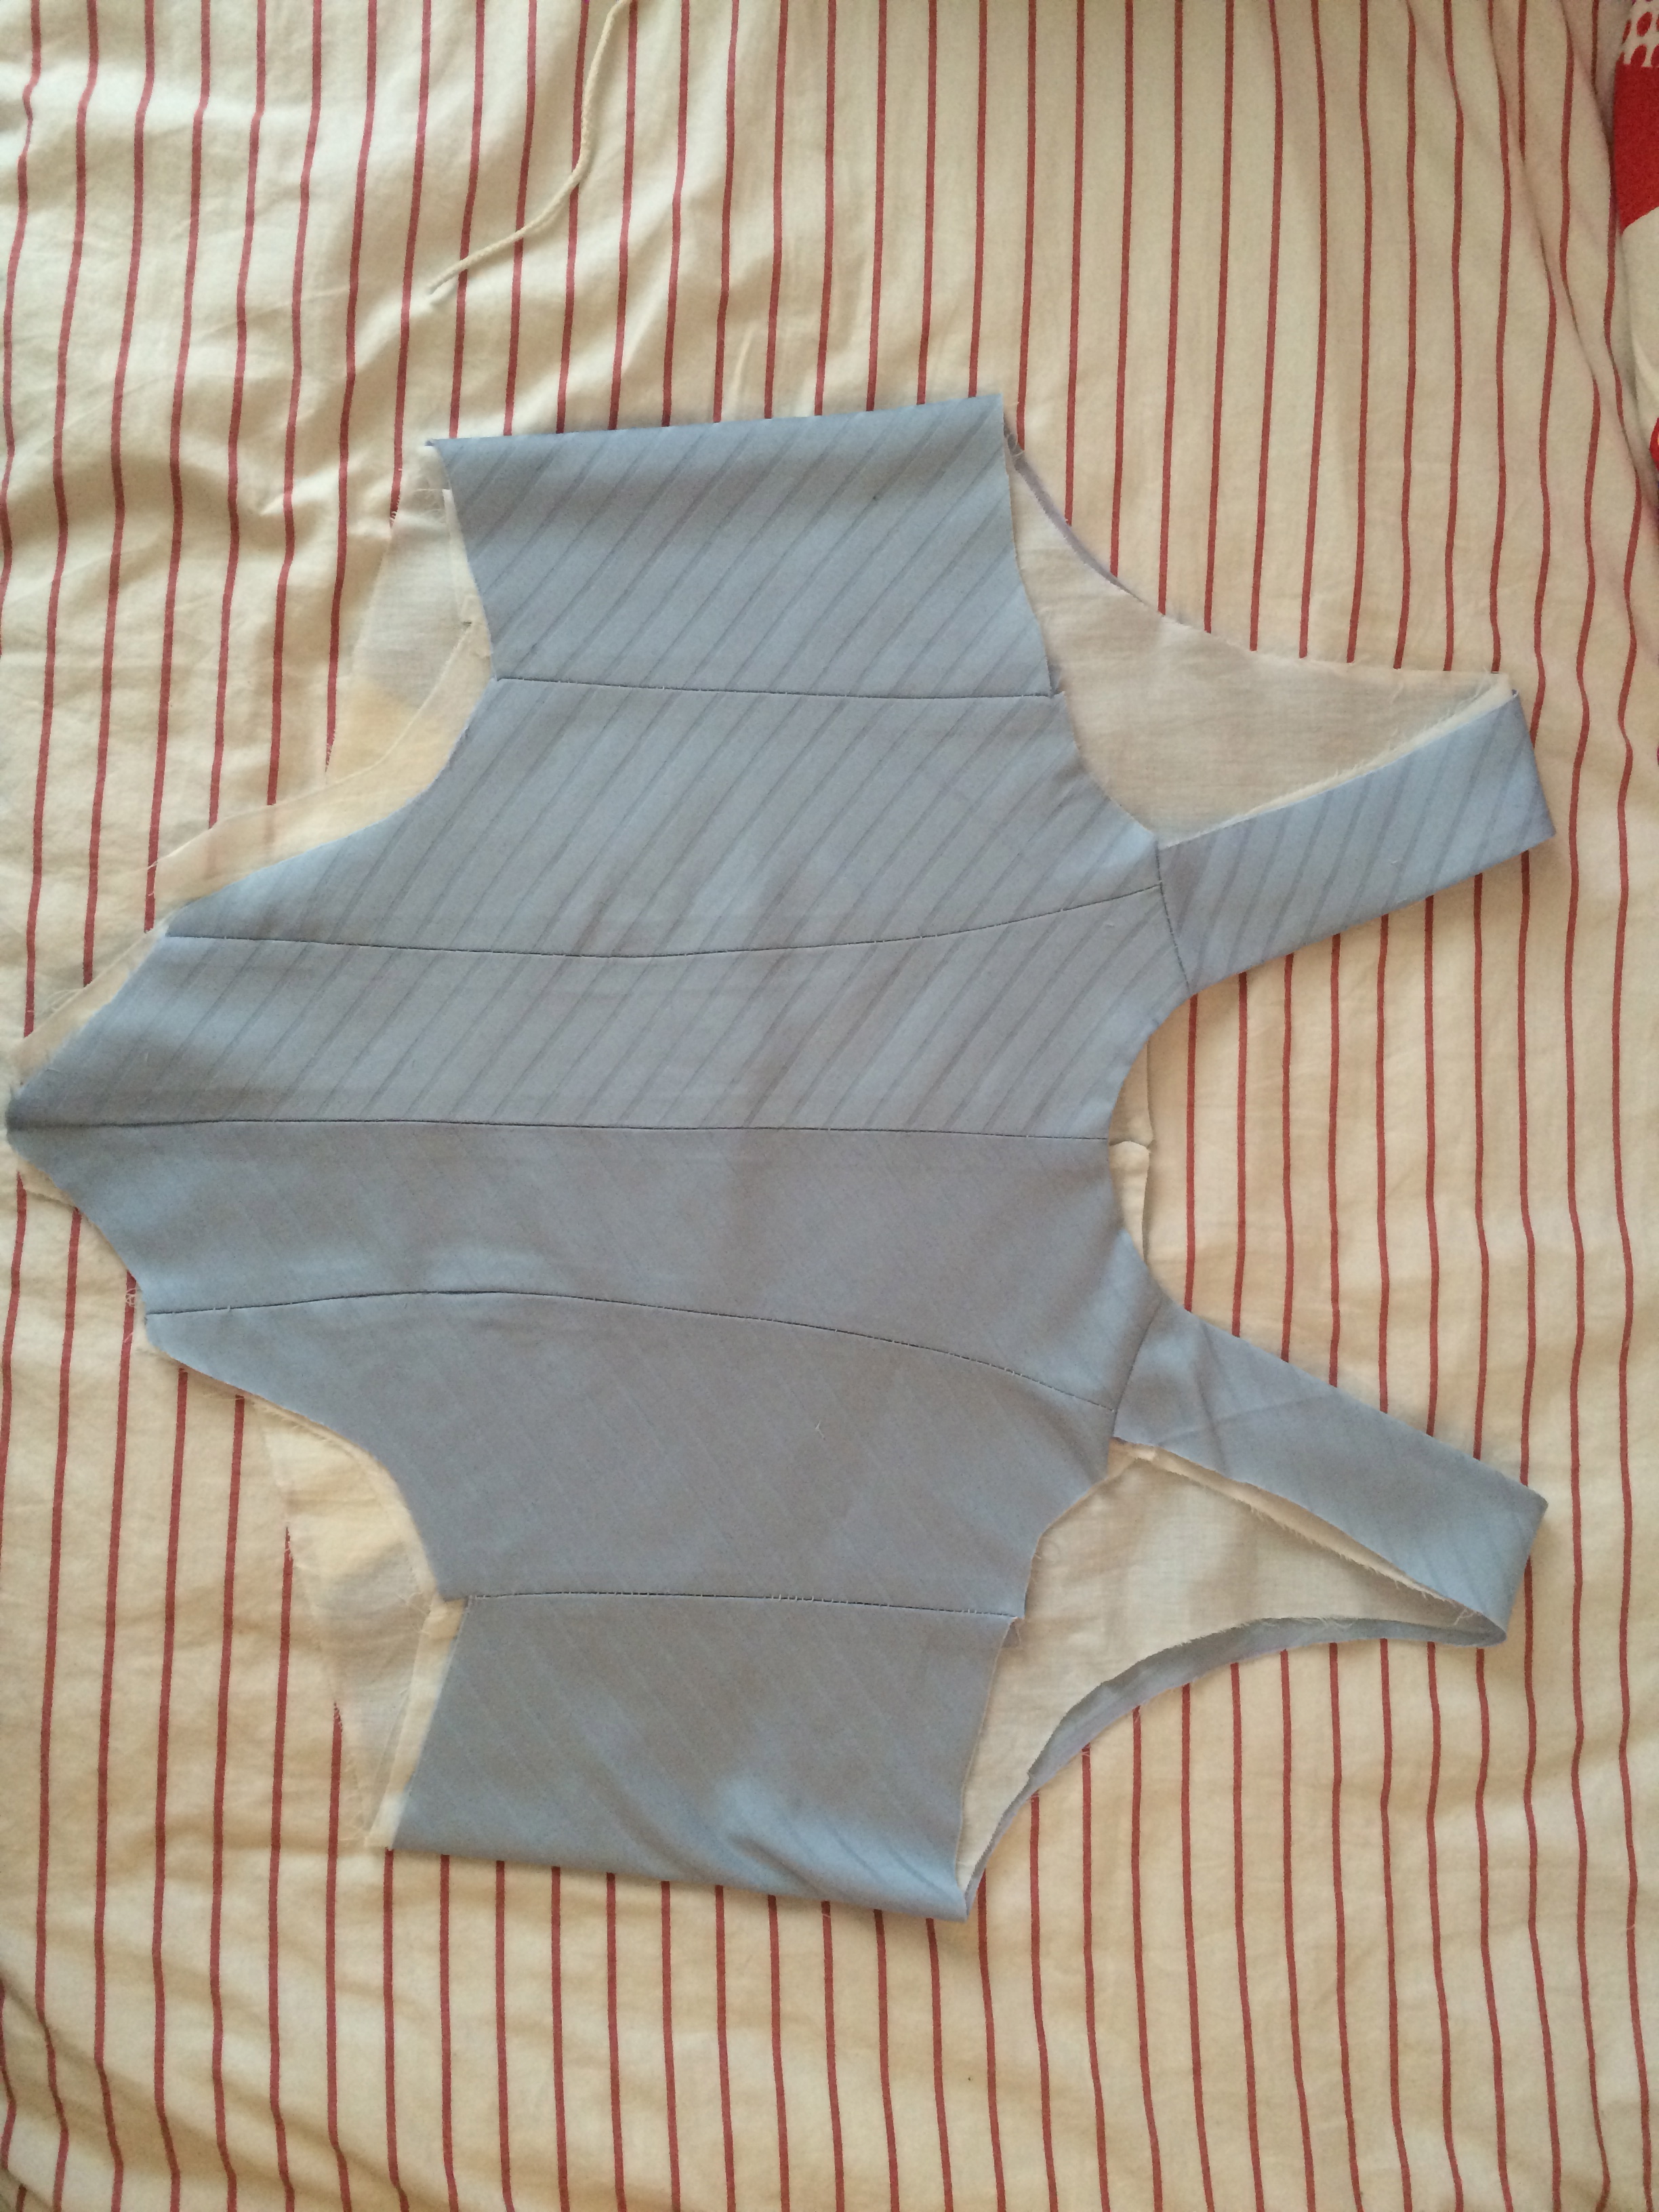
All seams done and pressed!

LOOK HOW CRISP I WANT TO CRY FROM JOY. I wish I had a really nice explanation on how to do this, but I don’t. I just tried and failed for hours.

The cutawa-bit attached and seams pressed.

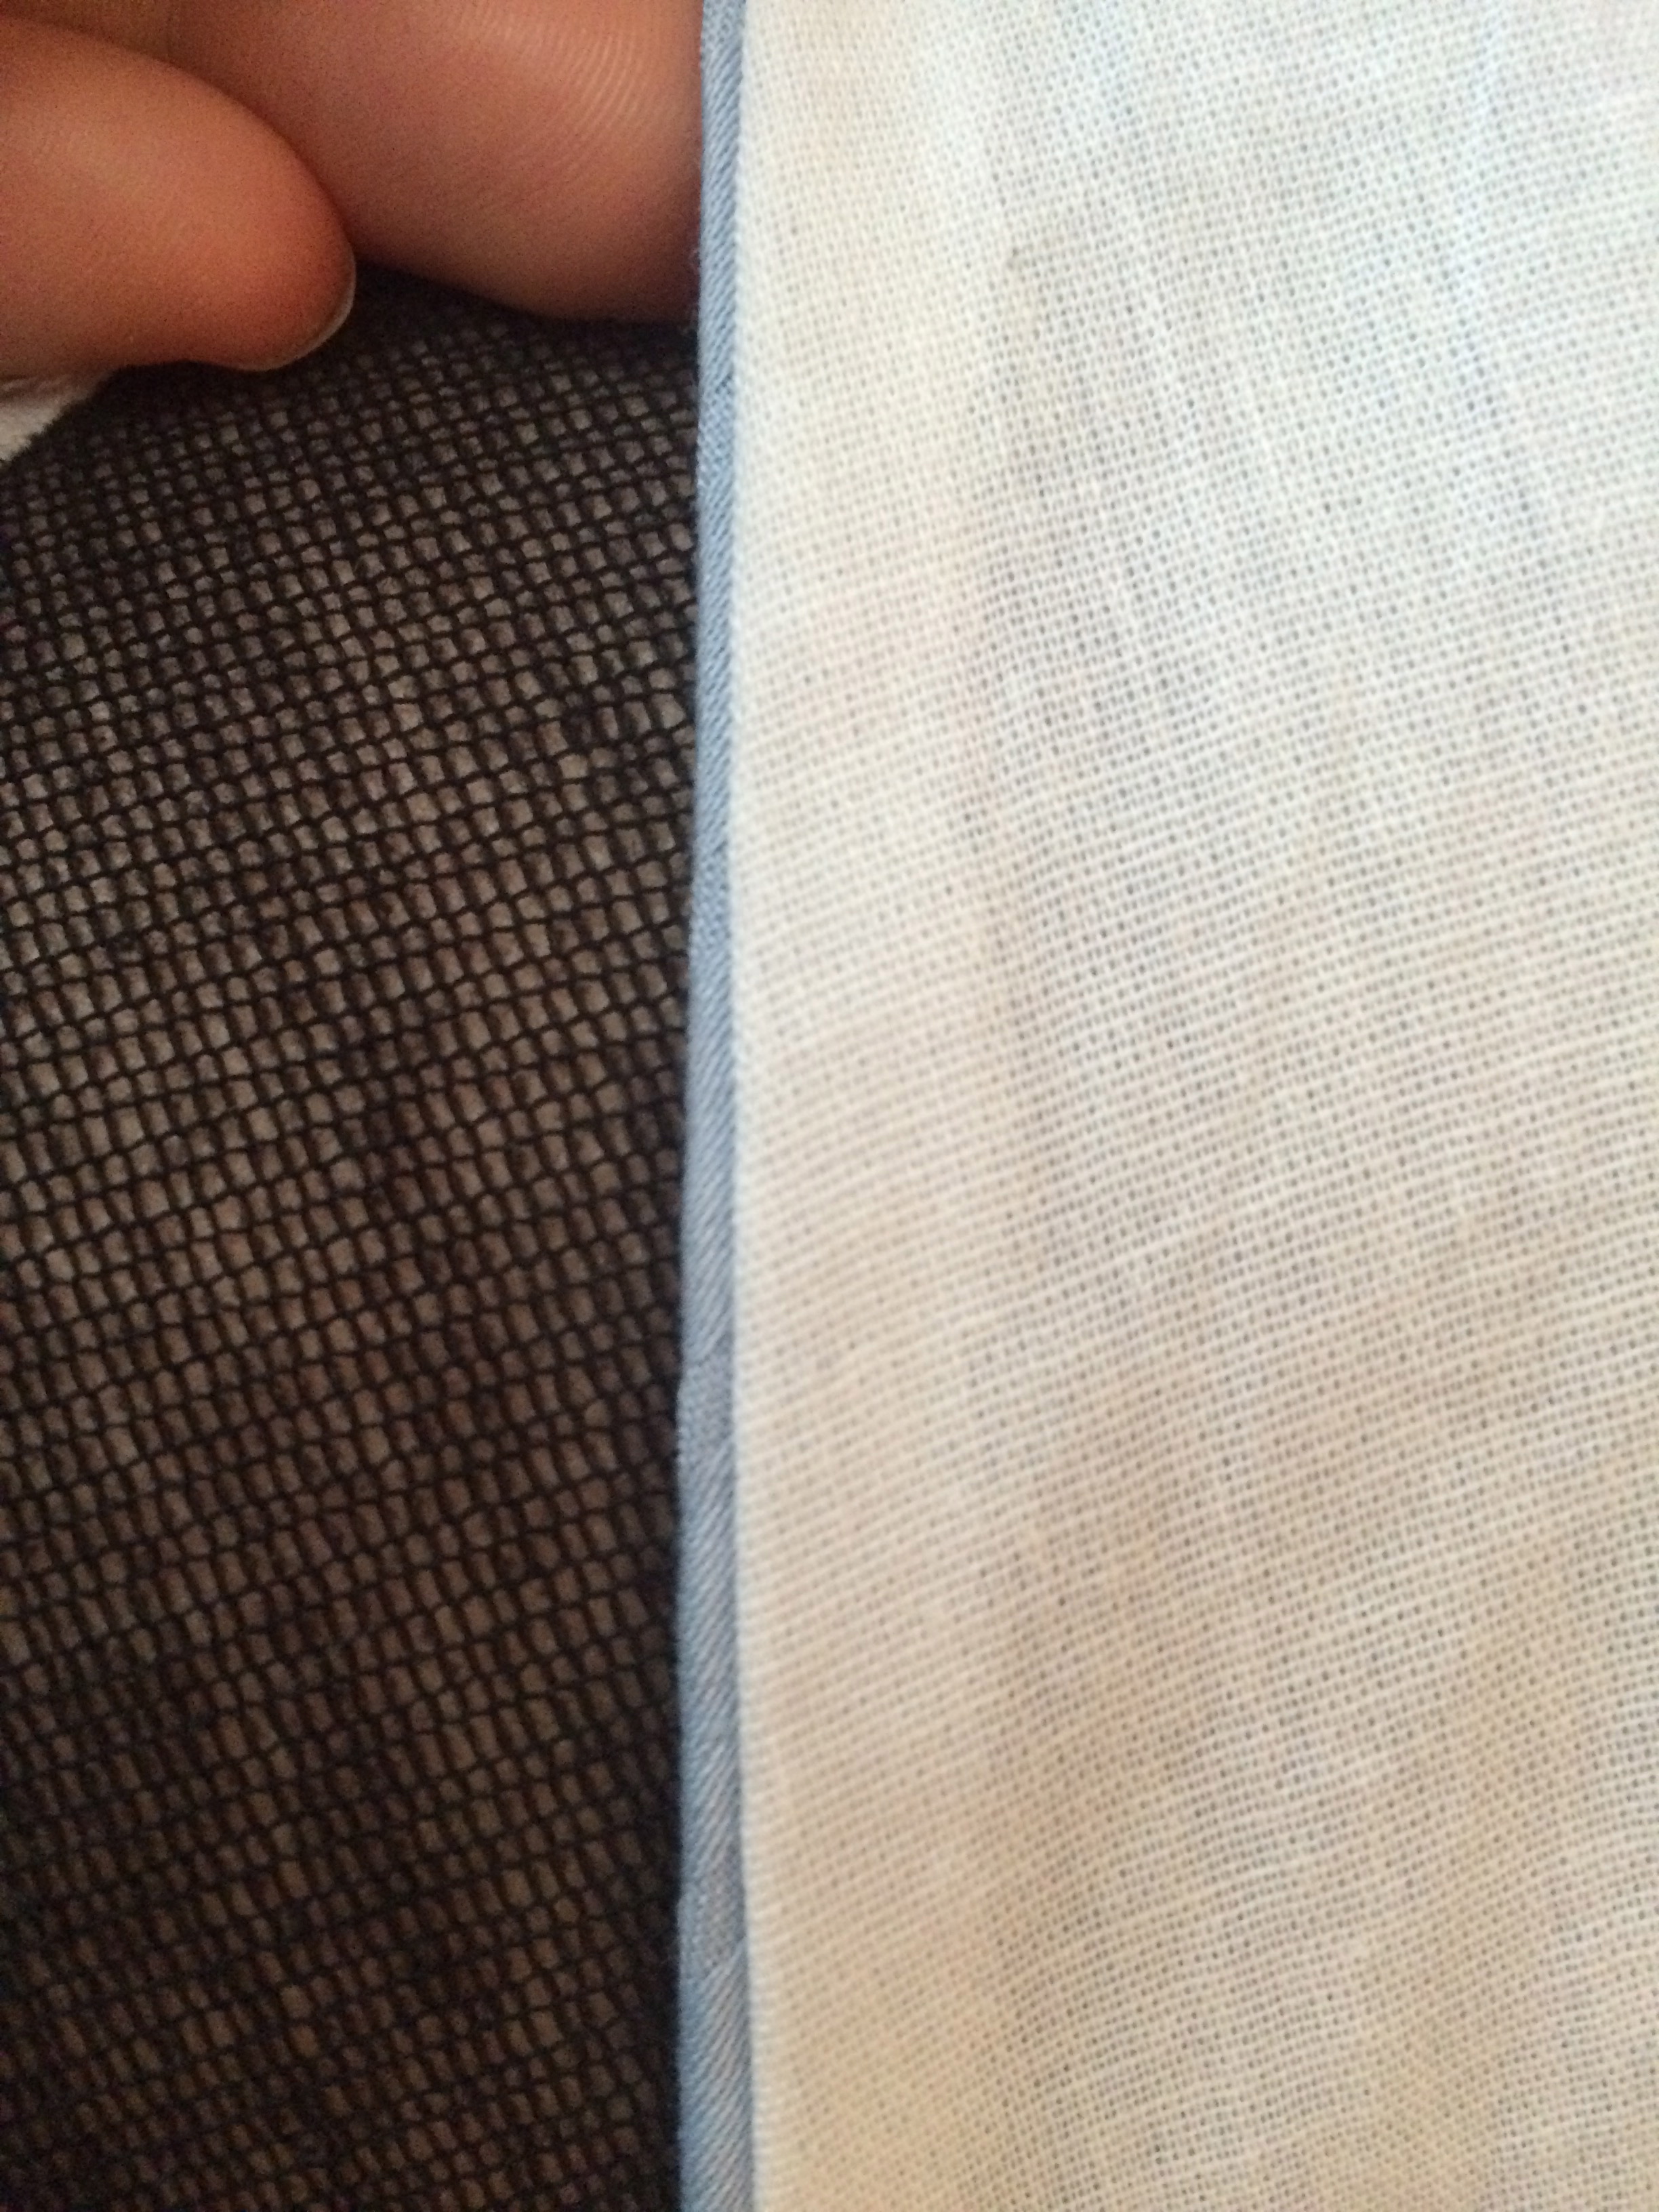
Time for the lining! I used a thin cotton voile, because I was afraid the garment would be lumpy and thick. In hindsight, that was a mistake, but hey. You learn. I attached it, right sides together, to the neckline and front opening of the fashion fabric, turned and pressed.

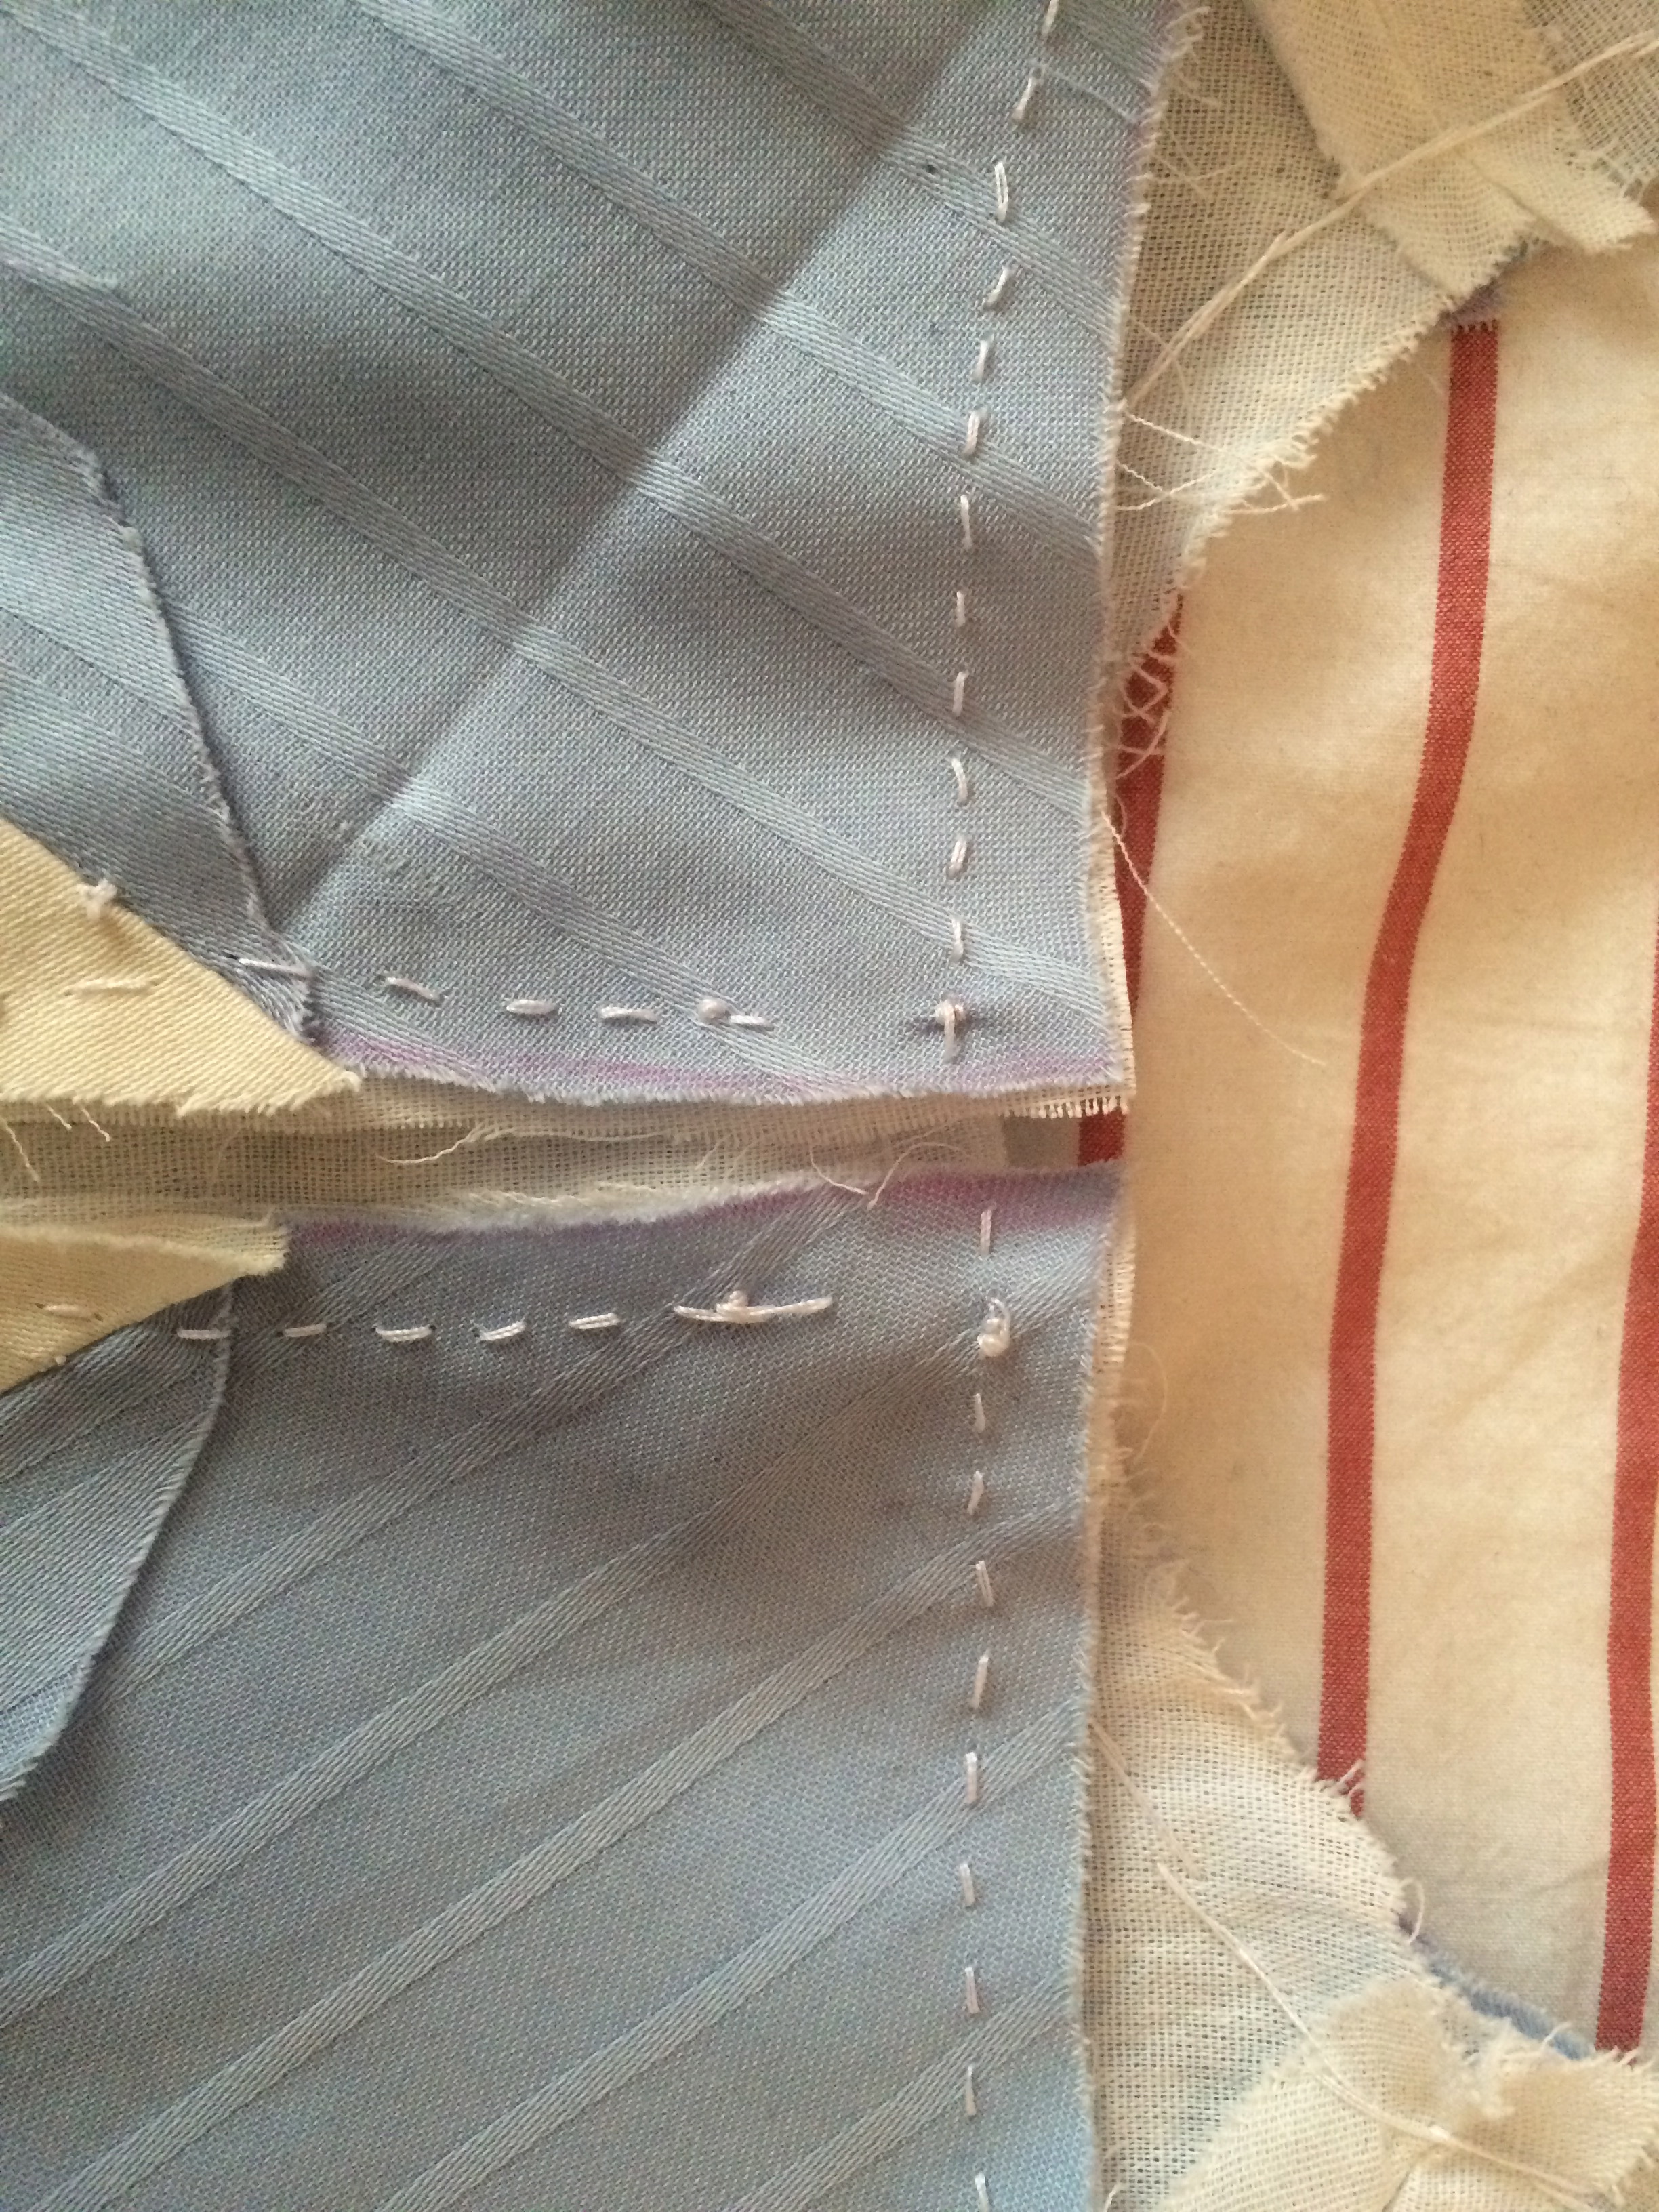
Closeup of front neckline before turning. The gaps on the top of the front opening is so that I can get a ribbon through.

Turned and pressed! As was I, almost, at the time.
To avoid the lining being visible when you wear the garment, you roll the seam a little towards the backside of your garment, before staystitching them together.
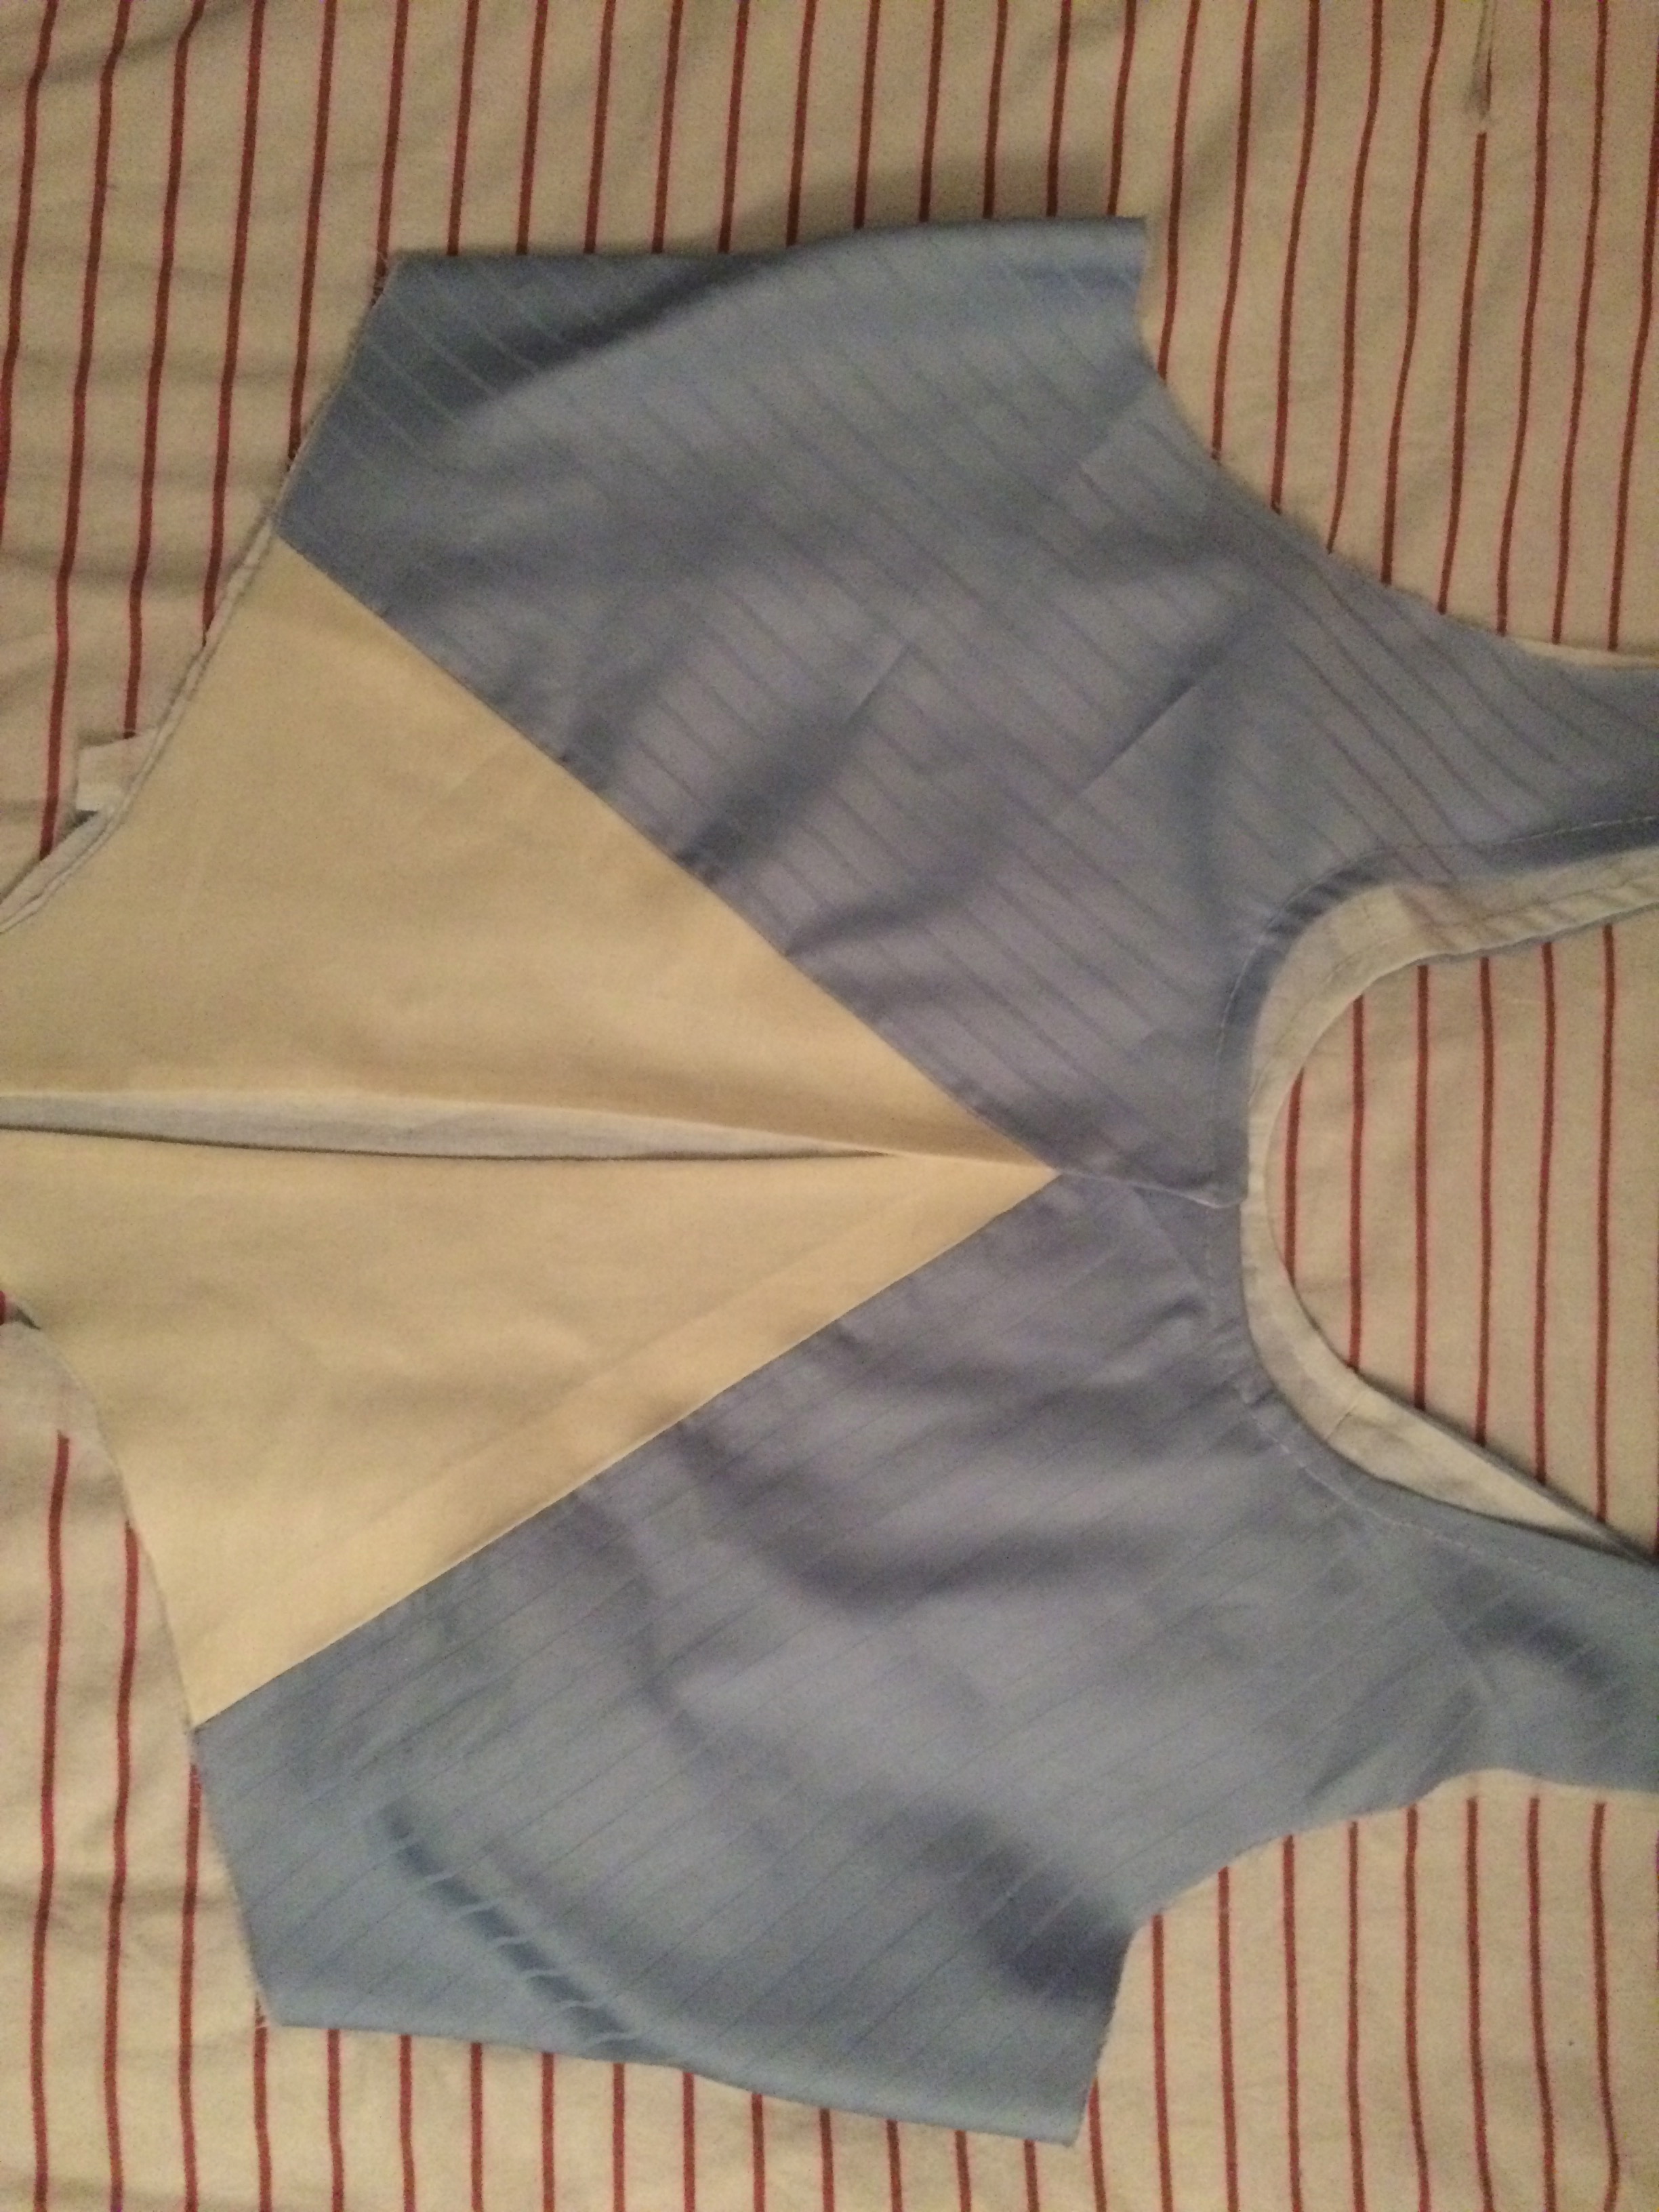
… another seam, around the neckline.

I am a stripe convert. I see stripes when I dream at night. Striiiiiiipes…
